Kitchen Chore

It started Saturday when I bought the candied fruit for the Christmas Fruit Cakes. I picked up a quart of rum as well. Came home, dumped the fruit into the large covered Tupperware bowl, added some rum and now the mixture is soaking until coming weekend when I’ll bake the cakes (I flip the covered bowl twice a day to make sure the rum gets absorbed by all of the fruit).

Yesterday, I pulled out the cake recipe to see what ingredients I had in the house and what I needed to buy: flour, white sugar, molasses, bakers’ bittersweet chocolate, baking powder, eggs (I had brown sugar, baking soda on hand). Then I checked the spices – ginger, allspice, clove, nutmeg – had enough of each of those but no cinnamon. So I headed to Bulk Barn to pick up some cinnamon. While I’m standing in front of the spices I think it’s a good idea to pick up fresh amounts of the other four as well. I came home, emptied the old spices out, washed the bottles and put the fresh spices in. Even made labels for the jars.

Then, I looked at my spice rack and think to myself – I meant to renew those before I moved out of the house, then after I moved into the apartment – it’s two years and I still haven’t done it. So I did the deed – I dumped out all the spices and herbs, put the jars in the sink to soak. Cleaned them, removed labels and set them aside to dry.

Spice Jars (With Matching Tops) Drying

Today, I made a trip back to Bulk Barn with my alphabetized list of spices and herbs (that way it was easy to find what I needed since the spices in the store are arranged in alphabetical order) to get small amounts of each to fill my clean, dry spice jars.

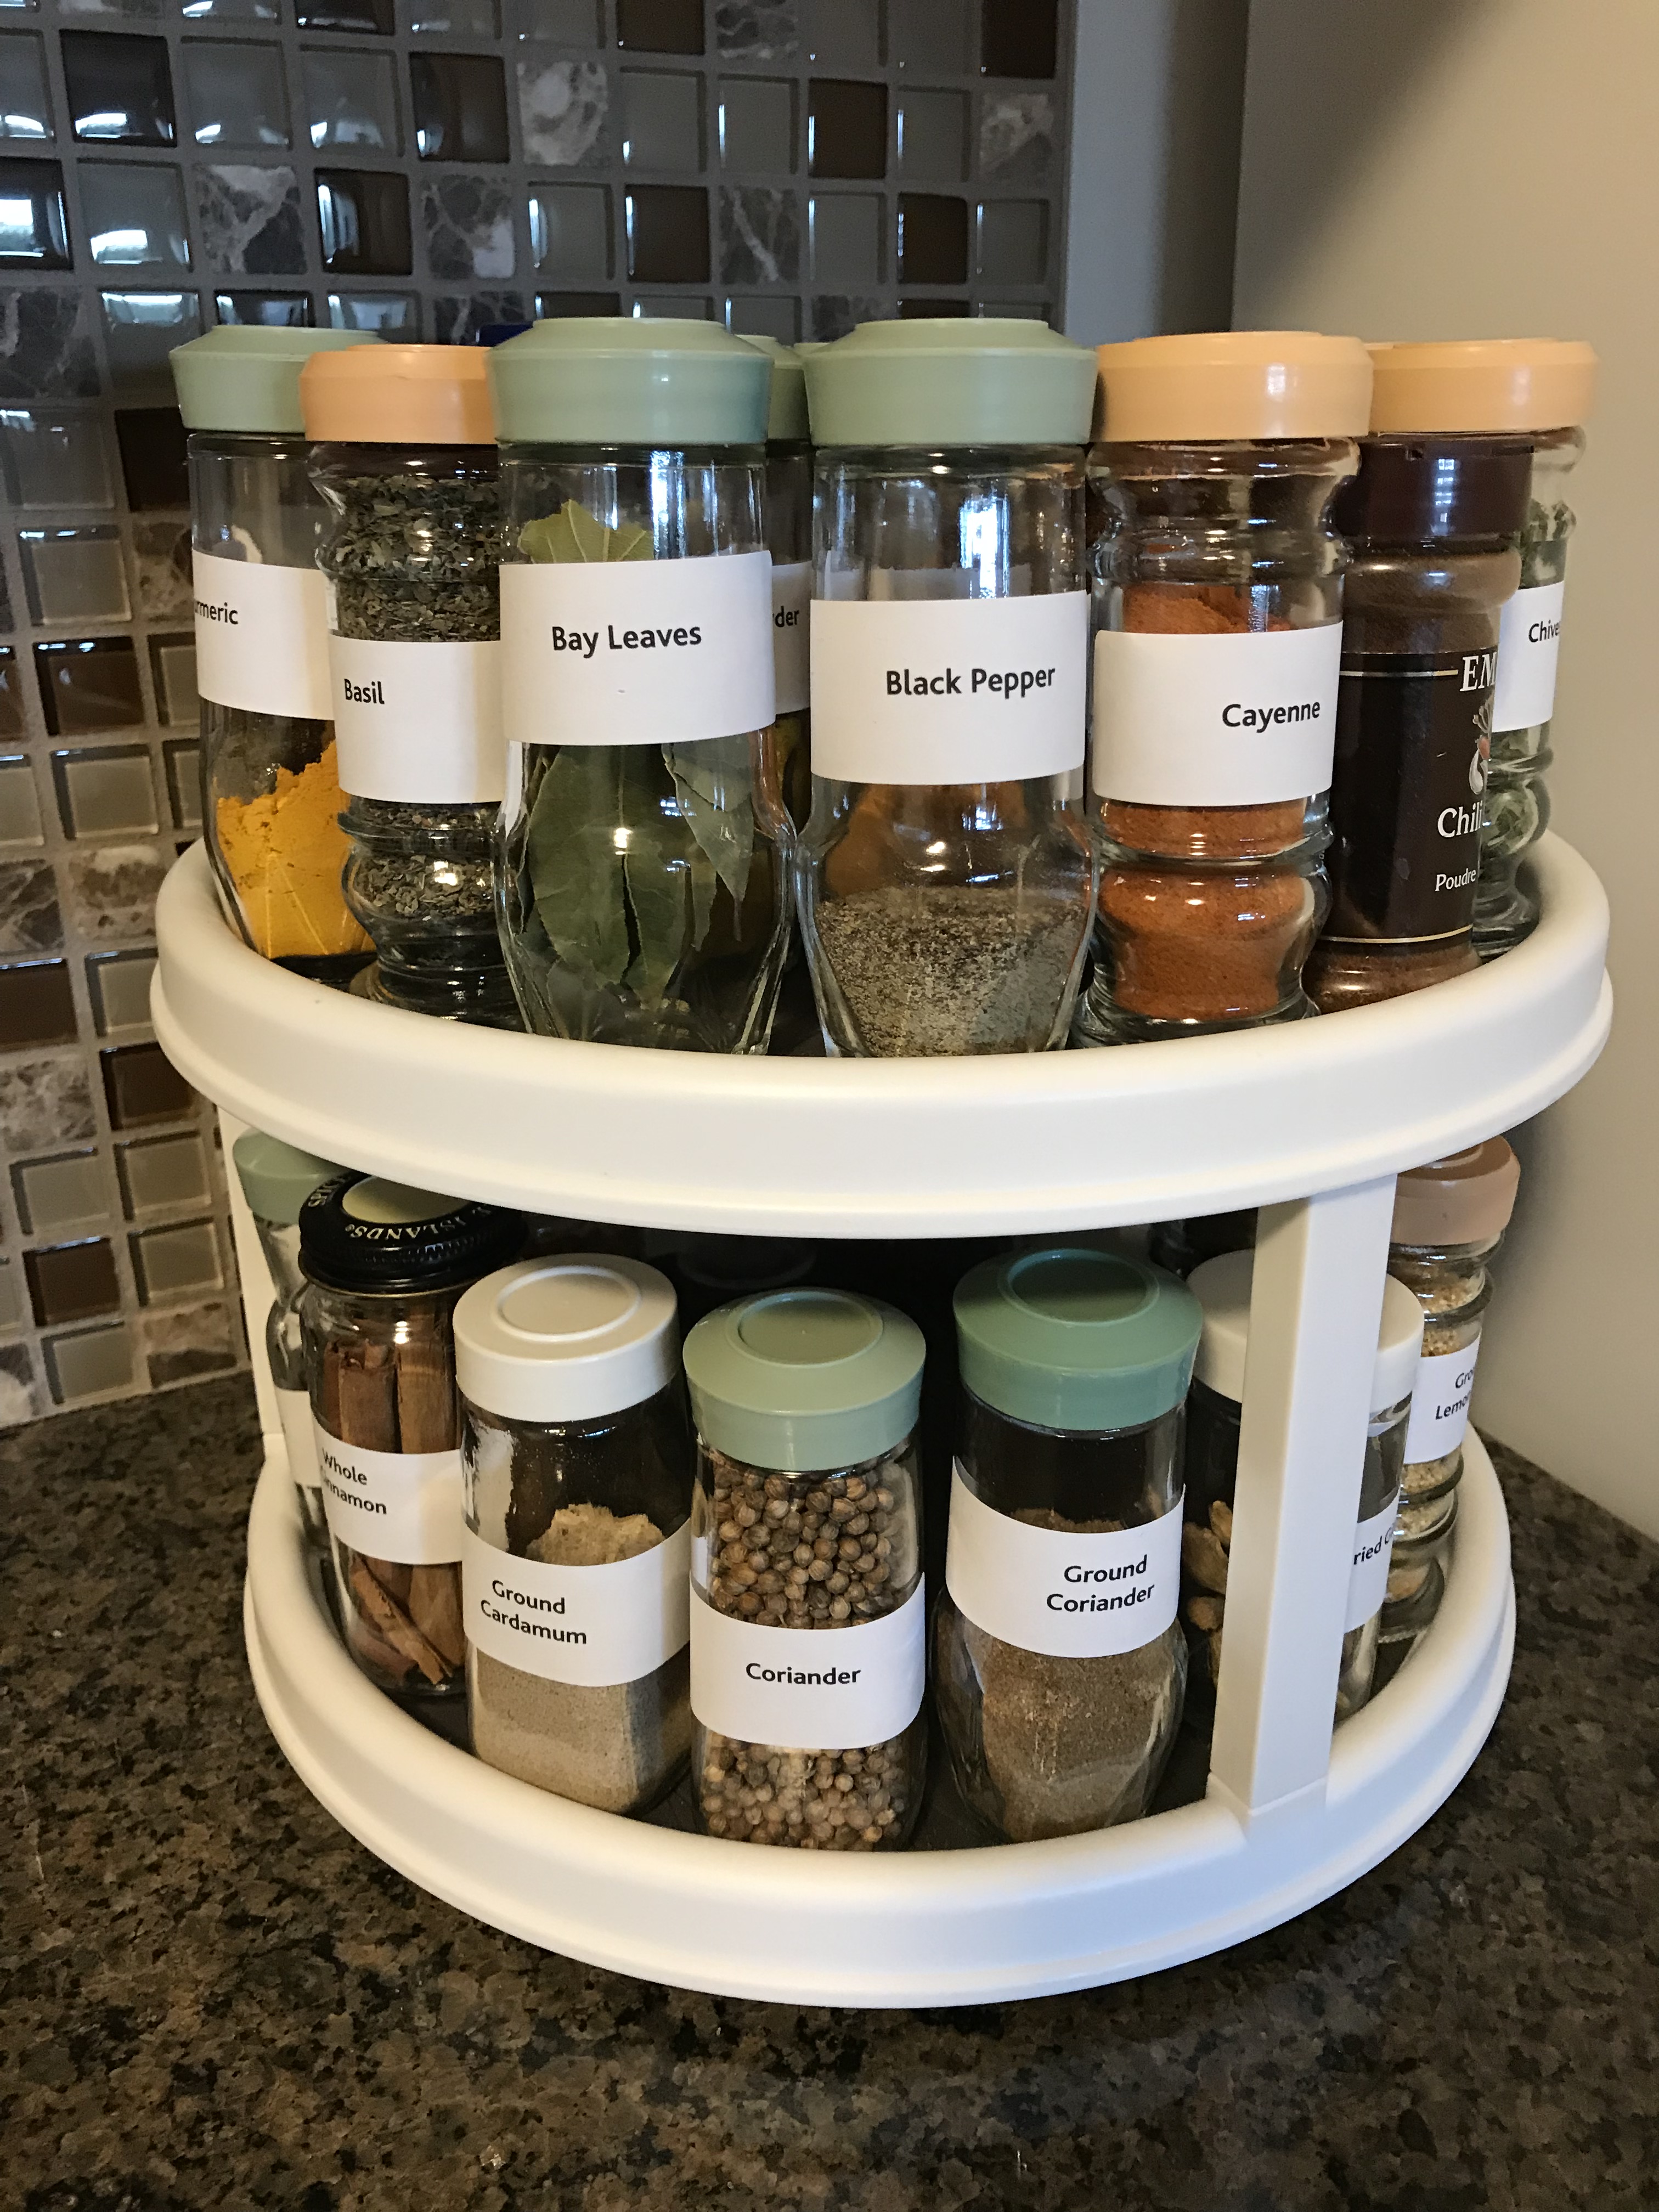
Just finished the job. Each jar is labelled. The spices and herbs are actually stored in alphabetical order (I’m sure they won’t stay that way but it’s a good starting point). I didn’t replace everything – only those I might actually use – didn’t bother with herbes de provence, garam masala, 5 Chinese spice, whole allspice, whole cardamom… in other words, stuff I’d picked up for a single recipe and never used again! So I actually have about 15 jars to spare which I’ve tucked in a shoe box and stashed in the cupboard above my refrigerator for when I might need one.

Addendum (Oct 16) – Just for information – the price on the back of many of the jars was 49¢! That tells you just how long ago I bought the original spices. I’ve refilled the jars many times over the years but I bet the spices in some of jars were 20 years old.

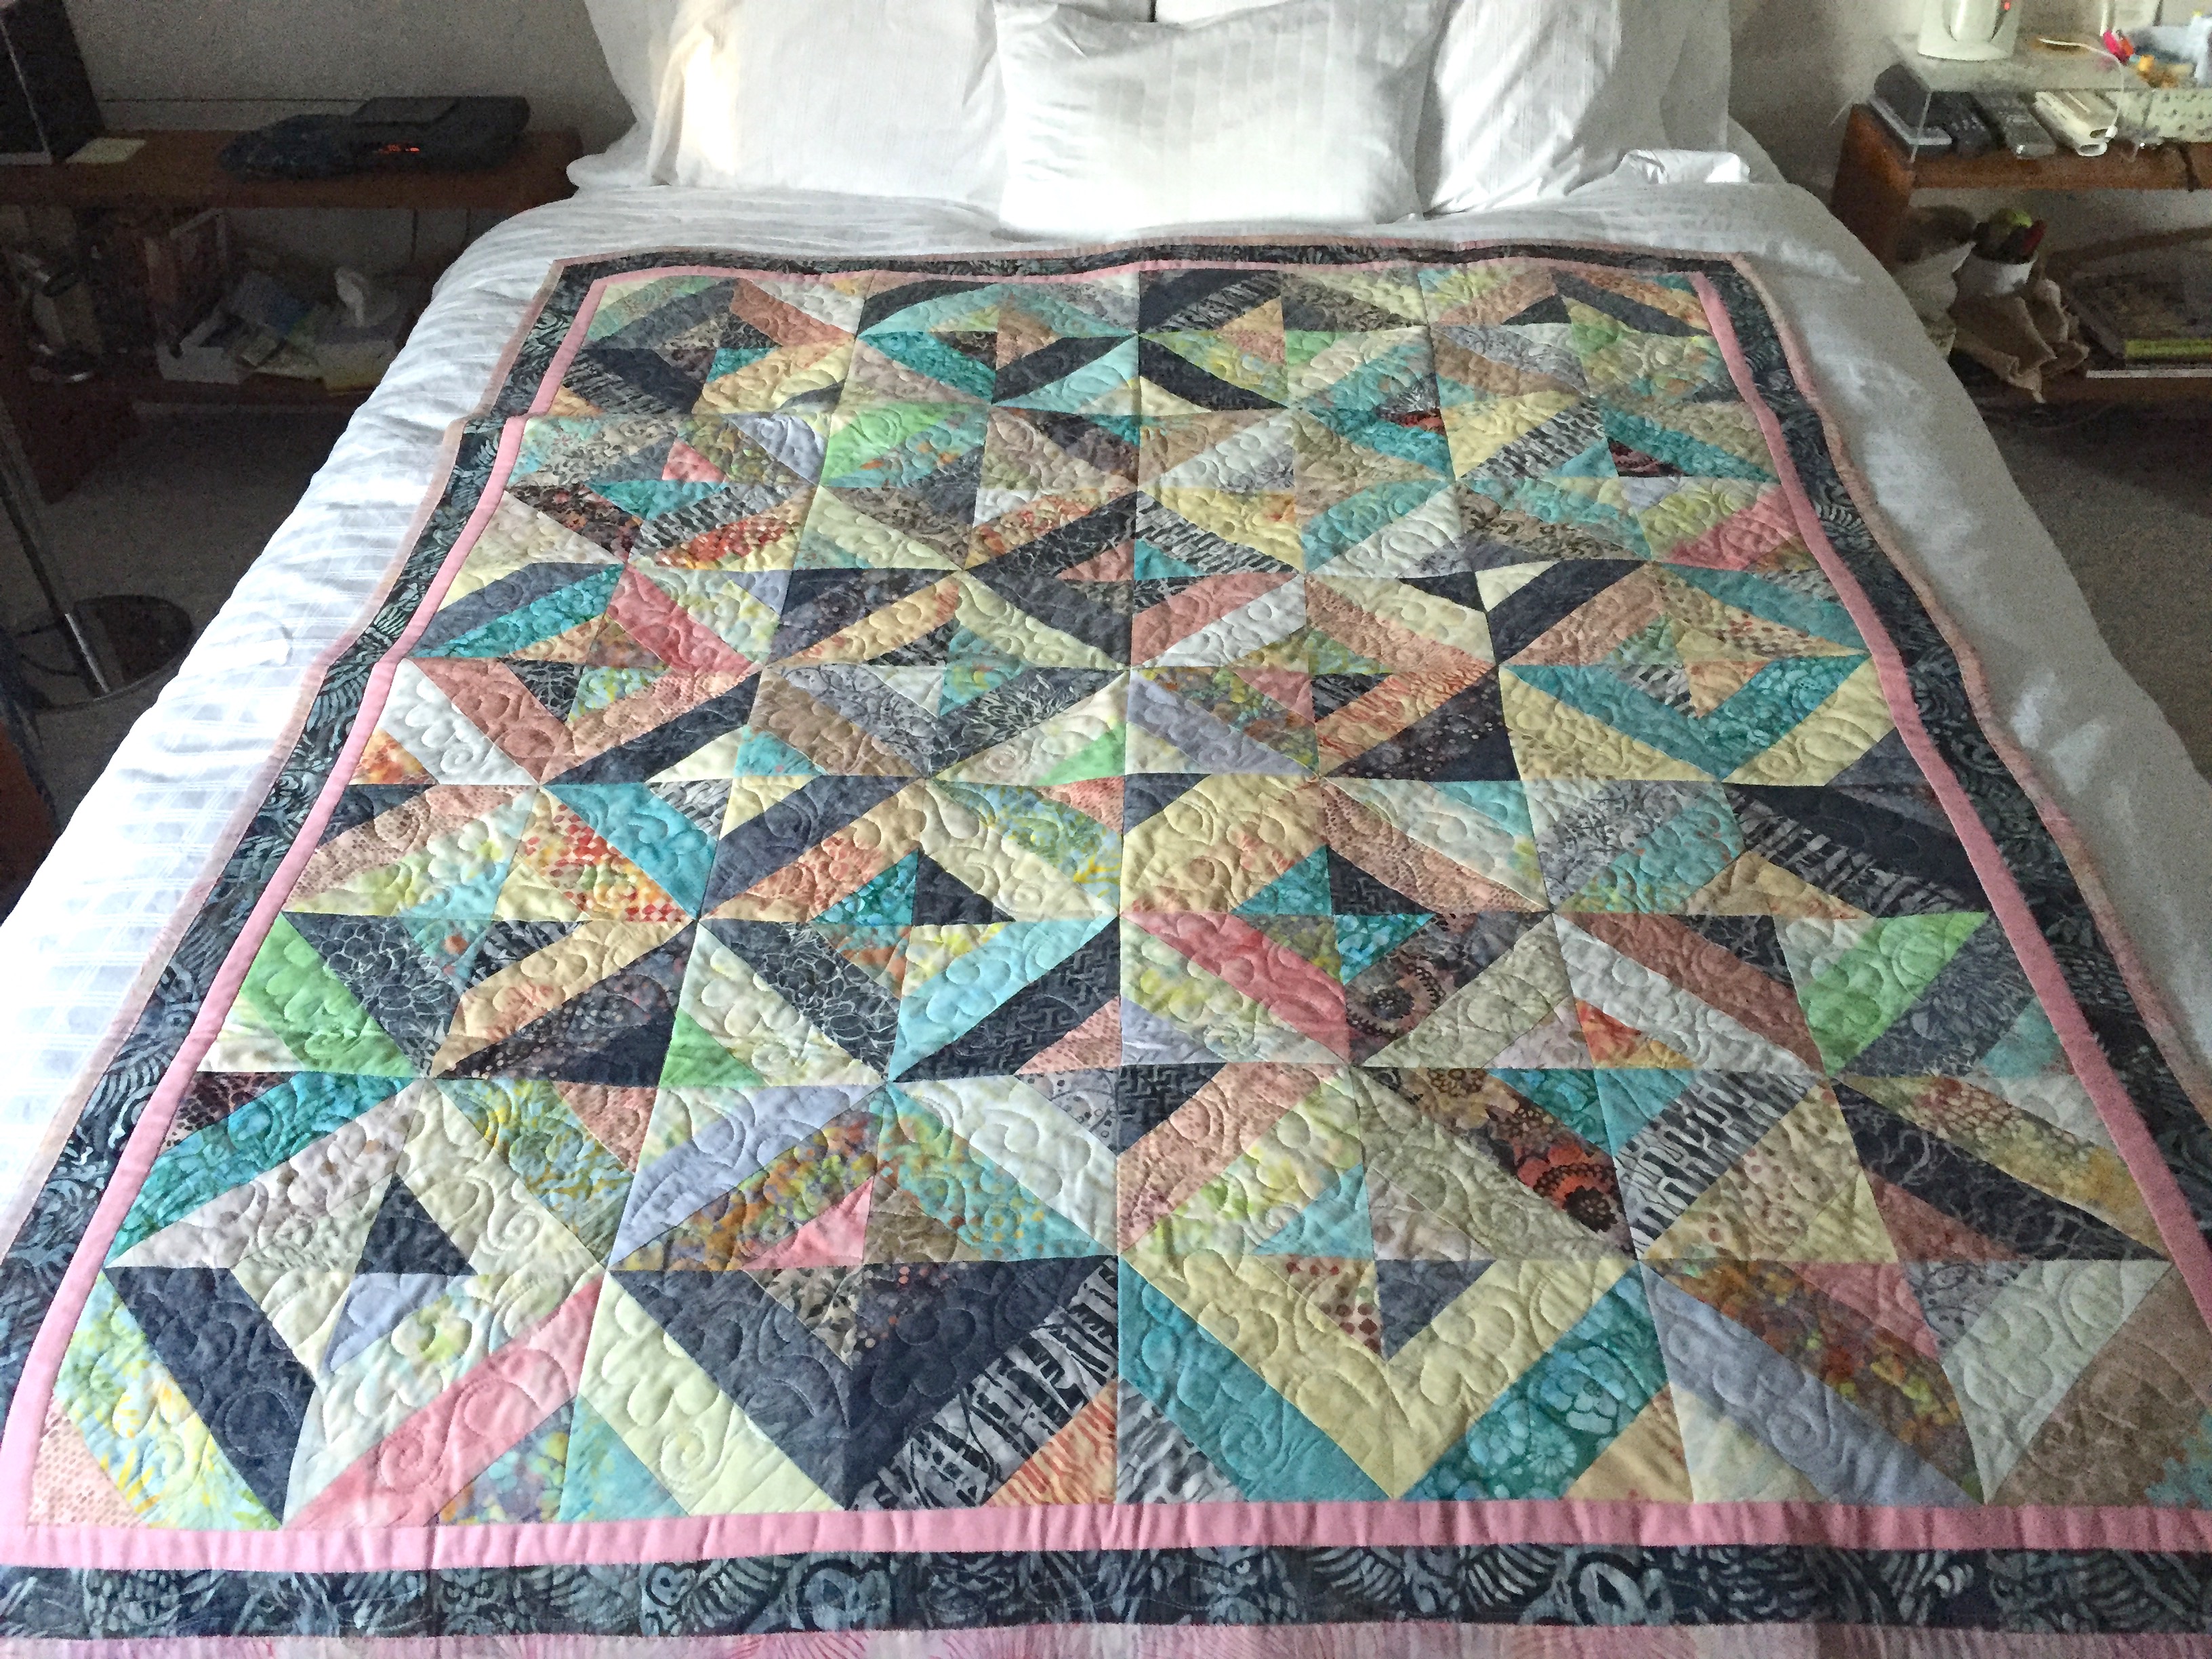
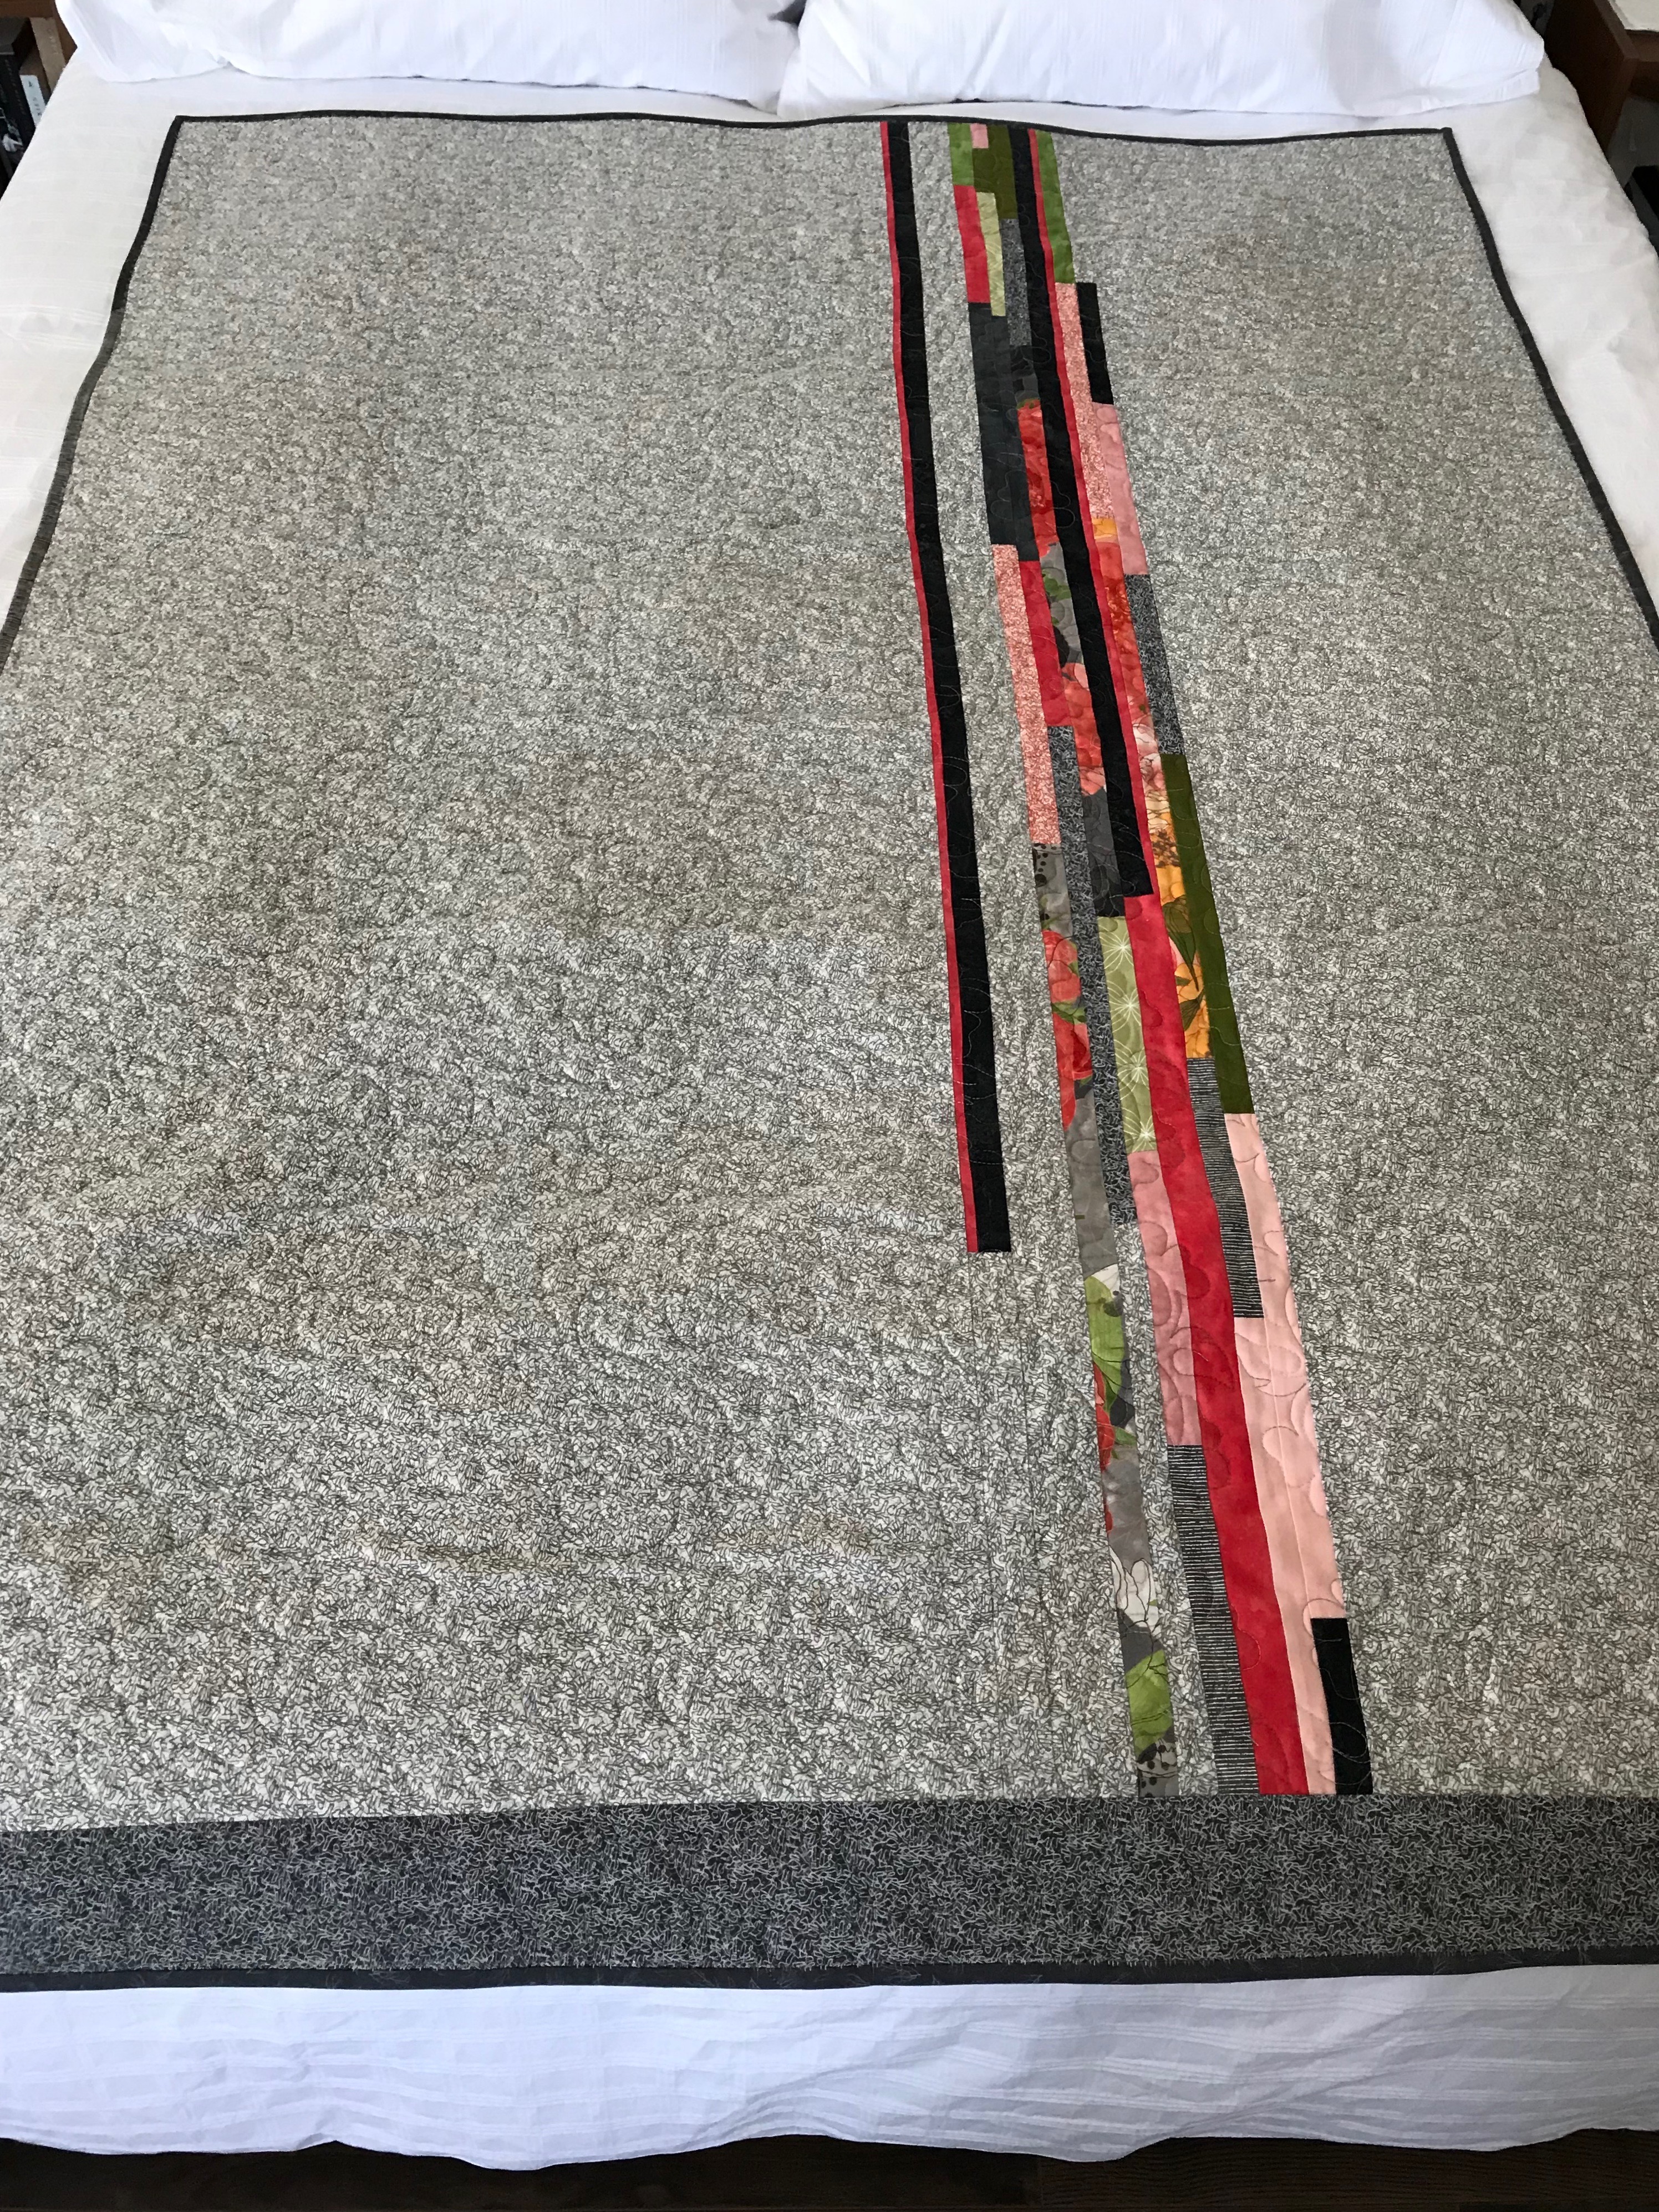
Now to return to sewing a back for the latest quilt.

Ombre Socks

These are my latest socks, finished last evening. They were interesting to make; I wasn’t sure where the colour transitions were going to happen. I knit a leg that is 80 rows after a 12 row cuff. I like a longer leg – it keeps my ankles warm since the sock comes up under my pants. However, the ombre would have worked better in this case had I only done about 65 rows and then started the heel. I wouldn’t have had such a sharp transition of colour when I picked up the front after the heel was completed.

I could have unravelled back to the 65 row point and reknit the heel. But the overriding choice is the longer sock and nobody will ever notice the transition. So into my sock drawer they have gone. I’ll start a new pair this evening.

I’ve done all the preparatory work on the alpaca yarn I bought in Italy – the skeins are now balls. I’ve even downloaded a Fair Isle  pattern.

Fair Isle sweater pattern

The challenge is my yarn is not the same weight as the yarn used for this pattern. I have to knit a sample square to see what kind of size it will turn out. Then calculate the stitch number to be able to make the pattern fit. The major part – the flowers – is based on a 16 stitch repeat so I just need to end up at the yoke with some multiple of 16 for the pattern to turn out.

My plan is to tackle the sweater sometime soon.

Borders Added

I added borders. Changes the look of the piece entirely – contains it (as borders do), but the borders also seem to change the colour focus in an interesting way. The narrow inner red frames the panel and the wider outer border allows the greys and greens to stand out somewhat more.

Quilt Top With Borders Added

I showed the panel to a friend last evening – someone who’s been a close friend for 60+ years! – she tells me the truth. She found something jarring in the panel but couldn’t identify precisely what. I think the problem resides with the pale pink solid Kona sections. They’re flat/dead in comparison with the other parts of the top.

Now, I could take those two parts out and replace them with something else, but given this quilt top is an improvisation, an opportunity to explore and learn, I’m going to carry on. I can do quite a bit to change the texture of those pale pink areas with quilting, particularly if I use a contrasting thread and a more dense quilting embroidery than I was originally planning on using. It would fill up those pale empty areas and provide flow to the other parts of the panel.

So stay turned to see how things progress. Next step is to set up a back panel – it will need an insert as usual to make the fabric wide enough. Not sure what to do – I’m thinking about carrying on with large pieces assembled into a strip using these same fabrics.

Quilt Top Assembled

Instead of two shorter rows (one on top and one on bottom), this addition turned into a single longer piece I decided to add to one end. For some reason I can’t articulate, that addition feels like the “top” – almost where a pillow would go had this been a twin size quilt. Instead, it will be a largish lap quilt or throw. It still needs a border, maybe it will want a very narrow inner border – not sure yet.

Quilt Top Panel Assembled

Now I need to walk around this for a bit, at the same time I need to go through my fabric stash to find a fabric that could work as a narrow inner accent border, and something for the wider outer border.

And I guess I should be thinking about a name for the quilt – no idea what it might be.

Finally Back At The Quilt

Just added another two sections to this quilt improvisation. It’s now close to a square – in the ballpark for width and still needing another 12″-15″ in length; I’m thinking I’ll add two narrow strips – one to the top edge and one to the bottom.

The Growing Quilt – now a 42″ x 45″ panel

My goals here are 1) to use up leftover fabric from the previous quilt so I don’t have to try to find room in my fabric storage for it, and 2) to set up a new quilt for a class (Slash ‘n Insert Quilt) I hope to be teaching in a couple of weeks.

What I’m trying to construct is a modern quilt based on large sections of slashed fabric with a few prominent insertions rather than a meticulously pieced panel. Before I started I thought this would go quickly – wrong! The deciding where to cut and whether/how to align elements after cutting is proving more time consuming than I anticipated. That’s why I avoided working on this for nearly 10 days! Anyway, back at it finally and closer to a quilt top than I was yesterday.

Hoping to make time in the next few days to add strips to the top and bottom edges of this panel. Then I intend adding a 4″ (or so) border. By next weekend, I would like to have pieced a back and created the sandwich. I now need to start thinking about what kind of embroidery I need to quilt this – likely an edge-to-edge design of some kind.

Courage Of The Morning Sun

Finished these socks yesterday. Used Opal yarn: Courage Of The Morning Sun. I loved the colour combination and the way it knit up. I happened to have a ball of Sisu yarn in a complementing shade of burgundy to go with the burgundy in the Opal yarn. It set up a striking pair of socks.

Courage Of The Morning Sun

The only challenge, which you can’t see in the photo, is that I didn’t quite get the start point for the second sock right. I didn’t remove enough yellow yarn before starting the sock so the strips don’t line up perfectly between the two socks. Given the nature of the “pattern” it doesn’t really matter. Nobody is ever going to notice when I wear them.

Modern Quilt – Improvisation

The start of a new quilt. This is fabric left over from the Blushing Peonies Quilt. I’m working to use it up because my storage drawers and boxes are just about full and there’s really nowhere to put both the large and small fabric pieces.

I decided to use them instead of leaving them lying around gathering dust.

Blushing Peonies – Modern Quilt

What I have so far is this compilation of strips and block sections created by starting with a large piece of fabric, slashing it, then slashing the resulting pieces further, and inserting bits of fabric and recompiling the original block with the insertions included. I’ve done two largish blocks so far, the resulting piece is about 20″ wide x 22″ long – a good start.

I’ll keep adding segments to what I have here intending to end up with a good lap-size quilt 50″ x 65″. What I’m after is large sections with strong insertions – particularly showcasing both blushing peonies fabric – the peach version as well as the darker fabric I used in the original quilt.

Just gotta keep going.

I had originally intended on doing something quite different with the fabrics based on 2 1/2″ strips but the idea I had wanted the central smaller square to be one piece (instead of 4 triangles) using the blushing peonies so the flowers would show.

Garden Trellis – from a jelly roll

Setting up a block like that, however, proved more complicated than I was willing to take on – getting the mitred corners on the surrounding pieces was just too fiddly to bother with. Scrapped that idea for now.

So modern quilt it will be.

Night Blooming Cereus

Two nights ago my friend Marlene’s night blooming cereus was blooming again. It’s quite a spectacular site – the flower begins its display around eight in the evening, slowly opens over a couple of hours, around  midnight it develops a wafting scent (to attracts the bats that pollinate the flower), by three in the morning it has begun to fade, and it’s finished blooming around dawn.

Night Blooming Cereus

I took this photo around 9:30. The flower isn’t fully open; the outer petals will expand further creating a flat disc around the cupping petals. But you can see the glory of the bloom even at this stage.

Here is a photo of the first time this cactus bloomed (I don’t have the exact year mid to late 1980s, likely) – just before it was fully open around midnight.

Orchid Cactus – Original

We spent that evening in the garden, sipping wine, watching the flower open. No bats, sadly, to pollinate it. I had enlargements of the photo printed to commemorate the occasion. I still have the print hanging in my home.

Blushing Peonies – VI

After looking at the finished quilt for a couple of days, I decided, today, to fill in the slightly large unquilted corner where the four embroideries came together. You can see what I did in the photo – I’d set up an embroidery of a single scaled down flower from the original design and stitched in the center of that space.

Quilting, detail

I did all 35 of them although this is really the only one where it actually shows. The other locations were at the junction of 2-4 blocks, or within the large bordered blocks and aren’t as obvious. Nevertheless, I’m happier with the quilting being more uniform throughout the quilt.

Blushing Peonies – V

Finally done – or I think it may be – I’m still trying to make up my mind about doing a bit more quilting. Having finished the in-the-hoop blocks, I can see the spots where the corners of the embroideries meet – or rather where they leave a slightly smaller than palm-size unquilted area – 35 of them to be exact at the junctures of the embroideries. I’ve pressed both sides of the quilt and those spots are definitely less obvious than they were – but…

Blushing Peonies – Quilt Top

The question is whether I use the scaled down single flower stitch-out I set up from the original quilting embroidery to tie those spots, or to leave well enough alone…. At the moment, I’m predisposed to leaving the quilt as it is but I’ll keep mulling this one over – I may in the end do those embroideries.

Blushing Peonies – Quilt Back

The binding – my original plan was to do a hidden binding but in the end I did a narrow binding the way many people do it – by folding a 2.5″ strip in half, sewing the doubled binding ~3/8″ from the edge, folding it over, sewing it with a decorative stitch. It turned out to be considerably more work than my usual 5/8″ single thickness binding which sews on more easily and folds over and corners with much less effort. However, I didn’t want a prominent binding so I settled for this narrow one. Probably won’t do this again – either a hidden binding or a standard 5/8″ one.

Now my next decision is what to make from the leftover fabric – some kind of simple quilt that I don’t have to fuss over too much. I was thinking “Garden Trellis” would be easy to do – using 2 1/2″ strips of the Blushing Peonies fabrics to set up the HST blocks – BUT I see the centre of the on-point blocks being unpieced squares of the peony fabric – I have just enough to do that. However, the piecing is somewhat complicated – in Garden Trellis II I created the coloured squares by piecing them in after I’d created the dark/light blocks. In this instance I want to showcase intact peonies. The easy way to achieve the appearance I’m after is to log-cabin the central square; but I want the seams of the block to be on the diagonal they way they are with HST blocks. I can see I’m going to have to make some mock-up blocks to work out how to construct them. Again, I’ll probably do a 6 x 8 block quilt which means 48 blocks constructed with somewhat complicated sewing, I think.

Well, next some some playing around.