Leather Bag

This is the second time I’ve made this bag – made one a number of years ago (~ 2015 as I recall) using the beautiful soft purple kid skin I bought in NYC in 2010. I’ve used the bag a lot – the colour faded and it got scratched. It was time to use the remaining purple kid to make another one.
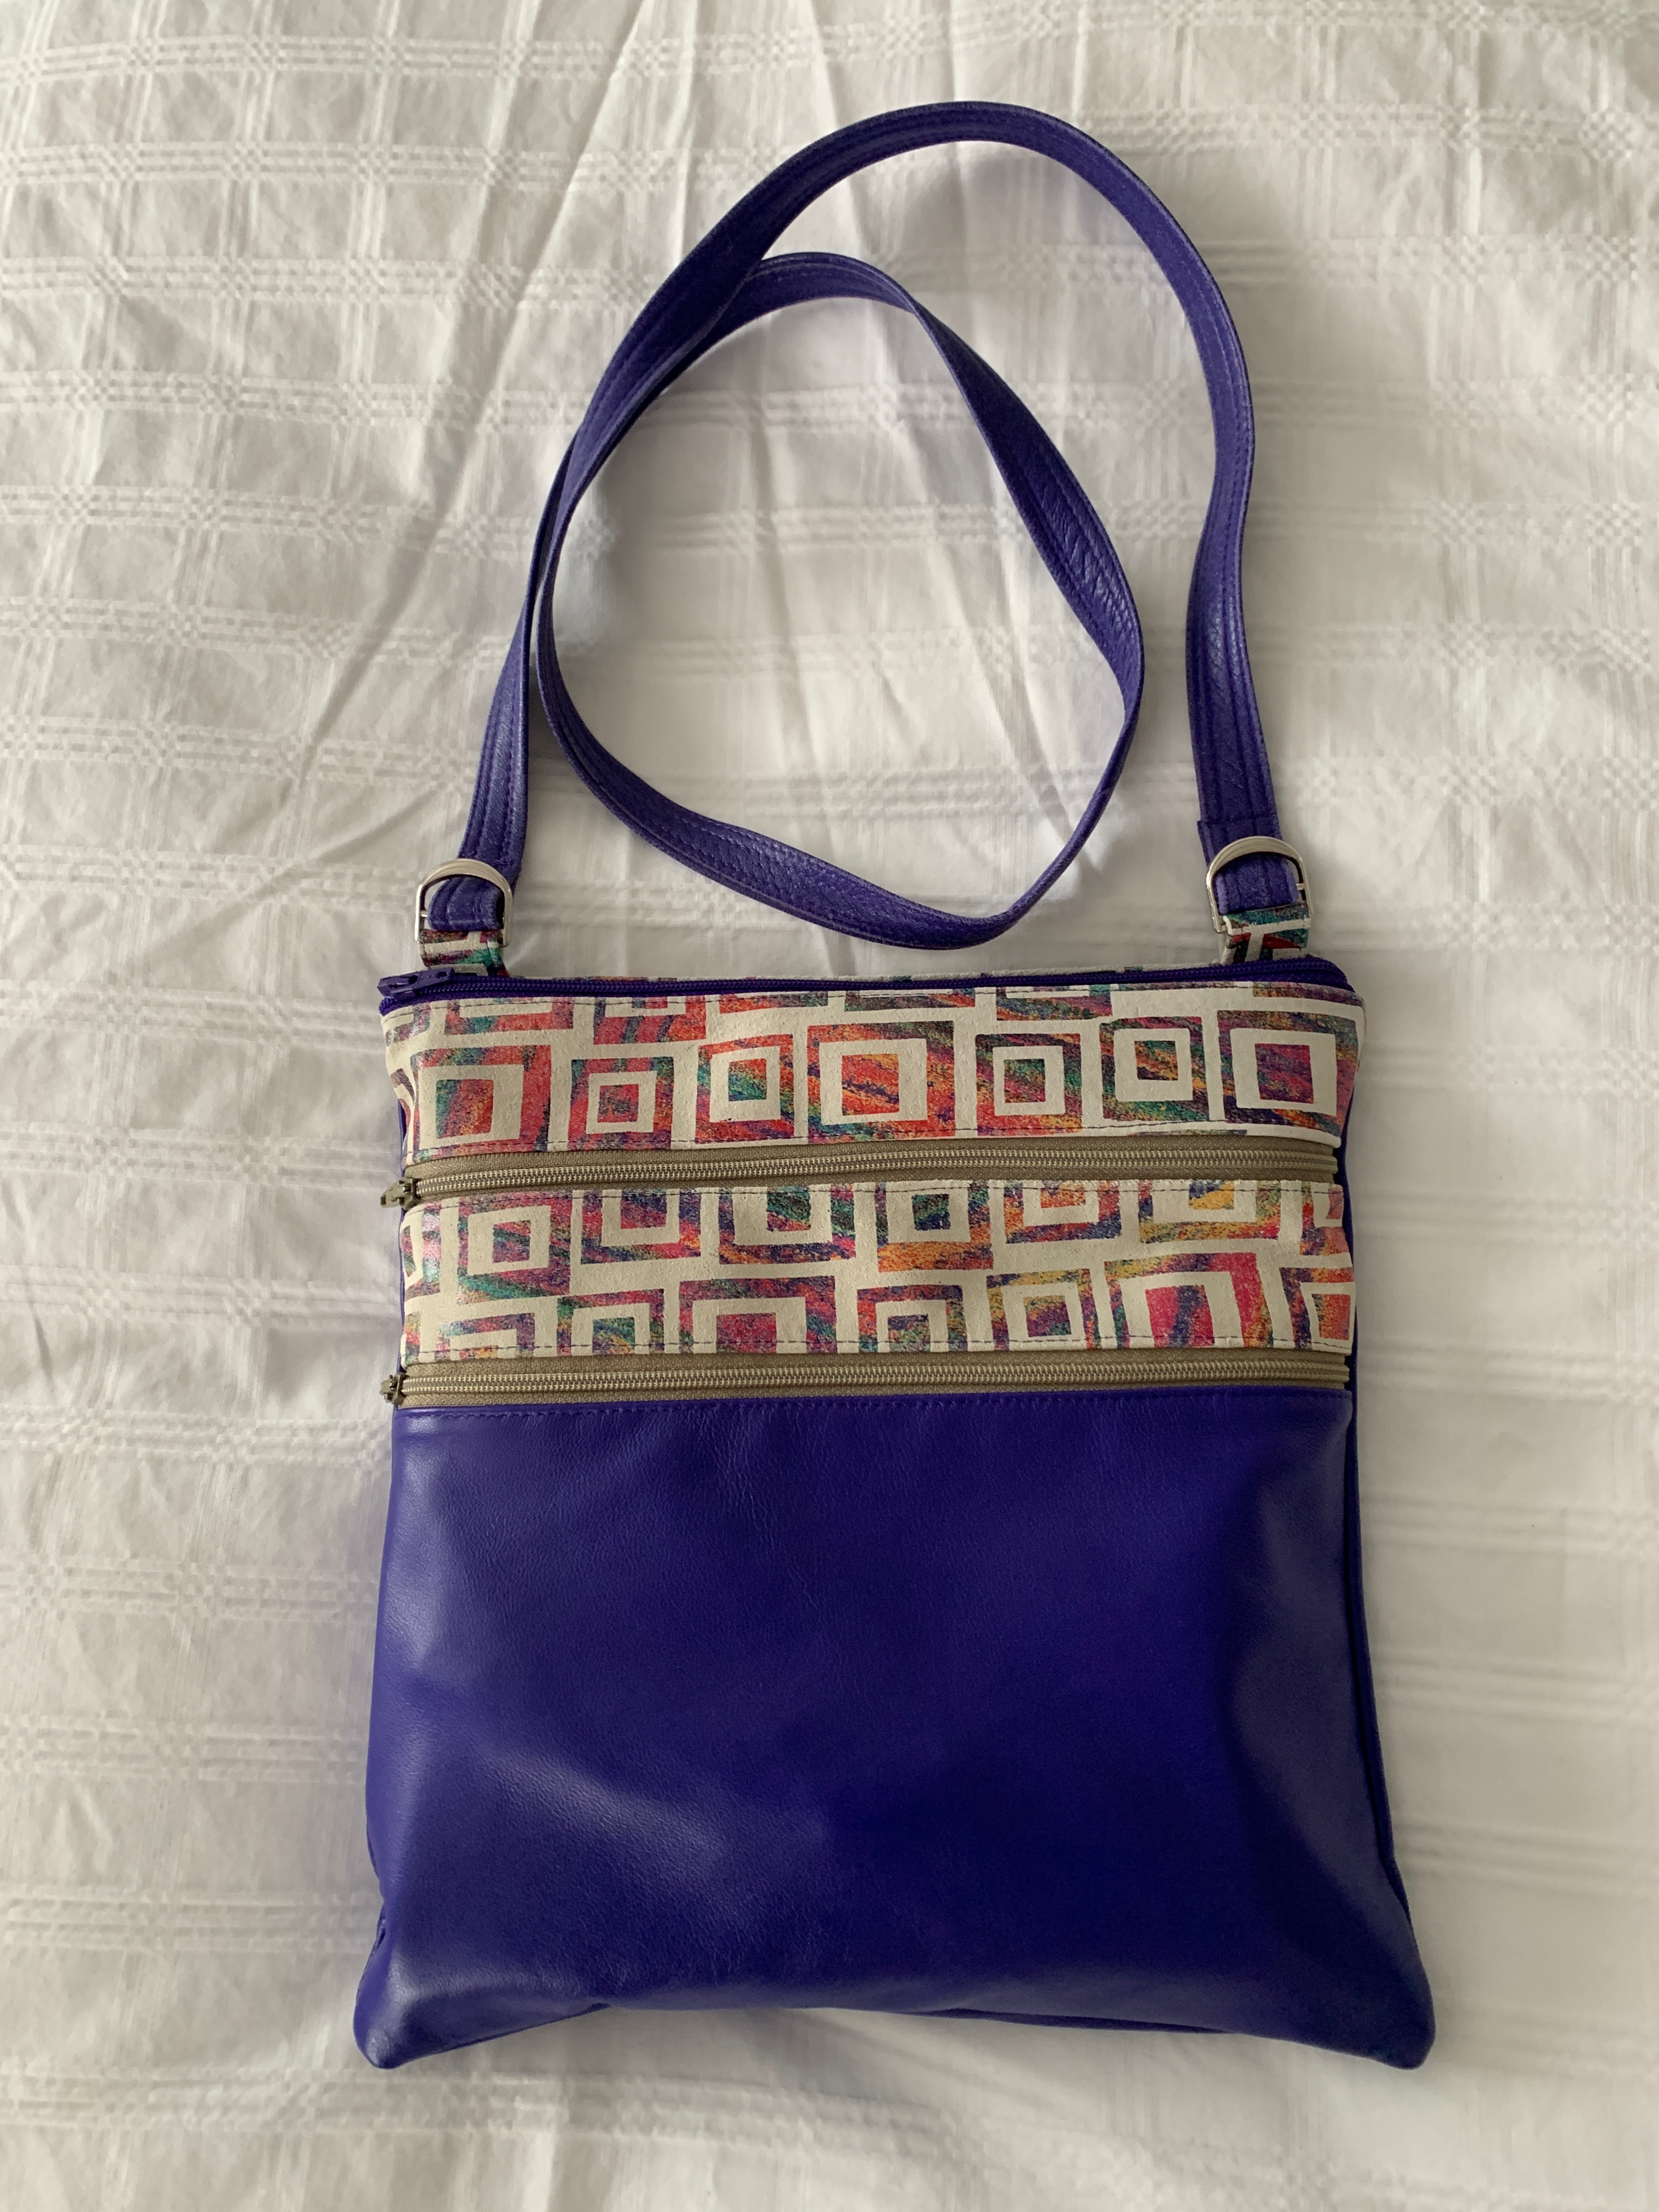
New Leather Bag

Today was the day. Actually I cut out the leather pieces and the lining pieces yesterday, even dashed off to Fabricville to purchase 14″ zippers (longer than the bag is wide so I didn’t have to worry about the zipper ends when sewing them in). It took me just under three hours this morning to put the bag together. I reused the fittings when attaching the strap.

I made a couple of modifications this time, the two painted leather inserts are narrower making the pockets accessed through the khaki zippers larger and therefore more useful than in the first iteration of the bag. I also used a painted leather insert at the top of the back to make the back long enough to match the front.

Otherwise the internal construction is the same – the major central pocket has two small side pockets built in to each side to hold things like hand sanitizer, nail file, wallet, glasses cleaning cloth, Swiss army knife (credit card style), etc. With stuff stored in the pockets I can find what I’m looking for easily – it’s not all a jumble at the bottom. The other two zippered compartments are simple pockets – one for my check book (yes I still carry a check book although I must admit I haven’t written a cheque in almost a year!), and for stuffing shopping receipts in one place so I can find them.

I could put my phone in the bottom pocket if I wanted to – it’s large enough in this version of the bag. But usually I carry my phone in my right pants pocket.

I’m still procrastinating about starting a quilt! I’ve pulled out some fabric – a double jellyroll (5″ wide strips) to start something – Tomorrow! I’ll get going on something tomorrow, for sure.

An Aside – A Simple Lined Grab Bag

A couple of days ago I happened across mention of a smallish fabric grab bag. Not sure why I bothered to read the piece but I did. I downloaded the template, printed it, cut it out, and thought it might be worth a try. I’m on the lookout for something to make as a small Christmas gift for the gals in the knitting group – this bag was worth putting in my ideas collection.

Simple Lined Grab Bag

Since I try sewing/making something every day this was an easy/fast half-hour project. I hadn’t kept the instructions so actually constructing the double-layer bag took longer than it should have and this first (maybe only) bag is not as neatly finished as it might have been but I thought construction was obvious – it wasn’t quite, there are a couple of twists and turns, but in the end I rectified my mistakes and completed the bag.

So here is my grab bag. It’s a good size for carrying a small knitting or hand sewing project. The problem with it as a mass produced gift is that it’s on the expensive side – in it’s simplest version (just two layers of fabric) it uses half a metre of each fabric (with useable scraps left over). Unless you happen on a good fabric sale I’d be making a sizeable investment were I to make, say, twenty of them given the cost of good cotton fabric these days. However, if you’re looking for something quick to make to give as a small gift you might find this grab bag worth your attention.

BTW: I left out the batting and didn’t bother with the inner pockets – just the bare grab bag.

For Carrying Stuff

 
I don’t carry a traditional wallet – several years ago I pared down what I carried with me – wanted it to fit in a pocket so I made a small wallet from some ripstop scraps I have. The corners were becoming quite worn so I decided to make a new one.

The side zipper allows my various pieces of ID to fit in easily (drivers license, car ownership, health card…); the top zipper opens for cash, second zipper for change, third zipper has nothing there yet (in case I need it), fourth zipper for an extra house key and my universal screw driver.

I keep my credit cards separate (although I could rearrange stuff and put the credit cards in the top zippered compartment of the orange wallet and have everything in one).

I use this second small bag for the credit cards (cards in RFID envelopes). It’s not likely both wallets will get stolen since they are in different pockets! 

Together they weigh almost nothing and I can go without a purse. That’s a “good thing”!

Last Christmas Gift

I had one last Christmas gift to make and it’s done.

20131222-152956.jpg

The fabric is a piece of pink velvet upholstery from my sister’s old sofa – I had this bit leftover from cushions I made for her – it’s been sitting in a drawer for several years. Thought it would be perfect for an eleven year-old. So I embroidered one piece (the other side is plain), added a zipper, a lining and a strap and it’s done.

Fittings

IMG_2342

I was just reading a blog of a women who makes purses – I notice she doesn’t use metal fittings to add the handles. Adding this touch really makes the bags look a lot more stylish. I wanted to send her a photo (but no email/contact address) so I will answer her with a link to this post so she can see what I’m talking about. Others of you might also be interested. I bought these fittings on a recent trip to NYC at M&J Trimmings at 1008 Sixth Avenue, around the corner from where I was staying. I can’t find the fittings on the website, but a call or email to the store with the above photo would let them know what you’re talking about. They had a gazillion of these fittings – different sizes, colours, shapes… It was hard just choosing a few.

I used some here on this Sashiko tote bag:

DSCF1753

I came across this website with info on “handbag hardware” that you might find helpful if you’re looking for handbag hardware. Here’s another site for  rectangle loops.