Parrsboro Show – Circles…

Parrsboro Show – Hung

Had a lovely day yesterday travelling to Parrsboro – my friend MaryAnn drove because she wanted to visit friends and family who live there. Our first stop was the Art Labs Studios and Gallery on Main Street to deliver and hang my four quilts and two wall pieces.

Finished Wall Hanging/Table Runner

I had finished the wall hanging “Circles #6” last week. It just fit the spot where it got hung (I’d created it for a different larger space in the gallery which was already occupied).

Here is a glimpse of the other half of the exhibit – William Forrestall’s work (egg tempera on paper).

MF relaxing for a moment

I had a chat with William Forrestall who made interesting observations about my work – he picked up on the connection to traditional quilting techniques but also noticed the focus on colour and the movement of colour – all intentional aspects of my work. He also commented on the technical aspects of the quilting.

Circles #5

The quilts are on display until August 30. If you’re anywhere in the vicinity, drop in for a browse.

Outside the gallery…

Enjoying A Summer Day

Table Runner

Table Runner

Moving quickly. I have the background assembled and I can immediately see a problem I want to fix – that dark strip in the bottom left corner has to go! Needs to be lighter. I’m not sure about the second one- I think it may be OK.

The circles are pinned in place for the moment – looking at the photo I can see I want to move them about some more. I’ve also decided the whole thing will be an appliqué work – I’m not going to fight to insert the large circles into the background! So I’m moving along.

Tomorrow I’ll take all the circles off, and reposition them, overlap different ones, underlap others. But first, I need to take that dark strip out!

I also need a piece of buckram to stiffen the runner so it will hold its shape when I hang it horizontally. I’ll pick that up tomorrow, as well.

Quilt Top Finished (almost)

This is the cause of my problem! I finally figured it out yesterday.

My circles aren’t quite circular! I thought it was because I’d cut my quarter circles out a bit large then trimmed them smaller. I wondered whether my sewing was accurate enough. Neither of those.

My problem stemmed from the template I was using to cut the quarter circles! You can see the radius at the edge is 6 1/2″ from the corner to the circumference. But look at the centre radius – from corner to circumference is something like 3/16″ too short! So every quarter circle I cut, was flattened at the mid-point from the seams, and making the “pointy” bits happen at the seams.

I partially solved the problem by trimming the end points 1/1 6″ which helped round out the shape, but if you look closely at the finished quilt top you can still see the irregularity.

To compensate for my not-quite-round circles, I decided to appliqué smaller circles at strategic points – some are placed to eliminate the “pointy” bit at the seams, others to pull your eye from the flattened circumference.

I collected batik bits from a couple of scrap boxes, a range of light beige with a bit of contrast. These smaller circles are obvious but not blatant. I think this will rescue the quilt top. These small circles are pinned in place for now while I think about placement for the next couple of days. I will fuse them in place when I’m satisfied with the placement. I will also edge stitch them with decorative stitches and rayon thread.

If I didn’t mention the lack of circularity, you might not have noticed it, but I think you’d still feel a niggling something about those circles. This way, there’s more to look at and the eye isn’t drawn to that abnormality quite so much.

Because I’d cut all the pieces before I began sewing, the only real solution would have been to discard these pieces in a scrap box to reshape for a different quilt, and start from scratch with a more accurate quarter circle template. I had used all I had of some of these fabrics, I’d have had to redevelop the colour scheme; I’d have needed to order more crackle for background, come up with another stripe background fabric.

Not happening.

I am going to reshape the quarter circles on the back. I can get away with that, because I haven’t cut any “L” shaped pieces yet. So whatever template I find in my collection (or one I will make from template plastic) I will use to reshape the “pie” pieces and cut the “L” pieces. The sewing will be much easier than it was making these blocks!

Finally Underway Again

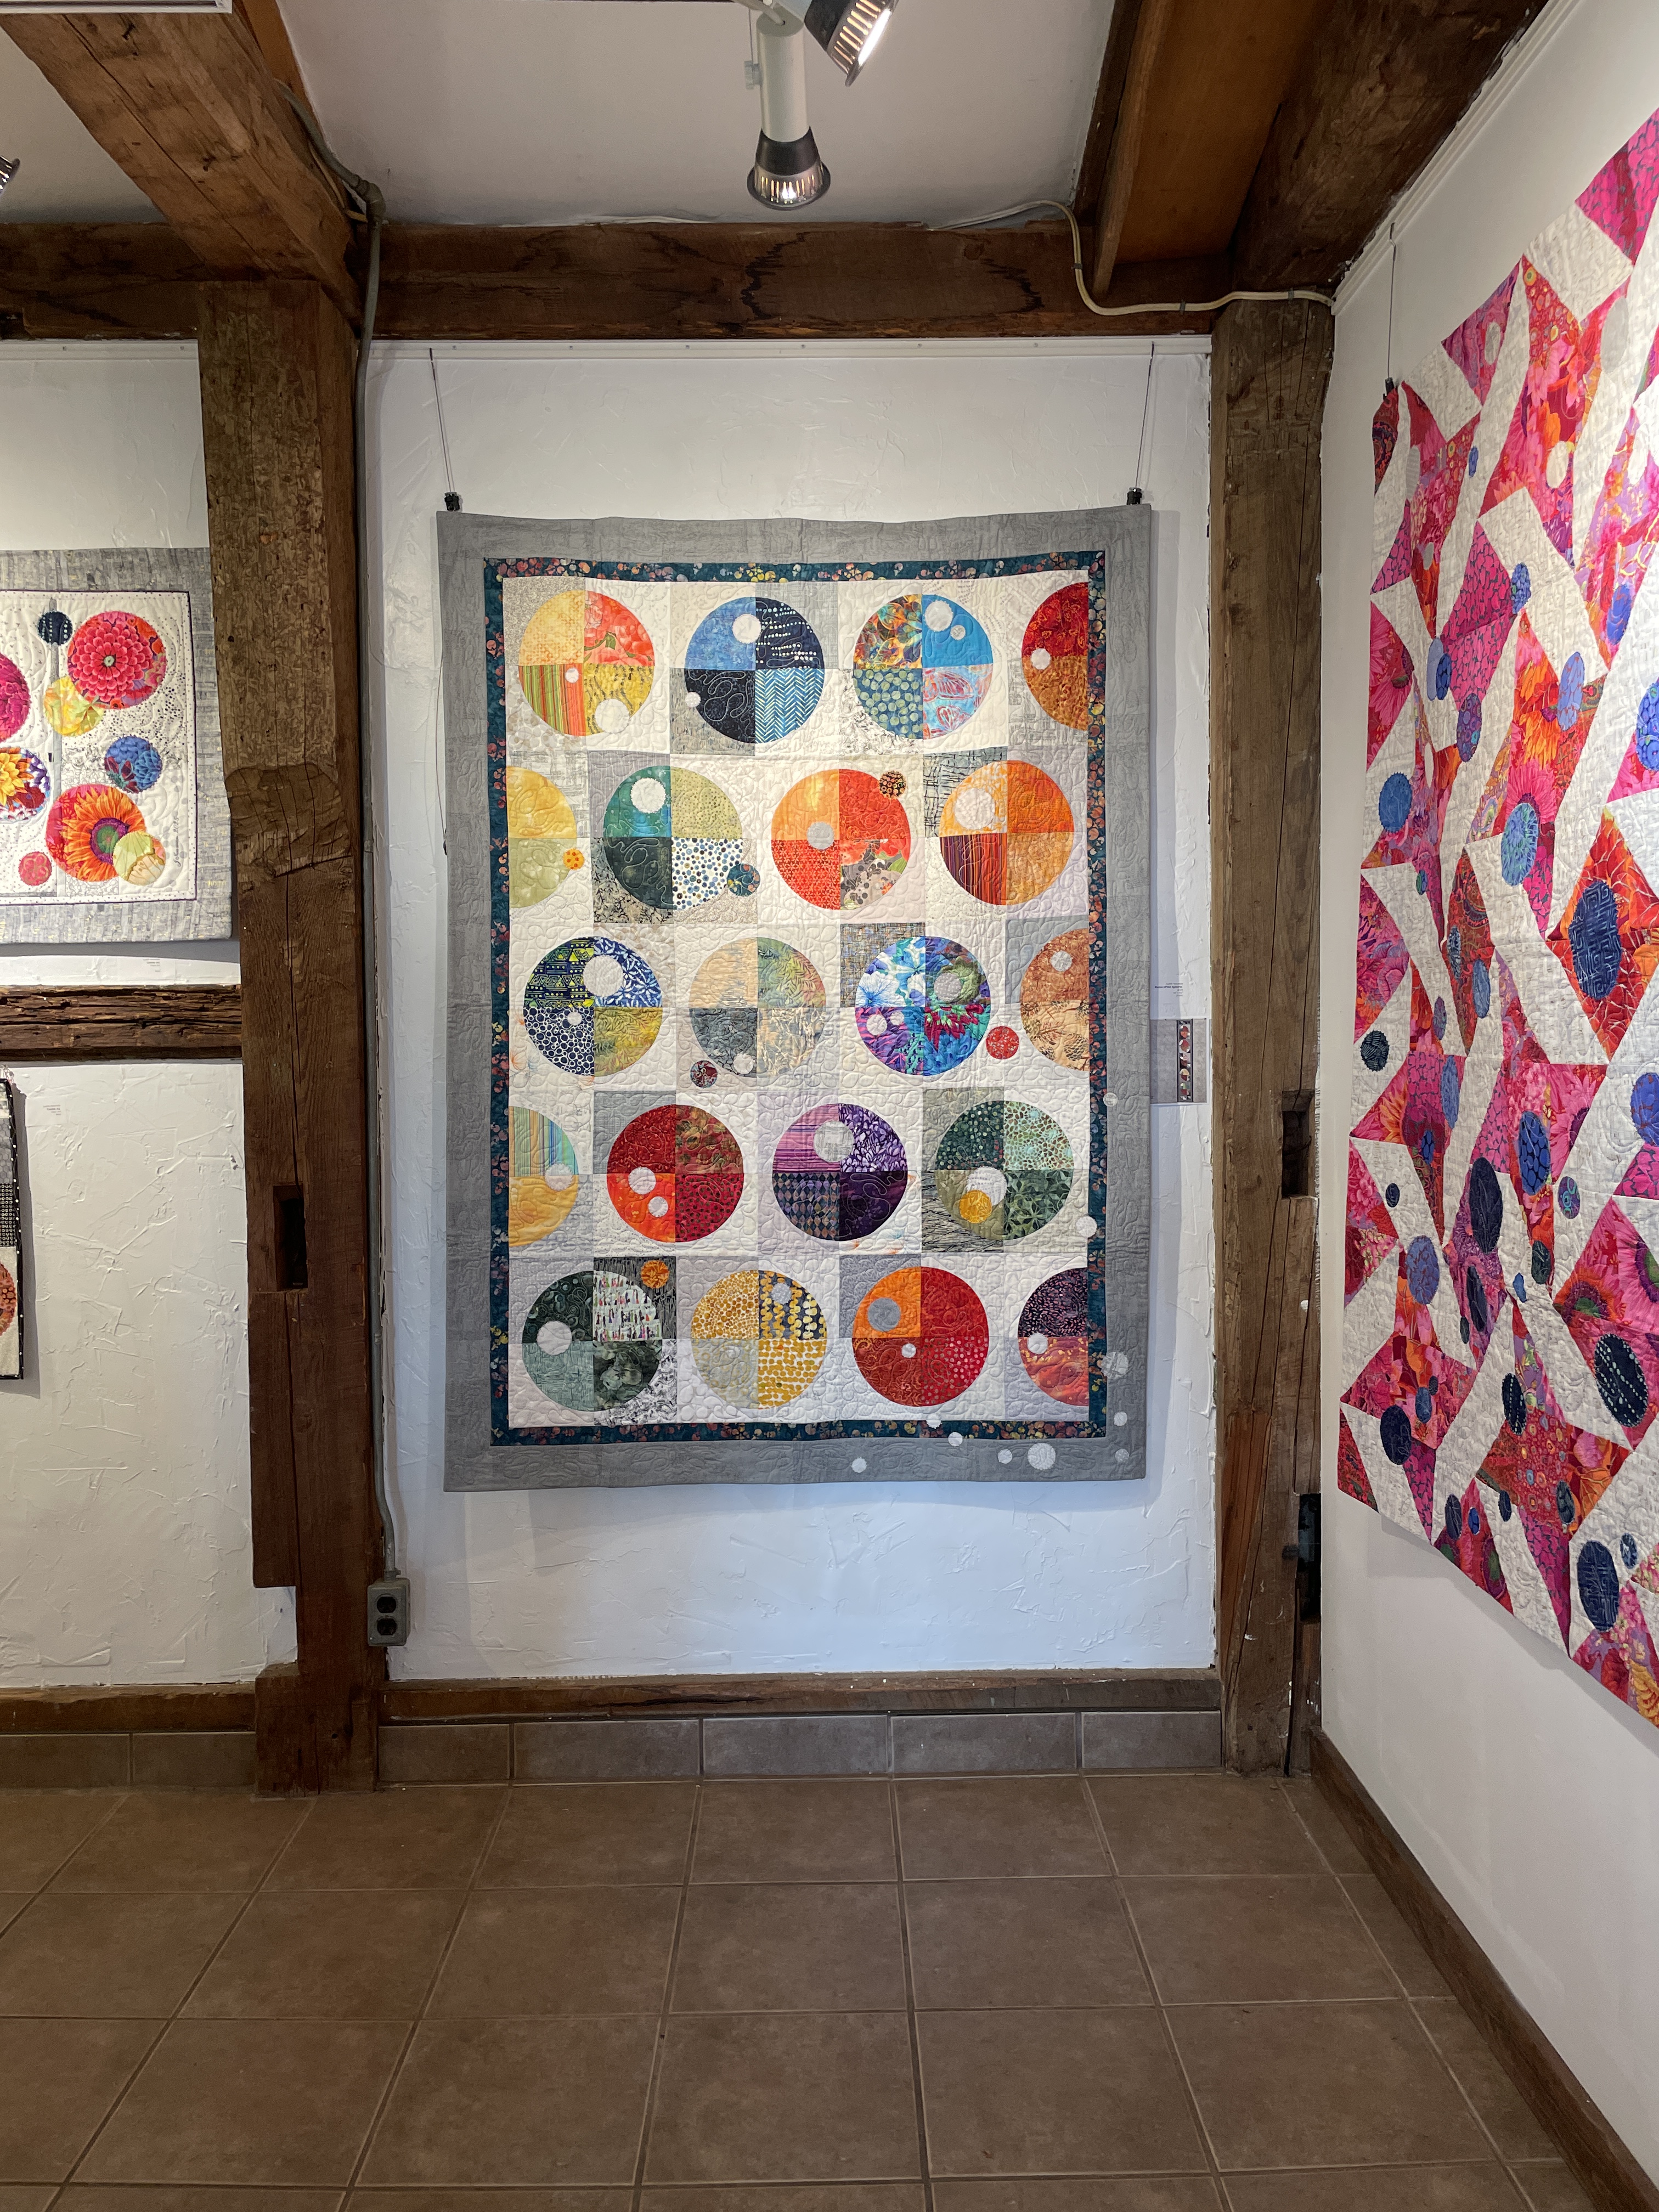
I got accepted to show at Art Labs in Parrsboro from August 10-30 this summer. I’m sharing gallery space with William Forrestall – an interesting juxtaposition. My textiles with his drawing/painting.

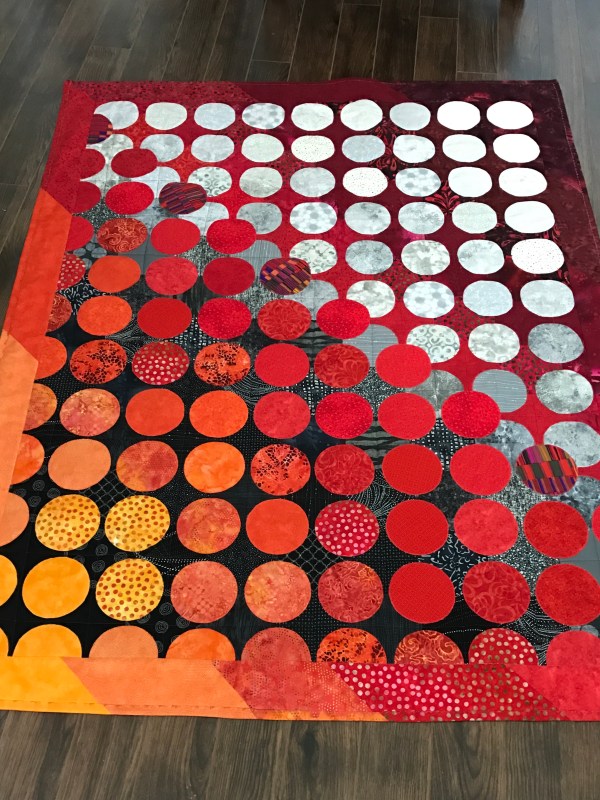
That means I should have wall space for four throw size quilts, possibly one small wall piece. I’ve decided to focus on “Circles” – I have three circle quilts in my stash and enough time to create a fourth.

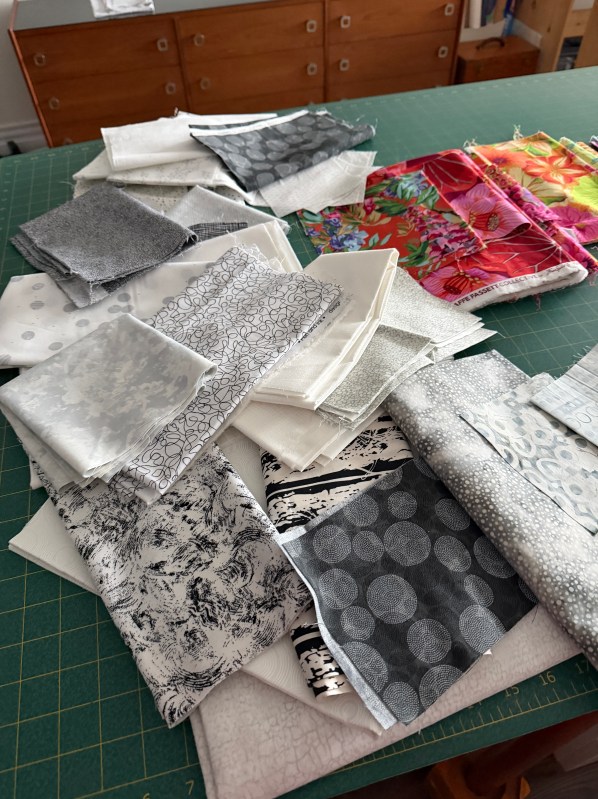
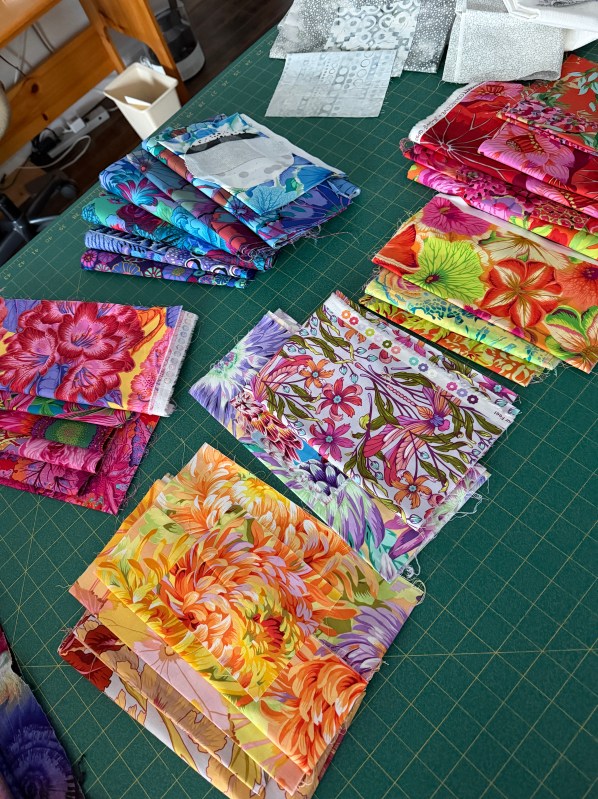
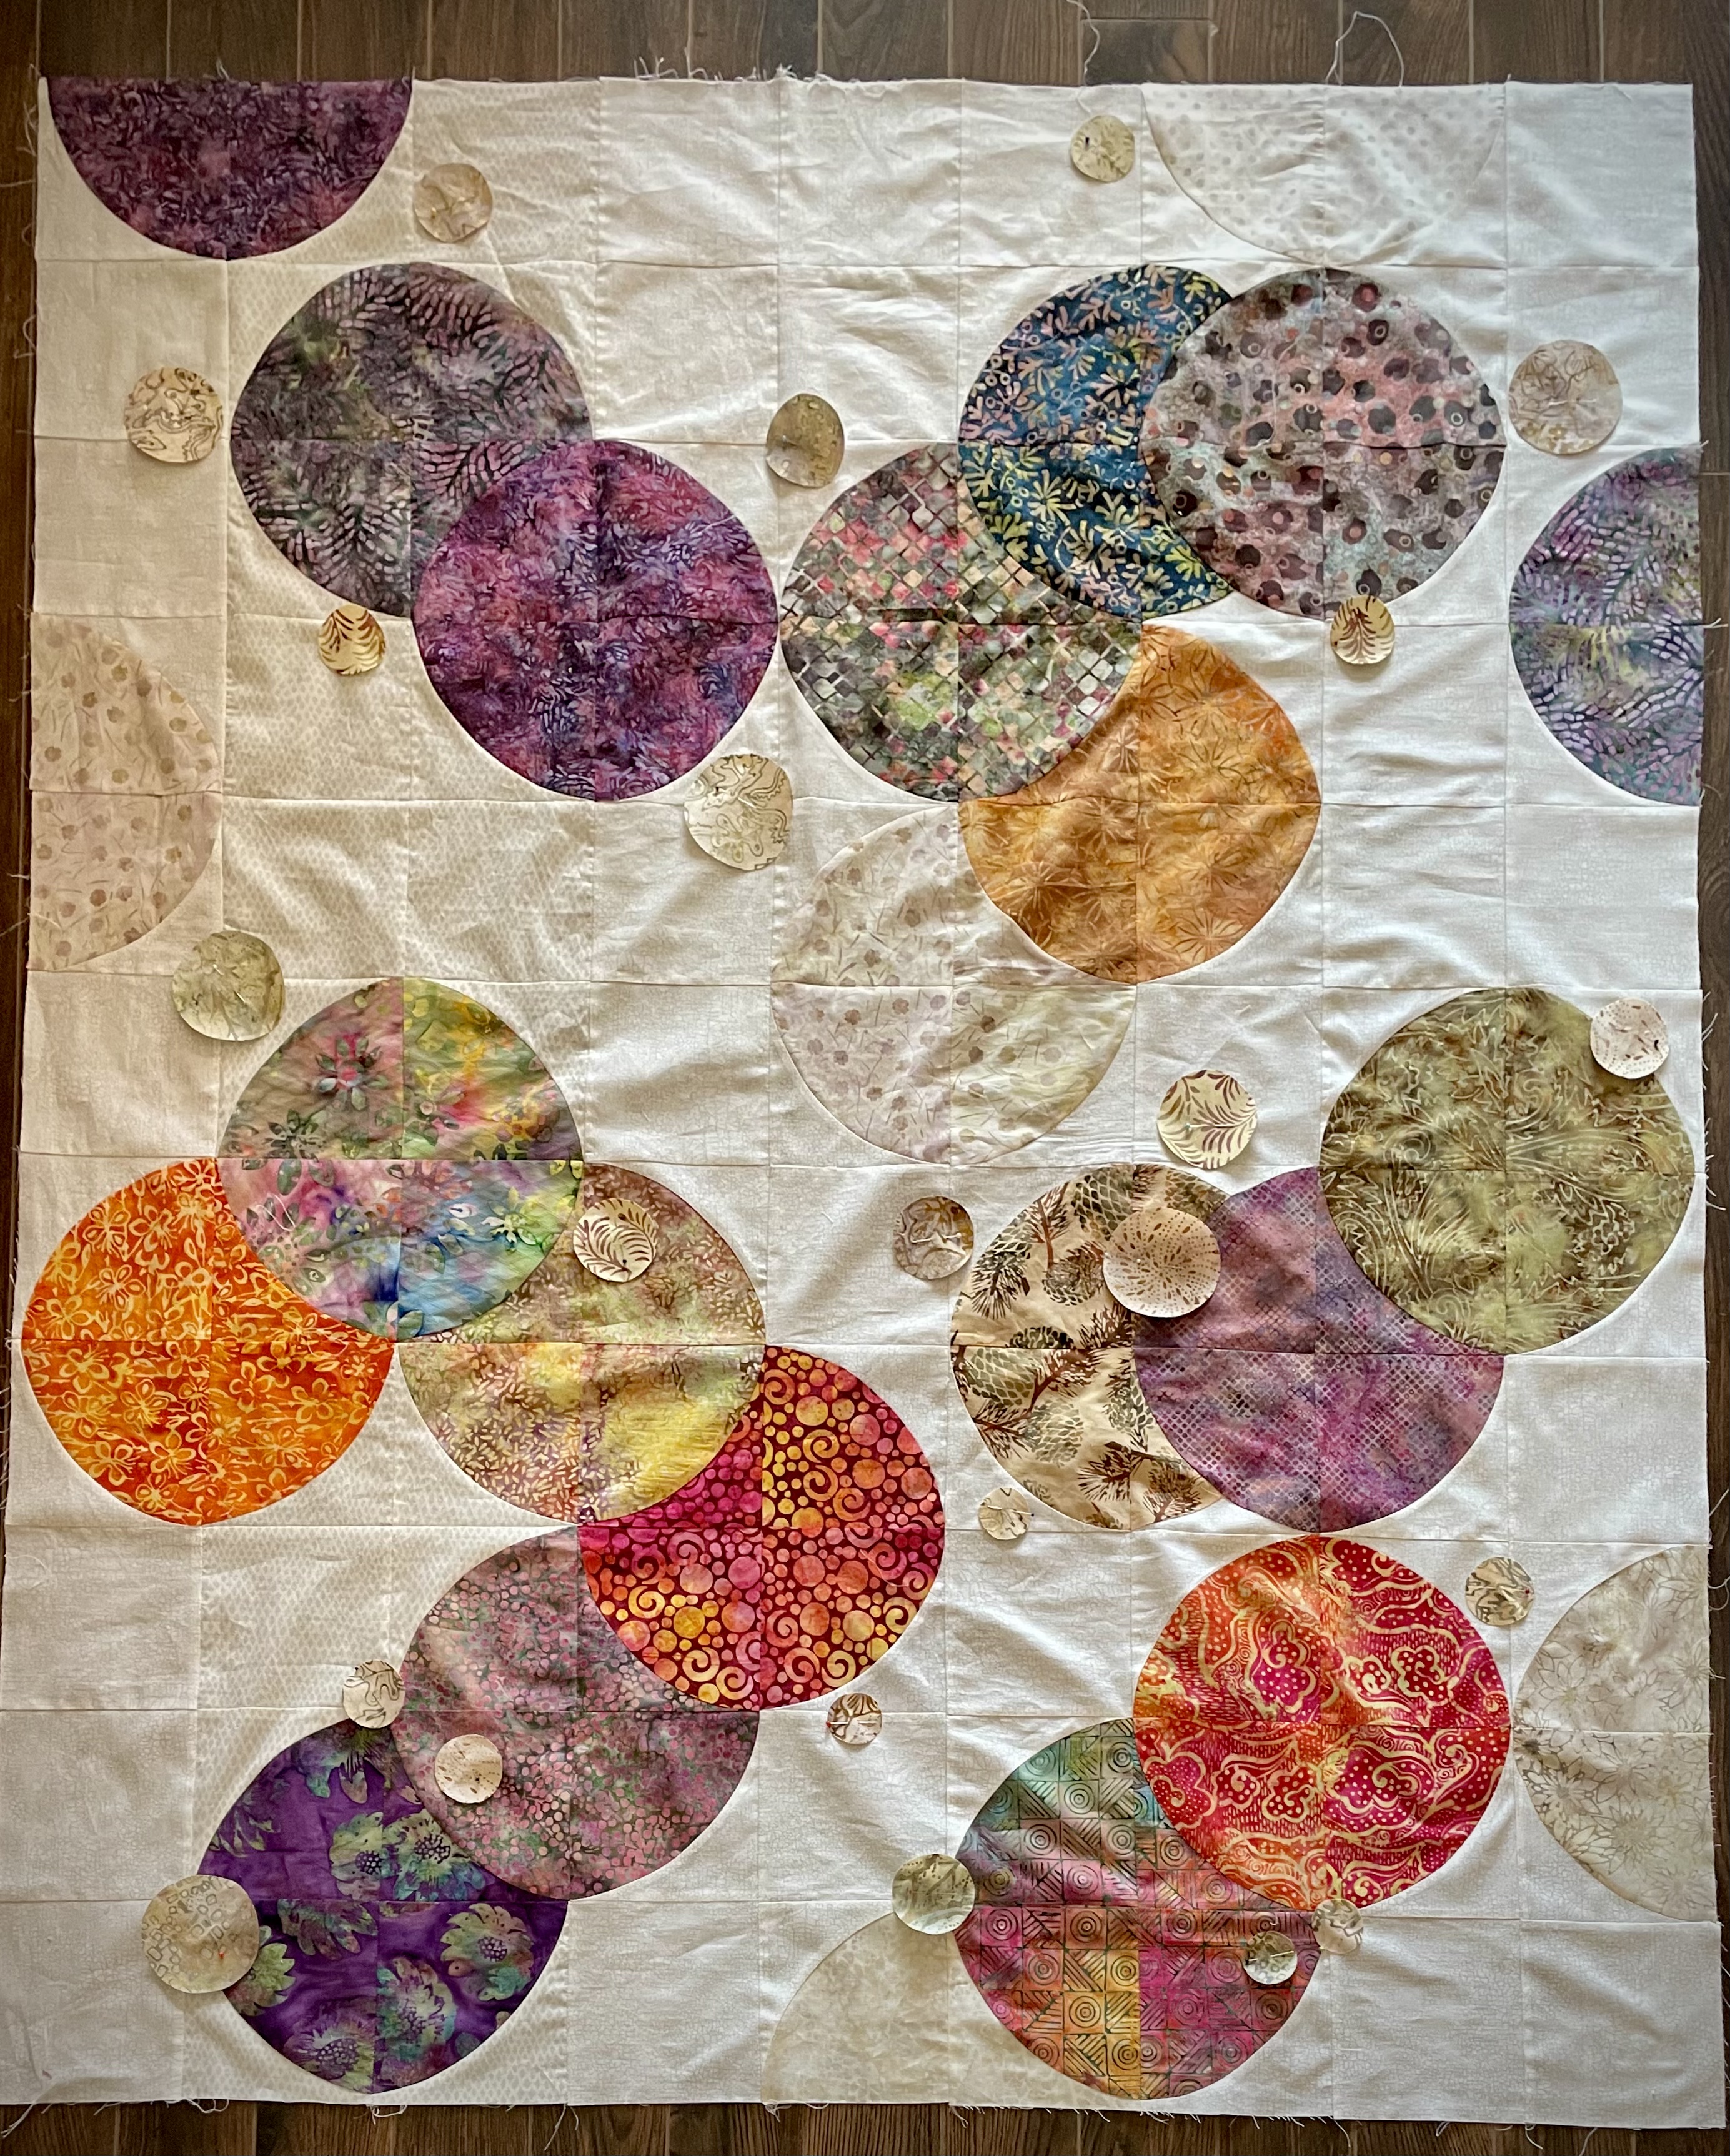
I started working on this new quilt three/four weeks ago – I came across a photo of minimalist square quilt of overlapping circles against a light background with a lot of open background. The image appealed to me so I drafted a rectangular version on graph paper, pulled a bunch of contrasting batik fabrics from my stash, numbered them, then distributed the numbers on the circle elements in my diagram. I counted the number of solid blocks, the number of drunkard’s path blocks using the background, the number of drunkard’s path where two circles/fabrics overlapped.

Then I started cutting the pieces I needed – a 9 block x 11 block quilt top (5 1/2″ finished blocks) – 99 blocks in all. I still had background fabric to cut when I went to Toronto for a week. I got back last Thursday – finished the cutting and over the weekend I began laying out a pair of rows carefully following my diagram!

Yesterday, I started sewing, today, I finished the 22nd block – I now have two rows – those with grey diamonds on white. I had decided to have a stripe in my background – the remaining background will be constructed using a grey/white crackle print which blends with the grey diamonds in tone so it will take a careful observer to notice the stripe in the background. I don’t think it’s going to stand out.

When I finished the 22 blocks in the stripe, I laid out the blocks on either side – they’re now ready for stitching.

I discovered I was having a small problem with my circles not being precisely circular! I began with the four blocks at the bottom of the photo. I’m leaving them alone for now, but I have a hunch I will take them apart and reconstruct them – I figured out how to piece the drunkard’s path more precisely as I went along.

I was surprised by the lack of circularity – it’s not a problem I’ve encountered before but it happened this time because I’d cut my pieces large, intending to trim them, and that affected the curvature of the seam. I lost the full arc where the four blocks would have joined after I trimmed the finished blocks. As I continued, I trimmed the pieces before stitching them together, consequently my later blocks today are more obviously circular. That purple “circle” at the bottom is definitely going to bother me – I have enough fabric to redo those 4 blocks.

With four columns stitched I will have 4/9ths of the quilt top completed. I’m anticipating it will take about a week to assemble the 99 blocks I need for the quilt top.

I haven’t even begun thinking about a back yet.

An Update

I shared a photo of a gorgeous red kantha bedspread several weeks ago and described what I was hoping to make with it.

Last week a friend came for lunch and we were looking at the various projects I had sitting around.

I had the kantha laid out and she fell in love with it!

I gave it to her – she’ll use it herself or pass it on to her daughter!

That coat/jacket I was going to make – crossed off my list!

Thank goodness! It was beginning to feel like an albatross. I’m happy to be rid of it.