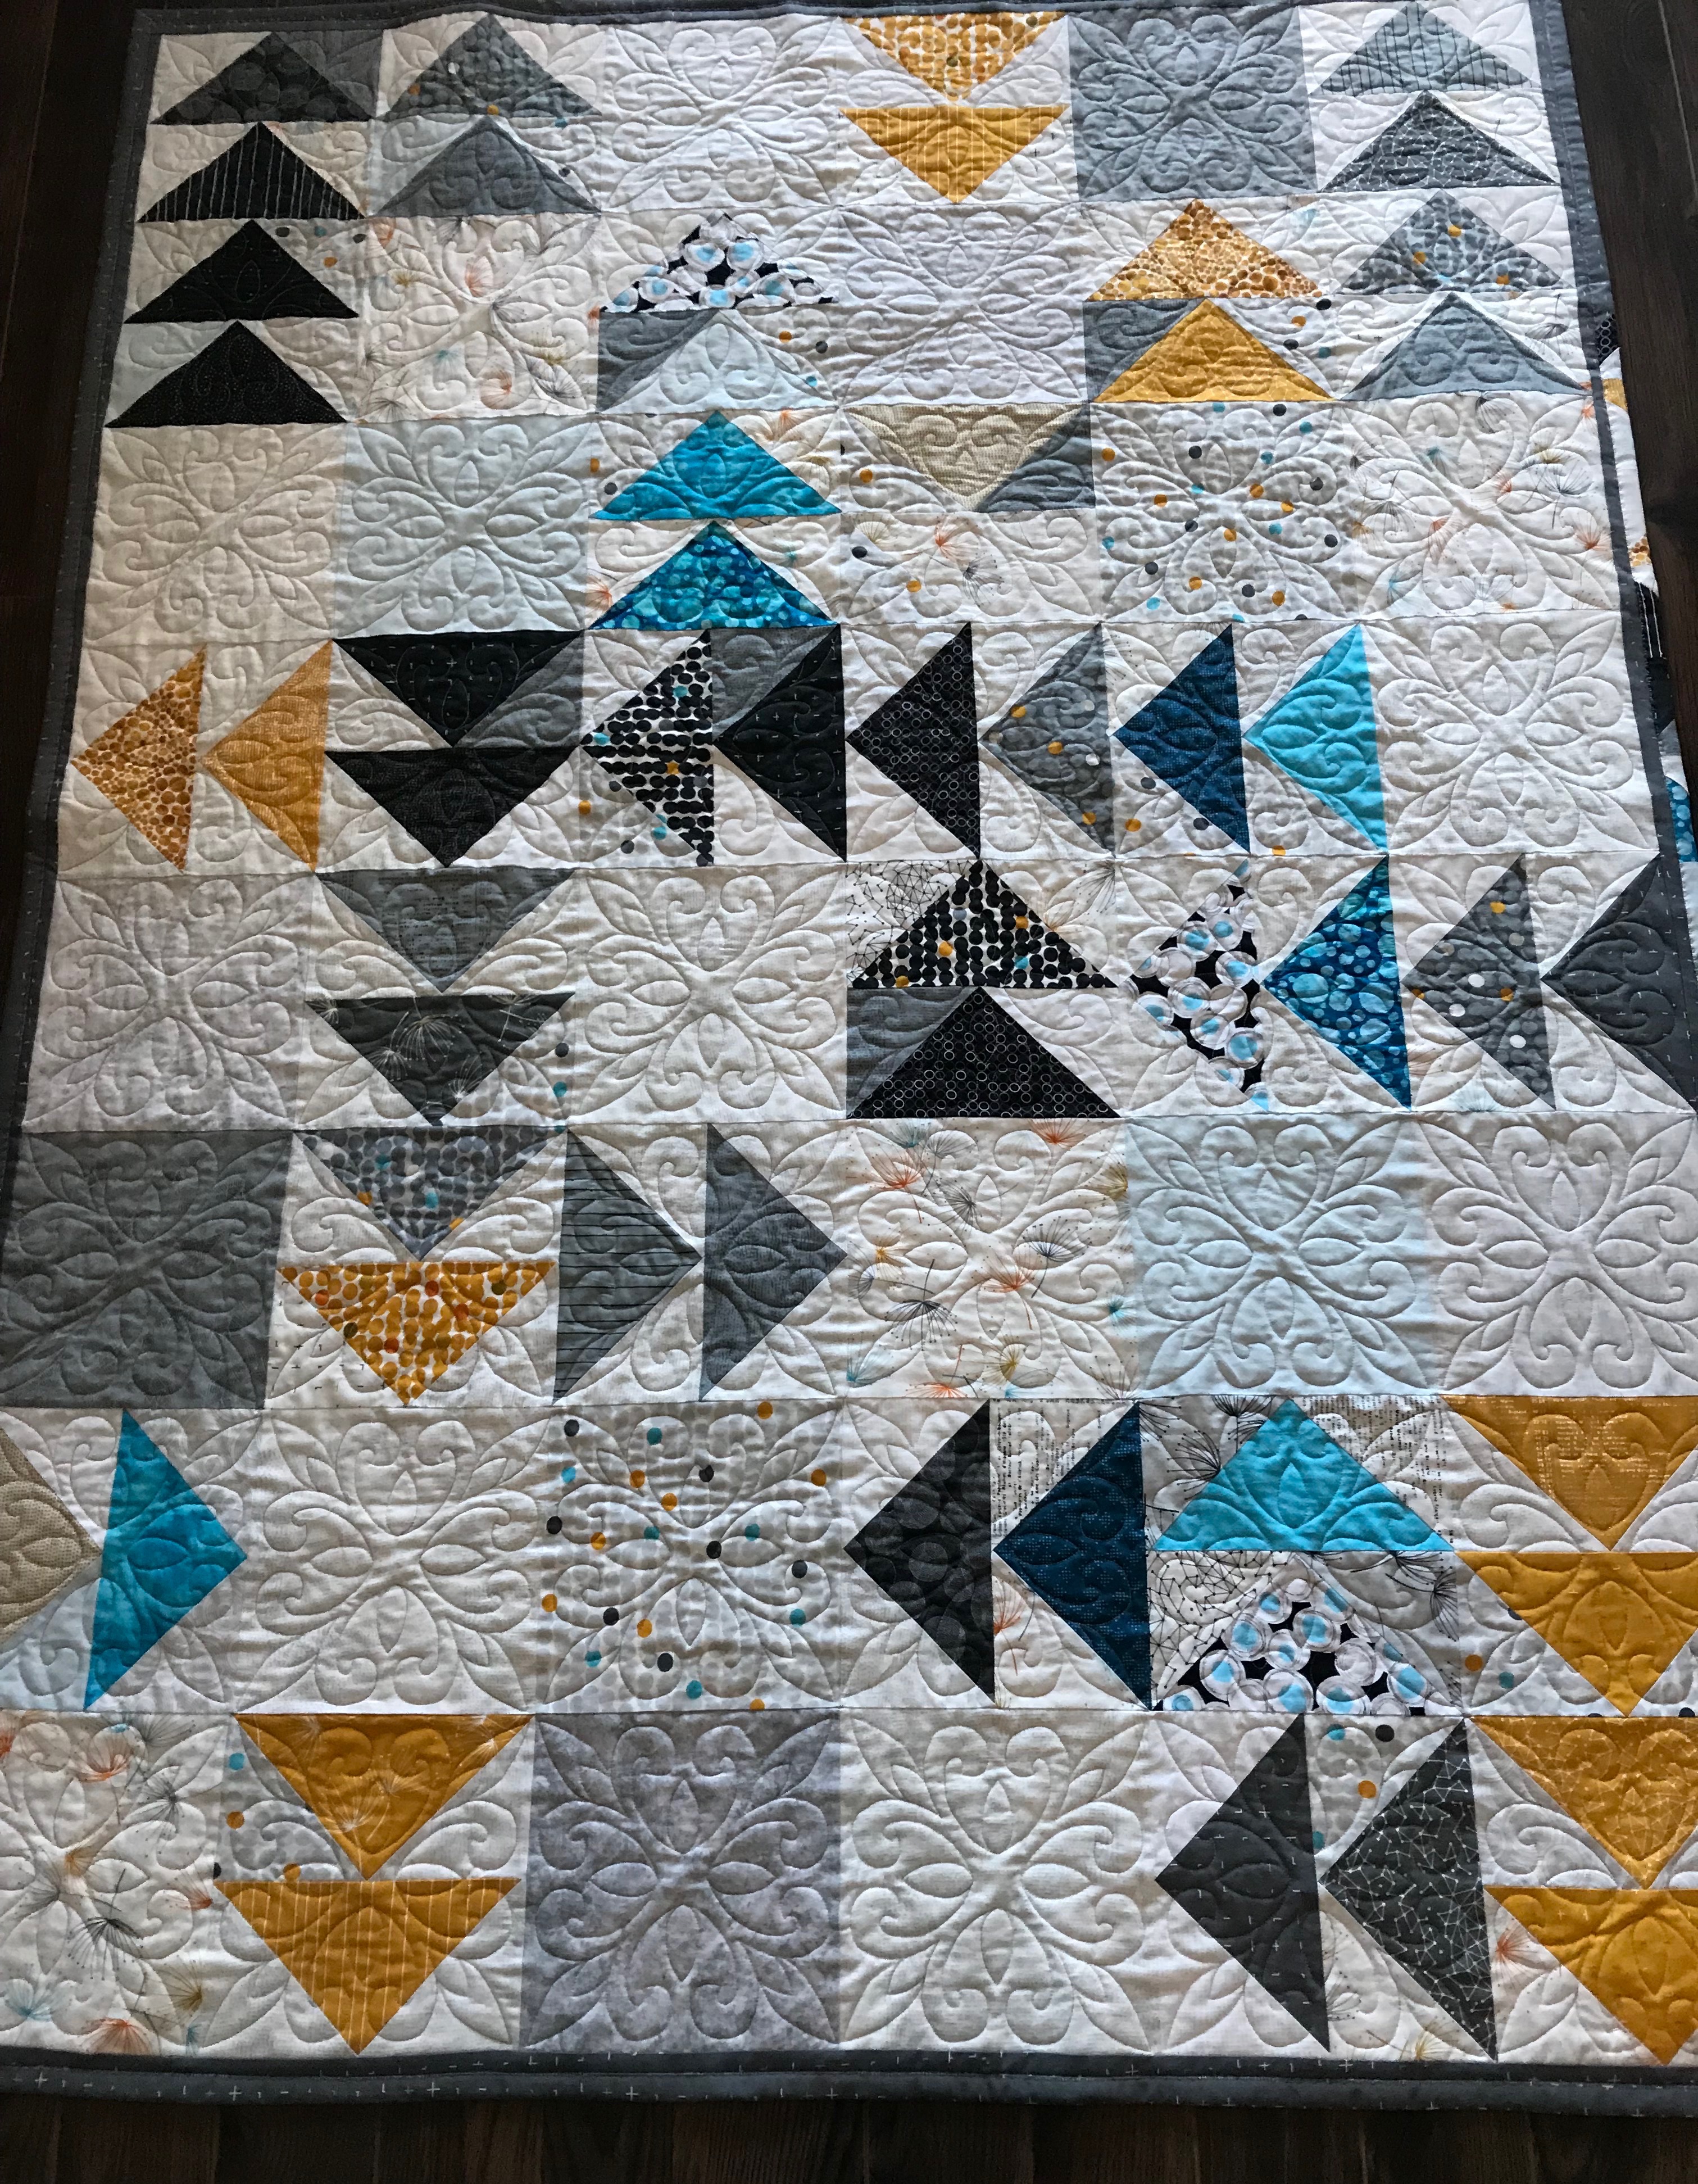
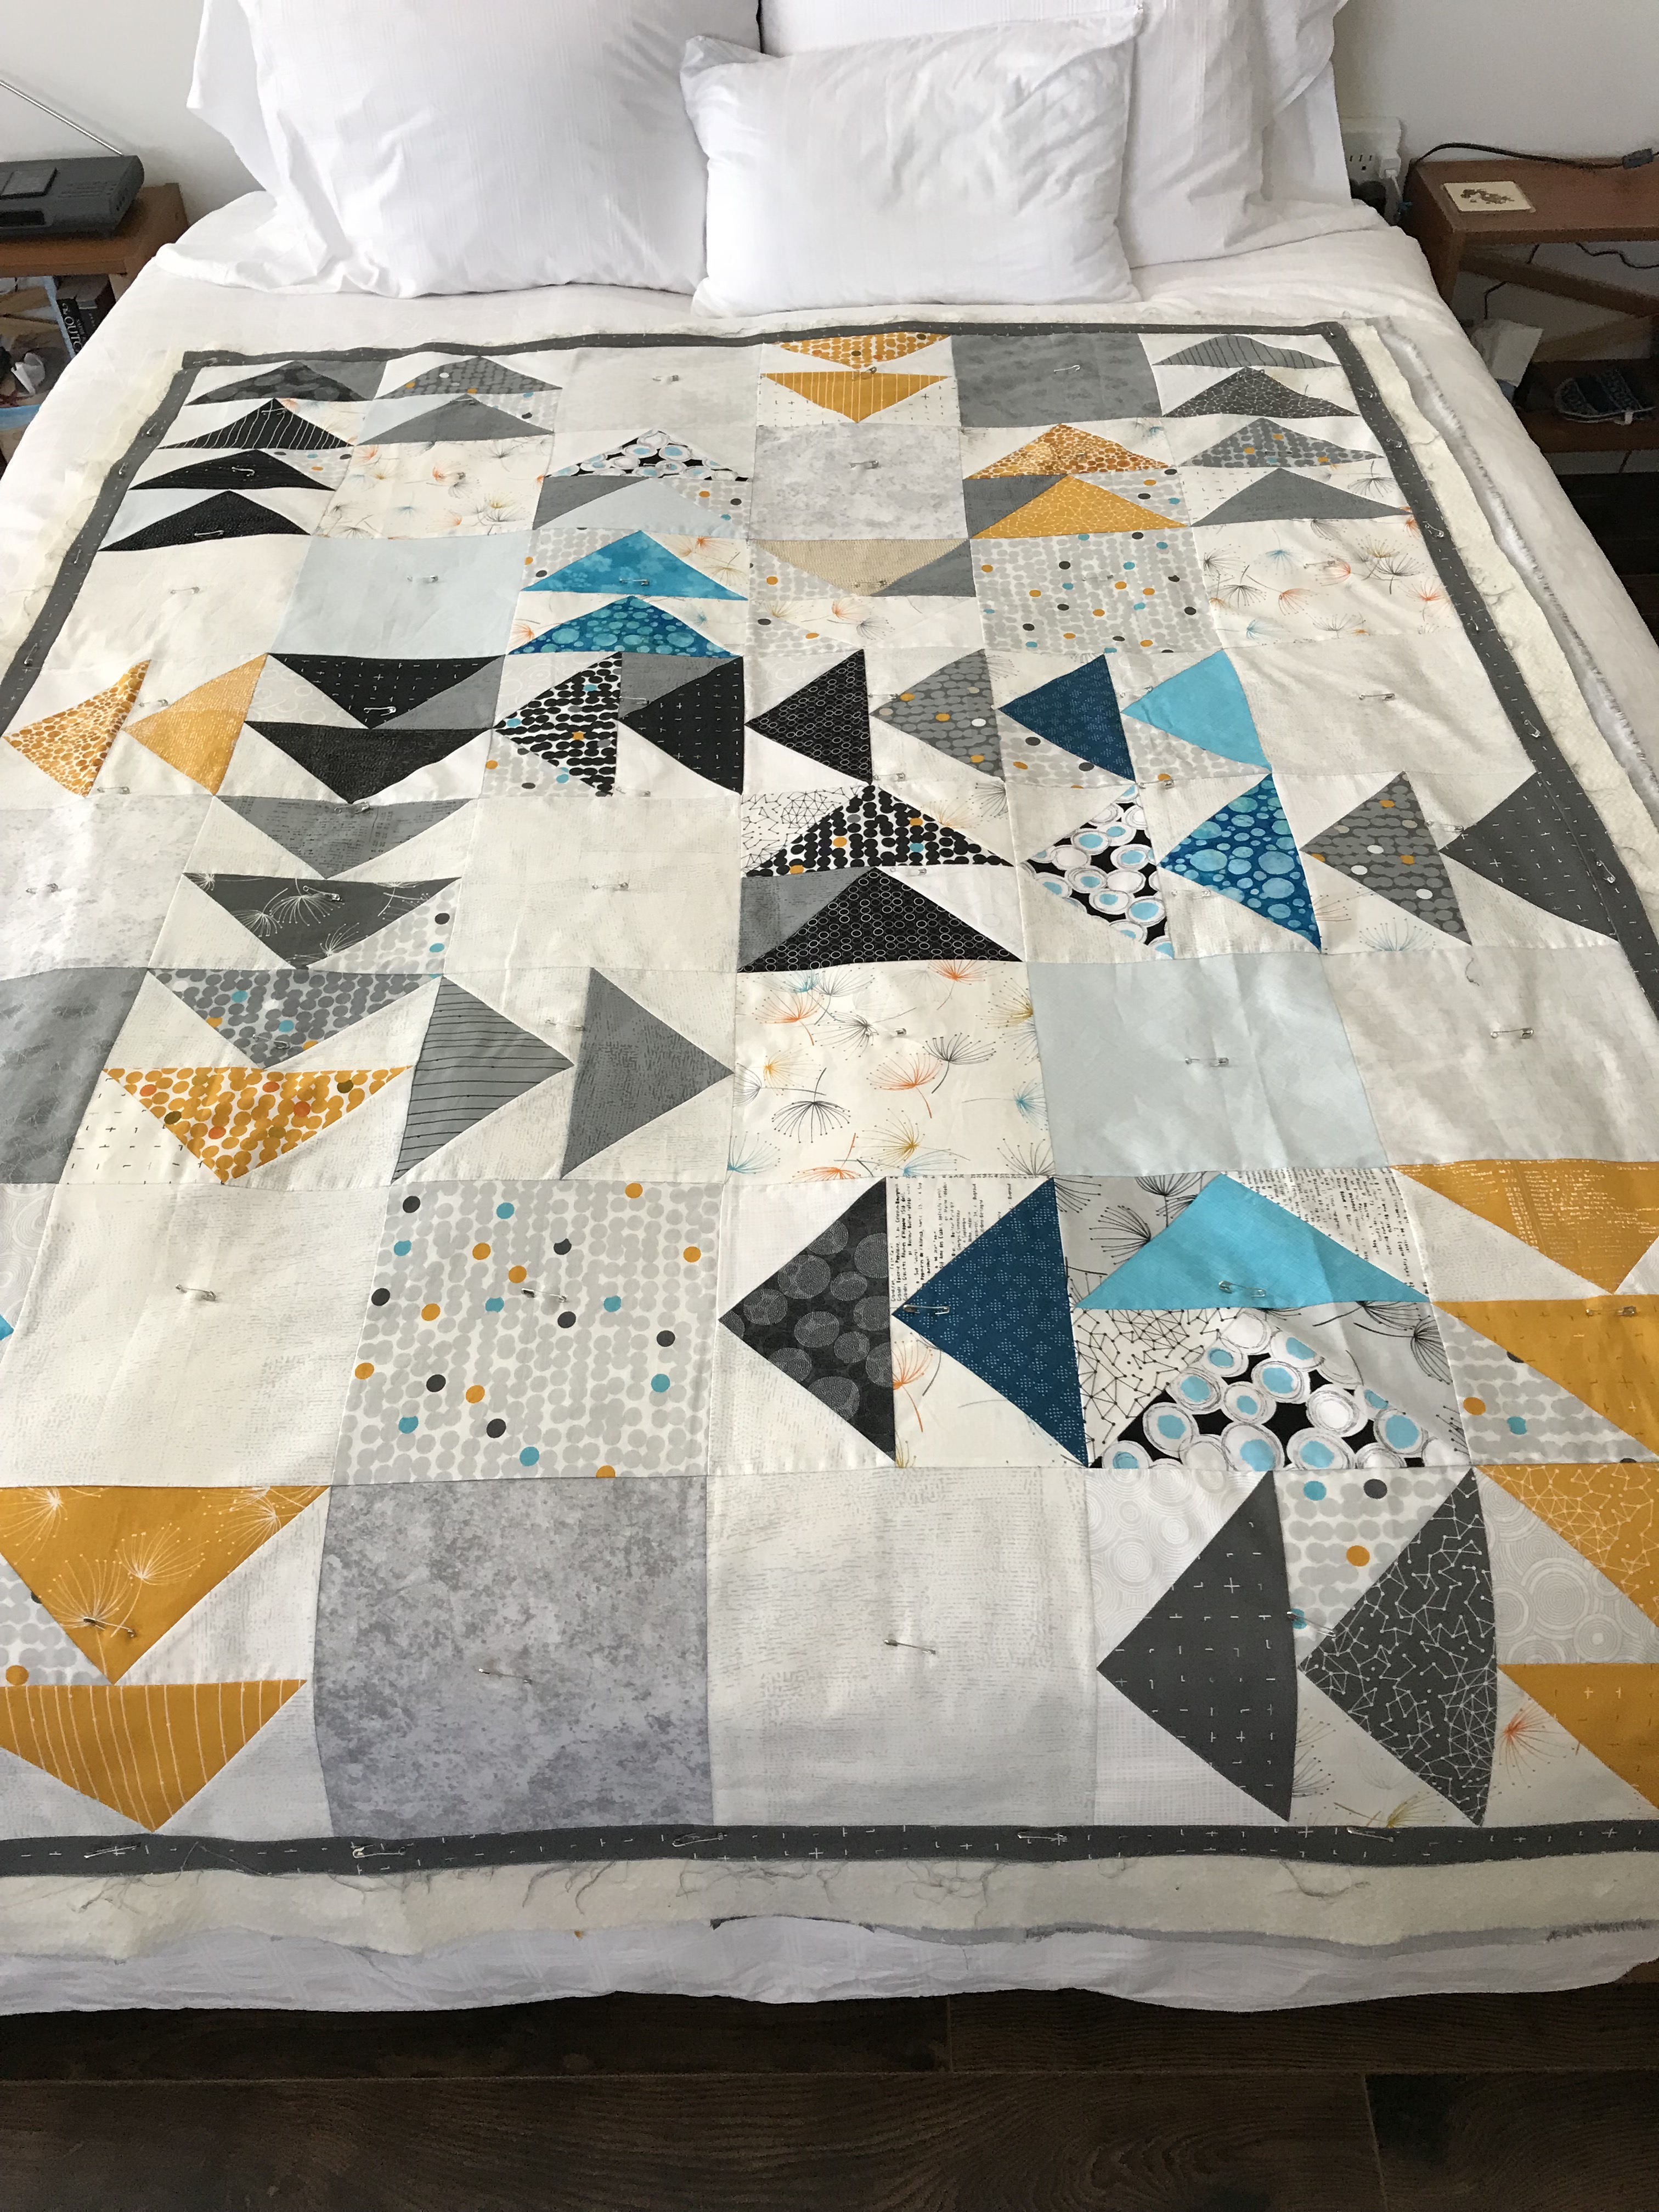
Wandering Geese Quilt – Finished

Just finished quilting and stitching the binding on this “Wandering Geese” quilt. I’m happy with how it has turned out. My decision to use a narrow dark border was a good one – the points of the triangles are intact and not hidden beneath the binding.

The back has more piecing than I usually do, but I had so many half-square triangles as a result of the way I constructed the flying geese I thought I should use as many as I could.

Just need to hand stitch the label on the back.

Wandering Geese Quilt

Just finished pinning this quilt together. The quilt started with a “Jolly Bar” of “Fragile” fabrics by Zen Chic (Moda). Turns out this 5″ x 10″ size is practically useless. In order to construct flying geese I had to trim down the size, and trim away triangles from the corners – a wasteful way of doing this quilt block. However, I saved the triangles and created half-square triangles from the remains and used about half of them on the back.

Quilt Top

The original collection of fabrics had hints of turquoise in several of the colour ways but no predominantly turquoise fabrics. I decided to add several to brighten the overall appearance of the finished quilt. I had enough turquoise fabrics in my stash (dark and light) that I didn’t have to go looking for more. I also added in some light fabric since I didn’t have enough lights from the jolly bar to complete the flying geese blocks. I’m pleased with the modern layout and the overall feel of the top.

The quilt is pinned ready for quilting. I’ve set up an 8″x8″ embroidery design which will fill each block and give me an overall quilting that should work reasonably well with the flying geese. Just trying to decide what colour thread to use for the machine quilting.

Quilt Back

I plan on binding the quilt with the dark grey I’ve used on the back, with a small amount of contrast inserted in one side.

An Adaptation of “Twisted Geese”

Several months ago I bought a “Jolly Bar” of Moda Fabrics (Zen Chic – “Fragile”) – that’s fabric cut into 5″ x 10″ rectangles containing one (sometimes two) strips of the collection’s fabrics. I realized the half-squares were too large for a lap quilt, and the rectangular shape required a wasteful method of creating flying geese. Nevertheless, I decided to go ahead but I needed more fabric. I added some turquoise (which is hinted at in the printed fabric collection but not used as a background colour in any). There were also nowhere near enough light coloured rectangles to construct the flying geese so I went through my fabrics to find white, pale grey, & pale turquoise cuts.

Because I wanted to end up with a lap quilt size, I scaled down the darker rectangles – 4.5″ x 8.5″ (for the “geese” portion), trimmed the remaining light ones to 9″ then cut them in half for  4.5″ squares to construct the flying geese – 48 rectangles / 96 squares.

My Adaptation of Zen Chic’s “Twisted Geese”

The quilt top in the Zen Chic version of “Twisted Geese” also uses solid blocks – once I’d finished assembling the flying geese (forty-eight in all) I added eighteen 8.5″ x 8.5″ squares from some fabrics in my stash (a few of which were yardage from the Zen Chic “Fragile” collection I bought a couple of months ago) to complete the arrangement.

So here is my tentative layout – definitely a non-traditional distribution for a flying geese array.

I plan to use the 4″ equilateral triangle off-cuts to create half-square triangles for the back – I have 96 already cut and laying in pairs – it’s just a matter of sewing them together along the bottom edge (being careful not to stretch the fabric).

Tomorrow I will sew the forty-eight blocks together. I am planning on a 1″ narrow border to extend the quilt top just enough so the binding won’t disrupt the side points of the geese.

Quilt Improv #7

Quilt Top


I was supposed to teach a class on how to take a piece of fabric (a ~7″ square, for example), slash it, insert a narrow strip, slash a second time, crossing the first insertion, and insert a second narrow strip. The first insertion is easy, the second takes a bit of adjusting. I called the quilt “pick-up-sticks”.

Rather than make another Pick-Up-Sticks quilt for myself, I decided to use the technique to create a wide panel the length of a quilt top and insert it into a length of background fabric for the top. Not difficult to do – I cut two 16″ WOF pieces, cut off a segment at a time, slashed the fabric (rotary cutter and ruler), laid out the pieces, then added insertions.

A slashed segment


The trick with this technique is to keep the pieces laid out in order so you can tell which bit gets joined to what! Also I was careful to mark the “top” edge of the uncut fabric, as well as the top edge of the growing  strip – that’s because I was cutting my large sections of fabric as irregular quadrilaterals, not as rectangles, so I needed to be able to align the bottom of a finished segment with the top edge of the subsequent one. 

I created the full panel with seven segments. The piecing went quite quickly. I used 1/2″ inserts (1″ strips) which made up for the seam allowances and maintained the original dimensions of each uncut segment.

Now for the second side (I hesitate to call it a back because there will be quite a bit of piecing involved).
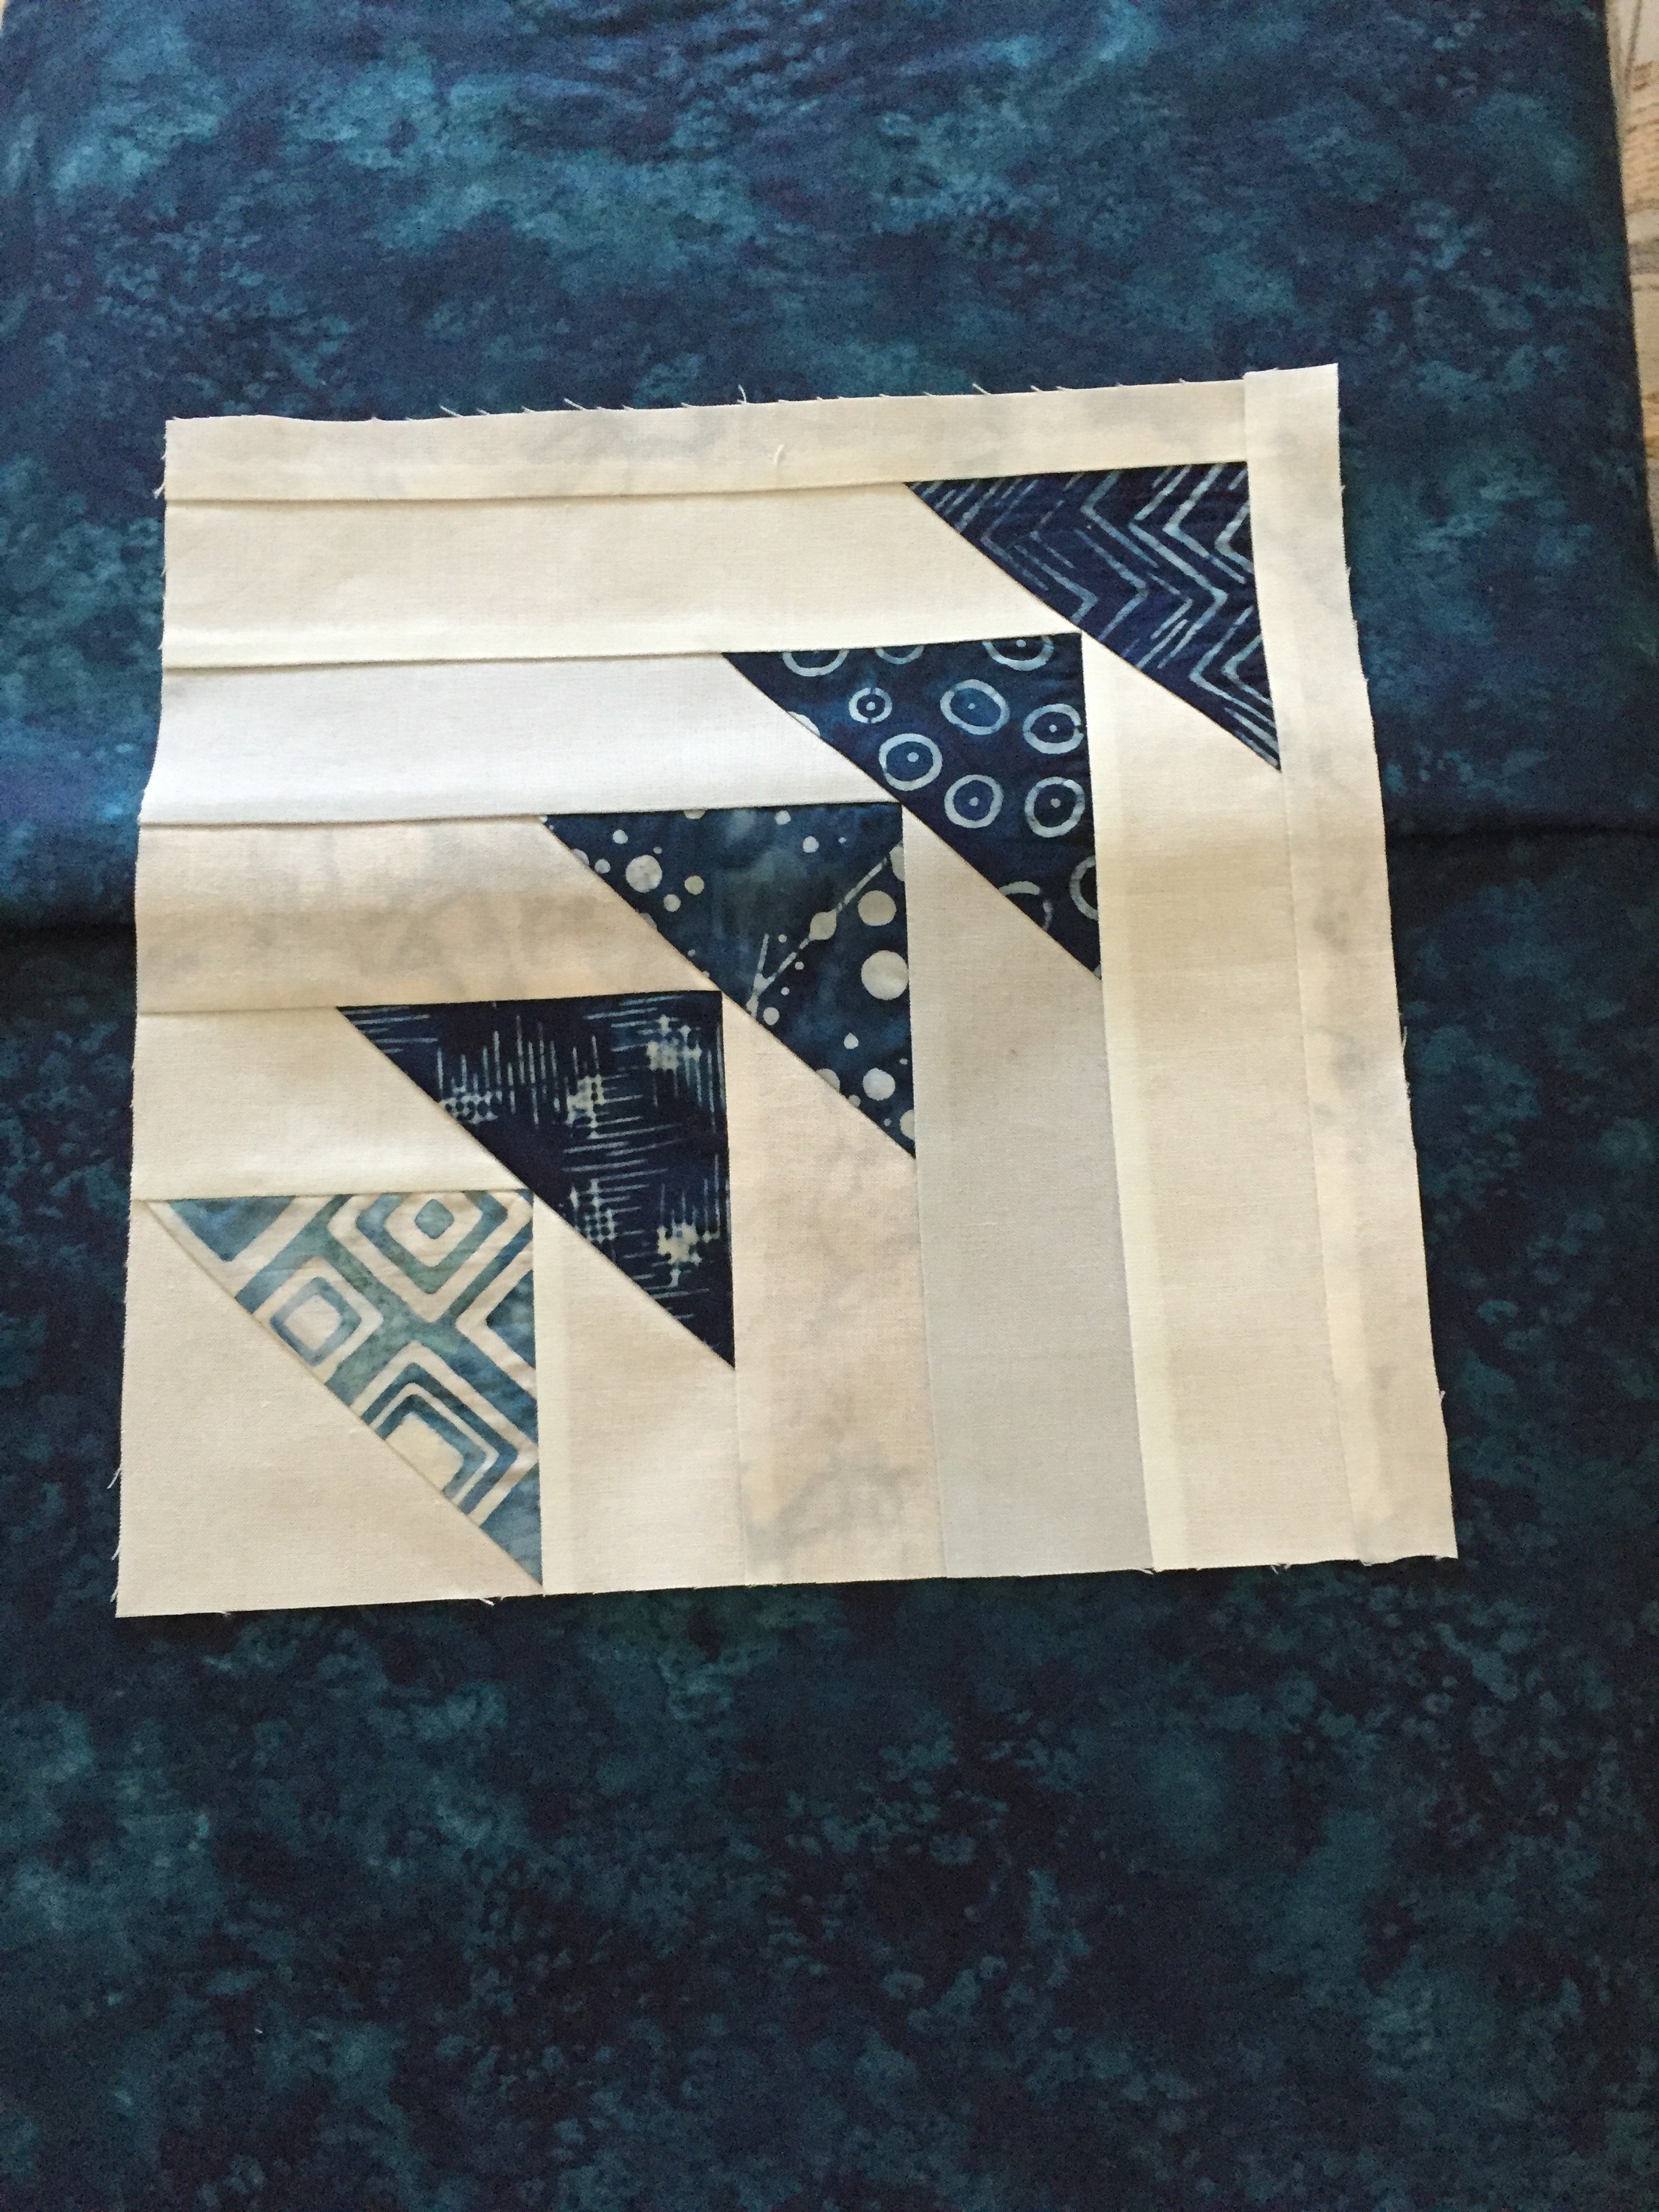
Flying Geese Block


Flying geese blocks – they require precision in the cutting, in the stitching, and in the trimming. I finished one block when I realized I needed a narrow strip on two sides to provide contrast for the final triangle to show up against the background fabric! Now I’m thinking I want a wee bit of a golden yellow in there as well – maybe as strips to join these blocks into a panel to be inserted into the background fabric….