I’d seen a photo of the Comet Quilt some time ago and thought it would be fun to try creating something like that – a light centre against a dark background. I went through my fabric stash and pulled out a pile of light batiks, a bunch of medium, and a few dark.
I was wondering what to actually use as the dark background fabric when I happened upon the Moda (Ruby Star Society) Comet Quilt pattern.
 The Comet Quilt (Moda)
I discovered the actual background fabric used in the quilt and was able to find some online so I ordered 2 yards.
And then the fabric pile sat there while I worked on the three Skyline quilts. I was intending to work on a wall art piece next but the fabric pile started calling to me – I looked at the Moda pattern to get an idea of how I wanted to work on this. I wanted a throw size (~50″ x 70″) – quite a bit smaller than the pattern was describing. So I had a couple of choices – fewer blocks, or smaller ones. I decided to duplicate the 18 x 23 blocks using 3 1/2″ half-square triangles (finished size 3″).
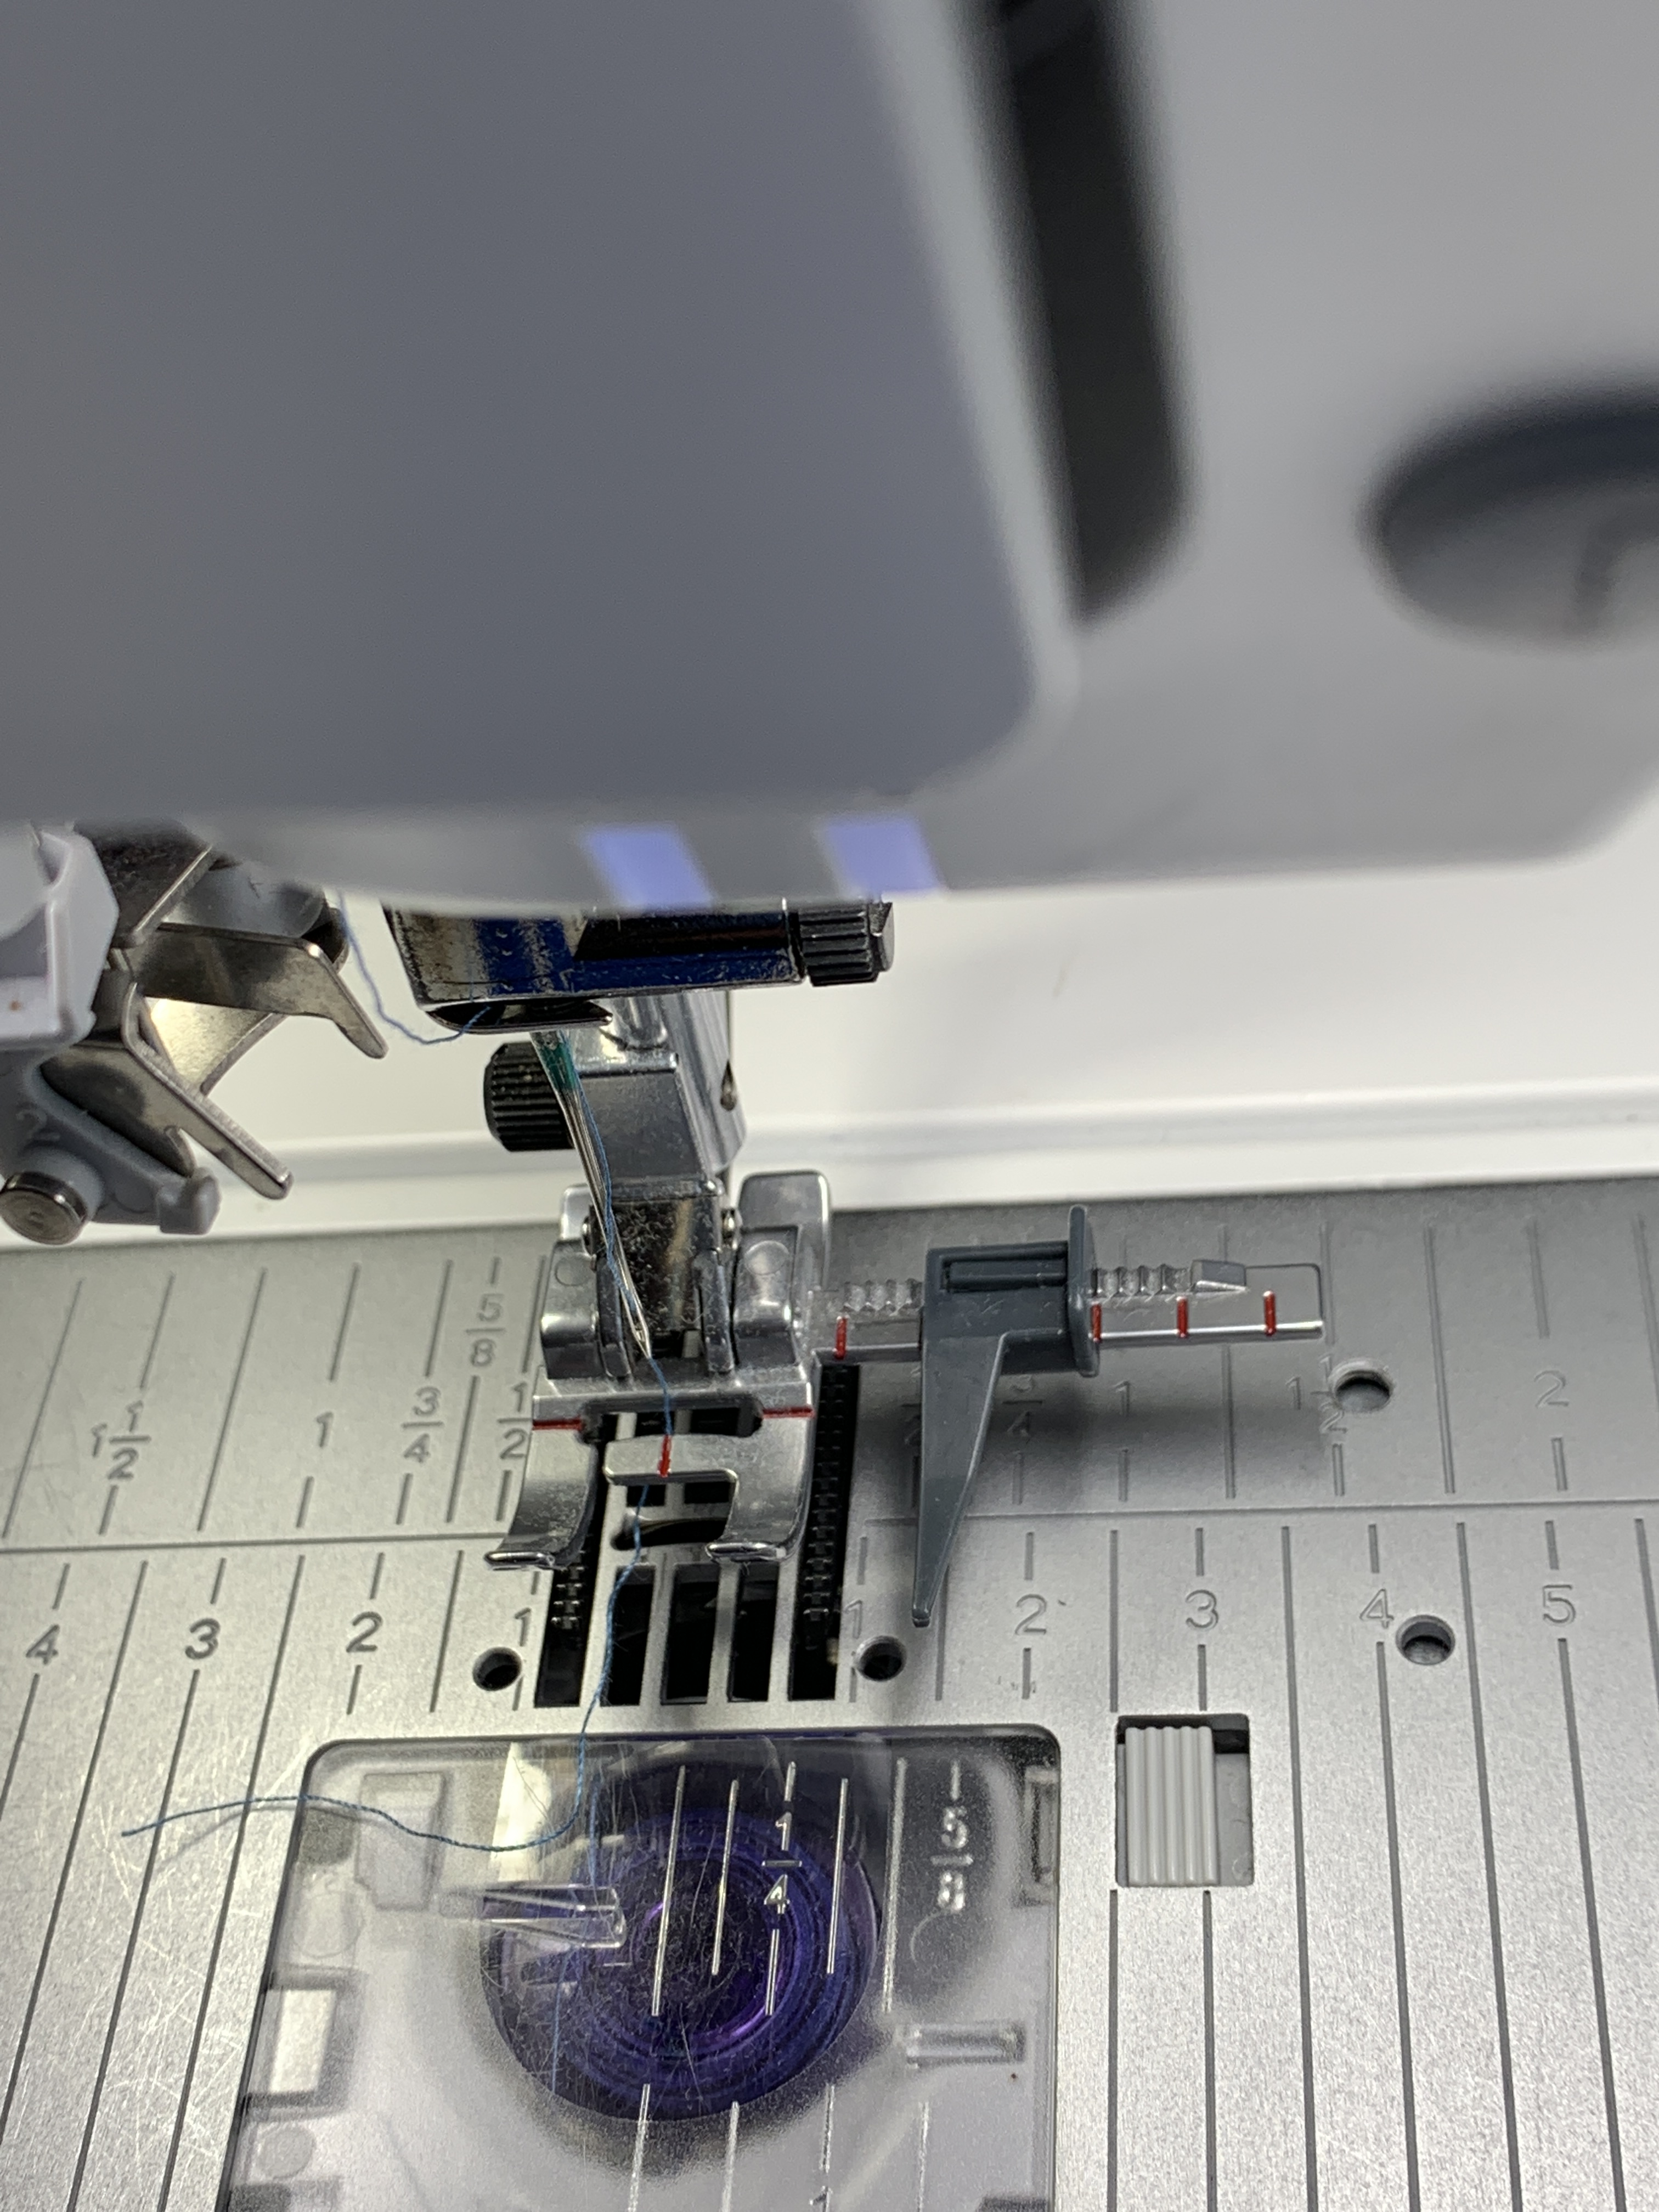
This is where the whole process becomes quite complicated. I’m using a set of my own fabrics (not those in the pattern) so as I read through the pattern to guesstimate of how many HST I would need I realized I was not going to be able to manage any kind of match-up to the blocks in the pattern. I cut the same number of light blocks, medium blocks, dark blocks. I matched up some light/light light/medium, light dark, medium/dark, dark/dark combinations, marked the stitching lines, sewed the blocks, cut them apart into HST, pressed them, and trimmed them carefully to 3 1/2″.
Then I cleared a space on my studio floor and began laying them out:
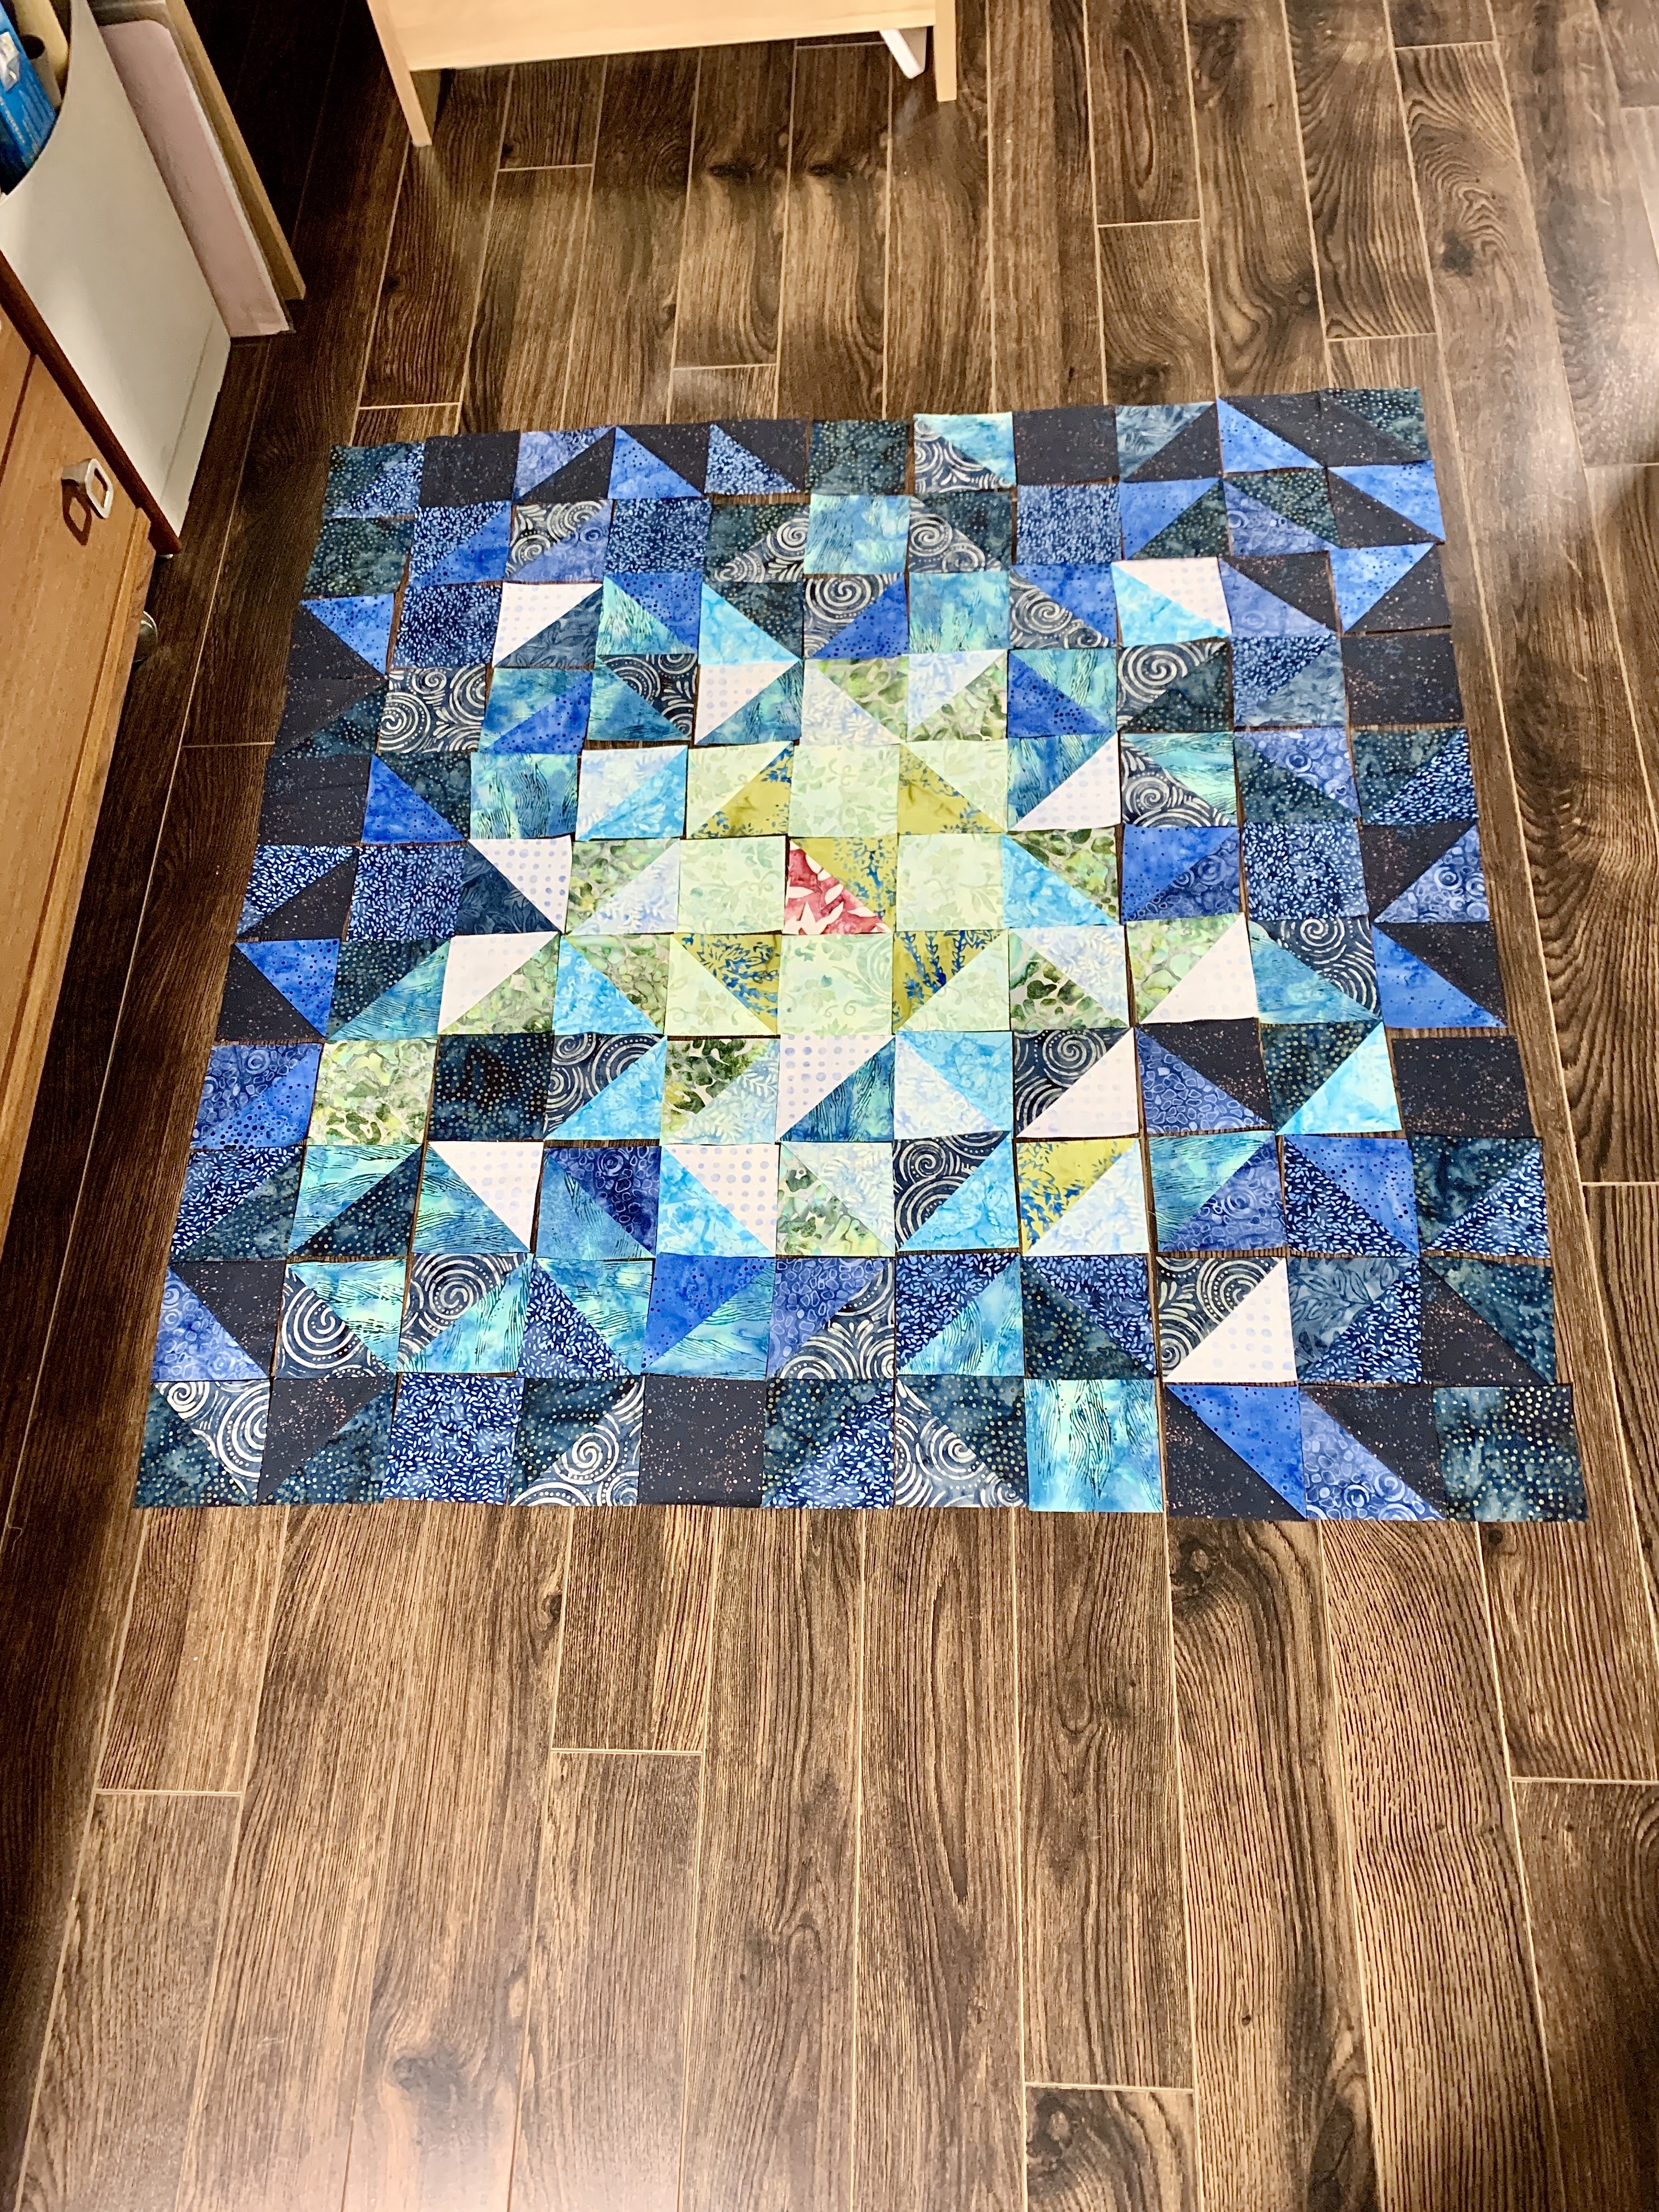 The Comet Quilt (Moda)
I put the Moda instructions with photos aside and just played with the blocks trying to create the “startburst” for the quilt centre.
I’ve been taking photos, moving blocks around, taking more photos, moving more blocks. this is where I am at the moment – the central 11 x 11 block centre panel. I’m sure when I see this tomorrow morning in the daylight I’ll move blocks again.
In some ways this improvisation is easier than trying to follow the pattern layout! I can just make decisions based on the blocks I have and see how the panel turns out.
What’s obvious is that my “medium” colour tones are brighter than the fabrics used for the original. So my quilt, overall, will be brighter than the Moda original.
Once I’m satisfied with a layout for this panel, I will sew the blocks together, first into rows, then stitch the rows. I have to do that, because I will need to plan the outer panels based on the size this panel works out to be. The Moda pattern will give me an idea about how I will want to use my dark/background HST squares but I can’t cut my background fabric yet because I don’t know the size required for the remaining elements!
That’s just what it’s like when you improvise.