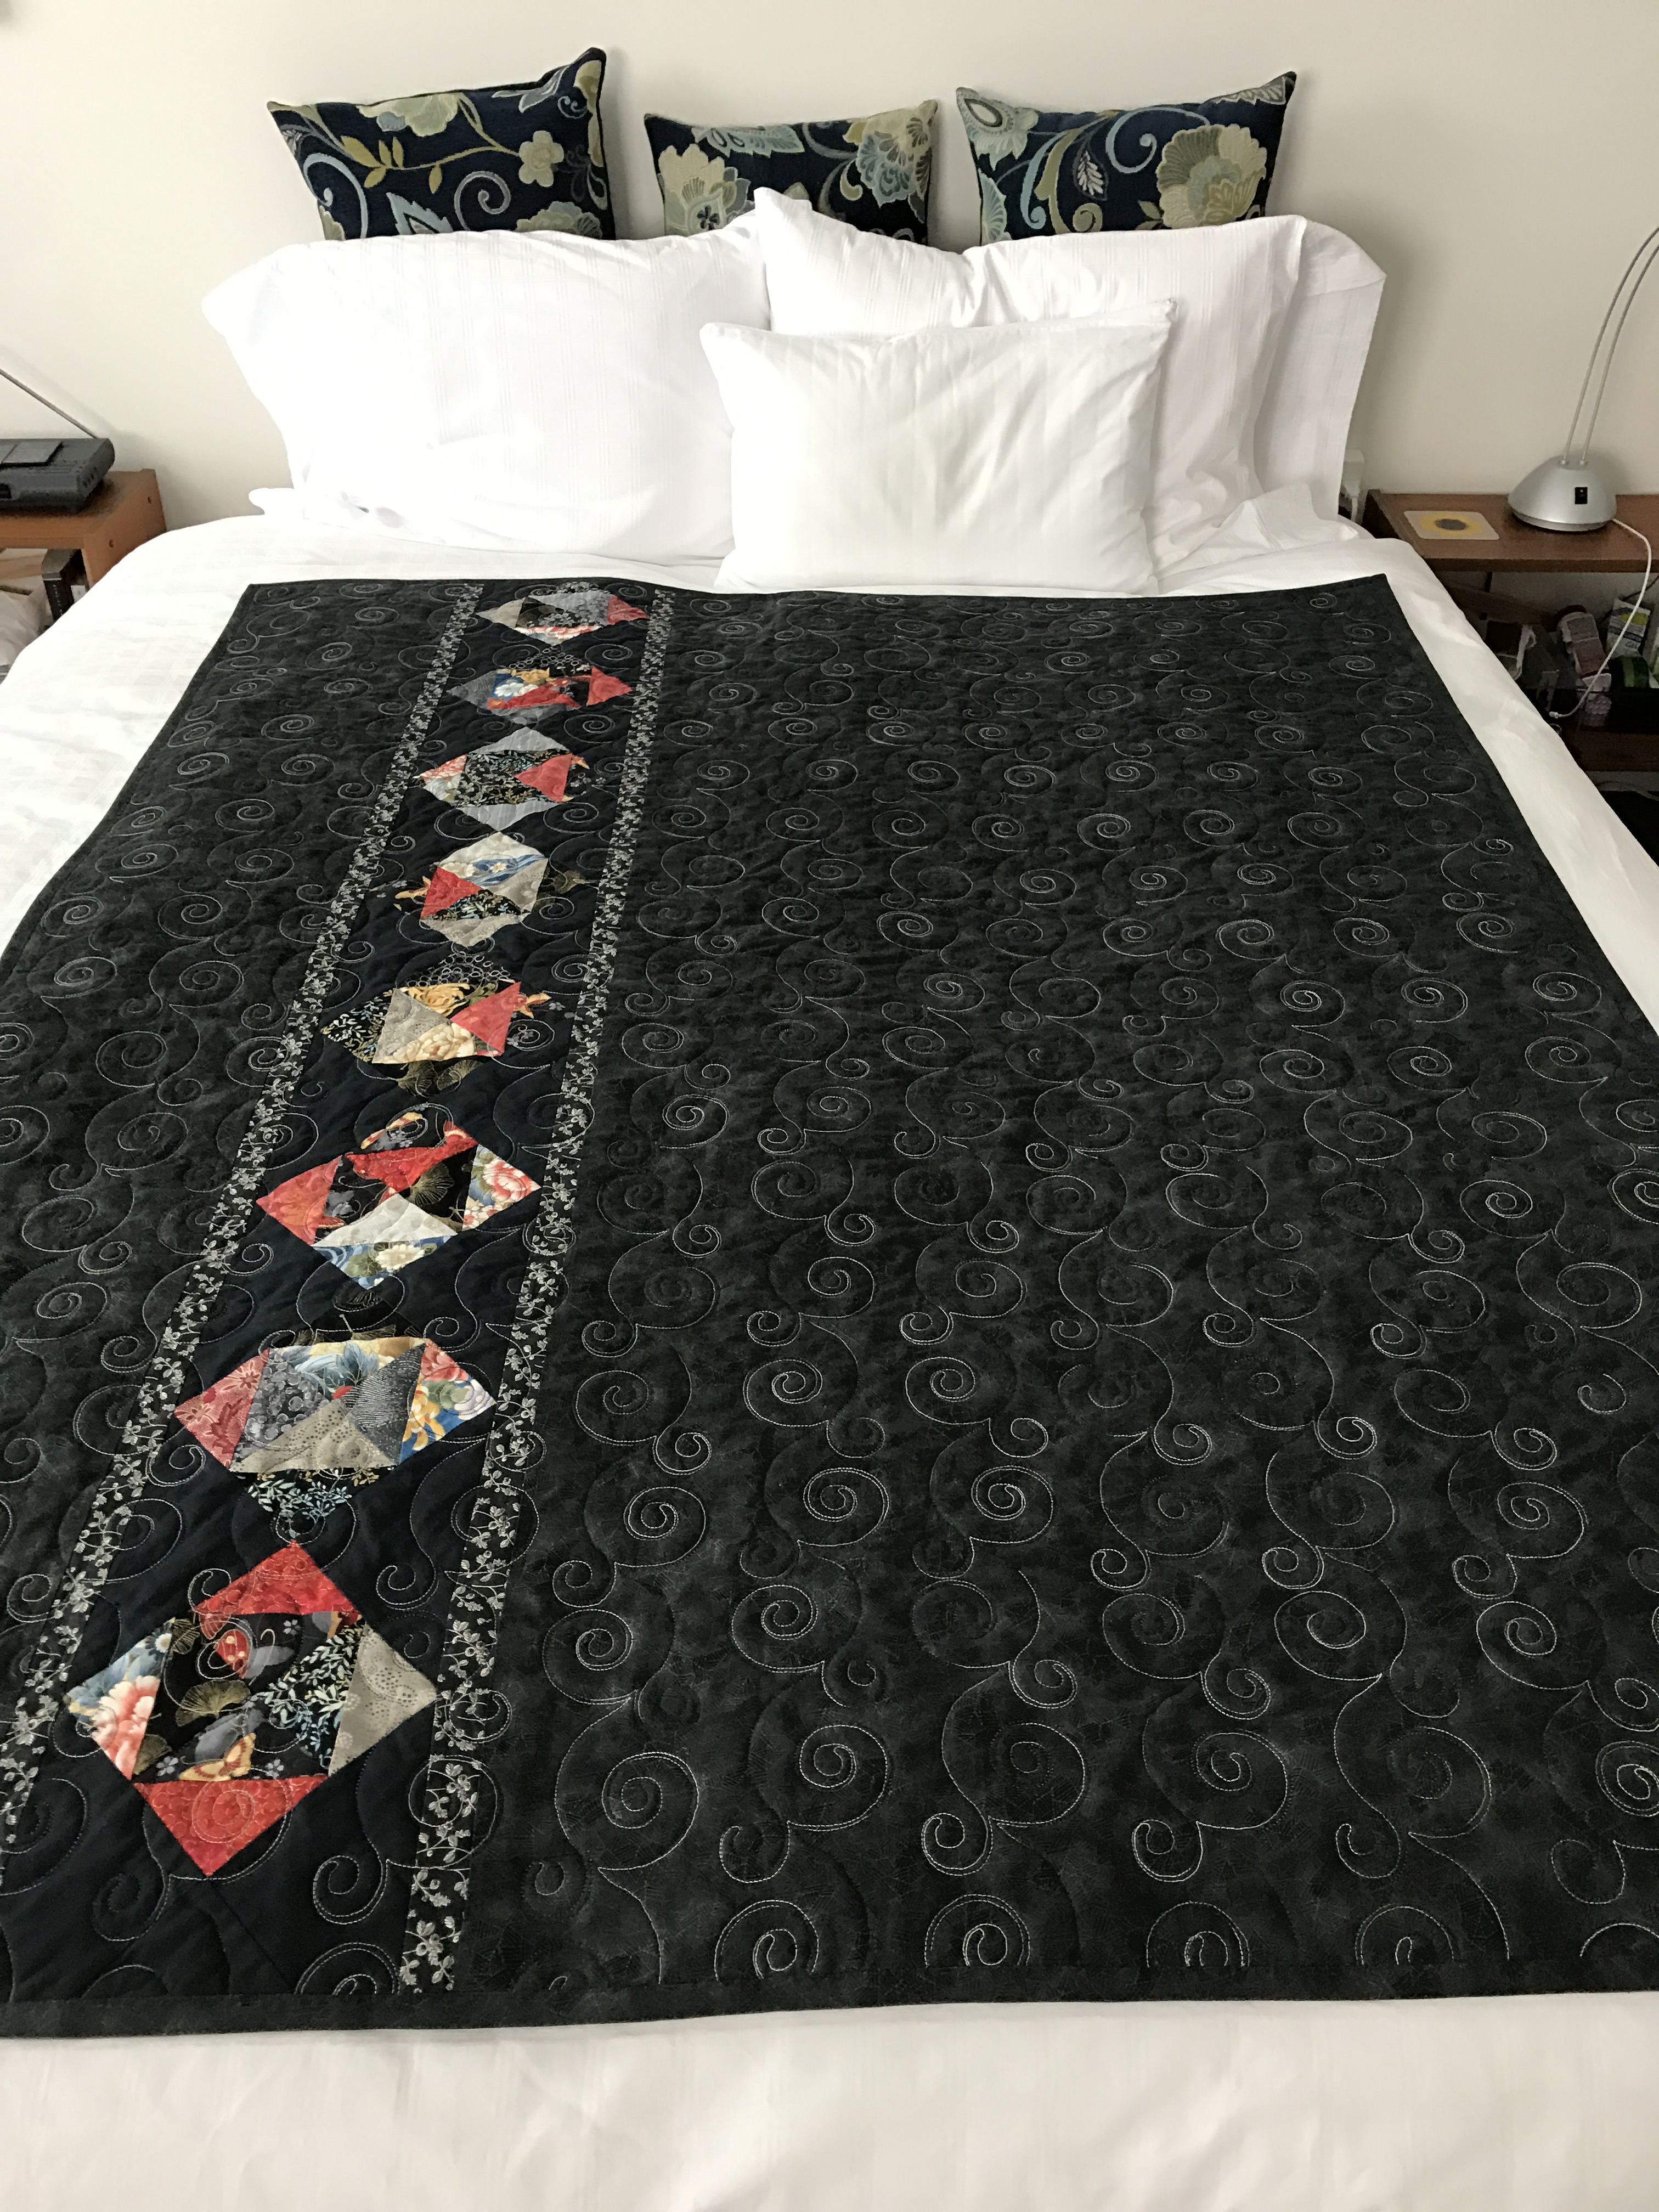
Here it is – the finished, bound quilt (just a label needed – I’ll do that later this afternoon when I get back from some errands).

Quilt Top
I did the quilting from top to bottom in line with the strips, instead of across the quilt. I wanted to emphasize the flow of the piecing. I was lucky my quilting design was the perfect size for the side borders and fills that space nicely (It was pure luck that I was able to balance the border quilting on each side!). It took a lot of precise positioning to make the embroidery joins work but it would take a hawk eye to detect the slight misalignments I decided to live with. I used a variegated white/grey/black thread, top and bottom and I like how it turned out on the back. On the front, the stitching blended well with the coloured strips. However, I darkened the light stitching in the dark strip ends because otherwise the alternating strip ends were obscured and that was a detail I worked hard to achieve.
Quilt Back
The back has worked out well. The pieced insert brings colour and interest to the back. The side borders of the strip blend well with the backing fabric yet effectively set off the insertion. I used strips of the backing fabric (which I had found in a second shop after I’d pinned the sandwich together) for binding. I’ve finally learned 2 1/4″ binding strips are better than 2 1/2″ – I have less fabric to fold under on the front of the quilt – easier to manage when I’m pinning the binding in place on the quilt front after first stitching it to the back.
I would have liked the quilt to be a wee bit longer but I was limited by my original 66″ length of backing fabric – all that was left on the bolt. The quilt is still a respectable 62″ long.