“What Should I Make?”

I just finished reading Barbara Emodi’s piece on Substack: Making Sense. The gist of her thoughts is this:

I read this week of a research study that said the high alert, anxious part of our brains in on the left side of the brain. On the right side is creativity. The researcher said that we need that relief and that when she was anxious, worried or stressed, she didn’t try to manage it, face it, or process it. Instead of asking herself, “what should I do?” she asked herself, “what should I make?”

This advice came at the right time for me. I have been getting some new covers made for a series of little short books I write. I used to think that it was not the best use of my time to write something so light, when I could be struggling to create significant literature. But this is who I am, what I have to give right now. Easy stories about decent people.

And writing them does me more good than maybe it does my readers.

That’s the point. Making something to add to the world is the job now. A jar of sauerkraut, a flower bed, a knitted sock, a voice added to a choir.

The destroyers come and go.

I think she’s right about that – it’s closing in on a month of incredible chaos but I’m finally beginning to spend less time trying to make sense of what is otherwise quite overwhelming. There are more and more people engaging in tracking the atrocities. I’m beginning to limit myself to a few whose writing represents thoughtful analyses of what’s going on.

Here’s a list of sources I’m keeping tabs on:

  • The MidasTouch Network – a quickly growing online news network – I don’t watch the videos, I’m a print person – there are news items to read.
  • Indivisible.org – an activist group also growing by leaps and bounds – they’re one of the official faces of the resistance. They provide lots of good ways of making your voice heard.
  • Andrew Coyne – A writer for The Globe And Mail – I don’t always agree with his arguments, but they’re worth reading. Here’s his latest piece: The democratic world will have to get along without America. Unfortunately you have to be a subscriber to read his writing. The link I’ve provided has been gifted. You should be able to read it.
  • Timothy Snyder – An academic researcher (on fascism) is providing a reasoned running analysis of the consequence of the musk/trump moves. He’s a must read, I think.
  • Charlie Angus – a Canadian MP has interesting arguments from a Canadian Perspective!
  • A Letter From A Maritimer – Elisabeth Rybak has a current series of well written pieces about what’s happening in the political realm of Canada.

I have many more people I follow, but pick one and see where that gets you. It will be hard to stop, I warn you!

As for “What Should I Make?” – This past week I did a class on “Getting To Know Your Serger” with a group of people new to the world of serging. My goal was for each of them to be able to leave class understanding how the machine works, how the four “needles” interact, and knowing how to thread it correctly for a 4-thread overlock stitch. Mission accomplished. Everybody left with smiles!

It wasn’t the first time I’ve done that class so preparing for it took not much time. Coming week I’m doing a new class: Beyond Overlock – What else can you do with your serger? Serger #2 for short! Now that has been a lot of work this weekend. I had to make a batch of samples showing several stitches and techniques:

  • 4-thread overlock
  • 3-thread overlock
  • rolled edge
  • gathering
  • blind hem
  • attaching elastic
  • encasing elastic
  • sewing in the round
  • curves (convex and concave)
  • corners (outer and inner)
  • sewing knits
  • sewing light fabrics (silk, voile, lawn, etc.)
  • coverstitch (maybe…)

The truth is, although I’ve owned a high end Baby Lock Evolution serger for several years, I use exactly two stitches – 4-thread overlock and rolled hem! I gave up the hassle of converting overlock to coverstitch in favour of owning a Janome coverstitch machine! It’s set up beside the serger and immediately available for hemming finished garments.

My advice on buying a serger – buy a basic mechanical serger (I’ve tried a Juki MO-654DE – it’s a good, inexpensive, machine), and if you’re tired of hemming with a twin needle on your regular machine then consider a coverstitch machine. Owning both will have cost you a fraction of a high end computerized serger! The only downside is you need space for the second machine!

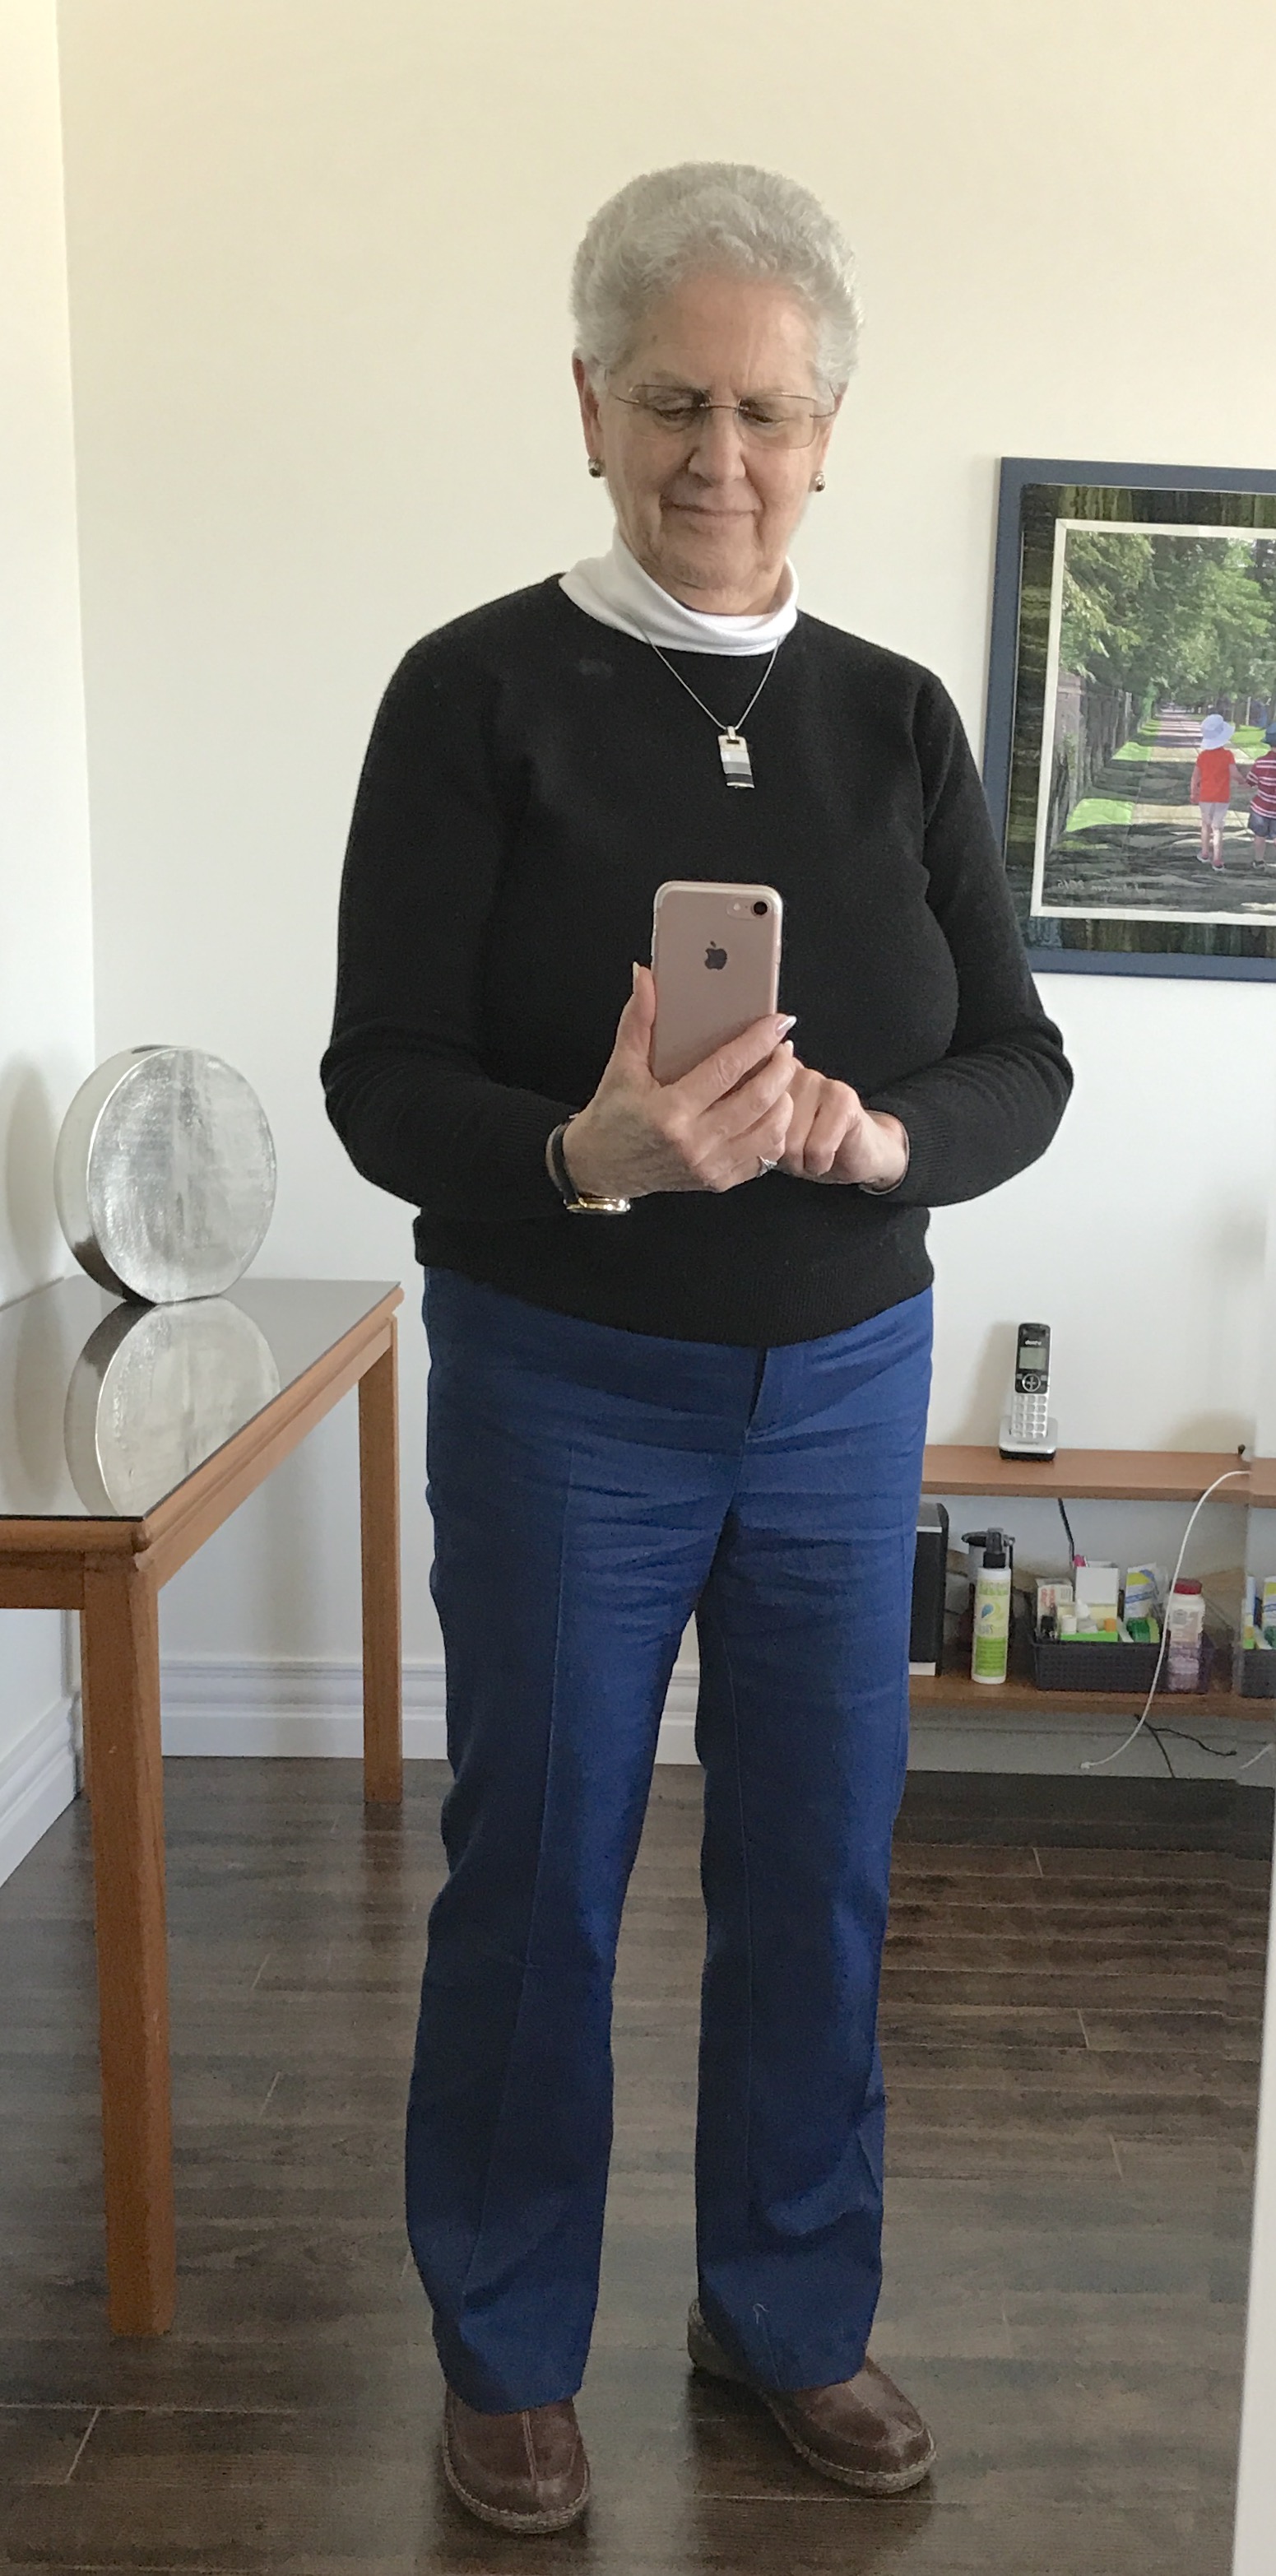
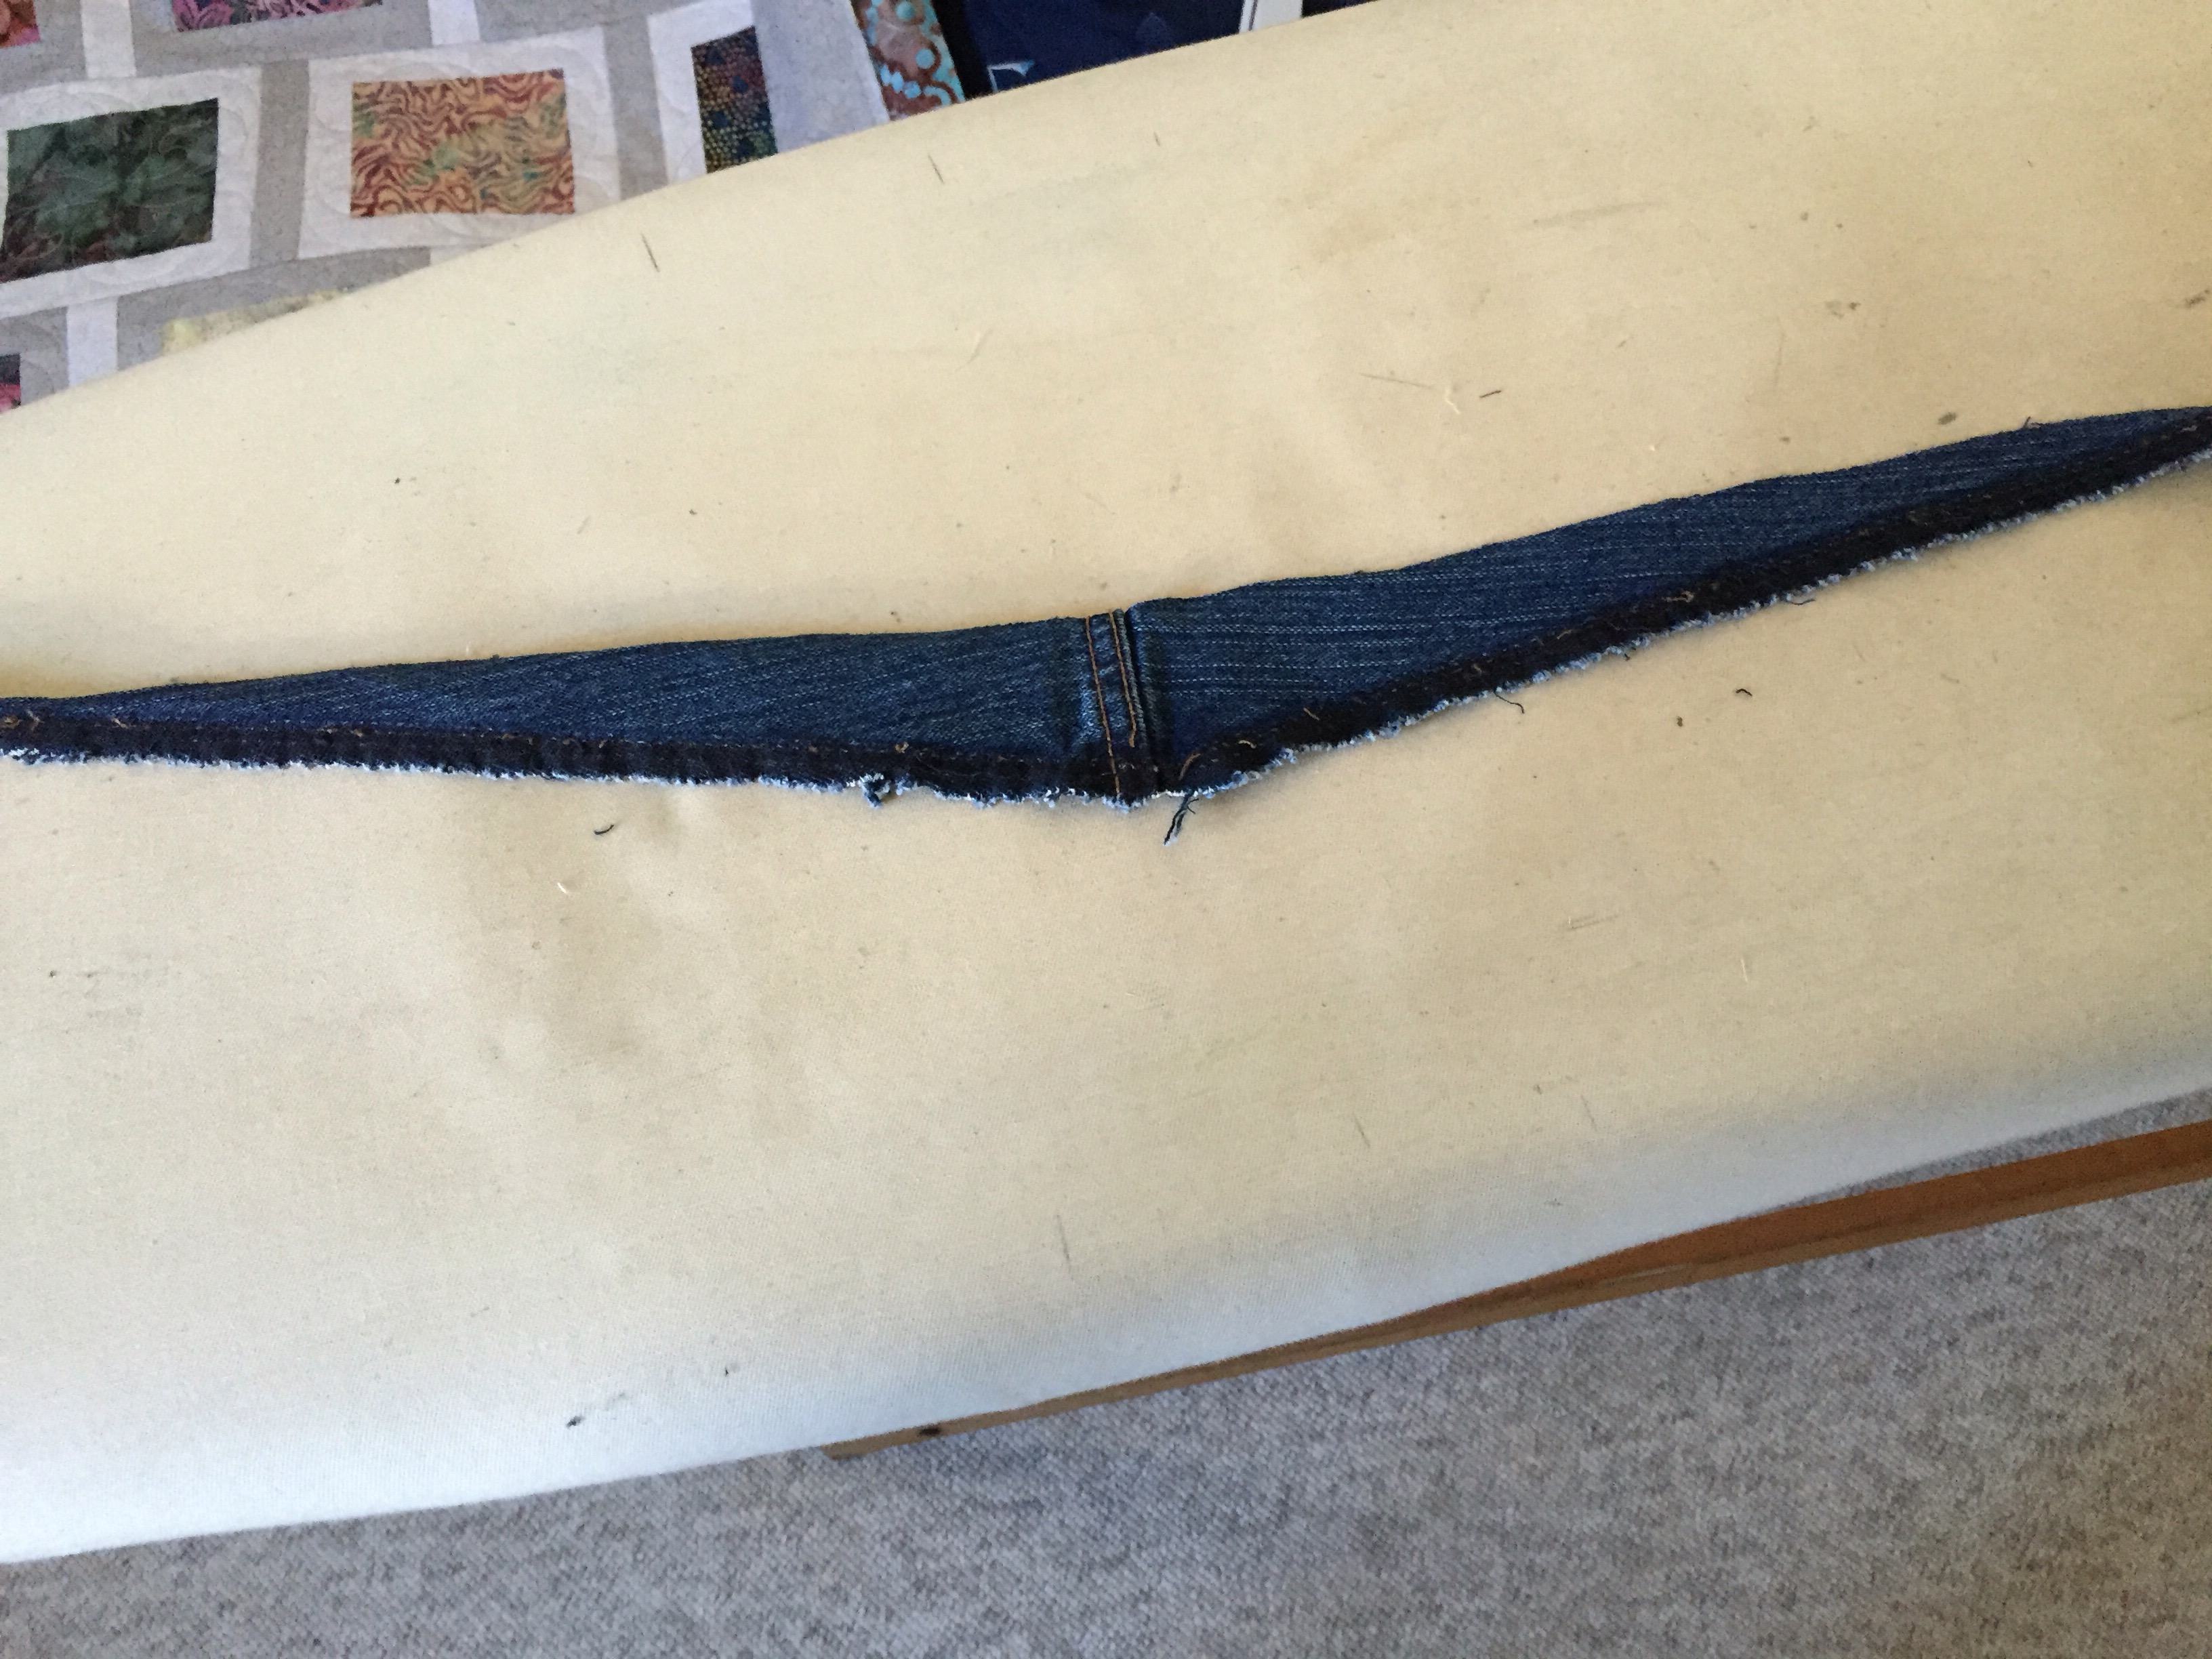
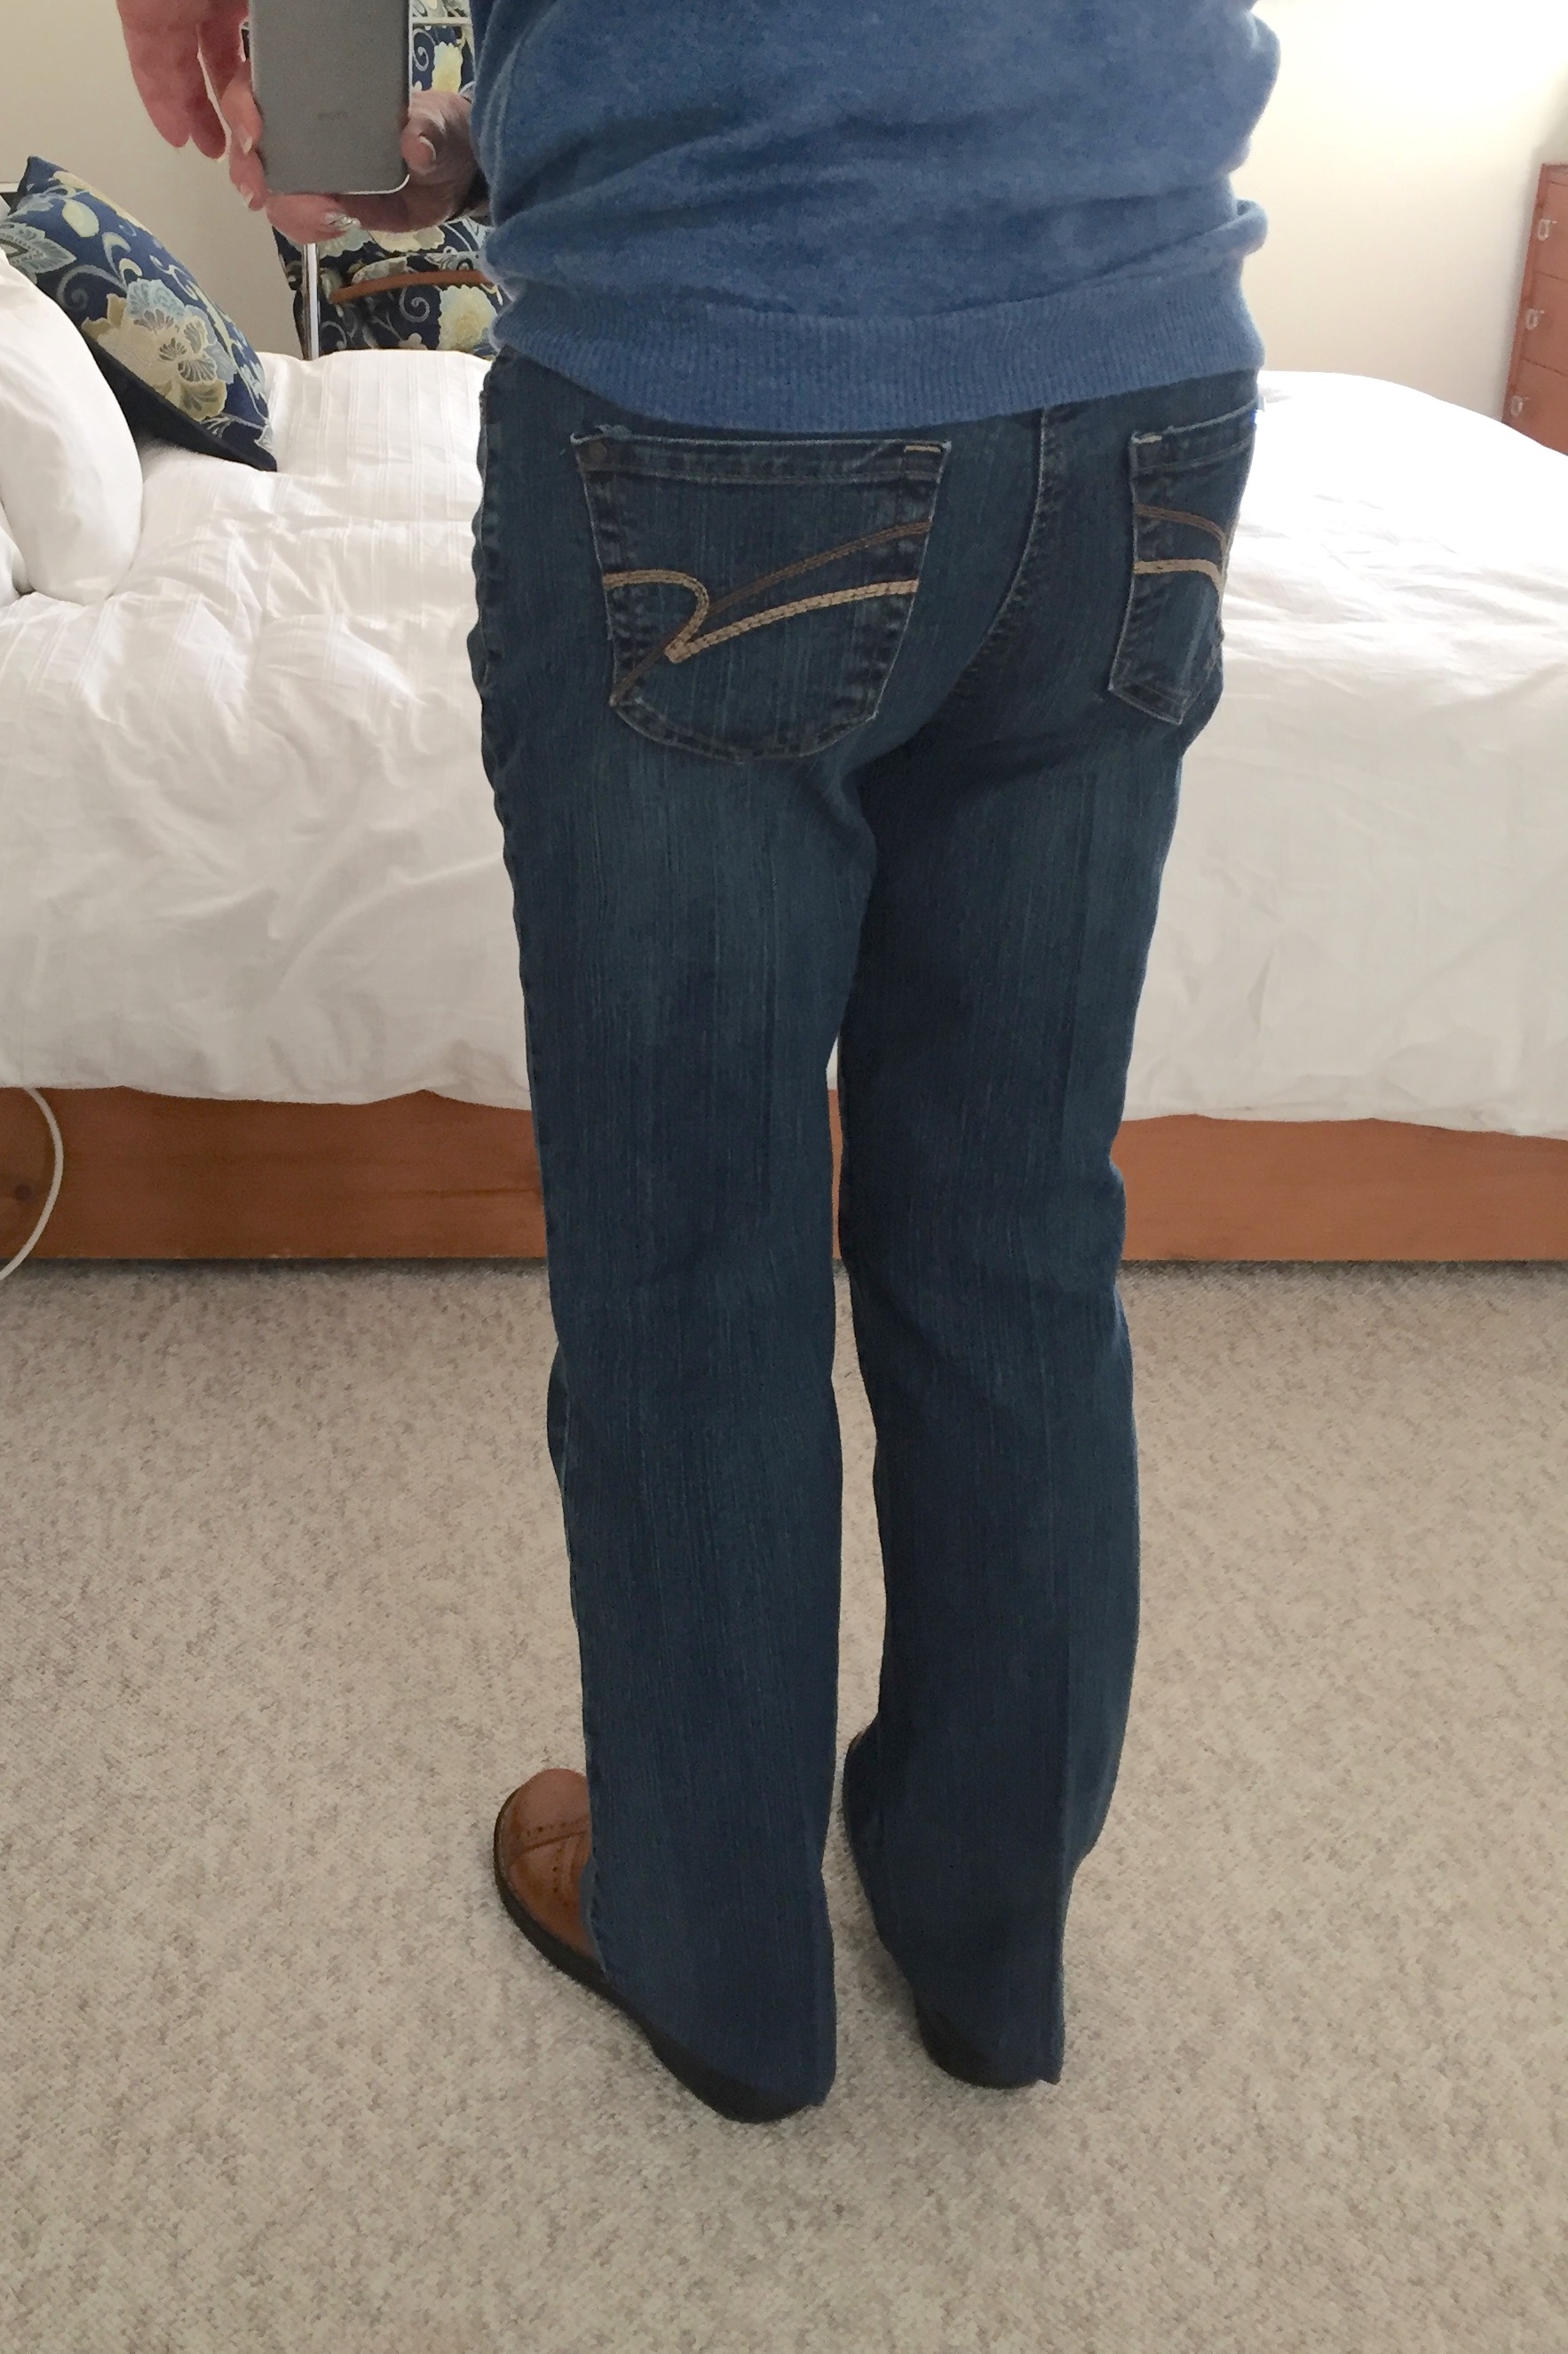
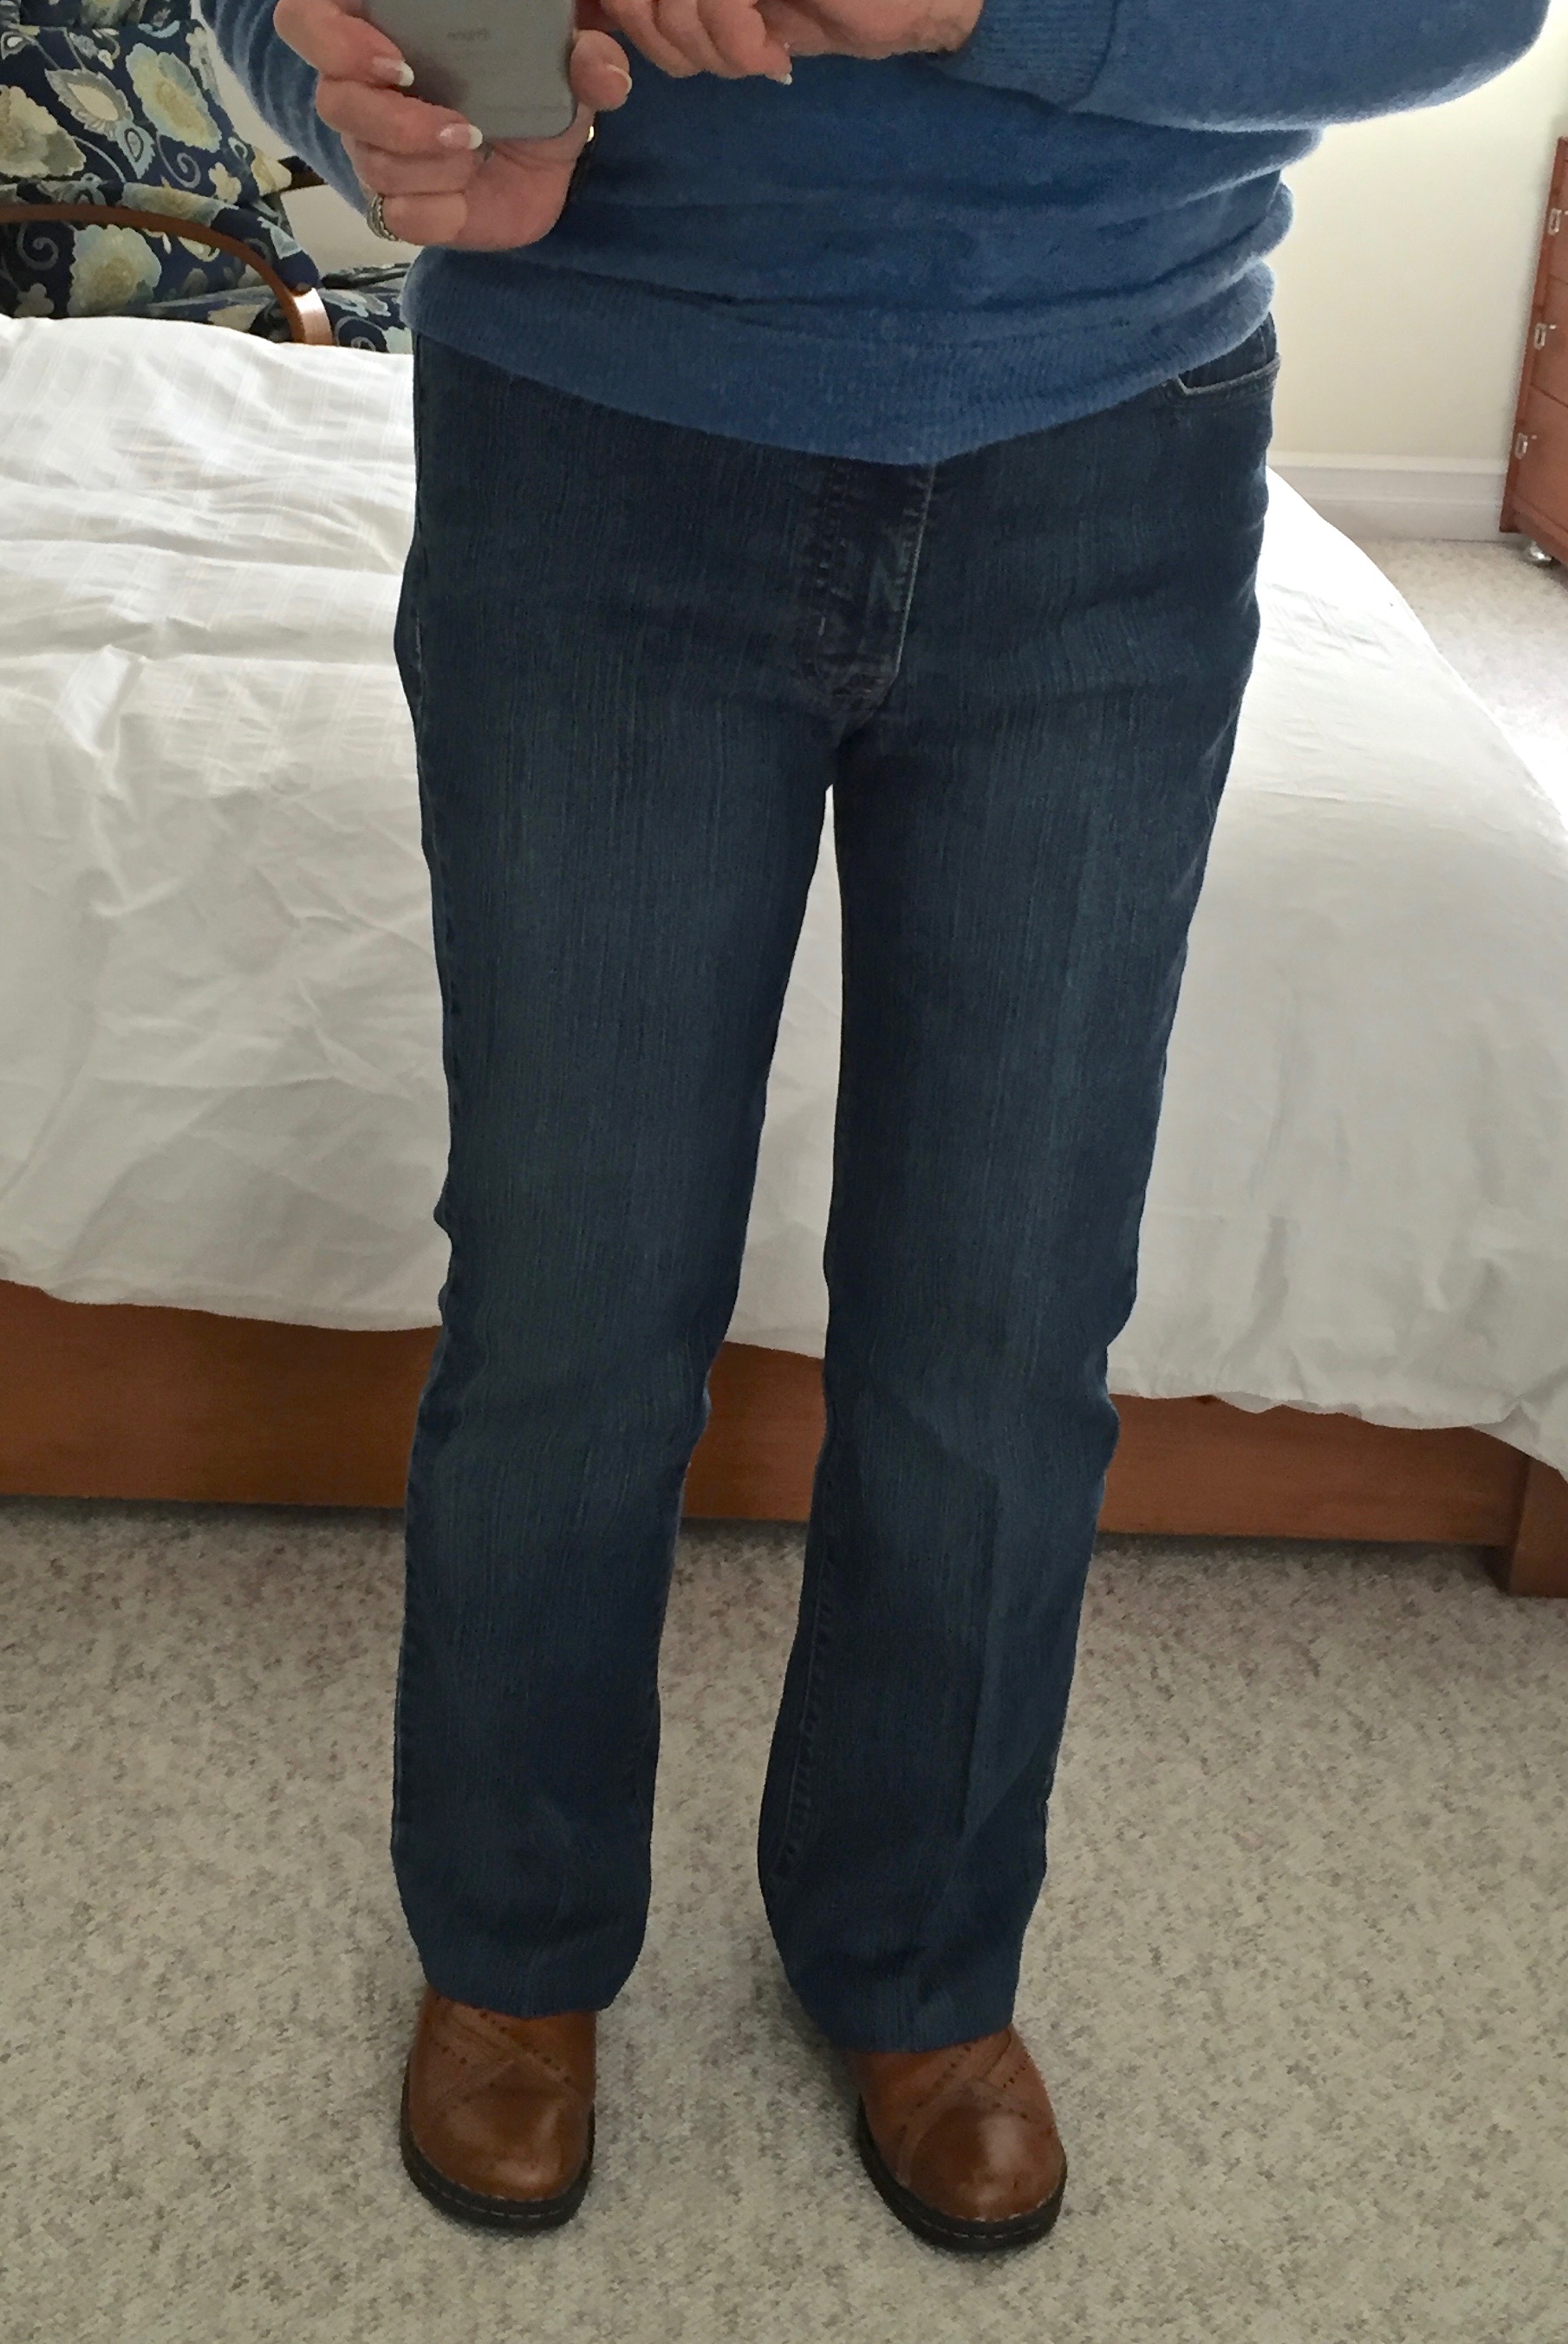
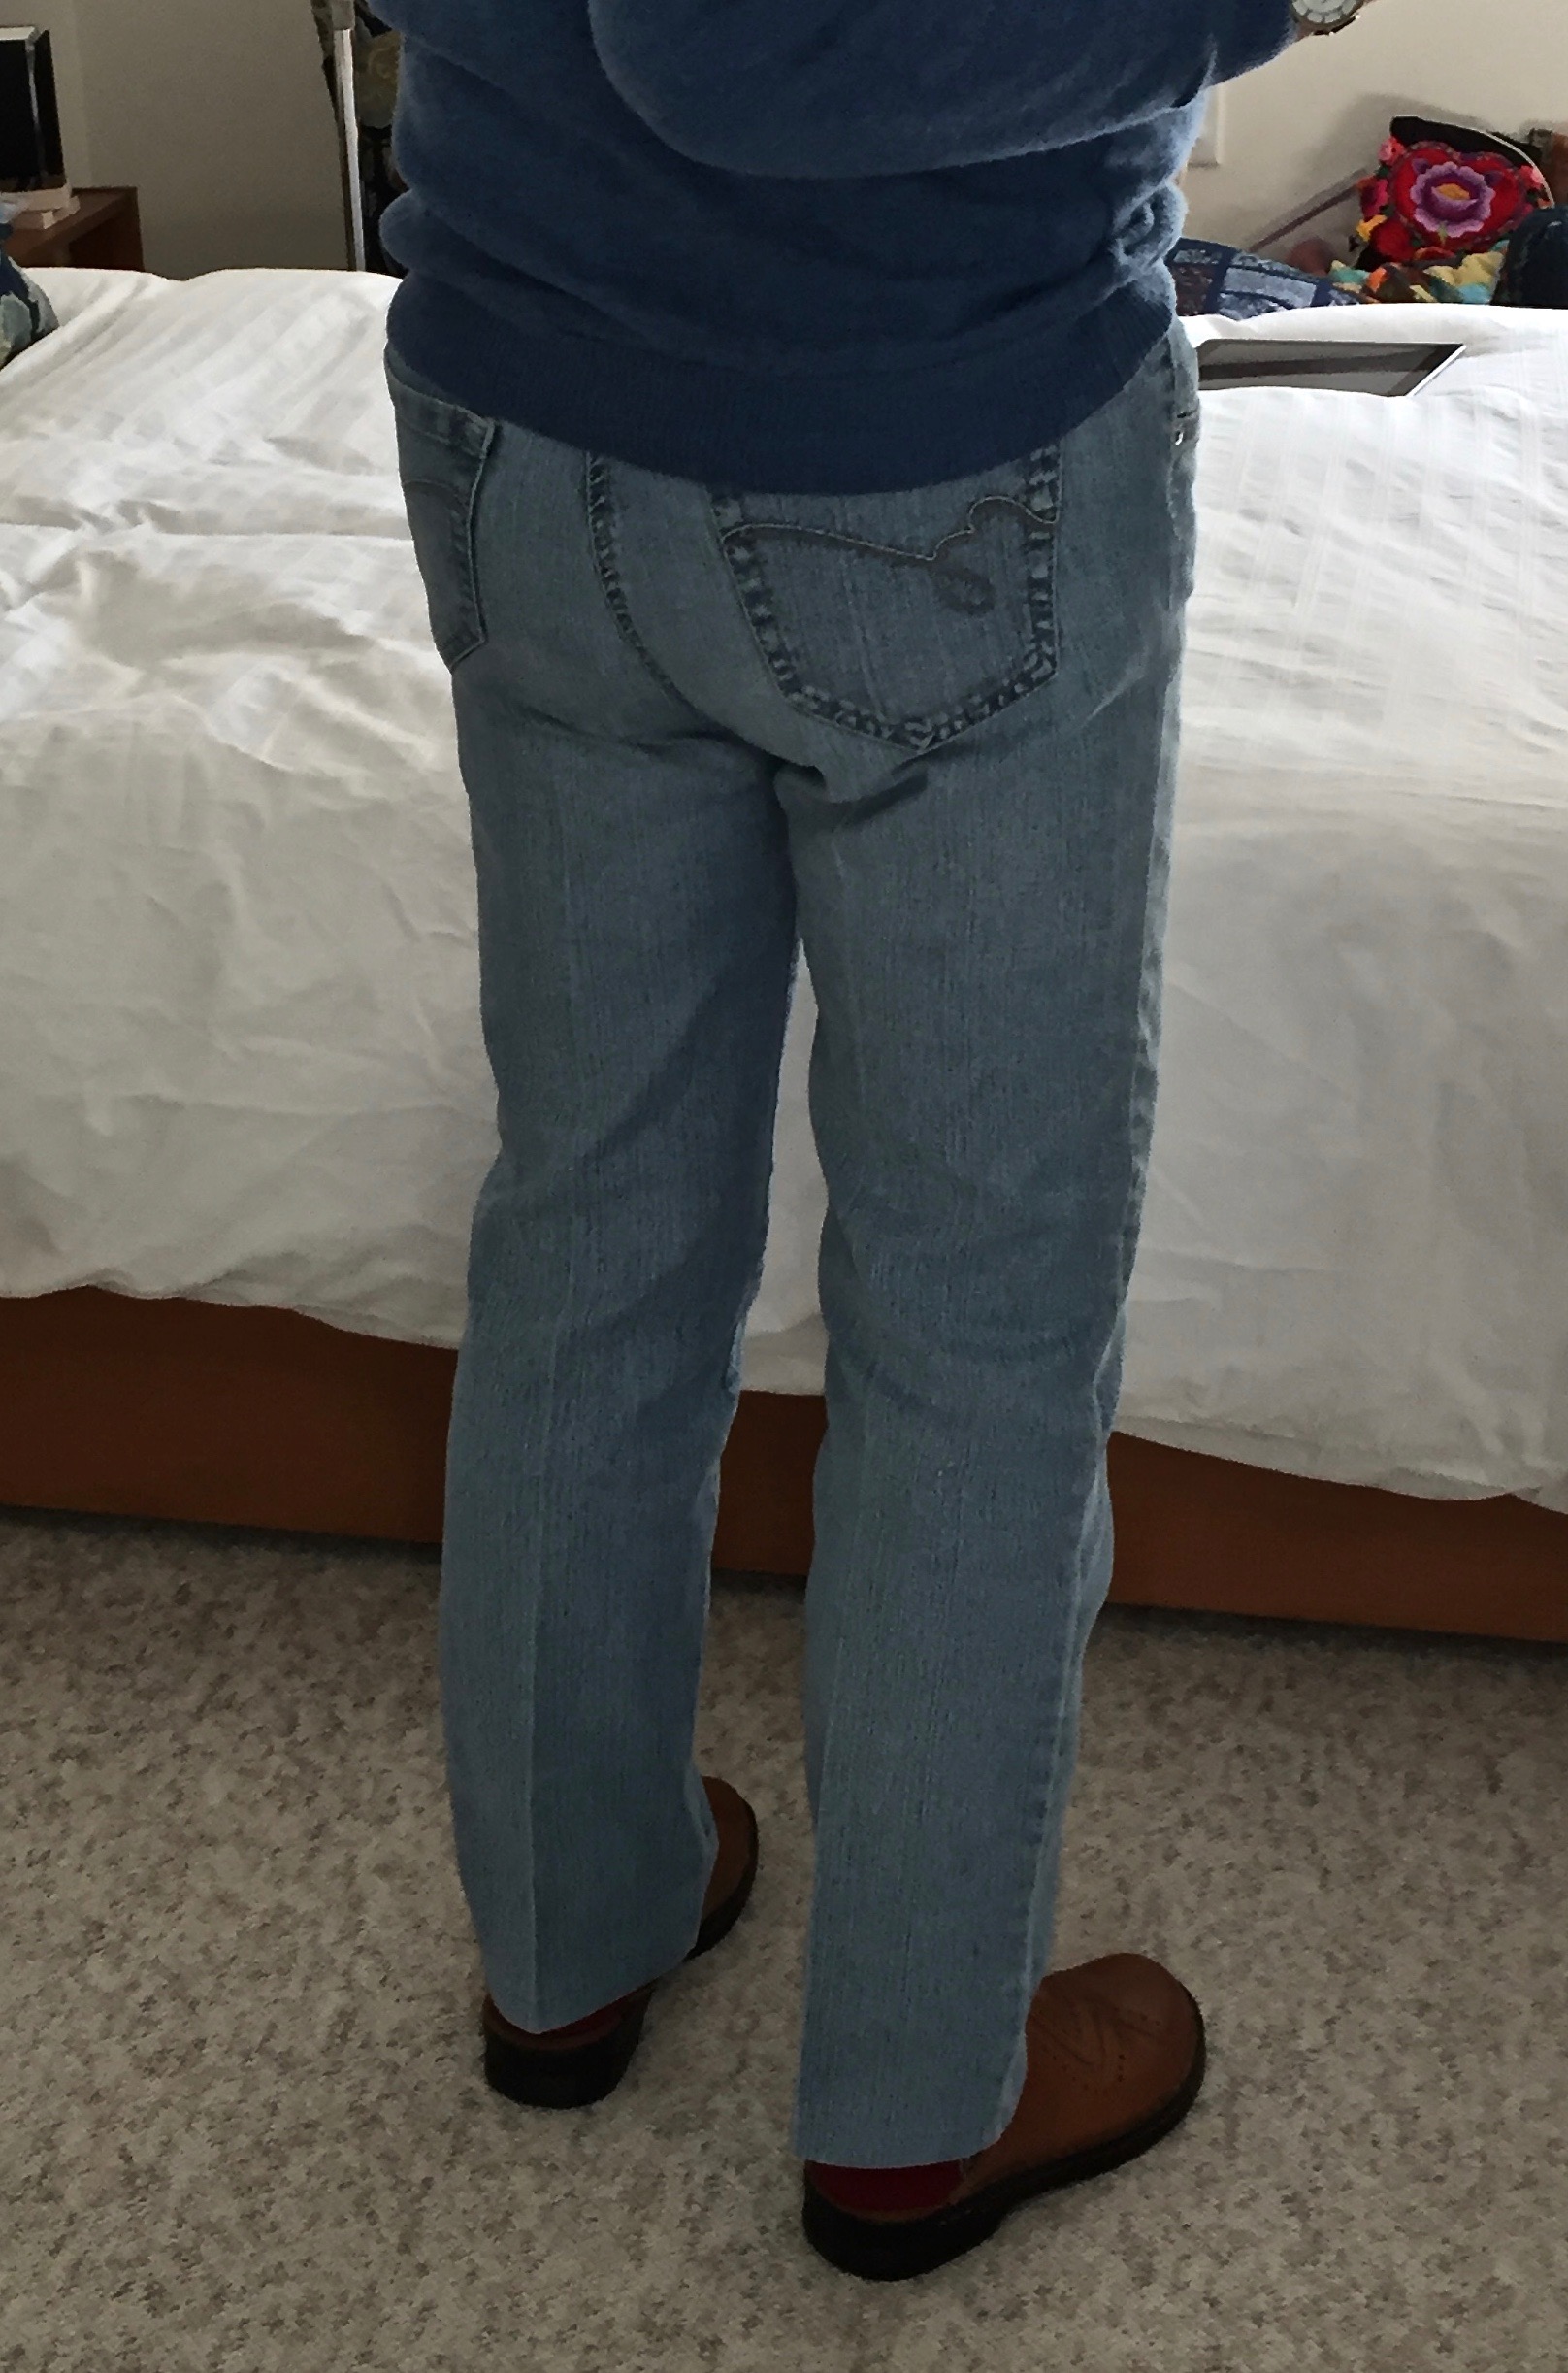
The other thing I “made” was a remake of a pair of jeans – making the waistband larger using a technique I found on Pinterest I’ve not tried before:

The image says it all. Worked well.

I still have the fibre art piece sitting on my cutting table waiting to be finished. Maybe I’ll get to it today after I get a second pair of jeans remade!

The Thing About Pants

The thing about making pants is the fit changes over a six month period – my weight distributes just a bit differently so the pattern that worked last year won’t quite fit now even though my weight hasn’t changed much.

I bought some white linen and a medium weight denim several weeks ago. I decided I had to get those white pants done because it’s almost August and I have nowhere to store the fabric till next spring!

Finished pants draped over a chair

I didn’t want to make another pair of pull-on pants. I wanted a fly front which is actually a lot easier to get into. I pulled out my Sandra Betzina jeans pattern Vogue 7608 which I’ve been using since 2015.

My challenge is I have a very flat bum, skinny thighs but a full belly which makes my waist measurement close to my hip measurement. I last used the pattern in May 2019 (the date I noted on the draft) so I wasn’t prepared to trust the sizing of my draft – I figured I should at least lay it against my pull-on pants pattern (most recently used in Feb 2022) and was surprised how close the two actually were. Then I did what I needed to do – I took my body measurements yet again: waist, high belly, hip (at fullest), thigh, and checked them against the pattern. On this pattern I’m a size A through the bum in the back but I need a C from hip to waist. In the front I’m a C from crotch to waist. I checked the grading on my draft against the original pattern to make sure I was close to a working size.

I intended making the dart adjustment in the pants back but I needed to make sure I was getting it centered so I balanced the pattern, front and back, then added the dart to the centre back. This pattern has a back yoke (no waistband), with a waistband in the front. The smart thing was to start by working “Top Down/Centre Out“. I cut out the 2 yoke pieces, the two front waistband pieces, sewed them together, then tried it on. The fit wasn’t bad, a reasonable amount of overlap in the front, so I decided to go ahead and cut the fabric.

I was using my white linen fabric to make a muslin – if the finished garment fit I’m ahead of the game, but as usual, I was prepared to throw out the whole effort if it didn’t work.

I did all the prep work – fused interfacing where it was needed: back pocket facing, front pocket facing, waistband, yoke, both sides of the fly. I serged edges where I wanted to prevent fraying. I made up the pockets, added them to the front (I simplify the pockets by adding them to the top, rather than inserting them from behind the fronts). Now here’s where I deviated from Top Down/Centre Out construction. If this was going to be a wearable garment, I needed to set up the fly front. So I went ahead and put in the zipper, added the fly facing and top stitched the fly in place (Here are instructions for this simple fly front) (Here’s a link to a video.) With the fly completed I added each front waistband piece.

With the front done, I worked on the backs. I sewed the yoke to each back side, then sewed the back dart in each back piece, serged it (1/4″ seam allowance). Added the back pockets to each side. Now I returned to the Top Down/Centre Out technique – I sewed inner leg seams (no serging), sewed the outer leg seams (no serging), stitched the crotch seam( no serging), then tried on the pants. I could see I wanted to take in the side seams 1/2″, I wanted to remove about 1/2″ from the back crotch inner leg to flatten the bum a bit more, I also wanted to bring the back dart higher so it would finish under the pocket, finally take in the centre back 3/8″ at the waist.

I made those adjustments (marked them on my pattern draft), then I serged the seams. Tried on the pants again. I was satisfied with the fit, so I added the waistband and yoke facings (having matched them to the waistband and yoke on the pants), top stitched around those elements on the right side of the garment. I marked the inseam (27″), folded and pressed the hem, then finished the hems with a cover stitch. Last I added a button hole on the front waist tab, and a button and tried the pants on again. Overall the fit was good – but the pants were too long.

I took out the hem, shortened the legs by 1/2″. Cover stitched again – still a smidge too long. I shortened them another 1/2″.

The front fit is close but the added length interferes with how the legs fall – this was before I shortened, and reshortened the pants. The back is close – I just need to raise the dart to remove the slight bit of fullness under my bum. I’m not going to do that with these pants, by the time I’ve sat in the linen for a few minutes the back will be stretched out – I marked that adjustment on the pattern for the denim which I will make next.

All in all, after shortening the legs, I have a pair of wearable pants. A good couple of days effort.

Jeans #2

Back #1

Back #2

OK. Not impossible. I took a deep breath and unstitched the waistband (which I’d put on upside down). Turned it around, stitched it back on. Added the waistband facing and stitched it down.

I did it, not to salvage the pants – there are problems with how the back of the legs is hanging (because of the fact that the side seams are out by 2″, right?). It’s the bum I was interested in and I can see it’s not bad (click on the images to see the fit more clearly). Had I done the construction correctly, the back would be fine – except for the pockets which are too low – for me, the pockets have to be almost on the yoke seam and not 2″ below which they are (which means I have to attach the yoke before putting the pockets on the back). If raised, the point of the pocket would be in a better location.

There’s also a problem in the front –

Pants Front

the front waistline has to be dropped half an inch – with it that bit too long, the front crotch has “smiles” – which is something I definitely don’t want. (Part of the “smiles” is because I’ve been sitting in them while writing this – but I will shorten the front rise that 1/2″ in the next pair).

Also I’m rethinking adding 1/4″ to each side seam – having had the pants on for 15 minutes I think the legs may actually be fine as they are (given the 20% stretch in the fabric).

Other than that, the pants aren’t too bad. They have served well for a muslin. Nevertheless, they’re still going into the “send to Value Village” pile – but the NEXT pair will be PERFECT! Really.

Weekend Failures

Two Failed Sewing Projects

I’ve been working at trying to get pants to fit me for a long time. I made my last pair last winter (I’m actually wearing them at the moment). Since then my waist has expanded a bit, my bum is still many sizes smaller, my inseam hasn’t changed… So instead of adapting my old pattern I decided to try a new Jeans pattern. I chose the Jalie 2908 – Women’s Stretch Jeans (I’d read good reviews).

I laid out the pattern pieces, saw I needed a size Z at the waist, a size U at the hips and a size R for the inseam. So I traced the pattern, making the adjustments between sizes using my trusty French curve, cut out the pattern pieces, cut out the light blue fabric (which I’d bought on sale and was treating as muslin) and put the pants together.

For me, the trouble with pants is I can’t baste them together and have any idea whether they fit – I have to put in the fly zipper, the pockets, add the waistband, even hem them (because the legs don’t hang correctly even pinned at the correct length) – in other words make the pants – before I know whether the pattern works or not.

I was using a stretch denim twill (20% stretch called for in the pattern) and the resulting pants were just ill-fitting! I didn’t bother with buttonholes in the waistband (all that was left to do) – I put the pants in the “off to Value Village” pile. (I will try the pattern again but probably not before the summer.)

That was Saturday.

Sunday, I went back to my Sandra Betzina Jeans pattern (V7608), redrafted the back panel yet again – last version had a long dart down the centre back of the leg from just under the bum to the top of the knee. I wanted to remove that excess fabric, instead, from the side seam and the inseam. Once I had the pattern retraced (with adjustments) I cut out my darker blue stretch denim/twill and constructed the pants.

I was doing a great job – put the decorative stitching on the pockets, attached them to the back panels, added the back yoke/waist. Attached front pockets and fly – both without a hitch. Time to join front and back – and here’s where I went disastrously wrong. I forgot to attach the front waistband before doing anything else!

I had stitched the front crotch so putting in the zipper was easier; I now stitched the back crotch (you get a slightly better fit if you sew the inseams first, then the crotch seam but in my head I was working on a second muslin and decided ease of inserting zipper trumped finessing the fit). I sewed the inseams, and the side seams – without the front waistband in place. Even though the front side seam was 2″ shorter than the back side seam (I trimmed away the excess on the back) then I stupidly serged both side seams – without questioning why the length difference. It was only when I reached to attach the waistband that I saw my mistake.

I stopped sewing. I made a quick trip to the fabric store to pick up more of both blue stretch denim/twills since I still had valid sale coupons and the fabrics were themselves still on sale. Planning on starting over – paying careful attention to what I am doing!

Today, I tried removing the “waistband” portion of the back yoke on the darker blue pants, tried adding a full waistband – only to see that I’d attached the waistband upside down! Not meant to be.

The pants would have fit quite well had I assembled them correctly. What I did learn is that although the legs fit not badly, I probably should add 1/4″ to side seam from the hip to the knee – in other words, take a bit less off the sides (I can always take them in – can’t let them out). These legs fit rather snugly.

So taking a deep breath, I’ve washed and pressed the new fabric and am ready to start over. Planning to assemble the parts in the right order this time.

Jeans Makeover

Too bad I didn’t remember to take a before picture – you’d have seen jeans that were very baggy in the bum with upper legs that were WAAAAY too wide!

So here’s how this goes: I go to a local thrift store and buy a pair of jeans that fit nicely in the waist and high hip. That’s my starting point. The jeans cost me $5! There’s no point in buying new expensive jeans retail because they fit no better than those from the thrift store.

Get the jeans home and wash them a couple of times to get rid of the smell (and to shrink them if they haven’t been worn a lot).

I open the inner leg seam from knee, through crotch, to knee. I pin, then straight stitch, front to back through the crotch making sure I am cutting out about 2 1/2″ at the back crotch seam area tapering the alignment along the inner leg till the front and back match at the knee – I don’t cut anything at this point because I want to check fit before cutting. The fabric eventually removed from the back crotch and back inner legs looks like this – sort of triangular.

Once I’m sure of the fit (I may want to remove a bit more from the back crotch and back inner leg – a smigeon from the front as well) I stitch, cut, and serge the inner legs through the crotch, then edge stitch the seam flat.

IMG_7251

The back fits reasonably snugly with enough give for sitting. I shorten the legs – cut the length of the leg at the inner seam 28″ (enough to serge the edge and turn up a 5/8″ hem – my inseam is 27 1/4″).

The front fits smoothly, not baggy.IMG_7252

I make two other alterations – I carefully cut out the front grommet – they cut holes in my sweaters – patch, and reinforce the hole, sew on a button; the second alteration is to extend the depth of the right front pocket to hold my iPhone securely.

This is an earlier pair adjusted to fit the same way. I’ve worn this pair a lot – they’re very comfortable.IMG_7255