When you’re short, no matter how you try positioning your car seatbelt, the belt cuts into your neck when you’re wearing a t-shirt, or low cut top of some sort. In winter it’s not a problem but when I’m wearing light clothing I definitely have a problem.
A gazillion years ago a friend brought me a pair of seatbelt covers from Hawaii, of all places. I guess because they wear light clothing year round it was a solution to a pervasive problem, there. In any case, when that set of covers wore out, I made myself a new pair. Other people wanted some, so I did a small production. Each time I replace my old seatbelt covers, I make a batch for gifts.

The set I made for myself used a large floral print in red (I have a bright red car). Print fabric doesn’t wear as well as batik but I liked the colour. However, I’d bought these three batik fabrics on sale several weeks ago precisely with seatbelt covers in mind.
They’re easy to make.
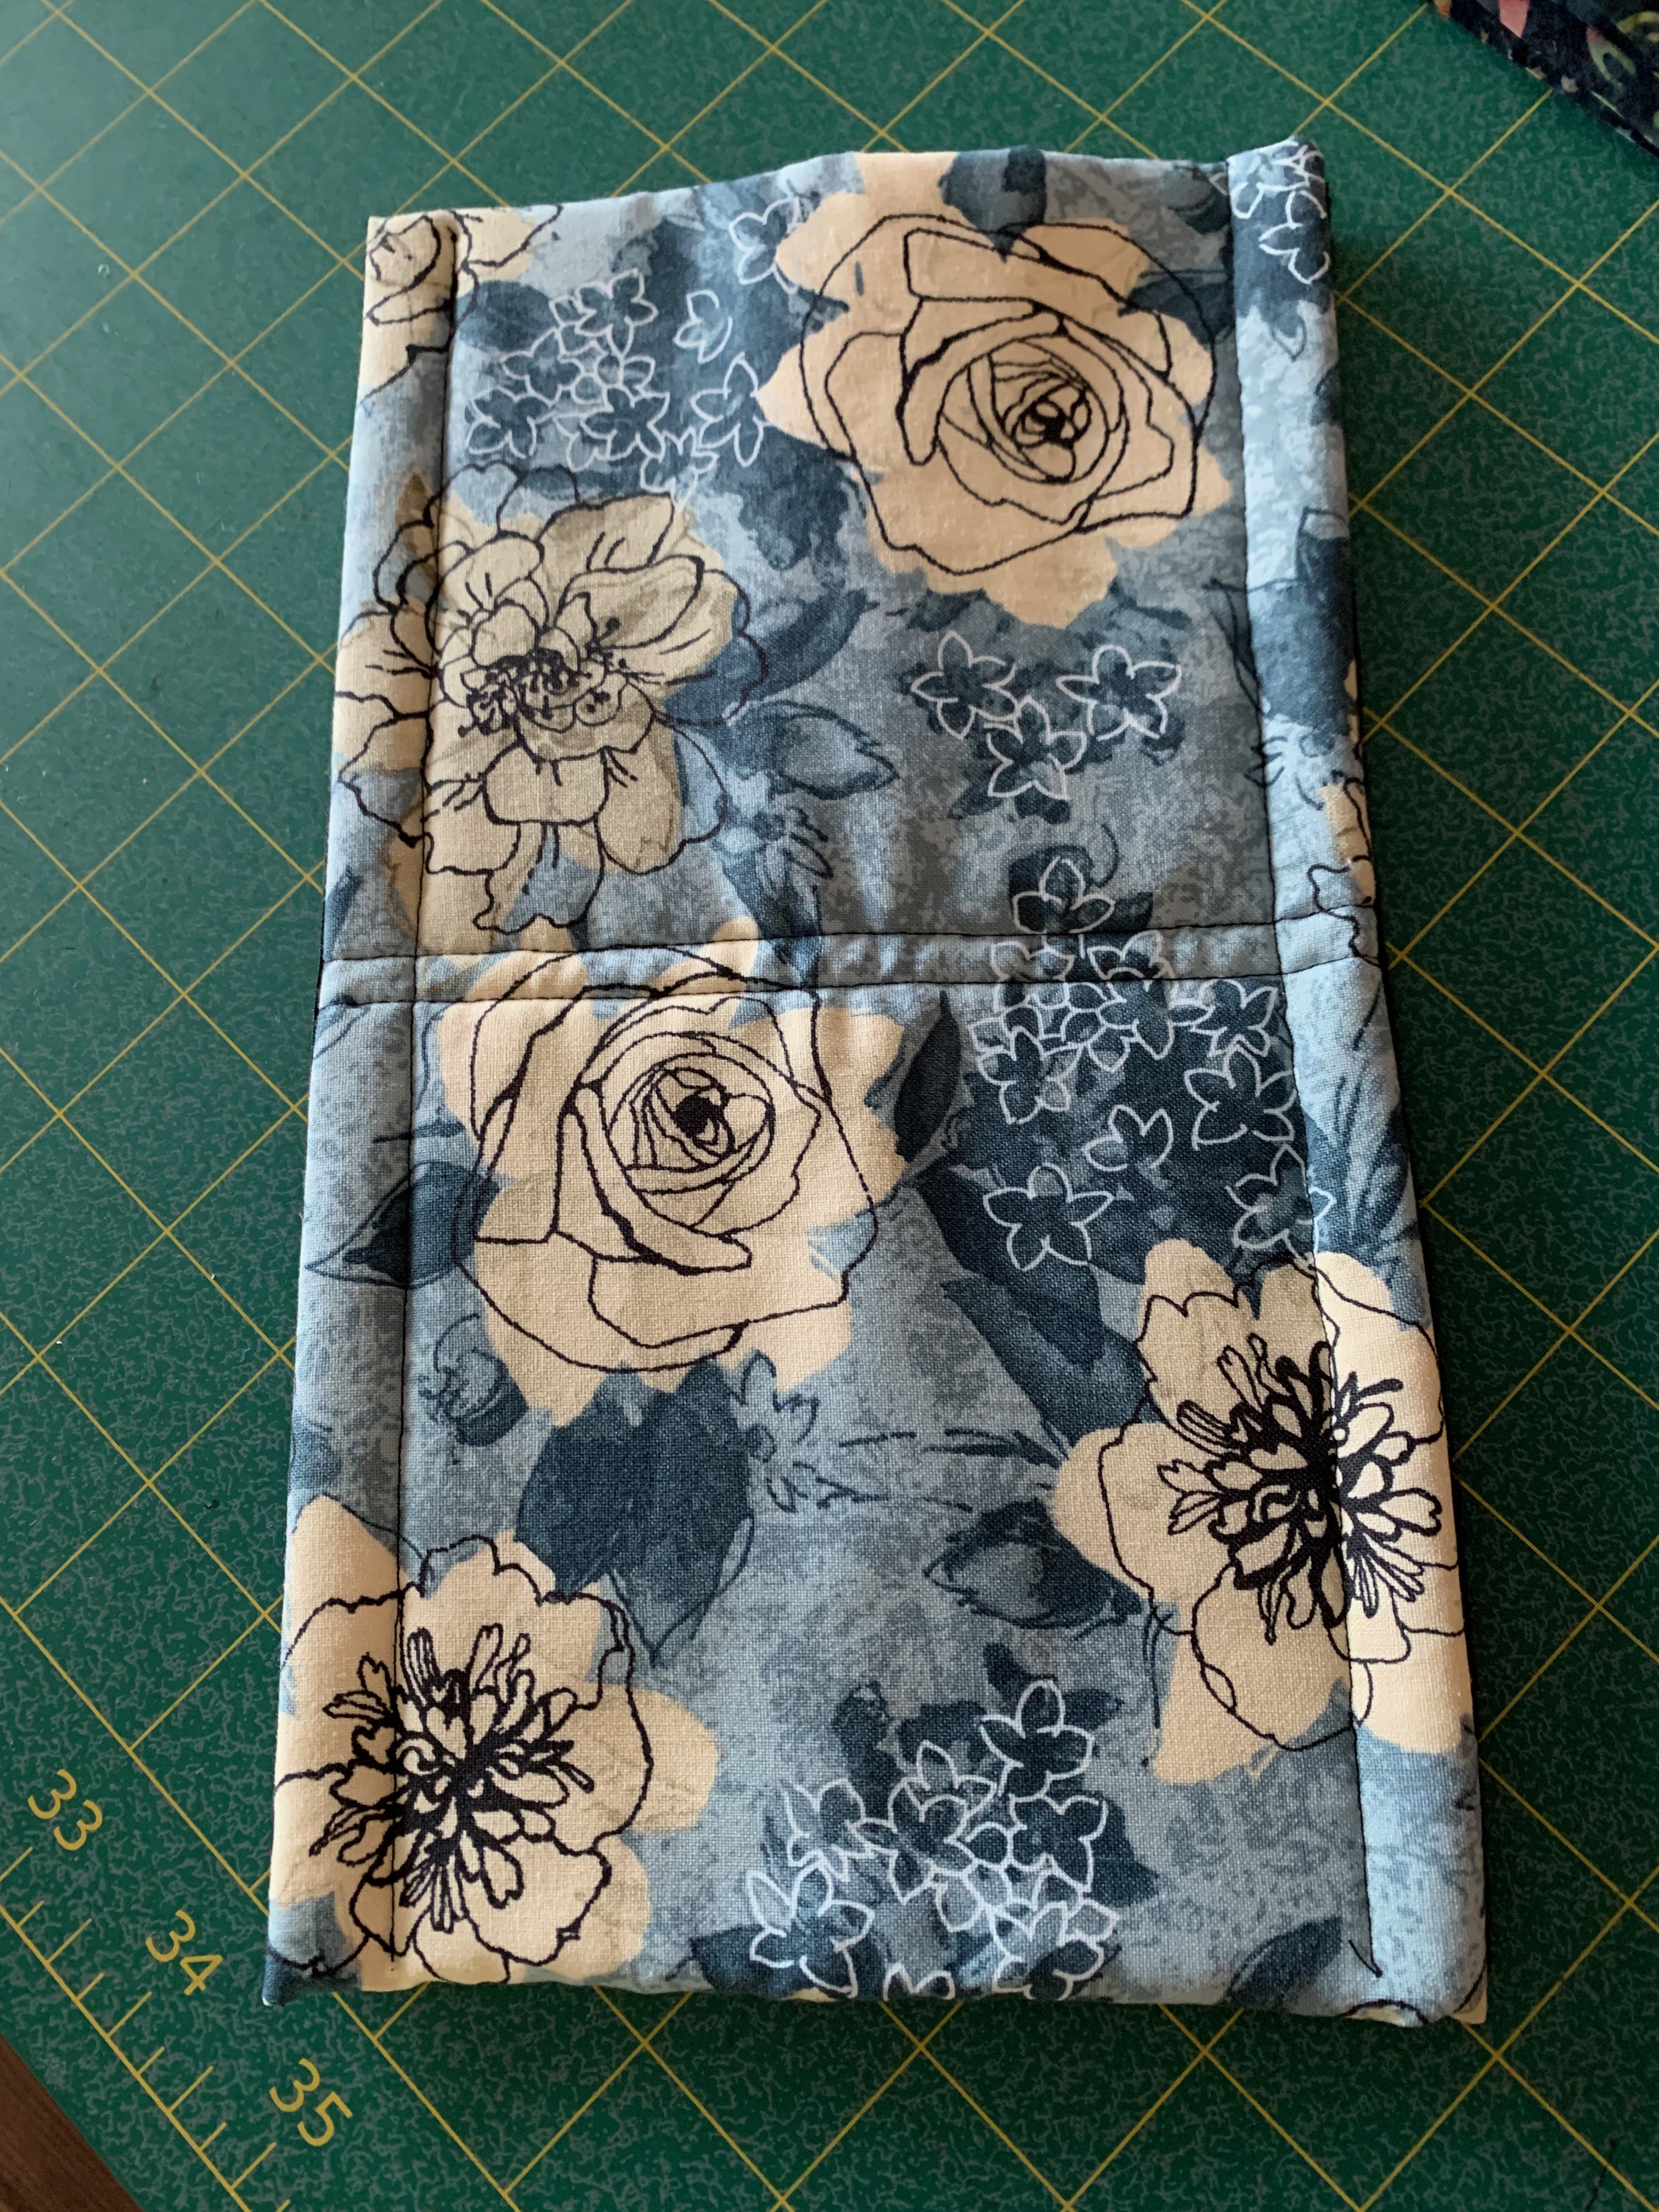
- Cut a 7″ strip of fabric from the width of fabric (WOF), then cut that strip in half giving you two pieces – 7″ x 22″ each. Cut a piece of batting 6″ x 21 1/2″; lay it down the middle of the fabric aligning it with the cut fabric end, leaving the selvage edge with the fabric extended beyond the batting a wee bit. Fold the cut end about 1/3 of the way over the batting, bring the selvedge edge over that end and stitch at the selvege edge to secure both the fabric and batting. (Those are the two seams you see in the middle of the cover.) In other words, the overlapping seam which joins the ends of the fabric ends up in the middle of what will be the “under” side of the cover. The finished length of the cover should be close to 11″.
- Cut Velcro hooks and loops paired strips 10 1/2″ in length. Sew the loops (loop side up) to one long edge on the “top” side of the cover, turn the cover over, fold in the loop tape, tuck the top edge of fabric beneath the loop strip, then sew the other edge of the loop tape in place, turning under the bit of fabric extending beyond the Velcro when you get to the end. (That’s the seam you see along the length of the cover.)
- Attach the hooks strip to the second long side of the cover, again sewing first on the “top” side, then folding the tape to the under side and stitching it down.
- Fold the cover in half, and press the loops and hooks together. That’s it. You’re done!
Here is a link to instructions with photos that I provided the last time I made seatbelt covers.
BTW, this is all procrastination – I’ve got to get going on a new quilt and I have no idea what to make. I’ve been looking at photos on Pinterest looking for something interesting to tackle.
There are lots of interesting possibilities for improvisation:


I don’t have patterns, just ideas. Laid out like this, the Blocks and Stripes, and colourful Drunkard’s Path seem to be calling. Next step – go through fabric scraps and see what I can find there before going through the larger fabrics in my stash. I just gotta get started on something….