Fibonacci #1 – Completed

I spent the afternoon finishing the Fibonacci Quilt. Last evening as I was nearing the end I was thinking about the binding – my first inclination was to bind it using the solid Kona dark blue but decided that wouldn’t add anything of interest to the quilt. I dug out what was left of the original fabrics, realized I had more than enough to cut two 2 1/2″ width-of-fabric strips from each. My idea was to extend the triangular corners into the binding, carrying the diagonal lines past the border. It took quite a bit of pinning and fitting to align those diagonals but in the end they worked – the most obvious of the matches is the yellow diagonal on the right, but they’re all done that way.

This could be considered a “medallion” quilt – the center block element (in this instance offset as a diamond) is constructed from the Fibonacci series of fabric strips, surrounded by large triangular panels of the individual fabrics, set off within a narrow navy sashing and finished with a contrasting border!
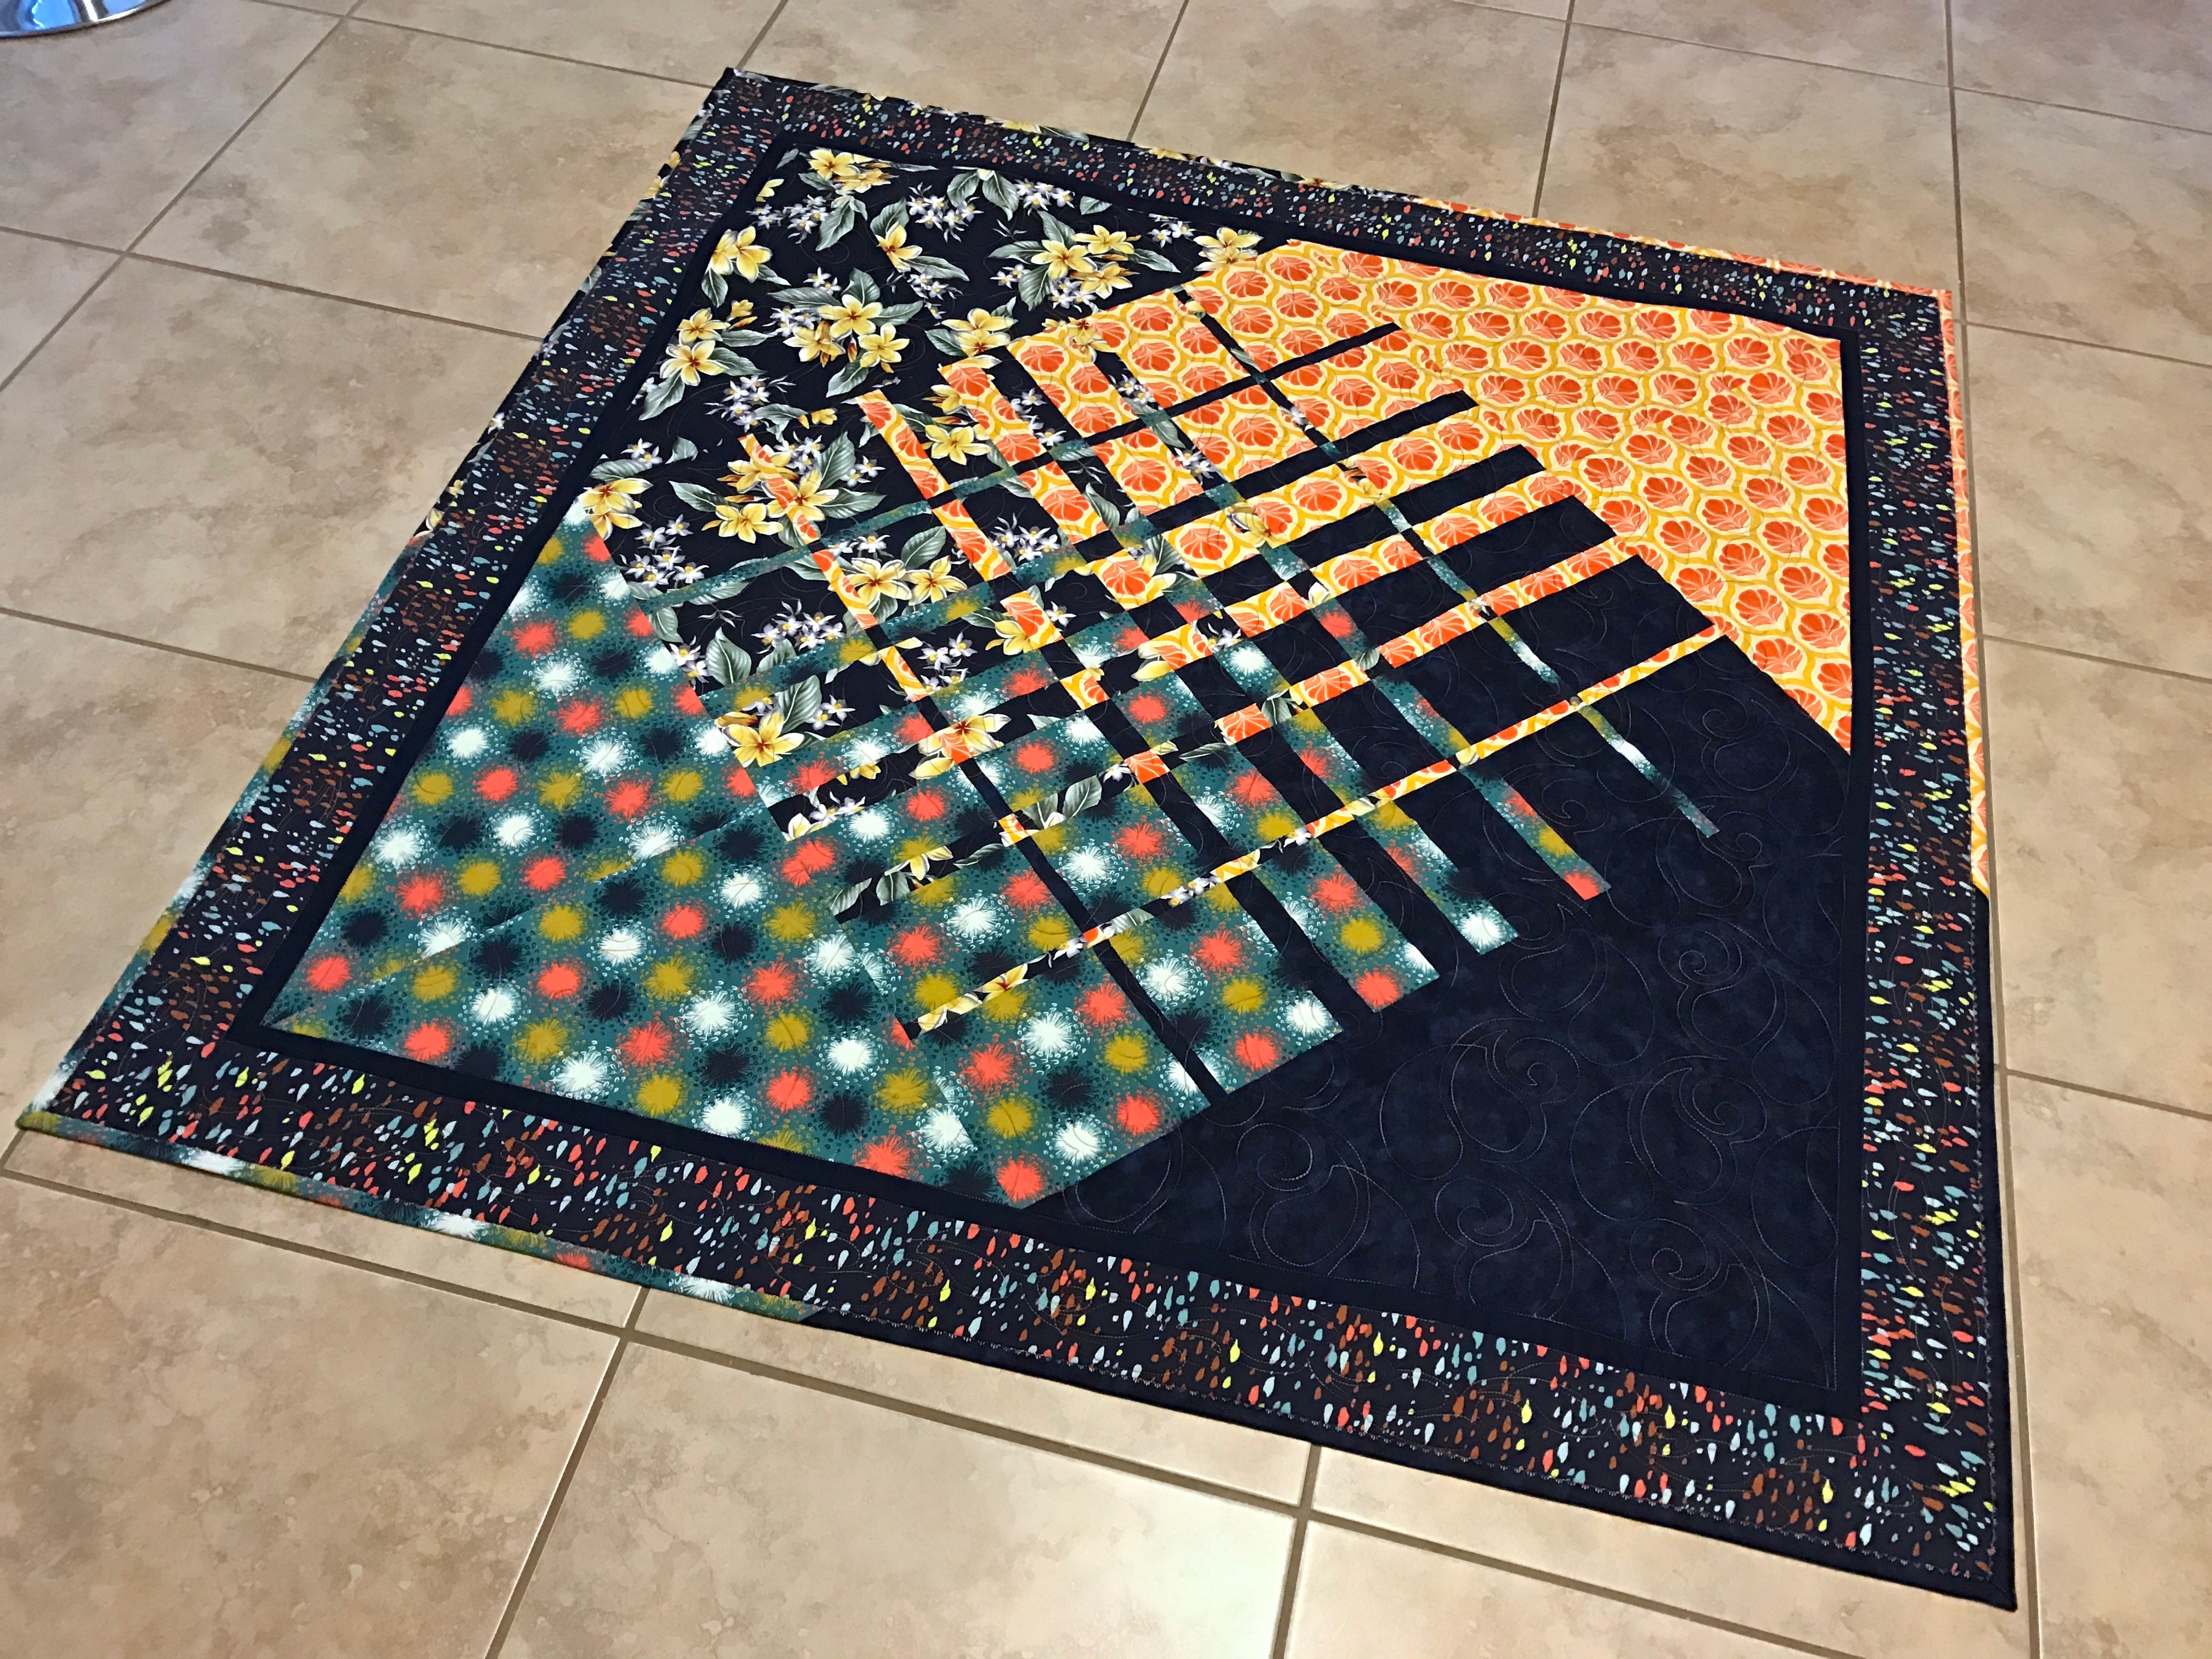
Quilt Top

Quilt Top

I edge-to-edge quilted the inner panel – I had worked out the dimensions of the embroidery to fit within the navy sashing. My calculations were close enough that eight rows filled the panel end to end without having to fudge the spacing between rows. It’d hard to tell from the quilting detail below that the rows actually overlap – that is, there were spaces in each row filled by elements in the next row. This is usually how long arm quilting designs are created – rows of nested scrolls. It’s much more difficult to plan out when I’m quilting in the hoop on my embroidery machine because while I’m quilting in rows, each row consists in this case of 4 1/2 repeats each of which has to be precisely connected to the adjacent stitch out for the rows to work! The inner sashing was stitched in the ditch; the outer border was quilted using a modified version of the main quilting motif.

This is the most intricate quilting I’ve attempted and it worked out very well. The new embroidery machine and the larger sewing table definitely helped. It was also nice to be able to do the hooping of the fabric on the cutting table rather than on my knees on the floor!

img_8056

Quilting Detail

For the back I used leftover scraps from the original fabrics assembled randomly in a crazy quilt array. The block is quite large pieced into the backing fabric.
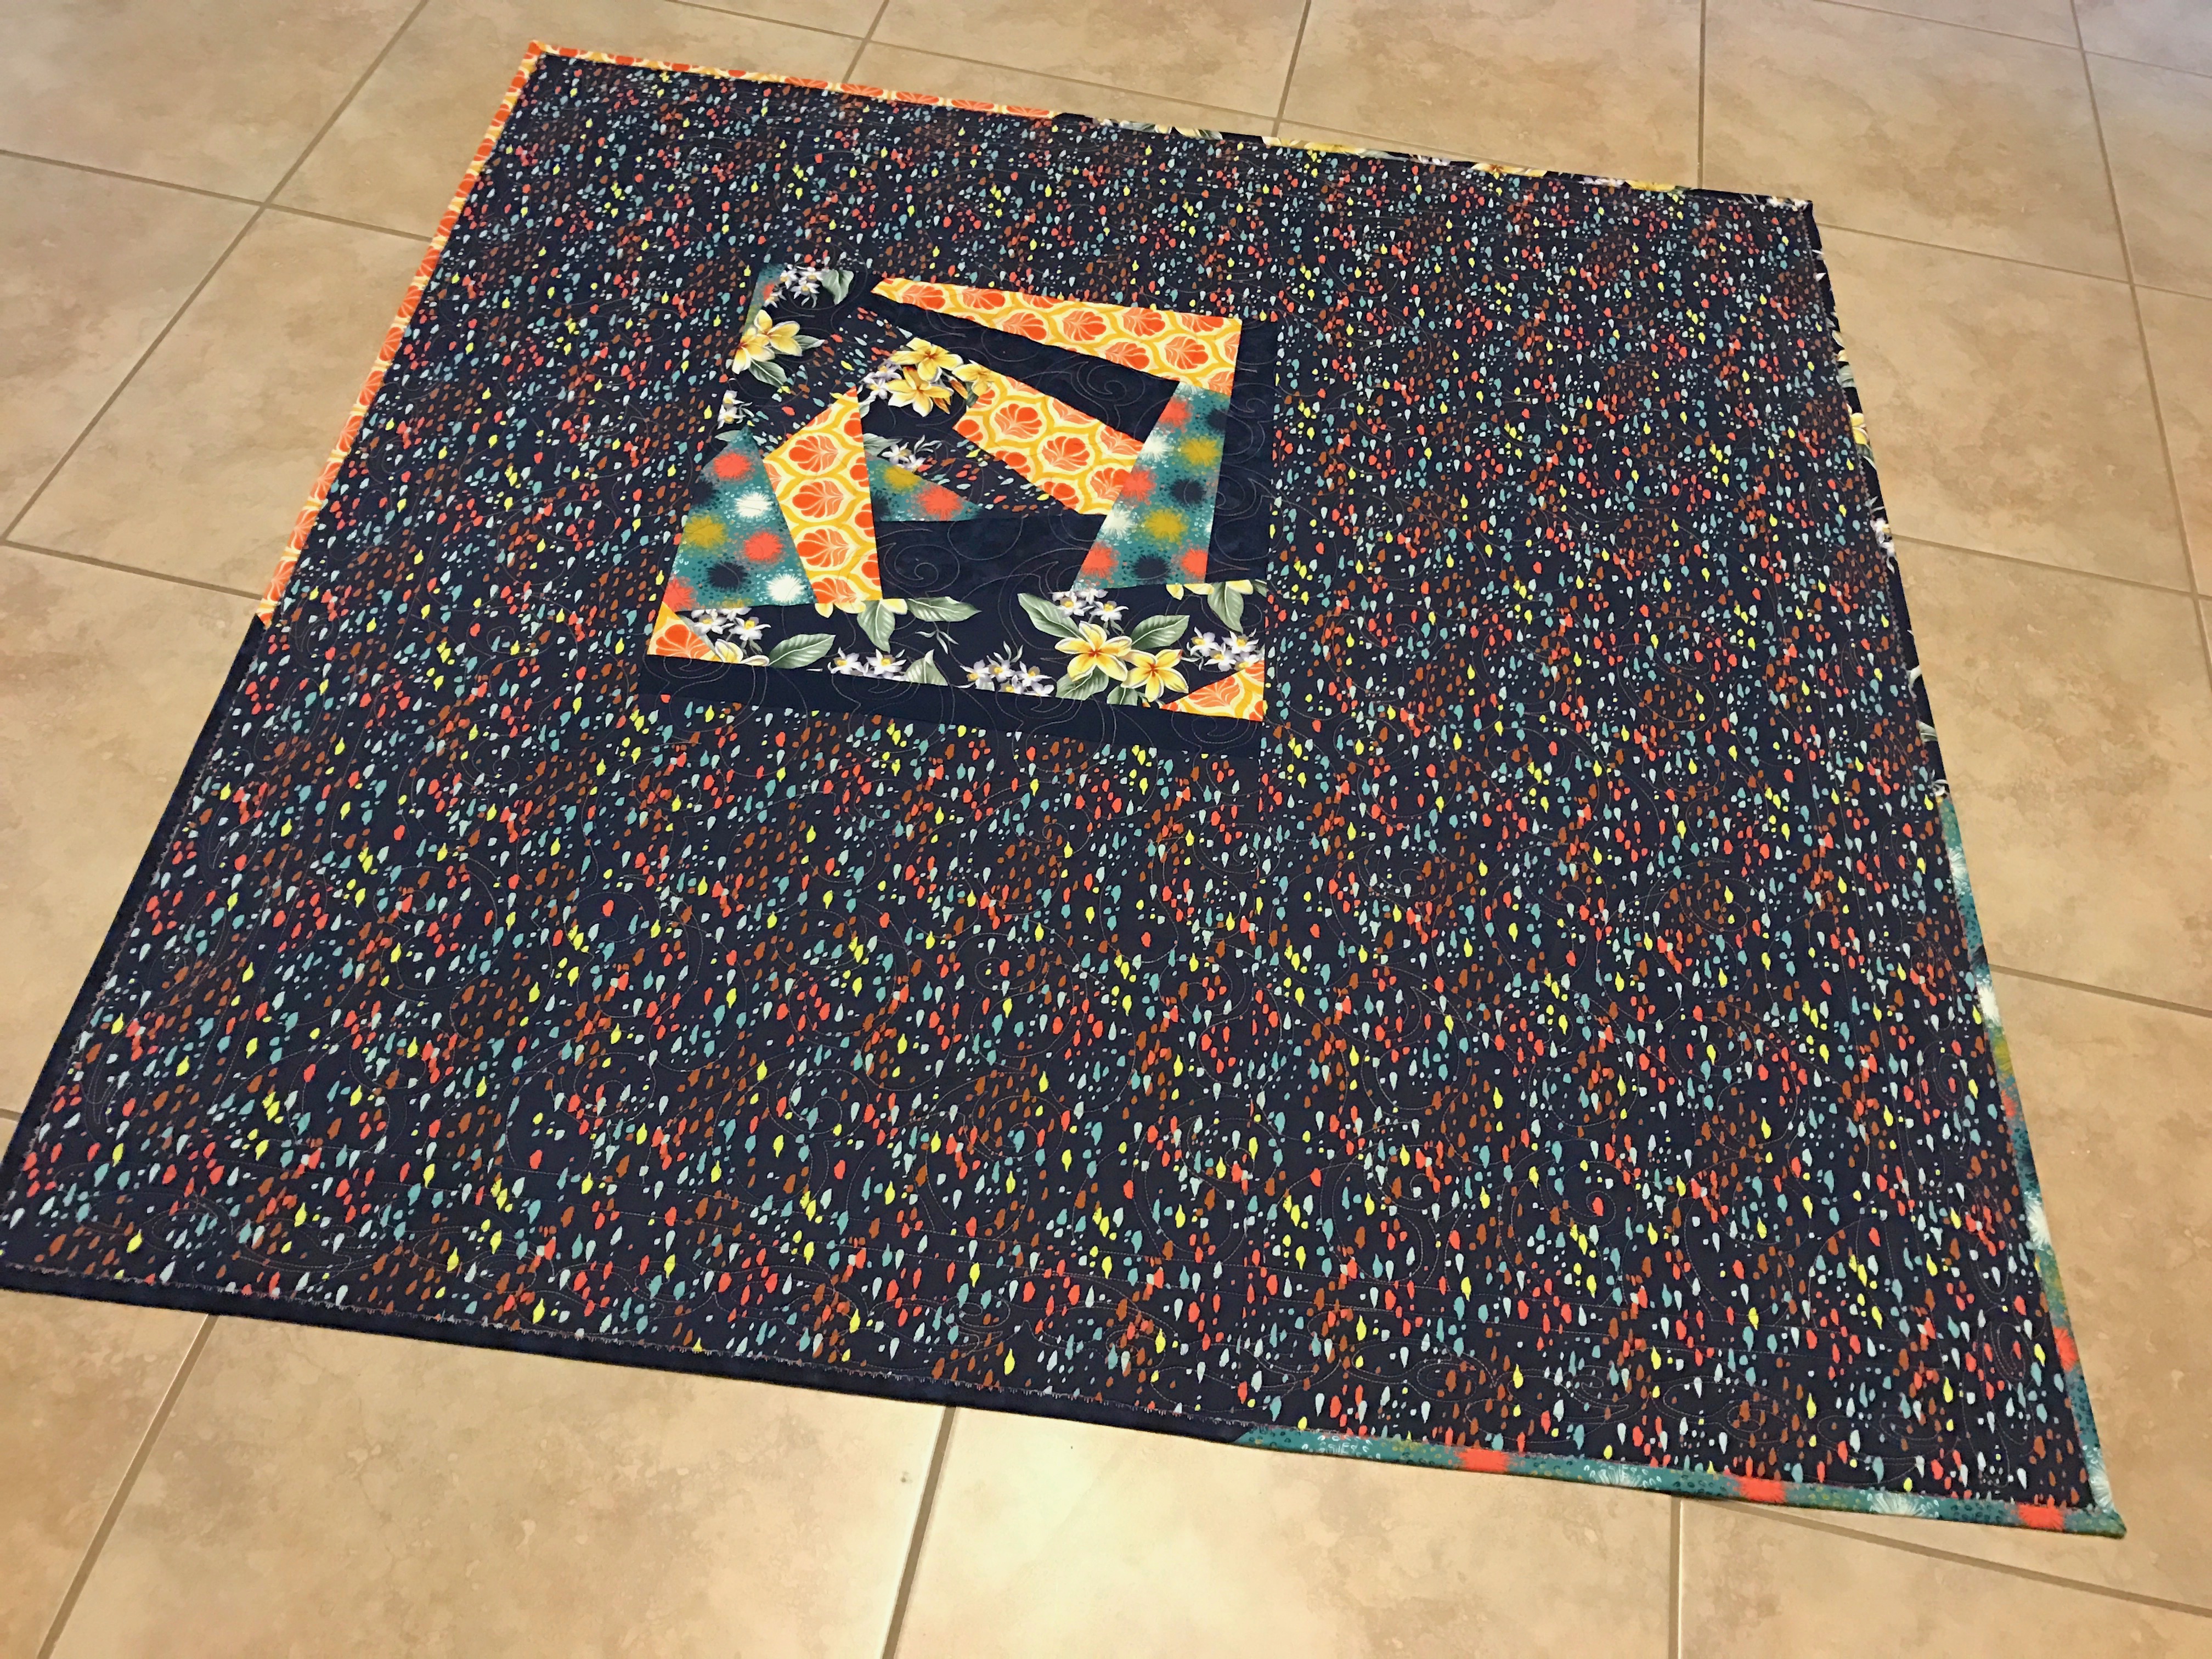
img_8057

Quilt Back

I’ve named this quilt Fibonacci #1. There are, in fact, many different ways of using this number series to construct a quilt. I have to let the ideas percolate for now but there will be more quilts based on the number series…

New Sewing Machine

Last week I upgraded my embroidery machine – a totally impulsive decision. My Pfaff Creative Sensation was about 5 years old (no longer offered by Pfaff and  quite substantially depreciated since the new Creative Sensation Pro II was released within the last couple of months). My local Pfaff dealer was offering a good trade-in on my old machine so I decided to make the swap.

The differences between the two machines are subtle – the Pro II embroiders noticeably faster, there are a couple of new fancy stitches, the workings are all just a bit more stable than my original machine. The trade up made some sense since all my embroidery hoops work on this machine as do all the feet in my large collection of sewing machine feet.

img_8051

Front of zippered bag

So I took the machine home, unpacked it, and decided to give it run by making a zippered bag for storing the foot pedal and cord when I need to transport the machine. I loaded one of the embroidery designs included on the machine, picked out some rayon embroidery thread and stitched out the design. Did a nice job and this was where I could see the increase in embroidery speed. The stitches were properly embedded in the fabric layers without my having to make any tension adjustment (which I often had to do on the old machine). No thread breakage – always a good sign.

One of the few hoops I don’t have is a “texture” hoop – one which lets me add ribbons and other trim to the surface of the fabric before stitching out an embroidery. Instead, I took a piece of grosgrain ribbon, lightly glued it along the middle of my fabric, hooped the fabric and stitched out the embroidery. Worked fine!

img_8053

Back of zippered bag

I added a zipper, a lining, and stitched up the bag. Didn’t take long. Then I played around for a while testing out various stitches on a scrap of fabric.

These days, however, I primarily use my embroidery machine for quilting. Once my quilt top and quilt back are pieced and sewn (I actually prefer my straight stitch quilting machine for that), and the quilt sandwich pinned, I do the final quilting by hooping the pinned quilt segment by segment (easiest is when the top is actually constructed from blocks; more demanding is hooping from edge to edge – which is the job I just finished today on my Fibonacci quilt (I’ve quilted half of the border; I’ll complete that job tomorrow, then add the binding and label)).

The Pro II runs more quietly and smoothly than the original Creative Sensation. I can see I will turn to it for more than just quilting.

The new machine is now sitting proudly on my new sewing table which is deeper and a bit longer than the previous table (on which is sitting my straight stitch quilter) – making the whole business of quilting with the embroidery machine much easier (much less drag on the embroidery unit since the weight and expanse of the quilt is distributed over a much larger surface).

I can see I’m gonna be happy having upgraded the embroidery machine.