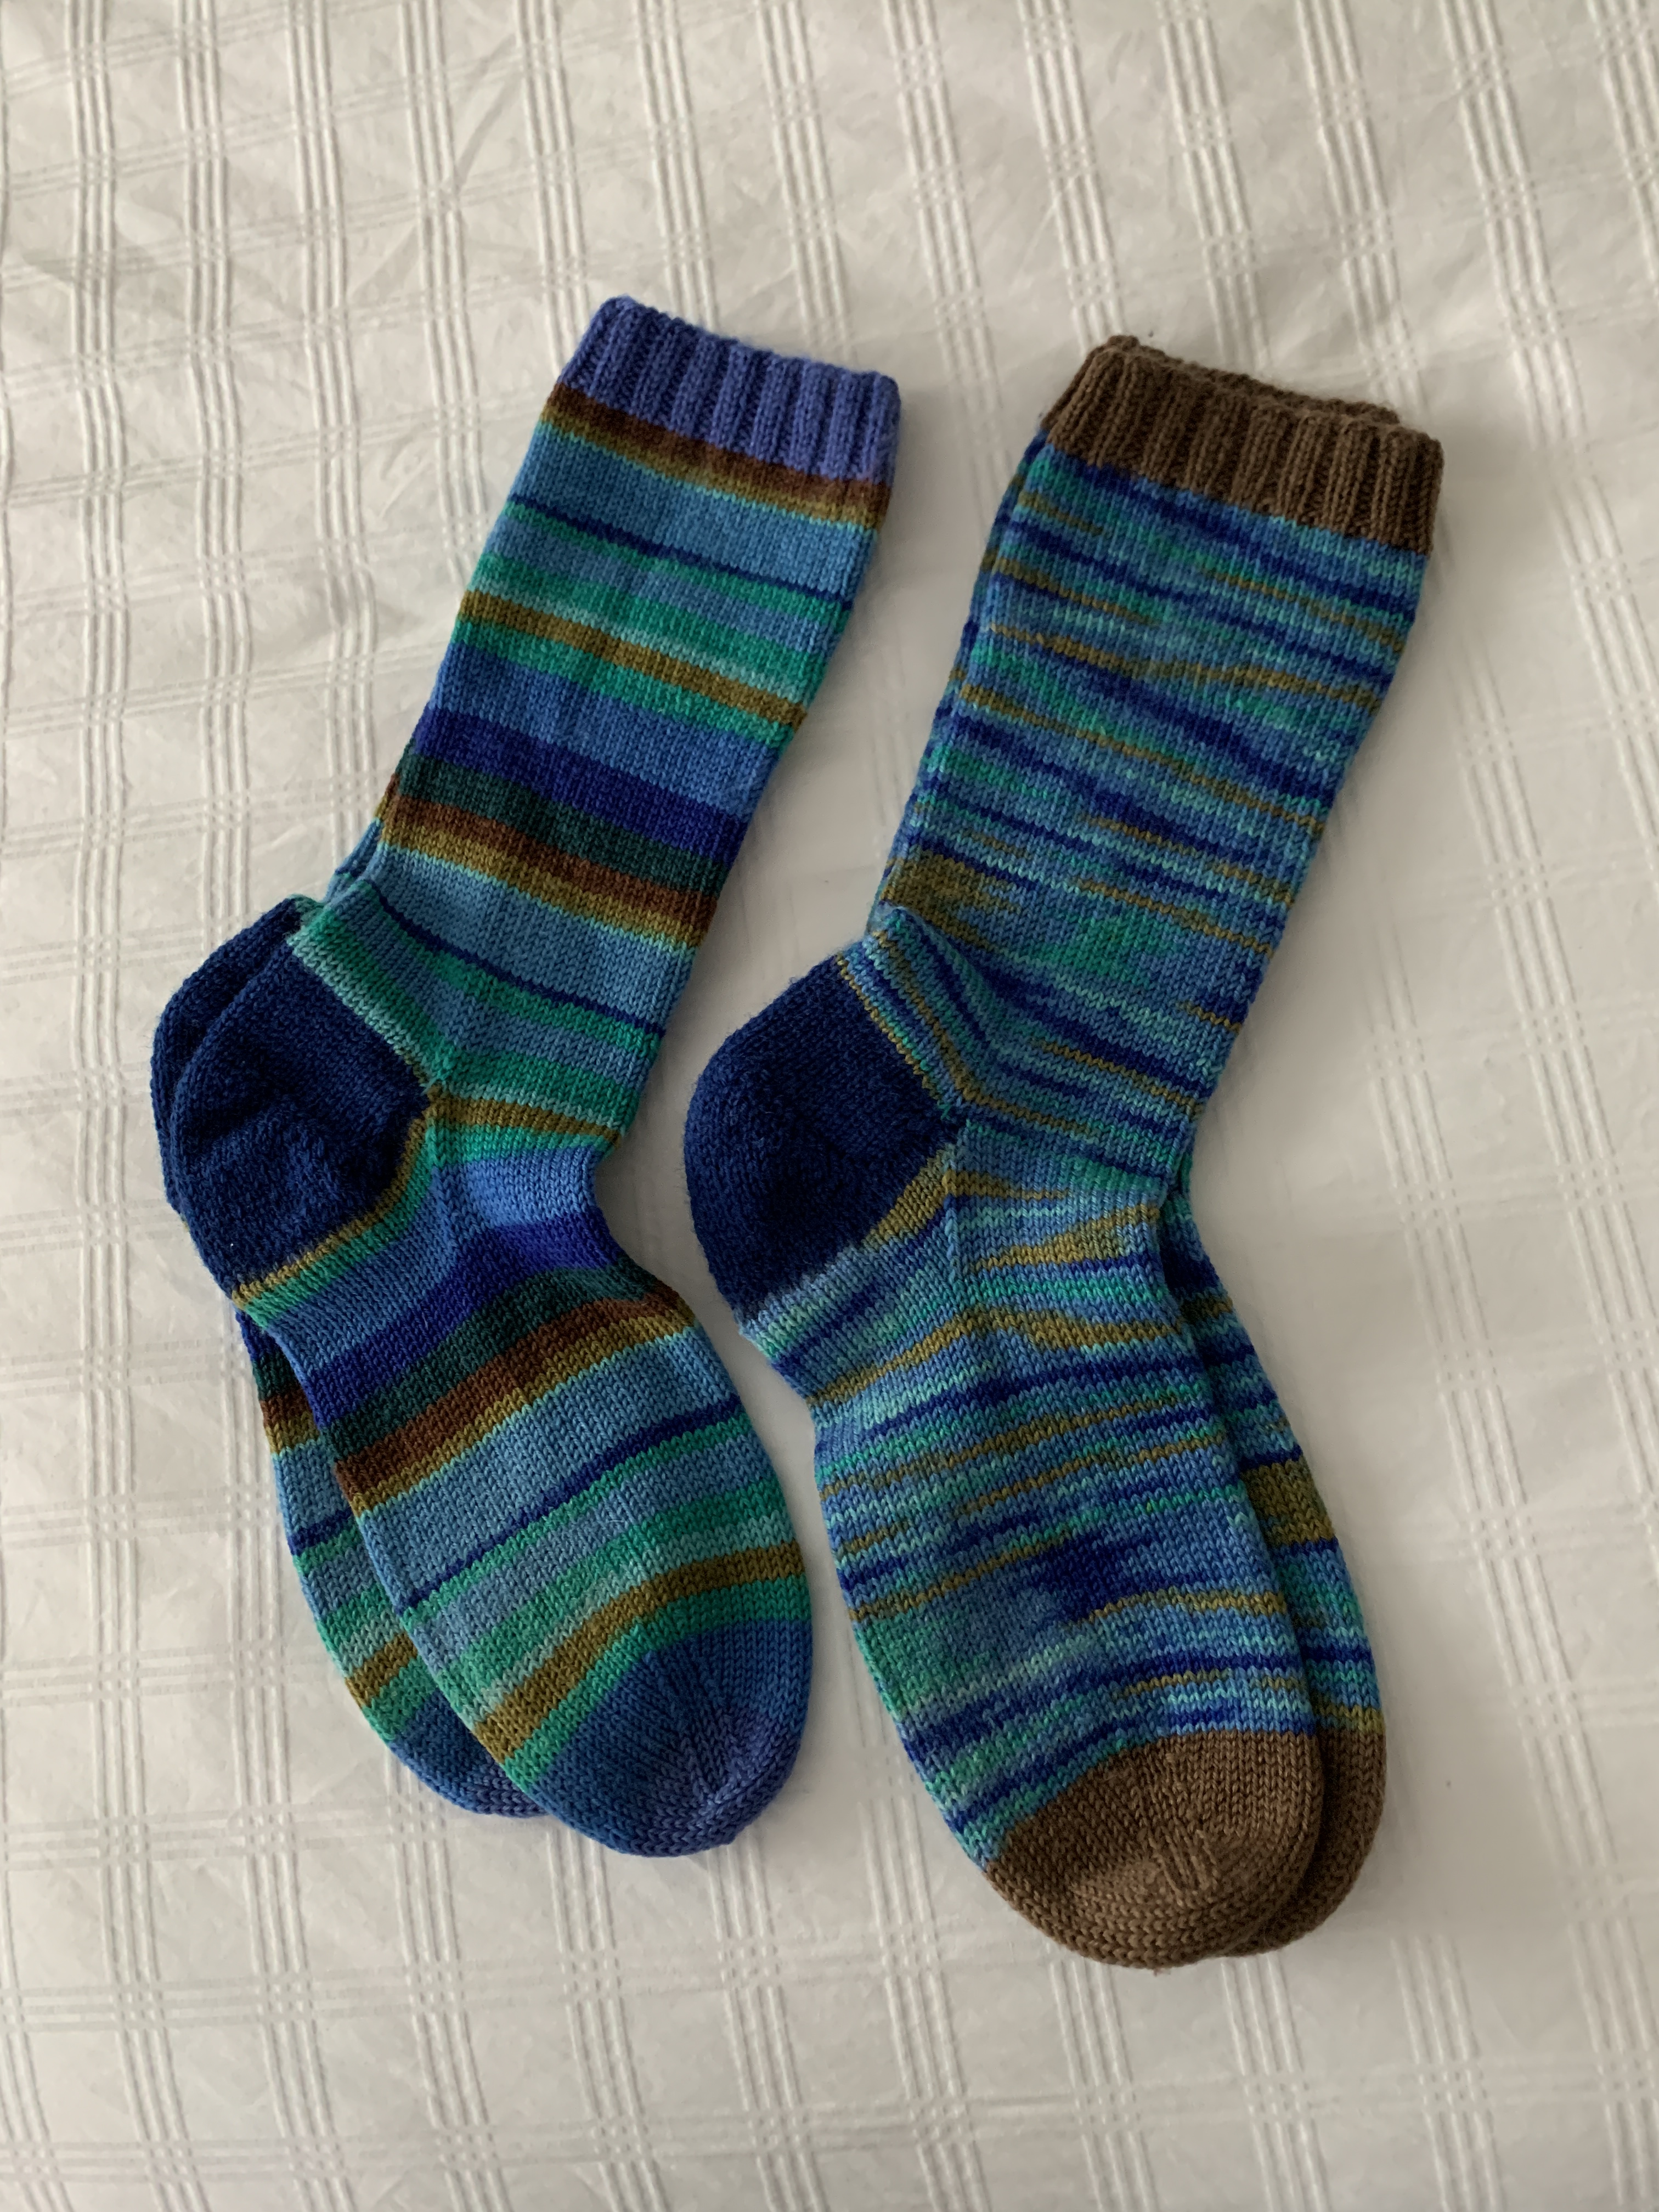
I have a friend who’s picked up sock knitting again after many years. I was describing to her how I set up the casting on. I decided I might as well share that information:
Invisible join when casting on
for knitting in the round
There are lots of ways of casting on for knitting in the round – as I was checking out YouTube videos I didn’t quickly find one that does it in the same way I do, so here is my method:
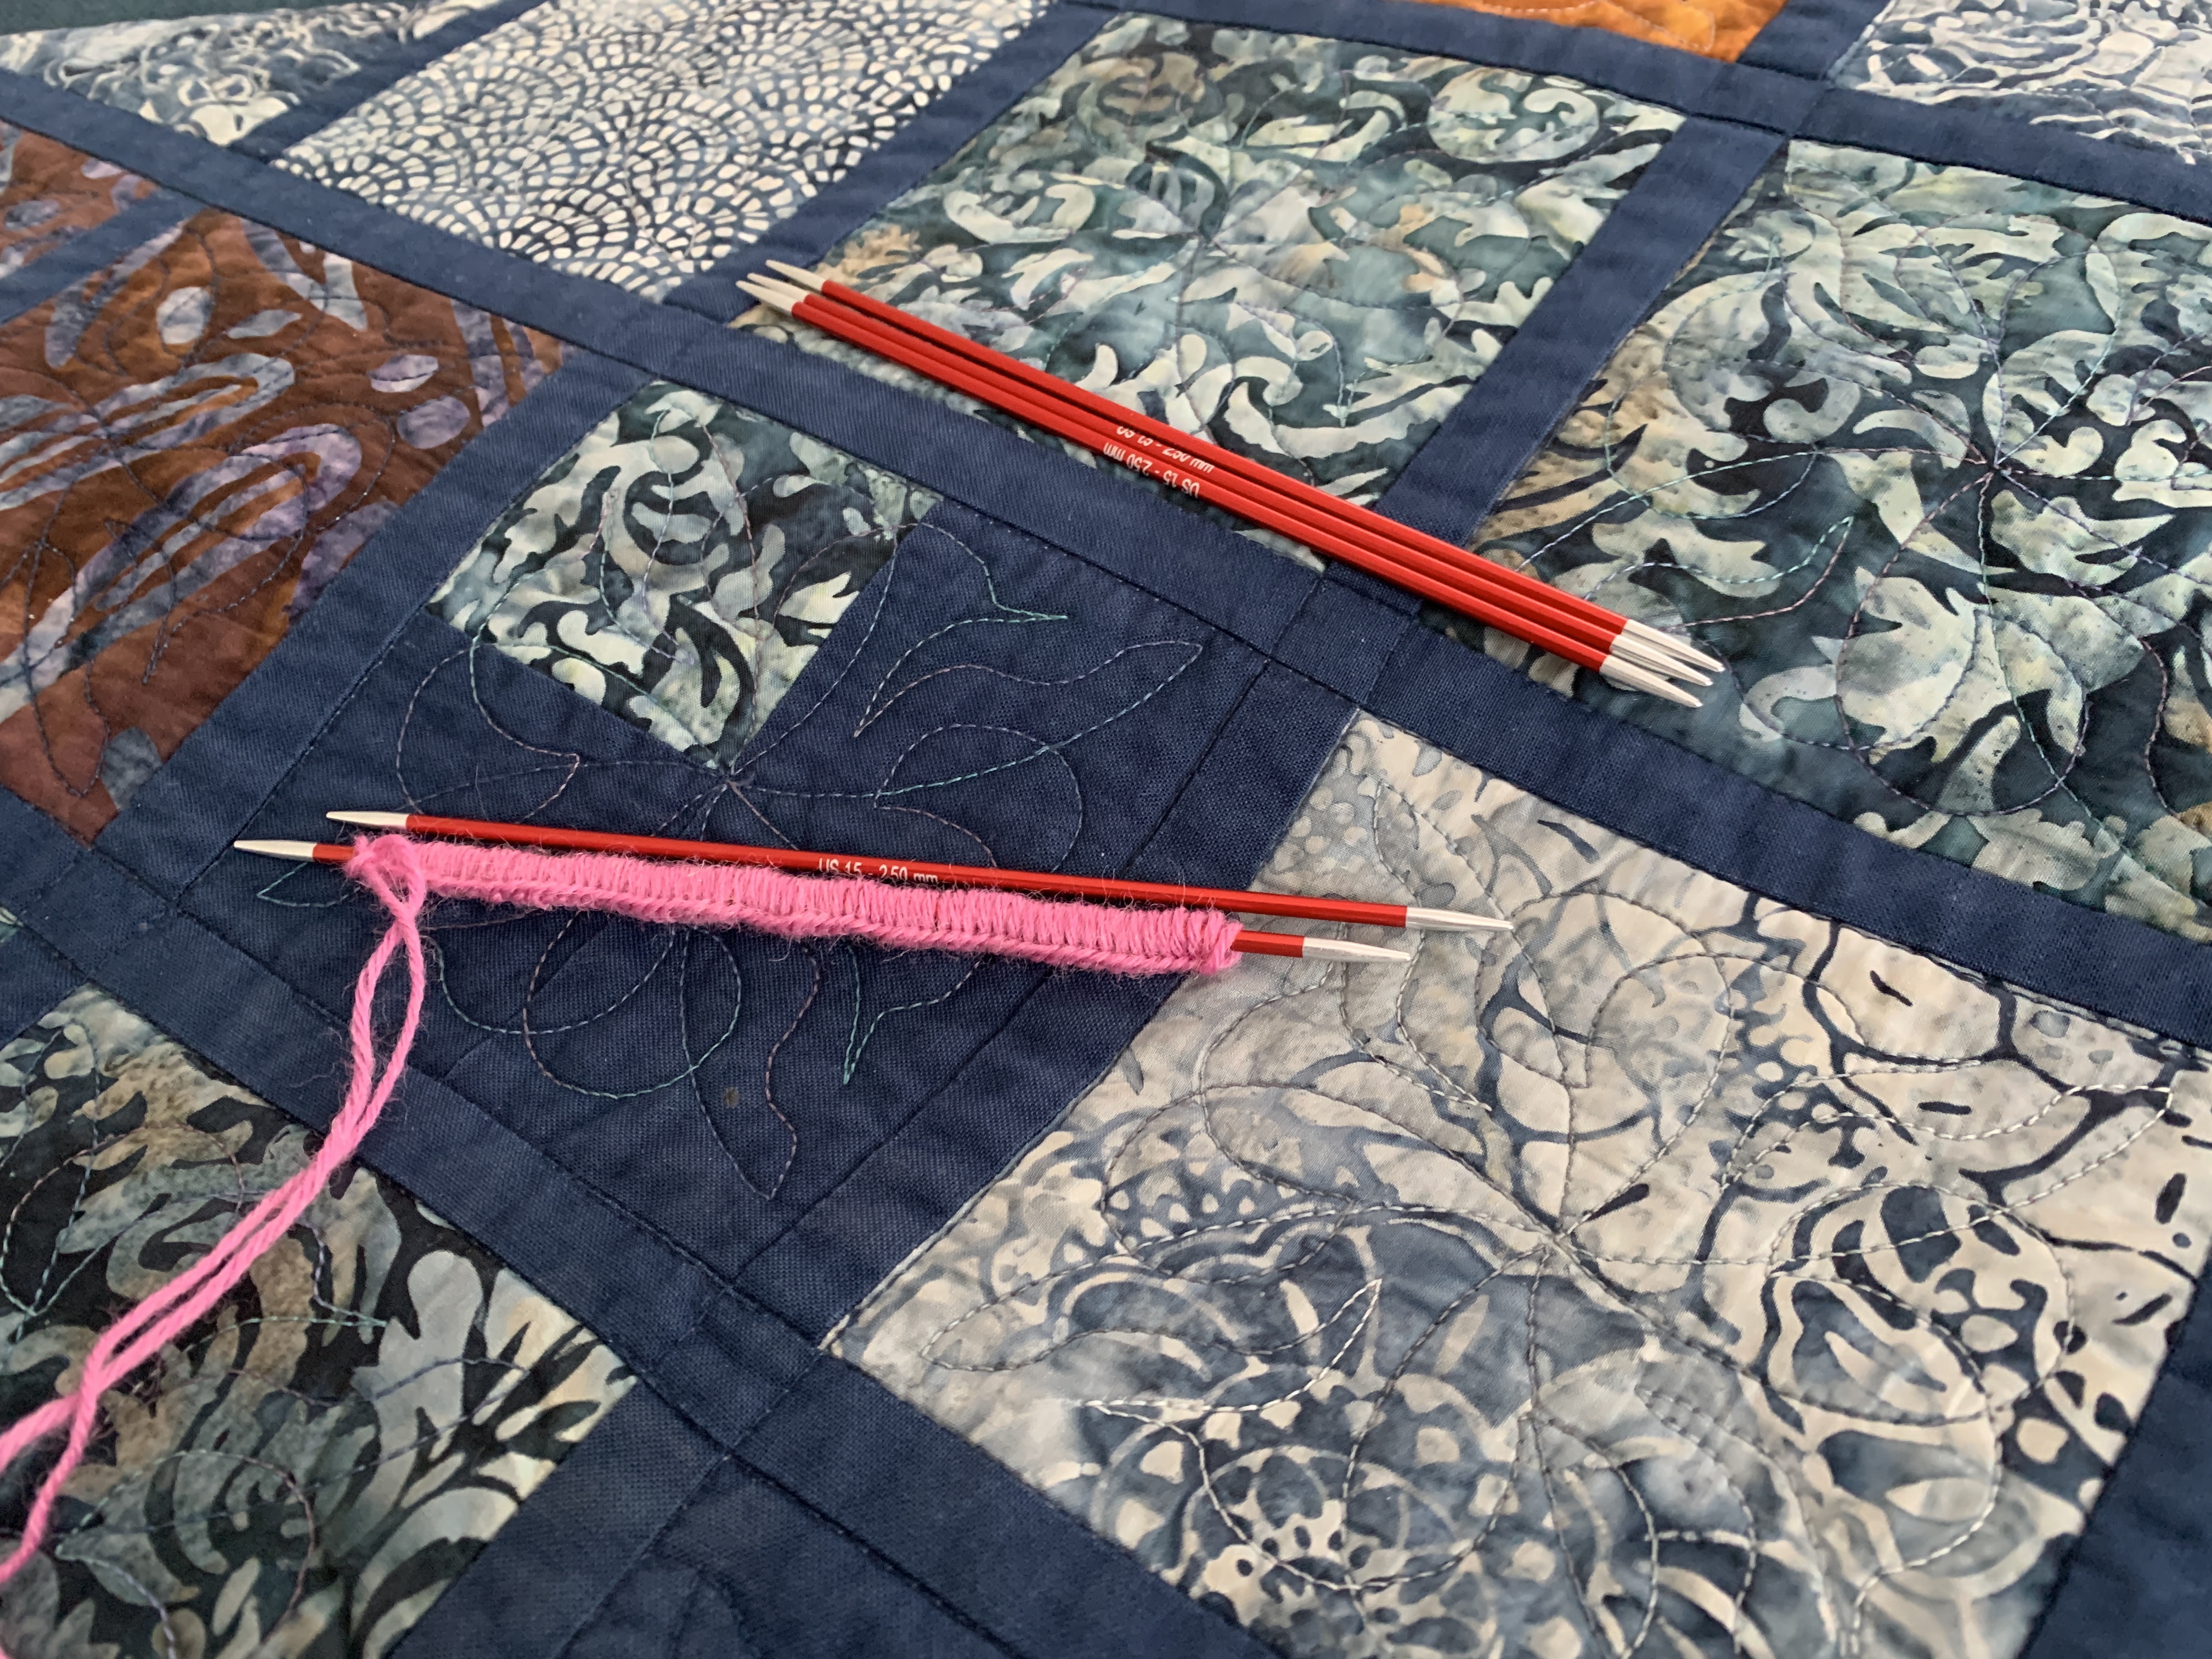
Casting On
I use two needles held together in my right hand and cast on over both needles.
I cast on all the stitches (usually 64 stitches for a women’s sock) on both needles.
When I have the required number of stitches, I add one more stitch (you’ll see later why I do that).
 Stitches Cast On Over Two Needles
Next I carefully pull one needle out of the stitches – now I have the required number of stitches (plus one) on a single needle that are somewhat loose and much easier to knit into for the first row.
 Stitches On One Needle
Invisible Join
Here’s how I set up to knit in the round – I use double pointed needles because I find them easier than having to continually slide stitches along on a circular needle (when you can find one short enough for sock knitting).
With 64 stitches, I slip 8 stitches onto the first dp needle;
 First 8 Stitches Slipped To New Needle
I slip 16 stitches onto the second; I slip 16 stitches onto the third, I slip 16 stitches onto the fourth – that leaves me 9 stitches on my last (original cast on) needle.
 Stitches Now On All Needles
I bring the two end needles with the 9 stitches (on the right) and 8 stitches (on the left) together, making sure I don’t twist the casting on, knit the first stitch on the left hand needle,
 Knit First Stitch
slip what was the end stitch on the first needle (that is the extra stitch you added when casting on) over the first knit stitch – that secures the join.
 Extra Stitch Slipped Over First Knit Stitch
Continue knitting – knit one more stitch (you’ve already knit the first stitch when making the join), purl 2, knit 2, purl 2…. What you’ve done is make the join in the middle of a needle – much easier to handle than trying to make the join between two needles.
 Remaining 8 Stitches Knit On First Needle
[When you finish knitting that first needle you will have 8 unknit stitches (on the right) and 8 knit stitches (on the left) on one needle with the join in the centre.]
The nice thing about making that join in the centre is that it’s much easier to handle in the next couple of rows than trying to make that join between two needles.
BTW
If you happen to be working with a different number of stitches – I often start with 68 or 72, then I’m not going to have the same number of stitches on each needle – for 68 – I put 8 stitches on the first needle, 20 on the second, 16 on the third, 16 on the fourth, and I’m left with 9 on the last needle. For 72 stitches I distribute them 8, 20, 16, 20, 9. The reason for doing it this way is that those numbers are divisible by 4 which means I can K2 P2 and end up without knitting that pattern over two needles – the K2 P2 pattern fits on each needle.
Once I’ve finished the cuff, then I redistribute the stitches so that I have the same number on each needle – with 68 stitches I have 17 on each needle; with 72 stitches I end up with 18 on each needle. In both of those cases I knit ~25 rows, then decrease one stitch on each needle (and with 72 I decrease one stitch on each needle again at ~ row 40 of the leg) to end up with an ankle that has 64 stitches. When the leg is long enough (I generally knit 80 rows) I knit the heel flap, turn the heel, pick up the gusset stitches, begin knitting in the round again decreasing for the gusset, then knit the foot, rounding off the toe.
Here’s a link to my generic sock pattern if you want more details.
YouTube Videos On Making An Invisible Join
Here are a bunch of YouTube videos which show variations on the technique.
Only one casts her stitches on over double needles and then only on a single needle, many are knitting with circular needles, but you’ll see how the technique makes the join and be able to adapt it for yourself.
Using DP needles
Slipping end stitch with an extra stitch using a circular needle
Switching end stitches using circular needle