I wasn’t sure, yesterday, whether the purple fat quarter placemats counted as “Bright”. Today I decided to try wild – I selected an orange batik from one drawer of my stash, paired it with the leaf print, chose a green “fossil fern” piece, ended with a medium yellow “grunge”. They go together – definitely colourful. Probably not “dining room” but certainly “kitchen”, wouldn’t you say?
I’ll show the two sets to Sally next week and see what she thinks. This set would definitely catch someone’s eye hanging on the wall in Sew With Vision!
I don’t need another set of placemats, but yesterday I took several quilts and other projects to Sew With Vision to show the new owner, Sally, so we could talk about classes for the summer and fall. The set of placemats I took with me I made several years ago and they wouldn’t catch anybody’s attention. They’re pretty dull.
Original Placemat Tops
These stack ‘n whack fat quarter placemats are a novice quilter project. I decided to make a new set to display in the shop to entice some novice quilters to take a class to learn some basic quilting technique – precise cutting (with rotary cutter), sewing precise 1/4″ seams, chain piecing, pressing seams to nest joins and sewing the nested seams.
I picked four batik fat quarters from my stash (who knows, maybe these are also dull!). I started by pressing each fat quarter then I stacked all four, cut the pieces all at the same time, last evening. It probably took me an hour to press, stack and cut the fat quarters.
Fat Quarter Placemats
This afternoon, I laid out the pieces for each placemat, making sure my layout was the same for each one. Next, I laid adjacent pieces together and pinned them, then I piled the pinned pieces on top of one another. To sew, I used a “production” technique. I chain pieced as much as I could in the first pass – I stitched the adjacent pairs of pieces in the “rows”, pressed the seams to one side, then sewed the two parts for each row.
When I finished sewing and pressing all the rows, I laid out the placemats. I picked up the rows for one placemat, making sure the seams in adjacent rows were pressed in opposite directions so I could nest seams as I joined the rows. As I stitched, I made sure the joins did nest as I sewed them.
I pressed each placemat when the sewing was finished.
Now I need batting and backing to complete the placemats. I’m still deciding whether to quilt them just by stitching-in-the-ditch along the seam lines, or whether to quilt them in the hoop with a simple design.
These placemats could be sewn together to make a table runner. Or you could use the idea to make a quilt top. The placemats are simply an excuse to hone technique. As I explained to Sally, I don’t teach a project, I teach technique – I use projects as a vehicle for becoming a more experienced sewer or quilter.
The other day, Pamela commented on my quilt exhibition at Art Lab Studios and Gallery in Parrsboro and asked how I set the quilts up to be displayed. I explaining how I make a sleeve from inexpensive muslin, baste it to the top of the quilt, insert a dowel with a bulldog clip on each end so the hook from the hanging wires has something to slip into. A simple solution, really.
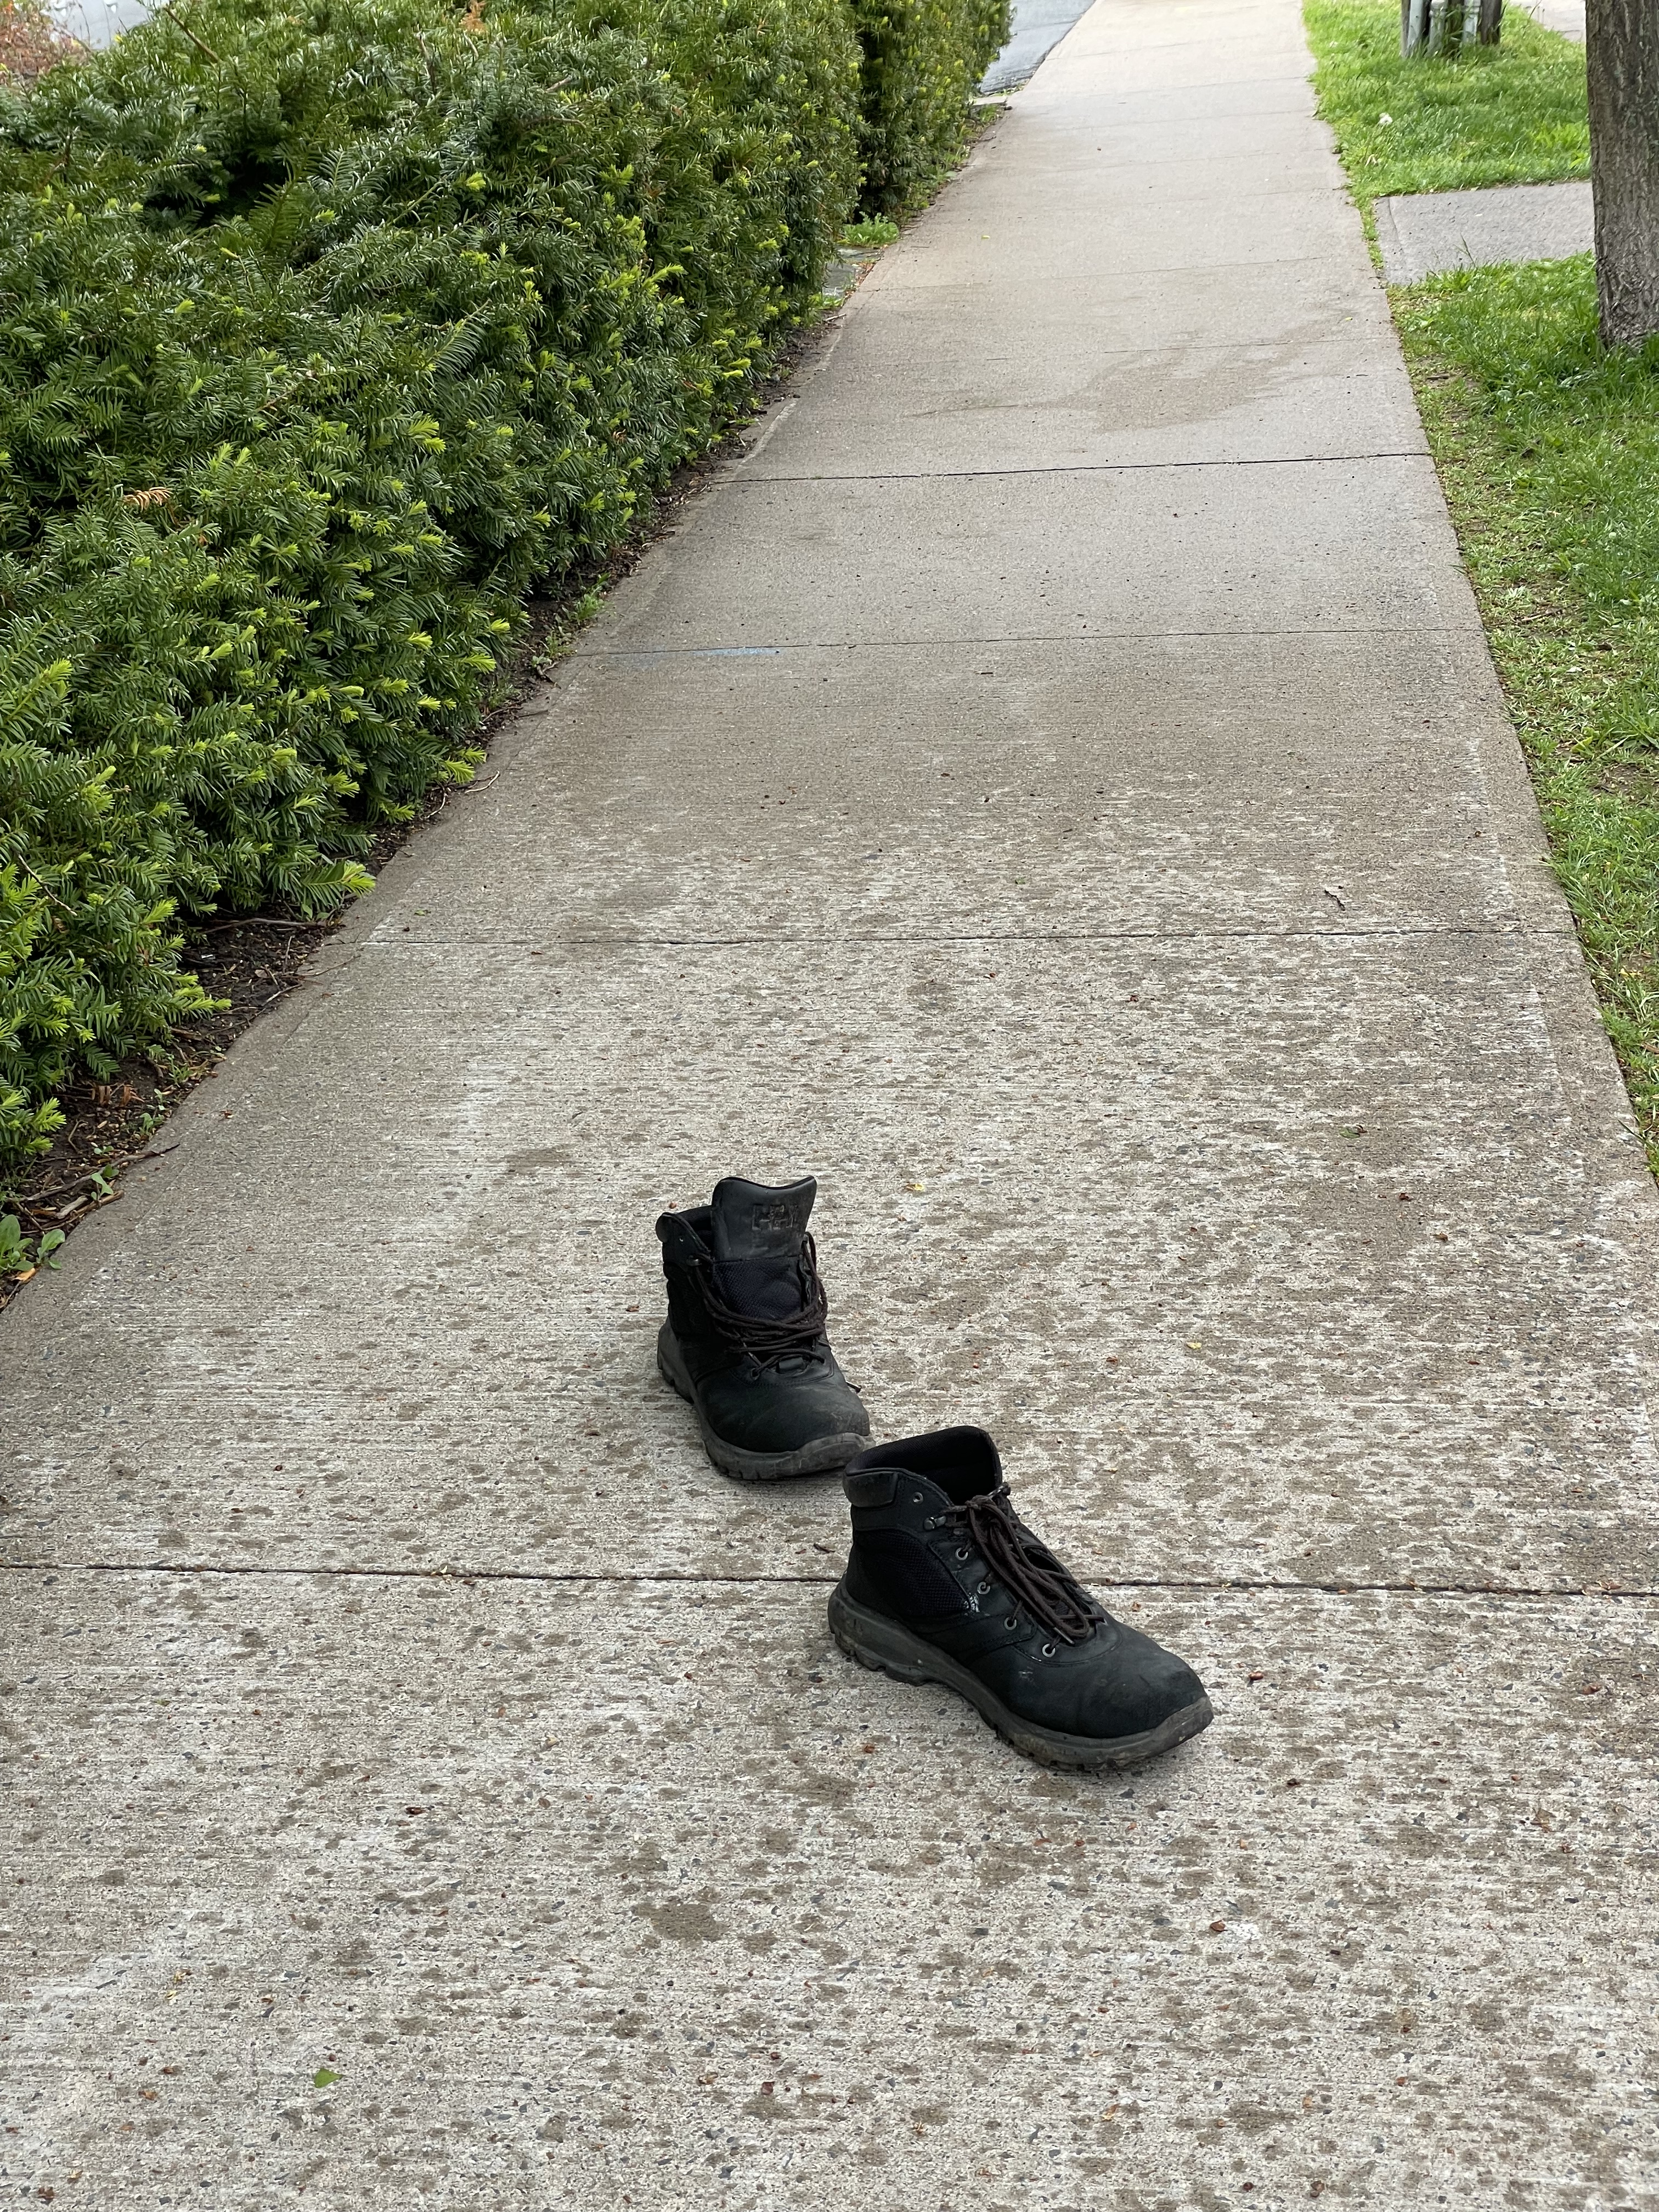
This afternoon, with my sister Donna, I visited the newest Afghan arrivals sponsored by the Jubilee Group here in Halifax. We spent a lovely hour engaged in conversation – I was trying to asses their English capabilities so I might know how to help them out. As Donna and I were leaving their downtown apartment (just off Gottingen Street), we saw these shoes just “standing” there.
How do you suppose they got there? Why would someone just step out of their shoes in the middle of the street? There is an intriguing story here, for sure.
The show was hung on Friday morning after our two hour drive from Halifax to Parrsboro. I’ve shown in the gallery enough times that knowing what I wanted to hang, where, required little deliberation. I knew I’d brought exactly the right number of pieces to display.
The show consists of eight lap size quilts, accompanied by two panels each with an array of 6×6 pieces – a total of thirty pieces of textile art. A respectable amount of work.
As you enter the gallery space
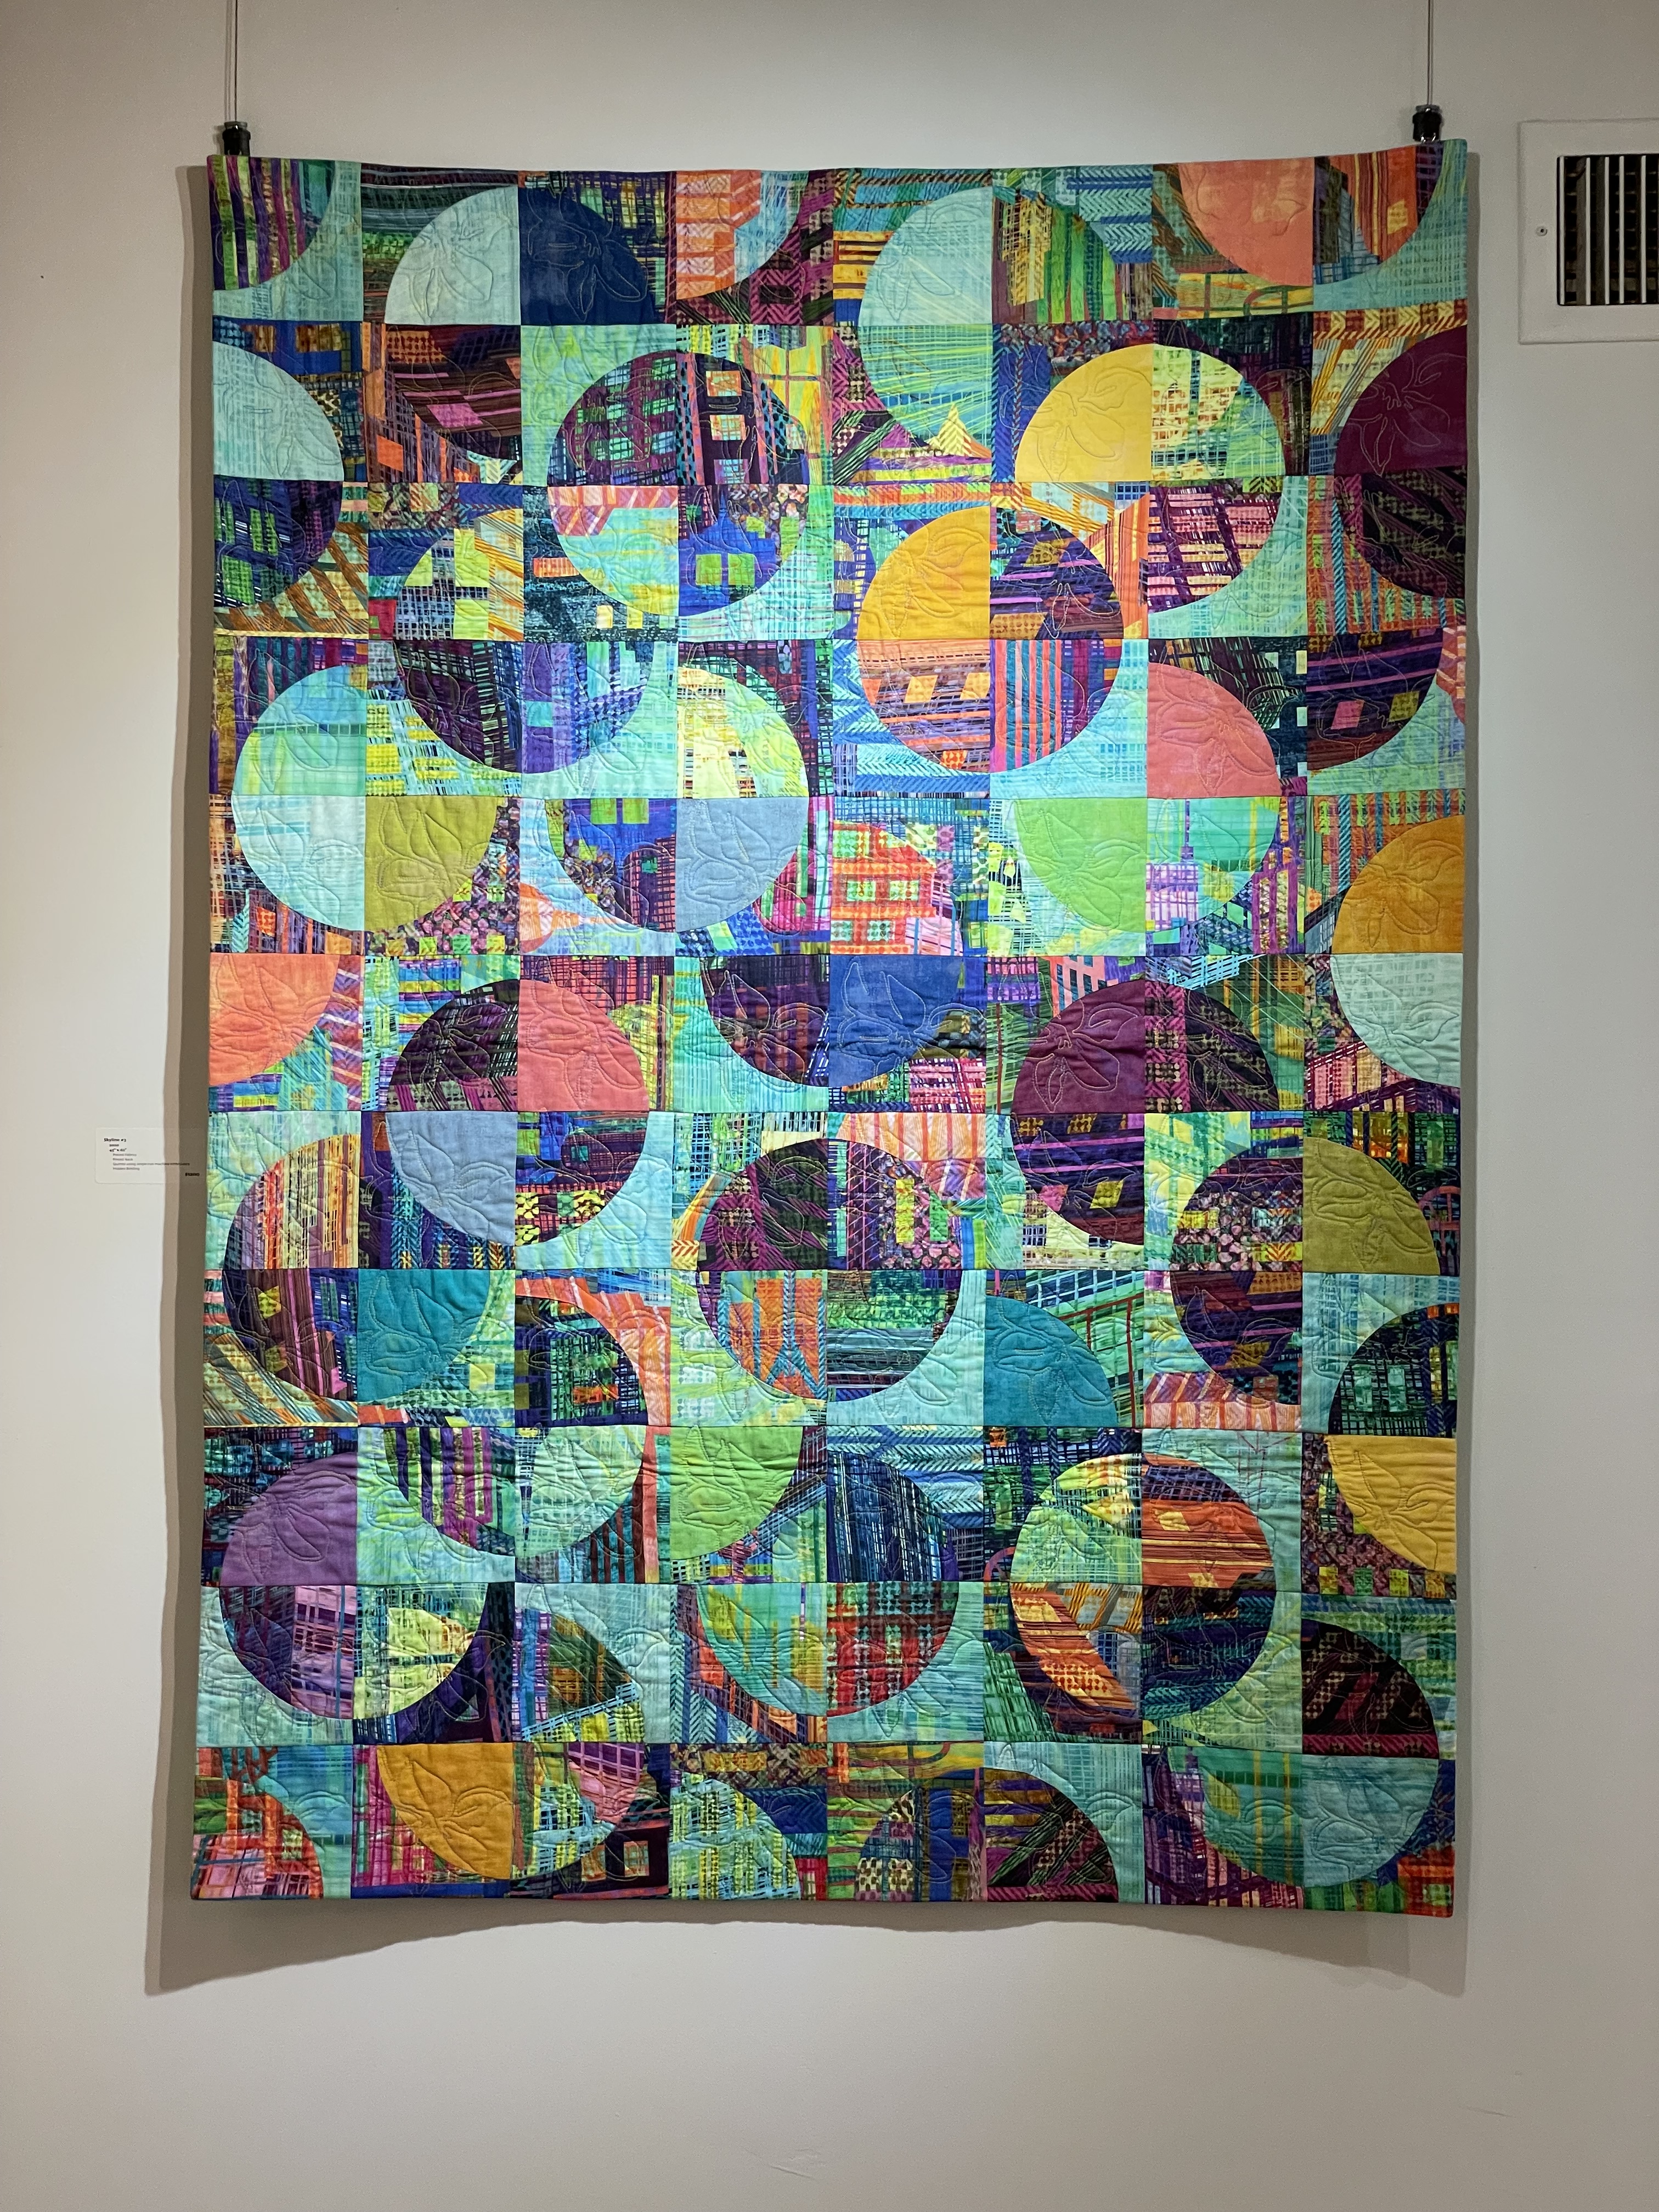
On your right as you enter the Community Gallery you find the four Drunkard’s Path Blocks quilts: Let the Trumpet’s Sound, Drunkard’s Path #5, Skyline #3, and Planet’s With Moons (from right to left). It doesn’t immediately strike you that all four quilts are built using the same block construction, but if you look closely you see the basic quilt block is the same in each.
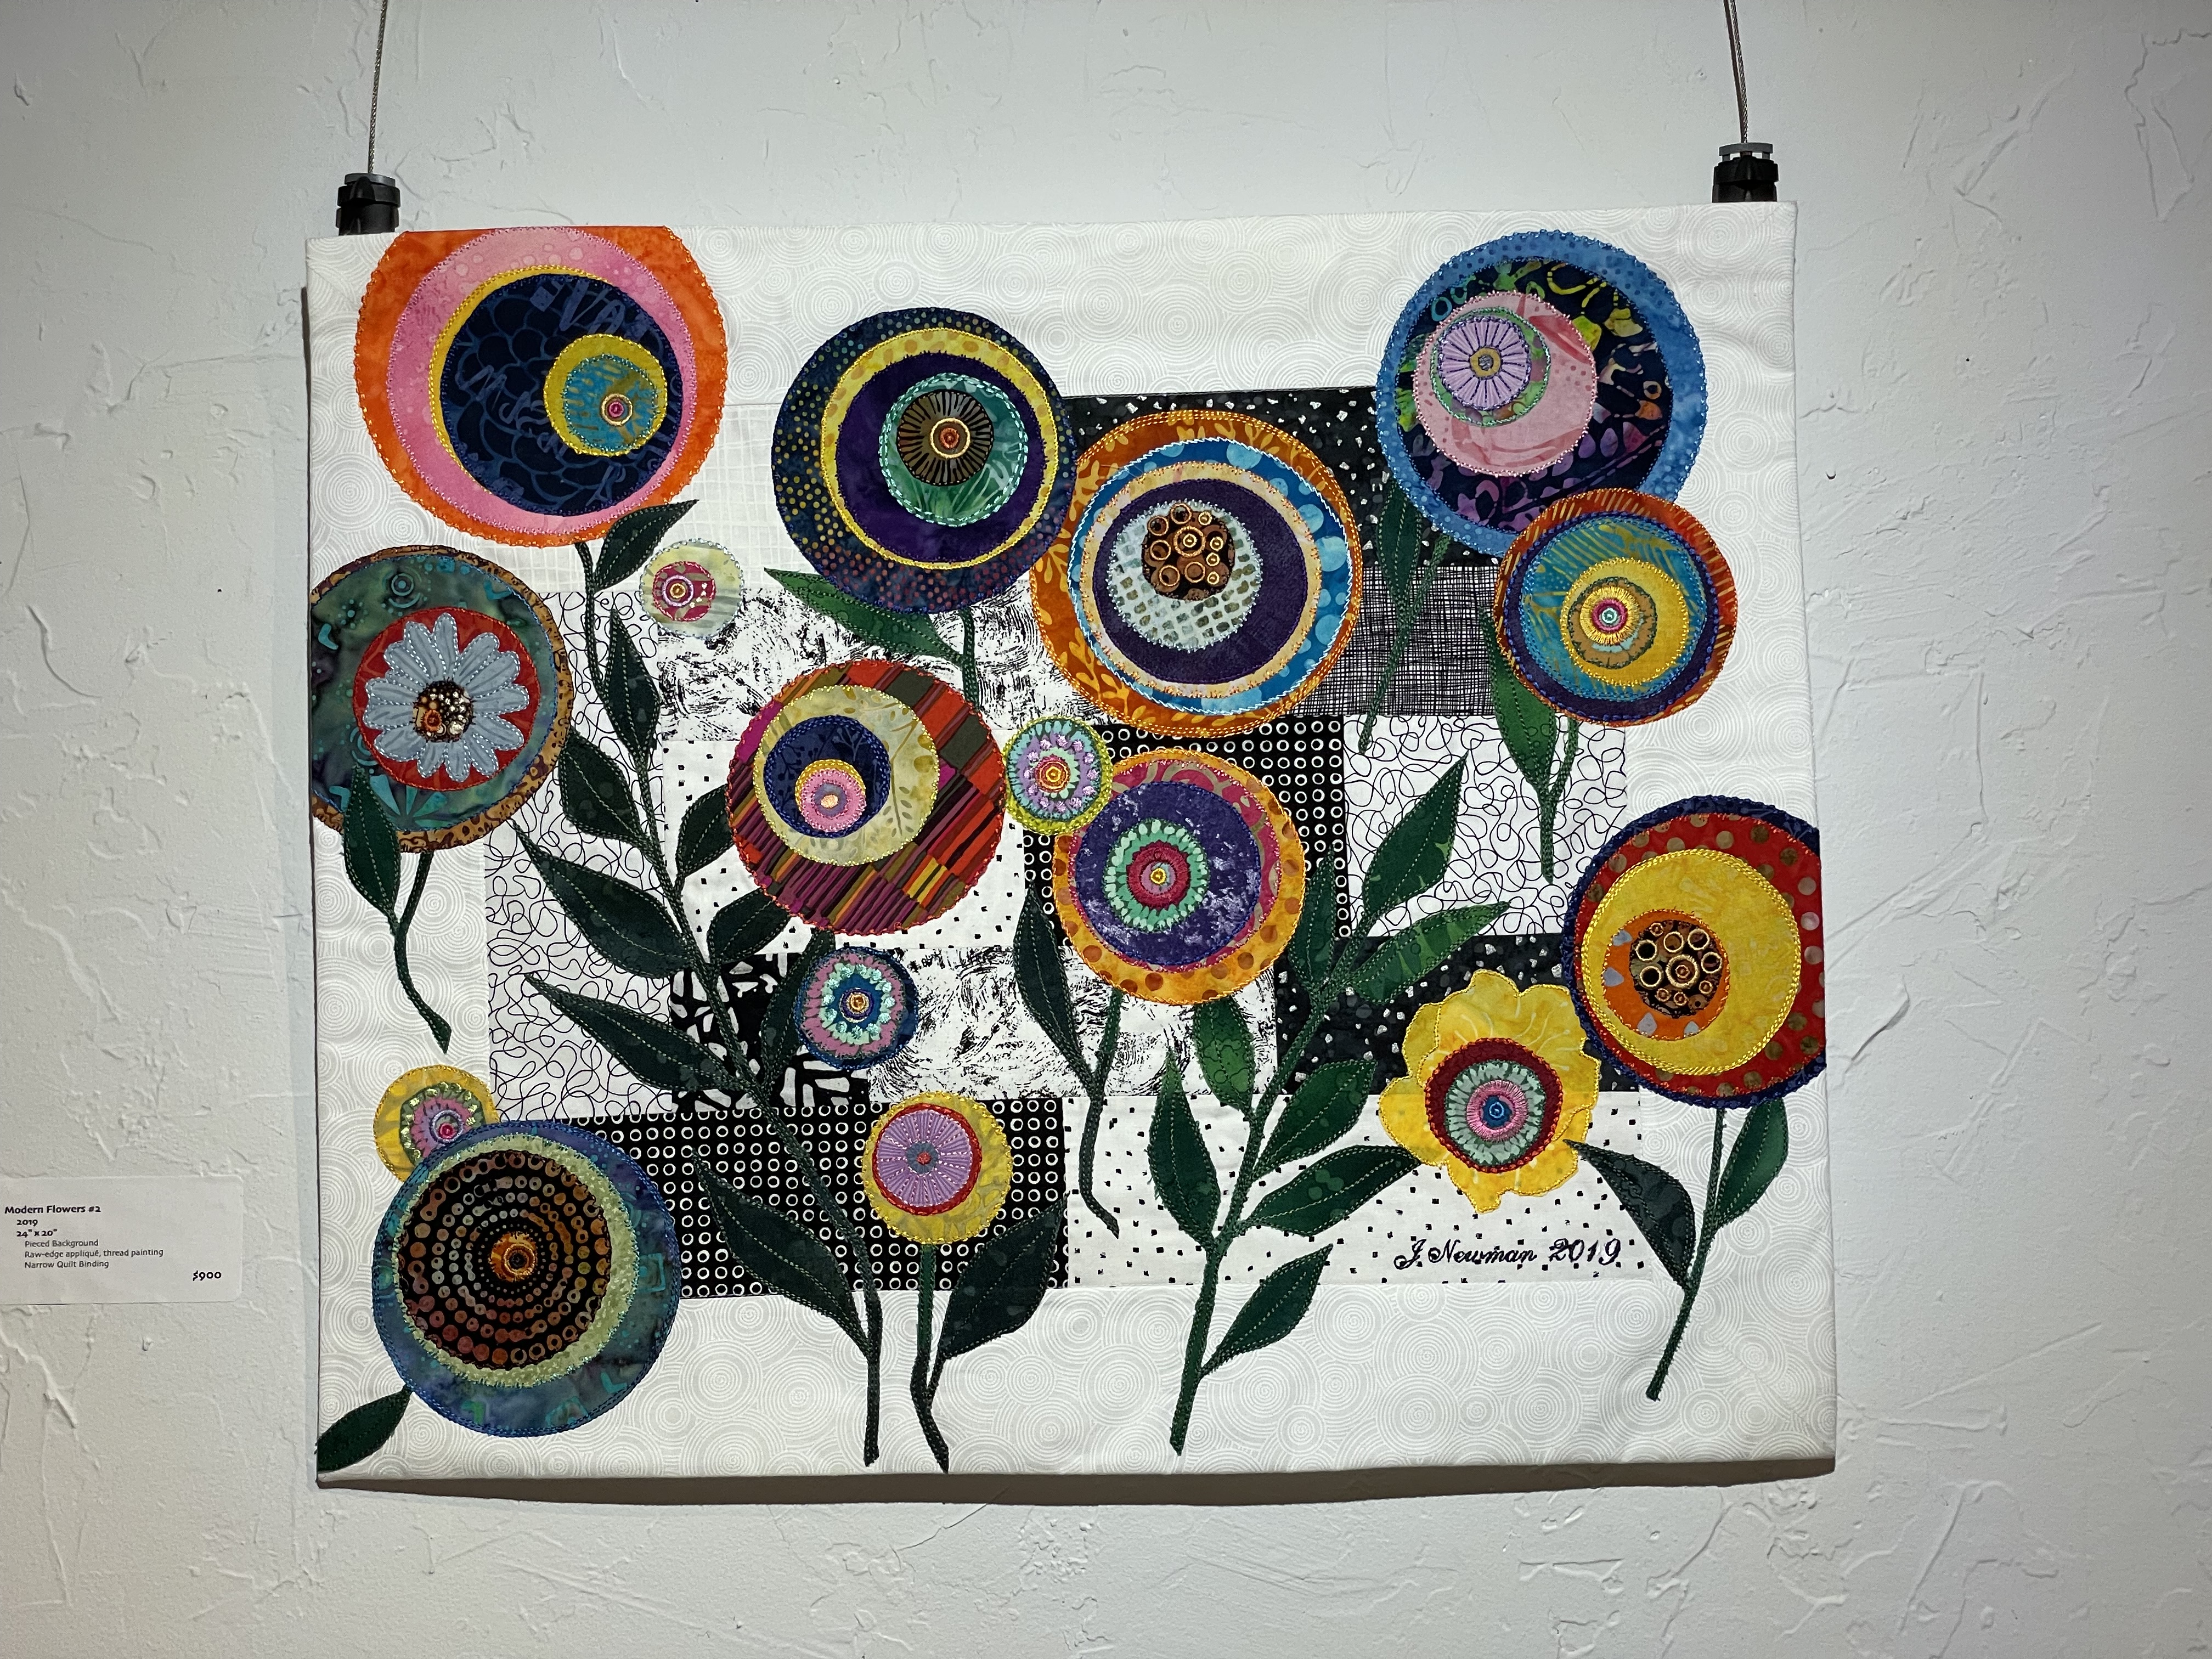
The “Modern Flower” Pieces
Turn to your left and you see the “Modern Flower” pieces – a couple of larger raw-edge appliqué works with the 6×6 pieces on a panel in between. On the end wall (on the left) I chose to hang the Asian Strips piece, showcasing the use of the asian print leftovers I used to assemble that quilt.
The “Convergence” Quilts
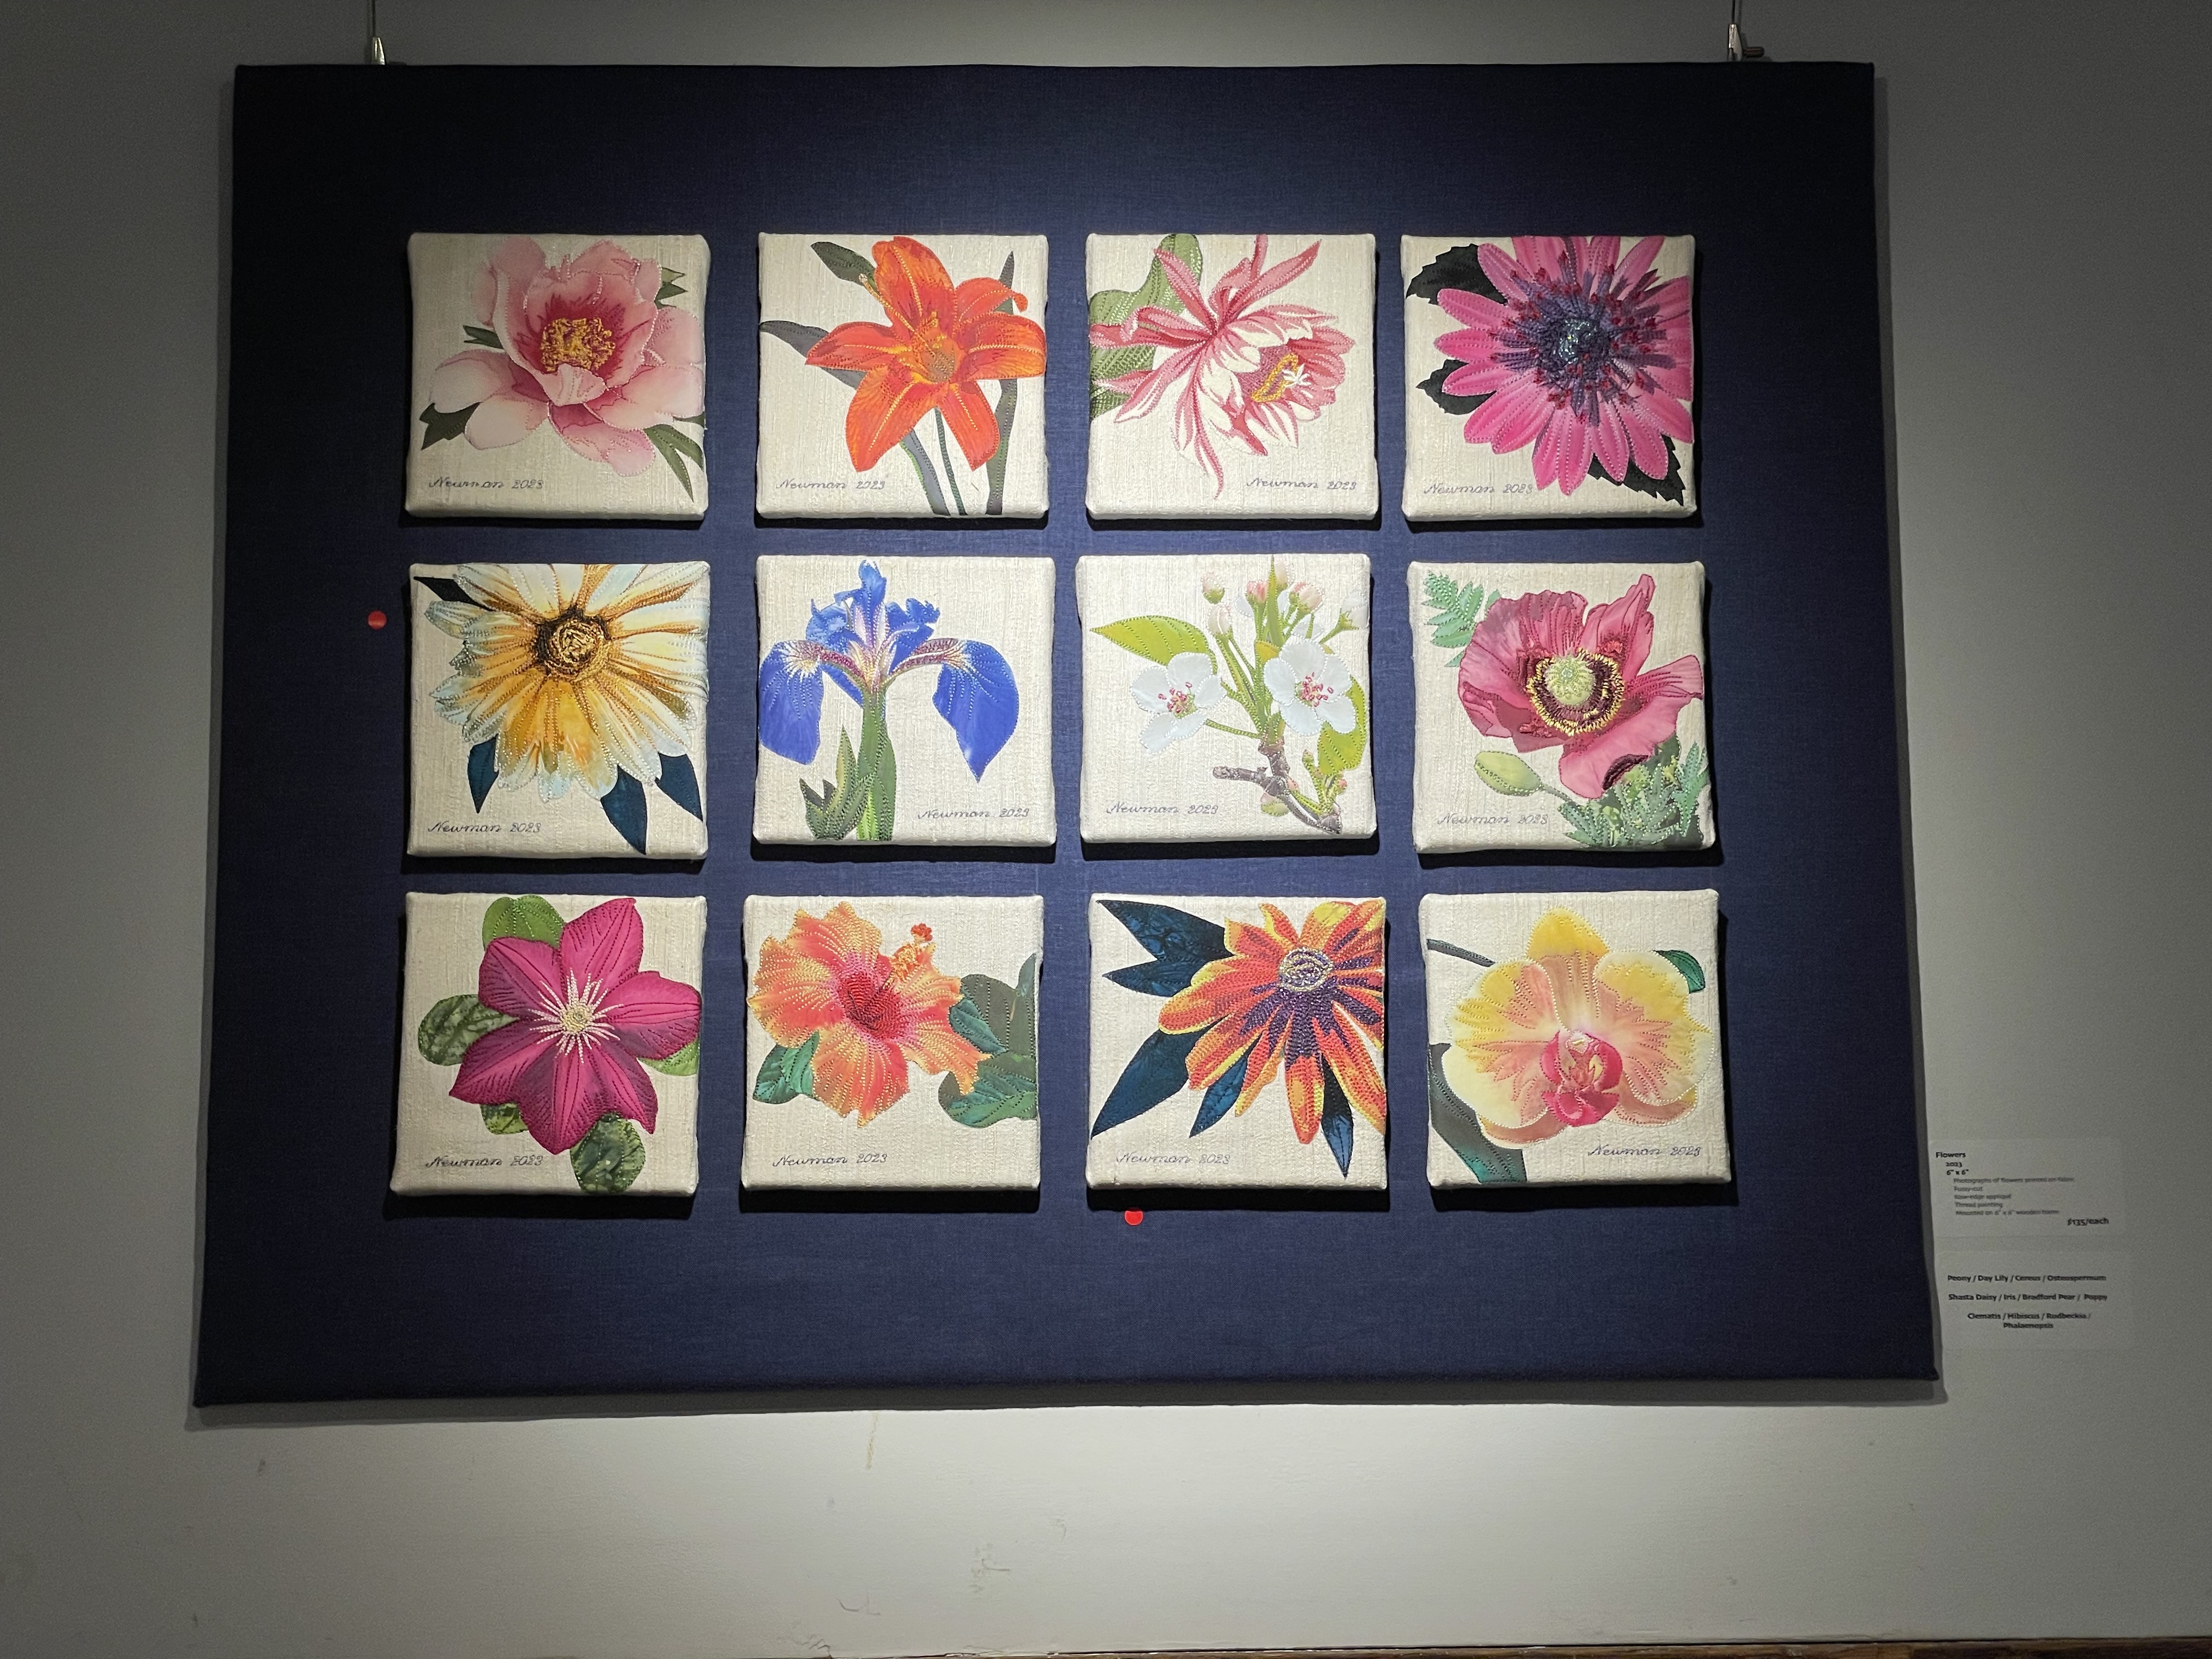
Again, turning to the left you see the “Flower” 6×6 panel above the horizontal post (three have sold so far!), followed by the Convergence quilts – Convergence Quilt #4, #3, and #2.
It always amazes me to see the quilts and small pieces hung in the gallery – the collection has such a different impact than seeing the art one quilt at a time. The technical work slips into the background as the visual impact takes over.
I spoke to a number of people at the opening during the afternoon, all of whom were interested in the decision-making that goes into each work, whether a lap quilt or a small 6×6 piece. People always want to know how long does it take – it’s an unanswerable question – there’s no way to account for the “thinking about it” time that goes into each textile work. The execution, the cutting out, the piecing, the quilting, the embellishing, the binding are all straightforward aspects of making this art. I can predict reasonably accurately how long each phase will take; but the thinking about it is out of my control – it takes as long as it takes.
The show is hanging in the Art Labs Community Gallery (121 Main Street) in Parrsboro NS until late afternoon on Thursday, June 15. If you happen to live near Halifax, or near Parrsboro, do drop by. In addition to the Community Gallery the four resident artists display their work as well. It’s worth a visit.
If you make it a day trip from Halifax, I’d recommend leaving around 9:00 am, driving straight to Parrsboro, visiting the gallery, then having lunch at the Harbourview Restaurant. After lunch mosey your way back, stop at the Five Islands Lighthouse Park to take in the ocean view. Further down the road visit Lowland Gardens – they always have some unusual plants there. You can’t drive back to Halifax without stopping at Masstown Market – fresh produce, great ice cream, good chili if you’re hungry. Depending on how long you take at each stop you should make it back to town between 6:00 – 7:30. You’ll have enjoyed the day.
PS – all of these pieces are for sale. If you’re interested in knowing more about any of them, email me: newman.judith@gmail.com.