Winter in Halifax 2016

This is my back deck just after our second snowfall last week. Both snowfalls were wet and heavy but the undisturbed expanse looks lighter. It won’t all melt before our next storm arrives whenever so the snow will continue to accumulate.

Let’s hope I don’t get the accumulation I experienced last winter!

Socks From Peruvian Merino


I didn’t buy the yarn in Peru – I received it as a Christmas/Birthday gift. I liked the feel of the skein so decided to use it right away.

It was a lovely yarn to work with – single ply (most sock yarn is a light weight 4-ply), superwash Marino, lightly spun so it stayed together nicely as I was knitting. 

The skein had been hand-dyed variegated – no predominant colour but lots of subtle hue changes with something like a 8-10 row repeat. In the photo the socks look somewhat brown but the predominant colour when knit is more golden.

Because the yarn was 100% merino I decided to use a regular sock yarn with 20% polyamide fibre for heels and toes figuring the merino was likely too fragile for these heavy wear areas.

I really enjoyed knitting with the yarn! The socks are now in my sock drawer.

Sock Makeovers


A week ago I was handed three pairs of socks in need of repair. Two pairs need new heels; the third needs new heels and instep. 

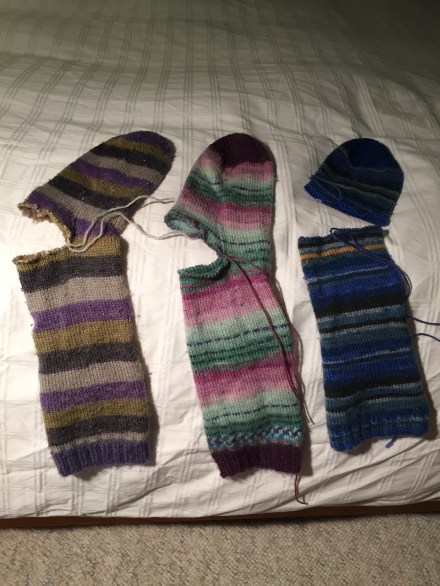
What you see here are the socks with the damaged parts cut out and a yarn stitch-holder in place. It’s taken a couple of hours to do this prep work. I did two pairs last night; just finished setting up the more damaged pair. I don’t have leftover yarn that matches exactly but I can come close. So now all three pairs are ready for me to begin knitting. 

Once the repairs are done the socks will get a good shaving to remove all the pills and they’ll be as good as new. I’m willing to do the repairs – takes a fraction of the time needed to knit a whole pair!

However before I start working on these socks I want to finish the pair I’m currently working on. It’ll be three-four days before I get to these.

Socks For Charlie

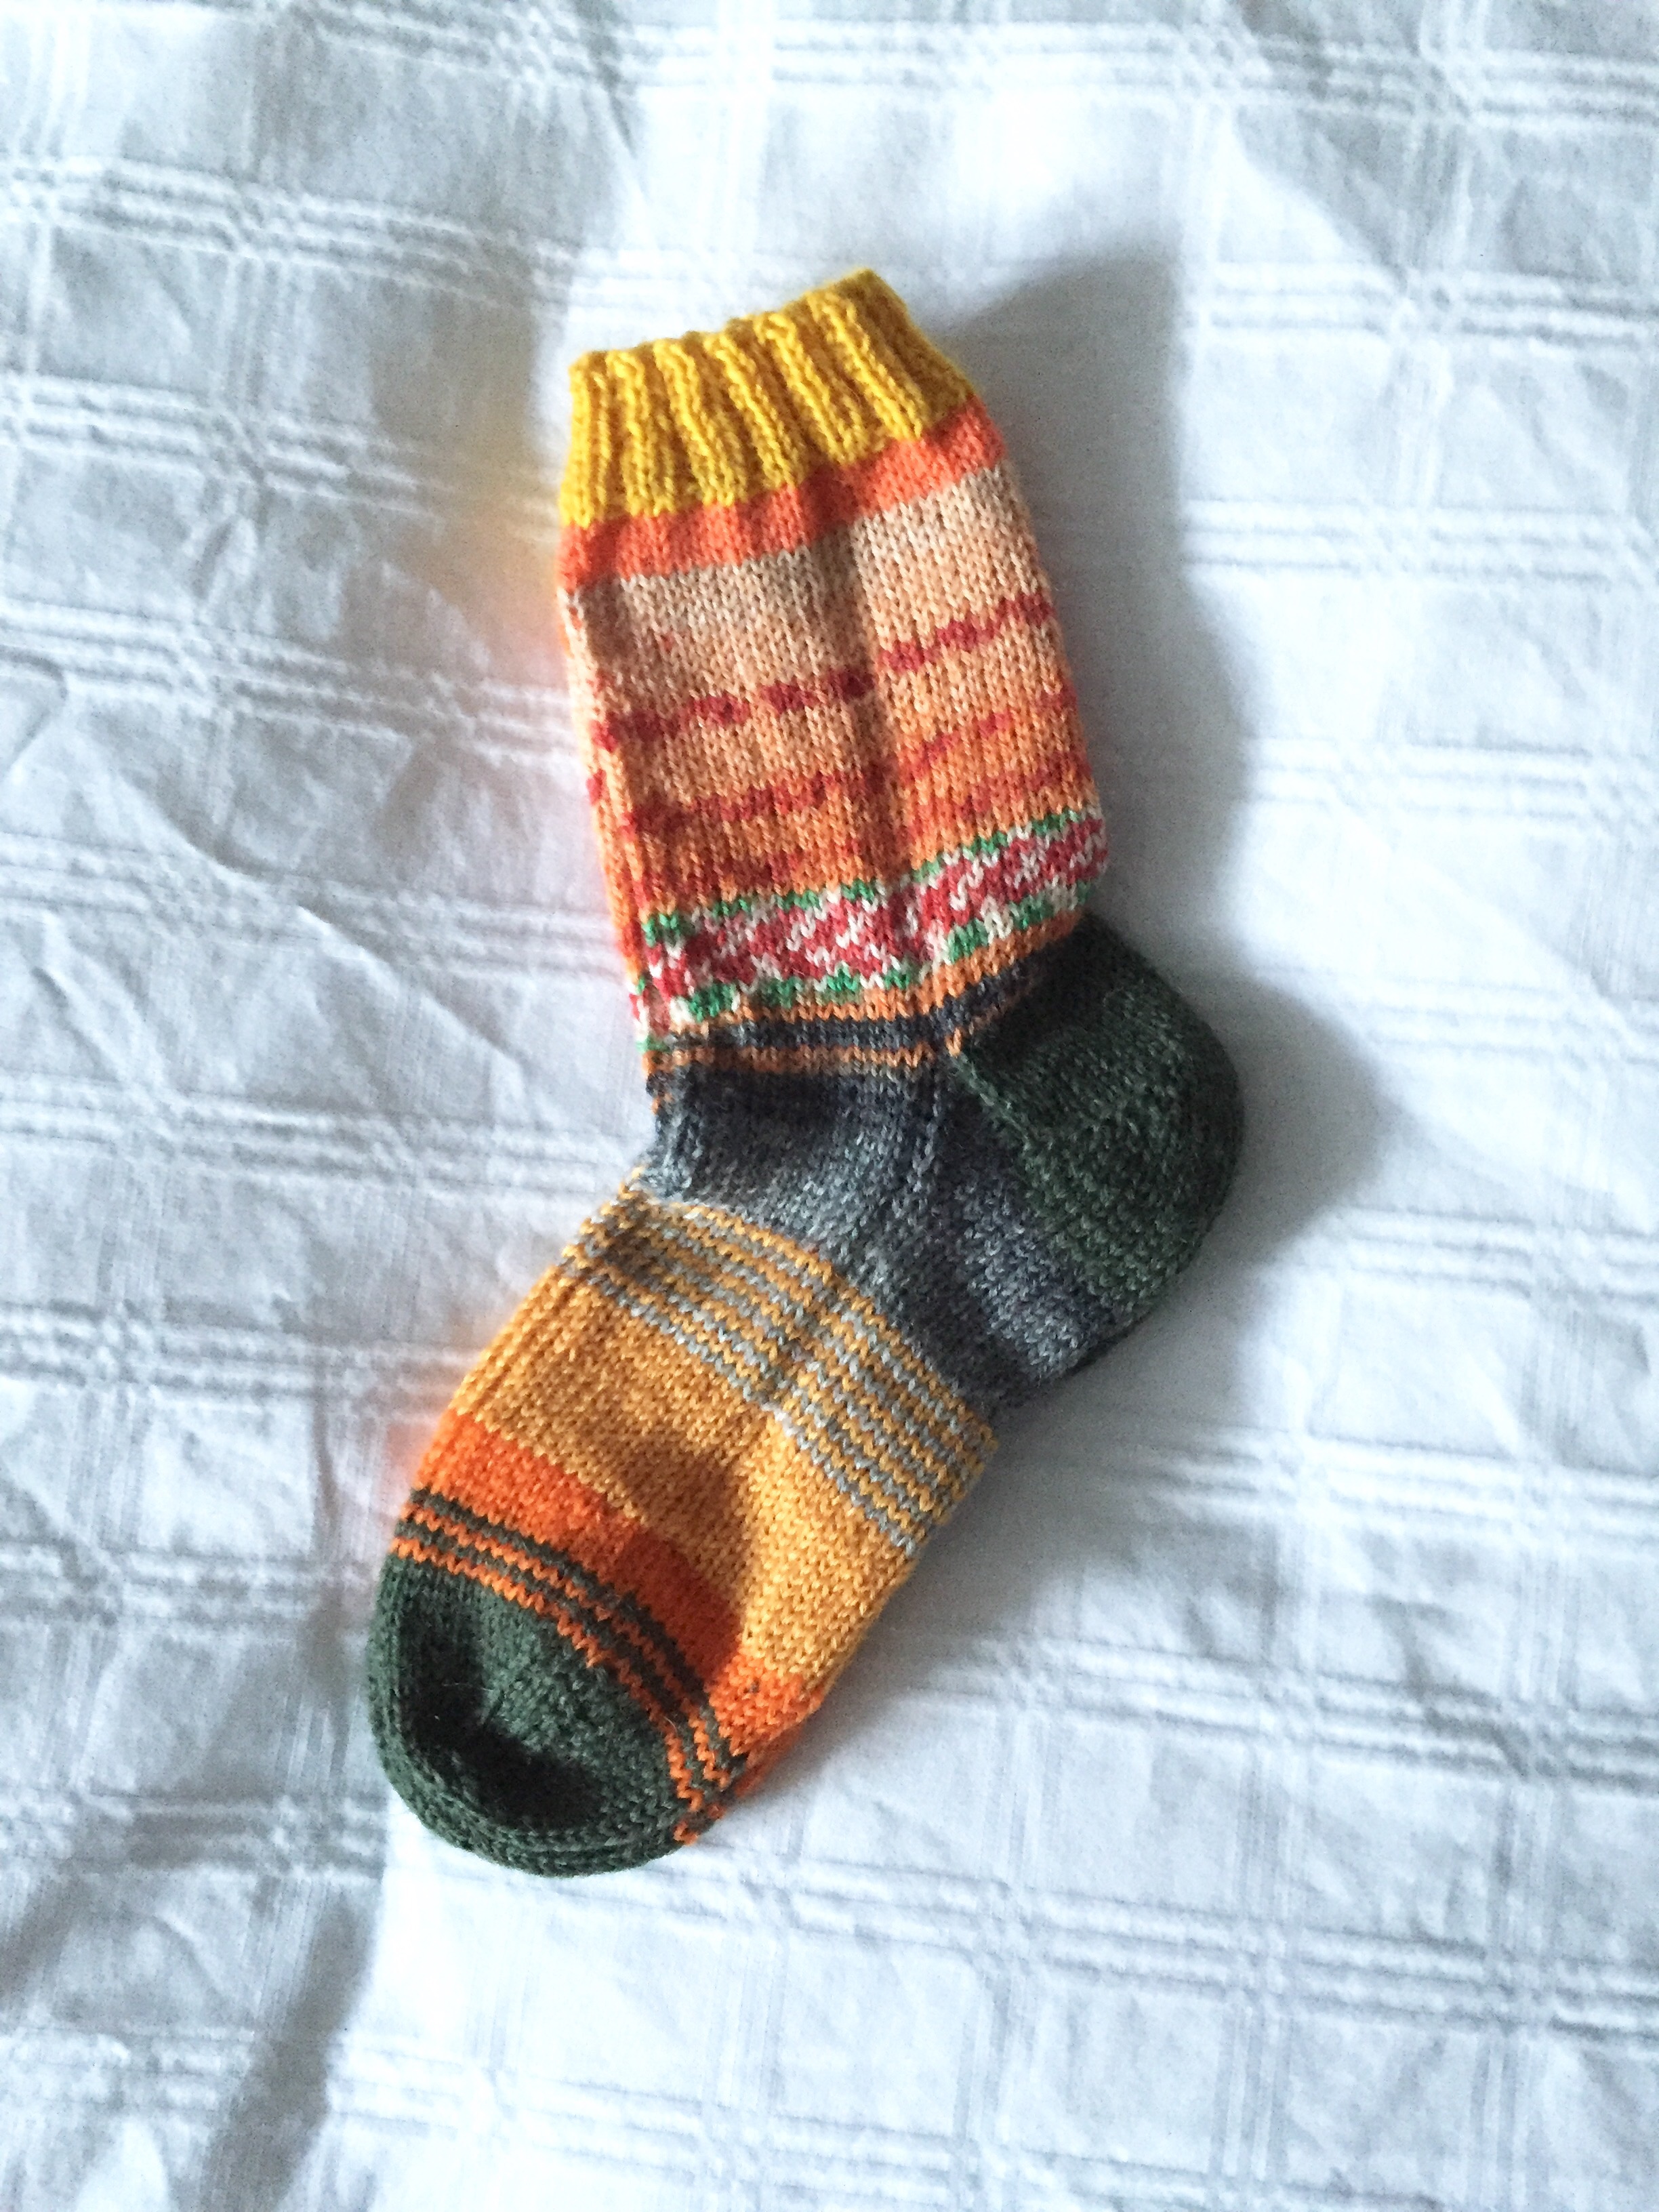
Finished last night. In the mail today! Charlie’s 4 years old (almost). Foot length 6 1/2″. His legs are still a bit chunky so I used 52 stitches, 40 rows leg length. Took four evenings to make. He said he liked yellow – I didn’t have much in the way of yellow leftovers. I came was close as I could, augmented with complementary colours.

Now I need a picture with Charlie wearing them! Then I’m expecting an order for two more pairs: one for Noah (nine), one for Mattie (seven) – I’ll need foot lengths, though.

Hey, the socks fit!

IMG_3926

Velour Housecoats

I have two cotton velour housecoats that I’ve had for close to 40 years. I haven’t replaced them because nobody has made much in velour for several years and because I couldn’t find a housecoat with a zipper front! Lots of fleece tie robes, but few that are long and with a front zipper. So I kept washing and rotating the two.

Last week I was in Fabricville – I needed some 9″ zippers to whip up some small zippered bags using the fabric from Peru – when I came across some velour! It’s polyester and stretchy but I though it would make a decent housecoat so I bought enough for two – some in a deep teal, some in a pale teal.

Here are the two finished housecoats! Just finished the pale one today.

Tricky fabric to work with – hard to keep seams even because of the stretch. The velour is also problematic – can’t press it on the right side! The dark one which I did first had to be recut – I’d got about half way through when I realized the whole garment, but particularly the neck, was too big. I didn’t want to buy more fabric so I actually cut the seams out, downsized the front and back yokes, cut off the zipper and reassembled the pieces.

Inserting side pockets was a challenge — not an easy thing to do using a serger. First I stitched the pocket pieces to fronts and back side seams with a straight stitch, then serged around the pocket, next I serged each side seam (being careful not to catch the front of the pocket in the serged seam.

Hemming the garment was also a challenge – I probably should have used a cover stitch but I didn’t have serger thread anywhere close to the garment colour so I elected to hem using a twin needle. Because the fabric is so stretchy, getting it to feed evenly under the foot took a lot of care (I’d pressed the hem to the desired width before stitching – that helped).

The second housecoat went together much more easily because I knew what I was doing. What I haven’t told you is my “pattern” is a very old Hawaiian muumuu pattern I’ve owned for years.

 I’ve made batiste embroidered nightgowns from it but had never adapted it for a heavy garment like these housecoats. Adapting it meant creating a front opening with an invisible zipper. I had no instruction sheet to direct me – I had to figure out a sewing order on my own. Like the front yokes had to be attached to the front skirts, the back yoke to the back skirt, the shoulders stitched together, the ribbed neck band sewn in place before I could tackle the invisible zipper! That’s because the zipper needed to come about half way up the ribbed neck band. I knew all of that when I started the second housecoat – I didn’t know it when I started sewing the first – lots of trial and error with that one. Good thing I’m a patient sewer – I had to take seams apart repeatedly until I got the garment assembled correctly.

The two old housecoats are now in the laundry. Once they’re clean they’re off to Value Village – they still have some life left in them.

Second Knit Hat

I finished the second knit hat a couple of days ago. As you can see, it’s LARGE before its felted.
I did the felting last evening – just about 15 minutes in very hot water in the washing machine, agitating it with a drop of detergent. I rinsed the hat by hand and wring it out with a towel.

Filled the crown with crushed newsprint, set the hat over a mixing bowl, then set the inverted bowl over one of the heating vents. The hat was dry this morning.

I used a bit of the yarn from hat #1 for a “band”, mostly because I wasn’t sure I had enough red to complete the hat. I like the contrast!

Now to wear it!

So Here – Another Pair Of Socks


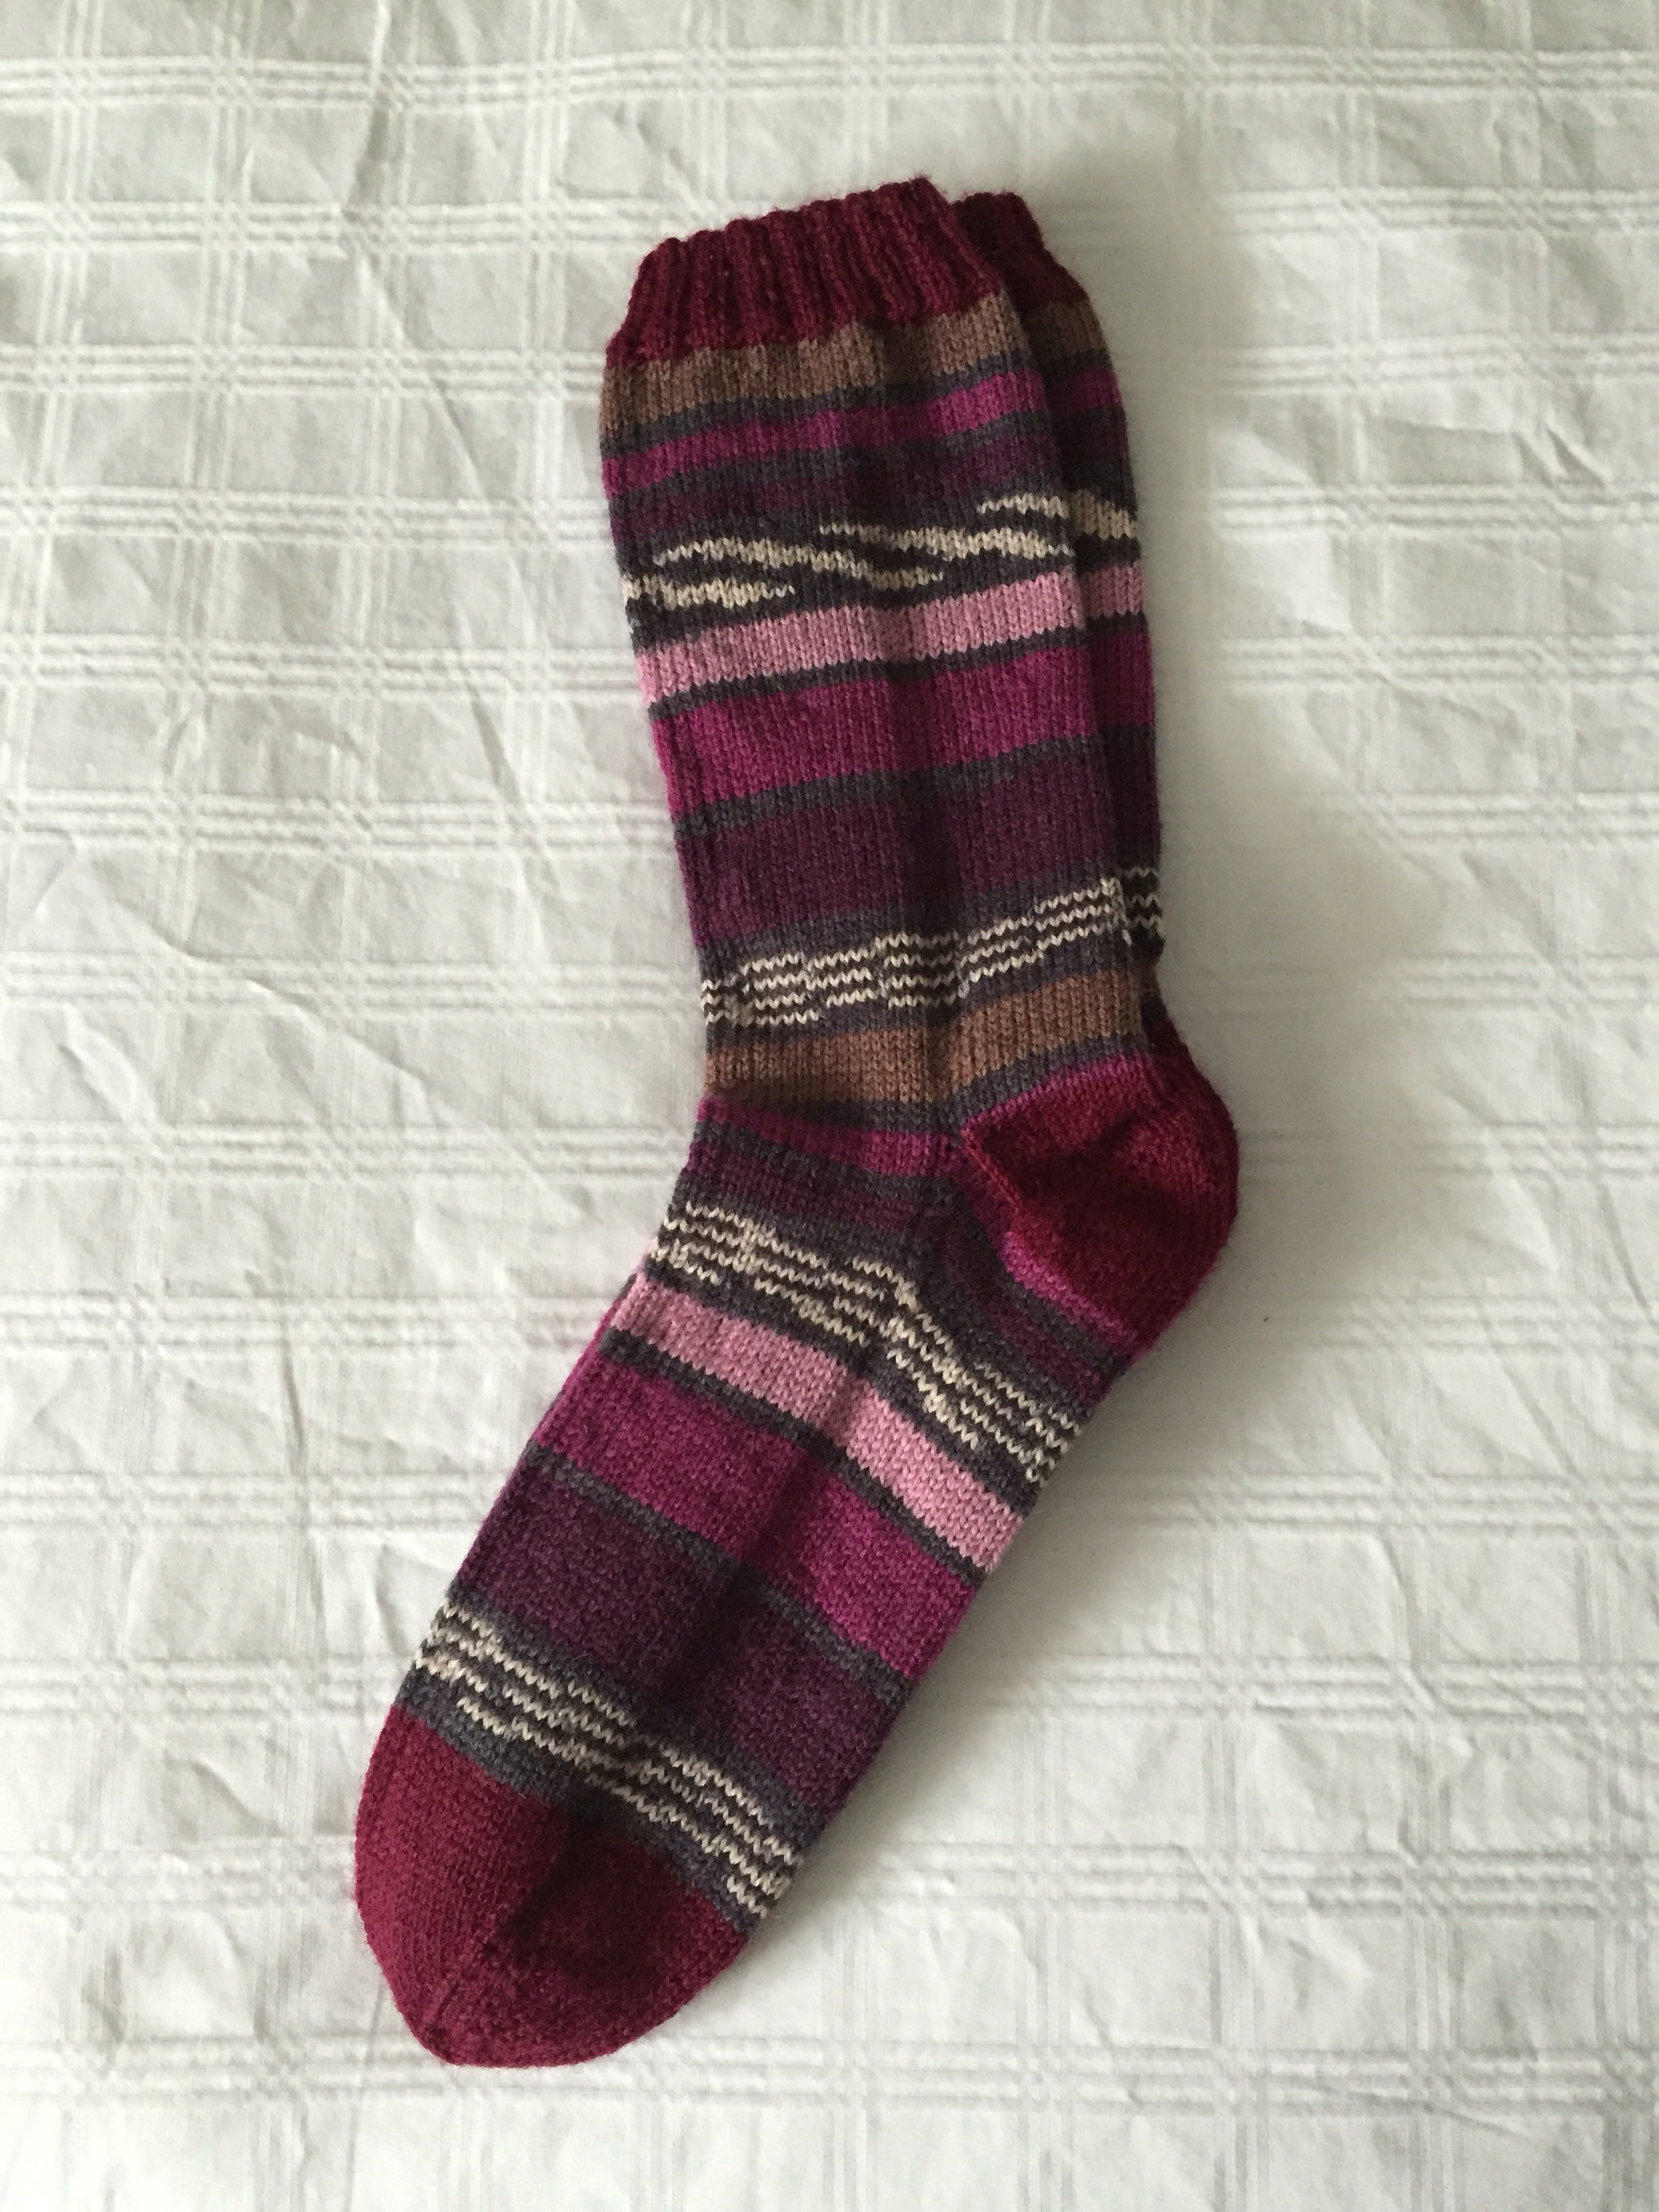
Slightly larger than my standard sock – I began with 4 more stitches for the ribbing (72 rather than my usual 68) with a decrease at row 25, and a second decrease at row 45 for a total of 64 stitches at the ankle. The foot is also longer – 62 rows after the gusset instead of the 50 I usually knit for socks for someone wearing size 7 1/2-8 shoes.

I made this pair for a woman friend – I thought about sending them to Charles, Andrea’s husband, although I wasn’t sure he’d wear pink (there isn’t a lot in these socks but there is some). I’ll get them in the mail tomorrow.

I’m now working on a small pair for 4 year-old Charlie (who has a 6 1/2″ foot). Yellow he asked for, so yellow it is. I had some yellow leftover yarn which will get me to the instep and then I will have to improvise from there.

The socks finally arrived and they fit beautifully and Sab loves them!

Placemats

IMG_7062

Just finished the set of eight placemats for Andrea’s kitchen. I don’t have a picture of her kitchen but the tile floor is grey/white, cupboards are dark brown, countertops also white/grey granite, and there’s a dark red sofa in the family room. Hence my colour selection.

This set of placemats used eight fat quarters (a fat quarter is half of a 1/2 m of fabric rather than 1/4 m from the width of the fabric). They are stacked and cut into pieces (the pieces from each fabric are all the same size and shape), then you mix and match to create the placemat. Very efficient use of fabric – very little left over.

Finished dimensions: 17″ x 13″ – a good size for a placemat. I used a brown/brown printed fabric for the reverse.

I could have completed the placemats with a binding but used a “pillowcase” finish instead – stitched the quilt sandwich in the following way: back fabric wrong side up, pieced top fabric right side up, batting. The edge stitching starts part way along one long side, and edge side, second long side, second edge side, and finally part way on the other end of the first side leaving an opening to turn the placemat right side out. The small opening (~ 4″) is blind stitched closed. I just like the look of the placemats unbound.

The quilting: stitch in the ditch along all seams both horizontal and vertical; very quickly done.

Our Traditional Sweet Kugel

My mother used to make this dish to accompany a savoury meal – not just for Christmas, she made it on other holiday occasions. I make it only at Christmas if I’m asked to – otherwise I’d simply eat the whole thing myself….

I was asked a couple of weeks ago to make the sweet kugel for Christmas dinner. The dish used to be my youngest sister’s favourite, I asked if she wanted one for her freezer. So, I was making two. Last night a friend was discussing her modest Christmas dinner with her husband and her mother – I offered to make one for her, too.

Over the last few days I have been collecting the ingredients – this afternoon I made the kugels.  


It’s a tricky dough – flour, egg, water, small amount of oil, pinch of salt. It’s very stretchy and sticky. Once rolled out (on a heavily floured board) it gets covered with cranberry sauce, strawberry jam, sliced apples, raisins, a drizzle of vegetable oil, sprinkled with cinnamon and sugar. THEN you try rolling it (like a strudel – which is what this kugel sort of is). I flop the edges toward the centre, then finally get my hands underneath, turn it over, and drop it into an oiled round baking dish.

Small kugels like these bake for about an hour and a half at a 325 oven. If the top starts getting too dark, I cover them with foil.

I let them cool – while still a bit warm I removed them from the baking dish (if I put them in the fridge in the original dish everything sticks and it takes a long soak to clean things up.)

Ready to be put in an oven proof dish to reheat covered with foil for about 30 minutes and then served with the turkey!

Yum!

(I put a spoon in the one for my sister – it’s definitely good.)

Felted Knit Hat

Too bad I didn’t think to take pictures of the hat before I felted it – when I put on the finished hat (before felting) I looked like the cat in the hat with this enormous thing covering my head down to my nose!

Last night I put the hat in a small amount of very hot water in my washing machine, agitated it for about ten minutes – and suddenly the hat was half the size, felted and it fit. I wrung it out in a towel, stuffed the top of the crown with crushed newspaper, and placed the hat over an inverted bowl to dry.

It’ll look good with my navy coat, my maroon corduroy jacket, and even my red parka! I’m now knitting another in red (with a contrasting band at the base of the crown from the yarn I used for this hat).


OK – here is the hat with a smile!