I was suddenly awake at 7:00 this morning (I normally wake at 8:00). Got out of bed and went to work (before going to the pool at 8:45 as always on a Friday morning).
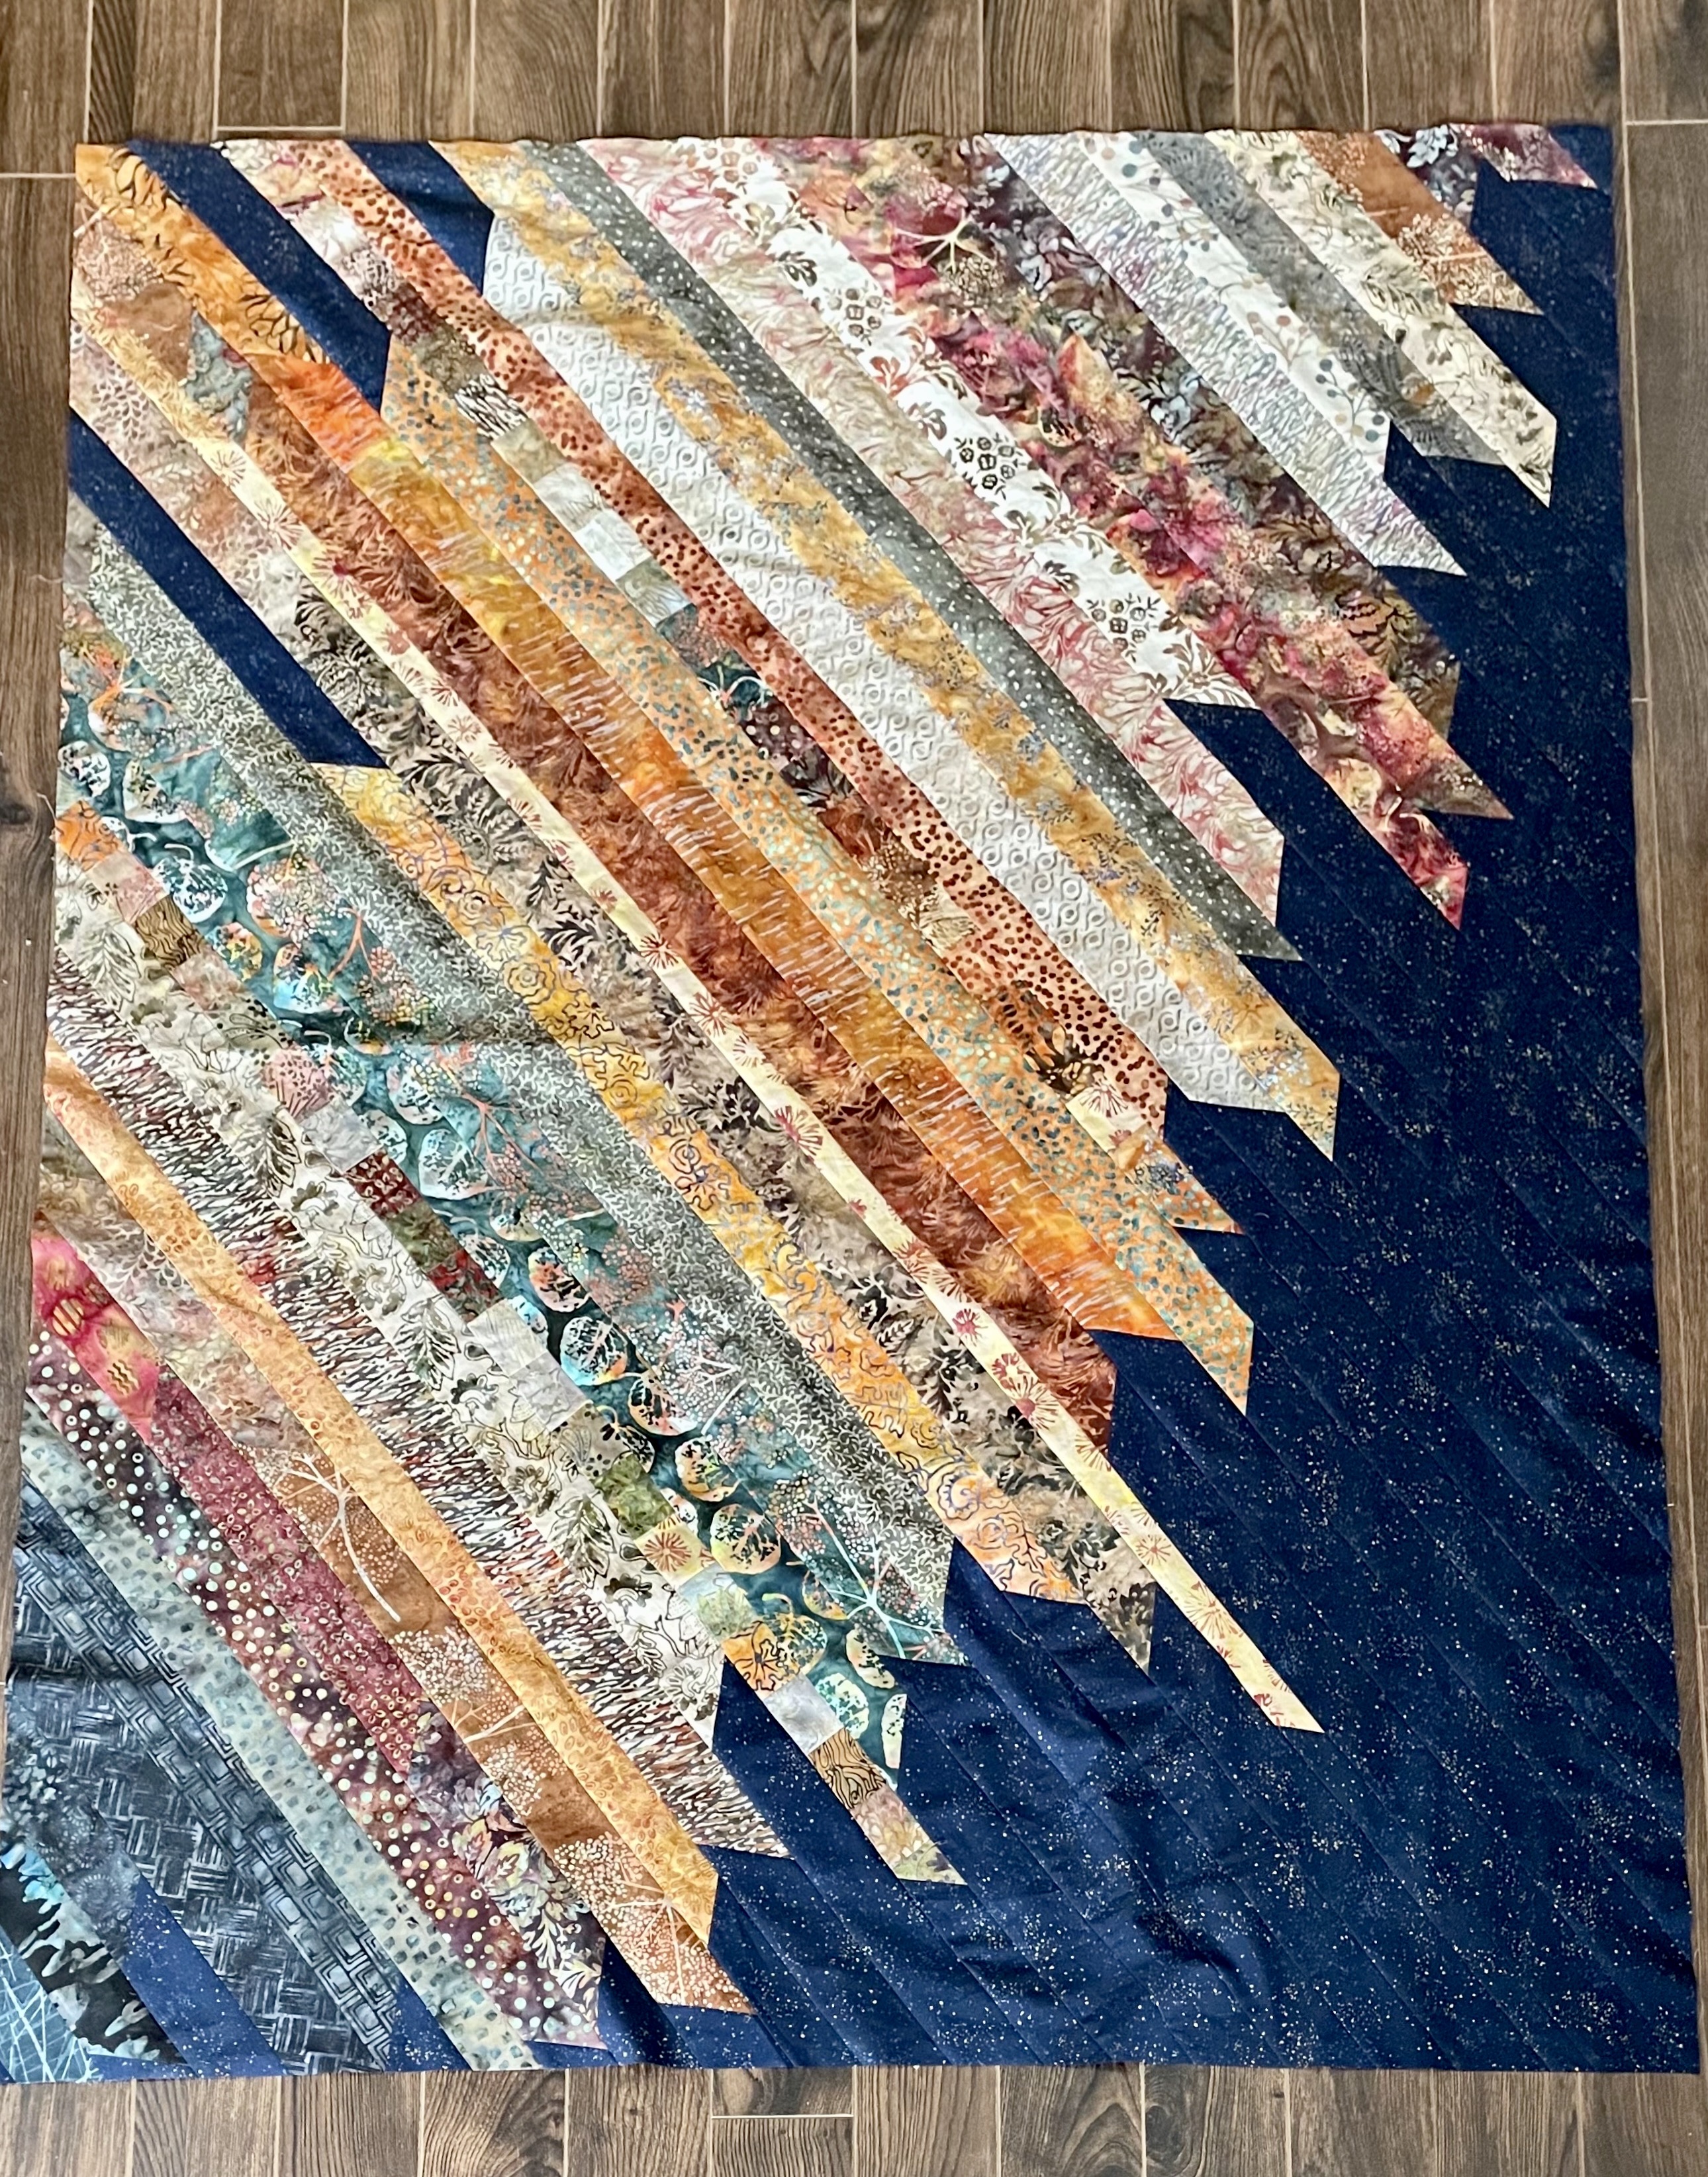
First, I removed the narrow pumpkin sashing from the two “straight” sides. Then I carefully unstitched the three navy bits in the bottom right corner and replaced each with fabric that blended with the main strip in each location. Now there is no jarring bits of navy in that corner.
So, from “Poppy Field 2”, I can name this piece “Night Sky” which brings out the golden speckle in the navy fabric and implies a city scape below.
I think I’m happier with that. Next on to coming up with an idea for piecing the back.
This afternoon I went through my fabric stash looking for 1/2 metre cuts which I could use for narrow sashing. I came up with five possibilities. I gathered up the panel and the fabric pieces and marched down to Deb to ask for her 2¢.
We started with the panel on her dining room table – after auditioning the five fabrics at the edge of the panel against the remaining Ruby Star Society navy Speckled we settled on a light beige Stonehenge with soft blue in it.
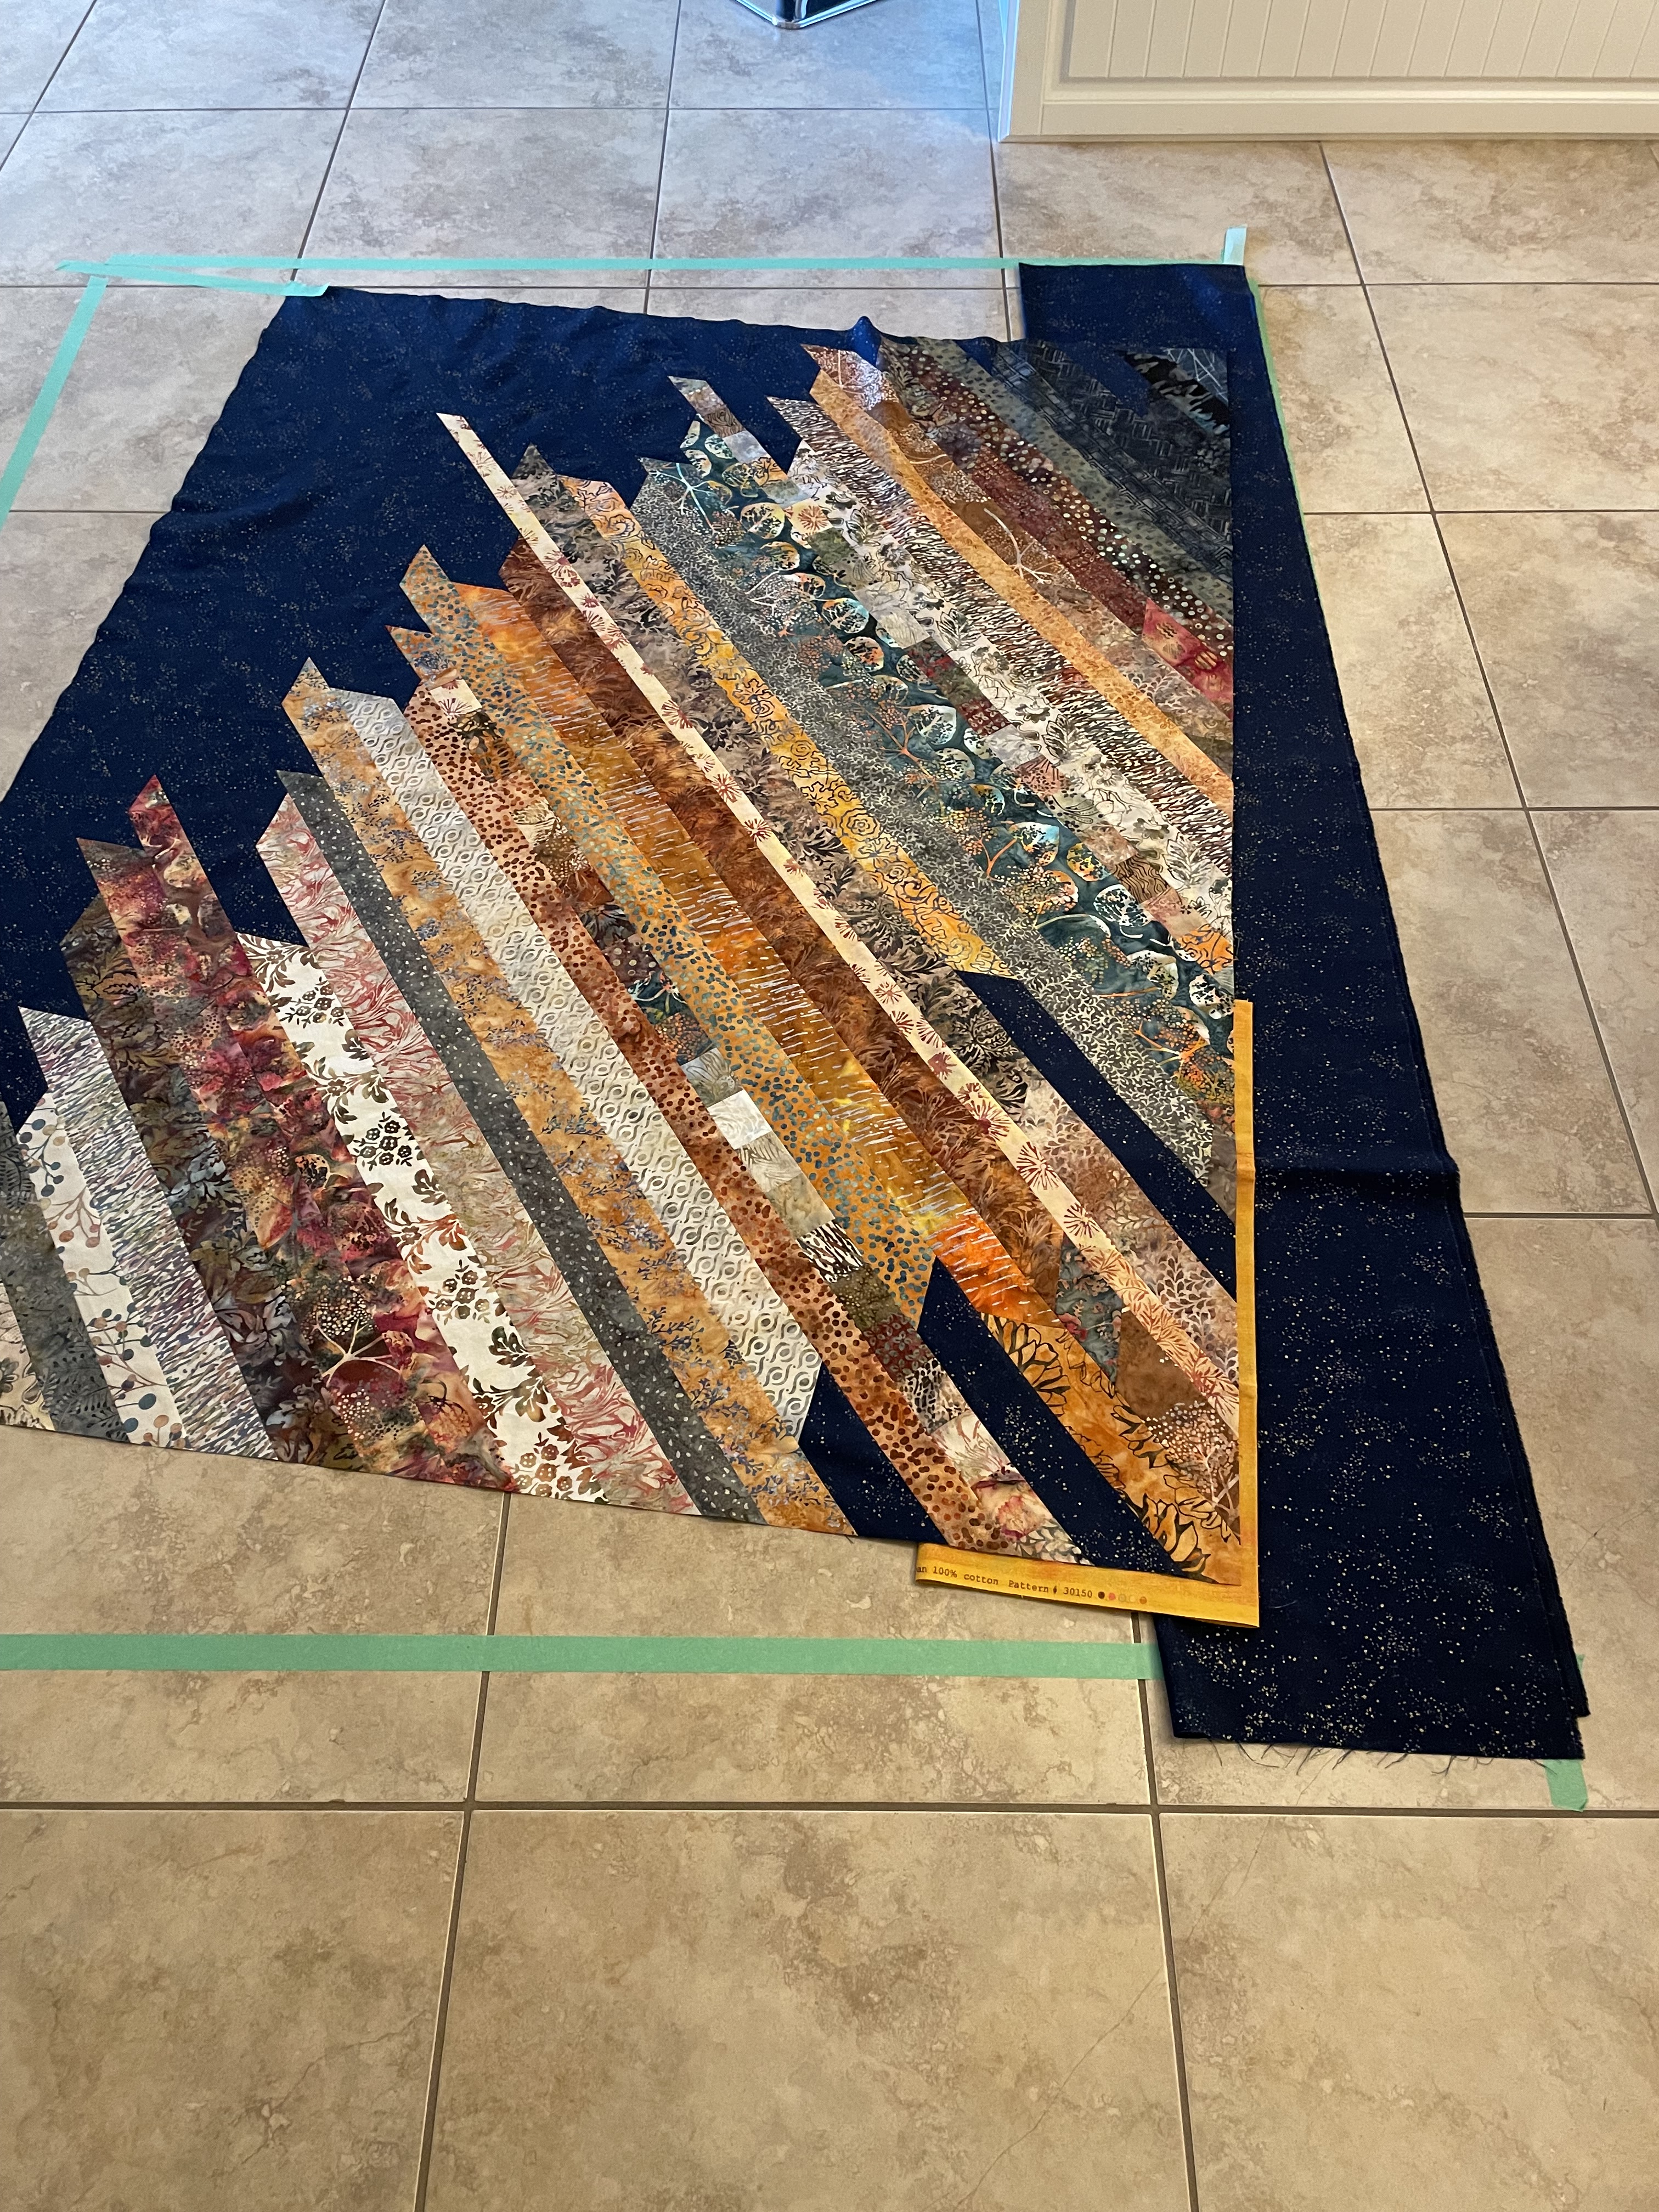
We moved the panel to the floor to better judge the fabrics – that’s when I had the idea to offset the panel and instead of sashing and a border, to “sash” with large triangles on the outside.
To visualize the rotated panel better, we taped the new outer dimensions with masking tape. The mitres are less jarring at this angle – now I needed to do something with the straight sides. I thought about opening seams and inserting several more navy Speckled elements at the straight edge – that would break up the flow of the piece, however.
The idea I think I’ve settled on is to sash the two straight edges using the pumpkin Grunge – that will create a finished look on those two sides; then join the filling triangles directly onto the other two sides. Rotating the panel 10°/15° changes the impact of the “ragged” edge of the strips – those joins become much less jarring; their 45° angles fight less with the new outer edge of the panel. I have just enough fabric to make this happen if I cut my triangles from the length-of-fabric!
I still plan on quilting on the diagonal – 3-4 strips at a time. I now need to spend some time thinking about what kind of embroidery/quilting will give me the continuing flow from the colour into the navy I’m seeing in my head!
I don’t know what to do with the quilt back yet – I will incorporate whatever navy Speckled remnants I have but there won’t be much. And I don’t have many scraps remaining from the jelly roll strips I started with. It’s too soon to worry about it – the “problem” will percolate and something will pop into my head when need an idea.
The strip piecing is finally finished. I have called the quilt “Poppy Field 2” because that was the name on the batch of strips. I will have to come up with another name for this effort.
Looking at the image, seeing the top on the floor, I can see immediately what I have to attempt next – a similar piecing but with the strips coming from a single point in one corner. That will involve grading each and every strip in order to generate the quarter circle full of radiating strips! I have more jelly roll collections in my stash so I could certainly use one to try out the idea.
Back to this quilt top. The current size is 47″ x 60″. I think I want to add a narrow 1/2″ sashing in some contrasting colour then complete the top with a 3″-3 1/2″ border which will make the quilt top something like 53/54″ wide and 66/67″ long. Colour and fabric for the sashing is a decision for another day when I get back to this. For now, I have to say I’m reasonably happy with how the piecing has turned out.
One aspect of the piecing I’m not completely happy with is the mitred joins – when you see the quilt from the corner the angles are interesting:
straight on I think the mitred joins are awkward. My intention is to quilt along the strips (on the diagonal) 4 rows at a time using variegated thread and bringing the design and colour across the dark blue background. If I come up with a suitable design those mitres will be overstitched and I may be able to create the illusion of a starburst.
Now to start exploring designs to use for quilting the project.
For now I have the finished “Fish” pieces 4 & 3 hanging on the closet door. That’s it, I don’t plan on doing any more of these. They’ll go in the closet along with the other “skinny quilts” – I may take them to Parrsboro for the summer exhibit there, we’ll see when I start pulling work from the closet closer to the end of July.
One friend commented she’d put small bubbles coming to the surface – I did think about that for a moment as I was finishing the stitching on Fish 4 – but in the end I left the fish swimming peacefully among the seaweed.
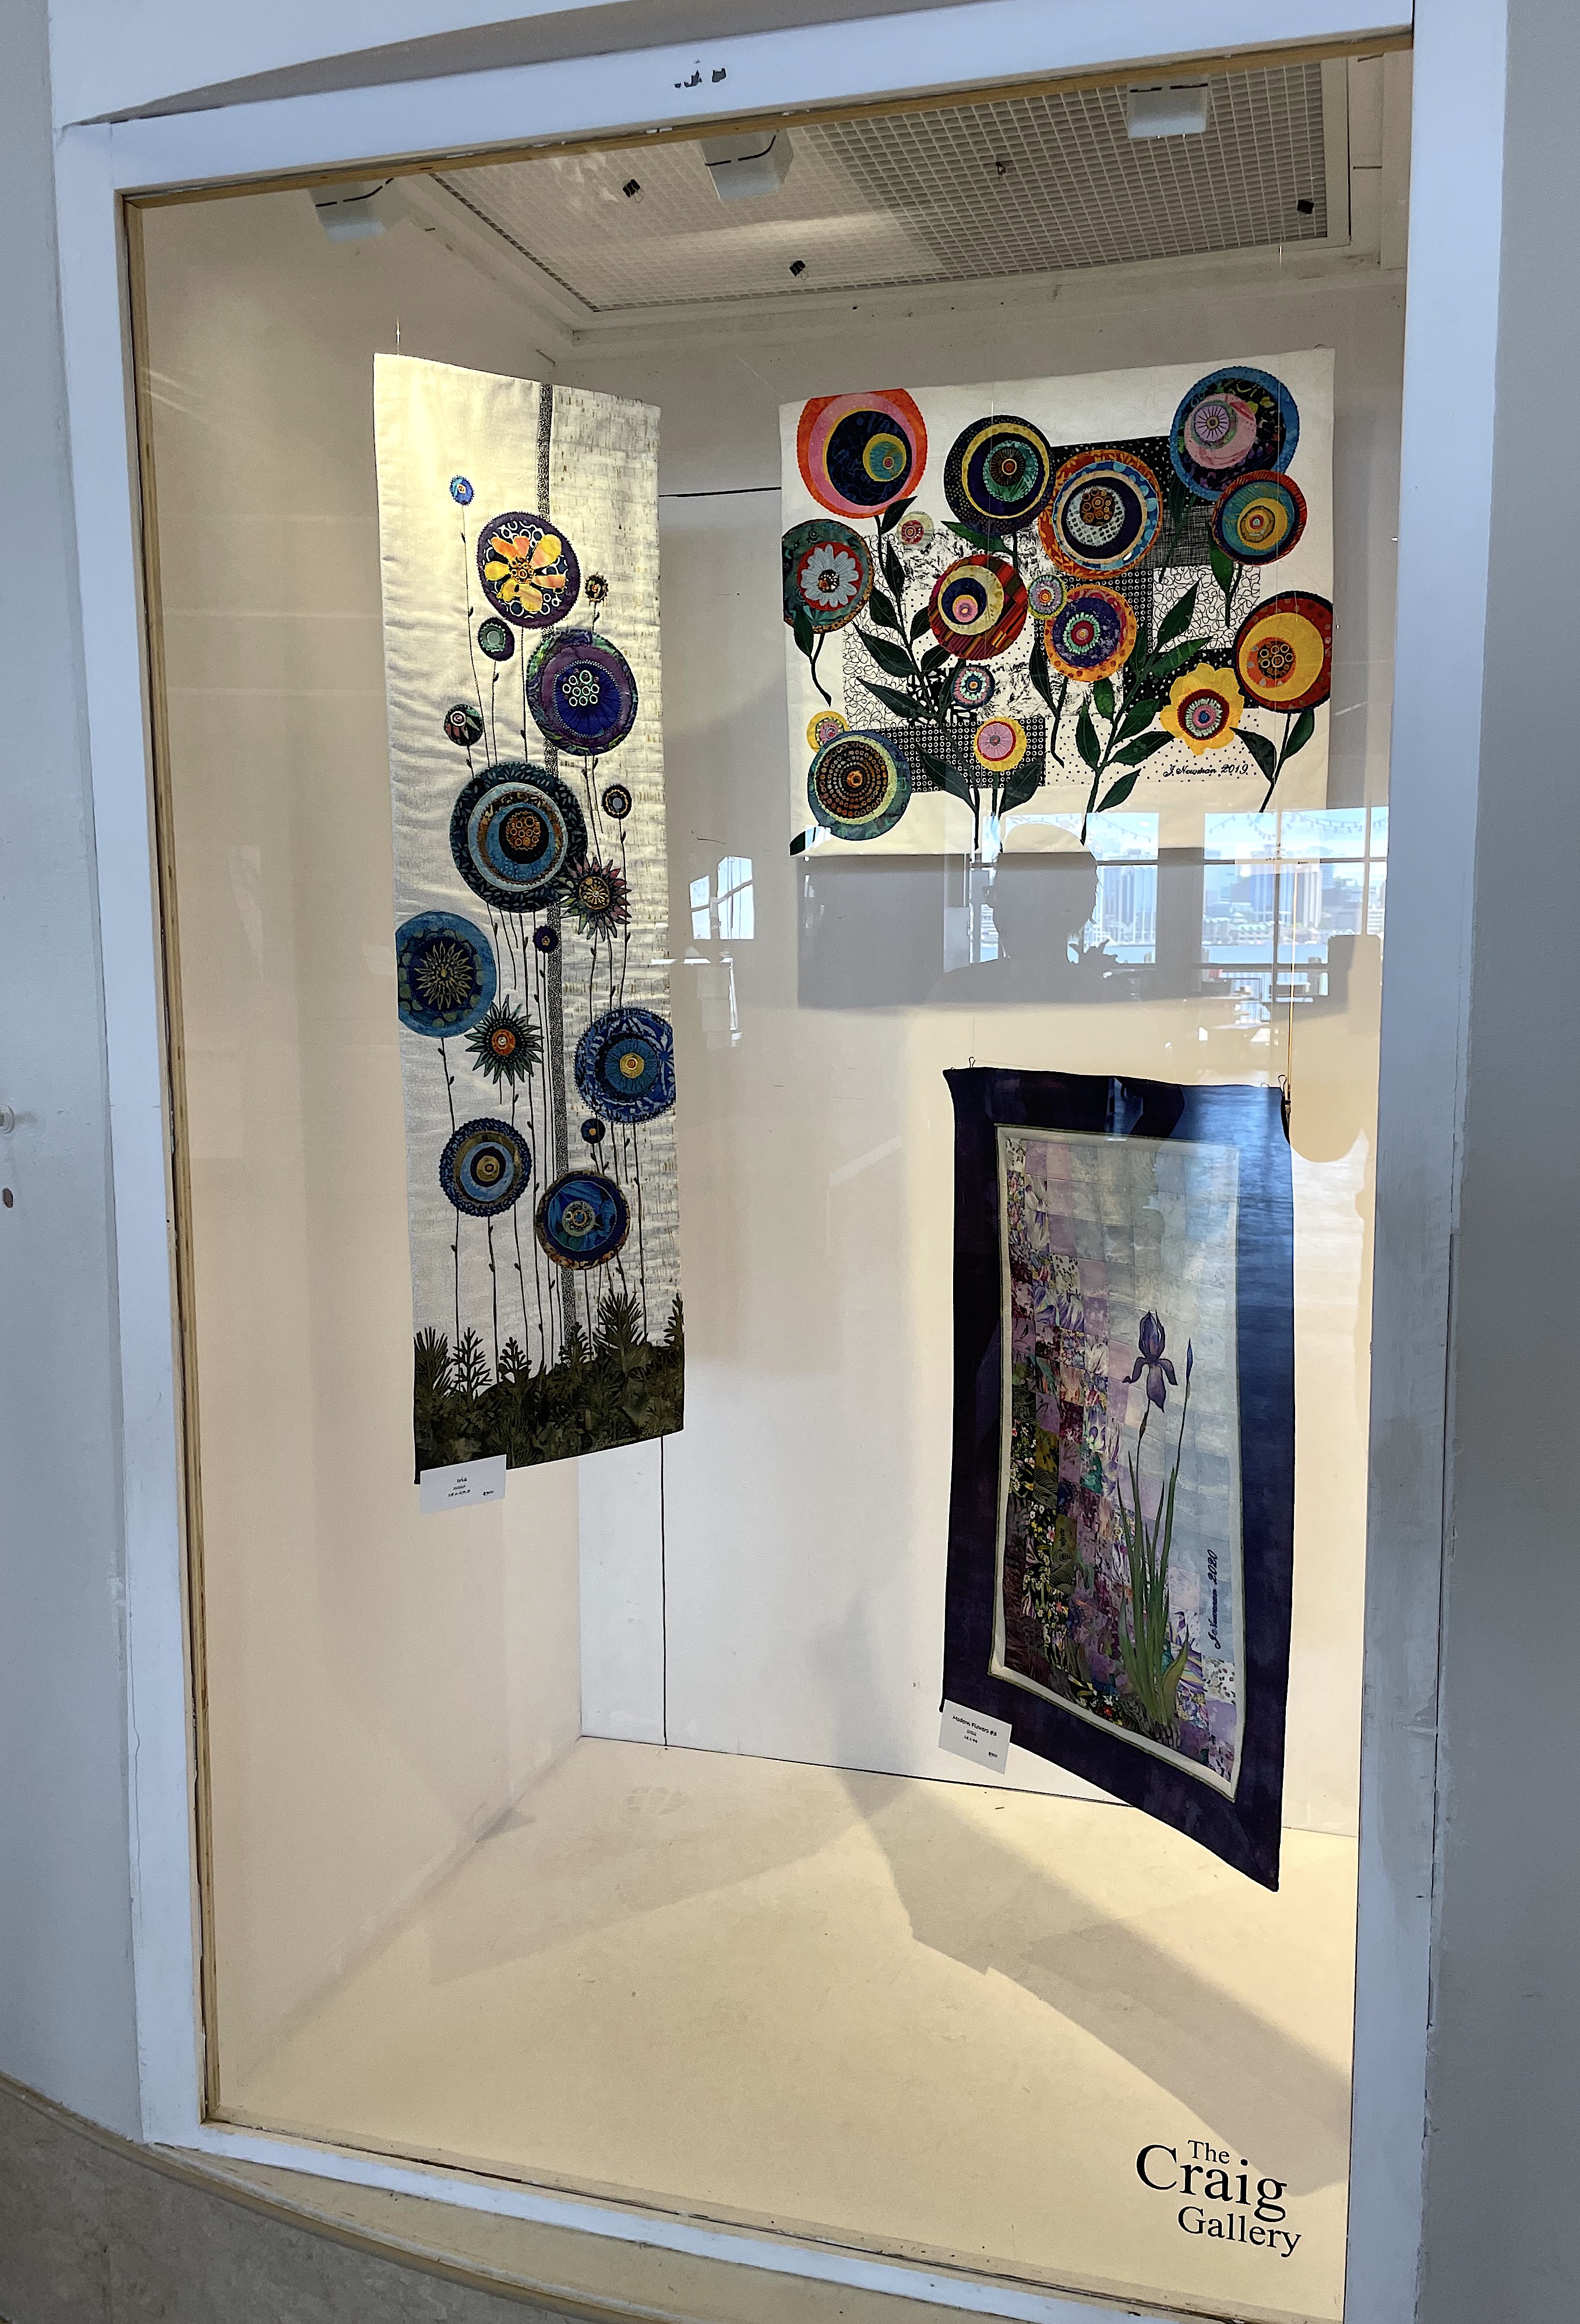
I got an email middle of last week wondering whether I’d be interested in exhibiting some of my work in the two outside window cases of the Craig Gallery at the Dartmouth Ferry Terminal (Alderney Landing).
How did they know about my work? A couple of weeks ago, I sent out proposals to five major galleries in the Halifax area – The Craig Gallery was one of them.
Of course I said yes? Short notice wasn’t an issue – I have a closet full of quilts and wall art projects – the challenge was how to limit the exhibit. On Friday morning I drove across the bridge to visit the gallery to get an idea of the size of each window. (I took along a suitcase with a range of pieces to show the curators – their reaction – “The photos don’t do the work justice!”) I know that, but the only way I can get any attention is with photos. While I was at the gallery we talked about me submitting a proposal for a solo show inside the gallery at some time in the future. I plan on resubmitting late in the summer for the 2024 season!
I arrived early at the gallery this morning with eight pieces in my large travel suitcase along with monofilament fishing line, straight pins, gorilla tape, a hammer and level, a few hooks… I forgot small brass nails, but in the end that was OK – we used tiny bulldog clips to hang the work from the window case ceiling using the monofiliament (the two lower portrait pieces are pinned to a plinth top).
Exhibit in the Large Window Case
Floral Art Pieces in the Smaller Window Case
It’s too bad I couldn’t get photos without the reflection from the windows behind me but you get a hint of how the exhibit looks.
While I was looking at the finished windows one of the artists from the Dartmouth Visual Art Society (who are showing inside the gallery for the same month of June) was looking at the work as well. “I must bring my sister-in-law to see this! She’s a quilter but she just follows patterns. She need to see this free-form work.”
If one person brings a second, quite a few people may actually stop and peruse the work – you can get close enough to the windows to examine the appliqué and stitching detail and wonder how in earth did she get those portraits so photo-like. I explain how in my “artist statement” and “biography” if anybody bothers to read either.
At first glance you think you’re looking at photographs – when you get closer you realize you’re looking at textile compositions! Precisely the effect I’ve been trying to develop with these works.
The street leading from my apartment building has a line of Bradford Pear trees. Last week they were just starting to bloom. I love seeing the flowers come out. They’re strong and showy and the trees become a mass of white.
Orchid CactusOrchid Cactus
Then my friend Marlene had two orchid cacti blooming in her greenhouse – the flowers are gorgeous. However, fully open, they last but a day. These two obviously bloom during the day. She has a white one that blooms at night – it’s a special trip to see the open flower.
I haven’t taken many photos this spring. Not sure why that is. We’ve had some lovely sunny warm days but I haven’t been motivated to wander with my camera the way I was last spring.
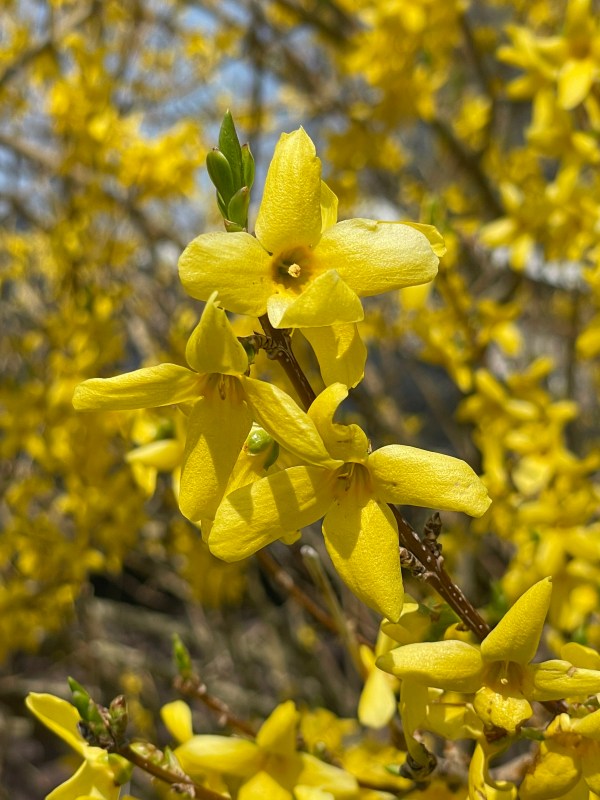
Here are a few I’ve taken:
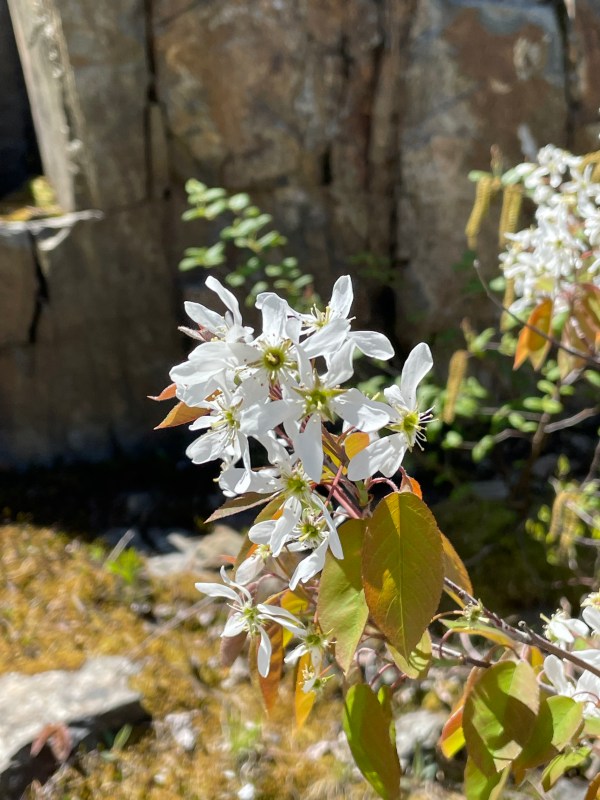
ForsythiaKerria japonicaBlue Flag IrisAmelanchier ovalis – Serviceberry
I need to pull out my camera more! Pay more attention to what’s around me.
I wasn’t intending to carry on with the “fish” but I’m stuck with the quilt I started so I went to work on another “fish” piece.
Fish #4
Because I’d cut bindings from the leftover piece of purple ombre, the leftover piece was a bit shorter than I wanted it to be, so I added some batik to the dark bottom end of the purple and filled in with seaweed-like shapes.
Not so many fish this time, they’re more spaced out, with one behind the seaweed (which meant I had to stitch it in place before fusing the seaweed to the panel. The other fish are just laying in place for now – I don’t know precisely where I will put them, I’ll know that after thread painting the seaweed elements.
I worked away at my machine yesterday, edge stitching the seaweed then adding three seaweed embroideries for texture. Late last evening, I fused the remaining fish in place.
Seaweed stitched
Next will be to edge stitch the remaining fish and add an eye to each. Again, I think I’m not going to do any background stitching, I like the water-like flow in the ombre print and don’t want to interfere with it.
OK. This really is the last of the fish pieces. REALLY.
I taught a class this week on “Skinny Quilts/Wall Banners” – on constructing simple, fast and easy quilted fabric art pieces. I’d worked on two much more complex pieces recently.
Sky / Sand / SeaBlue Flowers
I wanted something simple to show the women in the class. I wanted whatever they tackled to be pieced/stitched in a day. Hence the “Fish”.
The night before class, I pulled the ombre pieces I had in my stash (from a Ryan McKenna kit I’d bought but never used five or more years ago), chose the purple one because it was an uncut 1/2 yd piece and cut an 11 1/2″ piece WOF. Next I gathered together the last of the “fish” scraps I’d saved from the Double Vision quilt – A Study in Blue and Green I’d made in 2019.
Quilt Top – Double Vision 2019
I positioned a dozen fish on the ombre fabric (they already had fusible web on the back), pressed them into position, cut a piece of batting and took it to class along with eight other banners I have in my closet so the gals could see a range of possible appliqué work.
Yesterday, I edged stitched the fish and added an eye to each. I thought about embroidering some seaweed at the bottom of the panel but the ombre fabric has a soothing “water” movement to the pattern and I decided that rather than embellish the background, I’d leave well enough alone.
I sewed on a hidden binding and added a backing muslin this morning, pinning the binding in place. I still have to add a hanging sleeve and hand stitch the binding in place but the hanging is now complete.
The women managed to piece a background (as I had done on the two banners above), cut out appliqués, fuse them in place (we discussed matters like colour, value, complexity of pattern, etc when choosing both the background and appliqué fabrics), then began the edge stitching.
I usually do this class as a two day affair but we were doing it on a single day. Had it been a two day class, I’d have had the gals practice edge stitching on curves but there wasn’t time so they went at it on their banner pieces. One had an open toed foot, luckily we were able to find another in the shop for the second machine – what a difference being able to see where your needle is in relation to the appliqué fabric! It takes a bit of practice to get the eye/hand/foot coordination to sew accurately at the fabric edge. Then the issue of editing the various decorative stitches to get a suitable width/length so the stitching shows, but doesn’t dominate the work, arose. Stitch selection and editing takes practice and judgement as well. We didn’t have time to develop a stitch sampler with notations – that would have required another couple of hours – we went with what was expedient.
The gals made significant headway and their technique improved significantly as they went along. Toward the end of the afternoon we stopped and examined how I’d done the finishing work on my textile pieces. I’ve sent them the directions for completing their wall hangings. Now it’s up to them. I’ve asked for photos of the completed work.
That’s the last of my “fish”; I still have a bag full of circles in many sizes waiting to be used.
I’ve dabbled in paper quilling but I don’t have the patience to do much with the tiny twirled results. But Lisa Nilsson makes spectacular art works using the technique.
This work, which took her six years to create (!) is an amazing work of art. You have to see some of the details to appreciate what she’s done: