Yesterday I completed 25 blocks for this quilt – it’s starting to look like I want it to – circles on circles. Nothing is in place for sure yet – can’t be until I have all 63 blocks stitched and trimmed. I know there will be movement once I get the layout on the floor to audition all the blocks at once.
25 blocks
It’ll be another couple of days before I get the remainder of the blocks done and laid out – then I will photograph the array and think about what I’m seeing before beginning to assemble rows, moving things around as I discover repetitions and some areas that are too light and others that are too dark….
That’s what it’s like when you aren’t working from a pattern – just an idea.
BernieLynn wrote questioning the “L” part of the drunkard’s path block – she wasn’t seeing what I was describing. So here it is.
A drunkard’s path block consists of two parts: a “pie” or quarter circle and an “L” or complement to the circle:
Drunkard’s Path block elements
You can purchase acrylic templates of various kinds; you can make your own.
To construct a template first you need to decide on a block size (remembering to add the outside 1/4″ seam allowance – hence 6 1/2″ (for a 6″ block) or 6″ (for a 5 1/2″ block) etc.).
Draw an outline for your block. Next construct a quarter circle (using a protractor, a plate, …) using a radius between 1/2″ to 2″ shorter than your block size, making sure the arc ends are symmetrical. This creates your “pie” shape. The line you’ve drawn is the seam line. The complement is the “L” shape.
To construct seam allowances you draw another line 1/4″ from the quarter circle arc on EACH side of the arc line (I use a different colour pen to draw these two lines to differentiate them from the original arc line). Using template plastic, trace the quarter circle piece using the arc line farthest from the apex of the arc – this is the “pie” cutting line. Reposition the template plastic and trace the quarter circle using the arc line closest to the “pie” corner – this is the cutting line for the “L” piece (it’s a smaller quarter circle).
Drunkard’s Path Templates
You end up with two quarter circle templates, one a half inch larger than the other.
Drunkard’s Path Templates
To cut the “pie” pieces from fabric, cut a strip the width of the 1/4″ circle radius (the length of one side); to cut the “L” pieces, cut a strip from the fabric the length of one side of the desired pre-trimmed block size – this will be wider than the strip for the “pie” pieces. [For my blocks I cut 5 1/2″ strips for the “pie” pieces; 6 1/2″ for the “L” pieces.]
In my block I’ve made my overall trimmed block size 1 1/4″ larger than the radius of the “pie” piece:
Trimmed Block
When I’ve finished sewing blocks together there will be a 1″ border around each circle or partial circle.
Skyline #3 – Blocks Laid Out
But you can construct drunkard’s path blocks that have no border around the quarter circle. These are a bit trickier to stitch because you are working with just 1/2″ of fabric on the ends of the “L” shaped piece to end up with a 1/4″ seam allowance for joining the blocks:
Drunkard’s Path Block from “Let The Trumpets Sound”
It’s all up to you and how you want your final project to look.
In this case I want the circles to be circumscribed within the blocks rather than touch the edges of each block as I did in Let The Trumpet’s Sound.
In my first drunkard’s path quilt I circumscribed the circles. My circles, this time, will be a bit larger in relation to the size of the block.
Yesterday I pulled a pile of Grunge fabrics from my stash, looking for bright colours to strengthen the bright elements within the panel.
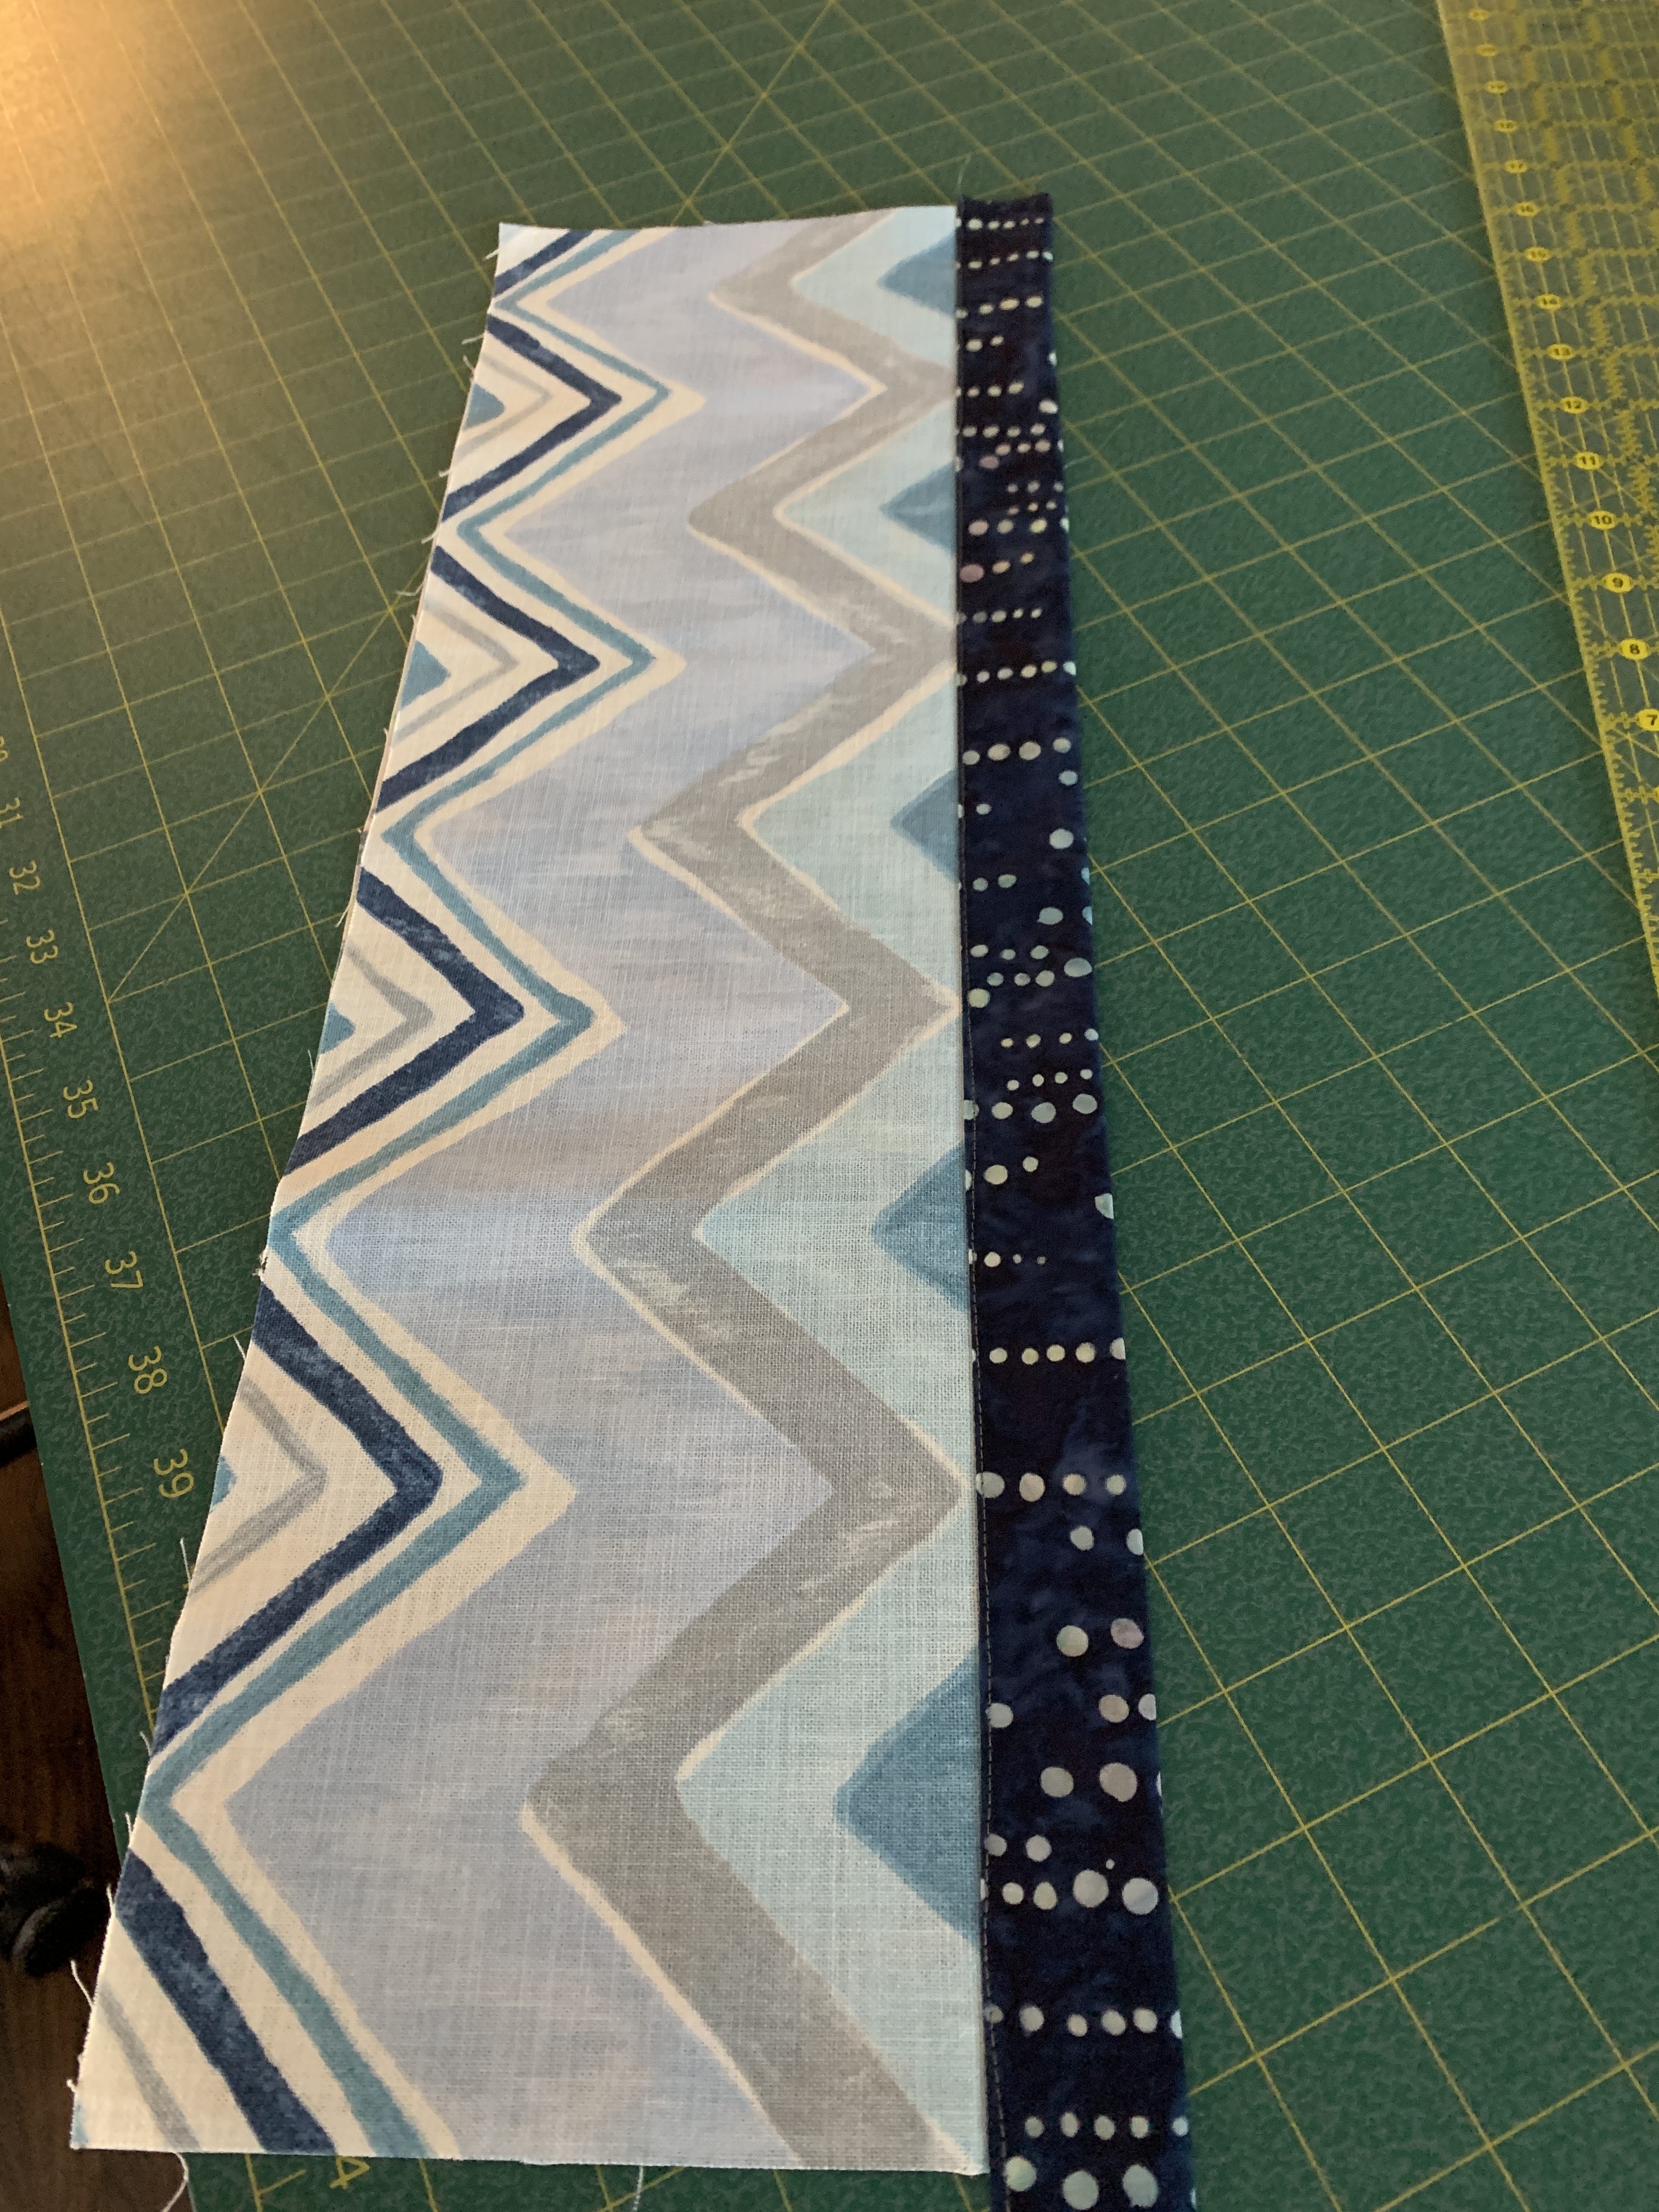
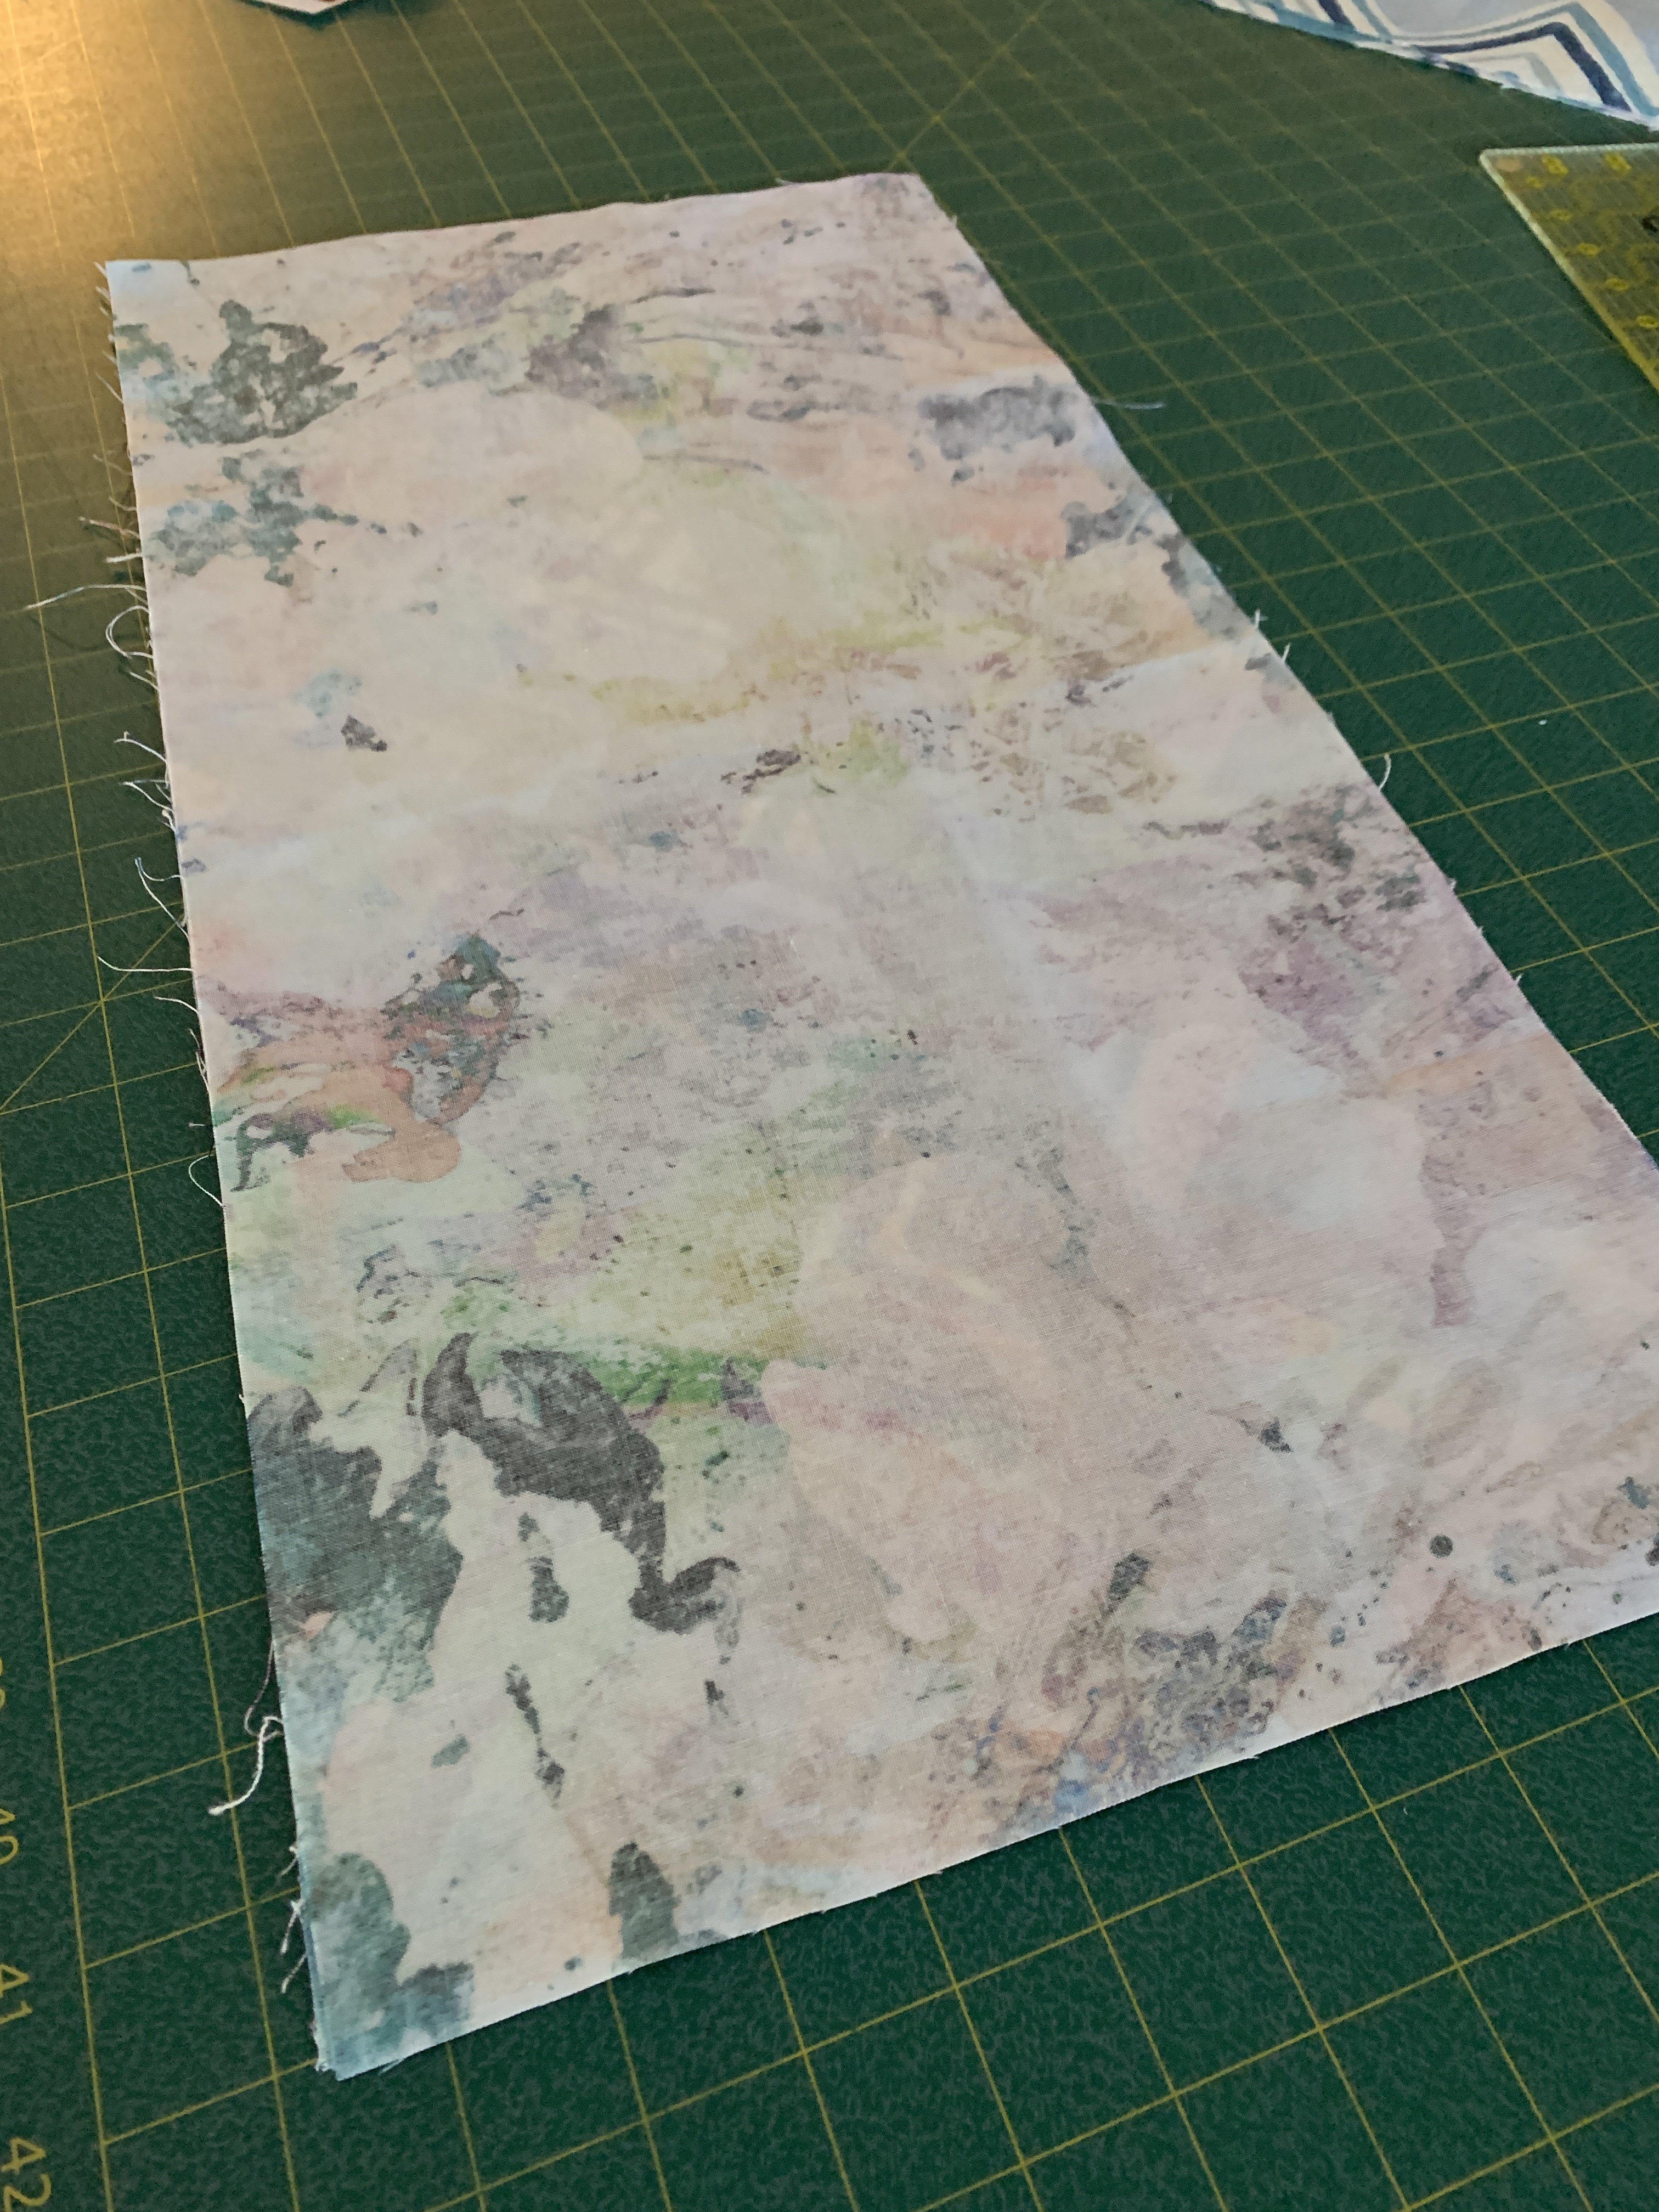
I’m after a final block size of 5 3/4″ (I’ll go down to 5 1/2″ if I have to). I began by cutting 5 1/2 strips from the panel, cut them into blocks, then cut the “pie” shaped pieces from those.
Next I cut 6 1/2″ strips – enough so far for 48 blocks – then cut the “L” shaped pieces from those (that gives me 48 “pie” pieces to use for another project!). Then I cut 2 “pie” pieces from the grunge fabrics.
Cut Blocks
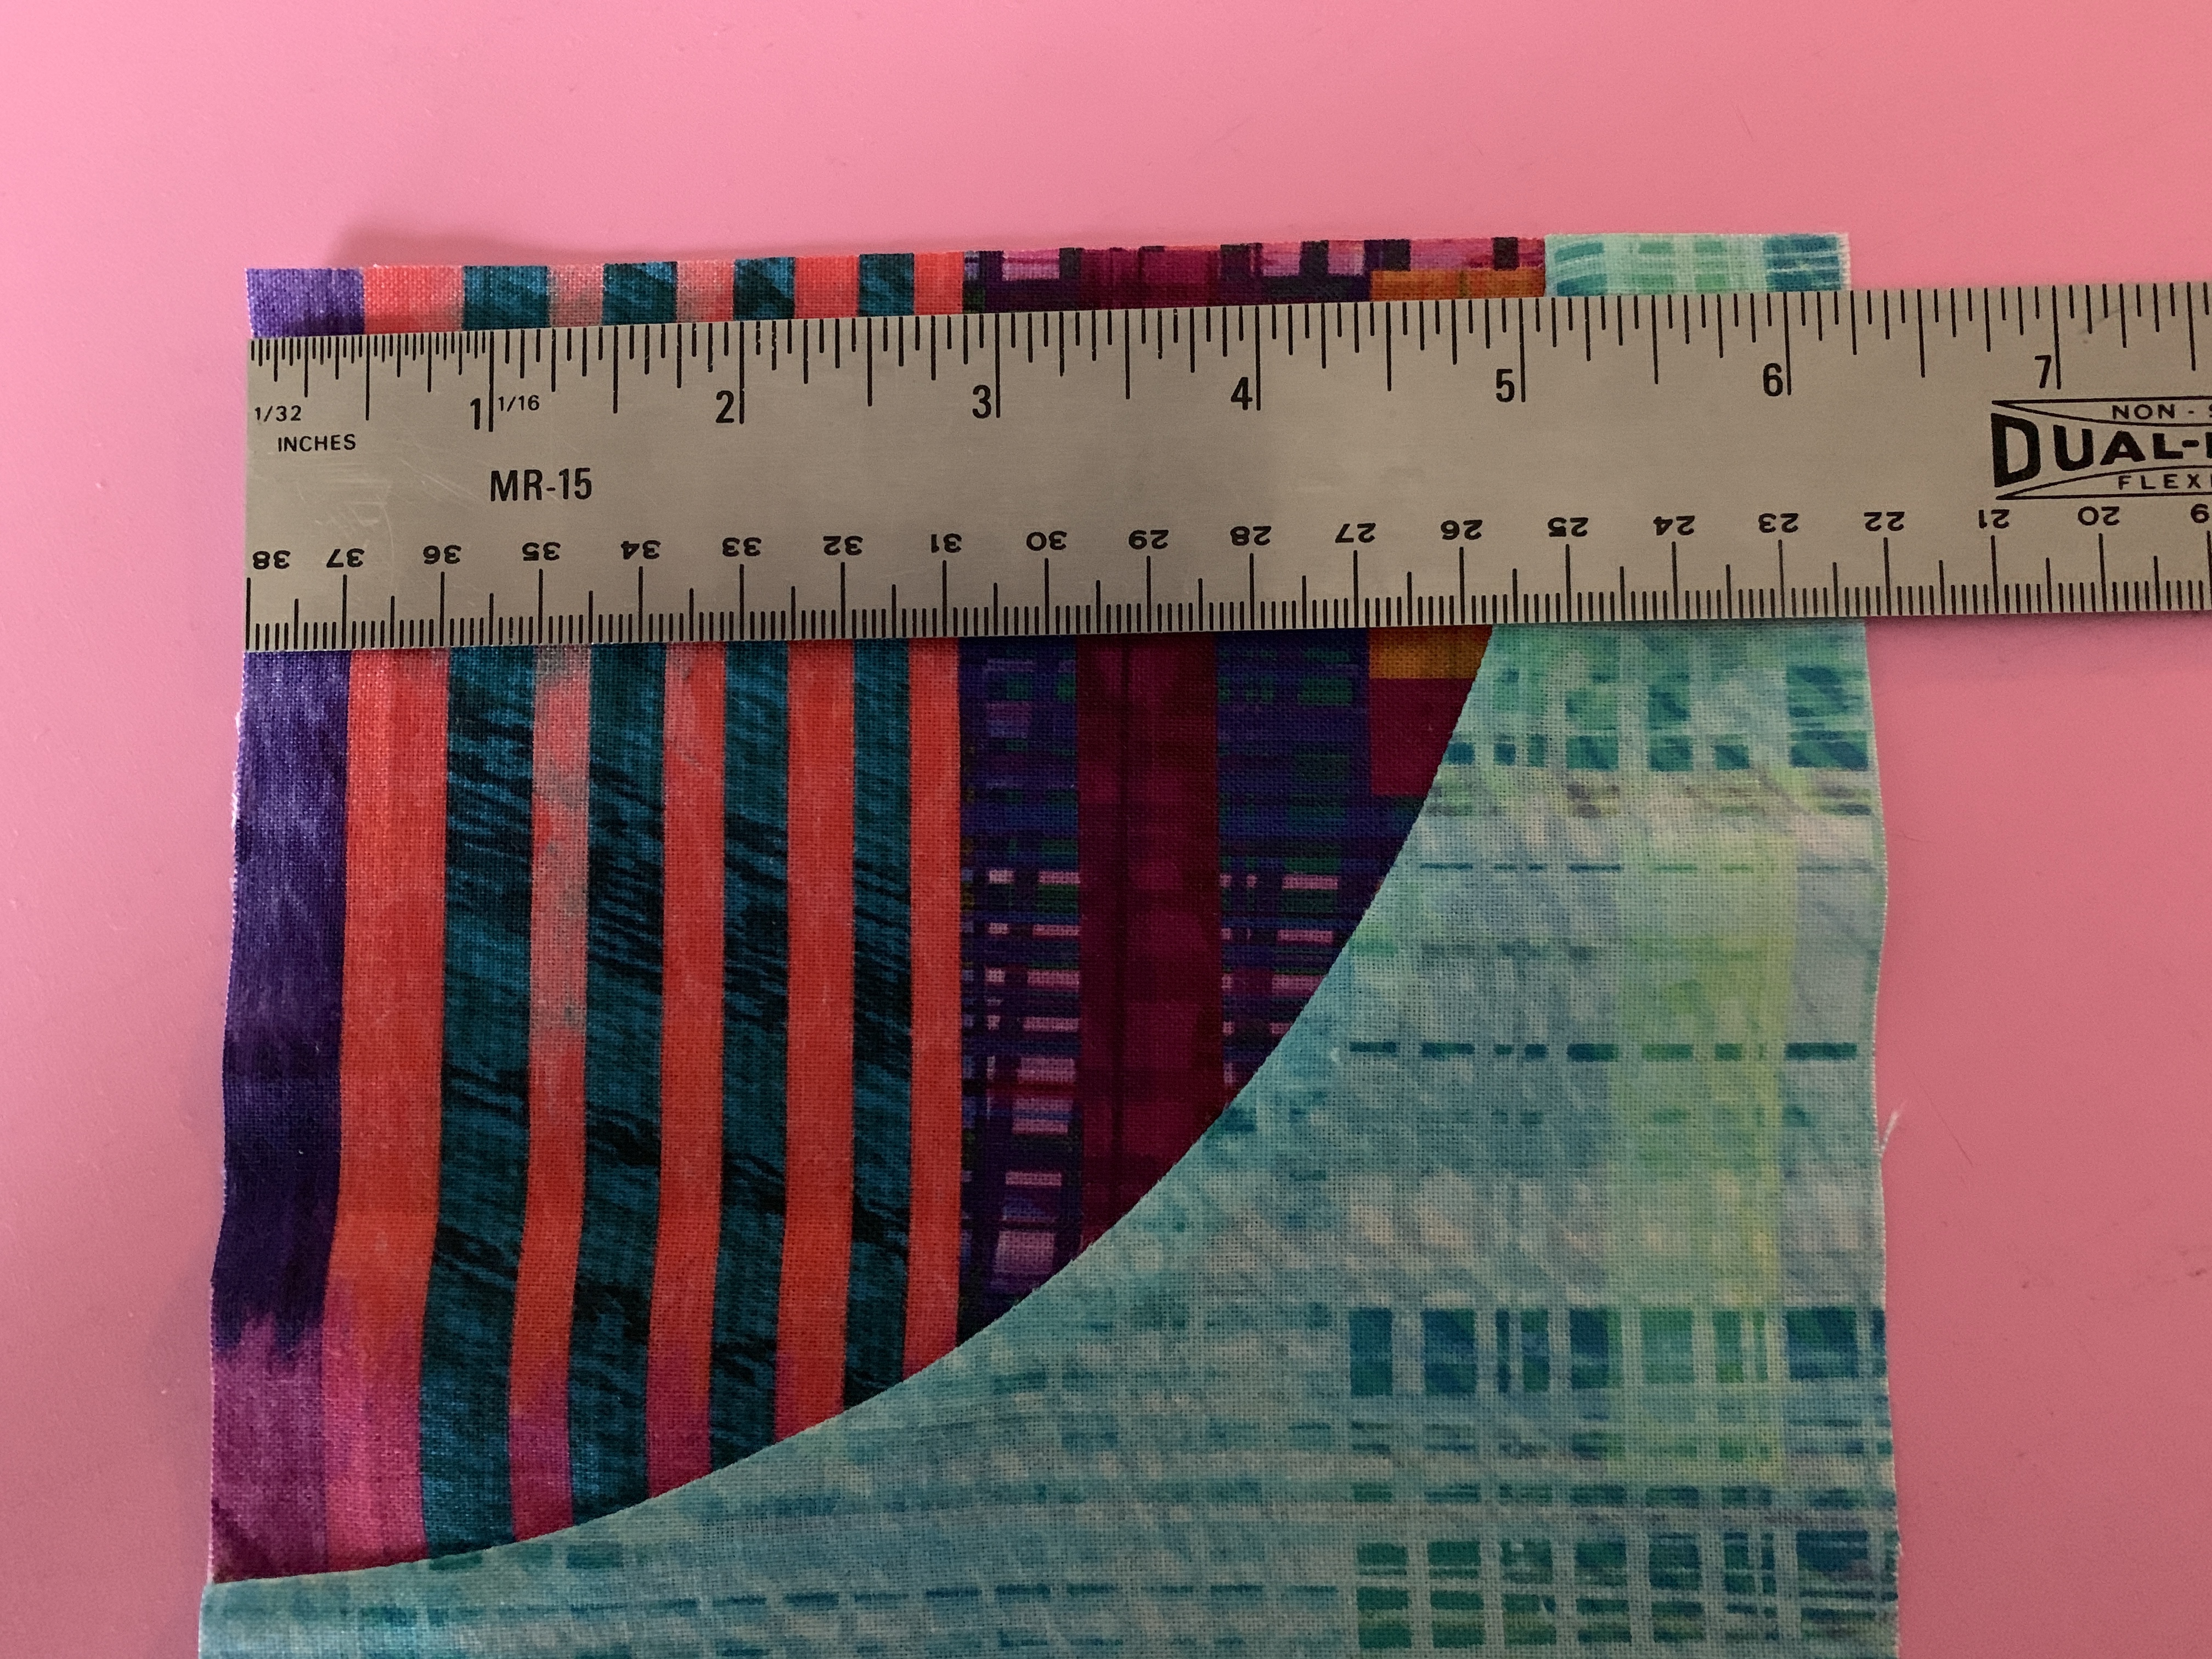
I paired dark to light/light to dark (more or less) and set them into two piles. Then I began stitching some drunkard’s path blocks. Everything you read recommends doing a lot of pinning – I find I get a better block if I do no pinning at all – just align the “pie” element on top at the end of the “L” piece, then using my 1/4″ right guide quilting foot to slowly stitch the curved seam, aligning the edges carefully as I go along. My resulting block isn’t perfect but close enough that I’ve been able to trim them to 6 1/4″ which will give me a finished 5 3/4″ block.
Skyline #3
I’ve finished seven blocks and as I go along I will play with layout. I’m already liking how the buildings in the panel have disappeared and the colour definitely stands out. That was the effect I had in mind and it looks like it is going to work out as I was visualizing it.
Now I need to construct the remaining 41 blocks. I’m anticipating a 7 x 9 array – 63 blocks in all so after the 48 I will still need to cut out and stitch 15 more blocks. I have more than enough fabric from the panel to do that. I’ll cut them out tomorrow.
I had a second sock order – for two pairs – for Christmas. It’s amazing how working to fill an order changes the knitting – I feel pressure to get it done by a specific deadline. When I’m knitting to relax (or to justify sitting in front of the TV) I can knit 10 rows, I can knit 40 rows – doesn’t matter – no pressure. But with a new order once again I felt the pressure of a looming deadline.
Mary Ann liked the khaki ombre with dots socks I’d finished a couple of weeks ago. Since I had a second ball of that yarn from Hobbii (in Denmark) she chose that as one of the pairs. My initial intention was to knit a second pair using that yarn but decided just to give her the original socks and knit the other ball some time when I’m not facing a deadline.
The other yarn she chose was a grey/black/almost white variegated. I finished those socks two evenings ago. A handsome sock for a man.
Black/Grey/Almost White
That order is now complete (whew):
Sock Order #2
Last night I started a new pair – variegated in shades of peach/blue/gold.
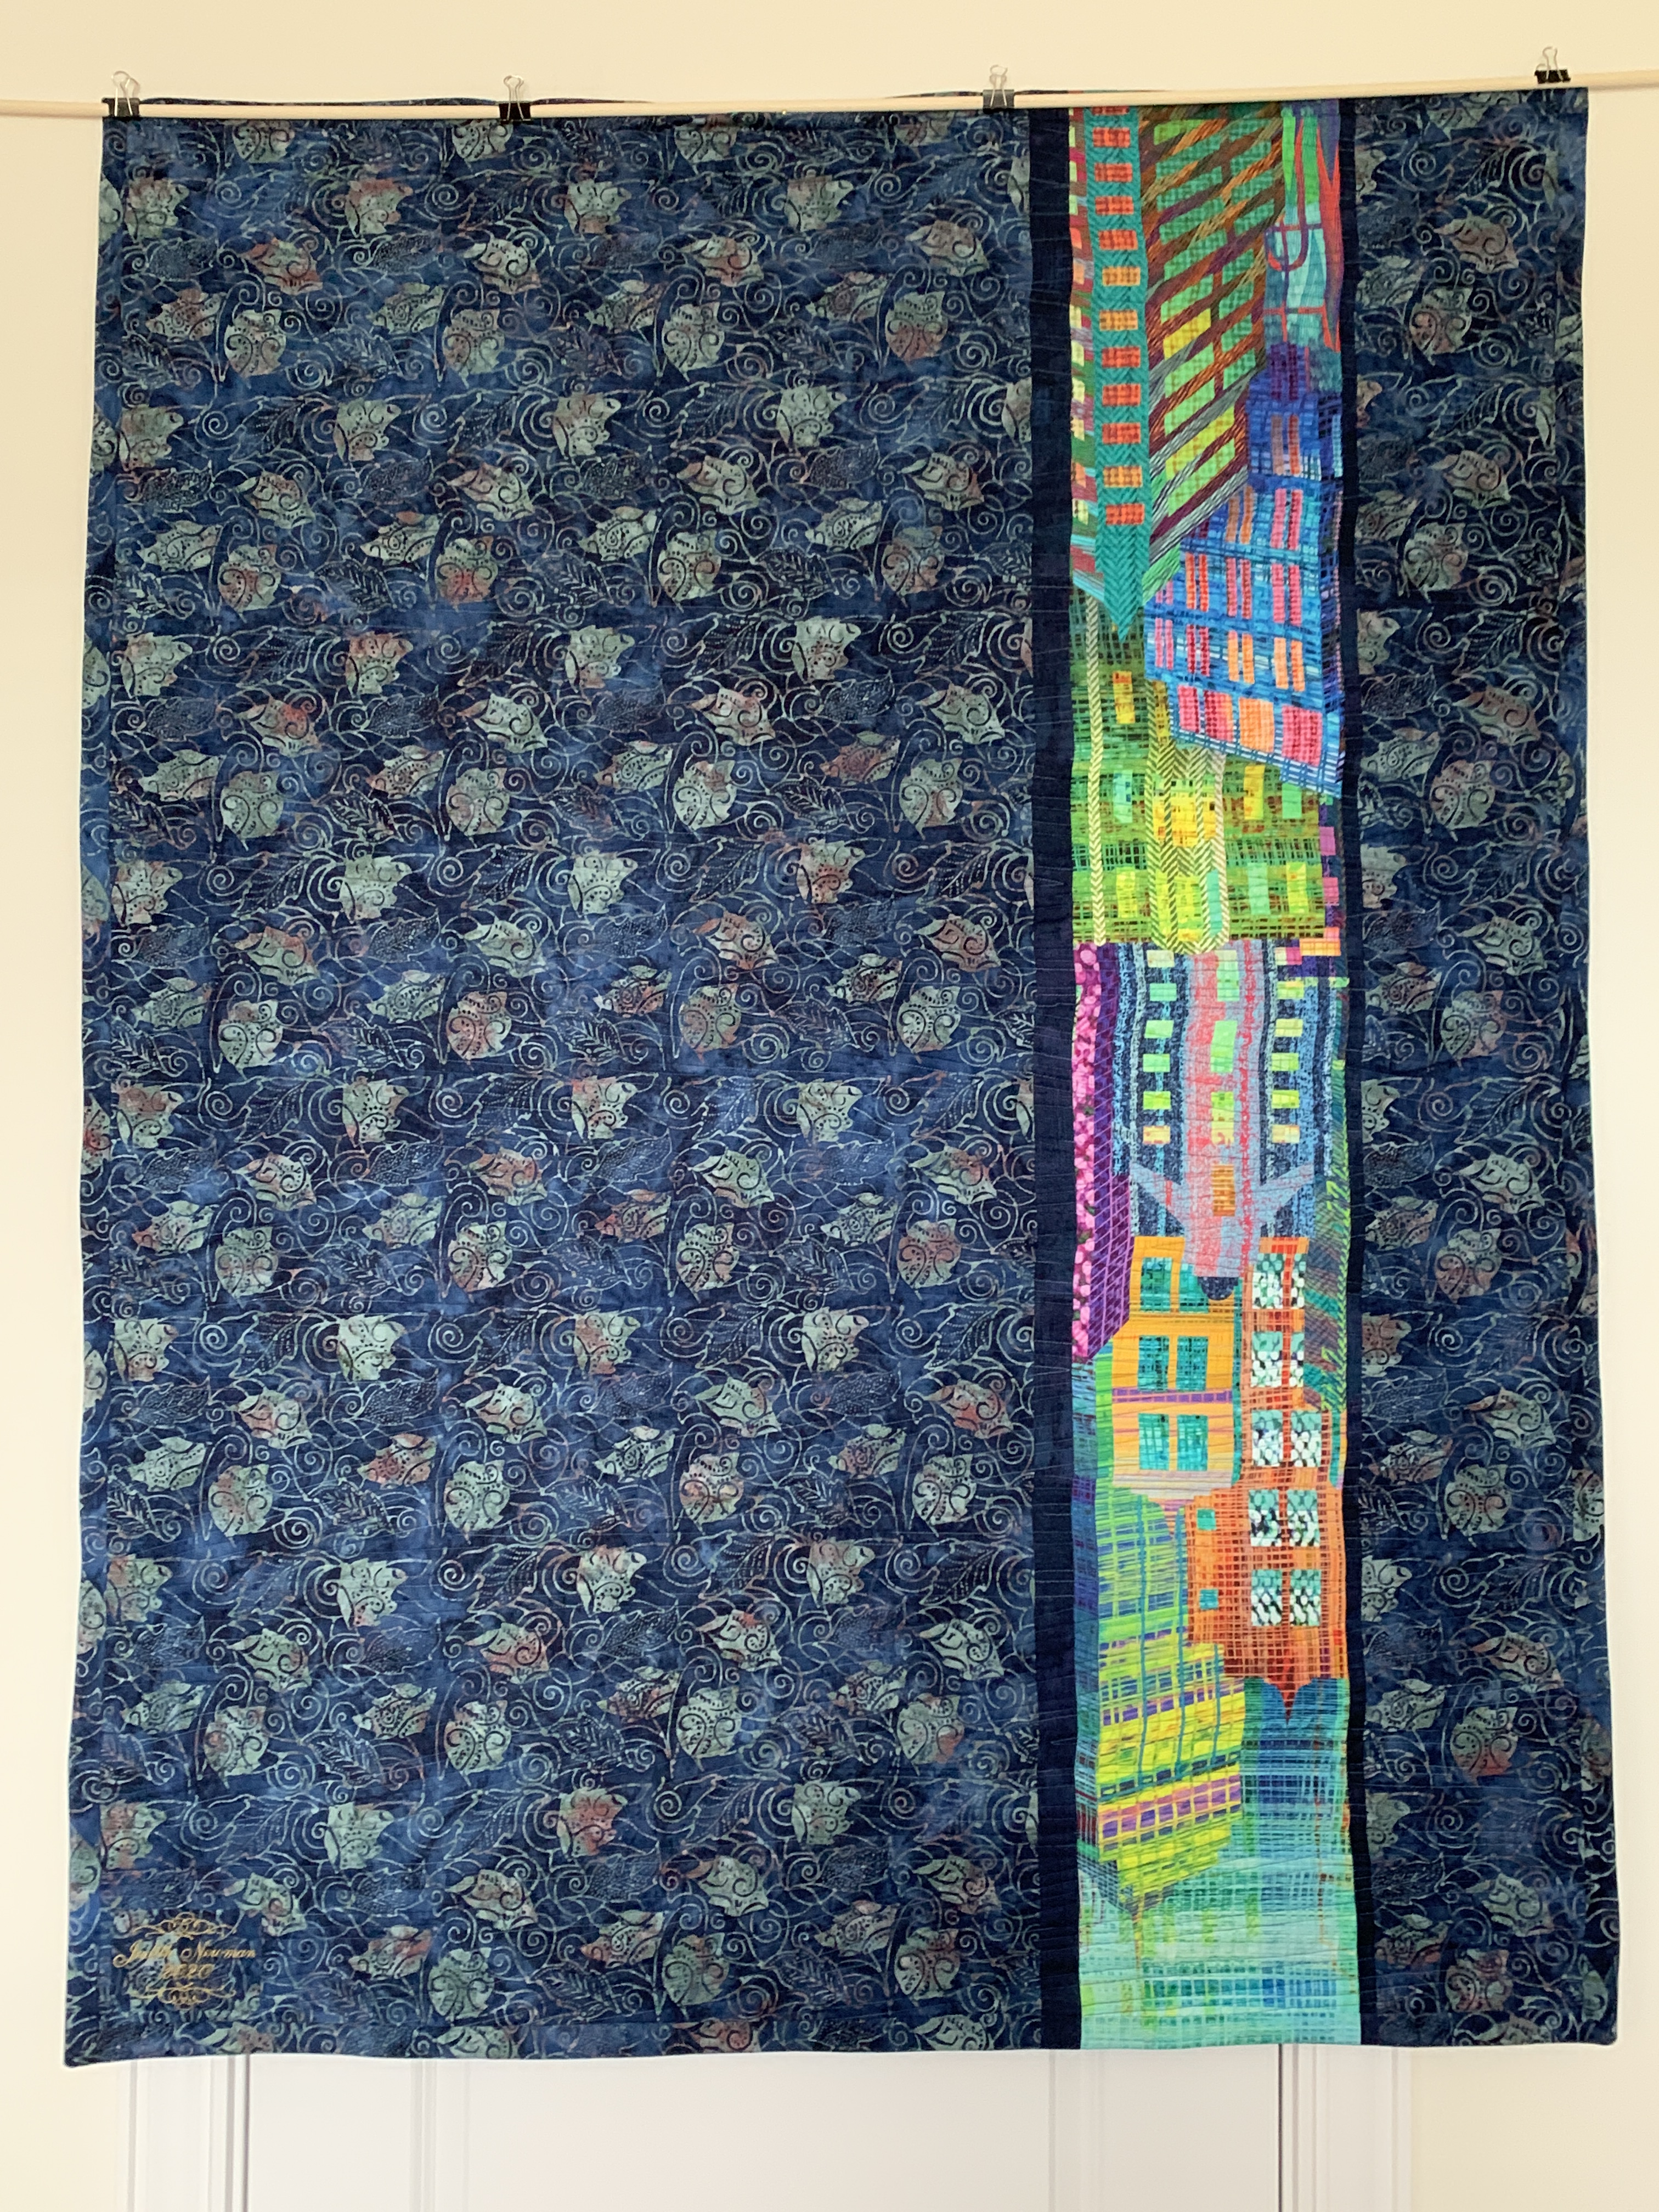
Done. I was able to quilt the remaining six wedges this morning. I added the hidden binding and I just finished hand sewing it to the back of the quilt. The label is also sewn in place on the back.
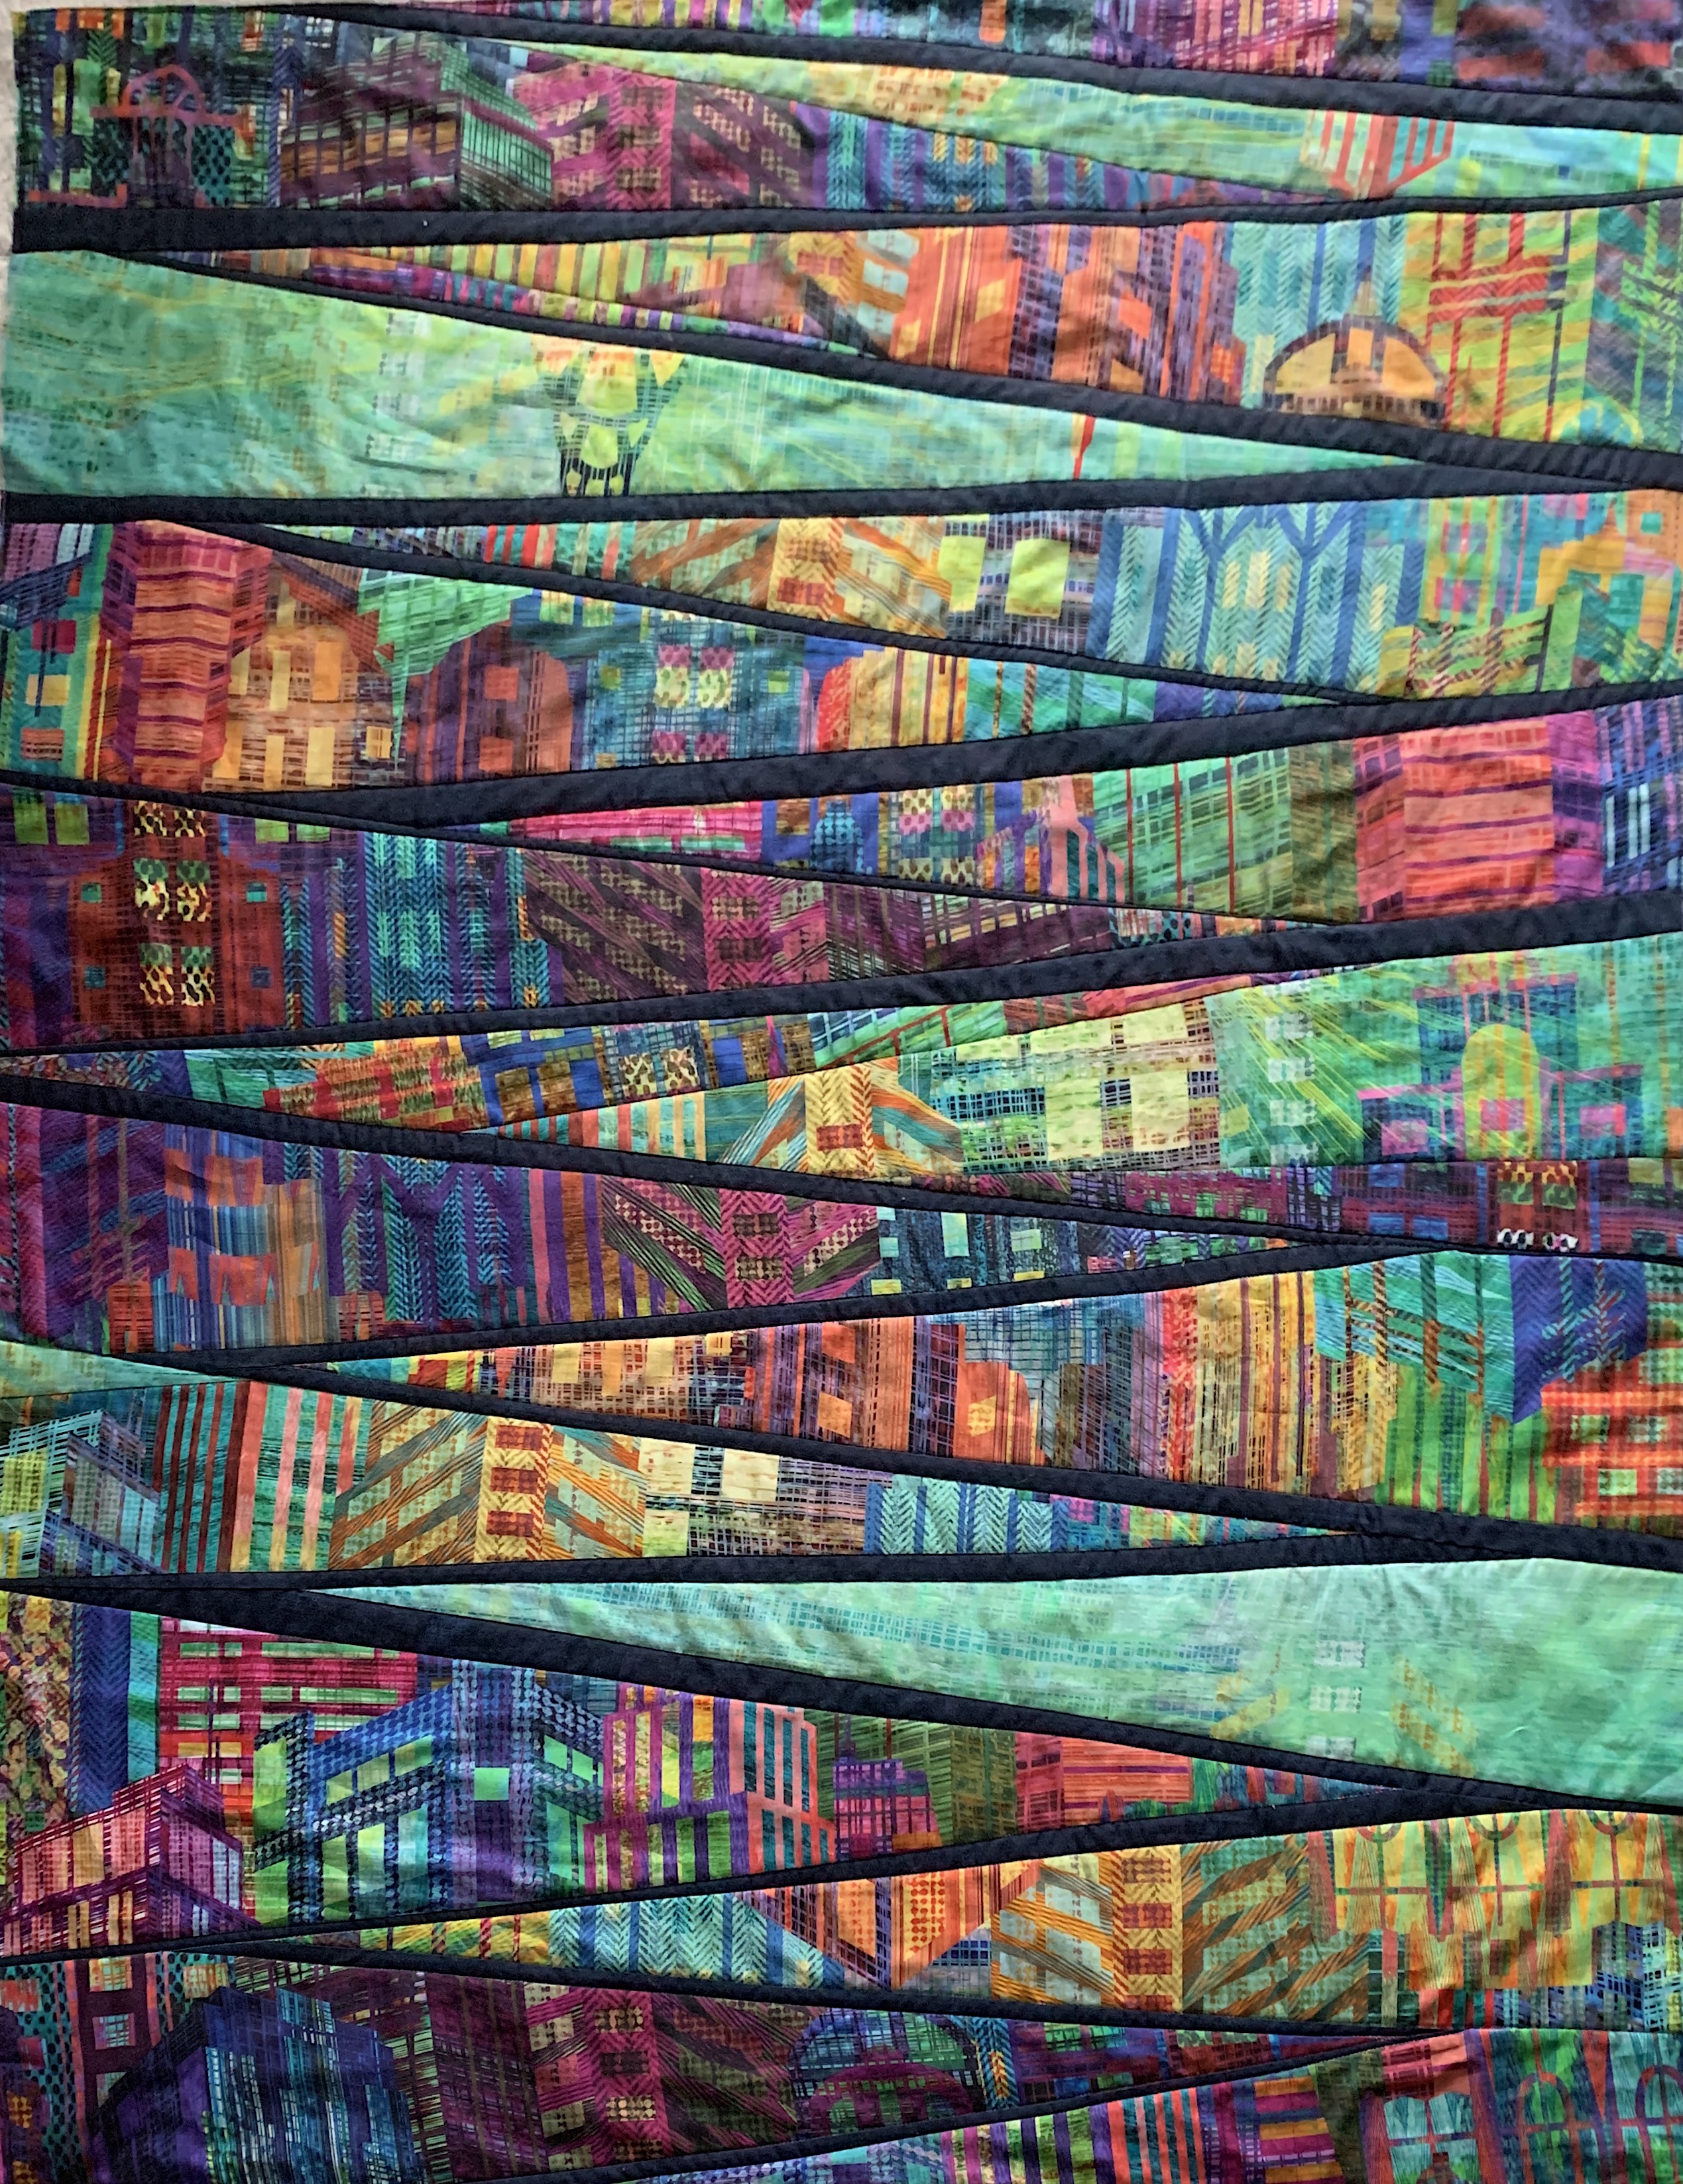
Skyline #2 – Quilt Top
With trimming (in order to make the quilt relatively squared), I managed to end up a bit smaller than the first quilt – this quilt is 47″ x 61″; the first one is 48″ x 64″. I lost size because the dense quilting tightened the fabric, and my edges weren’t straight, and had to be adjusted so the corners would be close to right angles.
I was lucky, I managed to keep the fabric relatively flat – some steam pressing with a bit of Best Press helped eliminate most of the “fullness” in the wedges.
The back turned out flat as well (thank goodness), and the binding matched the backing so the fabrics extend to the edges.
Skyline #2 – Quilt Back
Now on to Skyline #3!
I’ll start that quilt tomorrow. I plan to cut out 8 1/2″ squares from the panel as well as some complementary Grunge fabrics to accent the drunkard’s path blocks. I intend making ~56 blocks – 48 for the top and some for the back. I expect to end up with a 6 x 8 array which should give me a finished quilt at 48″ x 64″ (if I’m lucky and I don’t have to trim the blocks to square them up).
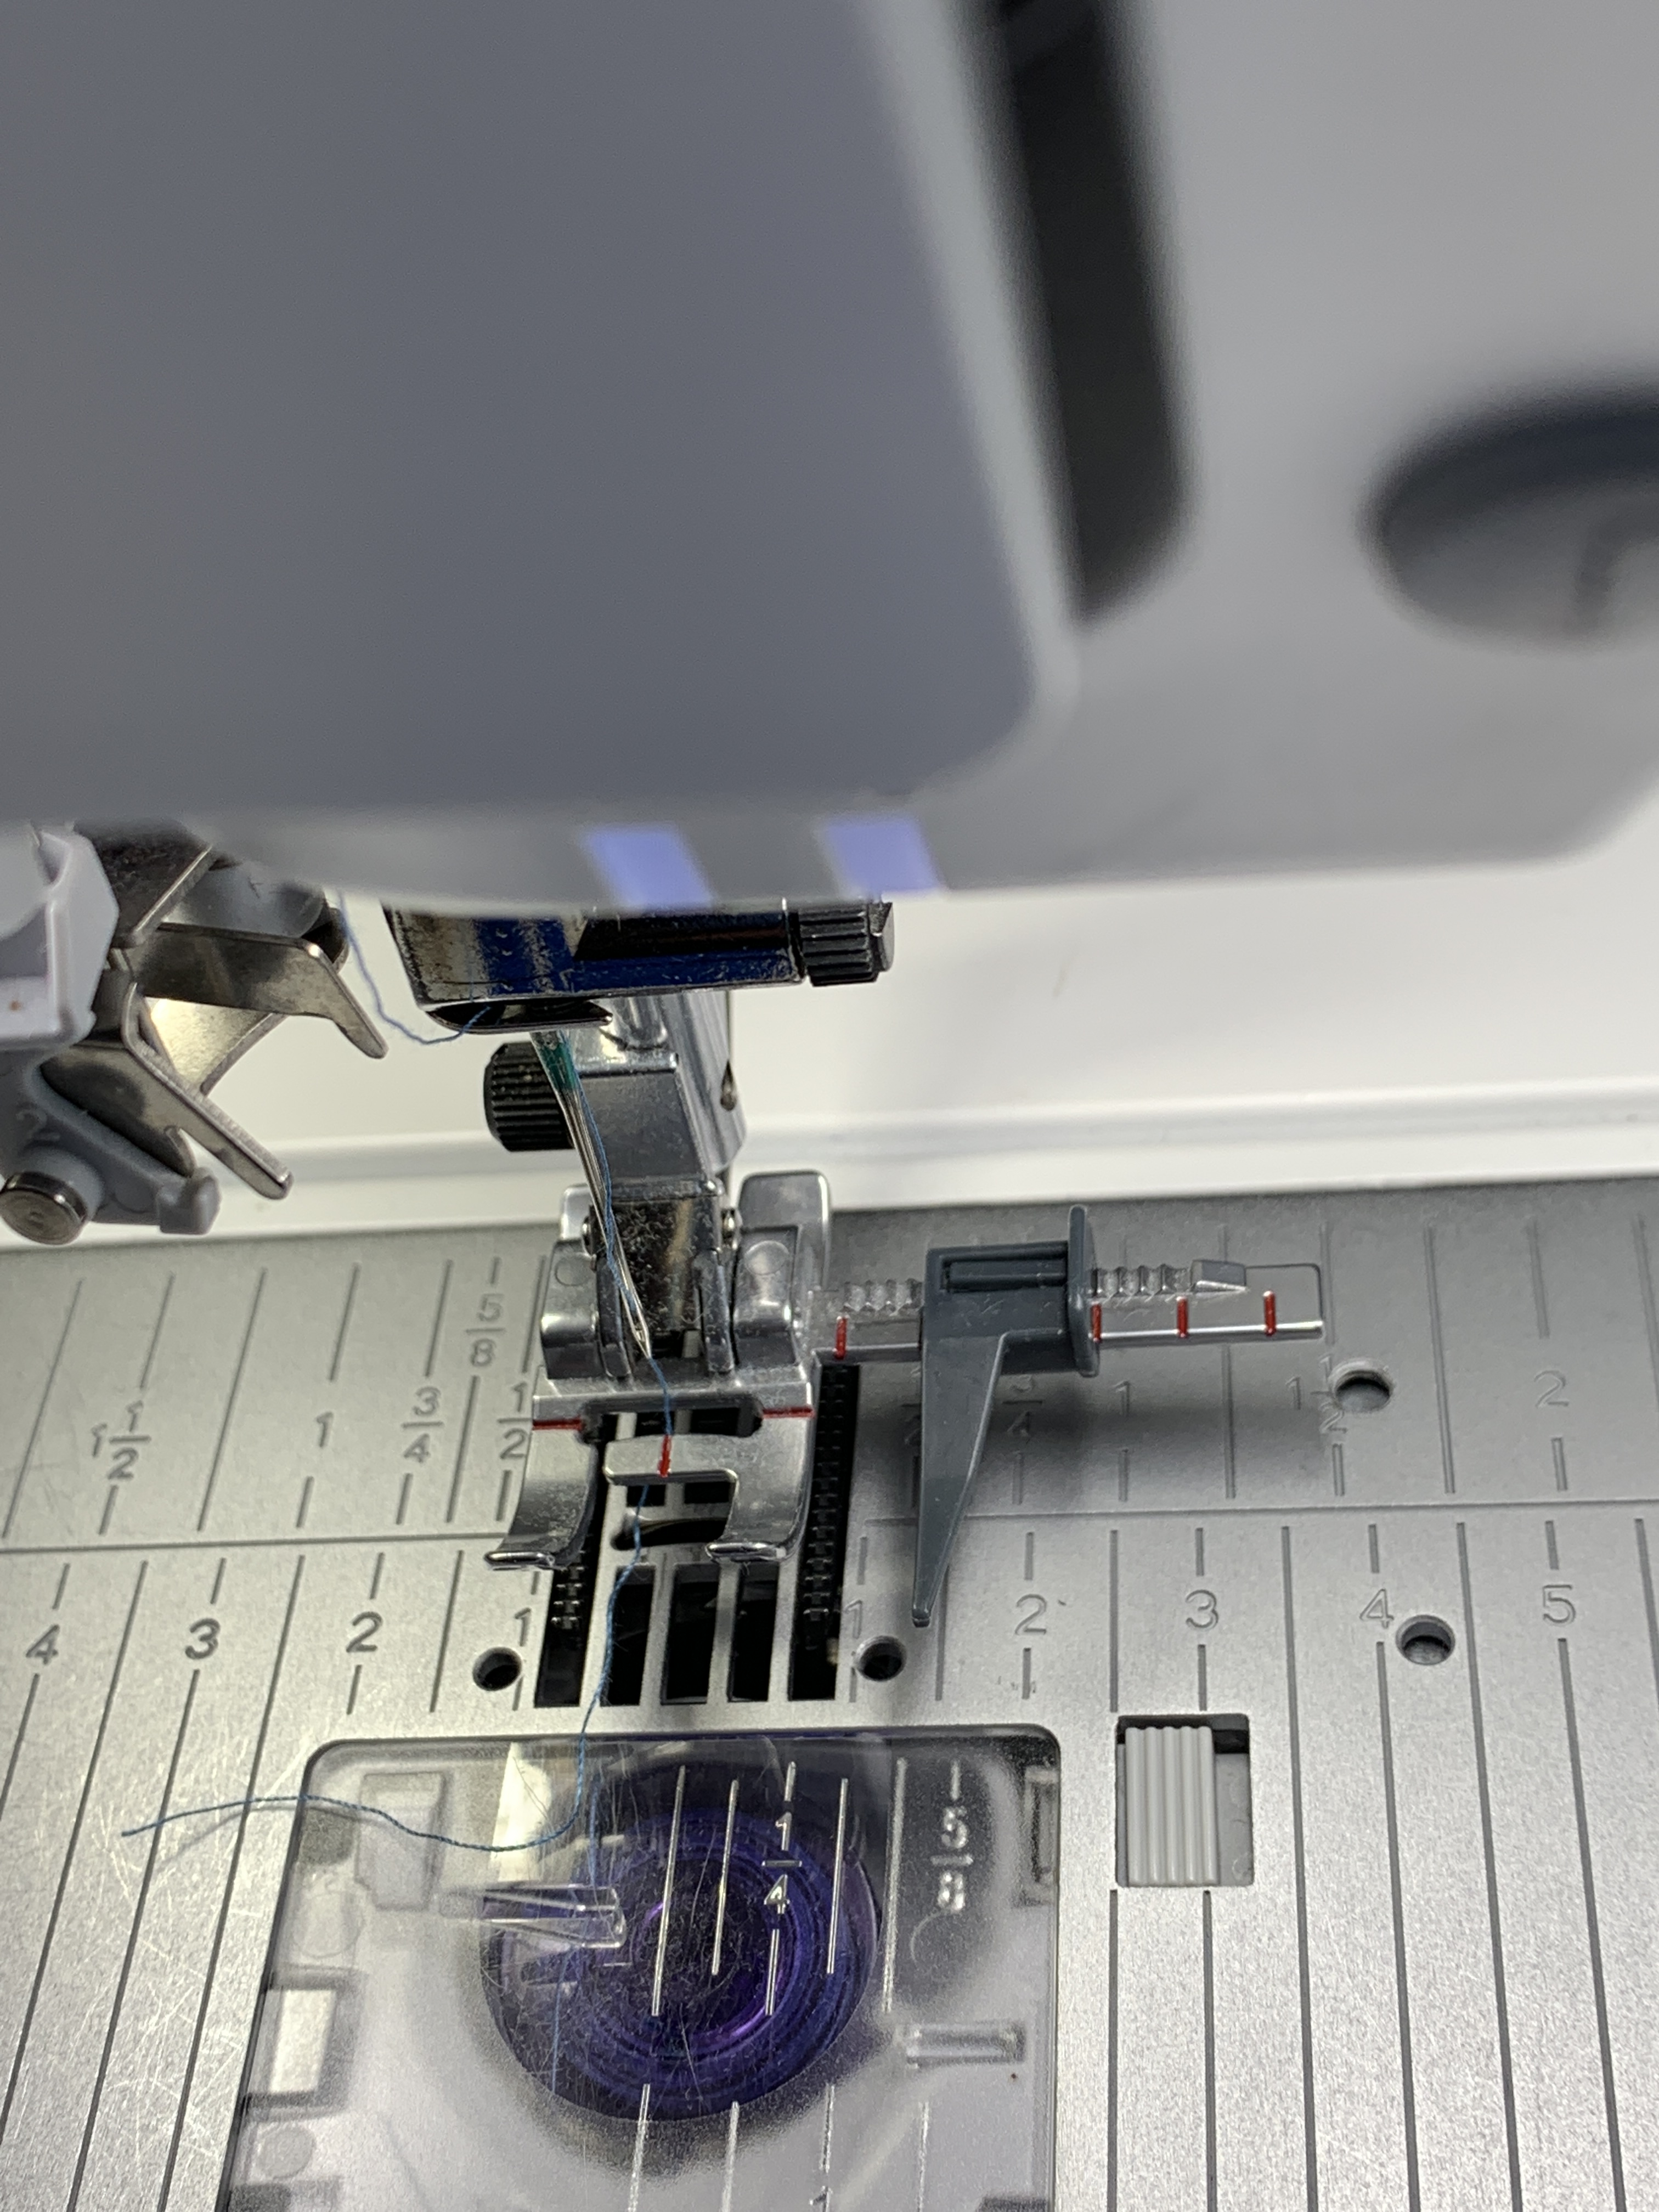
Today, I started “echo quilting” the wedges of the quilt. I decided to use my adjustable guide foot which has markings from 3/16″ to 1 1/8″ – the guide is easy to keep aligned against the right edge of each wedge as I stitch.
Adjustable Guide Foot
I’ve been varying the width of the echo stitching, starting at approximately 1/4″ to 1/2″ and occasionally 5/8″ as the whim takes me. With the guide foot, the stitching is easy to keep reasonably parallel – the only care point is determining the position of the “point” of the wedge as I’m sewing so that it more or less centres in the wedge.
Echo Quilting The Wedges
I managed to quilt 6 wedges today; I stopped when my back, neck and shoulders were telling me I needed a break!
I can see from what I’ve done so far that I will leave the sashing without any further stitching. Quilting the wedges makes the sashing stand out, the colour strong. Were I to quilt the sashing it would cause it to be diminished. So I will leave it stitched in the ditch and nothing more.
I’ll try carrying on tomorrow. At six or so blocks a day I should be finished quilting in another three days. Then I can trim the quilt to 48″ x 64″ and do a hidden binding using backing fabric leftover from trimming the quilt.
I had started stitching-in-the-ditch on each side of the sashing ten days ago or so – got a few rows done and then put the quilt aside. I just couldn’t carry on – not sure why that was because I knew if I started sewing it wouldn’t take me terribly long to stabilize the sandwich.
Skyline #2
This morning I finally picked up the project and stitched the remaining sashing, and around the outside. The back is nicely flat – the top has a bit of fullness but a good spraying with BestPress and a steam iron and it should be starched and pressed enough to give me a flat surface to quilt.
The question is what do I want to do next. I can’t leave the project as it is – there isn’t enough quilting to make the whole stable so I have to add a lot more stitching. I simply cannot do consistent free-motion work, my stitch length is inconsistent and my lines wobbly; I’m never satisfied with how it turns out which is why I quilt-in-the-hoop. But given the shape of these wedges that isn’t an option here. I’m leaning toward echo stitching the wedges and leaving the sashing alone. Once I start there will be no stopping until each of the 20 wedges is relatively densely stitched. Do I want to echo-stitch 1/4″ or 1/2″? Maybe a combination of both. What colour thread? Probably a mixture of the variegated threads I used on Skyline #1.
Tomorrow, I’ll start the process and see how it looks.
I’ve also been thinking about Skyline #3 – drunkard’s path blocks. Probably 8 1/2″ blocks with some 4 1/2″ blocks as filler. I may even try a “porthole” or two.
I just made an 8 1/2″ pair of templates (I have a commercial pair that size, but the pie-shaped piece is quite a bit smaller / the “L” shaped piece larger – I want the joins to be closer to a 1/4″ seam allowance…)
8 1/2″ Templates
Then I constructed a pair of test blocks:
8 1/2″ Test blocks
which turned out rather well. My seam allowance from the edge of the curved seam is closer to 1/2″ – that leaves me with two options: trim the block to 8″ (giving a finished 7 1/2″ block) or remake the templates. I’ll sleep on that decision.
I want a finished quilt size to match the other two Skyline projects – 48″ x 64″. If I wanted a border then I could actually go smaller or fewer: set up a 5 x 7 block array (40″ x 56″) – actually the fewer might be just fine. I’m better off staying with the finished 8″ block because that makes it much easier to do a few finished 4″ blocks as filler.
I also now have to think about a balance between my Skyline fabric and some Grunge inserts – I want some bright Grunge fabric to broaden my colour range. The Skyline is colourful, but when it’s cut up and reassembled some of the brightness disappears.
I’ll start by cutting the Skyline into 9 1/2″ squares – that’s large enough to cut out both drunkard’s path template pieces without a lot of waste, then mix and match the two elements to see what it will look like… After I finish quilting Skyline#2.
A week or so ago a friend texted me wondering whether it would be possible to make her two pairs of socks for her husband’s birthday on Oct 25.
LOL! I answered her, pointing out it takes me close to two weeks to knit a pair of socks.
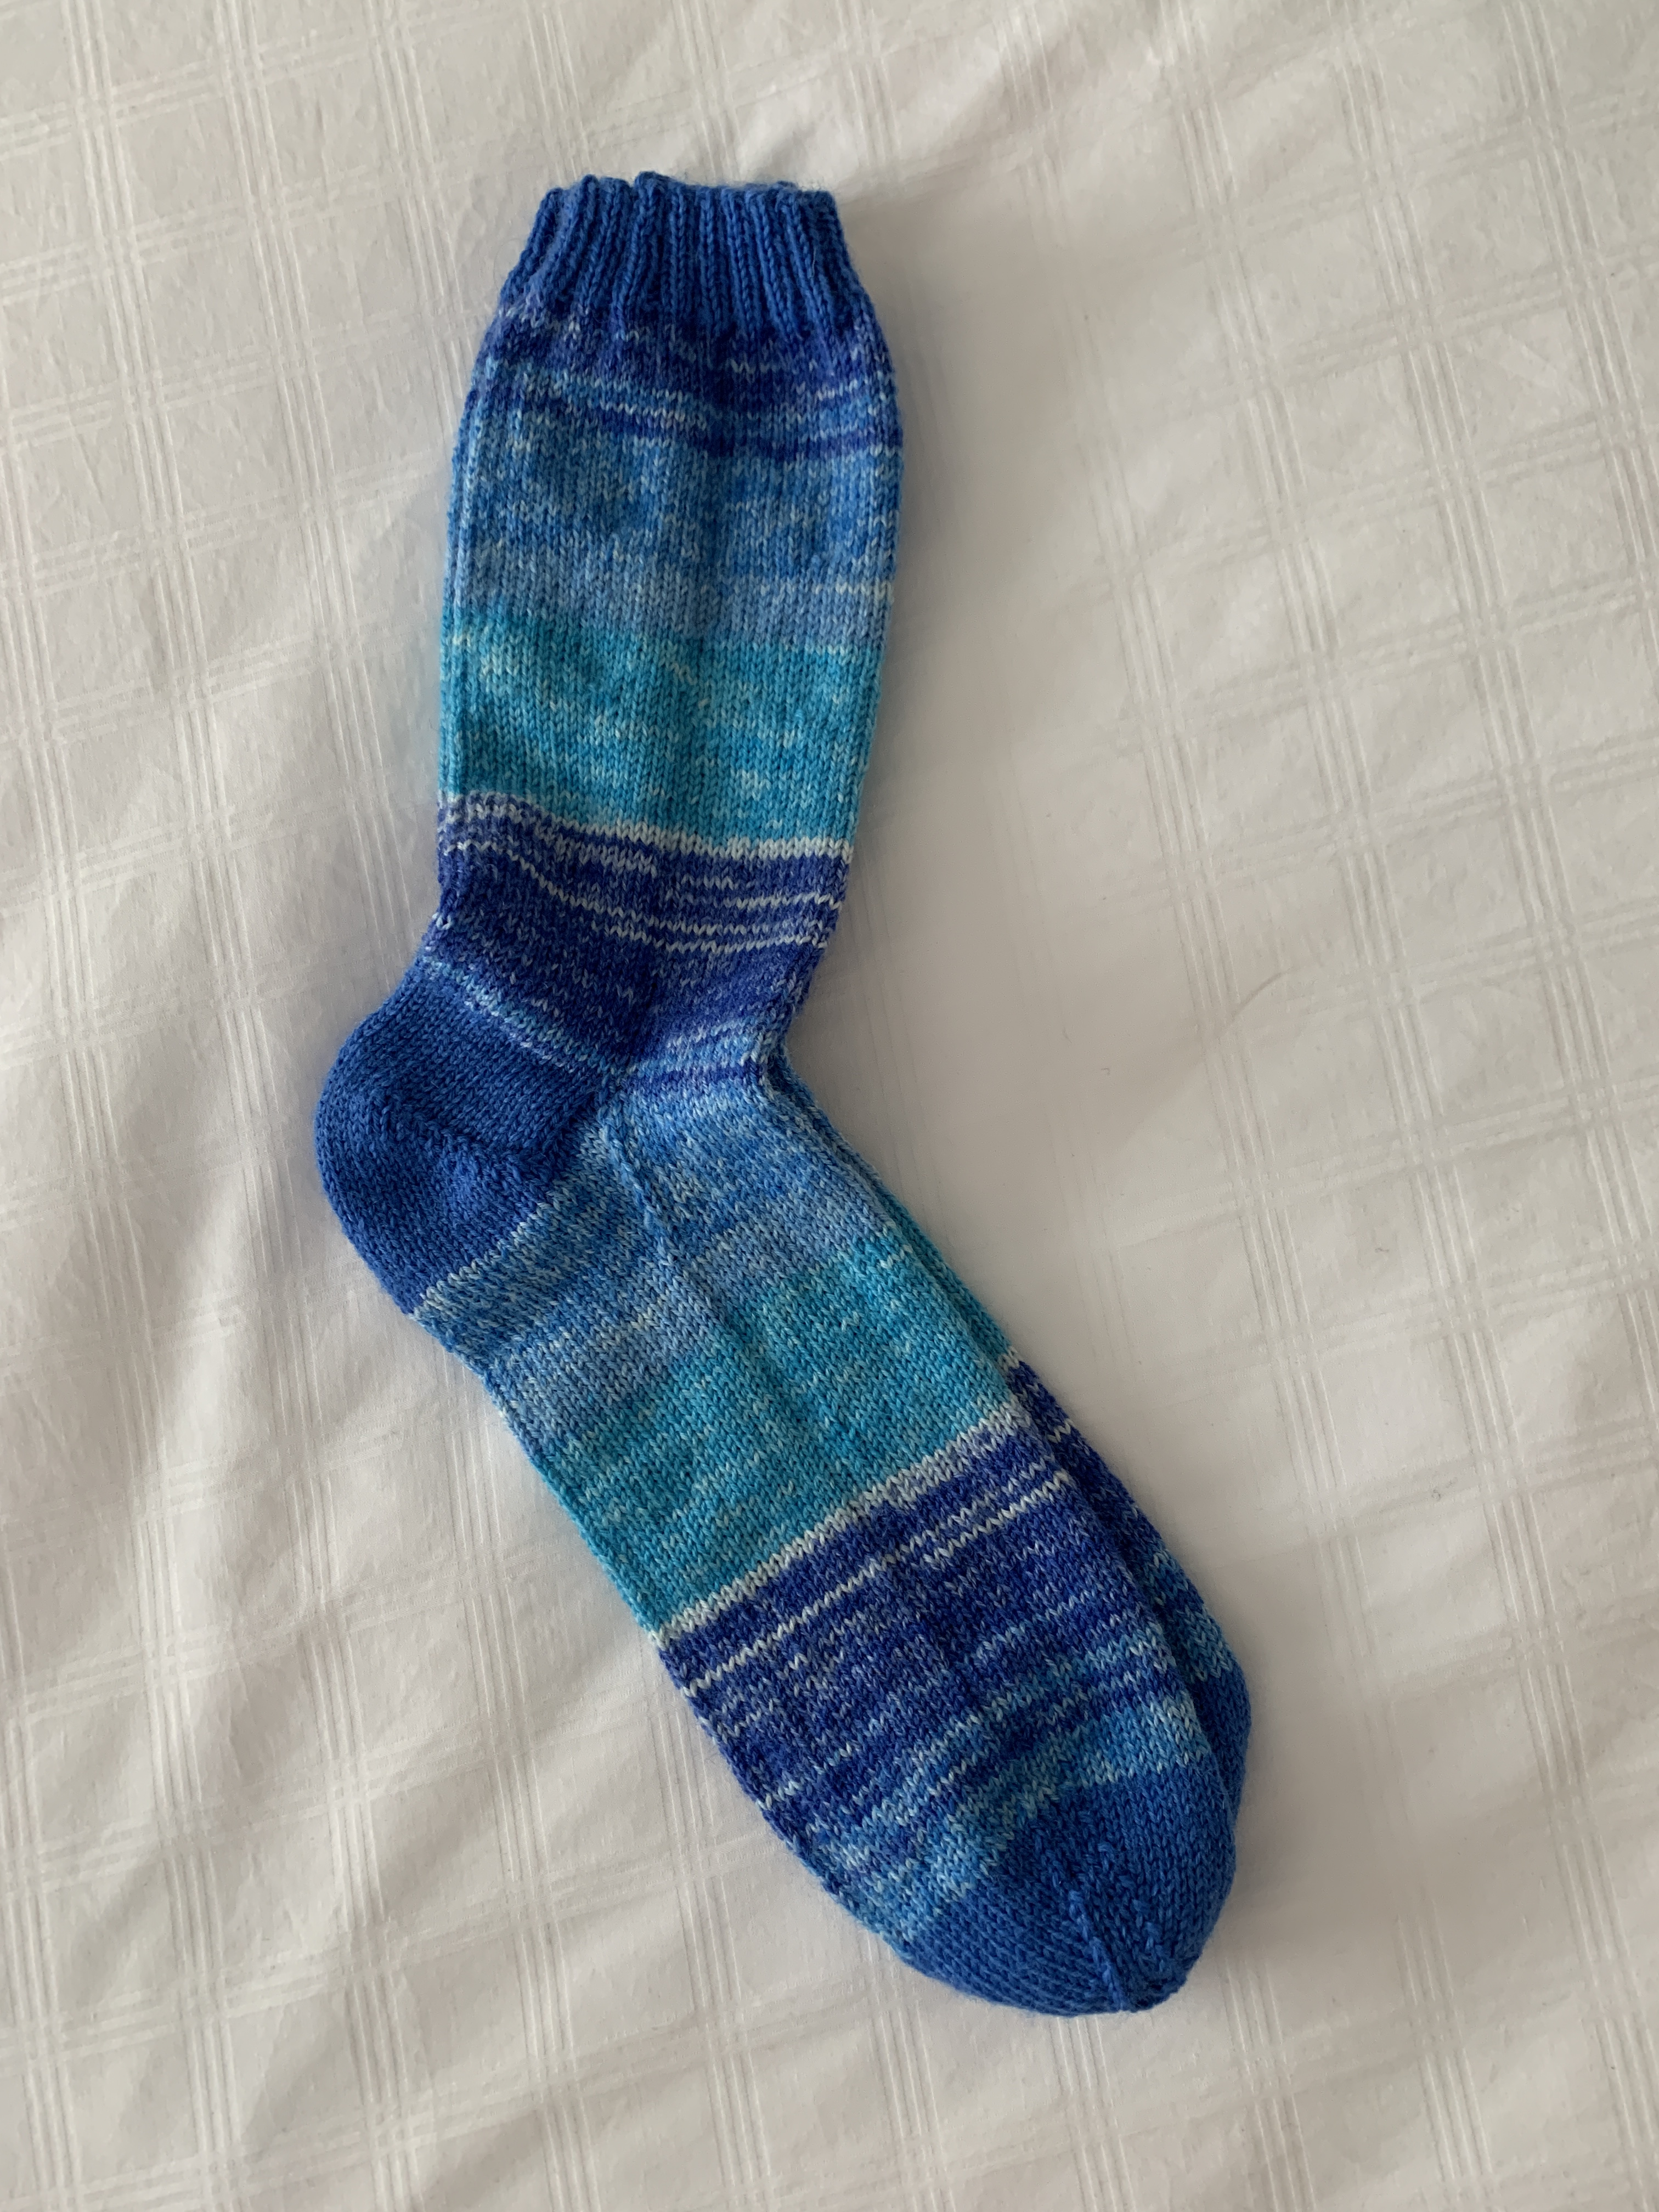
I always have a pair of socks on the go, and I was still working on the first of the pair so I sent her a picture of what I was working on and wondered “would Ebenezer wear these socks”? Sure she replied. OK, one pair of socks checked.
Men’s Size 12
I thought about the problem a bit more – I chose a pair of socks from my finished stash, sent her a picture and asked if he’d wear these?
For sure.
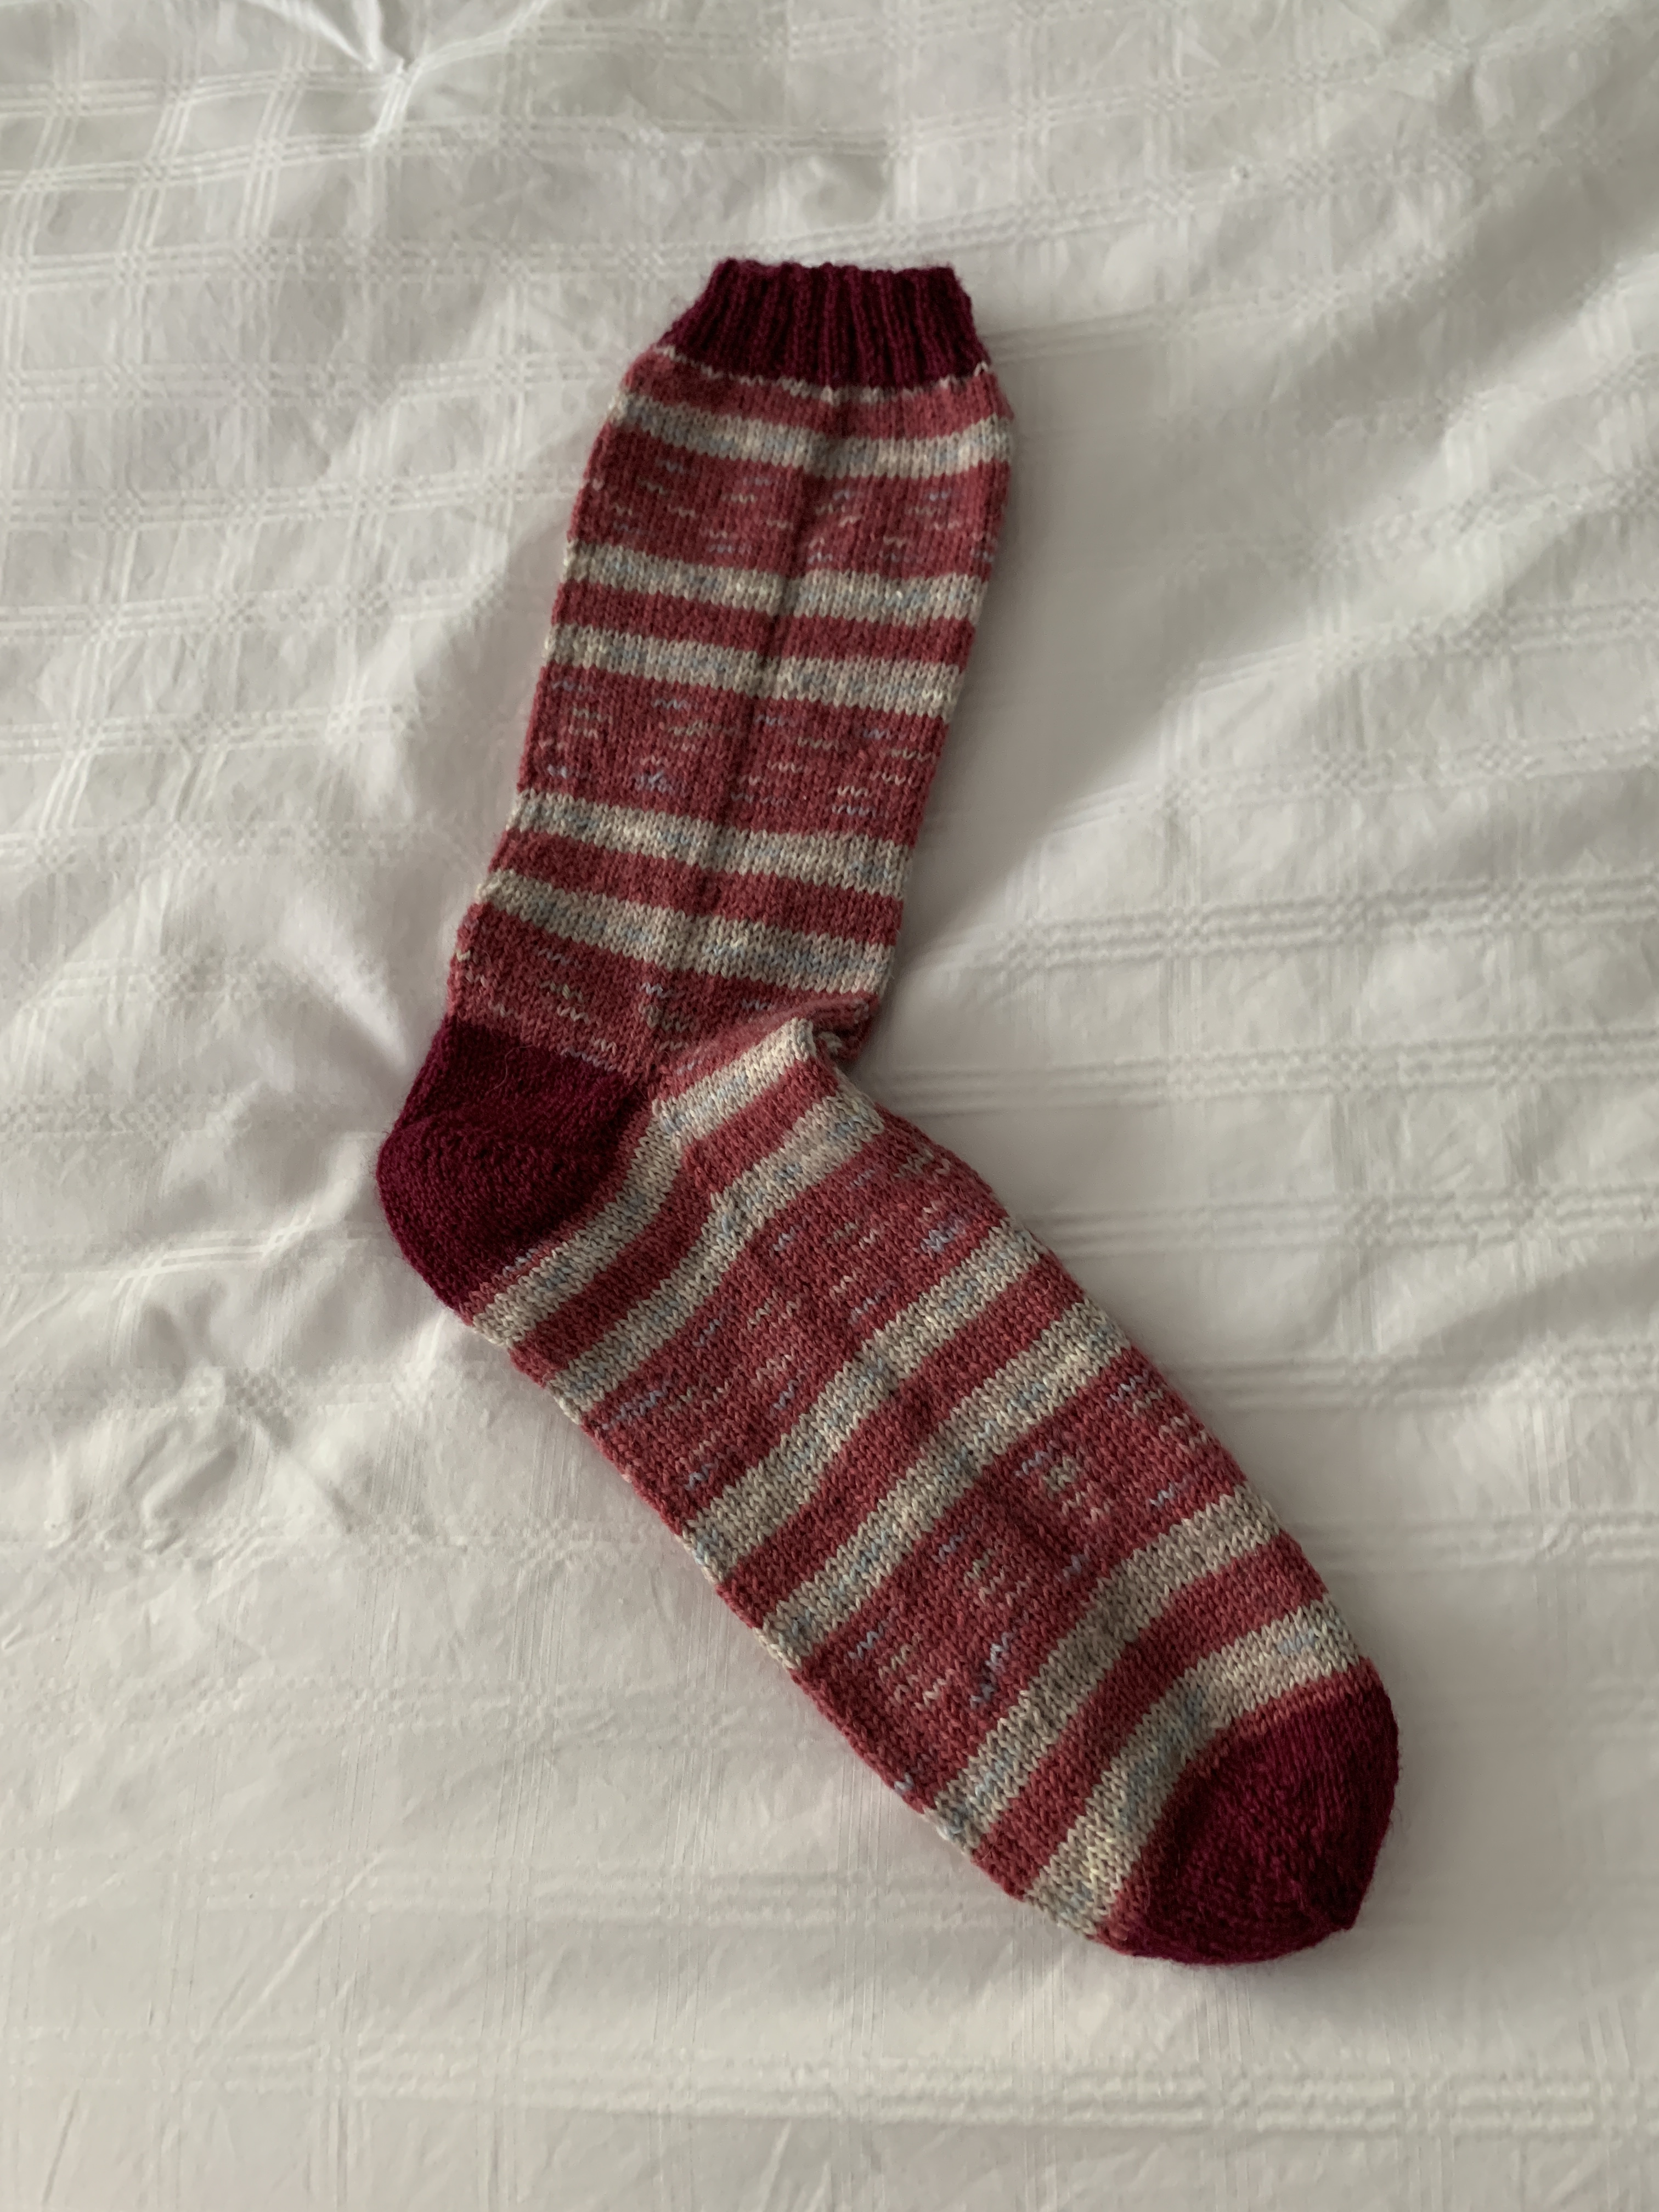
So as soon as I finished the blue socks, I unravelled the toe from these red socks, added 16 rows to the foot length, and reknit the toe on each.
Remade Men’s Size 12
There you have it, two pairs of men’s size 12 socks in time for Ebenezer’s birthday – and all without a lot of stress.
I’m never quite sure how long to make sock feet when they’re not for women wearing size 7 1/2 – 8 shoes. I found the following chart:
I knit the foot of Ebenezer’s socks just about 11 1/2″ in length. They should fit him fine.
I took what I’d done apart – I had to because the panel was not laying flat! I didn’t have to take every seam out, but I did have to take quite a few apart. Now it will lay flat on the batting and cling smoothly enough to permit me to quilt the whole.
Skyline #2 – Top Pieced
I still don’t know how this quilt will turn out. I’m happy with the overall flow of colour. The next challenge is quilting the project. The quilting will pull the piece together (or, frankly, it could kill it).
I’m intending to echo-stitch the wedge elements, including the sashing. I expect the quilting will need to be quite close but not evenly spaced. I plan on using the same threads I used for Skyline #1 – a mix of variegated purple / turquoise / red to blend with the print (instead of contrasting with it).
In the meantime, I need to square the piece – tricky, actually, because although the top is relatively flat now, laying it on my cutting table and keeping it in place while I trim edges will need weights to prevent slipping.
The top is still a bit wide and I think 3-4″ longer than I finally want it to be so I do have a bit of wiggle room as I square it up.
The backing will include an offset uncut strip of the original fabric with sashing to border it as I did with Skyline #1.
I got a request the other day to make a tool belt for a young friend of mine. Suzanne’s a vice-principal, constantly on the move during her work day. She needs her phone, her keys, some hand sanitizer, a pen,… with her – AND she needs her hands free.
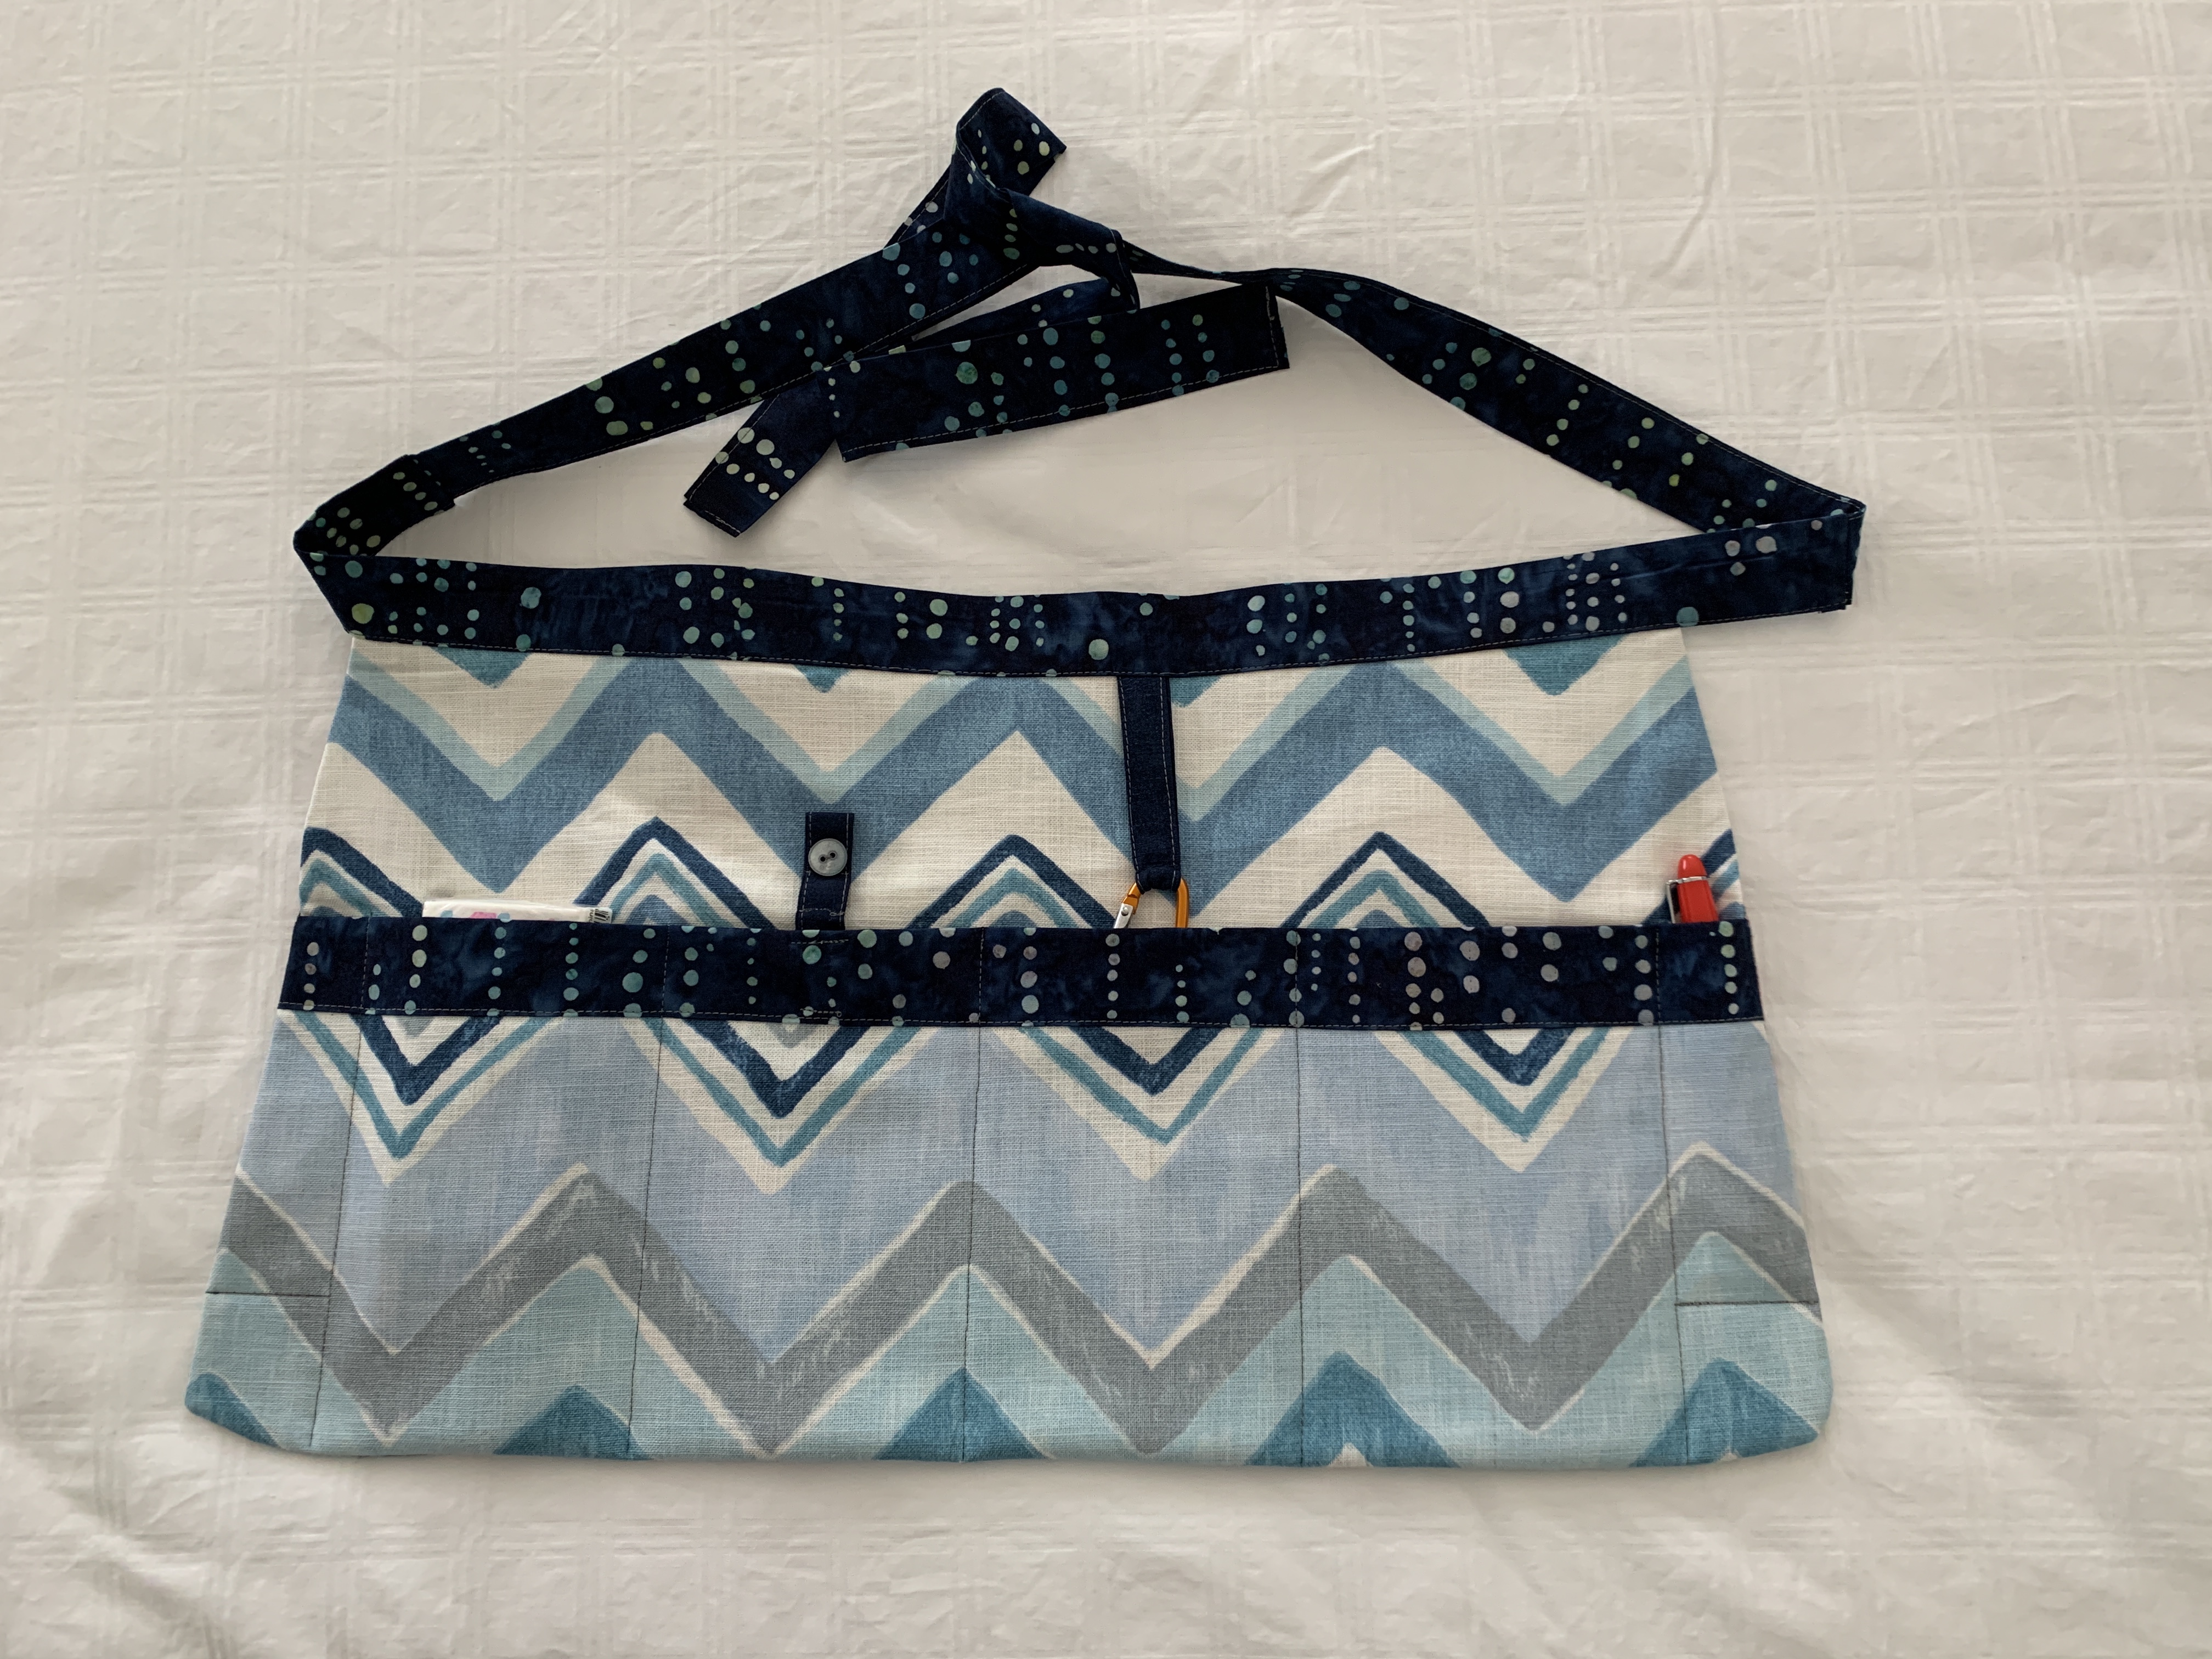
Teacher’s Tool Belt – Completed
I checked out some possible ideas online and came up with one I thought would do the trick. Suzanne initially requested three pockets but I’ve given her four: one for her phone (with the tab to keep it from falling out), another for her keys (with a small carabiner that slips into the pocket), a slightly wider pocket for a small spray bottle of sanitizer, and one for a package of Kleenex or a small notebook, and two narrow end pockets for pens.
I was discussing the project with one of my sewing buddies who mentioned she had just the fabric weight I was after – a heavy cotton you’d use to cover outdoor cushions. I picked it up.
Next, I selected a complementary fabric from my stash, put the two fabrics together, cut a 10″ strip from the width of fabric for the body of the tool kit, and a second 6 1/2″ strip, also from the width of fabric for the pockets. I cut each width of fabric in half – each piece 22″ wide. (That gives me enough cut fabric for two tool belts – one for my niece as well!)
Teacher’s Tool Belt – Dimensions
I cut two 3 1/2″ strips from another contrasting fabric (width of fabric again) for a pocket facing and waistband and ties.
Layers of Fabric Before Shaping
I trimmed the 22″ x 10″ fabric to 20″ with slightly rounded bottom corners (see “pattern” above). I tapered the sides a bit leaving the top edge 18″ wide. I also ever-so-slightly curved the top edge to accommodate the belly. I placed the pocket fabric on top of the the apron body – aligning the bottoms and trimmed to match the body.
With the fabric shaped, on to facing the pocket.
I cut one of the 3 1/2″ waistband pieces in half lengthwise giving me a 22″ facing strip (the other half becomes one of the ties). With the two pocket panel pieces (outside and lining wrong sides together) I aligned the facing fabric along one 20″ edge on the lining side (right sides together), stitched a 1/4″ seam.
Apply Binding To Pocket on Lining Side – 1/4″ allowance
Folded the facing over the seam allowance toward the front,
Facing Completed on Lining Side Of Pocket Panel
folded under the bottom edge of the facing, pressed and top stitched to the front of the pocket panel.
Pocket Panel Facing Top Stitched
With the pocket panel faced, I laid it on the body fabric (back of pocket to right side of the outside body panel),
Pocket Laid On Top Of Body Panel
covered the pocket with the body lining fabric (in other words, I had a sandwich: lining fabric face down on top, pocket panel, outside body fabric face up on the bottom).
Tool Belt “Sandwich” – with Lining On Top
I sewed down one side across the bottom and up the other side – turned the apron body right side out, pressed – making sure the open top edges matched (I pinned the top edges so they’d stay together when I pinned the waistband in place).
Next, the waistband. I interfaced the remaining piece of facing fabric to make the waistband more stable, laid it (right side down, interfacing side up) across the top open edge of the WRONG side of the belt, stitched a 1/4″ seam, pressed seam open, folded waistband in half, turned in the raw edge 1/4″, pressed.
Before stitching the open edge to the front of the tool belt, I cut the second 3 1/2″ facing/waistband piece in half lengthwise and attached each half to the ends of the waistband, folded in half lengthwise, turned in the edges, pressed. I folded in the ends of the ties and pinned them.
Then starting at the end of one of the ties, I edge-stitched the end, than the open edge of the first tie, across the waistband, folded edge aligned to just cover the seam, and continuing to the end of the second tie and across the end.
I press the ties and waistband. DONE!
Teacher’s Tool Belt
It all sounds a lot more complicated than the actual assembly is. The second tool belt (to be constructed from the leftovers from the first) will go much more quickly because I’ve already figured out the order of construction.
Cut out and shape outer fabric and lining; cut fabric for pocket facing/waistband and ties
Face Pocket
Make tool belt sandwich) body fabric on bottom / pocket / lining fabric face down on top
Stitch around sides leaving waist edge open – turn right side out, press
Stitch pockets
Add waistband, ties
BTW, I’m not going into production for those other teachers who will want one themselves when they’ve seen the tool belts I’ve made for Suzanne and Maxelle!