Ombre Socks

A month ago when I had shopped at Have A Yarn in Mahone Bay, I came home with a ball of Lang “Happy Stripes” Twin Soxx ombre sock yarn. You can see the colour gradation in the finished socks but it wasn’t really visible as I was working on them since the colour change is so gradual. The single repeat actually gets a lot lighter but the sock foot stops at 50 rows past the gusset because that’s all the socks need to fit someone wearing a size 7 1/2 – size 8 shoe.

Ombre Socks

Decided to use the striped yarn to complete the toe in order to get the lightest pattern repeat possible.

I have enough yarn left over to make a pair of legs – just have to find a complementary yarn so I can knit a full pair of socks!

Medallion Quilt II – Comment

Just on the phone with a very close friend who thought my medallion panel was striking just as it is – make an effective wall art piece, she thought.

Medallion Quilt – Centre

I certainly wasn’t seeing it that way – in my head I was working on something much larger. Now I have to rethink the whole thing. Maybe just one more border in a darker grey to finish it off?

Decisions, decisions….

More Small Zippered Bags

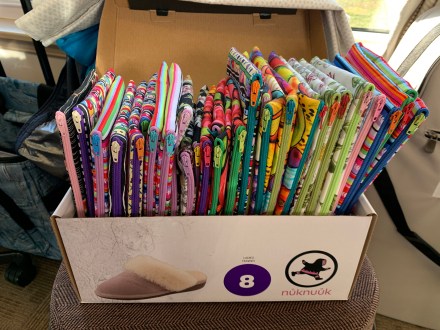
When I got home from my sewing weekend I showed my niece my stash of small zippered bags. Offered her one, she took two. She was going out that evening for dinner with a friend whose daughter was having a birthday – she took one for Fiona and another for her sister Dana. I took another and put a birthday gift in it for a friend of mine. Now I was down five bags from the collection intended to be for Christmas gifts.

My niece sees me put the gift in a bag and asks if I would make ten bags for her to use as gifts – she’ll pay me, she offers.

Can’t say no to a request like that, so after she left for Toronto the next day, I dug out what fabric I had left over from the original batch, prepared 10 more bags, sat down and stitched them up over the next two days.

Zippered Bags For Maxelle

Past Thursday, I packaged them up and sent them off to Toronto – as a gift for my niece. What am I going to charge her? $5 is too little and $10 is too much to ask her (although were I selling the bags at a craft fair I’d charge $10 for the smaller size, $12 for the larger ones). I was using leftover bits of fabric and batting, I buy zipper tape by the yard, so while I have an idea as to what my materials might cost there’s still nothing much to reimburse me for my time. Better a gift to my niece than try figuring out what to charge her.

She should get them next week. I told her to make sure she tells her friends where she got the bags! I’m sure whoever gets one will enjoy having it. You can’t have too many small zippered bags for carrying stuff, right?

Medallion Quilt II

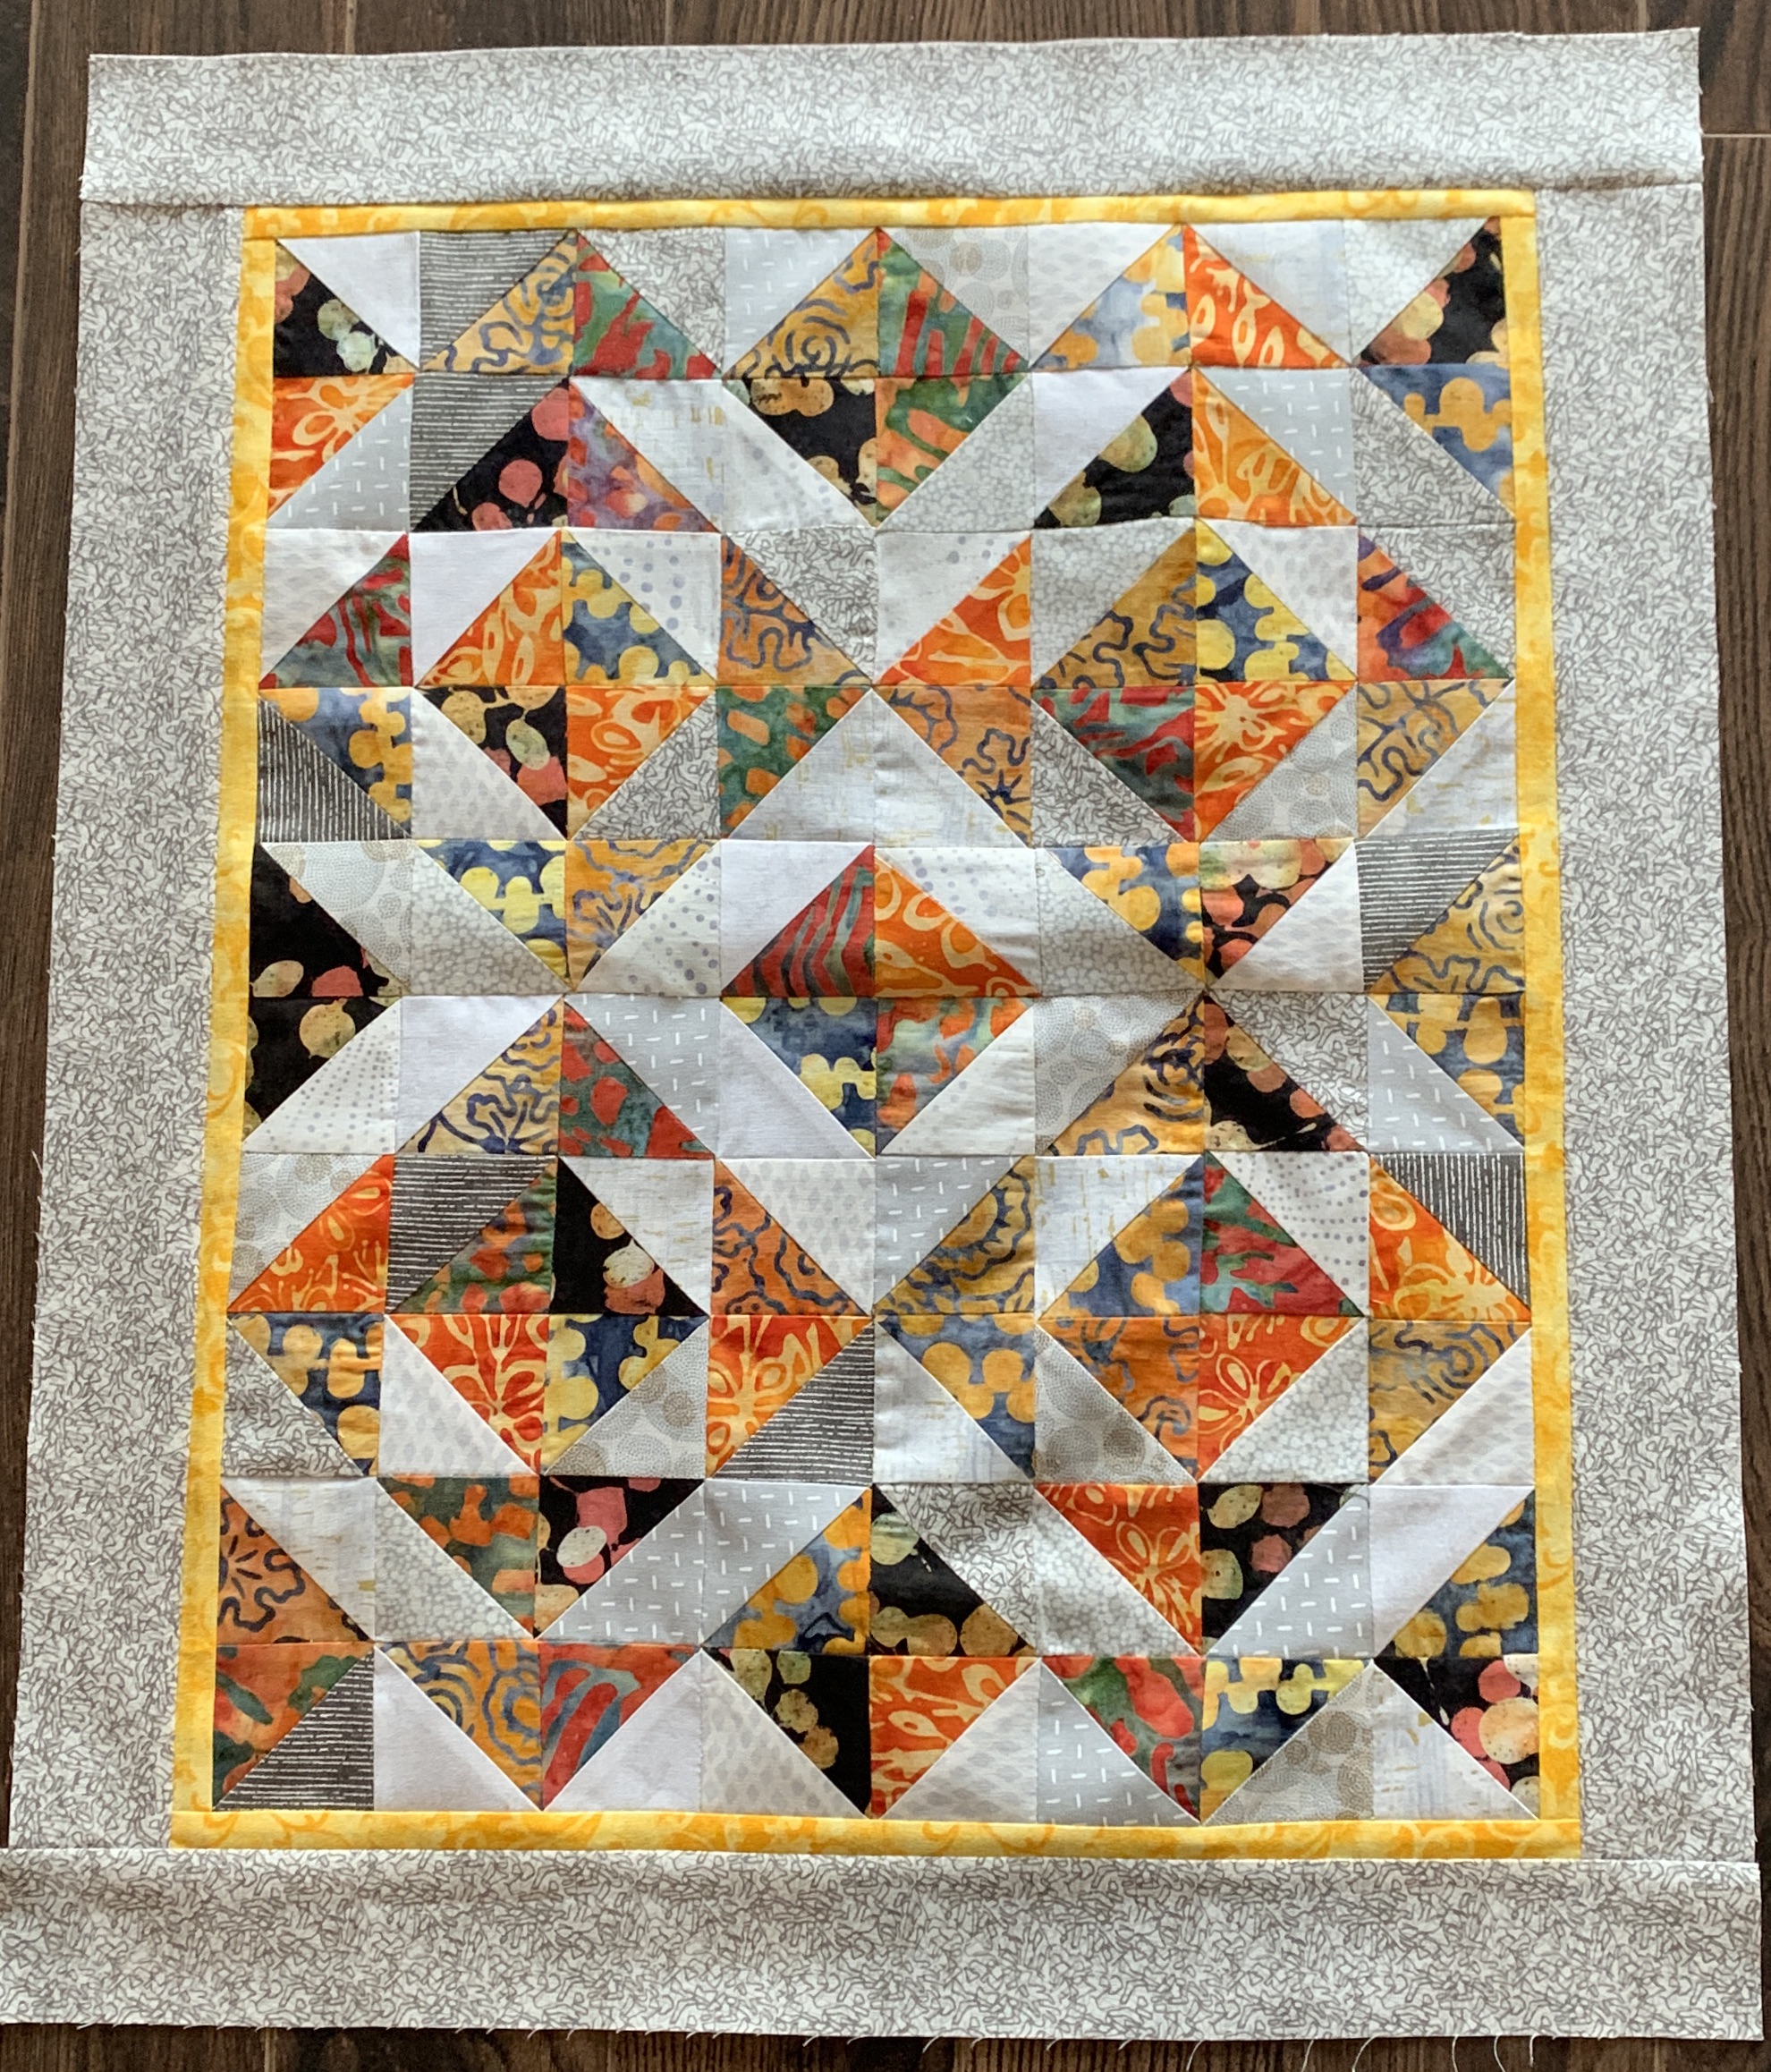
Funny what calls out to you when you sit down to work. The small triangular cut-offs from the Nine Shades Of Grey quilt said “Play with me” – so I did. I began by sewing them together into half-square triangles, then laying them out in blocks, formed rows, and stitched the rows together. I was trying to mix up the colours so they weren’t adjacent (and I was pretty successful doing that). I ended up with an 8 X 10 array with a bordered square on point in the centre. My piecing isn’t perfect but it’s close enough to live with as it is.

Medallion Quilt – Centre

Once I had the small half-square triangles sewn into a panel, I decided to enclose it with a narrow border rather then a wider one. Had I been doing a wall panel, I’d have used the golden fabric as a piping, but I thought for a quilt it probably needed to be a narrow strip of accent fabric. And then the medium mottled grey seemed to settle the whole panel down – it’s strong enough to stand out and yet sets up the yellow which brings out the golden shades in the batiks.

I have no idea where to go next! Medallion quilts are usually square, but for a comfortable throw/lap quilt it wants to be longer than wider so I went for a rectangular panel. I will see if it’s possible to increase the length with perhaps two insert rows in top and bottom edges as I build the quilt borders out.

Time to look at Medallion quilts and see what inspiration I can find for taking this quilt further. I think I want to keep the “Nine Shades Of Grey” idea going in this project which means whatever I do next should use the grey fabrics extensively with perhaps just hints of the bright batiks – who knows….

Nine Shades Of Grey

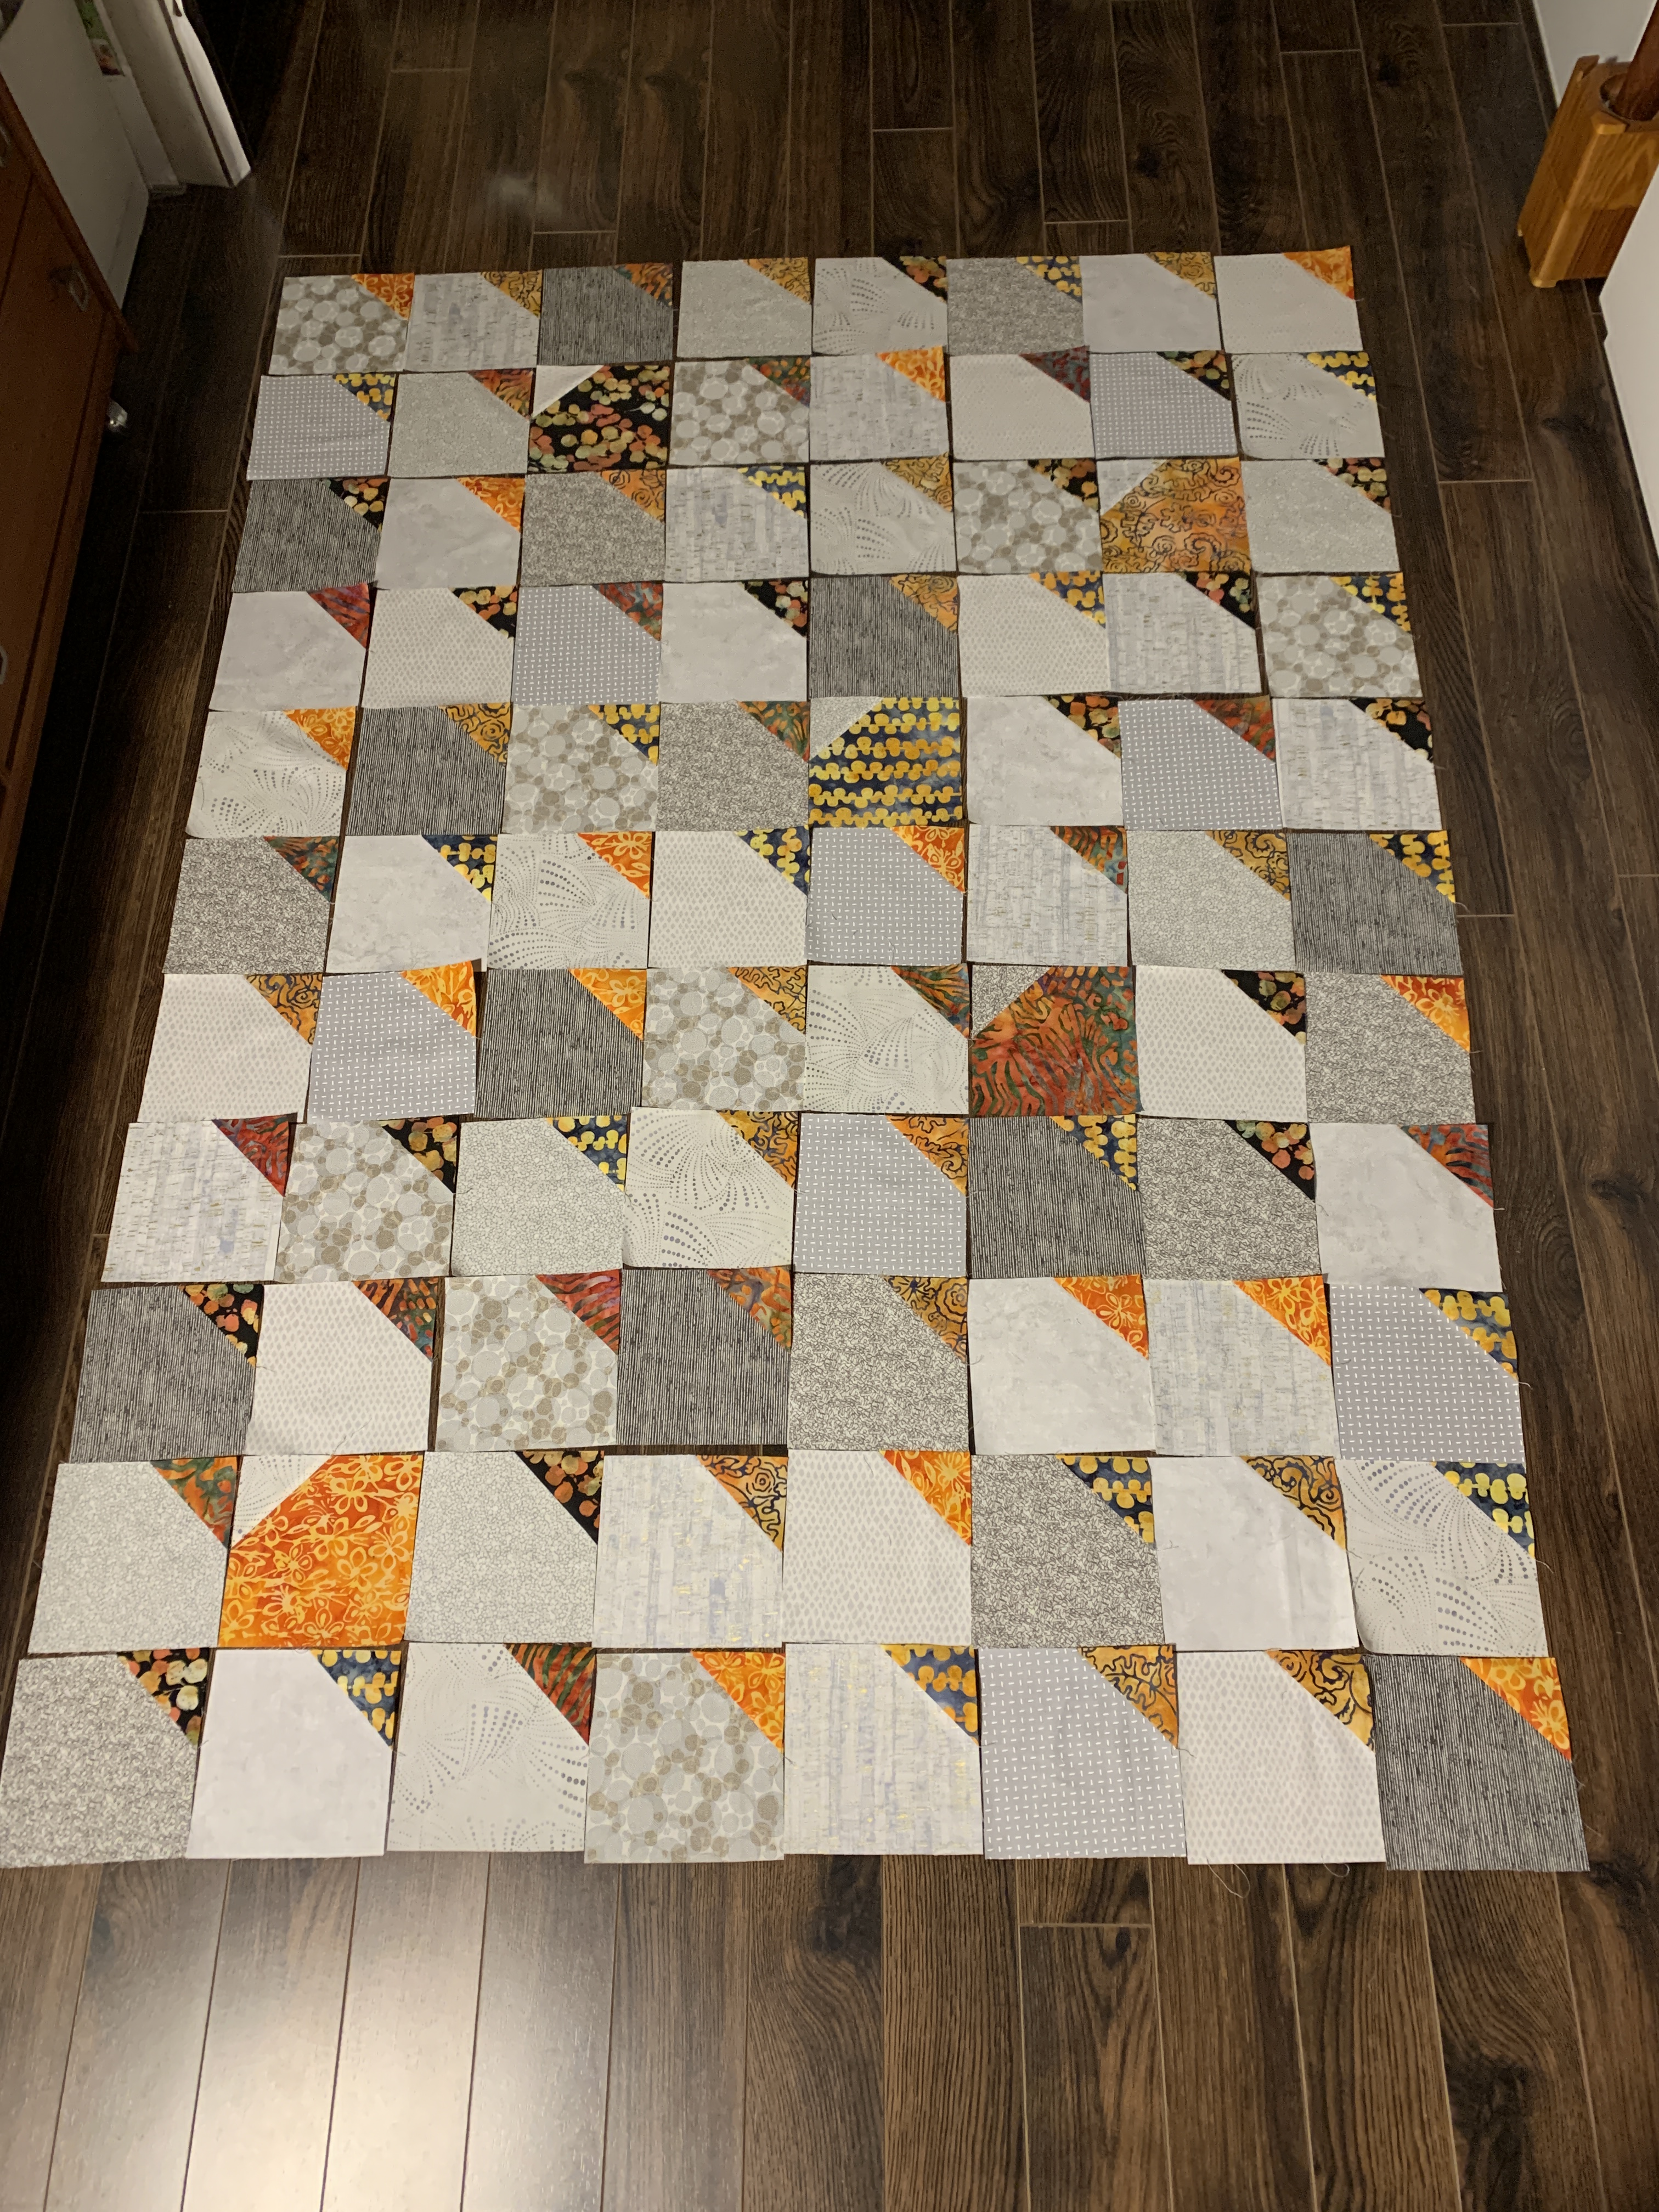
Here is one of the quilt tops I worked on during the weekend. I stitched and trimmed 95 blocks – this layout uses 88 (8 x 11 will stitch up to 44″ x 60.5″ with a 3″ border I will end up at 50″ x 66.5″ – a good lap size quilt).

Nine Shades Of Grey

The point of the quilt top was to assemble something fairly simple that I could do in that sewing retreat setting without having to focus carefully on what I was doing. I had five bright batik fabrics to allocate to ten blocks each of the nine grey fabrics – I thought that would give me plenty of latitude. Was I wrong.

Distributing the grey tones wasn’t so difficult but the batik triangles in the corners? Very difficult to get them to work out – still not completely happy with how some of the adjacent triangles are from the same fabric! I’m leaving the blocks on the floor for now so I can walk past it and think about how to exchange some of them.

Then I decided I would insert a single block of each batik fabric with a different grey corner – the question became where to put them and how to align them. I’ve decided the array looks best with the grey corners facing in the opposite direction to the bright corners.

That’s it for today. I see what I think in the daylight tomorrow.

Sewing Retreat

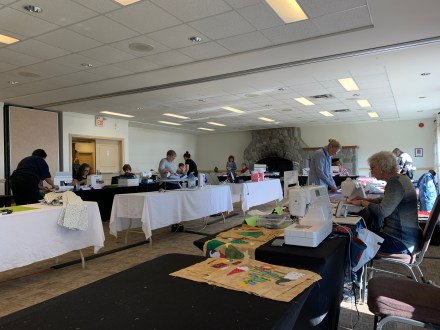
This weekend I’m at scenic White Point Resort two hours from home sewing with 27 other women all busy at work.

White Point Beach

Yesterday was a stormy day with lots of surf. Today just a calm ripple. Too cold to be sitting watching incoming waves.

Busy At Work

Can you imagine – we’ve just lost power! Disaster! Sewing machines dead, iron cooling. Thank goodness it’s a bright sunny day (if cold) so there’s lots of light to keep cutting and placing and pinning, all important prep work.

Zippered Bags For Christmas Gifts

I managed to complete 30 zippered bags for Christmas gifts yesterday. I’d had them all cut out – outer fabric, batting, lining, zipper tape, grosgrain tape for the tabs – all I needed was to assemble the bags. Done before supper time.

I’d prepped two quilts before coming – I started working on them last evening. When power returns, I’ll carry on. Blocks for one are constructed and ready to be sewn together. I’m more or less half way through the blocks for the second quilt.

I leave around noon tomorrow. I will have accomplished quite a bit.

Skinny Quilts/Banners II, III, IV – Completed

The remaining skinny quilts/banners are finished. I hand stitched the hidden bindings on the back of each hanging and added a sleeve for hanging it.

I’m happy with the combination of background fabrics and the appliqués – a close look shows I managed the edge stitching precisely. I like the quiet background and strong appliqué colours in this panel.

Skinny Quilt II

I wasn’t sure how I felt about the bright colours in this second banner but now that it’s completed I like the profusion of “dots” in the appliqué fabrics, echoed by the two small circles to fill in the space on the right. In the right location this could be an interesting accent piece.

Skinny Quilt III

I’m less happy with this banner – now that it’s finished I can see my idea to increase the spacing while decreasing the circle size didn’t work so well and I didn’t see, until now, that I have an inbuilt curve to the left! I think I chalk this one up to experiment and construct another to take its place.

Skinny Quilt IV

That’s what’s so interesting about improvising – I’m always amazed by how most of the time my experiments turn out well. It’s not that this one didn’t have potential – it’s just that I didn’t see the “flaws” until it was actually finished and hung on the door. It’s a lesson that I need to be a tad more detached and analytical when looking at these pieces at a distance.

Skinny Quilt I – Finished

Skinny Quilt I – Finished

I finished the hand stitching on this skinny quilt/banner last evening. It’s surprising how long it takes to finish the hand sewing in part because the muslin I’ve used to back the panel has a rather dense thread count and it’s difficult to penetrate even with a new hand sewing needle. Needs a thimble or I end up with a hold in both my third finger and my thumb! It’s awkward sewing, is what I’m saying.

I have a second panel ready to hand stitch and two more will get the hidden bindings sewn on this morning and then be ready to hand stitch. I’ll be glad when that part of the process is completed.

Magical Garden – Colourwash Quilt II

This past couple of weeks I’ve been teaching a class on improvising wall art and I’ve been working on four Skinny Quilts/Banners myself as part of that project. The other day when I finished embellishing each panel (although I still have to bind each one), I thought about another project that might interest the gals.

Magical Garden

Last spring I attempted a watercolour quilt – made from many 2″ blocks cut from small print floral fabrics to use the colour in the squares to “paint” a canvas. I have many bags filled with 2″ squares (light, medium, dark) and thought this might be an idea to interest the women.

I laid out an array (9 x 12) creating a colour flow across the surface, stitched the  pieces together and took it to class yesterday to share with the women. Today, I decided to finish the piece with a narrow inner border, a piped border, and a wider dark border.  I’ve added a hidden binding and backing – I just need to do the hand stitching to tack the binding in place.

The photo doesn’t do the panel justice – the prints are all quite sharp and showcase the colour flow rather better than the photo would suggest. Looks like this might be a go for January. The women all thought it would be fun to attempt something like this.

Skinny Quilts/Wall Banners

I’m not sure what to call these wall art pieces – they’re narrow raw-edge appliqué quilts constructed from a simple pieced background with a few fused top elements. It’s the simplicity of them that captured me in the first place and I decided to offer the idea as a class.

The class was yesterday.

To prepare for the class, I set up four skinny quilts as examples. I’d sewn backgrounds using narrowish width of fabric cuts from complementary fabrics and then cut out and arranged on each some shapes (to which I’d already added fusible web).

Panel #1: Diamonds.

I’d cut out more diamonds but decided to go with fewer and to bring the viewer’s eye toward the the bottom of the panel I added a single slightly smaller diamond.

Diamonds

Panel #2: Cascading Circles

From small scraps I cut out colourful circles in decreasing diameter, then fused them on the centre in increasing distance from one another to simulate a cascade.

Cascading Circles

Panel #3: Squares

With this panel I decided to keep the squares the same size, but when I laid out the squares I thought a couple of smaller squares top and bottom would balance the array. Then, as I was fusing the squares in place I decided to fill in the gap near the bottom right of the arrangement with two different small blue circles. I’m still deliberating whether or not to add something nearer the bottom of the panel.

Squares

Panel #4: A School Of Fish

The fish were leftover pieces I’d saved from the just finished quilt. As I was cutting out the “X” pieces I realized I was creating “Fish” shapes which I saved thinking I’d find a use for them at some point. It turned out the light coloured fabric was short a few inches from a full width of fabric panel so I added in the dark blue piece (also a leftover from the just finished quilt). The school of fish is swimming at the bottom of the panel.

Fish

The women in the class had a great day – the projects were simple enough for them to create the background panel, decide on some kind of appliqué, edge stitch the fused pieces, add batting and backing fabric, then sew on hidden binding strips on all four sides.

Not everybody got as far as the binding strips (everybody did finish the edge stitching of the appliqué) but Azar managed to complete her panel – she just has to hand stitch the hidden binding on the back and she’s ready to hang it.

Azar’s Skinny Art Quilt

The other women are joining me next Wednesday for a “come and sew” session where I can help them complete their panels. I hate leaving a class with another UFO and no idea how to finish the project.

I didn’t have a “pattern” or set of instructions for making a skinny quilt – the point of the project was to encourage the women to take an idea and improvise on it – to look at the fabrics they have on hand, set up a background, and add something simple, but elegant on top, do a bit of stitching/embroidery, then do an elegant finishing to create a piece of art.

Next week, I may set up one of the high-end embroidery machines in the shop to embroider signatures on each of their pieces – works of art, are after all, signed. I sign and date all of my wall art work!