Crazy Quilt 6″x6″ Sample

Experiment – Crazy Quilt 6″ x 6″

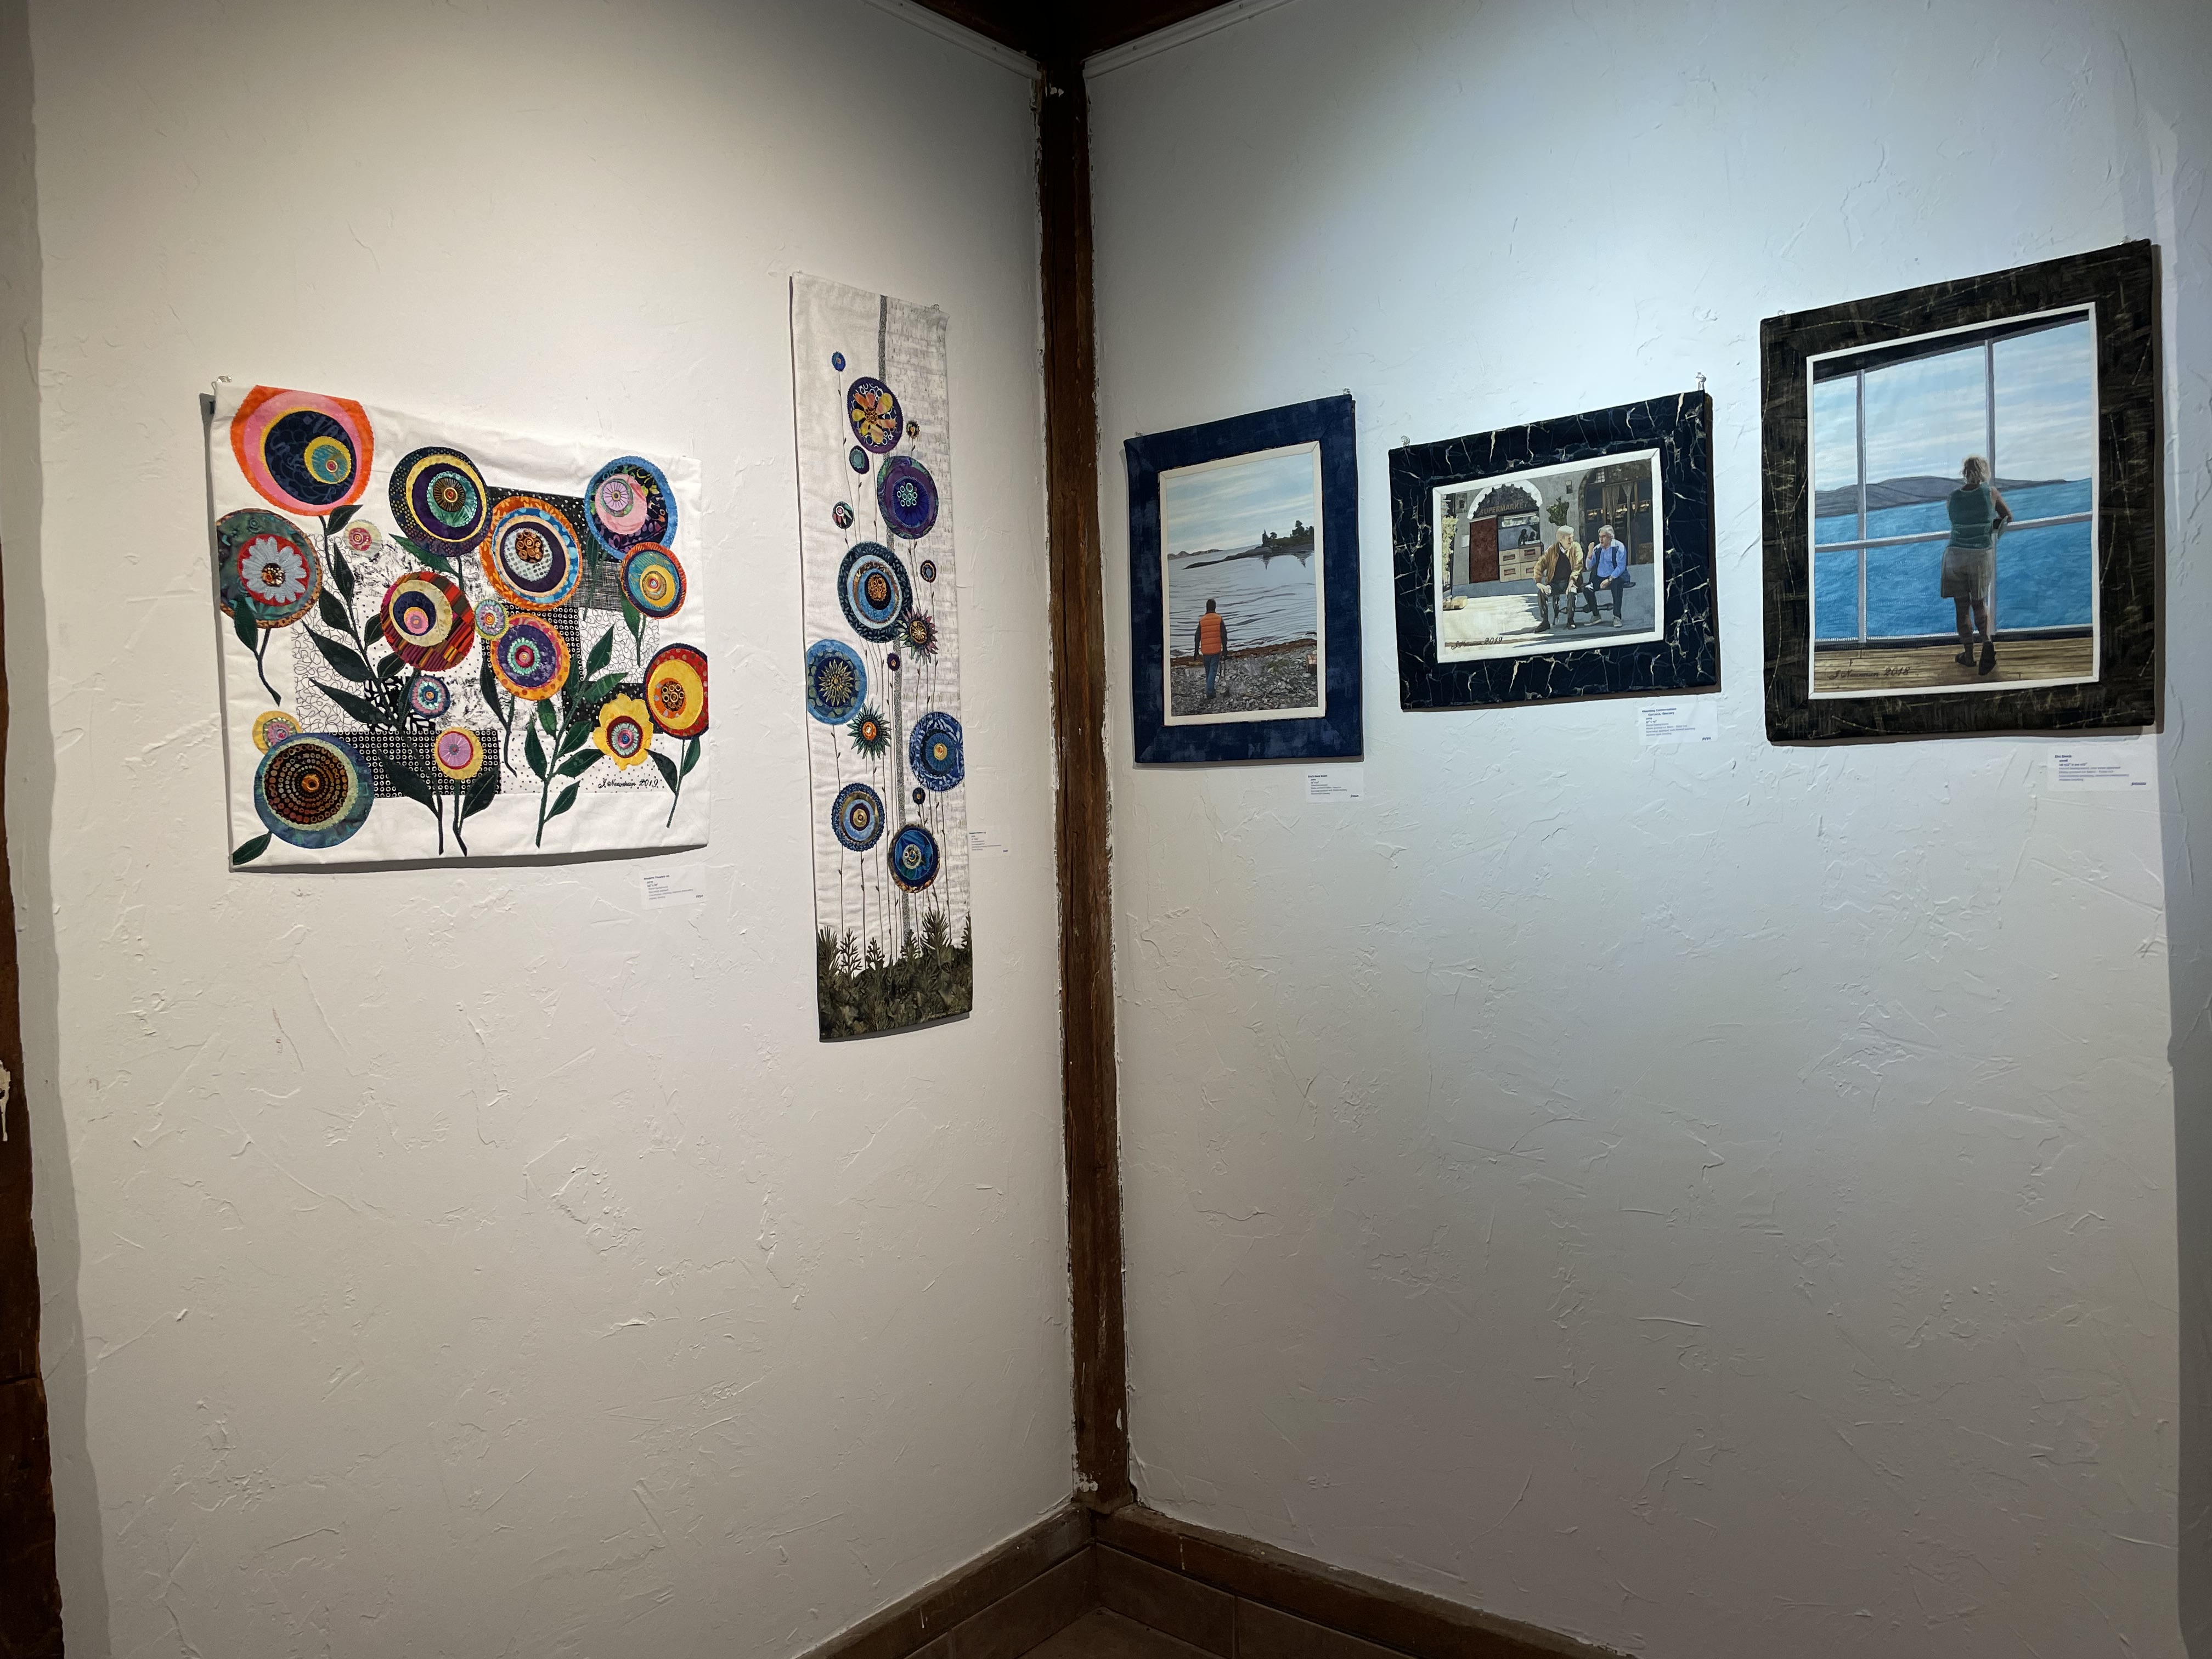
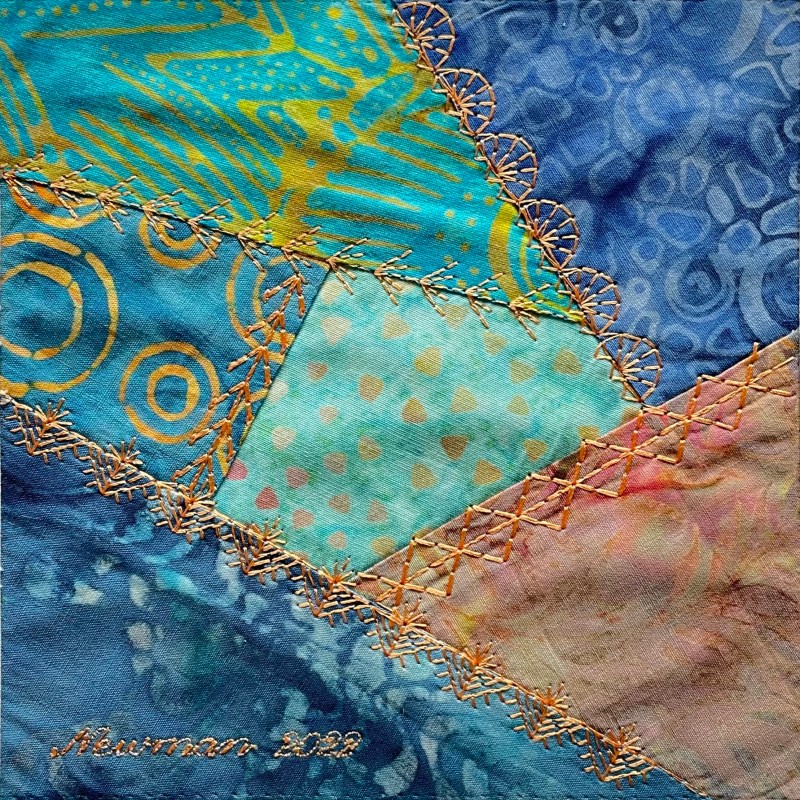
A quick try at “crazy quilt”. I learned several things with this experiment:

  • Leave out the batting, it isn’t necessary
  • Use light tear-away stabilizer instead
  • Be sure to save modified stitches as I go along so I don’t have to recreate them
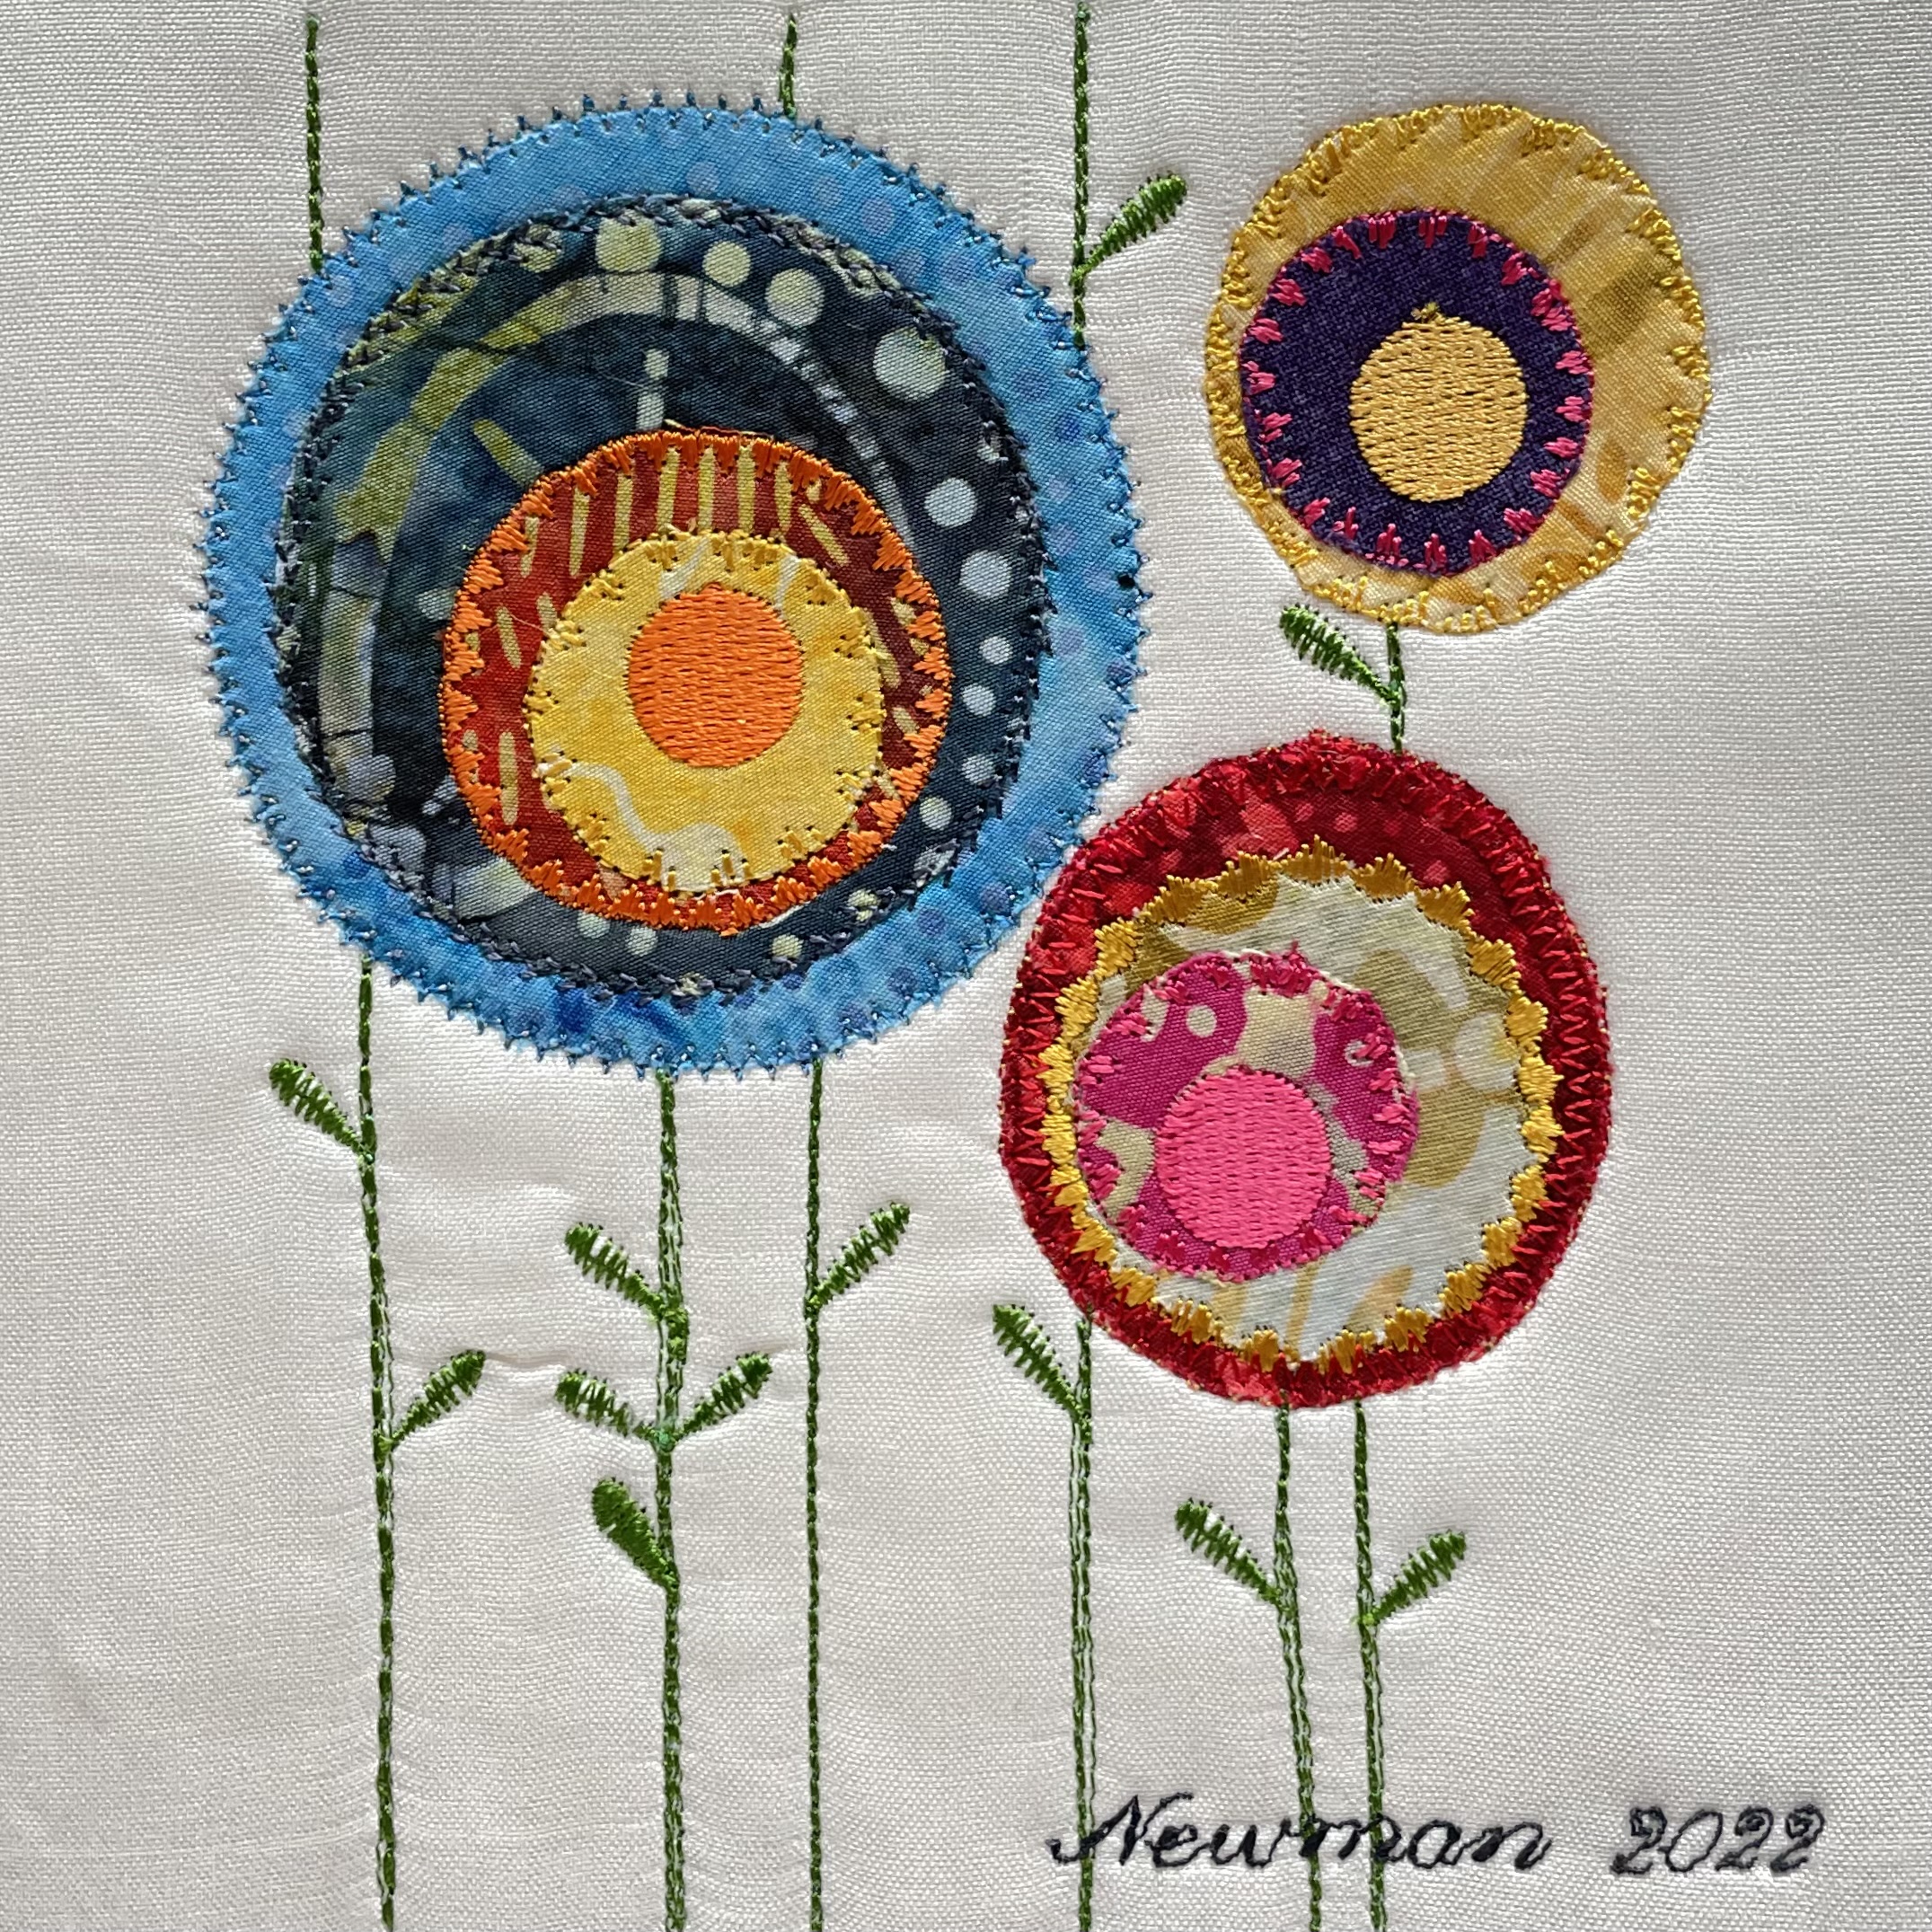
  • The centre element should have a more irregular pentagonal shape
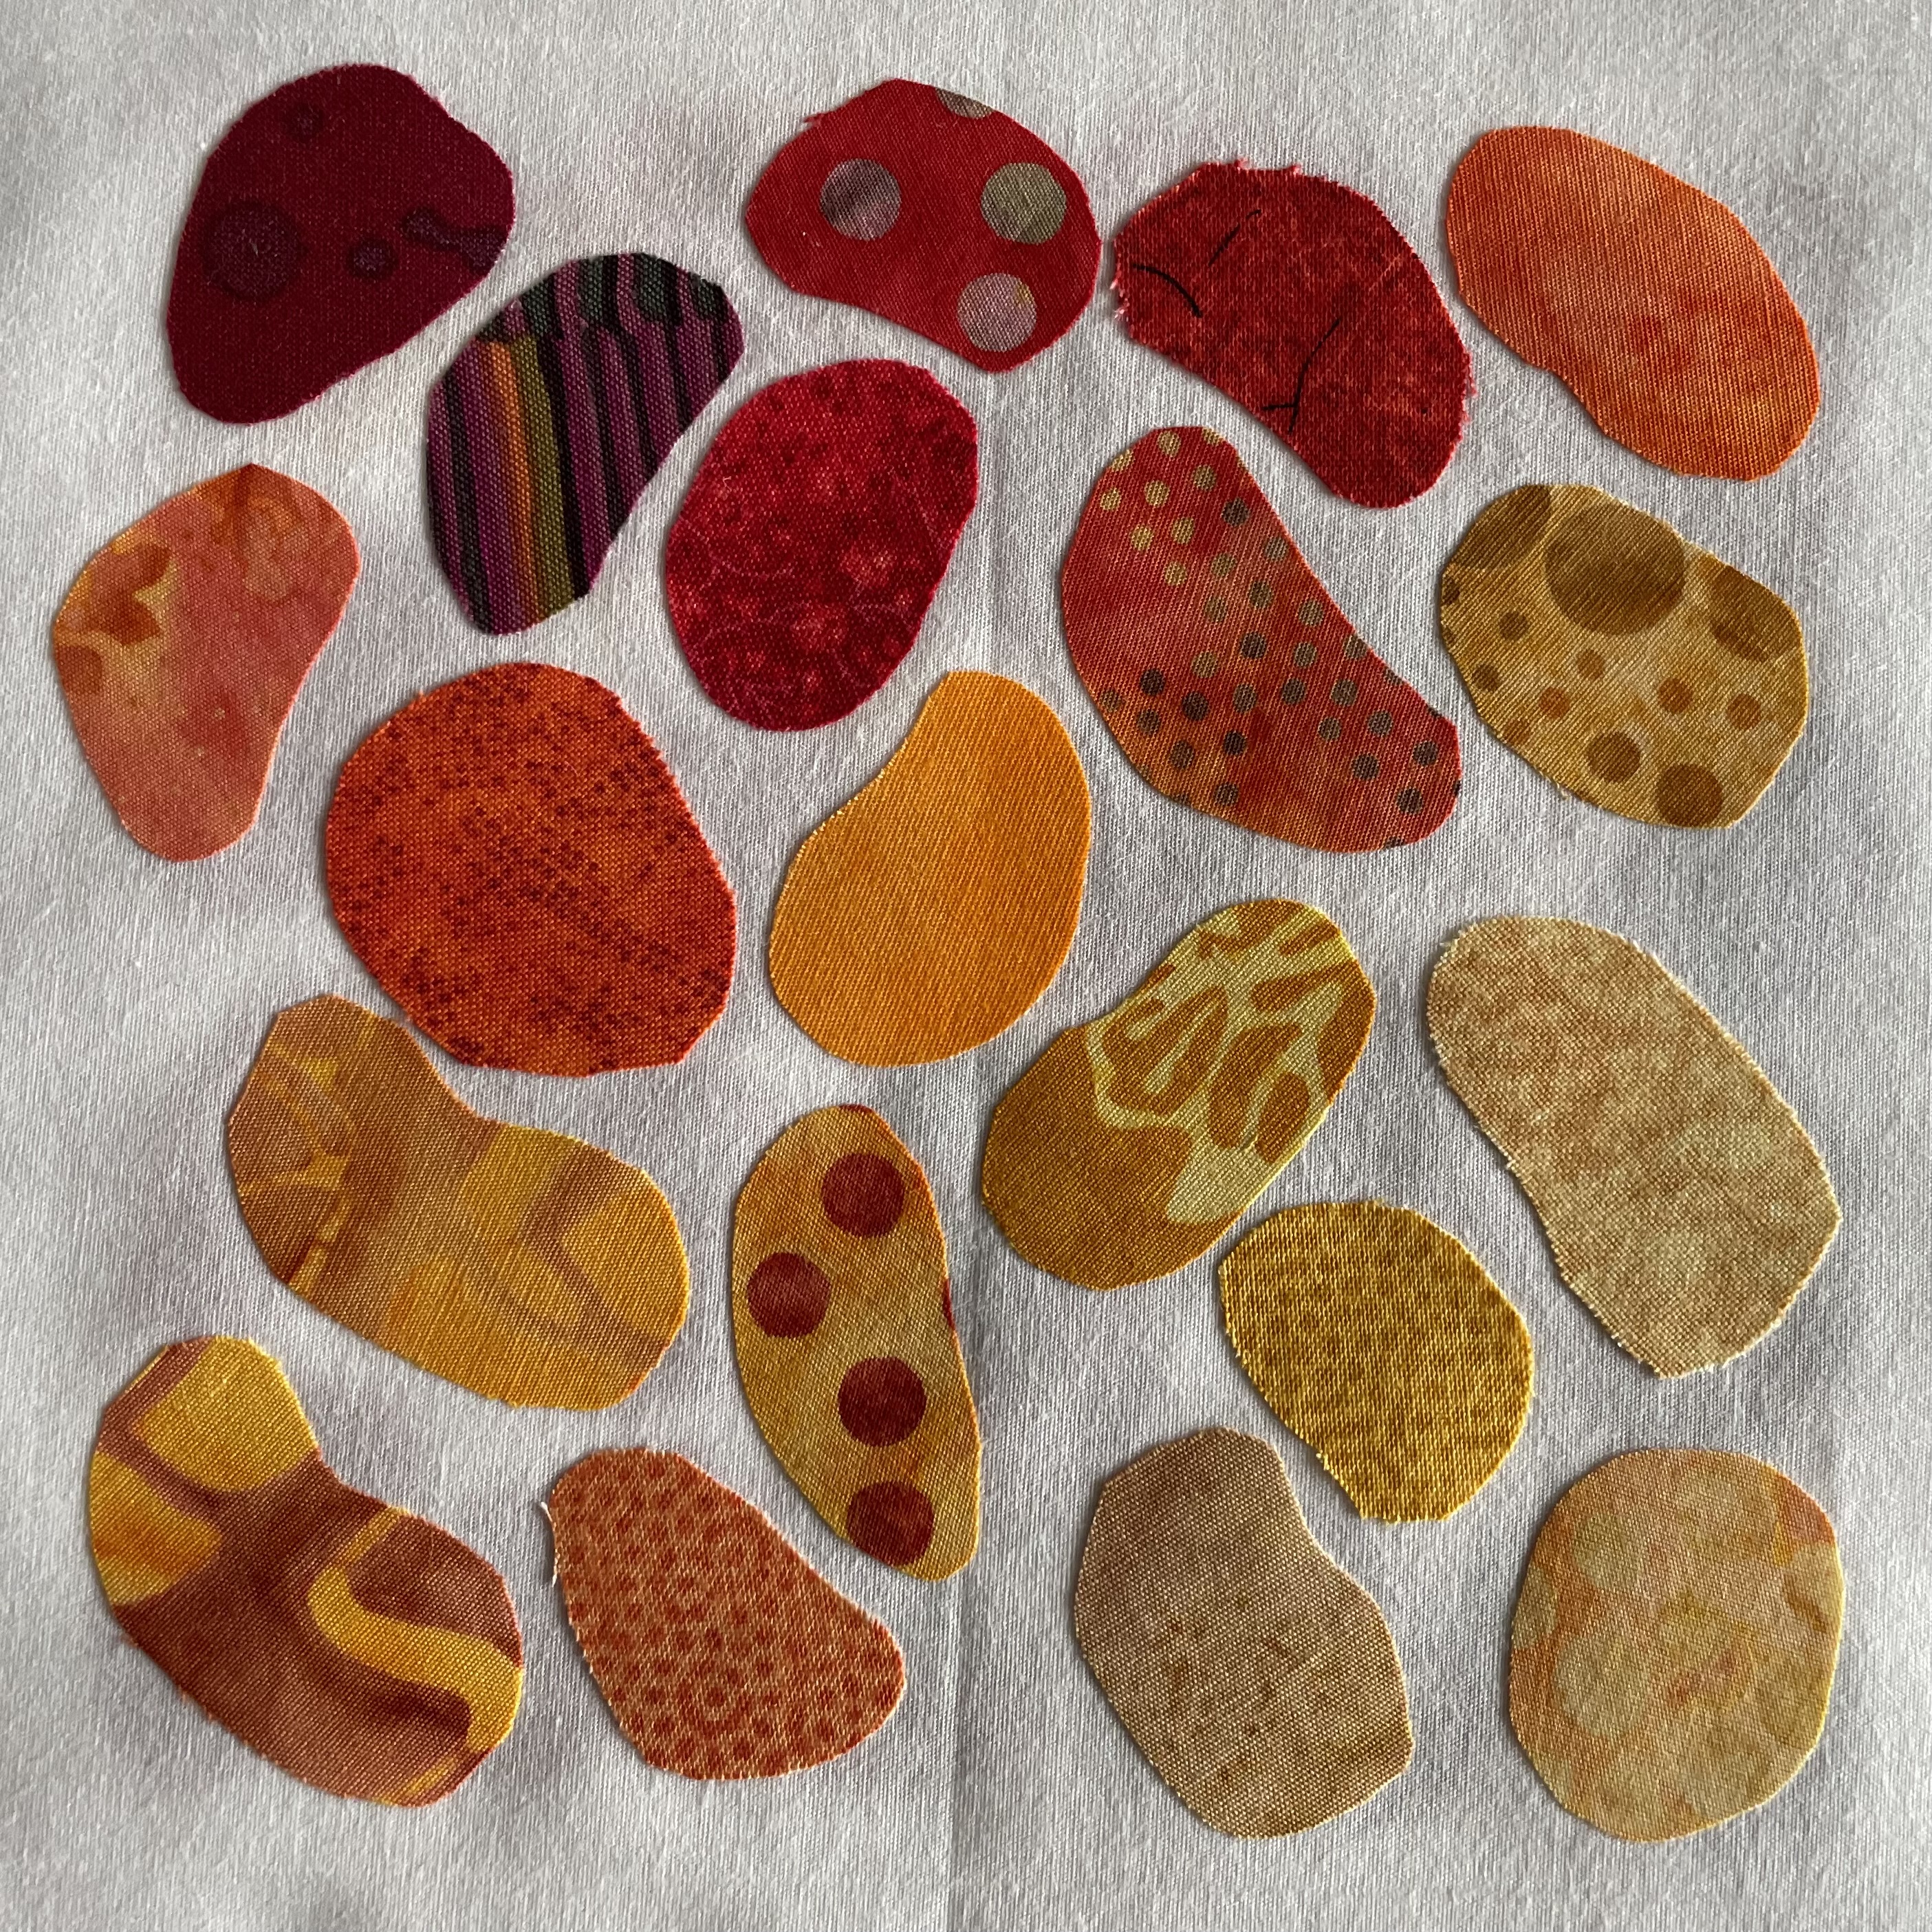
  • Cover area with fewer fabrics
  • Use brighter/lighter fabrics
  • Decorative stitch each strip as I go (much easier to make starts and stops exact)

In fact, I need to do another experiment – this time creating the entire block in the embroidery hoop! I’ve never done that but I have several block possibilities that create crazy quilt blocks as embroideries.

In any case, this is another possibility for the set of 6″x 6″ blocks!

With this block, I trimmed it to 6.5″ square, then added 2.5″ muslin strips to the sides to frame it. That will work. As soon as the 6″ mounted canvas arrives, I will try trimming and adding border strips in some colour or other so the sides of the pieces are uniform – that might be where the black comes in – the sides of the pieces could be finished in black fabric.

Afternoon

Crazy Quilt – Created In-The-Hoop

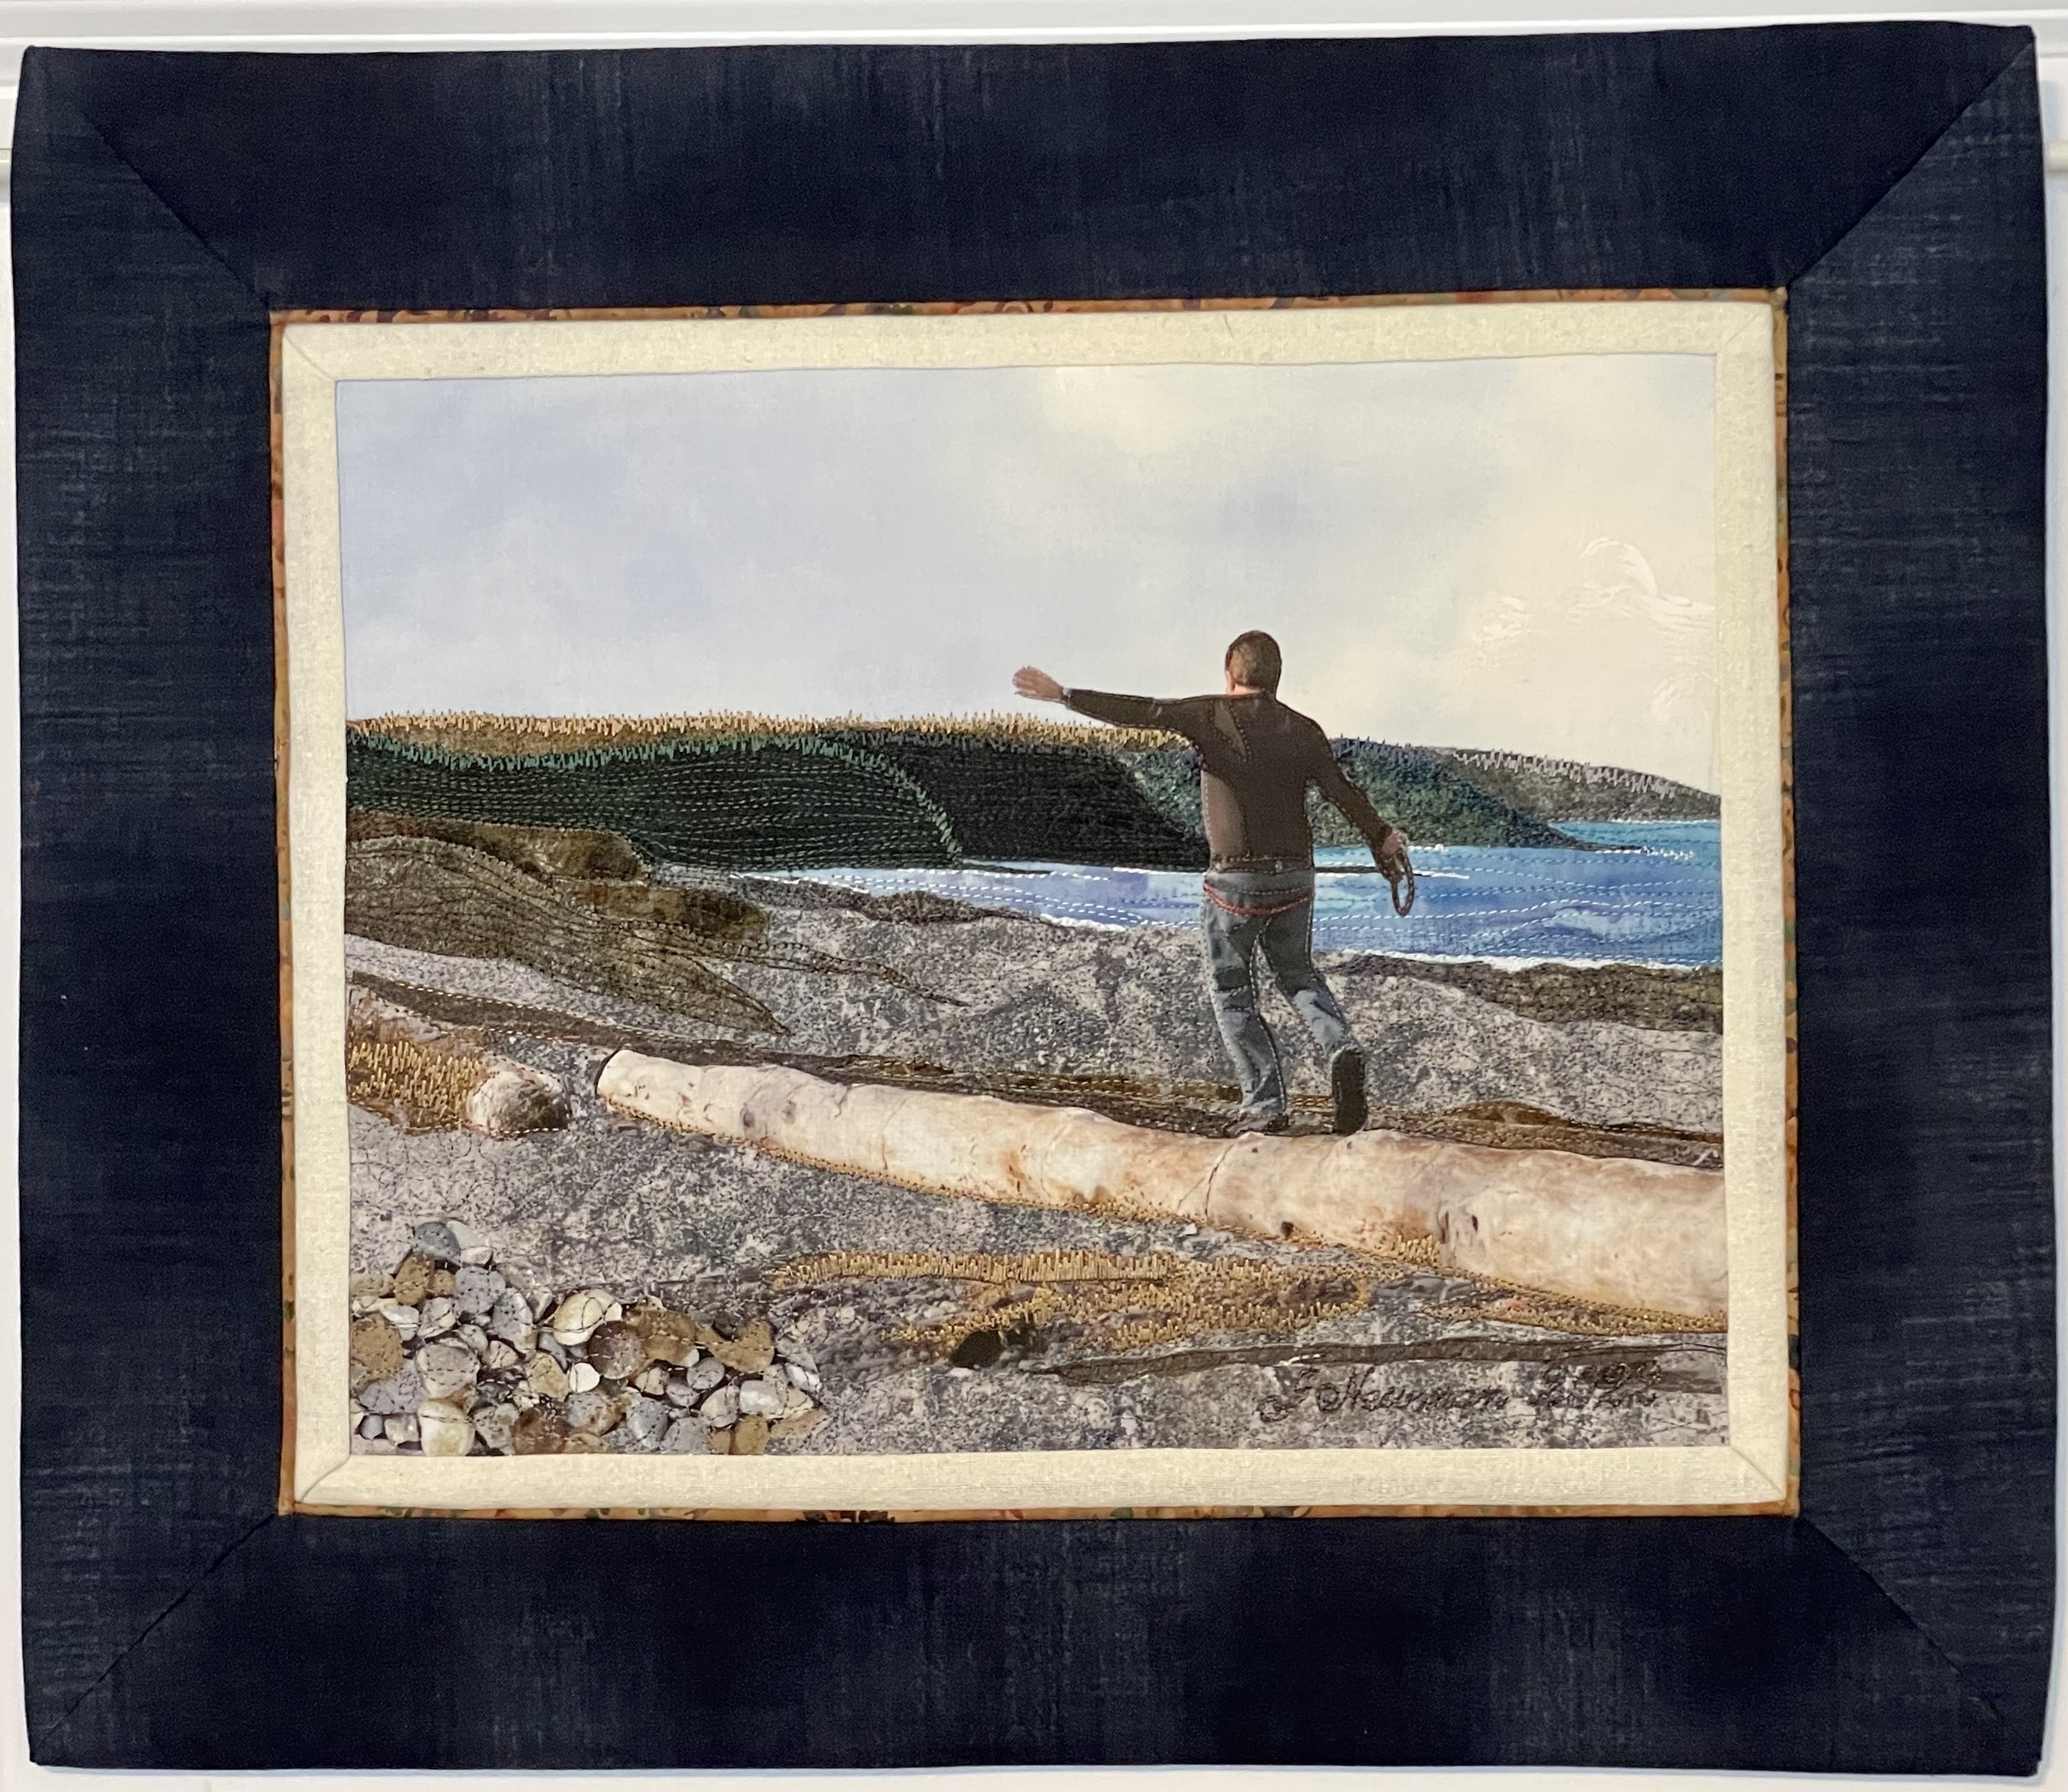
This block I created in the embroidery hoop using an embroidery design I had in my collection of embroideries. I like the shape of the central pentagon better – as I carry on – if I carry on – to create a series of these, I need to begin with an irregular central shape.

However, doing this in the hoop isn’t straightforward – the embroidery is set up to work with raw edges – the built in basting secures each piece but doesn’t take into account that the first basting seam needs to stop, the fabric turned, then the tacking to continue. In addition, I had to enlarge the embroidery in order to get a 6″ finished block – this resulted in the embroideries being larger than they want to be. Finally, the decorative stitching wasn’t done as the block developed but after all the fabric had been basted.

So, I don’t intend to carry on in the hoop – but this exercise was useful since I learned about

  • working in a clockwise order
  • trimming my fabric after each addition
  • leaving out the batting, using tear away interfacing instead, works well for the neatness of the stitches
  • and I still want to do decorative stitching as each fabric piece is added

Experiment – Flowers

Flowers on Silk

This is an adaptation of my Modern Flowers idea, an outgrowth of the Blue Flowers banner piece. Difficult, however, to decide what to do in a 6″ x 6″ space!

I started with a 10.5″ square of woven silk habotai fabric. Next I opened a baggie filled with circles left over from the Blue Flowers banner and began laying some out. Always the same decisions – centre the circles, offset them, relative size of adjacent flowers….

Once I had an acceptable layout, I fused the circles to the silk, added a 6.5″ x 6.5″ layer of batting beneath. What I didn’t do, and should have done, was add a backing of light tear-away stabilizer – that would have eliminate the bubbling in the silk as I embroidered the edges, stems and leaves. I will definitely add stabilizer to the next experiment.

The tricky element is positioning the embroideries for the centres and the decorative stitches for the leaves. I needed to rebuild the leaf stitch to start and finish at the stem end in order to be able to position each leaf on the stem in a realistic way. And then always the question – how many leaves do I want?

I’m happy with this experiment. I’ll do another couple of these – using the raw silk fabric I have rather than the silk habotai I used here.

There’s still time this morning to move on to another experiment – a crazy quilt block using batik. The question here is whether to cut and fuse it to a background at 6″ x 6″ or to take the quilting to the edges of the base 10.5″ square – that would allow the block to be wrapped around a mounting frame.

In the end I think I’m planning 10 pieces based on a single experiment, rather than 10 unrelated pieces.

Experimenting

Improvisation #2

This is the second “beans” experiment finished. I used a different stitch to edge stitch each swatch which worked better than the blanket stitch (the small fraying threads are contained). This time, the revised signature is a bit larger and actually readable! There are still one or two edits I want to make on the signature but it’s working better now.

On to another idea – a “flower” collage on raw silk – just to see what that turns out like in a 6″ x 6″ piece. I also want to create couple of crazy-quilt blocks to see what they turn out like.

Back to work.

The Invitation

I’m organizing our December show at The Ice House. Usually I do a winter theme but this year I’m changing it to a miniature show. There’s no theme so everyone is free to do whatever they like! The only requirement is that all the work is 6” x 6” in size. 

My immediate reaction was to reply “Thanks for thinking of me, but I don’t work with anything that small…” however as I considered Brandt’s invitation I thought “that’s an interesting challenge” so I began playing with an idea.

6″ x 6″ – #2

I cut out a 10.5″ x 10.5″ square of white fabric, then went to the box of scraps with fusible web already applied, pulled out the bag with red/orange/golden bits and cut out “bean” like shapes. I drew a centre 6″ x 6″ block, then filled the space.

6″ x 6″ – #1

This is actually the first block I tried – after fusing the beans in place I edge stitched each, changing thread colour as I went along. The stitching took time, but it went reasonably quickly – fast enough that it was worth trying more (hence the second incomplete panel above).

Each piece needs to be signed. I sign my work with a machine embroidered signature. On a piece as small as this, the signature needs to be small! I spent several hours trying various fonts in my embroidery software but none is set up to create a stitched signature small enough. I wrote out my signature, tried using it as background to create an embroidery – those didn’t stitch out well either. I went back the lettering function on my machine – I got closer but size is still a problem.

After stitching a dozen or so variations of a signature (Newman 2022) I settled on one which I tested a couple of times.

Embroidery for Signature

Although I had tested the embroidery, when I finally added it to the completed panel it didn’t work out as well as I’d hoped. You can barely discern what’s there. So it’s back to the drawing board to see if I can work out something better.

The second challenge is how to finish each 6″ x 6″ piece – Brandt suggested I try mounting them over a 6″ x 6″ canvas – so I’ve ordered a dozen in that size to see whether that can work.

In the meantime, I have a bunch of ideas – appliqué flowers in this small format based on those I’ve done before, crazy-quilt blocks, tiny quilt blocks using a variety of piecings,… there are lots of possibilities. In the end Brandt wants up to 10 pieces of art – I’ll likely end up making quite a few more than that as I experiment with the size.

I had been wondering what to work on next!

Not Your Grandmother’s Quilts! Art Lab 2022

@ Art Lab Studios and Gallery 2022

Today I hung my quilts and wall pieces at the Art Lab Studios & Gallery in Parrsboro. I didn’t hang everything I took with me, opting for the “less is more” principle. Nevertheless, I’m delighted with how the show looks.

I spent the afternoon as “artist in residence” to chat with folks who dropped by for the “opening” – there were probably a dozen visitors who stopped to look, half of whom actually wanted to learn more about the works themselves. Lovely conversations with each of them.

This year, I wanted to show the new quilts produced since last summer as well as a “retrospective” of what I refer to as “the portrait” pieces – the wall art based on my photos where I print elements of a photo on fabric and embed them in a pieced background. The initial reaction is always that you’re looking at a photo and then only when you step closer do you see you’re viewing a textile/thread piece.

The show hangs until late in the afternoon of August 18 in Parrsboro NS.

121 Main Street, Parrsboro NS

If you’re considering a day trip to Parrsboro make sure to stop for lunch at The Pier / Harbourview Restaurant in Parrsboro. Ruby and I went there just to have their lobster roll – it won’t disappoint you!

Lobster Roll (after taking a big bite!)

A nicely toasted (buttered) hotdog bun FILLED with chunks of fresh lobster seated on some lettuce (OK, so there wasn’t any chopped celery, but we didn’t complain because there was so much lobster). We added a single kids’ portion of fries which we shared (just enough for two without having to feel guilty about eating them).

We started with the deep fried battered dill pickle – yes you got that right – a Pier Restaurant invention, I think. Crazy but surprisingly tasty. Ruby had never had anything like it so I ordered some. Comes with tartar sauce for dipping.

Deep Fried Battered Dill Pickle

On our way back to the city we stopped at “The Egg Lady” – to pick up 5 dozen fresh eggs for a friend of mine. Laid today, they’ll last her for several weeks.

The Egg Lady

We didn’t stop at Five Islands Lighthouse Park today, or go up the hill to That Dutchman Cheese Farm. We did stop at Masstown Market for chili for a light supper on the way home to round out the day. (You could have a terrific order of Fish and Chips at their Fish and Chip Boat if you can handle more fried food).

In spite of some rain, we had a lovely day.

The View – Completed

I still have to stitch the hidden binding on the back but other than that, this project is finished. Yesterday I’d finished applying the piping and border only to realize I’d forgotten the light inner “matte”! Having cut the piece to size I wasn’t going to take it apart and rework it. Besides, the contrast between piping/border makes the image itself pop quite nicely.

I’m definitely happy with how the gals worked out on the bench and that I was able to show their bums on the seat. Not obvious in the photo is the shadow under and behind the bench which grounds the gals – it’s much more obvious in the piece itself.

I’ll work on the hand stitching later this afternoon. That’s it for “portrait” wall art pieces for now. Time to move on to more garment sewing.

The View

Bay of Fundy

This is the second piece I decided to work on. I photographed the bench on the beach at Huntington Point in 2007. I’ve always wanted to turn it into a textile piece but it needed people sitting on the bench.

A couple of summers ago I was doing the day trip thing with a friend. We stopped at the Tangled Garden near Wolfville and I people watched. There were a couple of young women sitting on chairs near a picnic table. I asked if I could rearrange their chairs and photograph them from behind. I’ve been playing around with the relative size of the gals and the bench to get the proportions in balance. I’m close. Although now that I’ve mocked up the sky, the bay, the faint line of shore in the distance (needs to be much narrower than the strip I’ve got place holding it), the rocky beach and the grass, I think the bench and the women need to be a bit larger for the image to work as I imagine it.

Next steps: add fusible web to the pieces of fabric, trim them to size; thread paint the setting, print the gals and the bench to size, fussy cut them and place them in the scene. To make the image work, I need to build the shadow cast by the women and the bench coming toward the foreground (the direction of the shadow dictated by the position of the sun on the young woman’s hat). I don’t know whether to do that with permanent markers or ink pencils – I’ll have to experiment before I decide.

Now I really need to get on with that wedding gown!

Huntington Point Beach

Huntington Point Beach

The piece is finished — well, almost. I think I want to take apart the bottom right corner and see if I can straighten it just a wee bit. I may not be able to, but I think I have to try.

I’m pleased with how the work turned out. You have the impression of the dried seaweed blown against the driftwood log and the dried grasses on the gravel beach itself. You can see the headlands recede into the distance with the sun illuminating the top of the nearest ridge.

The colours in the piping bring out the blues and golds from the image and the very dark navy frame lightens it. From a distance, the log glows because it’s sun bleached.

My next job is to make some adjustments to a beaded lace wedding dress — take up the shoulder straps a tiny bit, replace the skintone mesh in the front cleavage slit with a longer piece (bringing the two edges a smidgeon closer together), finally cut the train from the two underskirts leaving just the lace and tulle train at the back and hemming the underskirts. That’s for tomorrow.

Progress…

Huntington Point Beach

I’ve spent the entire afternoon trying to piece this image. The distant background – the hills leading down to the bay weren’t so difficult, but trying to get the foreground assembled in some meaningful way has been difficult. What I see in the foreground is a lot of thread painting to simulate the grasses and seaweed on the beach; I’m not trying to emulate the gravel beach entirely with the fabrics.

David (and the log) are still paper, but it’s almost time to print him on fabric and carefully cut him out so I can add what’s needed to the foreground.

The surf is a bit of lace but it will still need to be overstitched to make it more realistic (I need to stitch some surf in each of the inlets, as well – same with the water – I need to stitch some horizontal wind lines to suggest movement in the bay.

Back to work.

Back To Wall Art

Huntington Point NS

I’ve time to get another wall art piece made before the exhibit in Parrsboro at the end of July through to August 19. I went through a bunch of photos I’ve set aside in a wall art folder on my desktop and decided to try this one – David walking on a driftwood log at Huntington Point Beach (West Hall’s Harbour/Simpson Road) taken Nov 1 2007.

My plan is to make a 12″ x 9″ image by piecing the background – sky, Bay of Gundy, hills, beach, seaweed – then printing the image on lawn fabric of David on the log (enlarging it about 115%), adding a fusible web, fussy cutting David and the log, and fusing the cutout to the background.

I started yesterday gathering fabric scraps from my many boxes of small fabric pieces. I now have a pile of stuff sitting on my cutting table. I hope to get to it tomorrow.

As you can see, I’ve sketched out the basic elements of the image on a muslin backing fabric. I won’t need large pieces of fabric to fill the area. I’ll start by trimming the scraps to an approximate size, adding fusible web to the back, then start to assemble the panel.

I’m also toying with another idea.

Hawaiian Tiki on Big Island

I took this photo at Puʻuhonua o Hōnaunau National Historical Park a gazillion years ago! I was fascinated by the Tiki on the beach there. So obviously connected to the totem traditions of Canada’s west coast Haida people. I have this photo hanging in my sewing studio. It’s in portrait view. I think these two wooden sculptures would make a great focus for a coastal landscape view with them off-centre on the left. I’m just trying to figure out how to sharpen the image so I can highlight the demarcations with stitching.

Another photo I keep coming back to is the one of Charlie’s first visit to a beach when he was maybe a year and a half.

Charlie at the Beach

I made a wall art piece from this photo in 2017 using appliqué and thread painting but I’ve always wanted to extract him from the photo and do the piece again.

The problem is the photo I have was send in small format from his dad’s iPhone and I can’t enlarge it and get any sort of sharp image! I’ve played with the photo endless times to no avail. I went so far as to call his dad, my nephew, and asked him to try tracking down the original. No luck, probably long gone. I may have to enlist some help from the iPhone Photography School people to see whether anybody can help me out.

For now, it’s David at Huntington Road beach and possibly the Tiki.