Magic Square Quilt IV

I thought this would be a relatively quick quilt top – simple enough to work on at the sewing retreat a week ago. I began with leftover jellyroll strips – sewed them in groups of four – that yielded a width of 8.5″ – I cut those 4-strip panels into 8.5″ squares. That’s what I took with me to the retreat. While there I arranged two blocks right sides together with the stripes in the two blocks at right angles, stitched around the edge, then cut in four along the diagonals – that gave me blocks with a diagonal – two strips of fabric on one half-square triangle, four strips on the other.

Although the four-strip pieces were colour coordinated, what I didn’t bargain for was the lack of colour coherence in my blocks. I tried several random placements but nothing worked.

I came across a layout that nested bordered squares giving me three sides of a block butted agains three sides of another block – but the layout was just a jumble. There was no obvious colour flow at all.

Layout #1

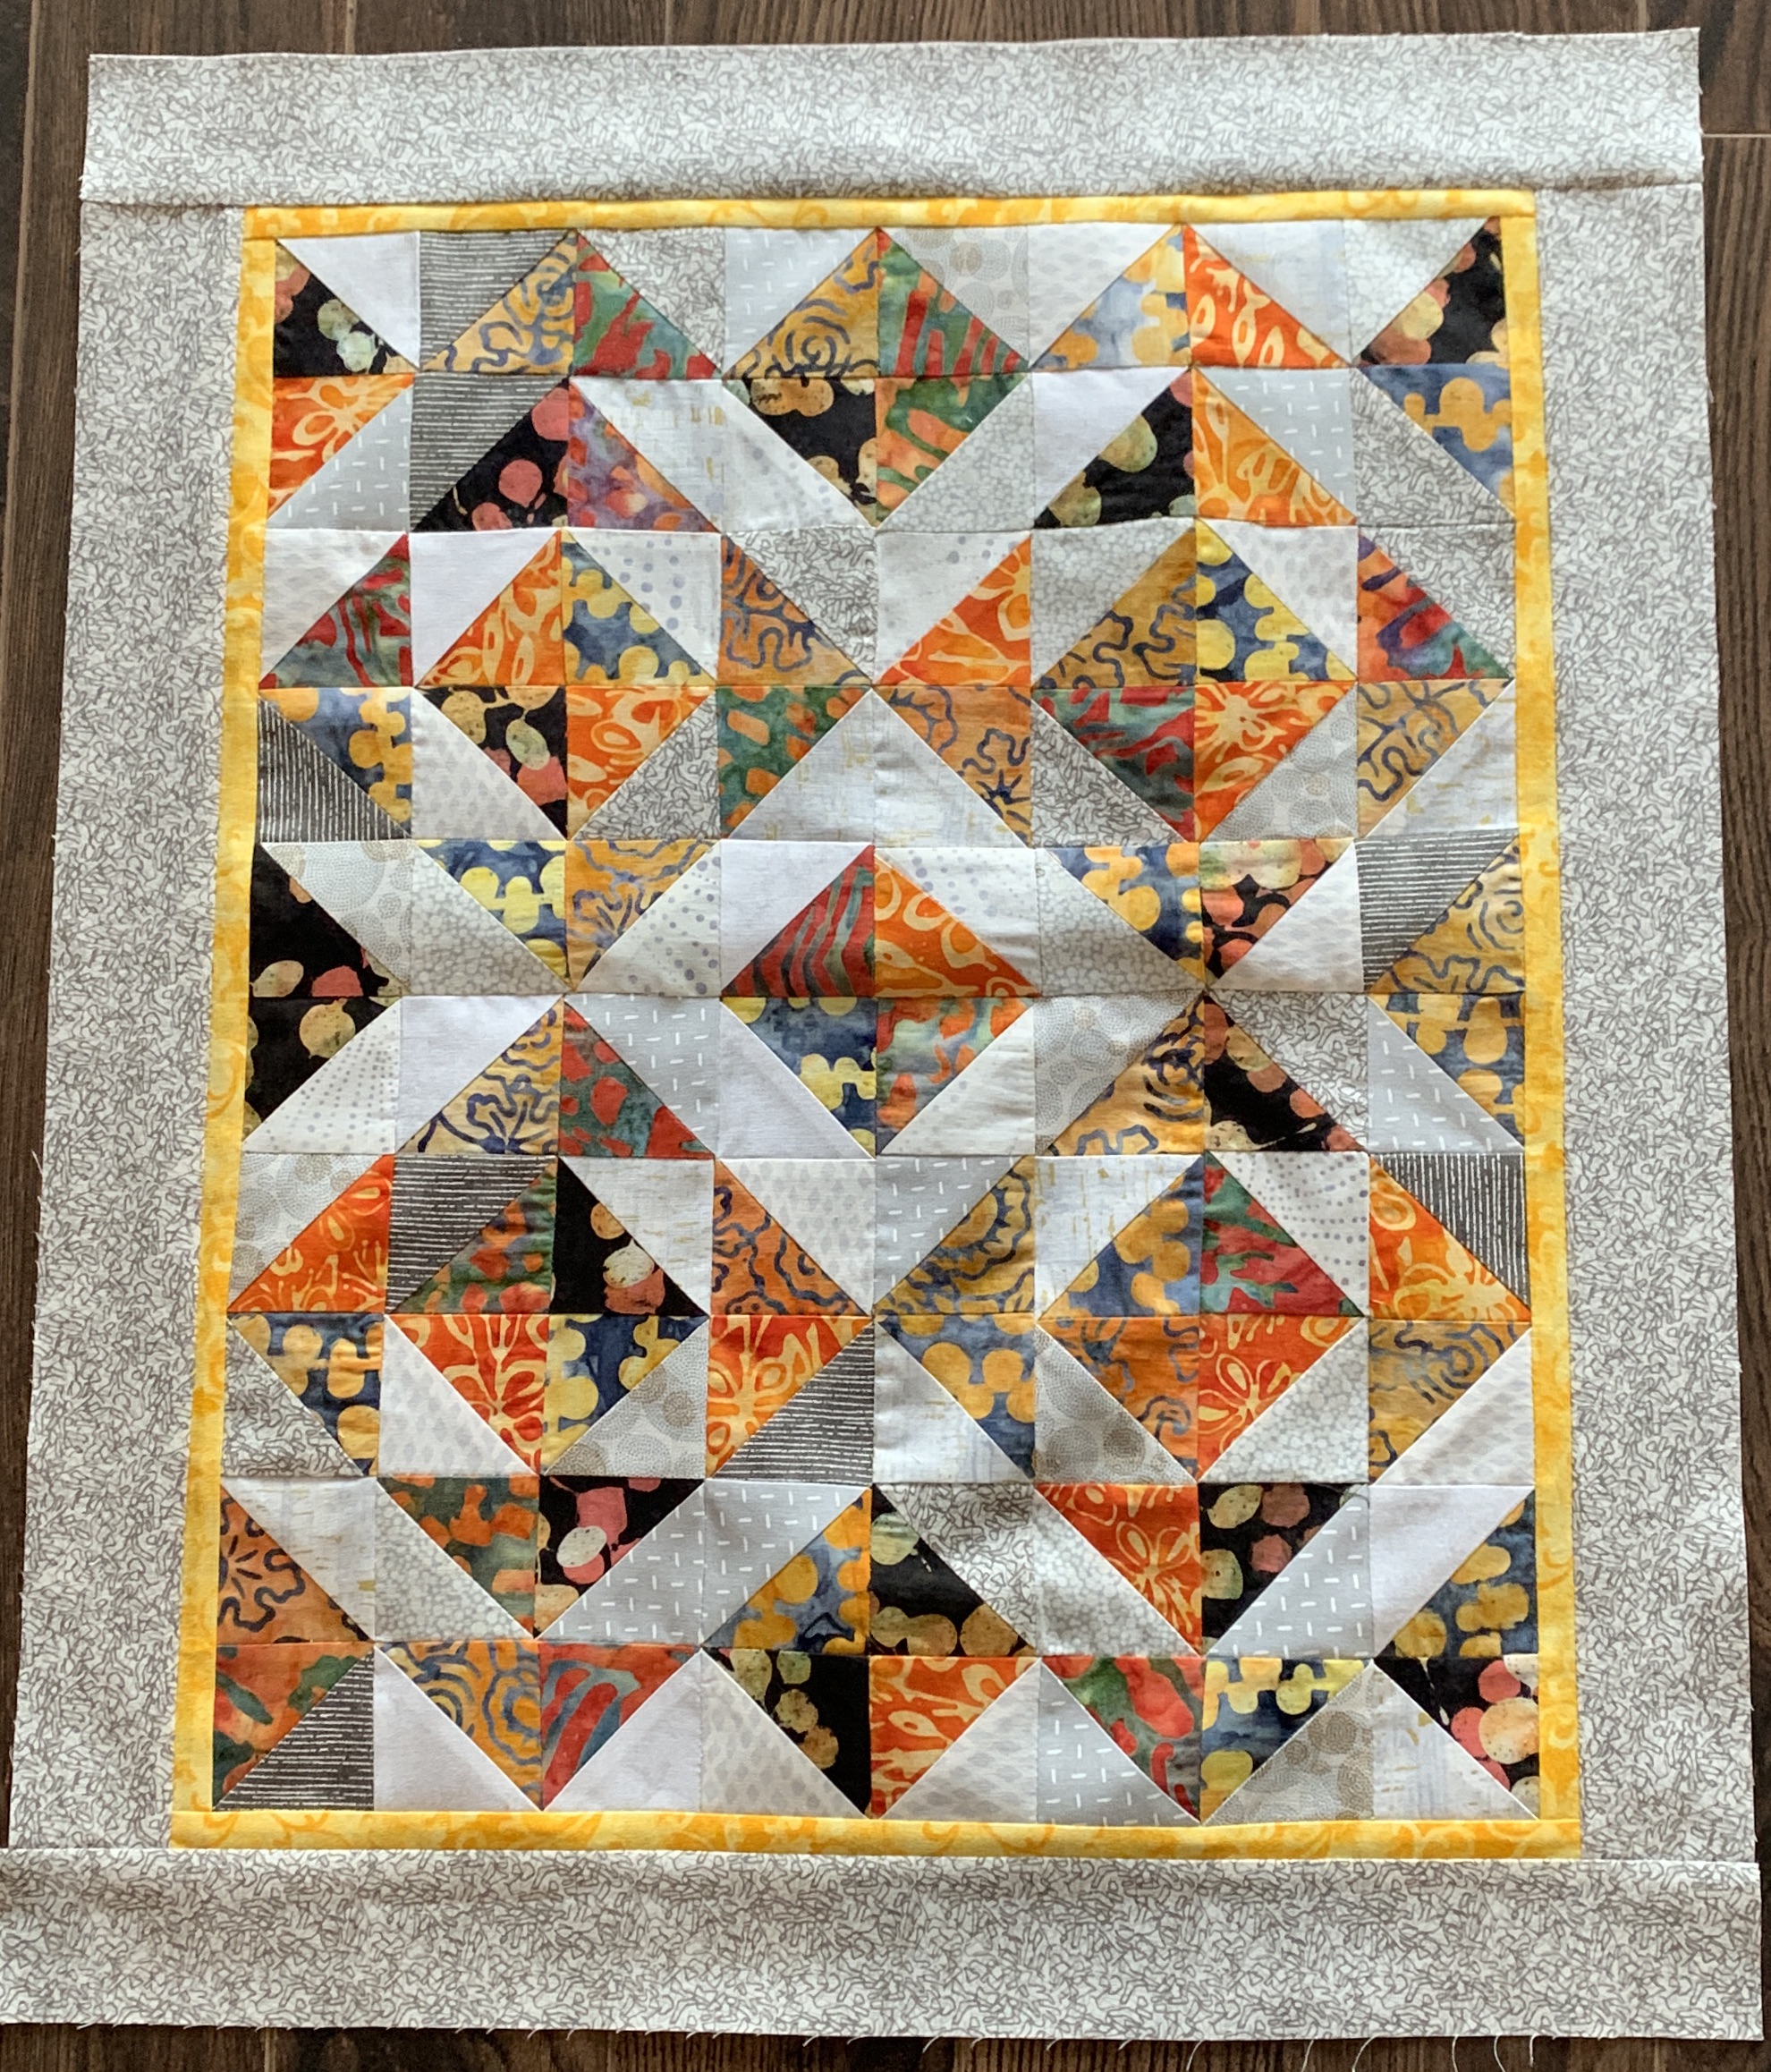
Several attempts later, I decided to group four blocks into larger blocks with an internal square on-point that would stand out. That organized the colour somewhat but overall the top was still a jumble.

Layout #2

This afternoon I stopped at the fabric store to pick up fabric for backing the grey/batik quilt and came across a Northcott Stonehenge fabric: Monogram-Lichen

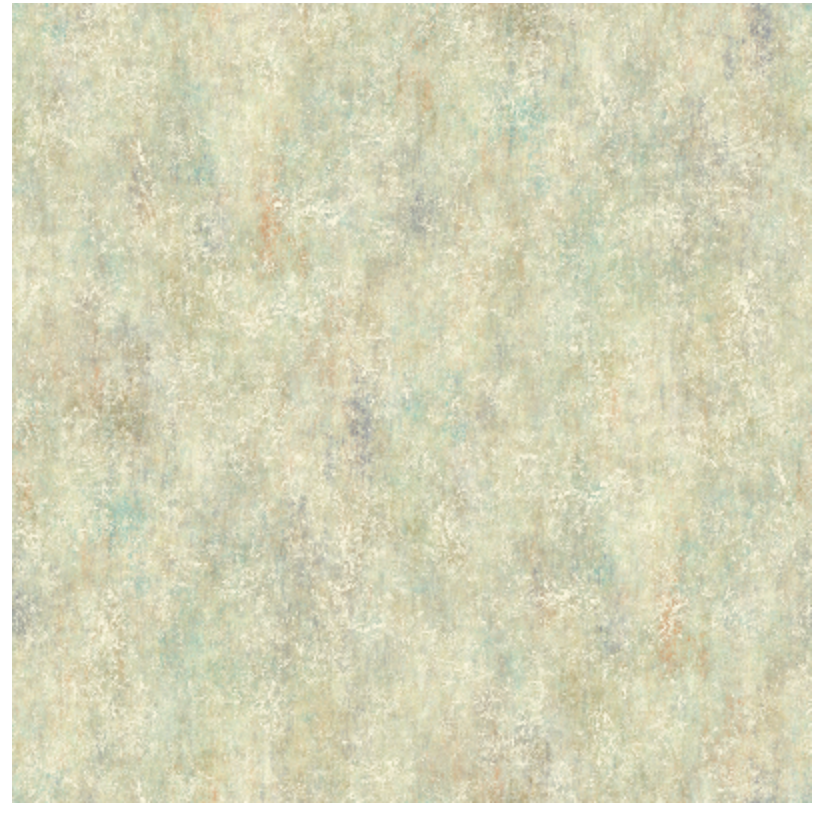
Stonehenge Northcott – Monogram: Lichen Marble 21246 71

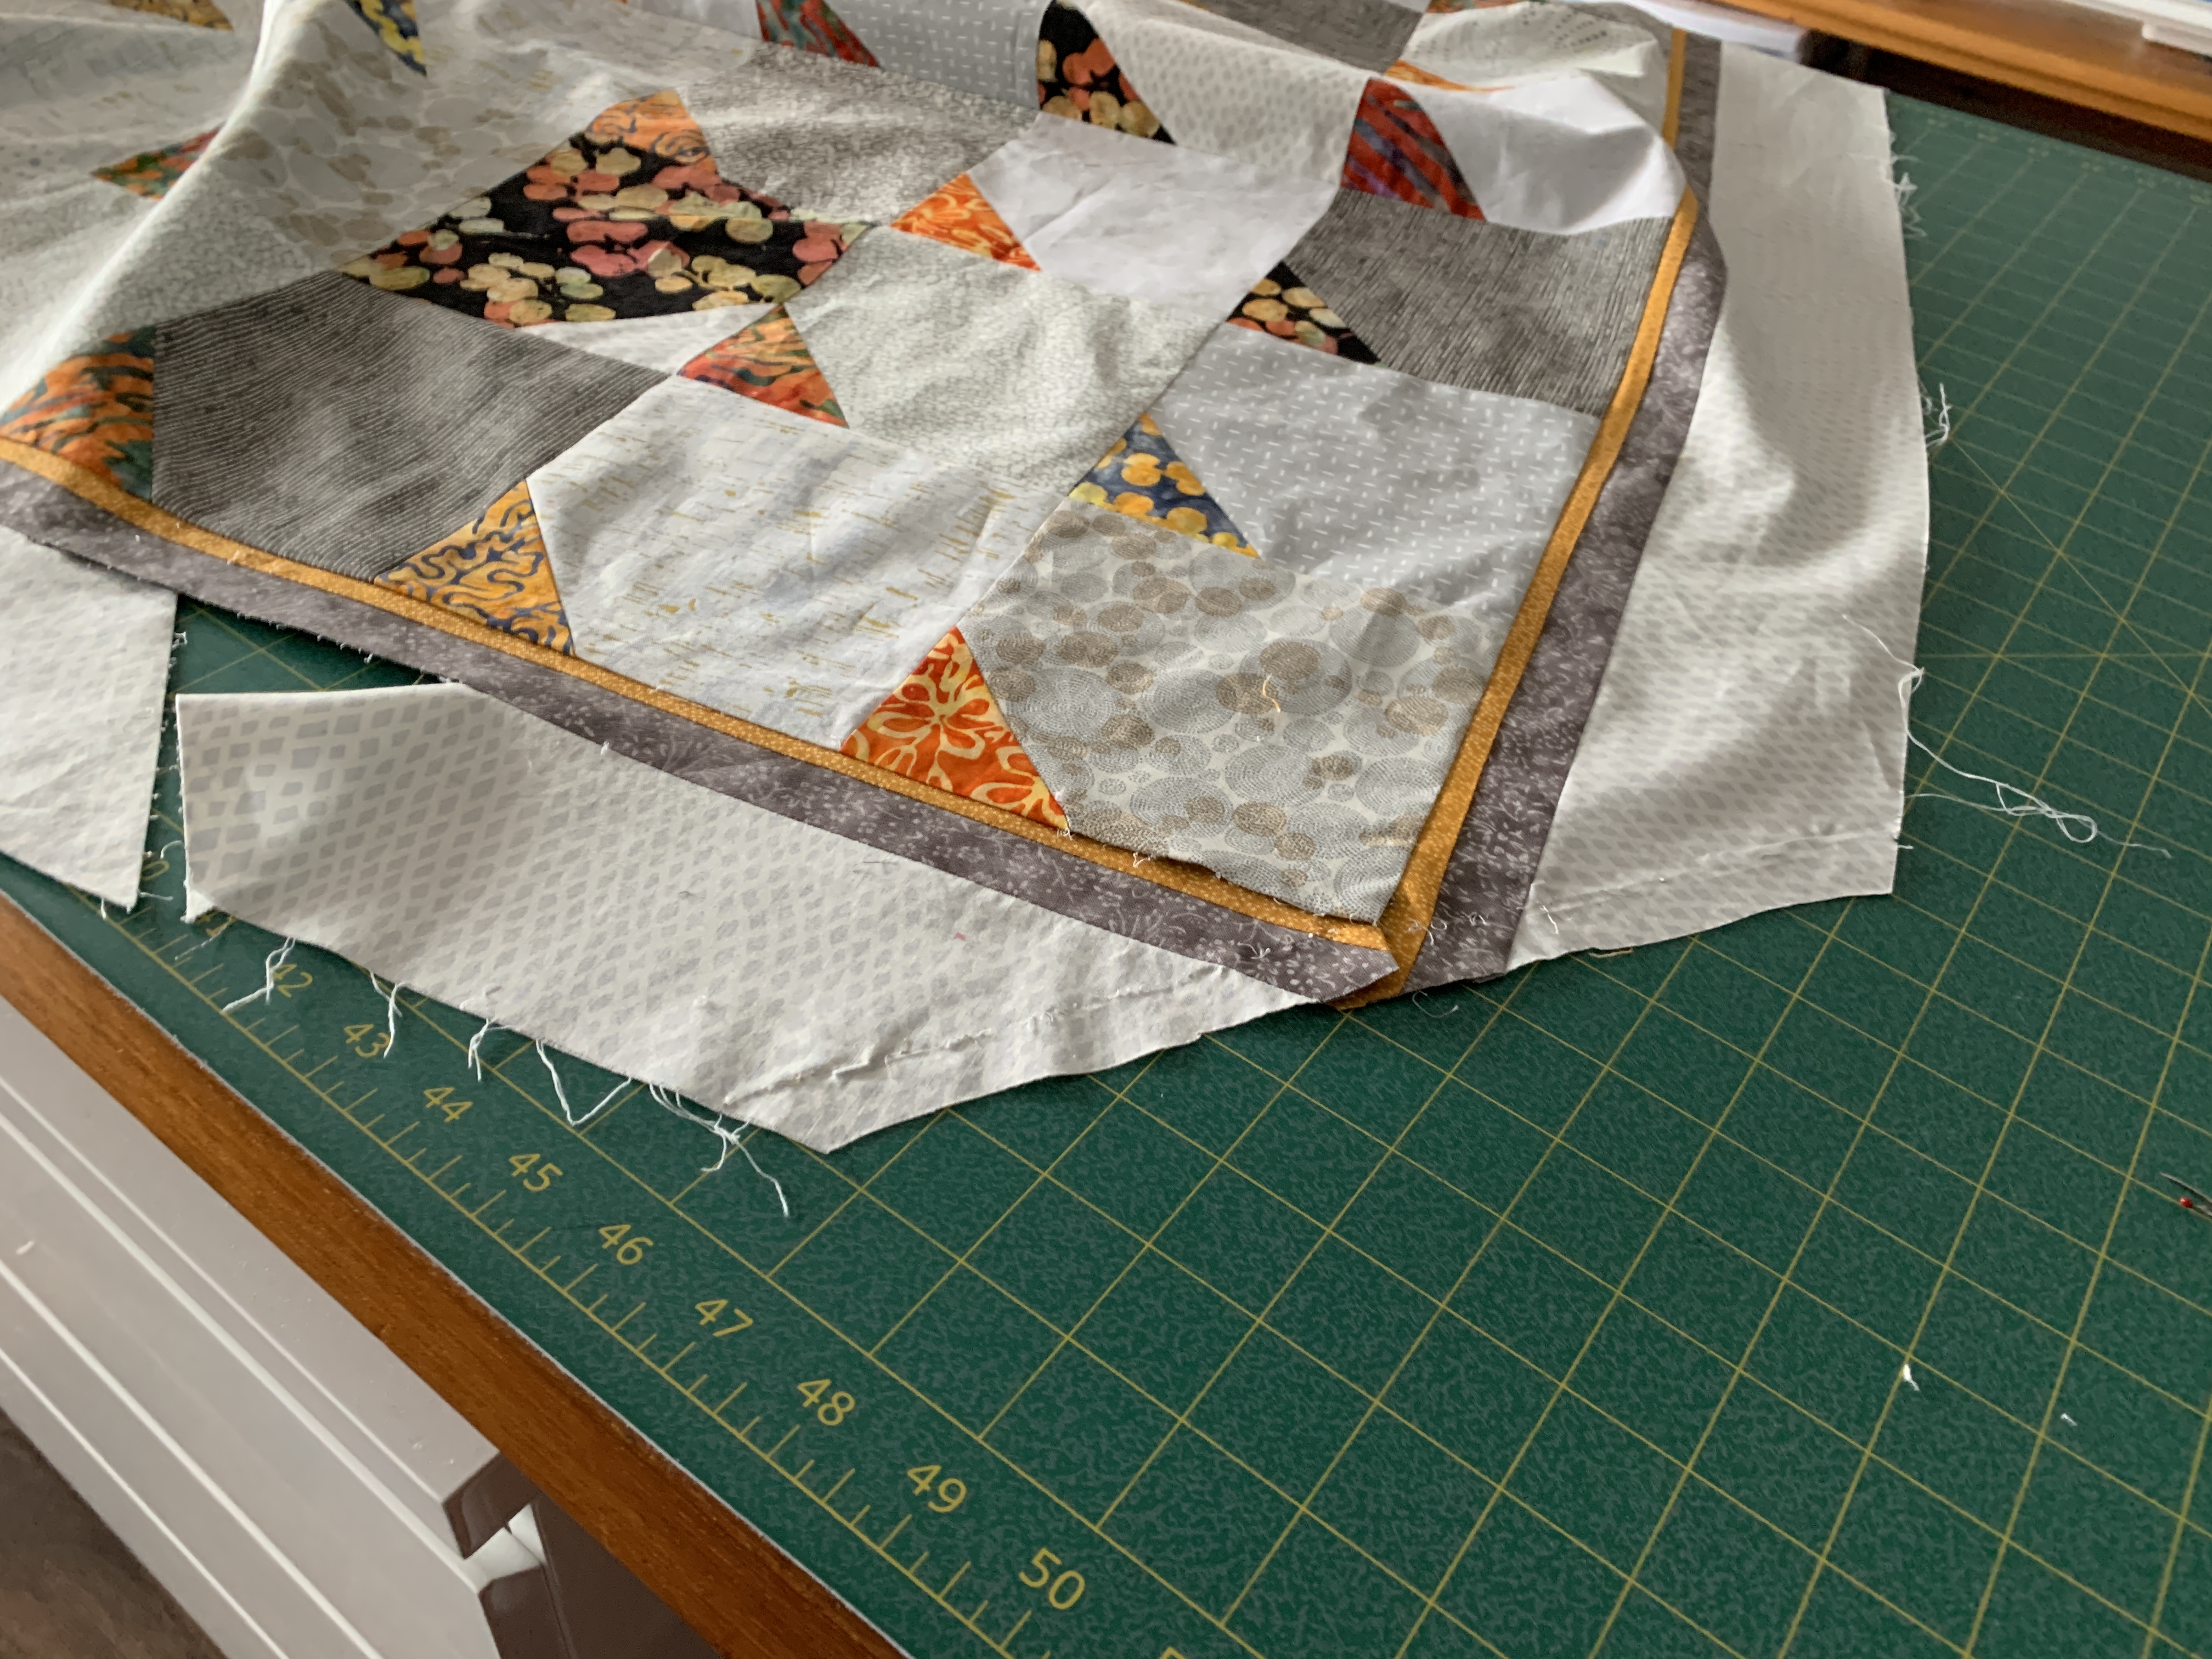
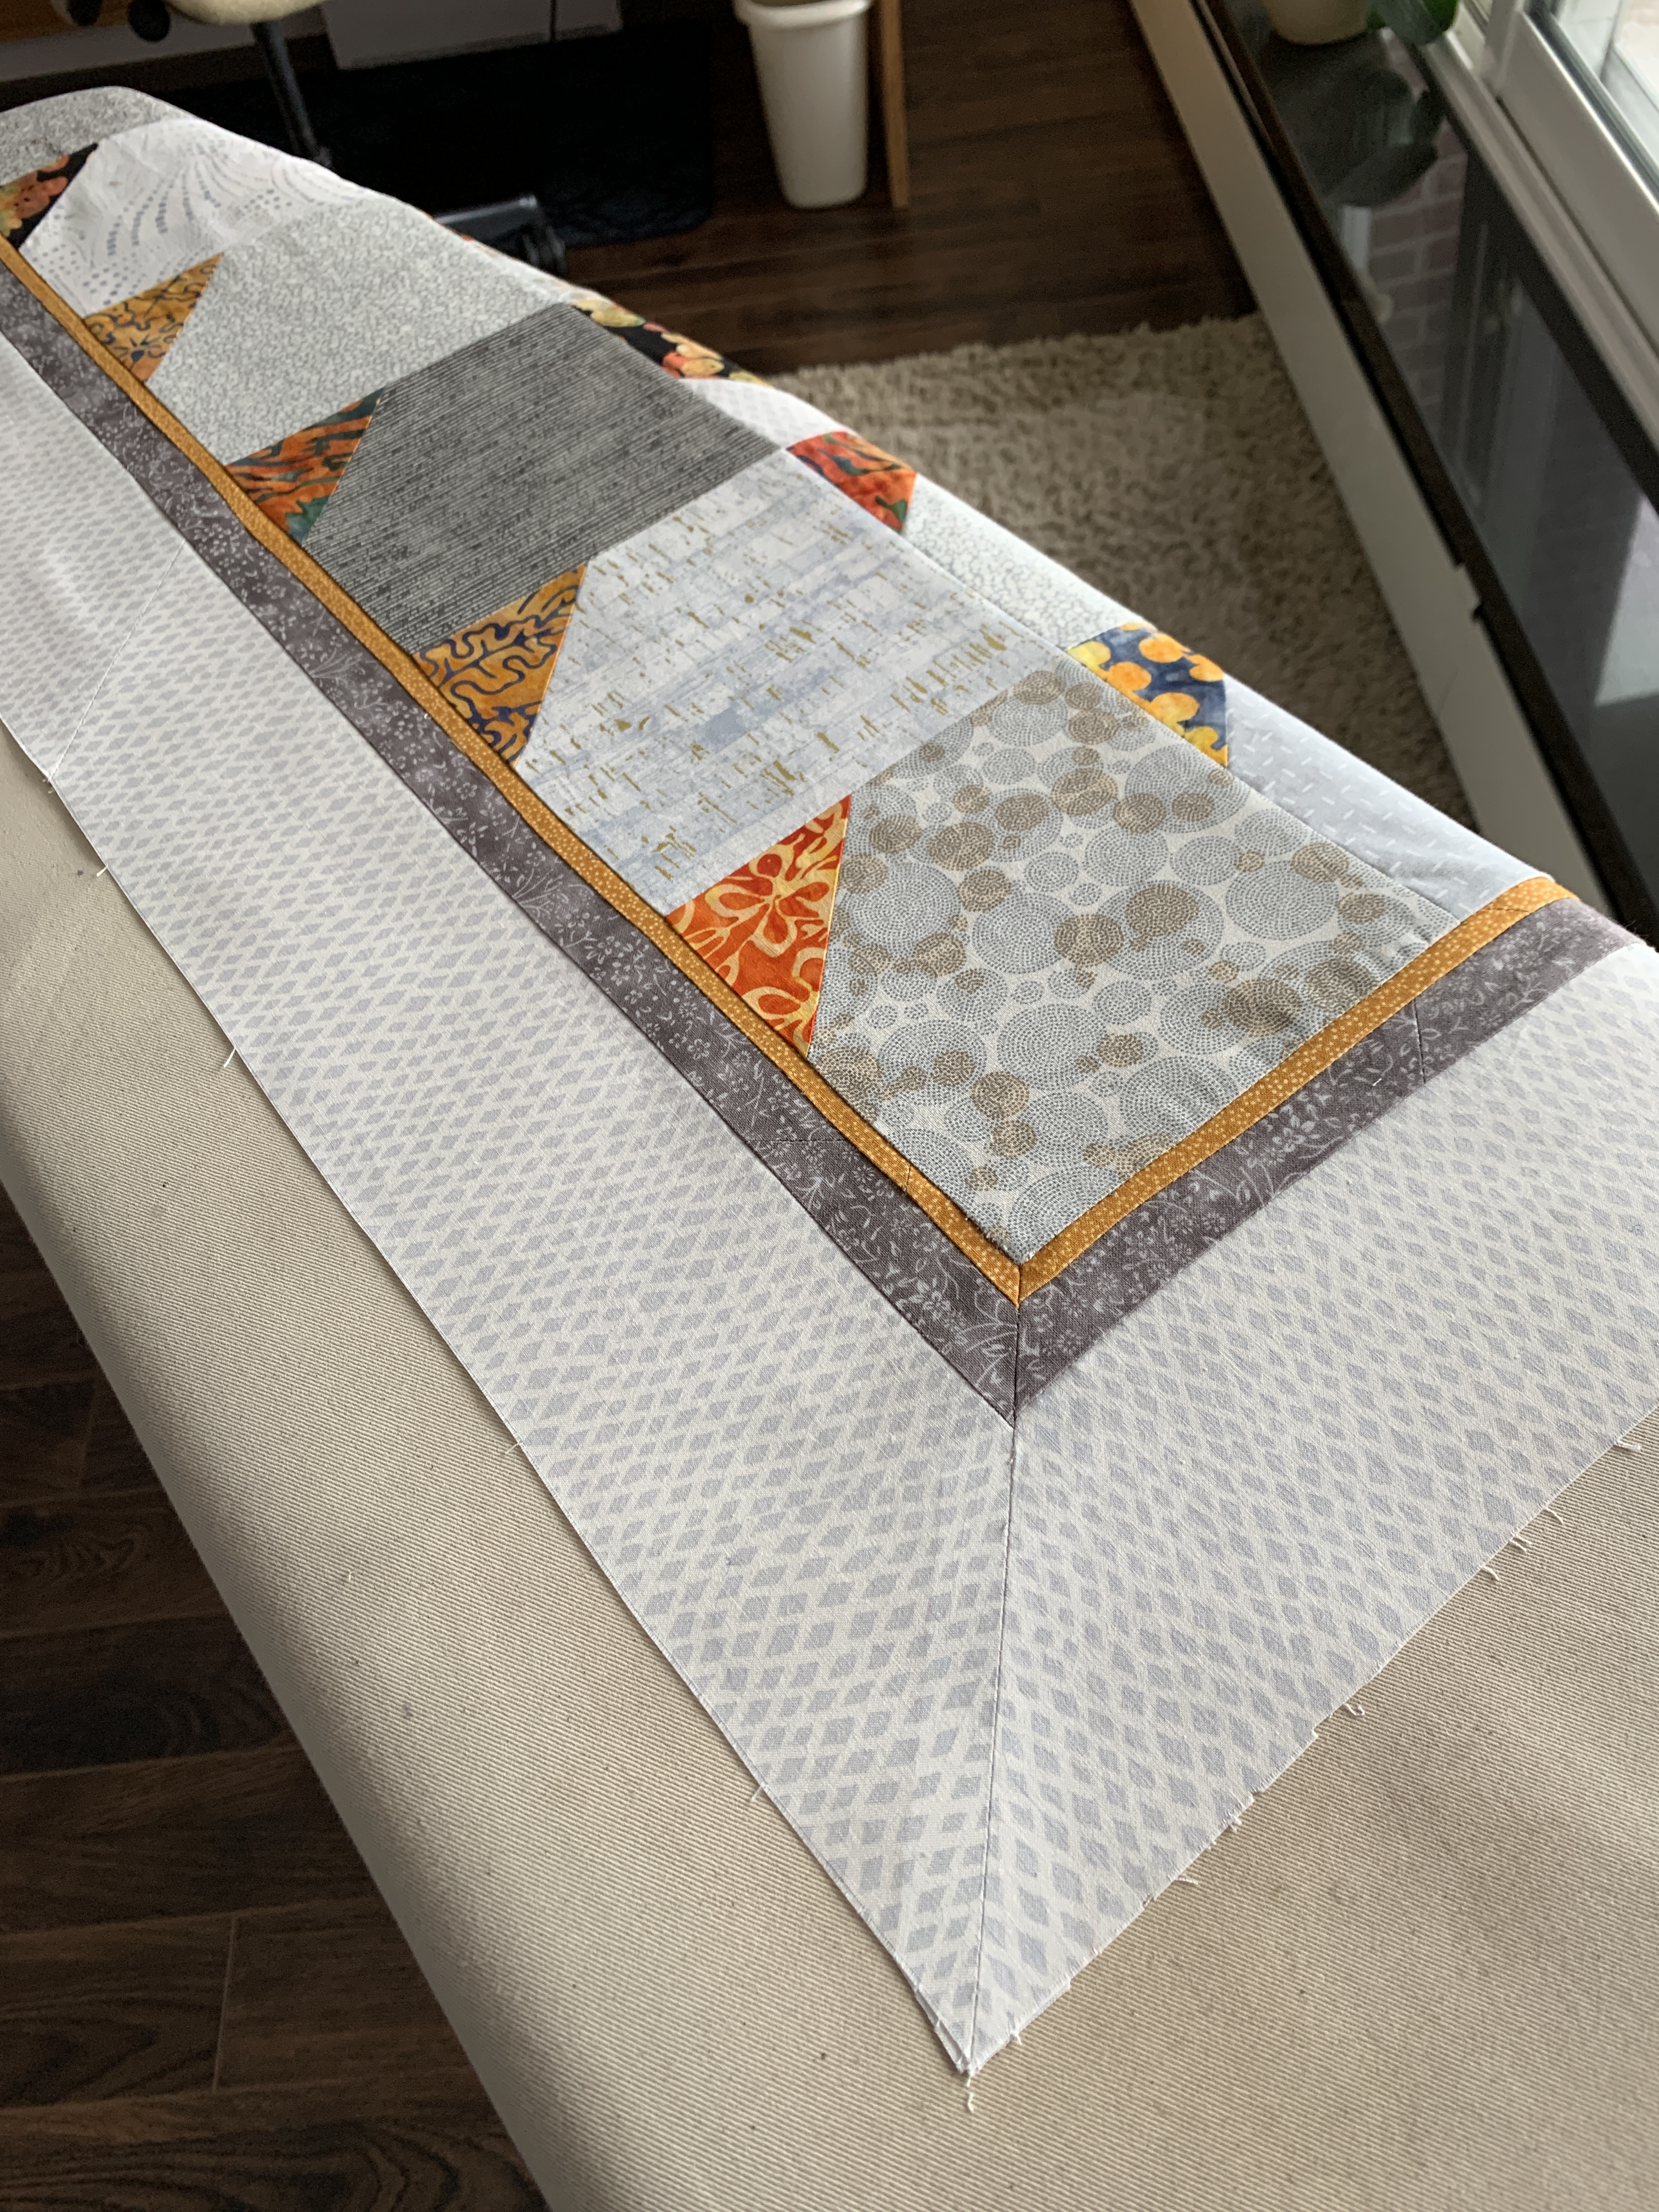
Perfect for creating sashing between the blocks. The sashing will lighten the whole, mute the strips outside the on-point square at the centre of each block, highlighting the central square.

I’ve cut out the sashing pieces – now to sew the whole thing together. Can’t wait to see how it will turn out.

The way I quilt I’m never sure how anything will look until I see it emerging. I may start with a known quilting technique – in this case half-square triangles created from 2.5″ strips sewn four together then cut to form 8.5″ blocks….

In this quilt top I let colour rule itself with unanticipated consequences. However, I think I’ve found a way to tame the assembly. We’ll see once I get the sashing sewn to the blocks and the large top panel put together in another couple of days.

I Can’t Believe I Did That!

Even experienced quilters from time to time make fatal mistakes – I made one two days ago. I’d finished assembling the blocks for the grey/batik quilt top and had found fabric for the borders. I set up the borders by sewing a narrow gold strip (.25″) to a grey strip (.75″)and both to a wider (3.5″) outer pale grey strip. My plan was to mitre the corner, not by doing each strip separately but by doing them in one mitre.

I added my compiled border to the sides – no problem. I added the border to one end, successfully executed the corner on the bottom left side and then began working on the right bottom corner mitre.

Mitred Bottom Left Corner

My mistake wasn’t in sewing the mitre – although I drew the 45° angle line in the wrong direction and stitched it along the line. No that wasn’t my fatal mistake. My fatal mistake was trimming the seam before opening the corner to confirm I had it laying flat!

How stupid was that.

So when I went to press the mitre I discovered it curled over the quilt corner rather than lying flat.

Screwed Up Mitre – Bottom Right

I unstitched the seam and thought about reattaching the cut….

Useless Fix

There was absolutely no way to fix this mess except by going back to the original fabric joins, rebuilding the binding on two sides and creating a new mitre. Which is what I did – the next day!

Fixed Bottom Right Mitre

I correctly executed the remaining two mitres – checking each when I pressed them BEFORE trimming the mitred seam.

Finished Quilt Top

The lesson – check and press, before trimming a mitred corner – I can always take a seam out, press it flat and stitch it in the other direction if I haven’t cut off the excess.

Two Projects – Same Fabrics

I finished the hand work last evening on this project – what started out to be a central motif for a medallion quilt, turned into a wall art piece.

Finished Wall Art Piece

I added the bright, strong narrow outer border and finished with an embroidered signature (on the bottom right side) and hidden bindings. Finished size: 20″ x 24″ – a good size for a wall hanging.

Today, I assembled the blocks for the original lap quilt project – a simple but colourful construction which I began at the sewing retreat. The half-square triangles used in the wall hanging came from the corner offcuts from the quilt blocks so you can tell how small the half-square triangles really are.

My intention is to add a 3″ light grey border using one of the paler fabrics from the panel with no narrow border but I’ll see over the weekend when I get back to this whether that will seem right, or not.

Same fabrics, two very different feels. That’s what I love about working with textiles – I’m never sure how any project will turn out – I start with an idea, a stack of fabrics I think will work together, and see what emerges.

Medallion Quilt – Carrying On

This project is totally unexpected – I thought I was starting a much larger quilt by building a central block on which I was going to improvise further. The responses I got to the panel were interesting, however – suggesting this was a complete piece as it was.

Medallion Quilt

Worth considering. If it was a piece on its own it still felt unfinished to me – I thought it needed another narrowish border. After auditioning quite a few fabrics from my stash I decided this wild, vibrant batik (which I used in the blocks themselves) was precisely what the emerging piece needed.

I mitred the corners because if this is a wall art piece it needs the finesse of mitres and I’ve overcome the butted piecing of the grey border by stitching in the ditch in both directions creating the illusion of squares in the corners.

I’m not finished stitching in the ditch – I stitched the borders and began on the diagonals. I will continue that tomorrow, emphasizing the squares on-point and the triangles.

It’s so interesting how I start in one direction and find I’m actually going in another – totally unexpected, and yet interesting. It’s about colour, it’s about shape, it’s about visual impact.

I’m not going to do a standard quilt binding – definitely a hidden binding since the outer border stands comfortably alone. The challenge will be establishing a seam allowance that successfully fudges the slight shortfall in a few spots and yet manages to catch the border fabric so it won’t pull out and fray and leave enough width to the border for it to look even.

We’ll see where this goes.

Medallion Quilt II – Comment

Just on the phone with a very close friend who thought my medallion panel was striking just as it is – make an effective wall art piece, she thought.

Medallion Quilt – Centre

I certainly wasn’t seeing it that way – in my head I was working on something much larger. Now I have to rethink the whole thing. Maybe just one more border in a darker grey to finish it off?

Decisions, decisions….

Medallion Quilt II

Funny what calls out to you when you sit down to work. The small triangular cut-offs from the Nine Shades Of Grey quilt said “Play with me” – so I did. I began by sewing them together into half-square triangles, then laying them out in blocks, formed rows, and stitched the rows together. I was trying to mix up the colours so they weren’t adjacent (and I was pretty successful doing that). I ended up with an 8 X 10 array with a bordered square on point in the centre. My piecing isn’t perfect but it’s close enough to live with as it is.

Medallion Quilt – Centre

Once I had the small half-square triangles sewn into a panel, I decided to enclose it with a narrow border rather then a wider one. Had I been doing a wall panel, I’d have used the golden fabric as a piping, but I thought for a quilt it probably needed to be a narrow strip of accent fabric. And then the medium mottled grey seemed to settle the whole panel down – it’s strong enough to stand out and yet sets up the yellow which brings out the golden shades in the batiks.

I have no idea where to go next! Medallion quilts are usually square, but for a comfortable throw/lap quilt it wants to be longer than wider so I went for a rectangular panel. I will see if it’s possible to increase the length with perhaps two insert rows in top and bottom edges as I build the quilt borders out.

Time to look at Medallion quilts and see what inspiration I can find for taking this quilt further. I think I want to keep the “Nine Shades Of Grey” idea going in this project which means whatever I do next should use the grey fabrics extensively with perhaps just hints of the bright batiks – who knows….

Nine Shades Of Grey

Here is one of the quilt tops I worked on during the weekend. I stitched and trimmed 95 blocks – this layout uses 88 (8 x 11 will stitch up to 44″ x 60.5″ with a 3″ border I will end up at 50″ x 66.5″ – a good lap size quilt).

Nine Shades Of Grey

The point of the quilt top was to assemble something fairly simple that I could do in that sewing retreat setting without having to focus carefully on what I was doing. I had five bright batik fabrics to allocate to ten blocks each of the nine grey fabrics – I thought that would give me plenty of latitude. Was I wrong.

Distributing the grey tones wasn’t so difficult but the batik triangles in the corners? Very difficult to get them to work out – still not completely happy with how some of the adjacent triangles are from the same fabric! I’m leaving the blocks on the floor for now so I can walk past it and think about how to exchange some of them.

Then I decided I would insert a single block of each batik fabric with a different grey corner – the question became where to put them and how to align them. I’ve decided the array looks best with the grey corners facing in the opposite direction to the bright corners.

That’s it for today. I see what I think in the daylight tomorrow.

Sewing Retreat

This weekend I’m at scenic White Point Resort two hours from home sewing with 27 other women all busy at work.

White Point Beach

Yesterday was a stormy day with lots of surf. Today just a calm ripple. Too cold to be sitting watching incoming waves.

Busy At Work

Can you imagine – we’ve just lost power! Disaster! Sewing machines dead, iron cooling. Thank goodness it’s a bright sunny day (if cold) so there’s lots of light to keep cutting and placing and pinning, all important prep work.

Zippered Bags For Christmas Gifts

I managed to complete 30 zippered bags for Christmas gifts yesterday. I’d had them all cut out – outer fabric, batting, lining, zipper tape, grosgrain tape for the tabs – all I needed was to assemble the bags. Done before supper time.

I’d prepped two quilts before coming – I started working on them last evening. When power returns, I’ll carry on. Blocks for one are constructed and ready to be sewn together. I’m more or less half way through the blocks for the second quilt.

I leave around noon tomorrow. I will have accomplished quite a bit.

Skinny Quilts/Banners II, III, IV – Completed

The remaining skinny quilts/banners are finished. I hand stitched the hidden bindings on the back of each hanging and added a sleeve for hanging it.

I’m happy with the combination of background fabrics and the appliqués – a close look shows I managed the edge stitching precisely. I like the quiet background and strong appliqué colours in this panel.

Skinny Quilt II

I wasn’t sure how I felt about the bright colours in this second banner but now that it’s completed I like the profusion of “dots” in the appliqué fabrics, echoed by the two small circles to fill in the space on the right. In the right location this could be an interesting accent piece.

Skinny Quilt III

I’m less happy with this banner – now that it’s finished I can see my idea to increase the spacing while decreasing the circle size didn’t work so well and I didn’t see, until now, that I have an inbuilt curve to the left! I think I chalk this one up to experiment and construct another to take its place.

Skinny Quilt IV

That’s what’s so interesting about improvising – I’m always amazed by how most of the time my experiments turn out well. It’s not that this one didn’t have potential – it’s just that I didn’t see the “flaws” until it was actually finished and hung on the door. It’s a lesson that I need to be a tad more detached and analytical when looking at these pieces at a distance.

Skinny Quilt I – Finished

Skinny Quilt I – Finished

I finished the hand stitching on this skinny quilt/banner last evening. It’s surprising how long it takes to finish the hand sewing in part because the muslin I’ve used to back the panel has a rather dense thread count and it’s difficult to penetrate even with a new hand sewing needle. Needs a thimble or I end up with a hold in both my third finger and my thumb! It’s awkward sewing, is what I’m saying.

I have a second panel ready to hand stitch and two more will get the hidden bindings sewn on this morning and then be ready to hand stitch. I’ll be glad when that part of the process is completed.