Fall’s On The Way…

Yesterday I could feel it in the air. “The closing down of summer…” as Alastair MacLeod describes it in his wonderful short story of that name – the first in his collection “As Birds Bring Forth The Sun.” Yesterday there was a hint of the chill to come, although the temperature was in the 20s; a smell unmistakable and yet indescribable. It was there.

Today I look around and see harbingers everywhere:
The hosta flowers have been finished for more than a week – I’ve been meaning to cut the stalks off for a month, the pruners have been sitting on the bench in my front hall waiting for me to get to the task – just haven’t done it yet.

The bees are busy harvesting pollen from the echineacea – more bees than I’ve seen all summer long – they know the season has begun changing.

I haven’t spotted any blue chicory along the roadside but there’s lots of goldenrod around. It all reminds me of a seventh-grade science project – the seed chart – a sheet of bristolboard filled with samples of local wildflower seeds in small bags and carefully labelled – that’s why I recognize our fall wildflowers and remember their names.

For the next six weeks or so Nova Scotia’s weather will be our best of the year – warm, often sunny days with comfortable, cool evenings. Nobody travels far in September/October – we don’t want to miss a moment of it! For soon the cold and snow and short days will be upon us… And we’ll be yearning for our wonderful early fall weather which seems oh so brief.

Jean Jacket III

Last week I began teaching a class at Sew With Vision on the Jean Jacket (V1036 – Sandra Betzina, Today’s Fit).

In our first class we spent time tracing the pattern pieces [HINT: rough cut each complete piece in all sizes, with a highlighter mark the size corresponding to your largest measurement, tape the rough cut piece to your cutting surface, place tracing paper (I find the paper used in the doctor’s office for examining tables excellent – crisp and sturdy) over pattern and tape corners (to prevent paper moving while you’re tracing), then trace the size you’ve marked, including all markings. In another highlighter colour, trace those areas of the pattern which correspond to your smaller measurements. With a pencil use a French curve to link the different sizes as smoothly as you can]. Then cut out the traced pattern pieces (return the original pieces to the envelope uncut!).

Next we joined the traced paper pieces together – pinning on seam allowances – and checked the fit. We made adjustments wherever they were needed (shoulder, princess seams, side seams). We marked the pinned adjustments on the paper pieces, and retraced the pattern pieces if the adjustments were substantial.

We spent the afternoon practicing sewing technique – sewing curves (I’d precut the lower sleeve elements of the jacket which has sharply rounded curves to sew), edge stitching (using a narrow-edge foot), and top stitching – in preparation for constructing the jacket itself. (The photo below shows a finished sleeve bottom and collar for my jean jacket.)

IMG_5568

Homework for the second class: cut out fronts, backs, collar, front pocket, front facing, front side lining, back lining, back side lining, and back yoke. My instructions were to leave the sleeves uncut until we had a chance to fit the jacket body. If we need to make substantial adjustments to the shoulders the sleeve pattern will need to be modified…

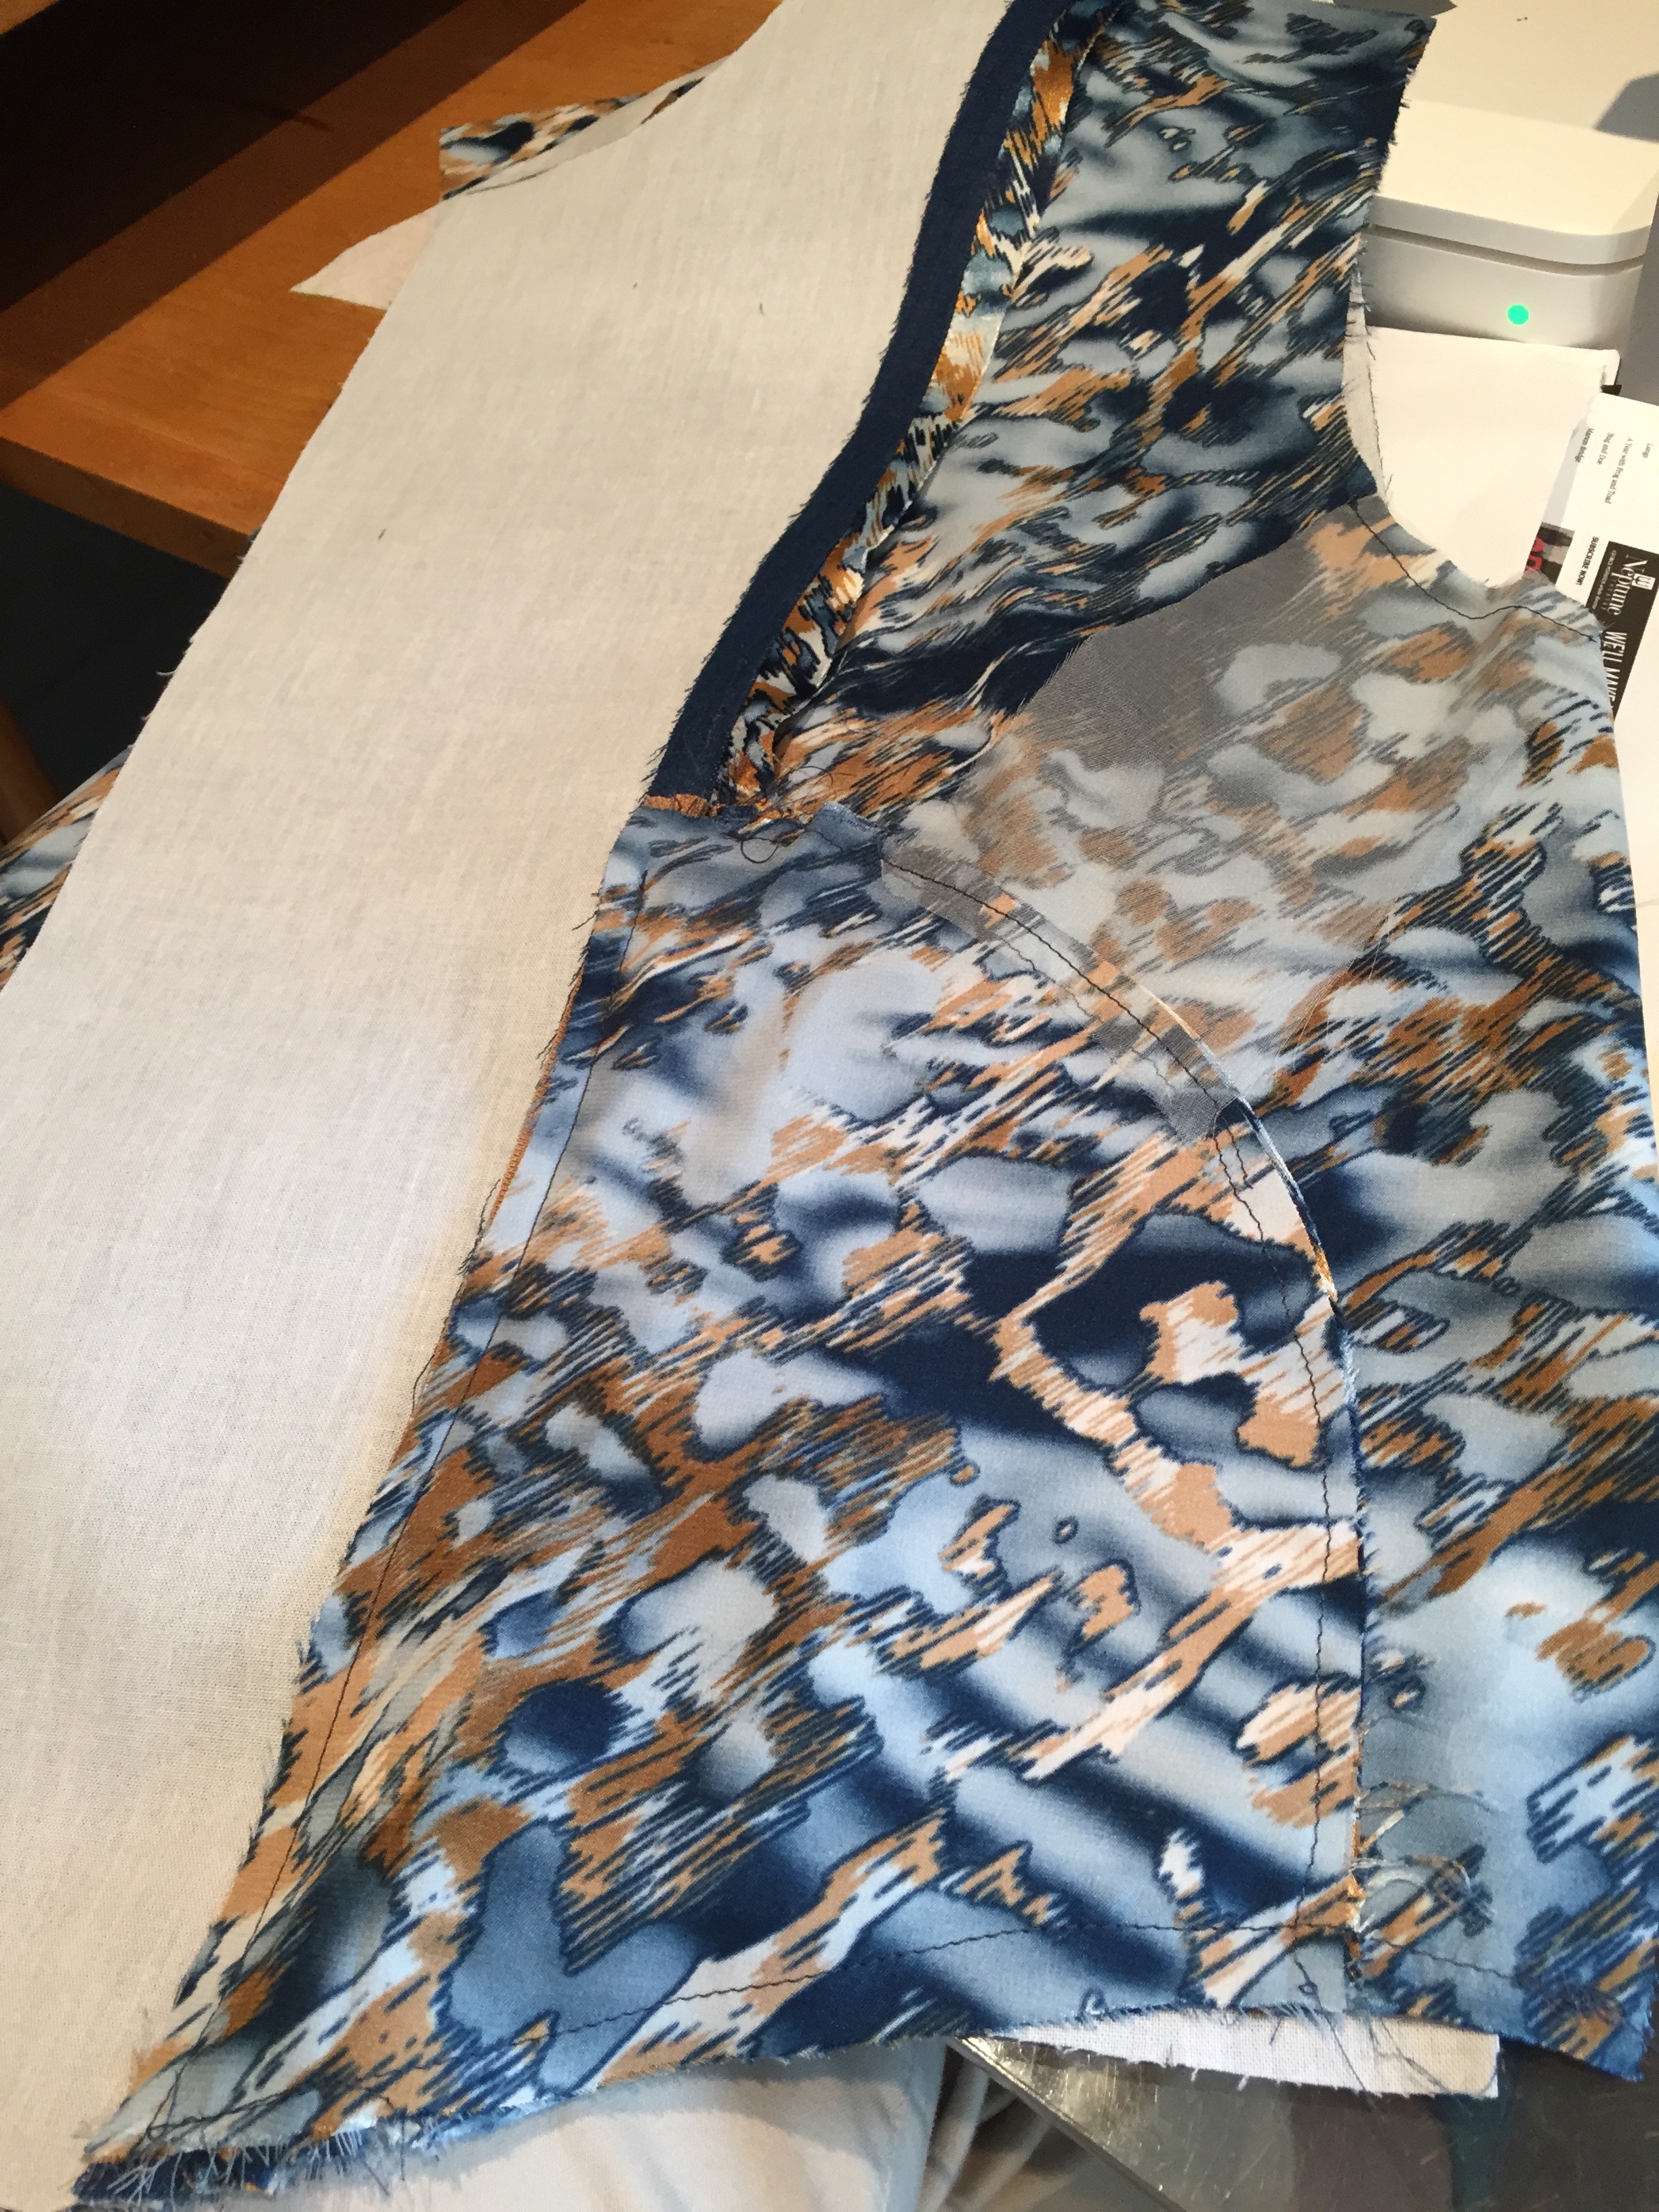
Sew the fronts, the backs (without edge/top stitching so that size adjustments can be made easily). Because I know my jacket fits (having already made two), I did the edge and top stitching as I went along.

IMG_5564

IMG_5566

Then I made shoulder pads using a technique I found in The Reader’s Digest Complete Guide to Sewing, 1979, pp: 376-377.

IMG_5567

Because the two outside front pockets are decorative (not useful) I want the gals to learn how to construct a hidden zippered front pocket which gets inserted between the front facing/front side lining panels. I did one side, and set up the second. I prepared instructions for the gals to follow since this pocket is not included in the original pattern.

IMG_5558

I also shared a great article from Threads MagazineArmani Jackets: The Inside Story which shows in detail the internal construction of an Armani jacket.  (Click here for the original link to the article online.)

Here are some useful links for sewing techniques used in constructing this jacket:

Sewing Curves

http://www.shecanquilt.ca/2011/12/sewing-curves-is-not-hard-seriously.html

http://www.craftsy.com/blog/2015/02/sewing-curved-seams/

Top Stitching

****     http://www.taunton.com/threads/pages/t00023.asp

http://www.threadsmagazine.com/item/26461/tips-for-better-topstitching/page/all

https://yesilikethat.wordpress.com/2013/10/24/twenty-top-tips-for-topstitching/

http://www.craftsy.com/article/decorative-topstitching

Richard The Thread (this is the only source I could find for ice wool/woven lambswool for sleeve headers – by far the best material for this job – expensive, but it shapes wonderfully well and a yard will last 30 years!)

I’ll share more as we continue building our jean jackets over the next three weeks.

Hibiscus

Last year I was lucky if I got one new bloom a day – this hibiscus has been prolific! I’m getting 3-5 flowers every day. This plant could use a good home for the winter – I can’t bring it in because I don’t want to introduce outdoor insects to my indoor plants!

Backyard Visitors

Bees and other pollinating insects are back again this year. I haven’t seen a lot of bees this summer, but as I was standing, watching, I saw three visiting this one echinacea flower at the same time. Looks like it’s a favorite of a lot of different insects!

Socks #350+

I’ve run out of titles for new pairs of socks. Finished this pair yesterday.

These have gone into the growing pile of finished socks – likely Christmas presents!

The pair I started last evening using leftovers may, however, end up in my sock drawer.

My current goal is to use up the variegated leftovers in my yarn basket (the leftover solids are always useful to have around, lots of those small balls will get used up in the next grouping of socks). I am planning not to buy more sock yarn until that basket of variegated leftovers is empty!

New Knitting Bag

I’m going to Peru in October on a “textile” trip – to visit with weavers, tapestry makers, embroiderers… artisans who create a wide range of textile related art works.

My contact person – Sasha – lives in Victoria. She’s not going on the trip to Peru this fall and she asked me as a fellow Canadian if I would return some embroidered “necklaces” to the women who created them. Of course I agreed to do that. So she sent me the pieces she wants returned.

 bag2

I opened the box when it arrived just to see what I was bringing with me. While I would never wear something like this, I was taken by the very fine embroidery and crochet and wanted to do something with one of the pieces. The stitching in the embroidery is splendid and the tension in the crochet is perfect!

Too big and bulky for a t-Shirt, same for the back of a jacket. I don’t sew or collect pillows. So I decided to make a new knitting bag incorporating one of these necklaces into the design.

Yesterday I bought a small amount of black fabric (along with some black broadcloth for the lining) and this morning I whipped up the bag:

bag1

I’m not sure how the artisan who made the piece will feel about what I’ve done with her work – but my knitting bag is something I use just about every day and I will stop to enjoy it each time I take my knitting out and put it in!

Magic Squares Quilt

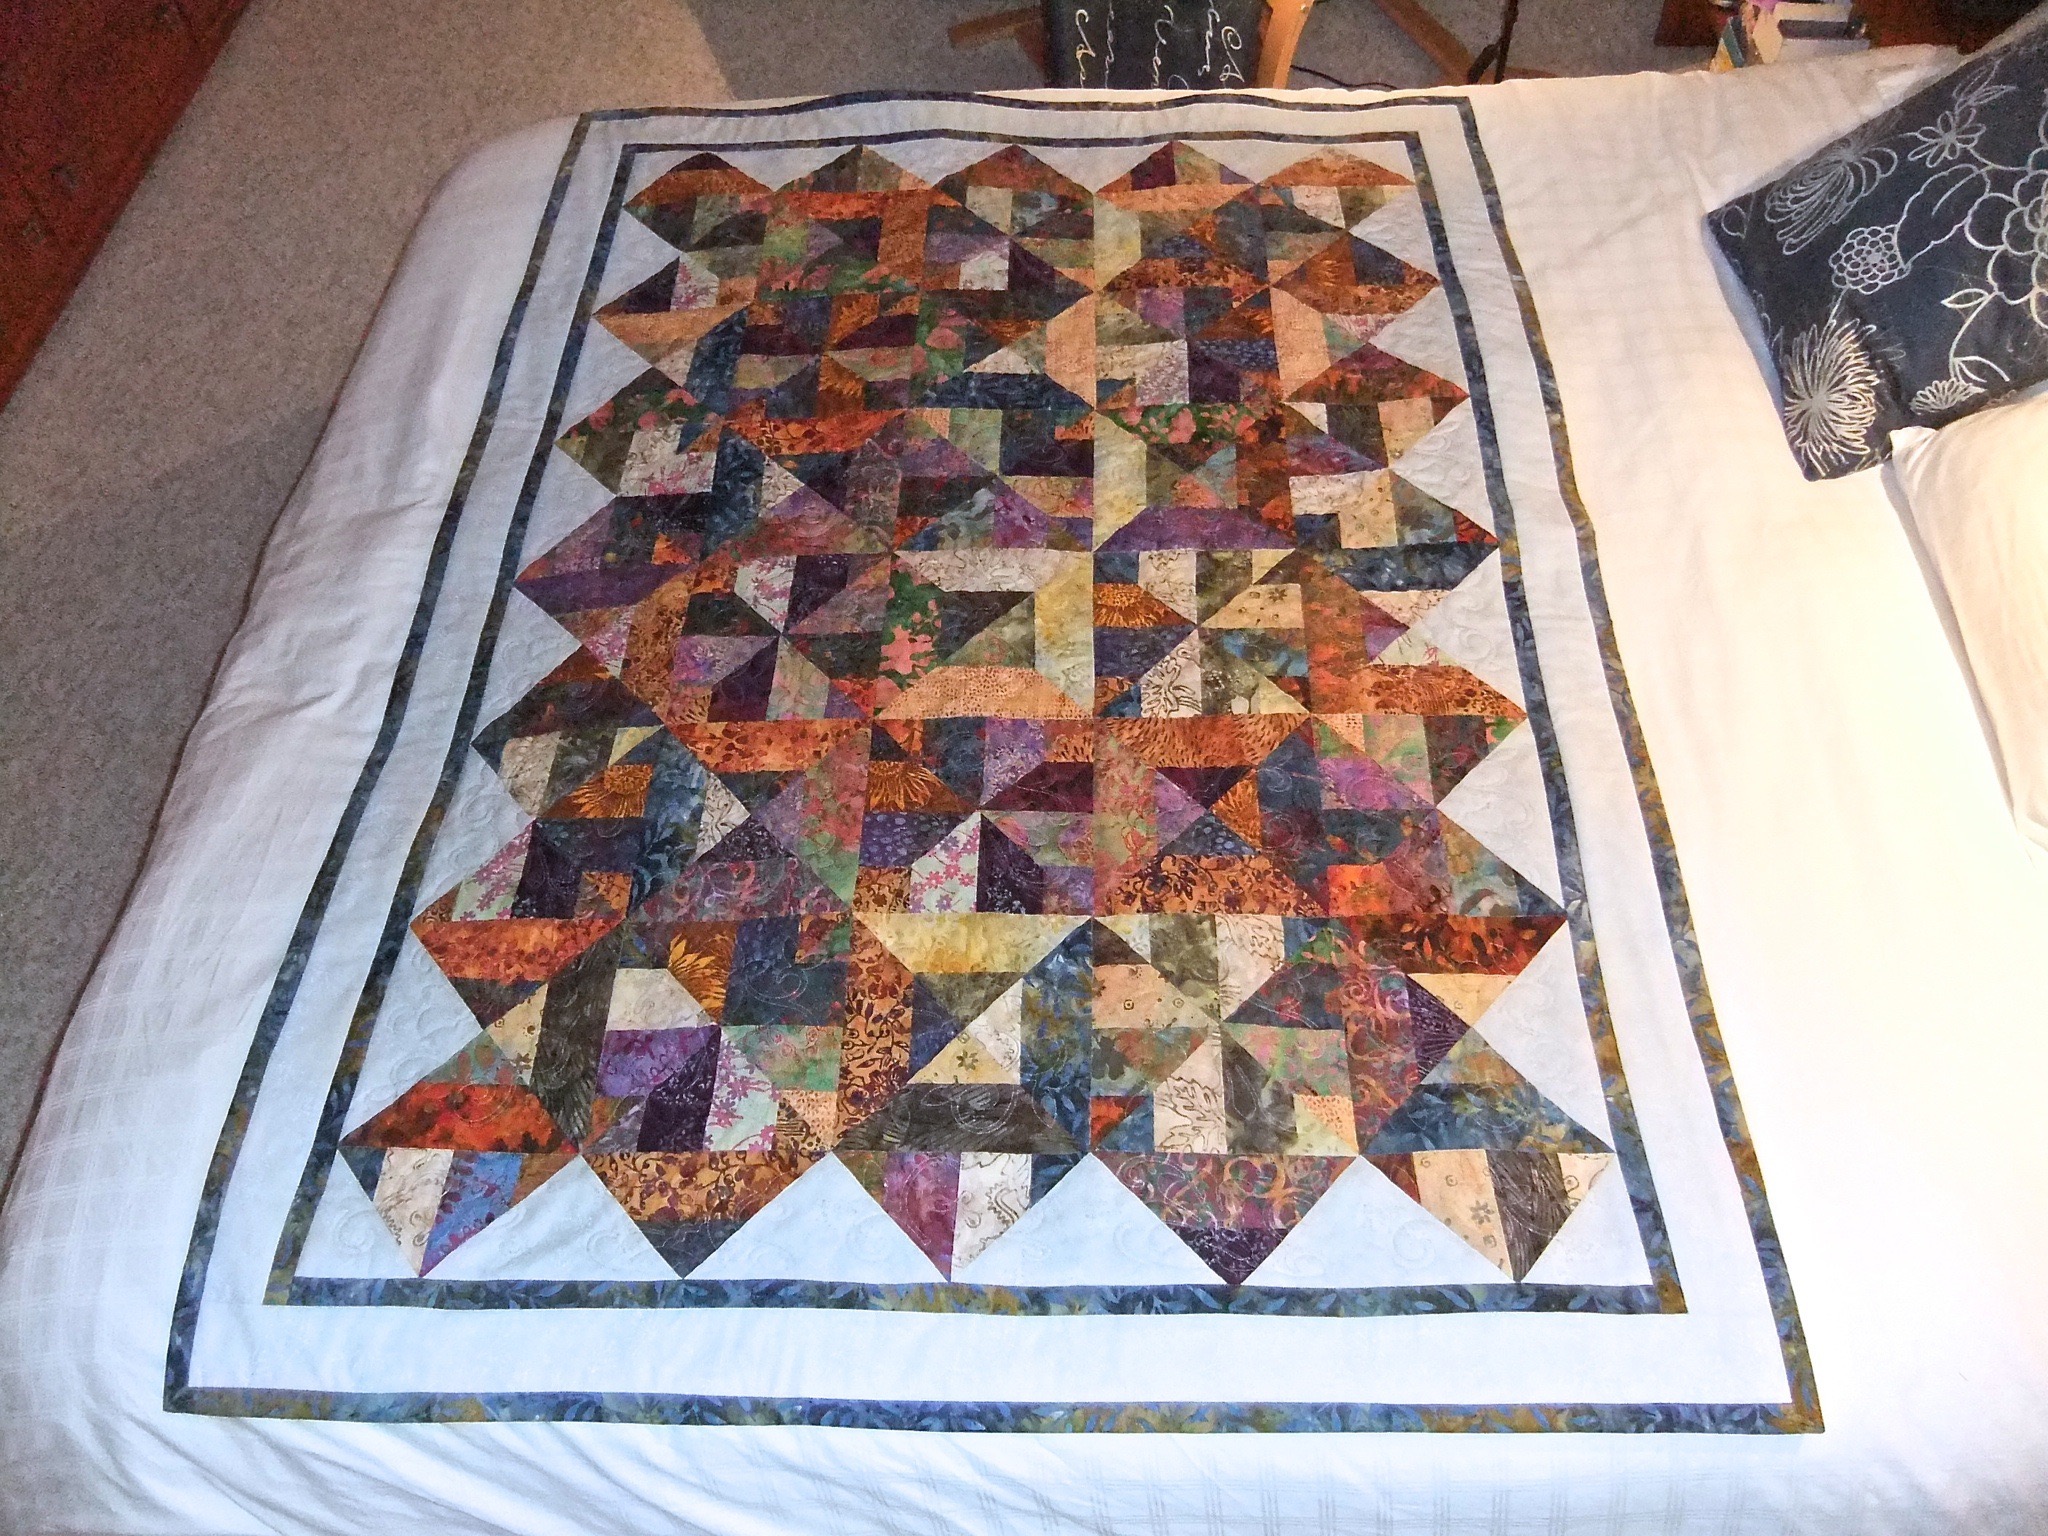
Having just finished the half square triangles quilt I wanted to link to the “magic squares” quilts – I did three of them but it seems I only wrote about one of them. So I thought it would be interesting to juxtapose all three of those quilts.

Here’s the first:

magic squares 1 front

This quilt was made from leftover jellyroll strips (I had a collection in shades of blue/turquoise and rust/gold/beige)- sewed 4 strips together not paying much attention to the colours I was picking up as I went along, cut the panels into 8 1/2″ blocks, put two blocks right sides together (strips at right angles), sewed around the outside, cut along the two diagonals – resulting blocks were 4 1/2″. I arranged them on the diagonal being careful to alternate the orientation of the blocks to get both pinwheels and squares. Added background triangles to square off the edges and two borders – a narrow one and a wider one.

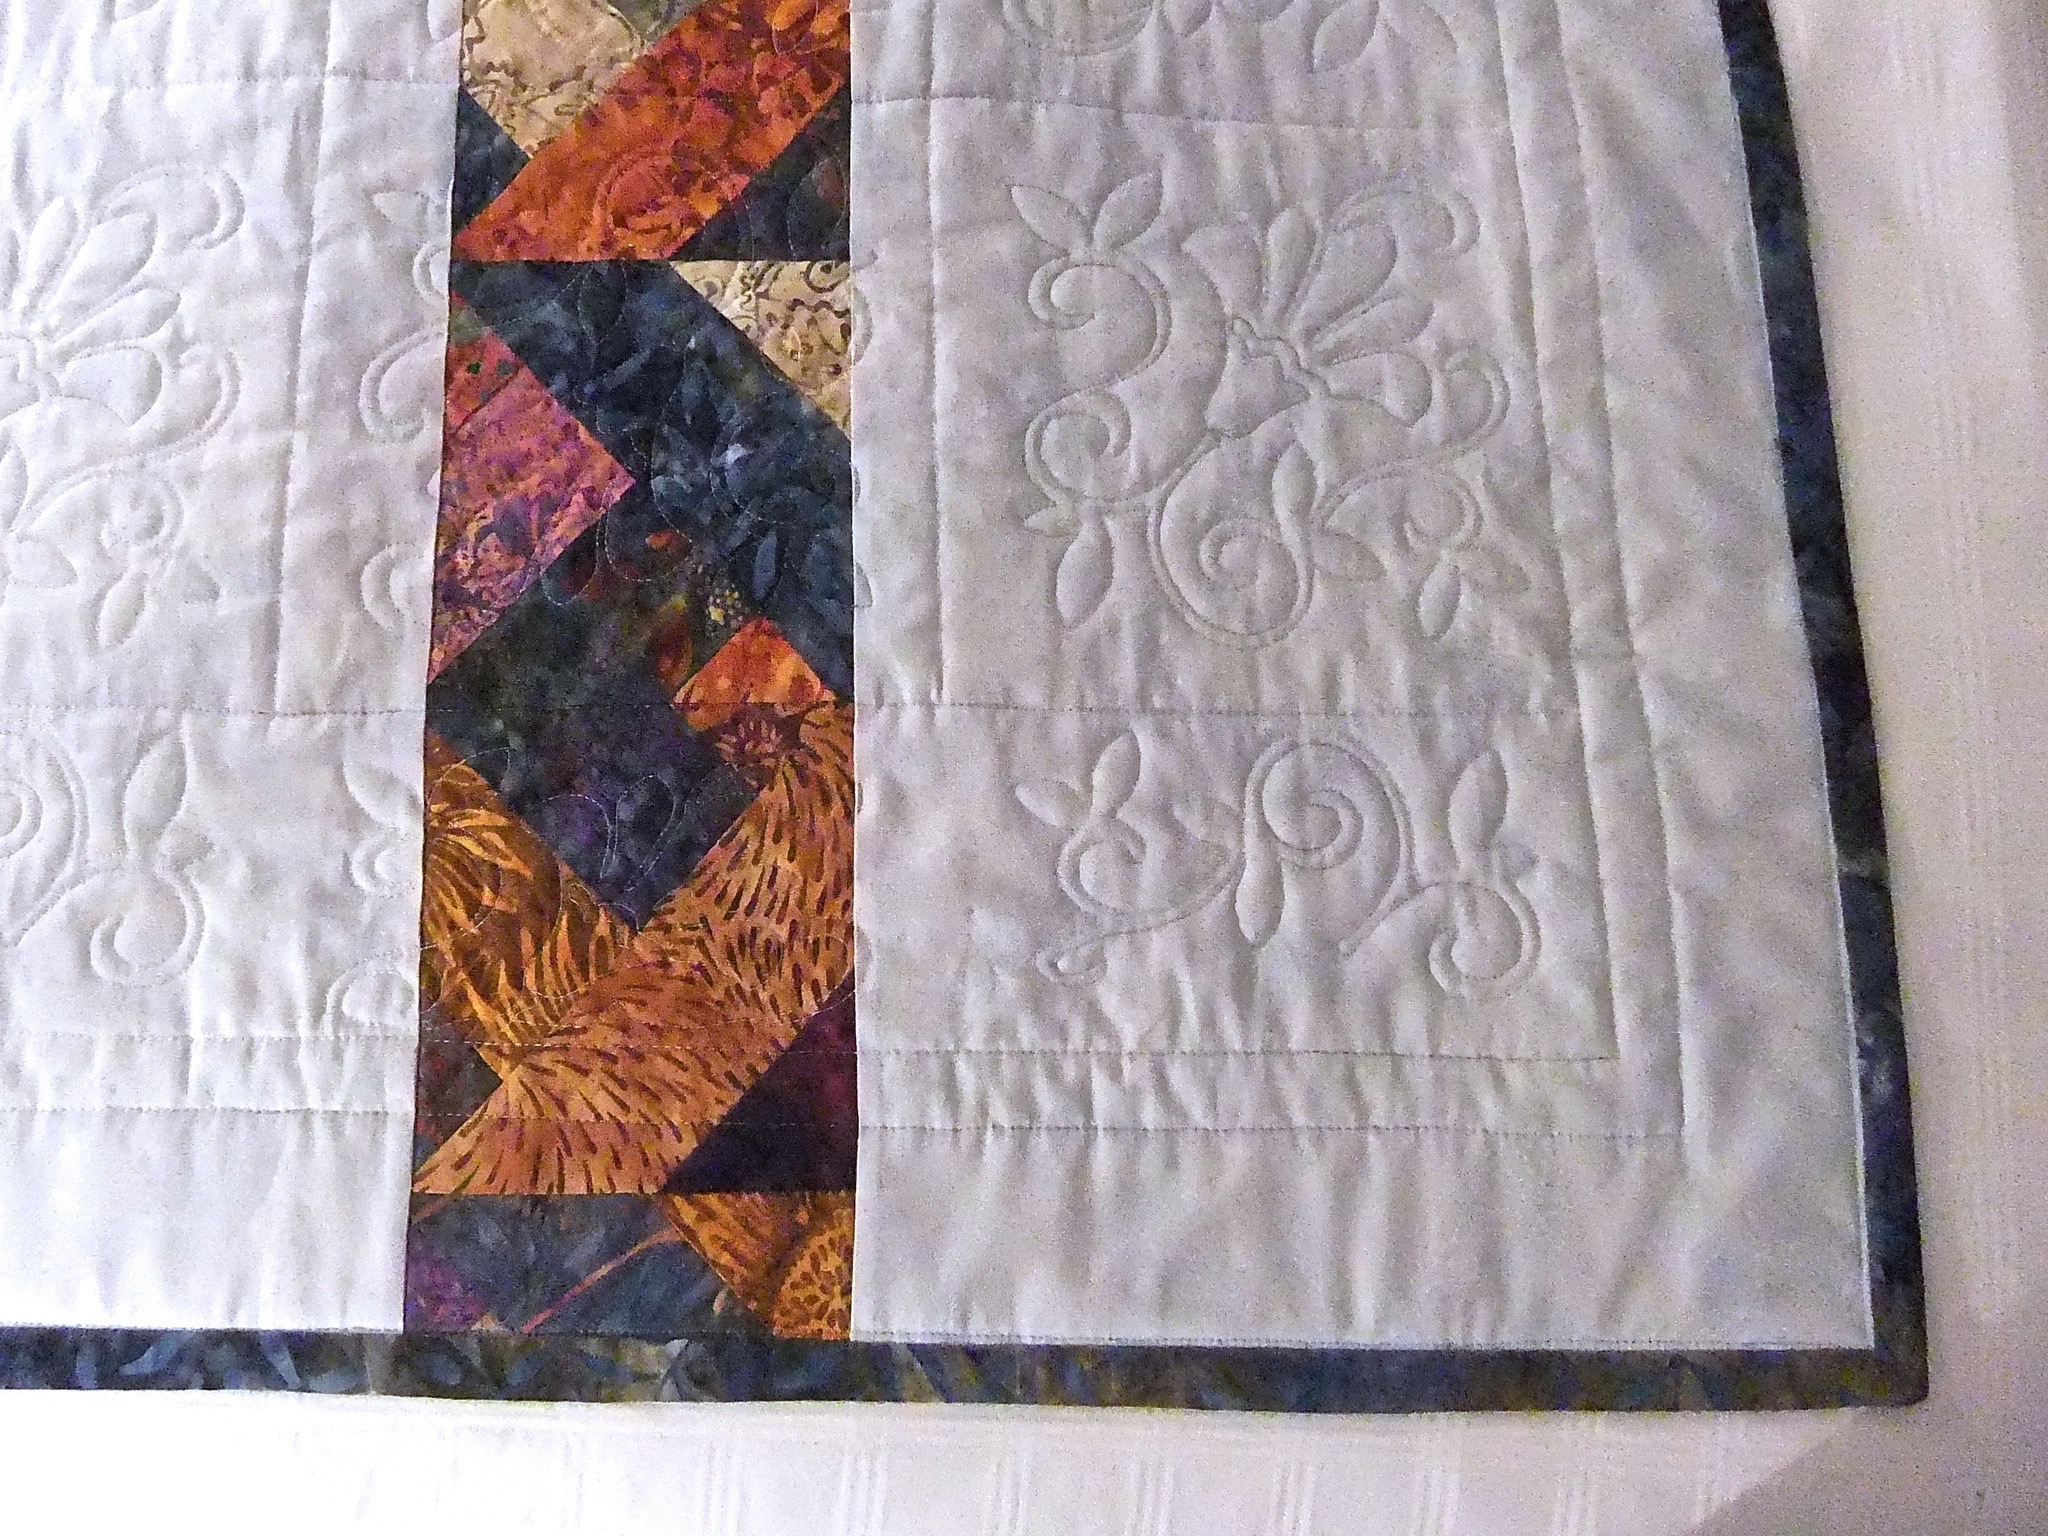
The quilt back was the same fabric used for the background on the front with an added strip created from leftover blocks so the back would be wide enough.

magic squares 1 back

While I was finishing this quilt I could see quite a few other possibilities for layout and contrast so I did a second quilt using the same technique – cutting 2 1/2″ strips from a “scrap bag” I’d bought from Keepsake Quilting (each scrap bag contains twelve 9″ width of fabric strips in complementary fabrics).

Here’s the second:
magic squares 2 front

In this quilt the fabrics are subdued, all in a single pallet, with two fabrics of a bolder pattern giving some contrast. This time, I stitched the 4 1/2″ blocks on the straight which gave quite a different overall effect.

magic squares 2 backOn the back, in addition to the pieced strip, I added a narrow contrast strip just to create a bit more definition on that side.

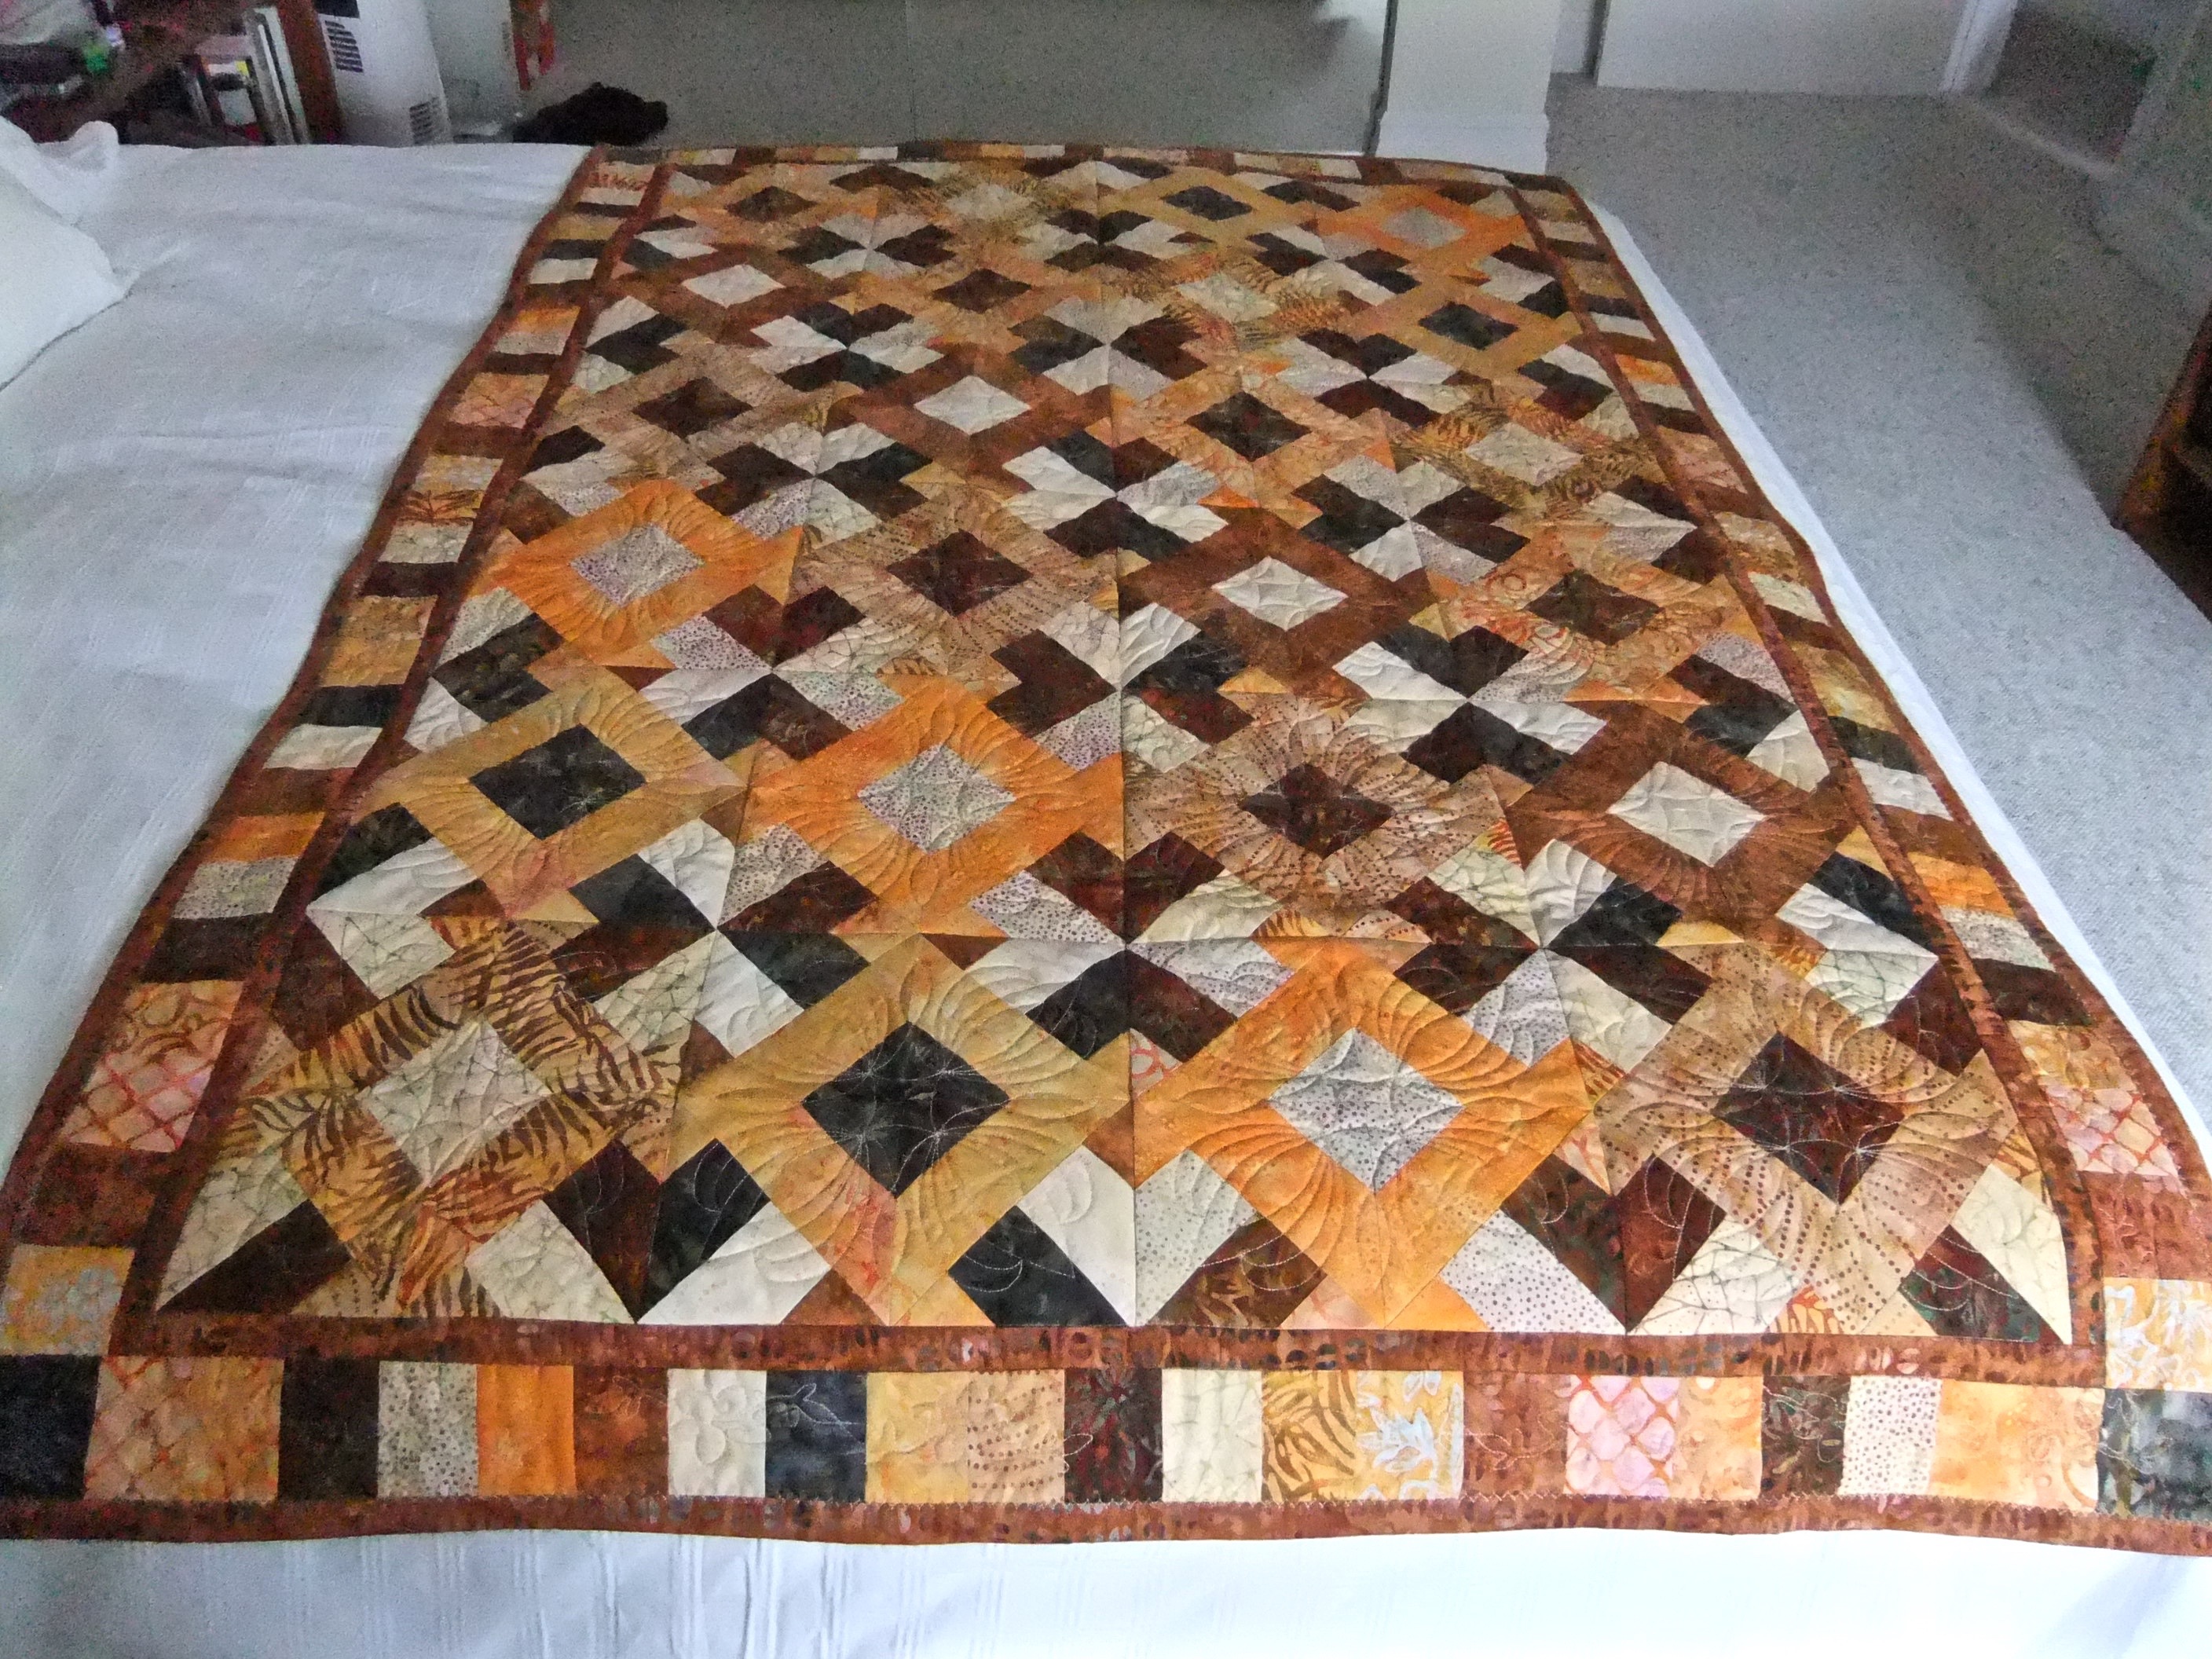
Here’s the third:

magic squares 3 front

This quilt was made from another “scrap bag” – the fabrics this time were in shades of rust, brown and beige (I did have to swap out a couple of the fabrics from the scrap bag for something else in my stash that coordinated better with the set). Again, I arranged the 4 1/2″ blocks in straight rows (9 blocks in a row) taking care to stagger the resulting larger blocks, which formed squares, in rows that created a noticeable diagonal – you can see that in the photo if you follow the orange squares from the middle left to the bottom.

To make the quilt the final size I wanted I added a narrow border of the backing fabric, and a wider border pieced from the fabrics used in the blocks.magic squares 3 backThe back consisted of a wide strip created from leftover blocks, a 1″ sashing of backing fabric on each side and two contrasting stripes. The way in which the blocks were constructed is obscured by the final layout – so a simple technique produced a rather complex design!

I can think of many more possibilities with this “magic squares” technique – just depends on the range of colours used for the strips and the layout of the resulting blocks. I haven’t tried it, but I wonder what the design would be like if instead of cutting along the diagonal, after sewing two 8 1/2″ blocks together, I cut unequal blocks on the horizontal and vertical?

I need to look at the jellyrolls I have and think about what I might do with them.

A New Quilt

Start with a jelly roll of red batik fabrics from my stash (a jelly roll is a colleciton of 40 strips each cut from the width of a different but coordinated fabric producing a set of 2 1/2″ strips approximately 44″ in length).

Choose 28 strips (making sure to have some light strips, some dark strips and some middle value strips), sew them together in groups of four, then cut into 8 1/2″ blocks. Now what to do with the resulting 35 blocks?

In other quilts I’ve put two blocks right sides together with the stripes at right angles stitched around the outside, then cut into 4 along the diagonals.

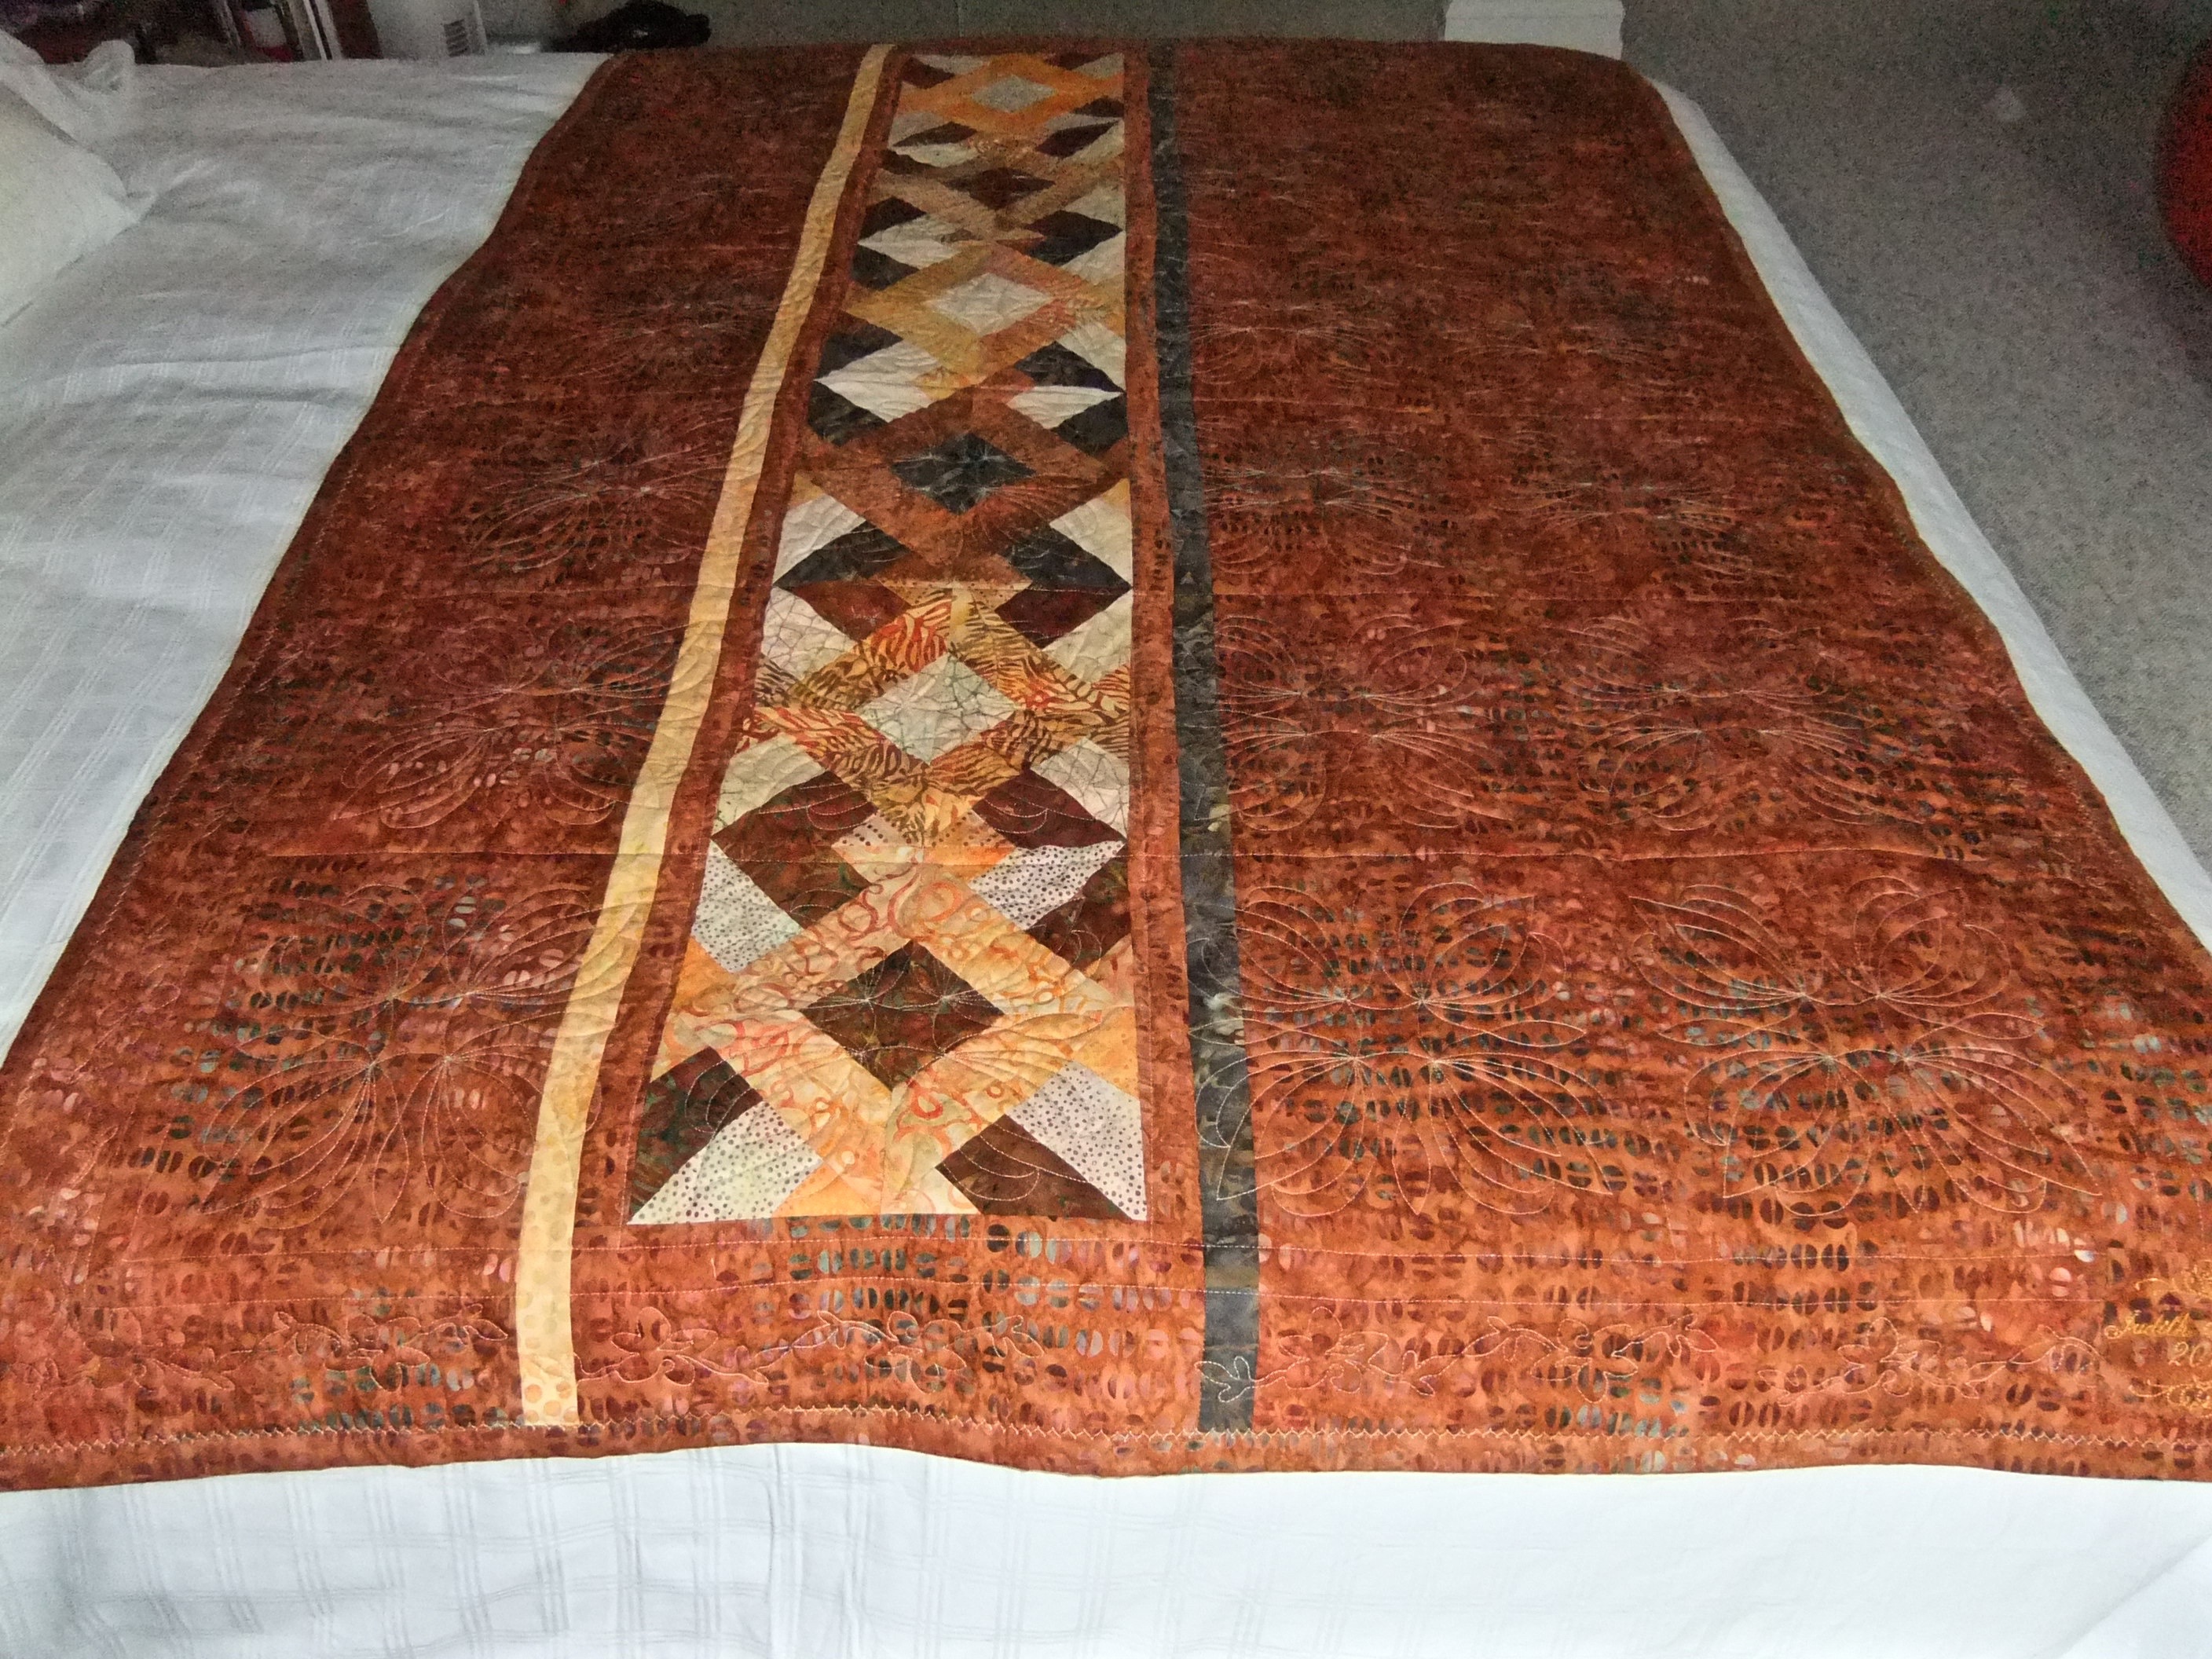
This time I simply cut the blocks into halves along the diagonal giving me “half square triangles”. I thought about mixing the striped HST (half square triangles) with light solid triangles and join them without sashing, but the resulting quilt would have been a bit too small. I played with the triangles – decided to sew them together along the diagonal. Next I arranged the resulting blocks into a 5 x 7 array – what emerged were strong diagonal lines that I didn’t expect. Add sashing and a border and the quilt top is done.

For the back I made a few more blocks, bordered them with the light fabric and inserted the strip into the backing fabric.

I finished the quilt this morning. I wasn’t sure it would turn out as I wanted it – the pinned backing fabric wasn’t as smooth/flat as I usually manage to get it but in the end the quilt stitched up nicely.

Mushrooms

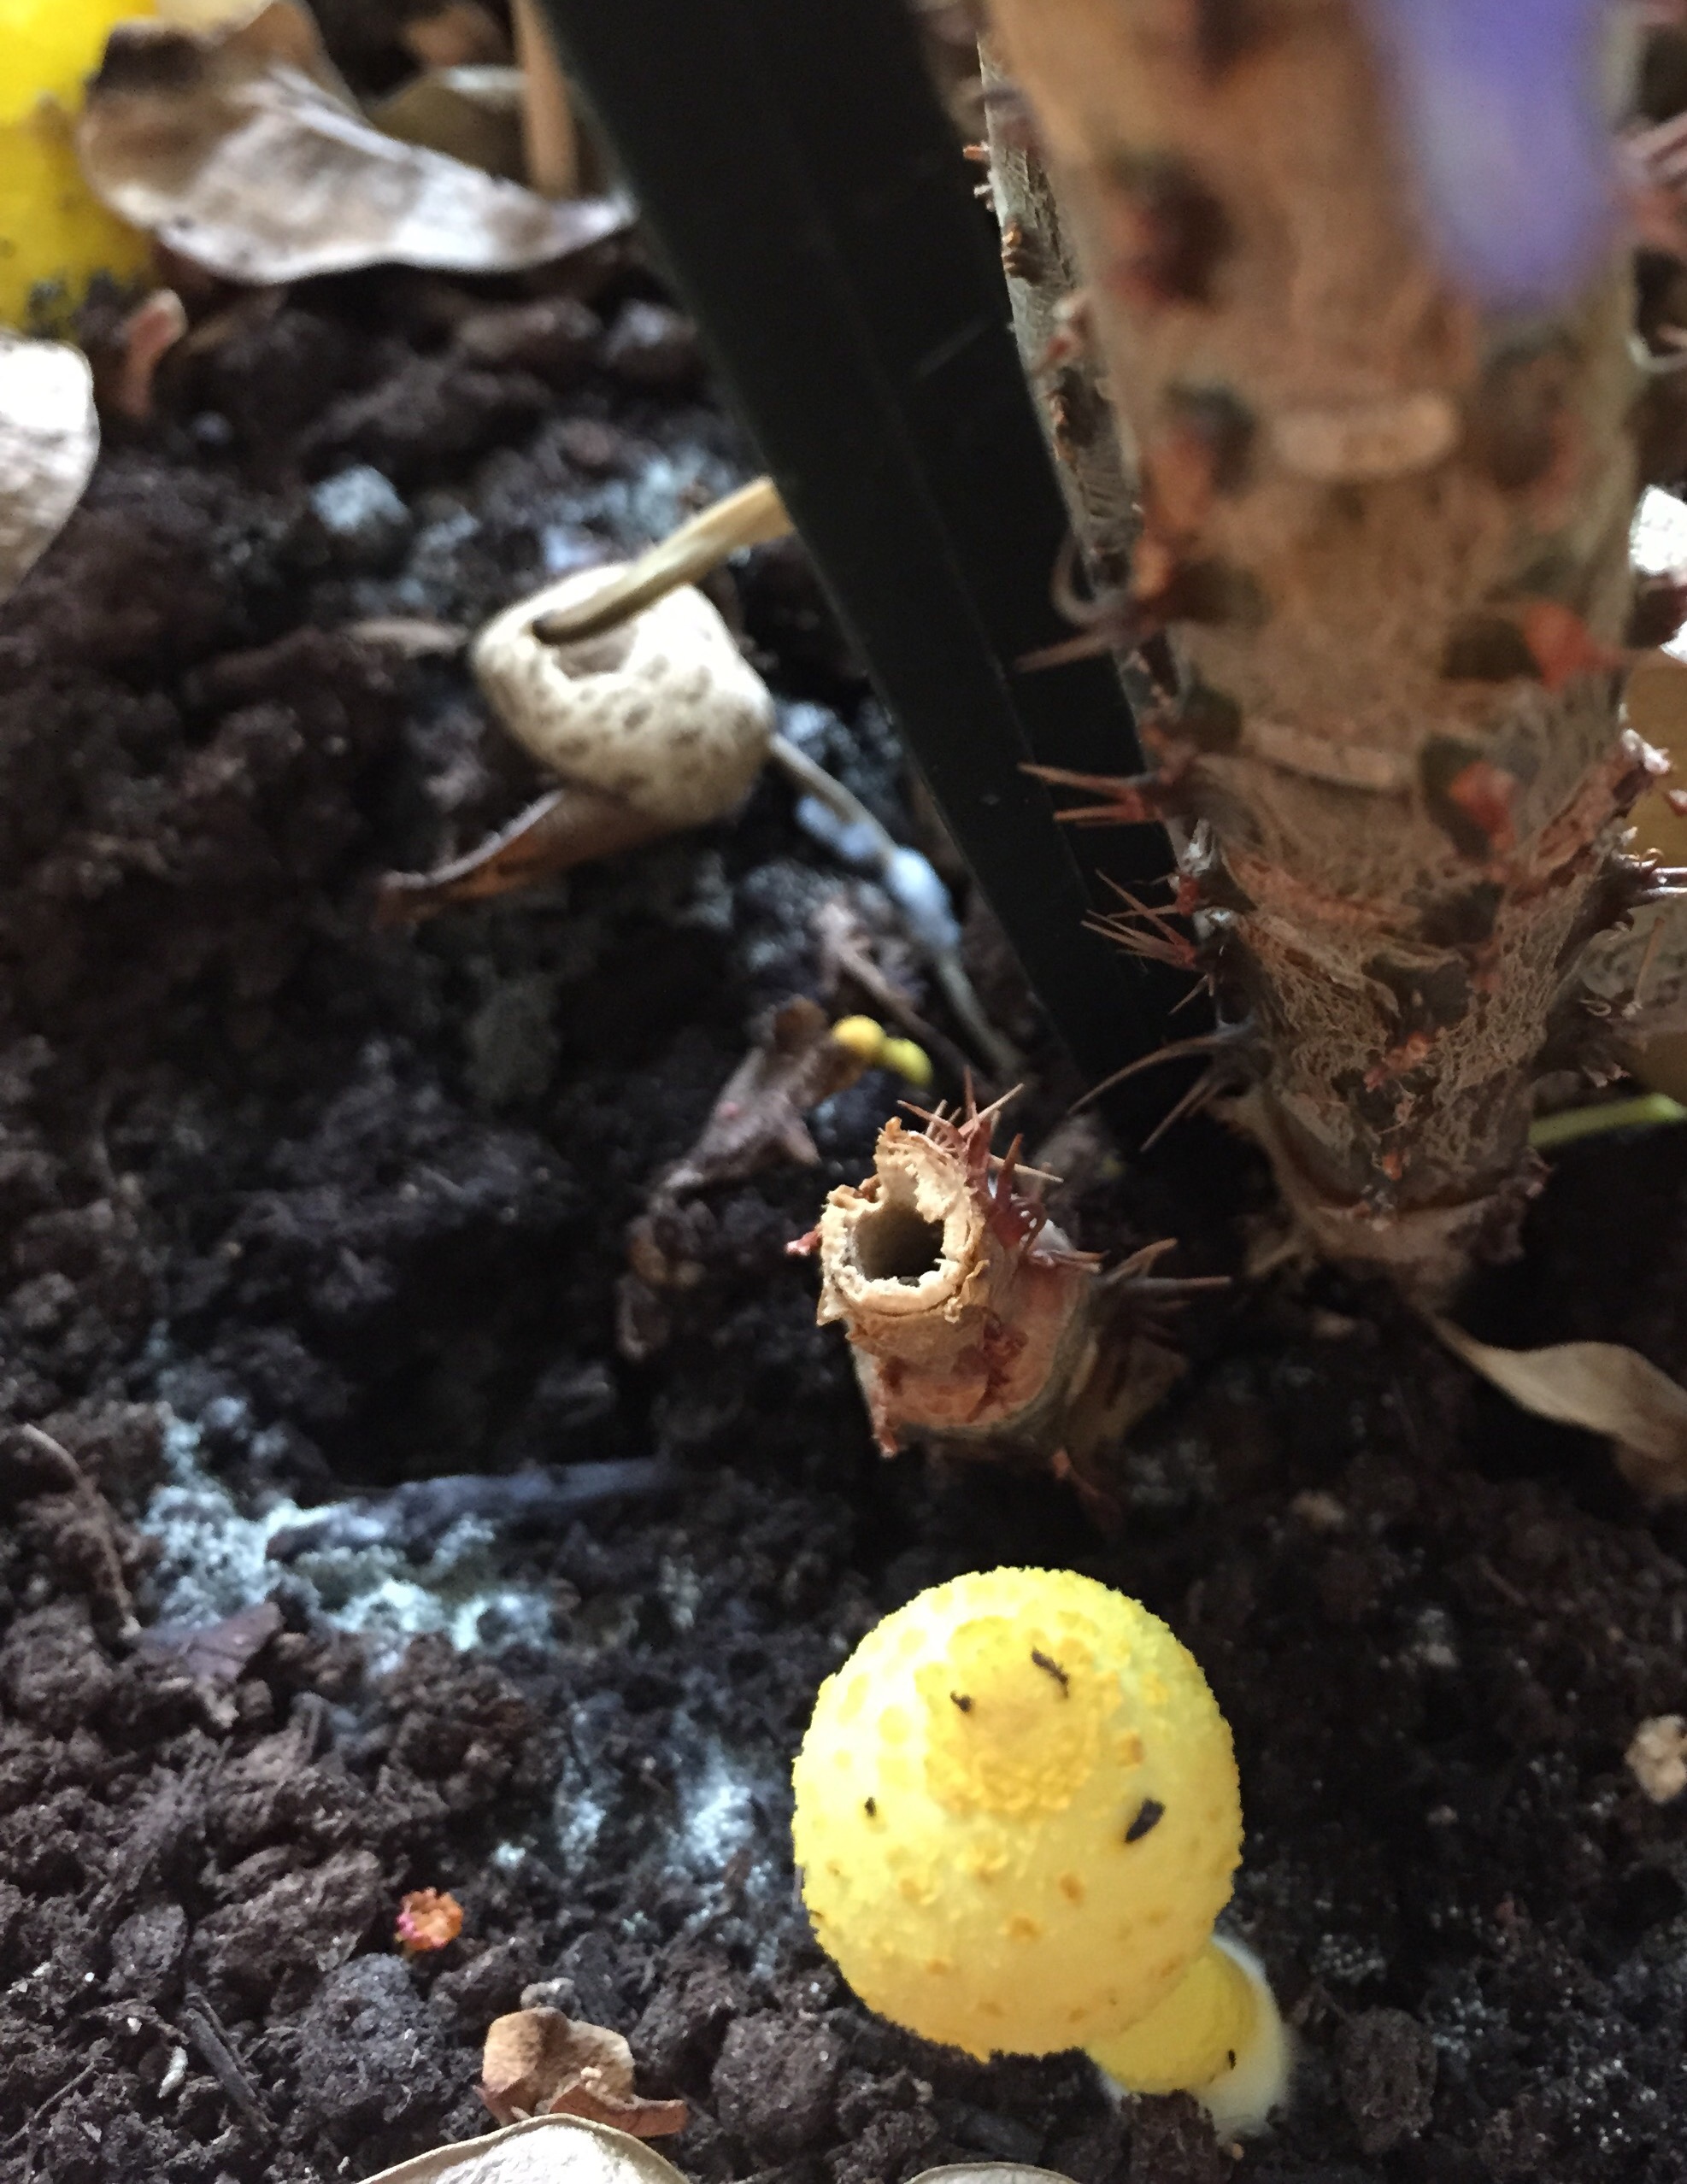
Well, this was a surprise this morning! Little yellow mushrooms in the pot with the crown of thorns. So I take a closer look, then google to see what’s growing – I have Leucocoprinus birnbaumii, the yellow houseplant mushroom!


I’ve had this crown of thorns for nearly 20 years so I have to infer the spores arrived recently. So what do I do to get rid of the fungus?

There is a chance that spores from Leucocoprinus birnbaumii will travel to your other plants and infect them as well. So if you don’t want a house full of yellow mushrooms… you can try one of the following to get rid of them:

Remove the plant from the house – Either put it outside or get rid of the plant entirely. No doubt the simplest solution.

Attempt spore removal – Pick off all visible mushrooms from their base and replace the top few inches of potting soil. This may or may not work, depending on how deeply the fungus has grown into the soil.

Replace the soil entirely – As a last resort, you can try replacing the potting soil entirely. Remove the plant and try to get as much dirt as possible off its roots. Know that by doing this you may stress the plant, and the mushrooms could very well come back anyway.

Truthfully these mushrooms are very hard to get rid of. As the spores and mycelium (the vegetative growth of the fungus) are deeply settled in your plant pot and roots, it’s difficult to remove them entirely.

Well, I don’t want to get rid of the plant – it’s growing well. I will remove the mushrooms and as much of the mycelium as I can see. Add some fresh soil and hope for the best! I’ll dry out the pot – the plant is after all a cactus and will likely be happy dried out – to see if that helps.

I’m not concerned about the mycelium – I just don’t want spores infecting the rest of my indoor garden.