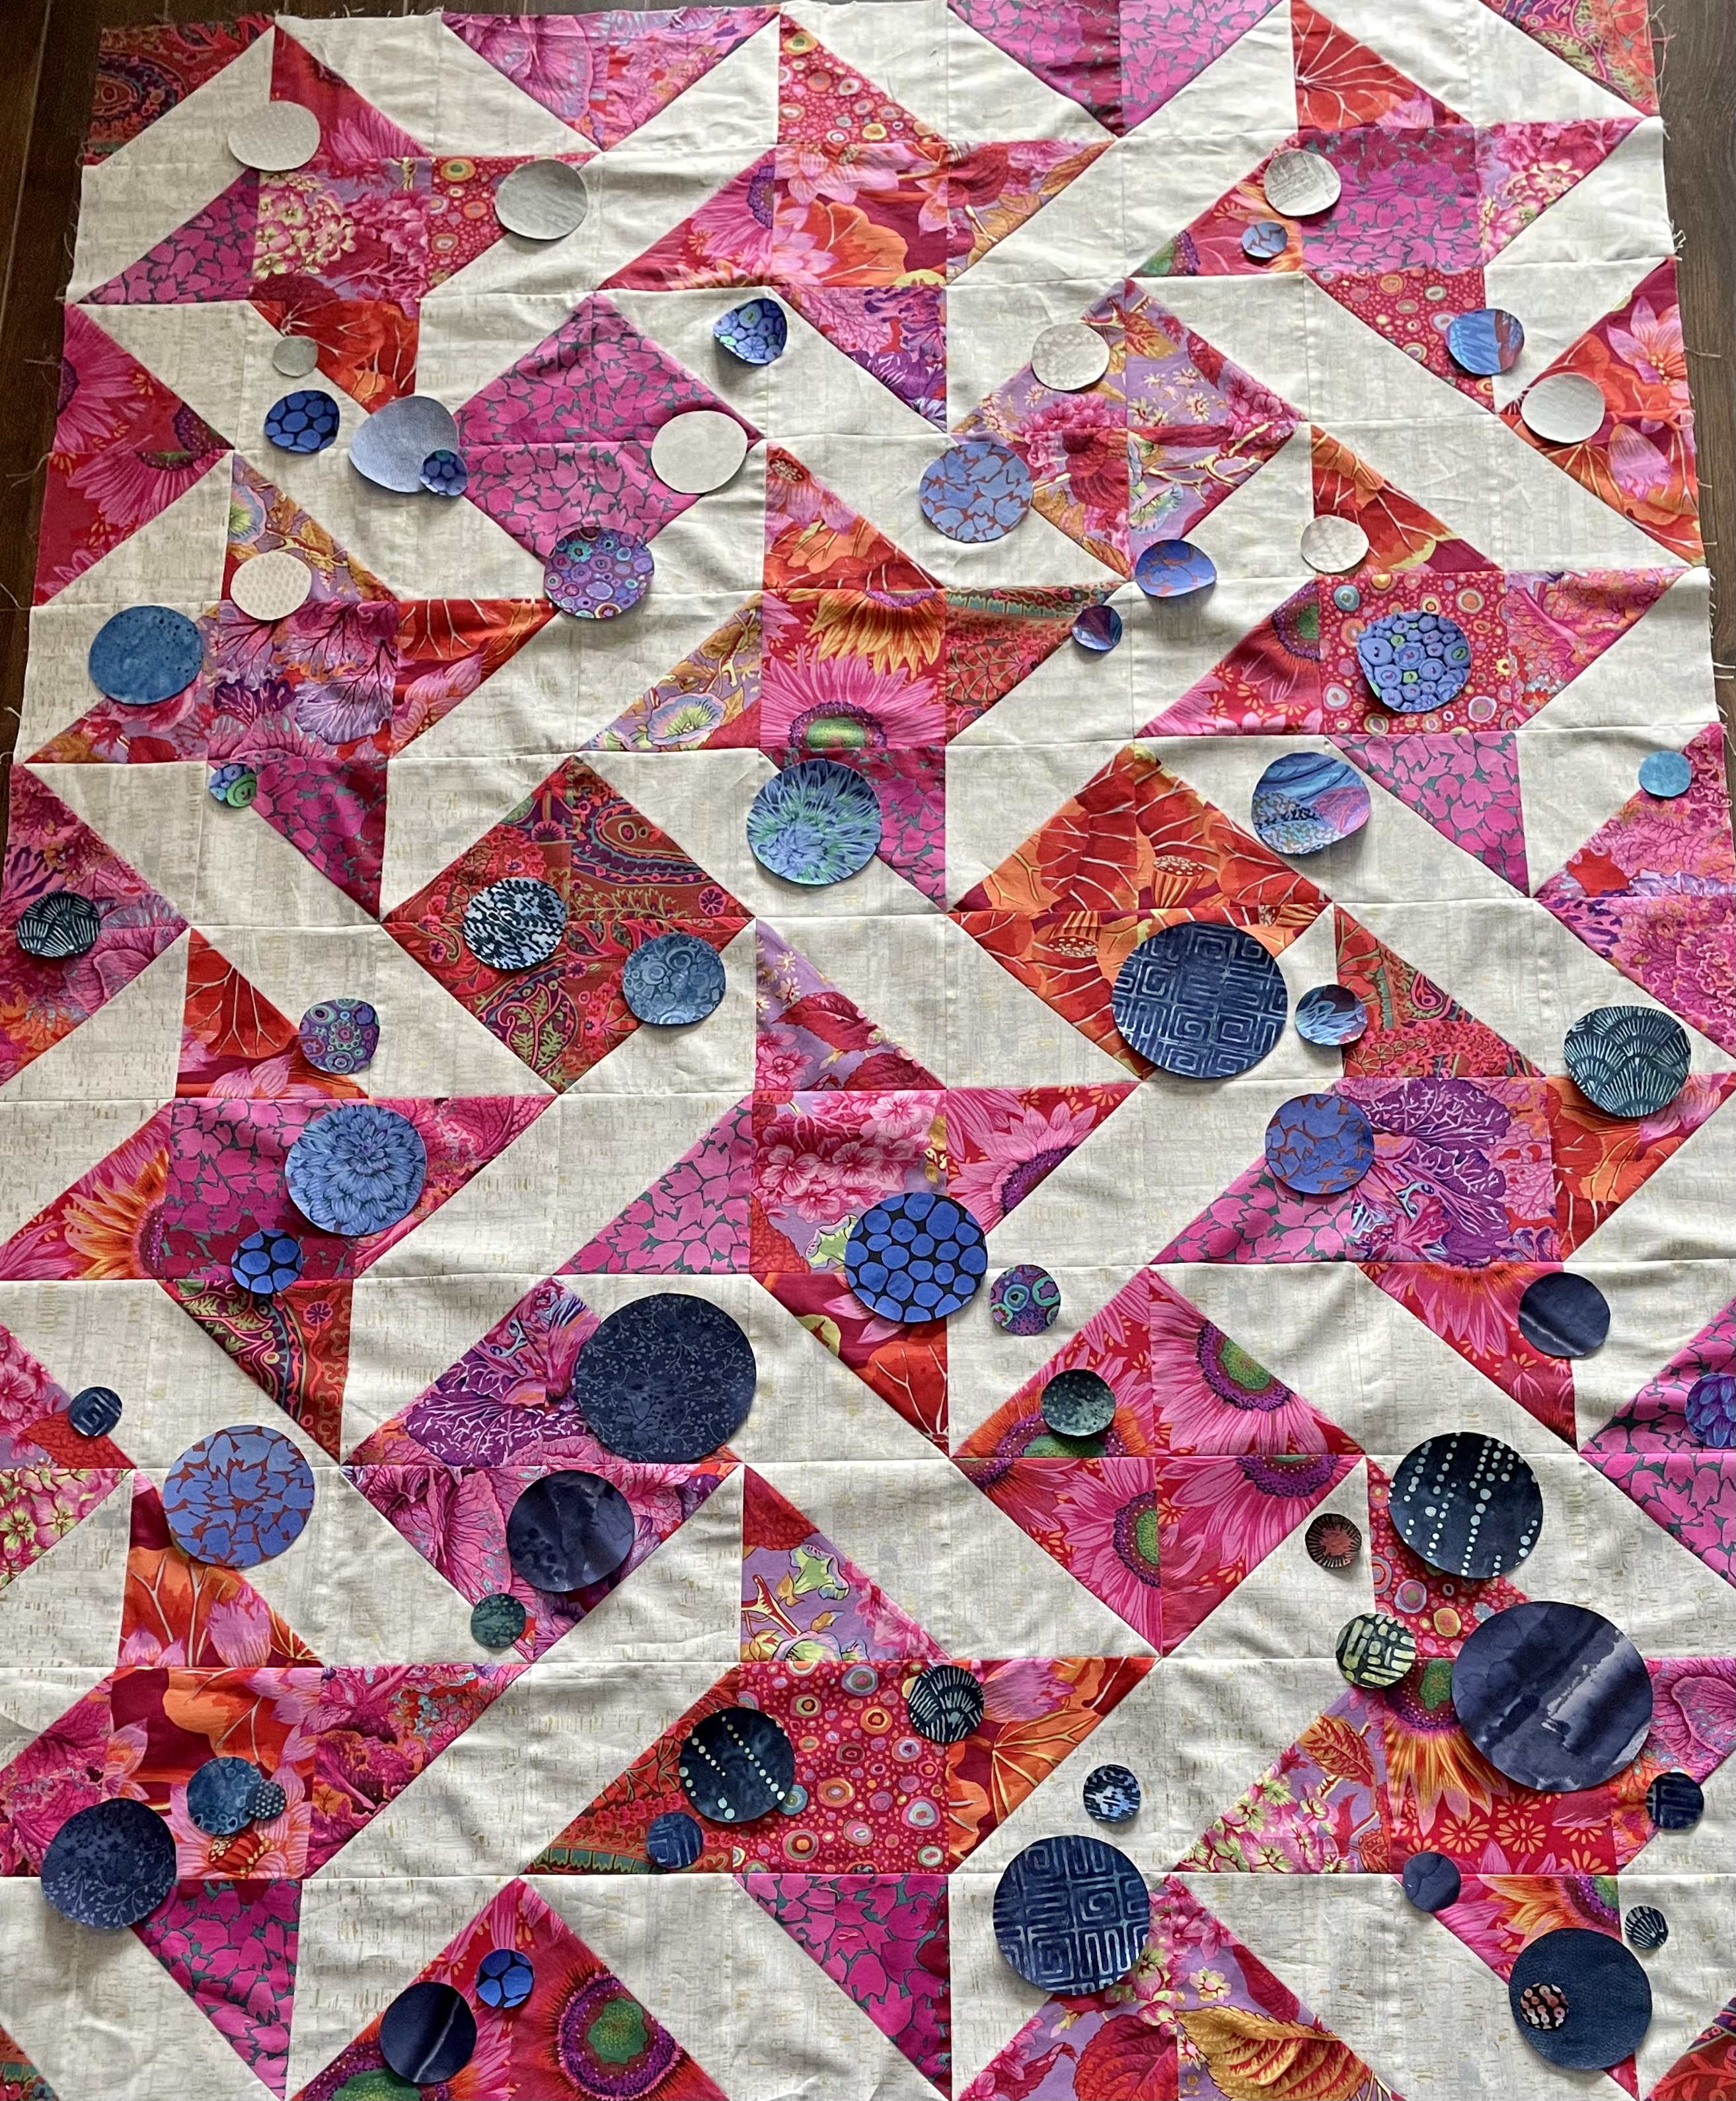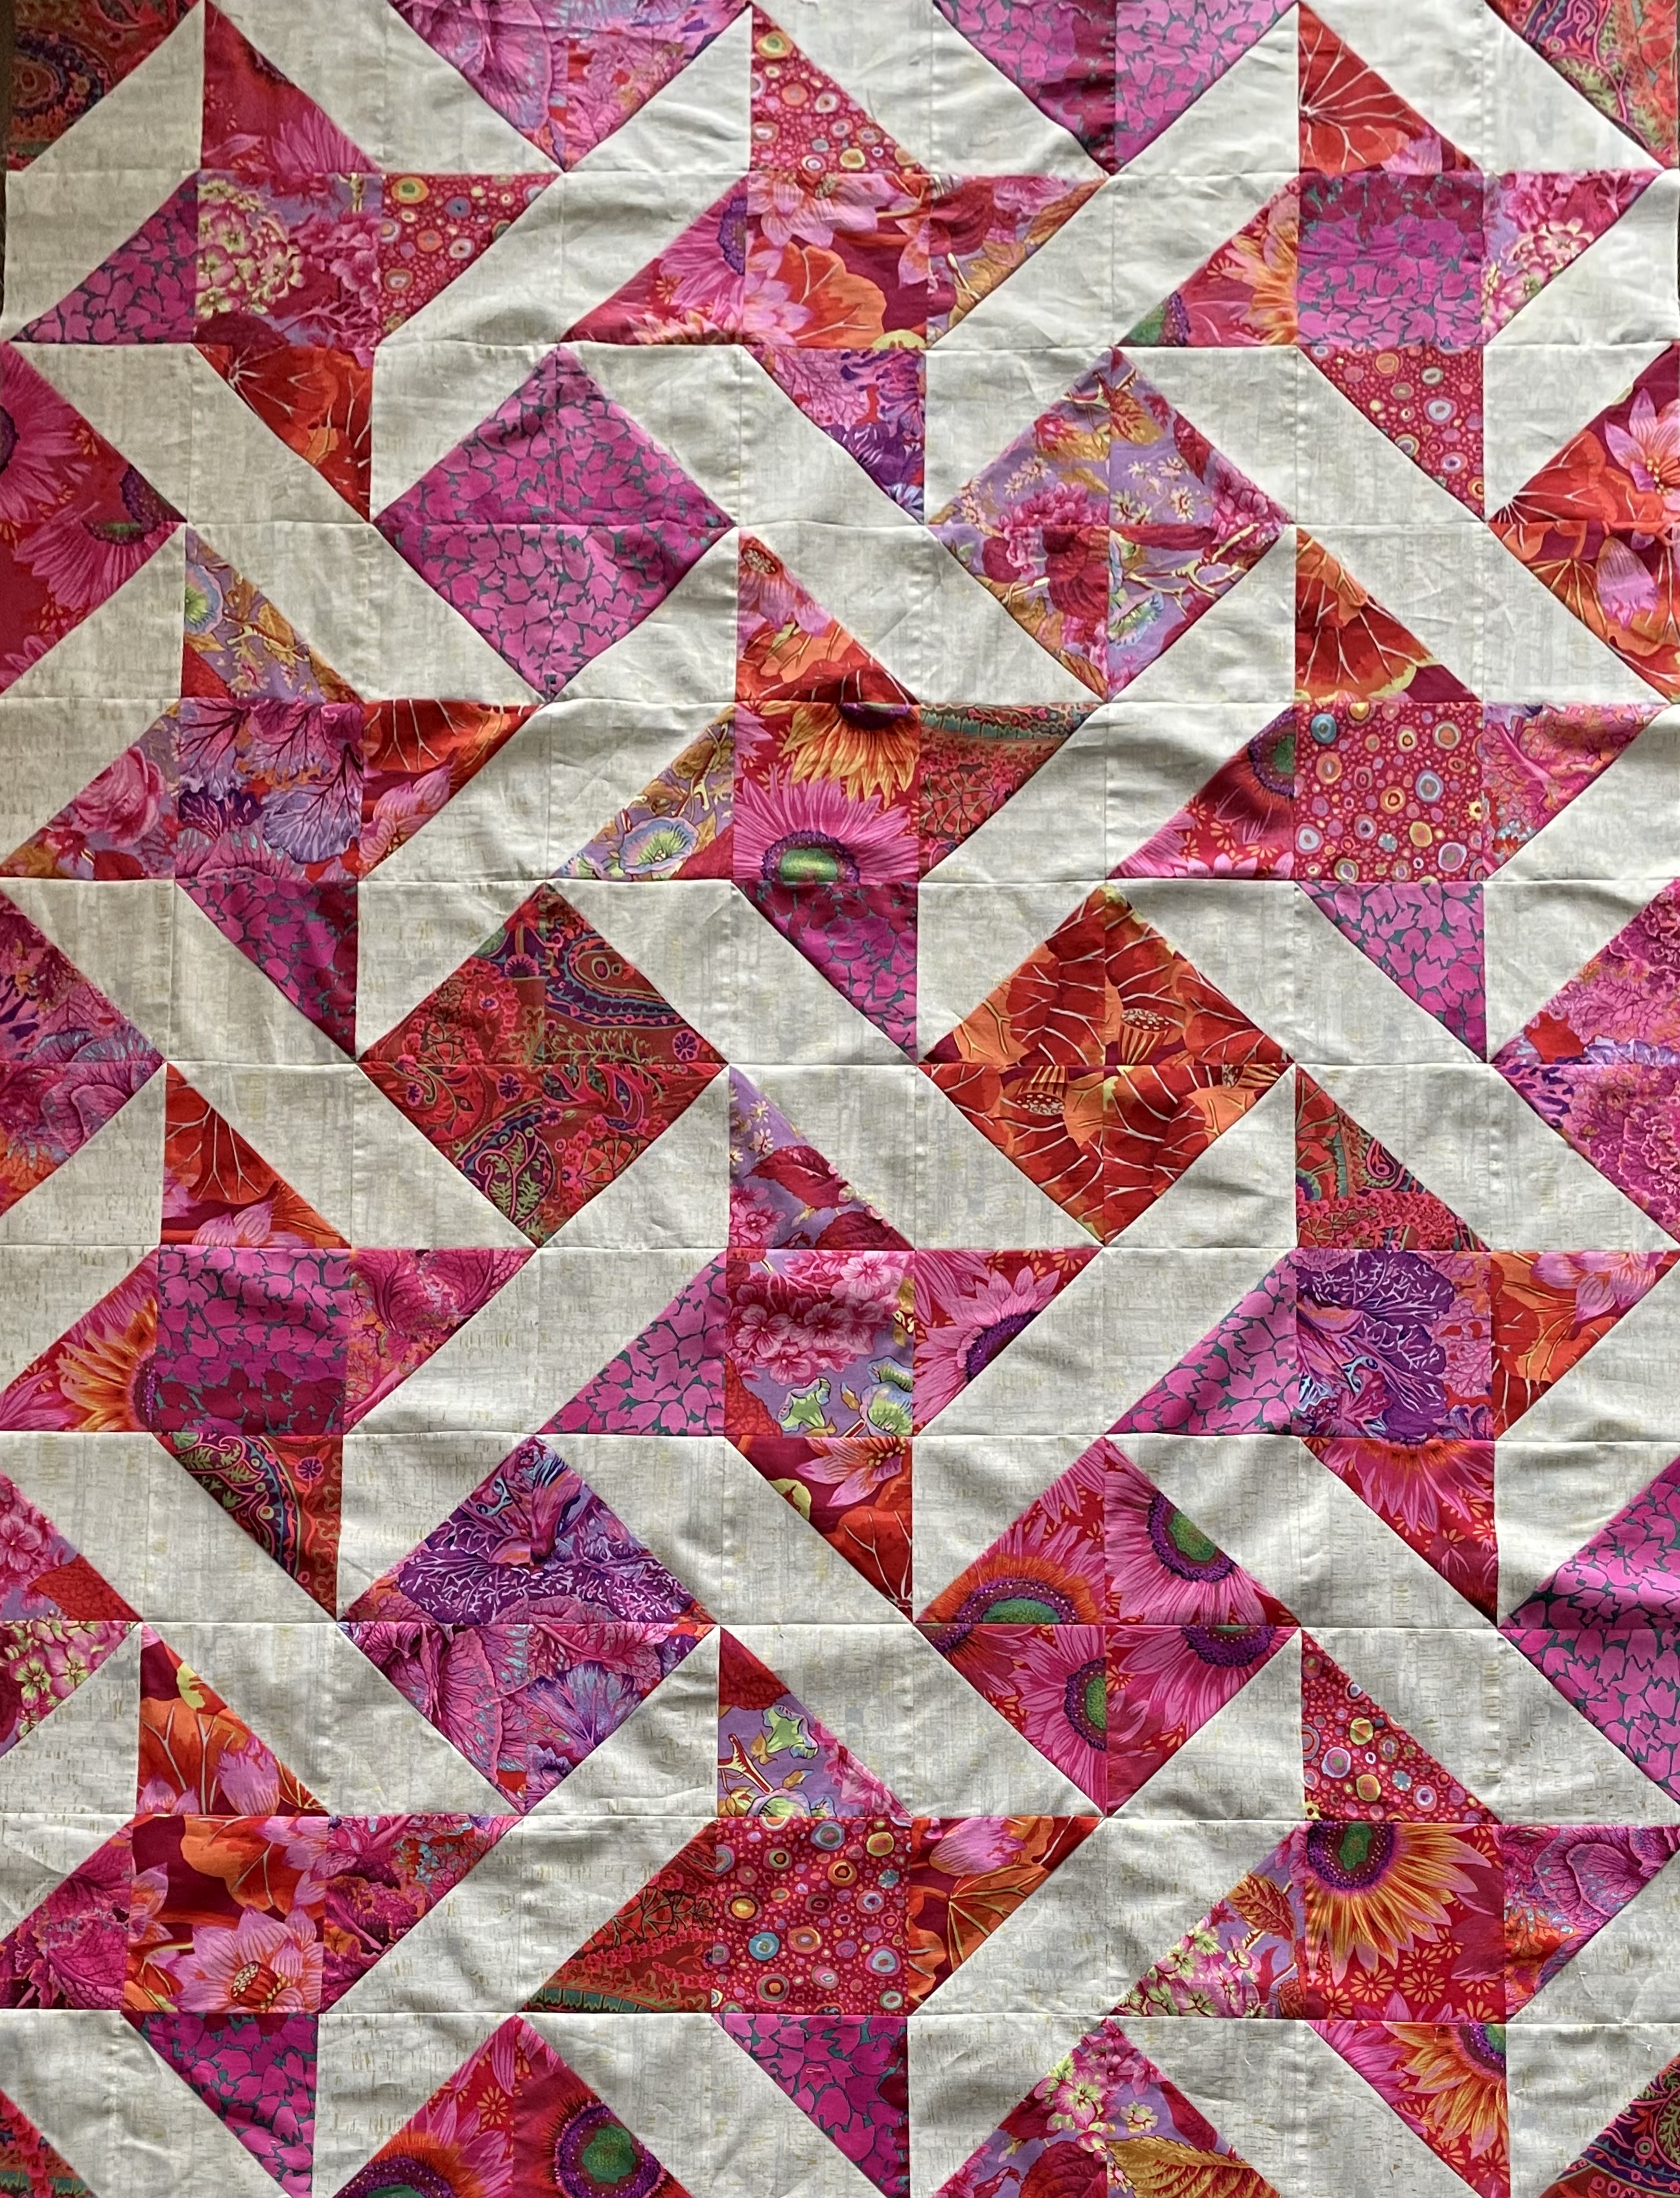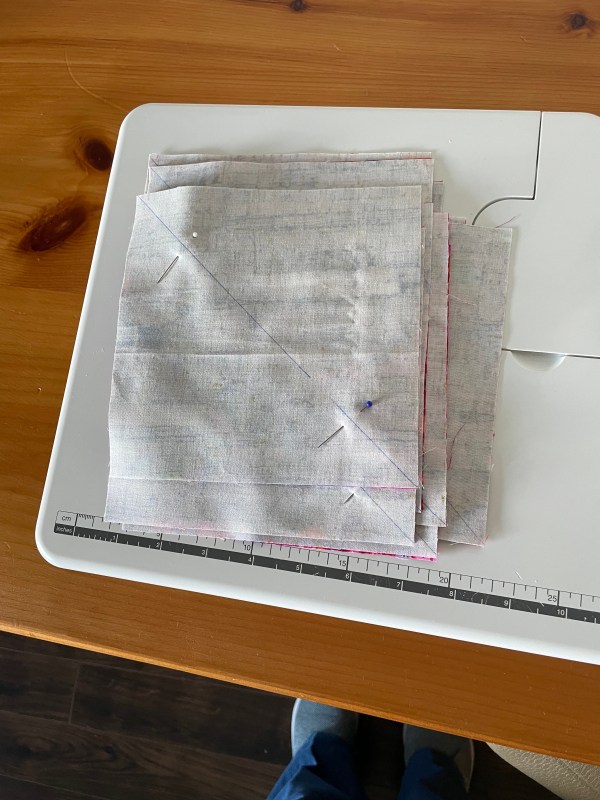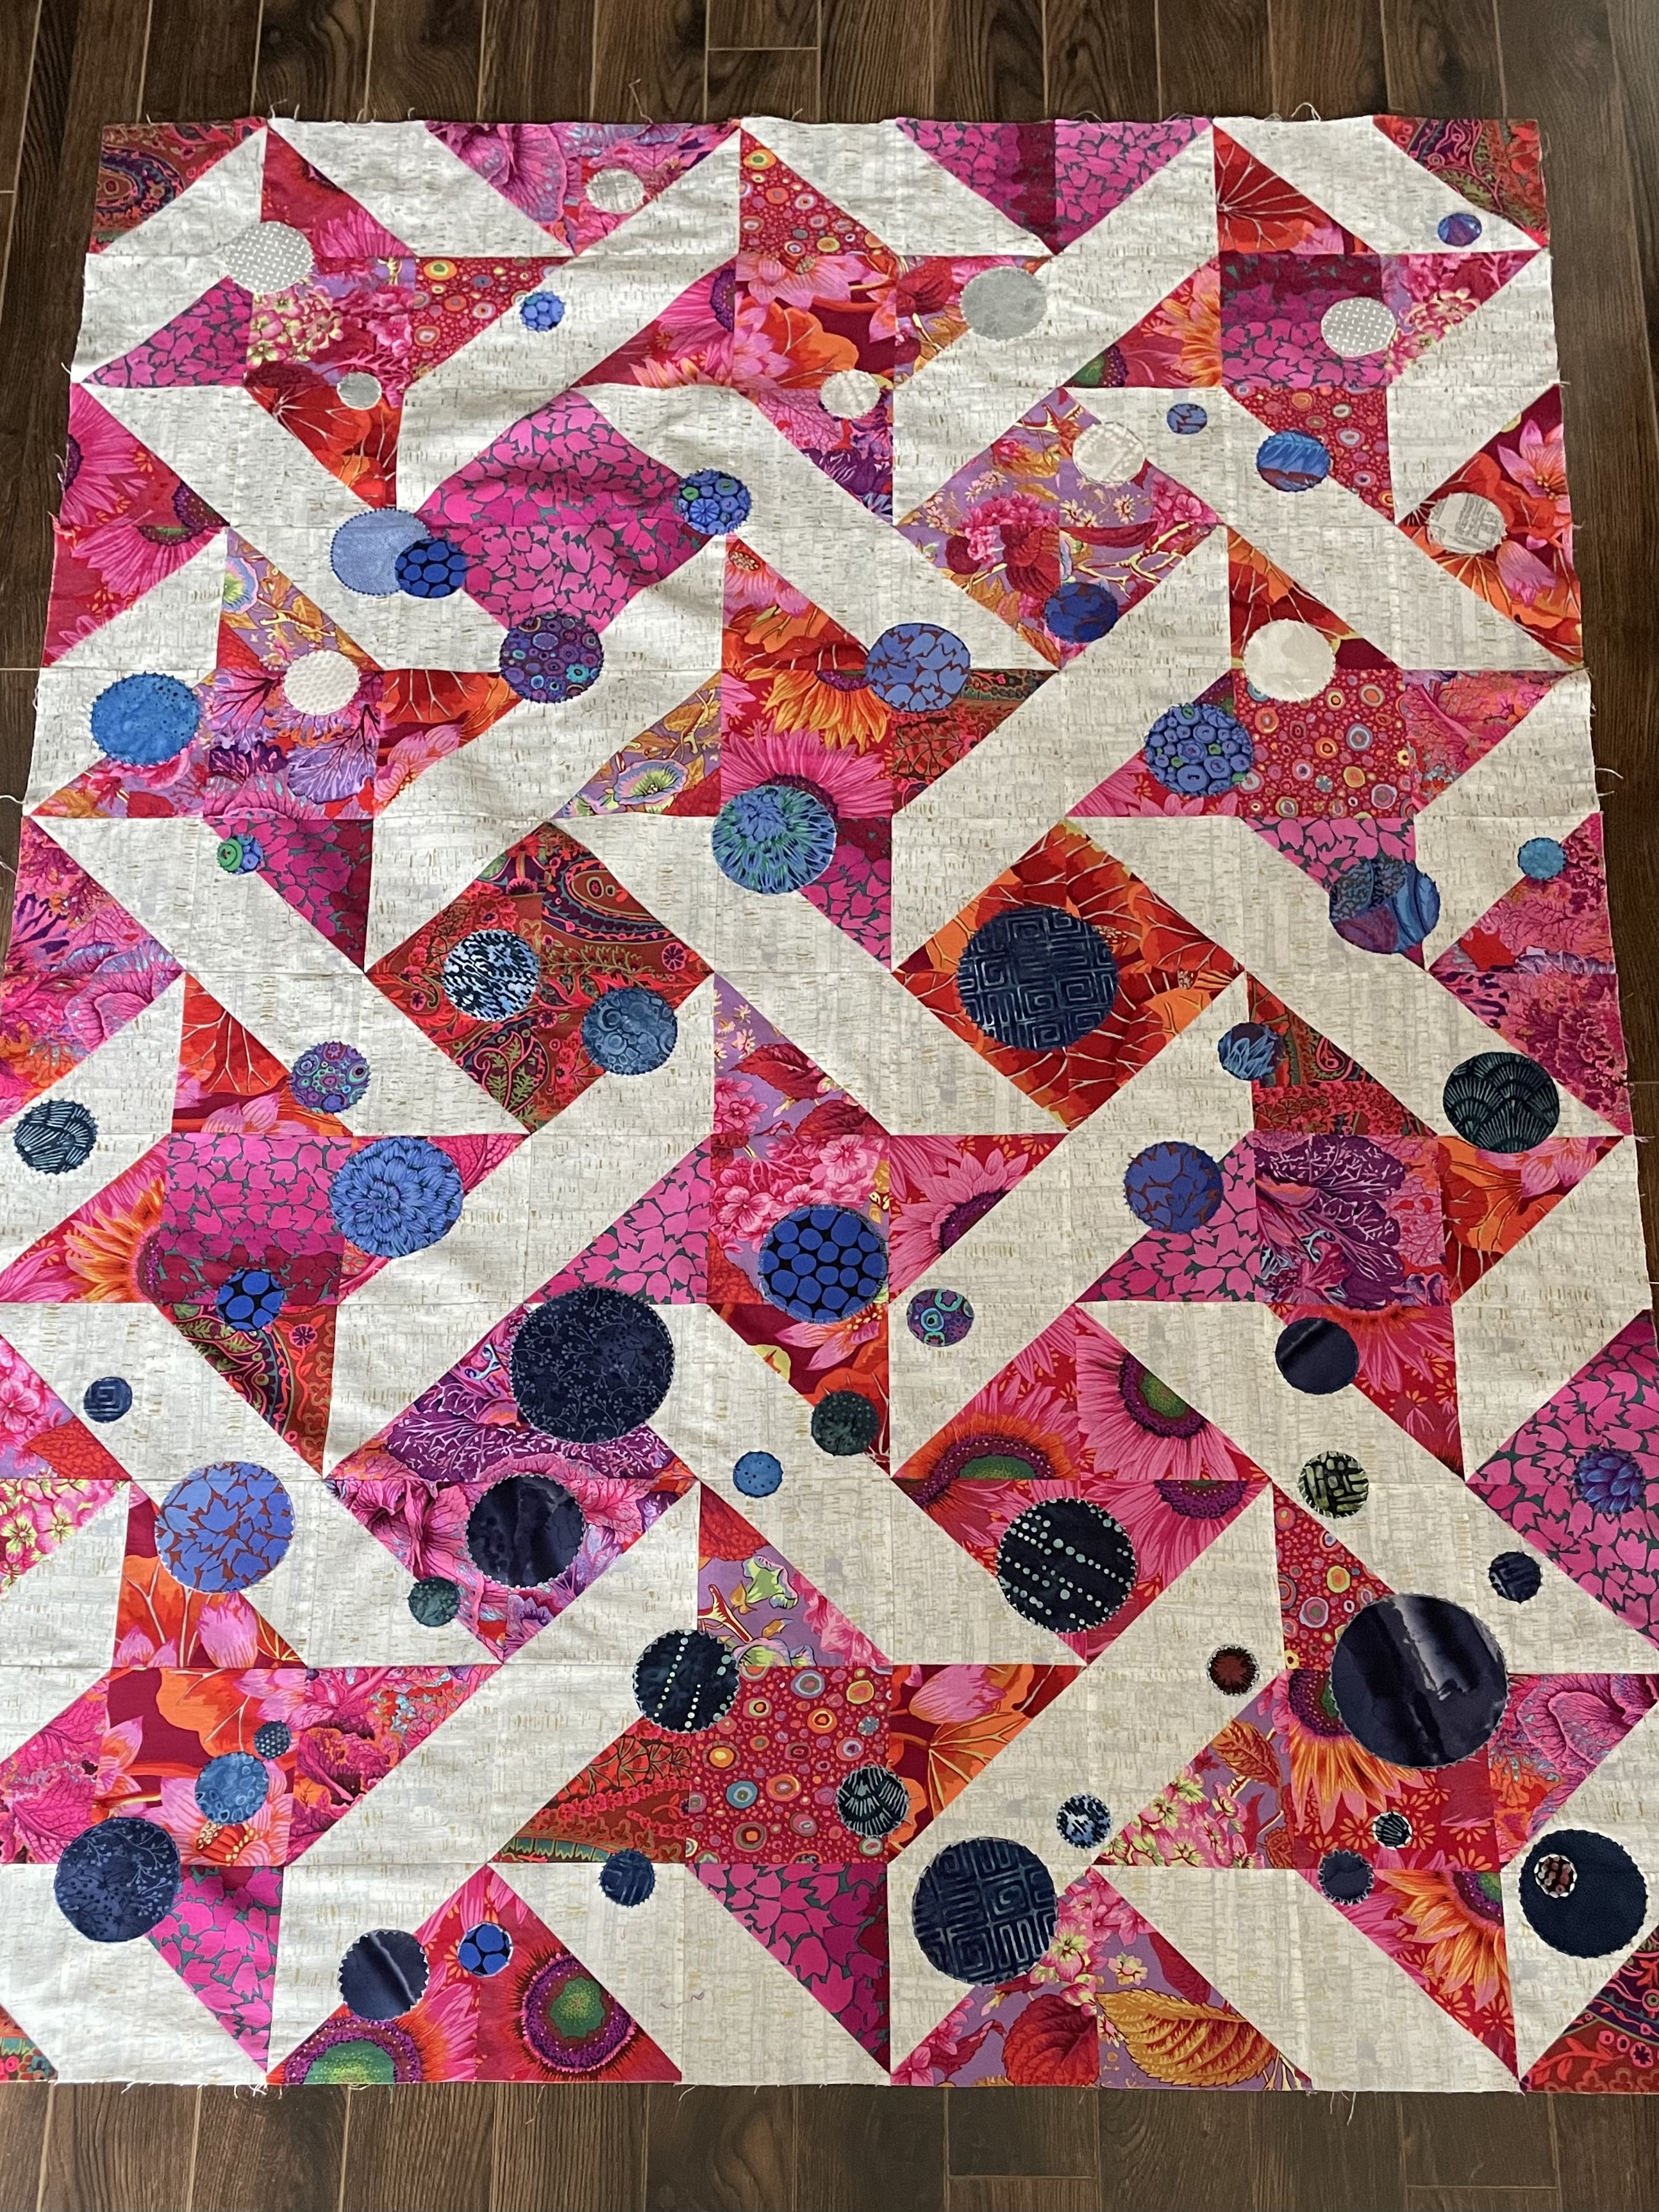
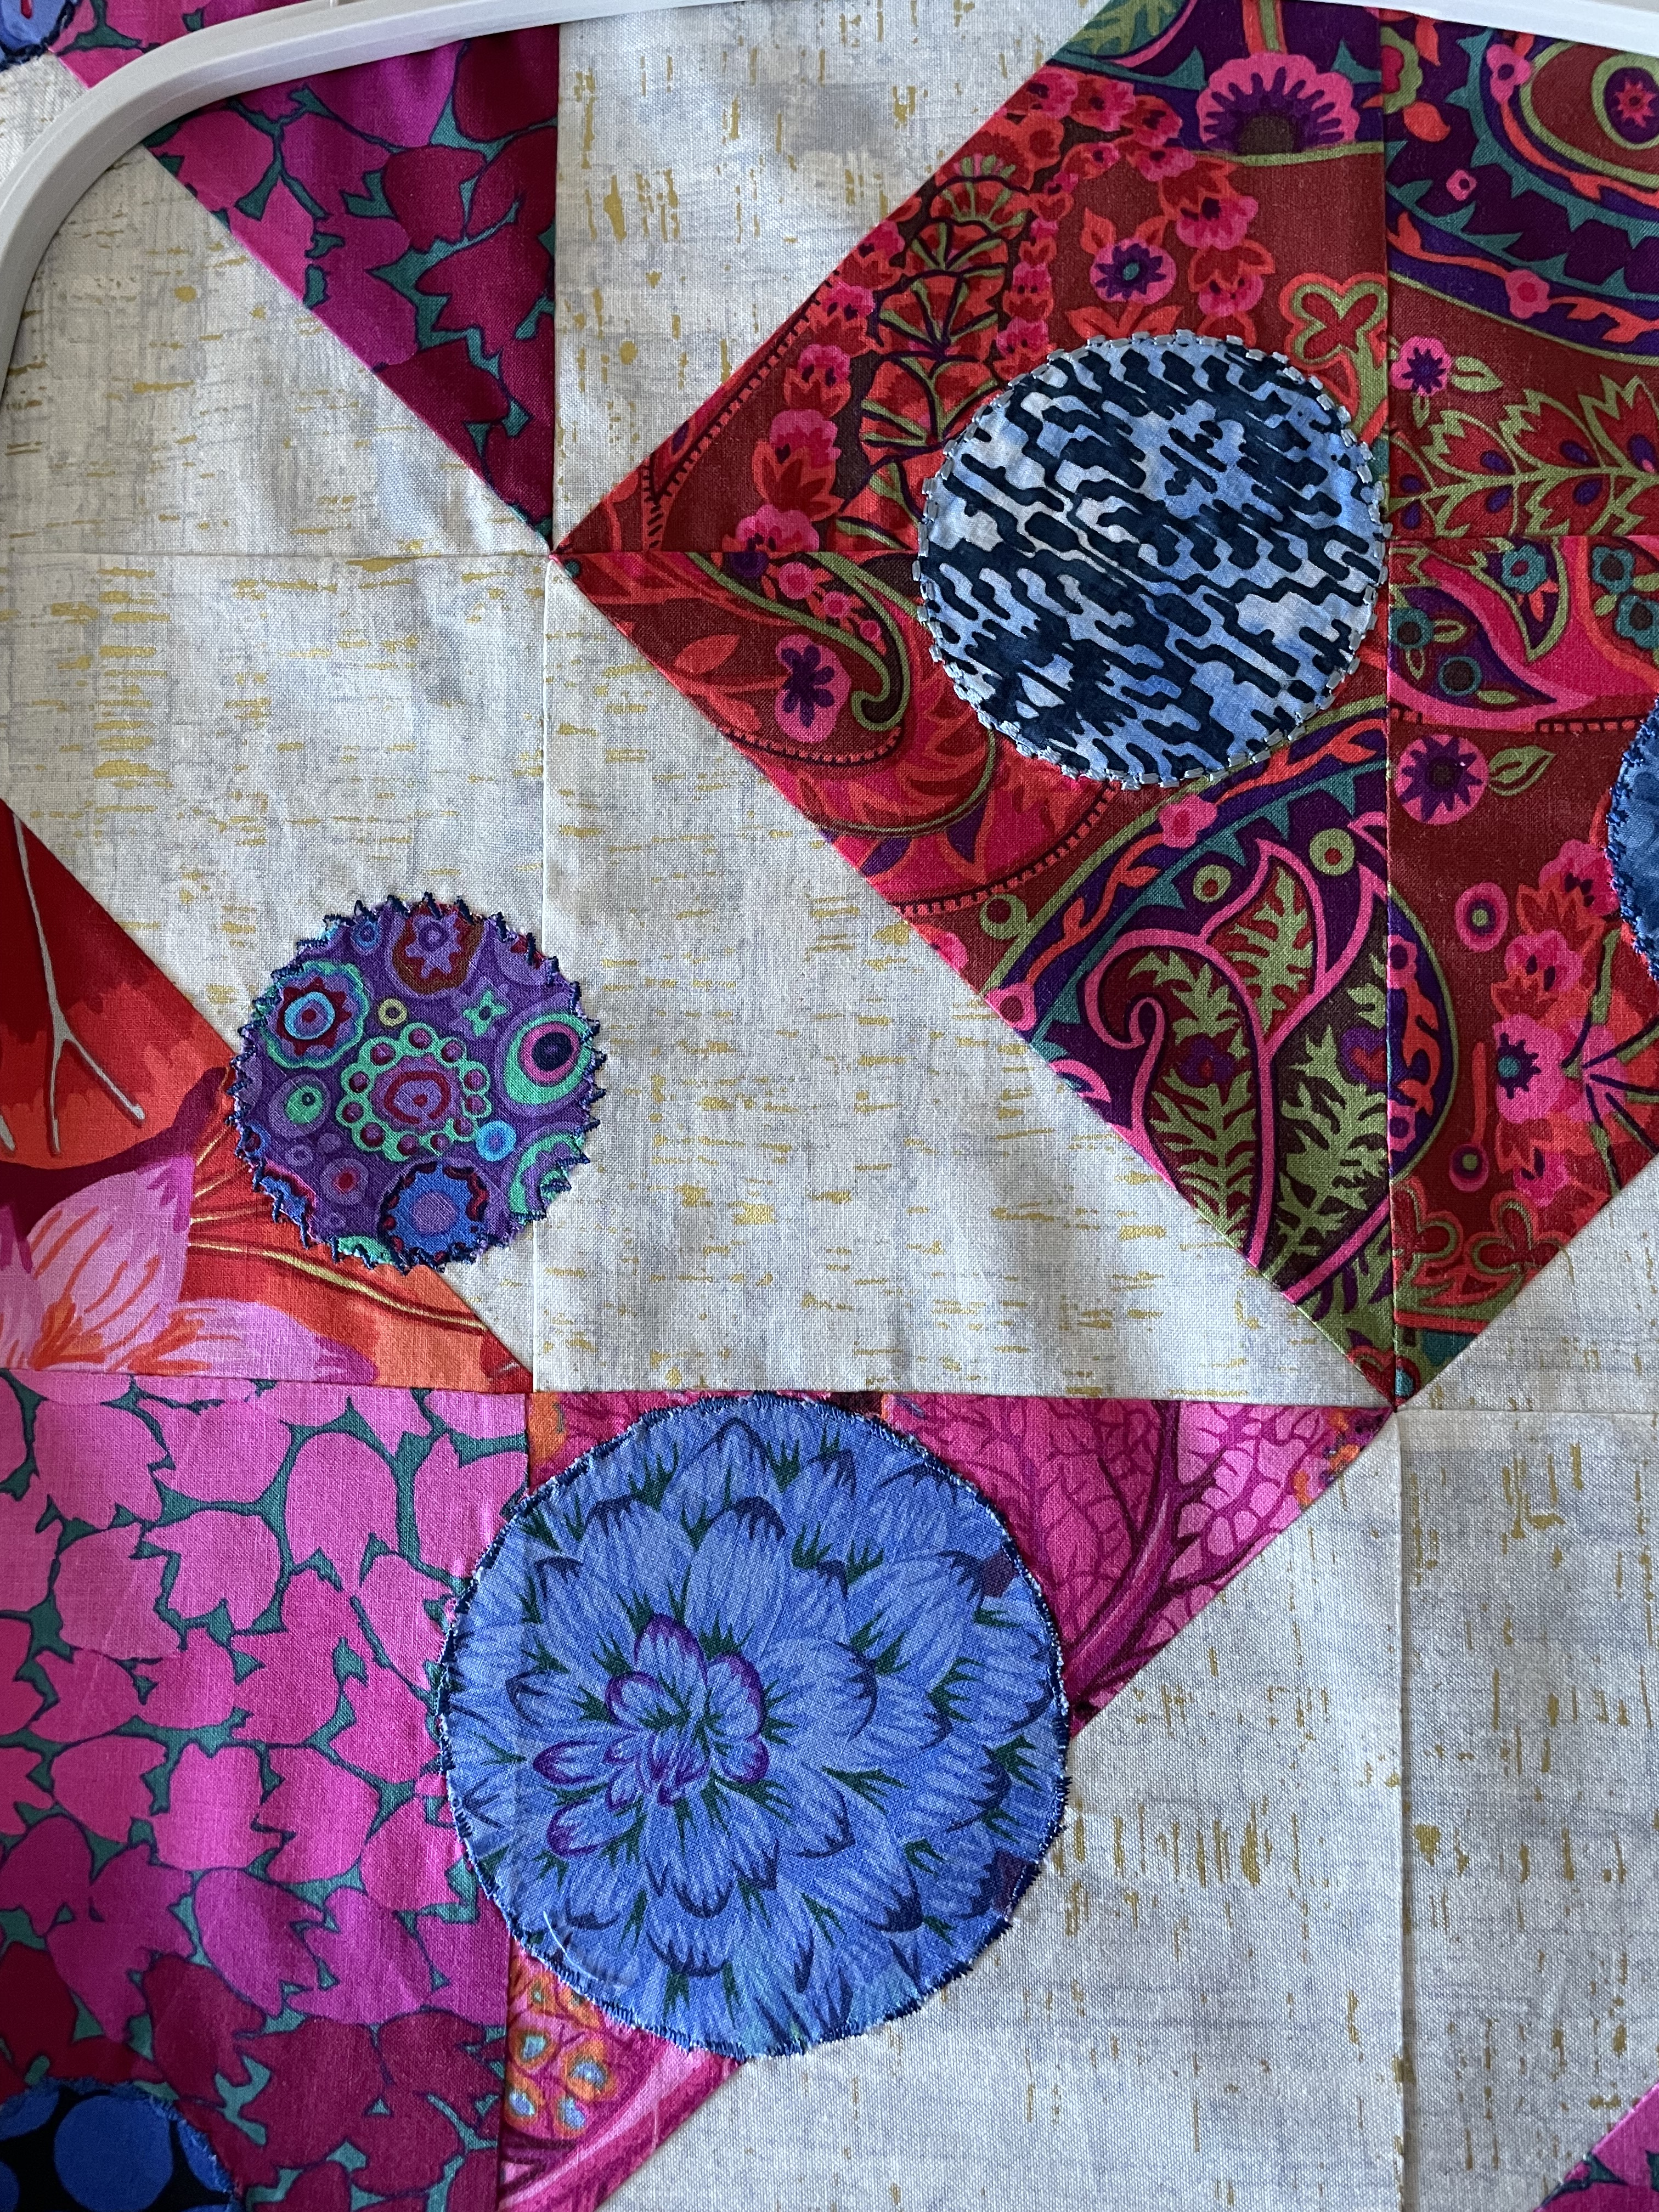

It took two days, but I did get all 87 circles edge-stitched. What with changing thread colour, selecting and modifying different stitches the process was tedious. The large circles are relatively easy because I can keep the raw edge aligned with the centre mark on the open-toe foot I prefer to use; but the smaller the circle, the harder it is to keep the stitching precisely on the edge. On the whole I did a reasonable job although I did unpick the stitching on two of the circles – in the first instance I didn’t like the stitch I had chosen, in the second I wasn’t as accurate as I wanted to be; both undoing operations took considerable time.
Now my challenge is to decide whether to add some embroidery or not:

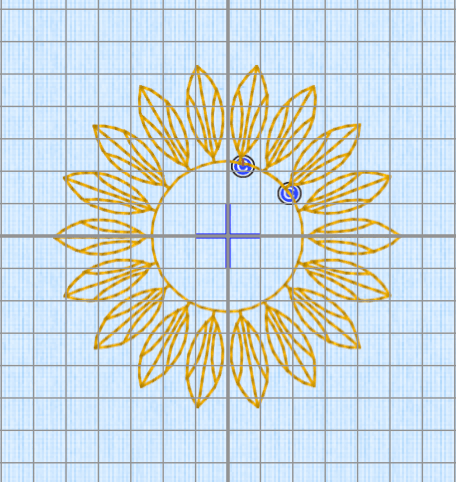
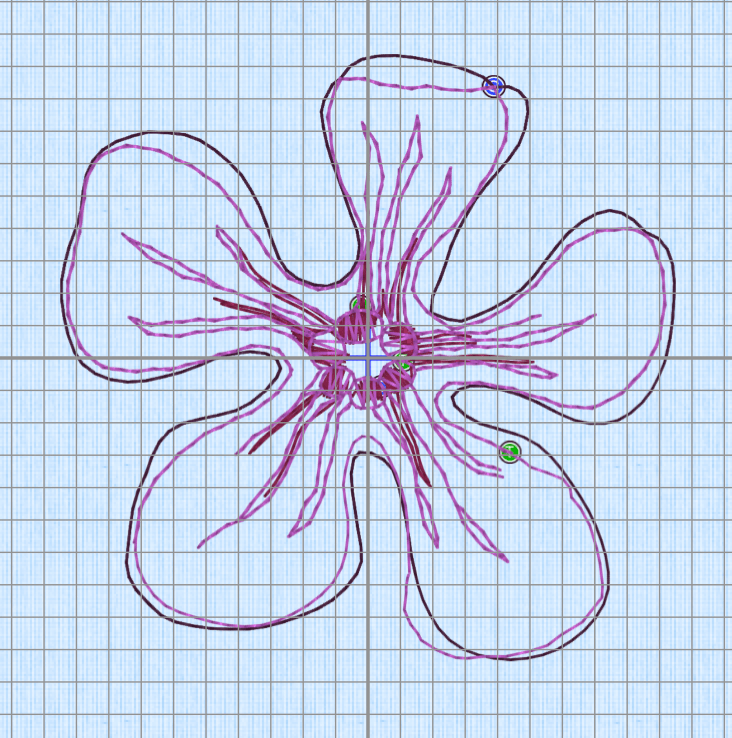
The largest embroidery I can do easily would be using the 260×260 hoop – to go larger would involve the Grand Dream hoop (360×350) which I have to rotate in order to embroider a complete design (always a risky move because the two halves don’t always align precisely).
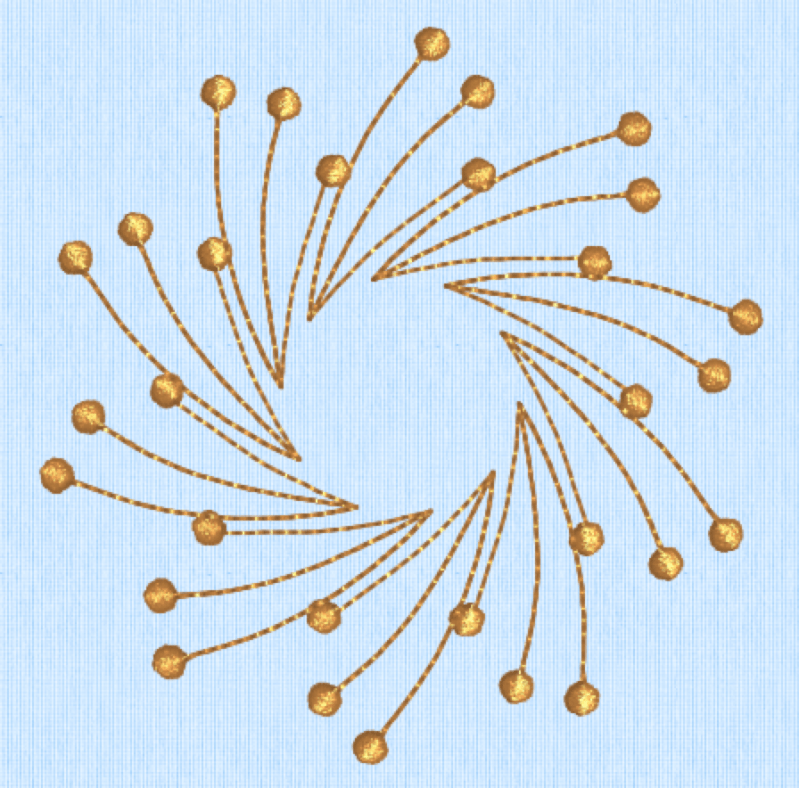
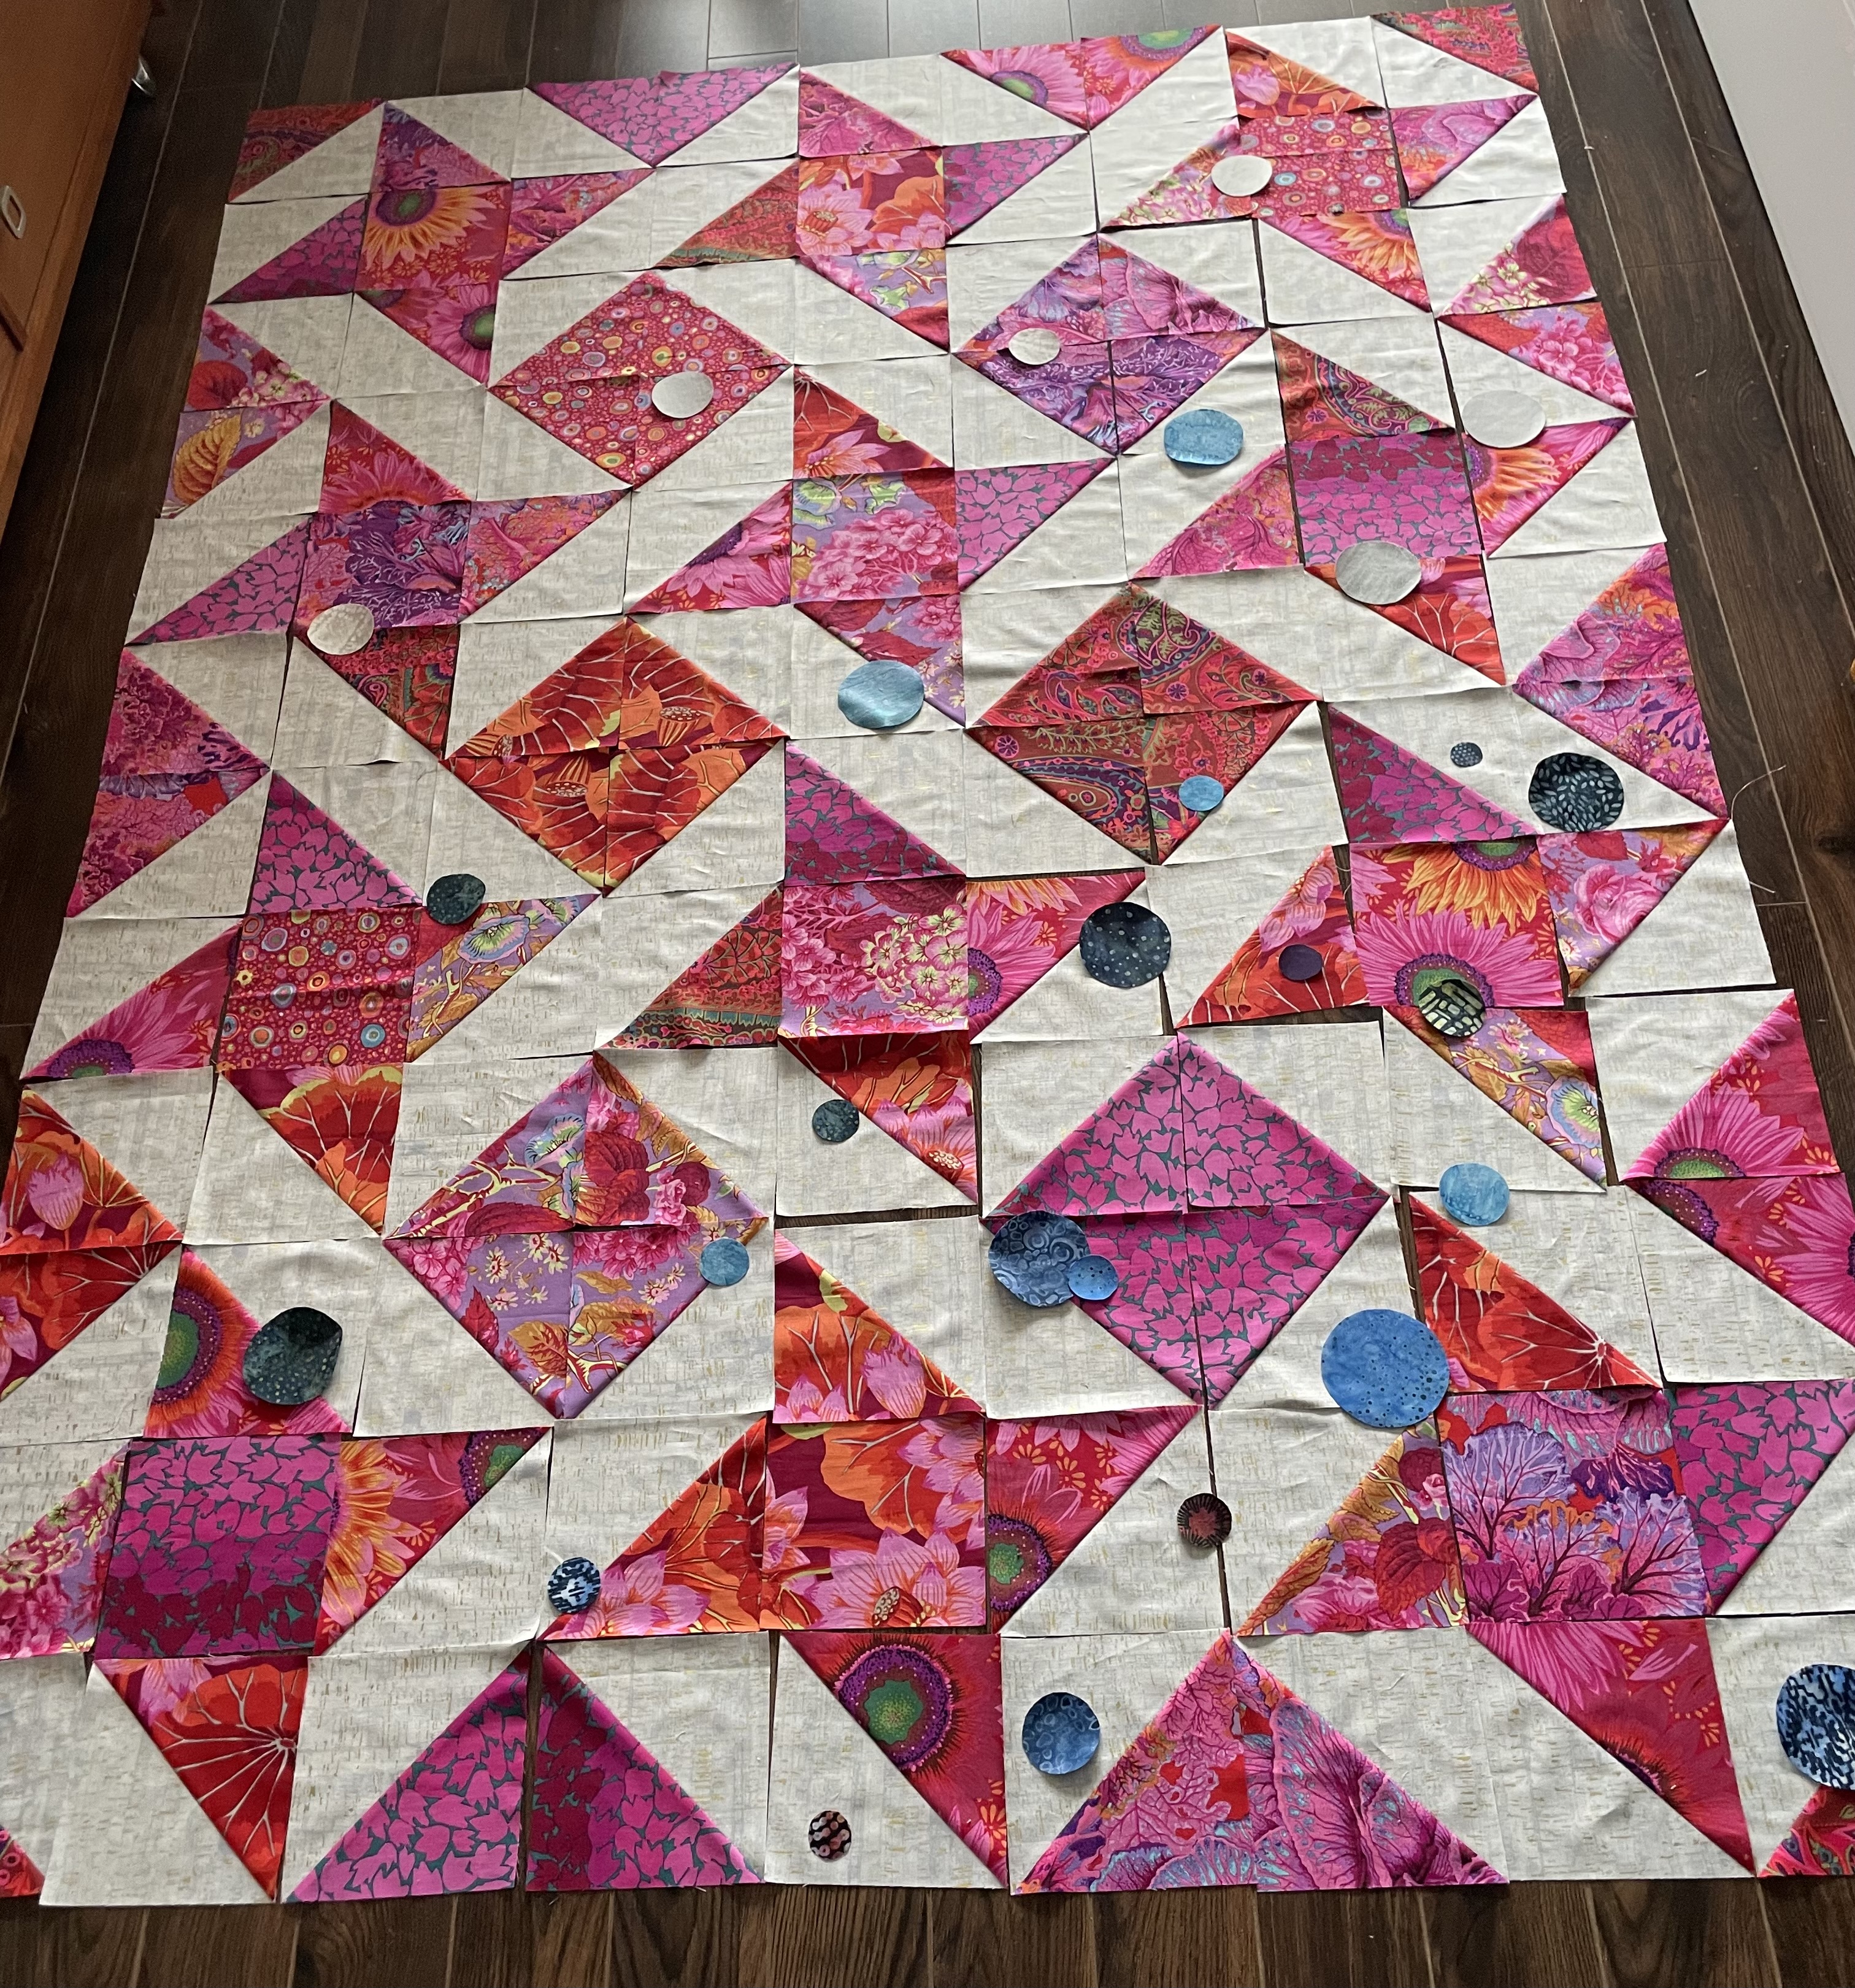
Here’s the problem – so I embroider a design partly over one or more circles using a placement like I’ve shown – not too dense a design so that it overtakes what I’ve done so far. I think I’d even add the batting at this point to give the embroidery some substance. However, I still need to embroider the whole quilt surface, including over the top of any embroidery and that, I know would make the whole effort muddy. I could add small clusters of dragonflies in a few strategic spots:
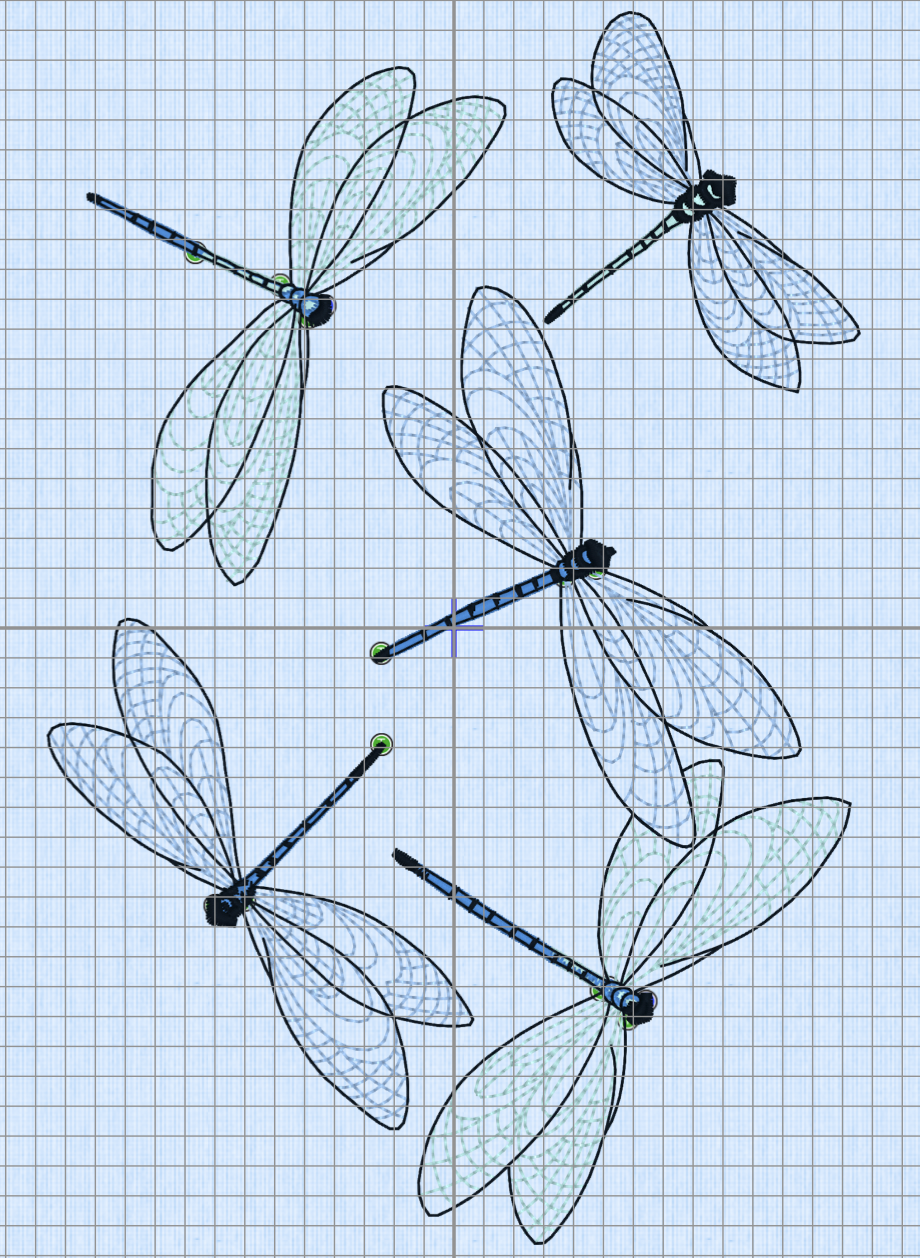
They’re not too dense, and might add an interesting bit of detail, although I’m not sure they’d show up against the darker print fabrics!
I’m probably better off leaving the top as it is, setting up the quilt sandwich and just quilting the whole thing!
At the moment the top is sitting on my cutting table while I ponder what to do now.
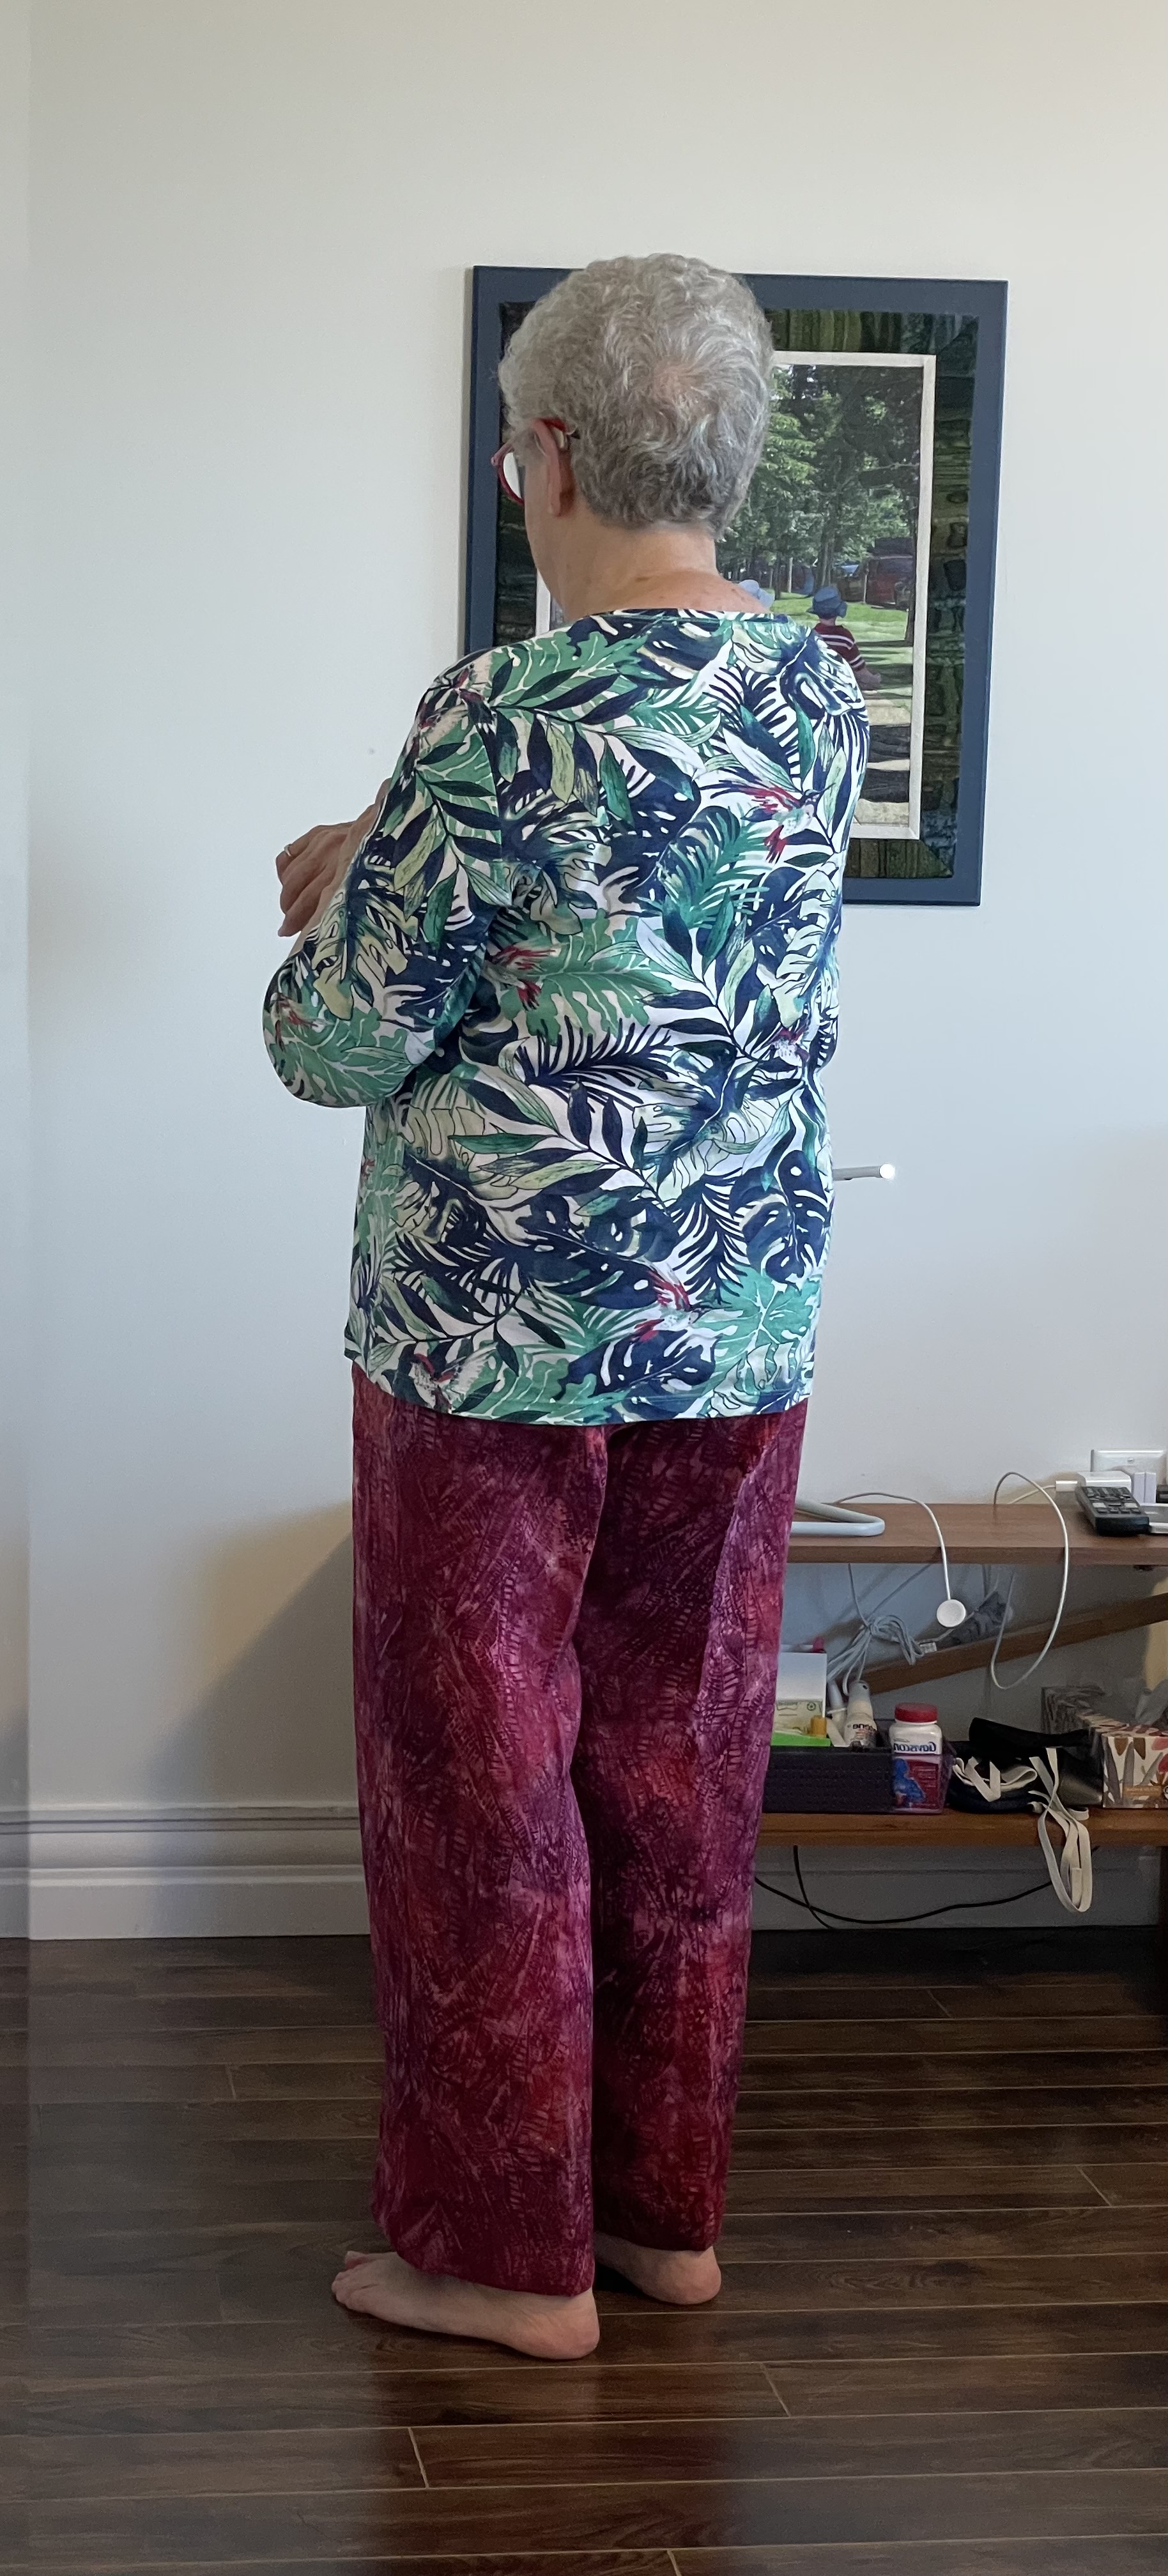
Yesterday, to do something productive while thinking about where to go next with the quilt, I took three pair of corduroy pants I made at least 10 years ago (which I’d put at the back of my closet last winter because they were too small at the waist and I was too lazy to do anything with them), and added long elastic gussets to each side.
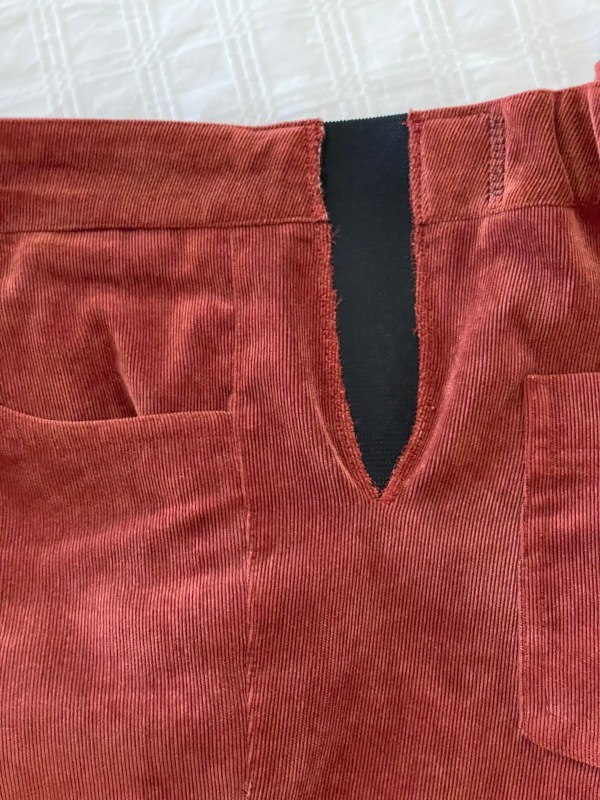
The gussets had to be deep and wide enough to allow the fly front zipper to close. I serged the edges of the 6″ elastic inserts, then overlock-stitched the raw corduroy edges to the elastic using one of the overlock stitches on my embroidery machine. The whole process – removing the elastic I’d previously inserted into just the waistband, extending the cut 2″ below the front pocket opening, serging the elastic inserts, and stitching them in place – took about 20 minutes for each pair of pants. I’m wearing one of them today!
The idea comes from Kathy Ruddy who describes how to create elastic inserts in new pants. I’ve provided Kathy’s instructions previously: https://jmncreativeendeavours.ca/wp-content/uploads/2017/09/elastic-inserts.pdf – it’s not all that difficult to do as a modification on already made pants (whether I’ve made them myself, or bought them and adjusted them to fit).
What amazes me is that my pants continue to fit everywhere except at the waist and belly. As my large “tummy” gets larger, I need to extend the top 6″ or so of my pants but the rest continues to fit reasonably well. It might be useful to revisit that original pattern (if I can figure out which version it might be – I usually date each modification) and try it out again using a “full tummy adjustment“. Let you know how that goes!
Meanwhile it’s back to working on the quilt.