Pants #4

I spent all weekend working on Pants #3 and #4 using what I’d learned from the two failures from last week. Same two fabrics – a 20% stretch cotton/polyester denim/twill in a mid-blue and a navy.

This time I constructed the pants front first and made sure I put the front waistband on when I’d finished the fly and pockets! So the side seams lined up as they should have.

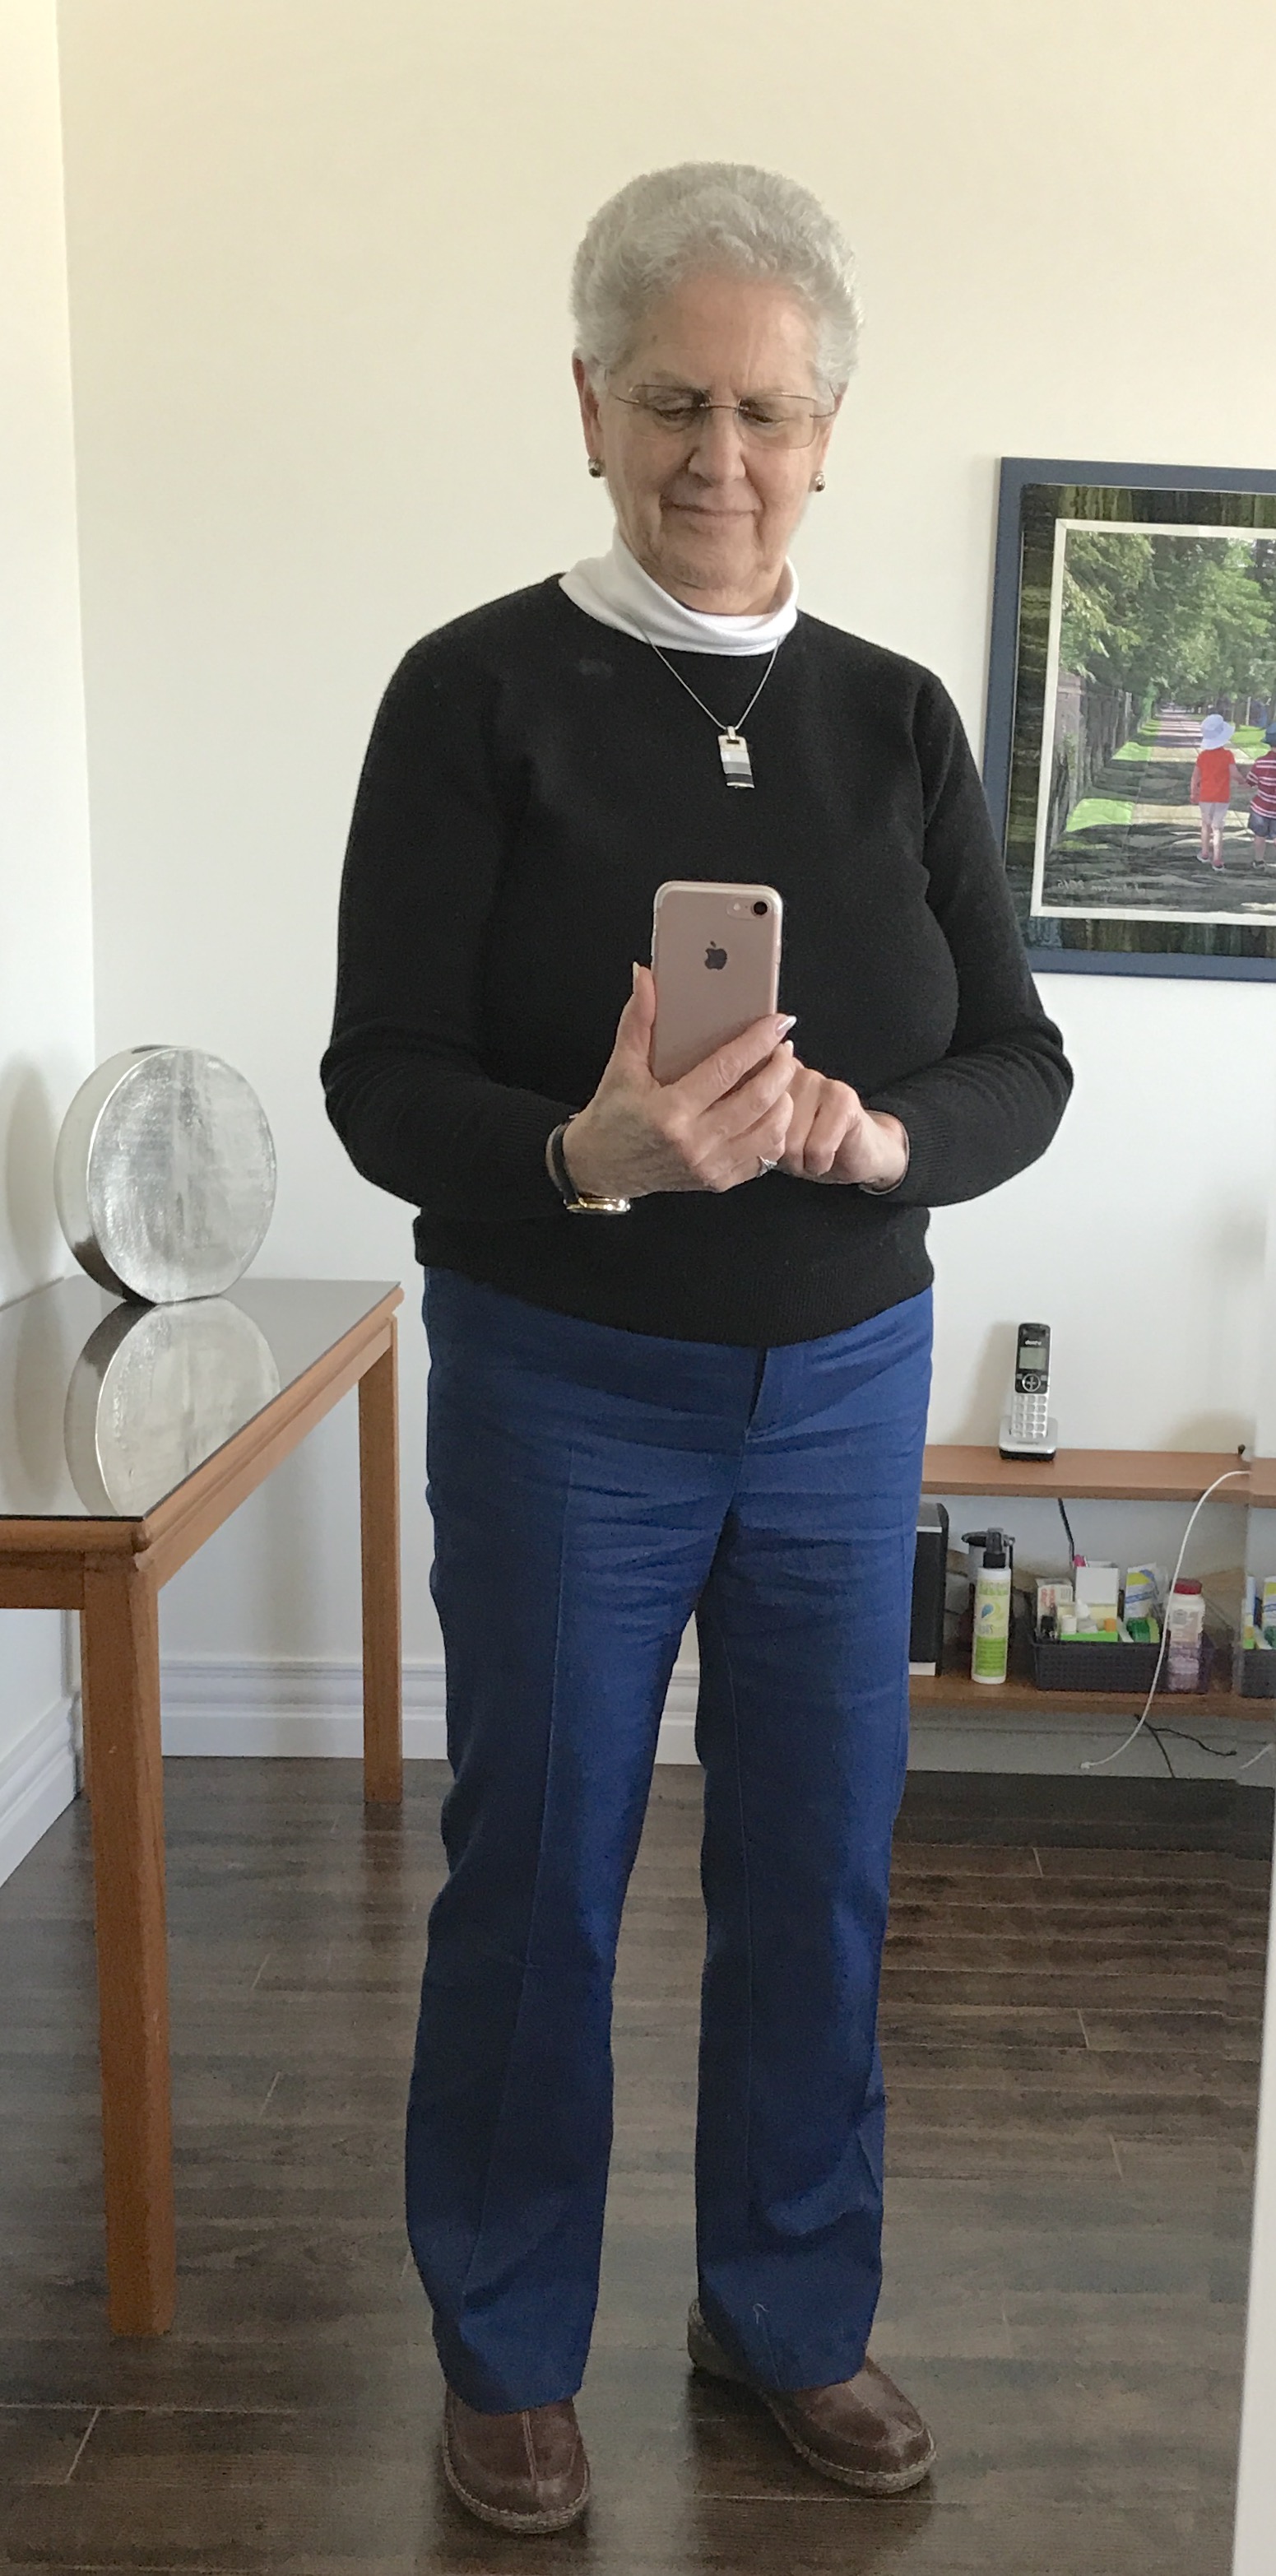
Pants #4 – Front

I made the pockets smaller (shorter) and positioned them higher – closer to the yoke seam. I didn’t bother decorating the pockets, just topstitched the top hem. They’re now a better size for my bum and sitting  better.

Pants #4 – Back

The side seams (and inseams) are straight.

Pants #4 – Side

This fabric is actually quite difficult to work with. Because of the amount of stretch I needed the pants to be close fitting – so there is no escaping some wrinkles. However, I’ve had them on since early this morning and they are snug but very comfortable – the back waist stays in place when I sit (a huge plus – my renovated jeans all pull down in back) so the back crotch must be long enough and whatever curvature I left on the side seams at the top of the back seems to hold the pants up over my hips.

I’d prewashed the fabric in warm water (which is what I use for all my washing) and it “shrunk”a bit when I steam pressed it. However, it loosens as I’m wearing the pants. Pants #3 needed washing after two days – I’m hoping they’ll tighten up after they’re laundered. Also, I have no idea whether the fabric will shrink in length (no stretch along the length) so although the pants look a wee bit long I made them my standard 27 1/2” inseam.

That’s it for pants right now. I have pant lengths of khaki and white fabric which are in my take to San Francisco pile – I’ll make up both pairs during the sewing retreat there consulting with Sandra Betzina about refinements with fitting. What these two pair (#3 and #4) have accomplished is a reshaping of the crotch and legs by removing excess fabric from the side and inseams rather than using the mid-back dart and they’ve turned out reasonably well.

And as I’ve said, they’re comfortable.

Pants #3 – Back

Pants #3 – Front

Pants #3 – Side

The Canadian 2017 Quilt Bee

The Canadian Quilters’ Association has invited quilters across Canada to be part of The Canadian 2017 Quilt Bee to commemorate Canada 150. The quilting bee will actually take place in Toronto June 14-17, but those of us who can’t get there can participate by making 12 1/2″ slab blocks (even quilt tops). The goal is 1000 quilts for kids at Ronald McDonald Houses across Canada. The requirements: 1 small piece of Canada fabric inserted into each quilt slab. No specified quilt block design, just include a piece of Canada cloth and make the slab 12 1/2″.

Local fabric shops are participating in the event – holding slab making days. The Friday afternoon women, here in my building are joining in, too. A week tomorrow we’re planning on spending the day making 12 1/2″ slabs.

I stopped off at my local shop this afternoon and picked up a half-dozen pieces of Canada fabric and came home and quickly turned out 3 slabs!

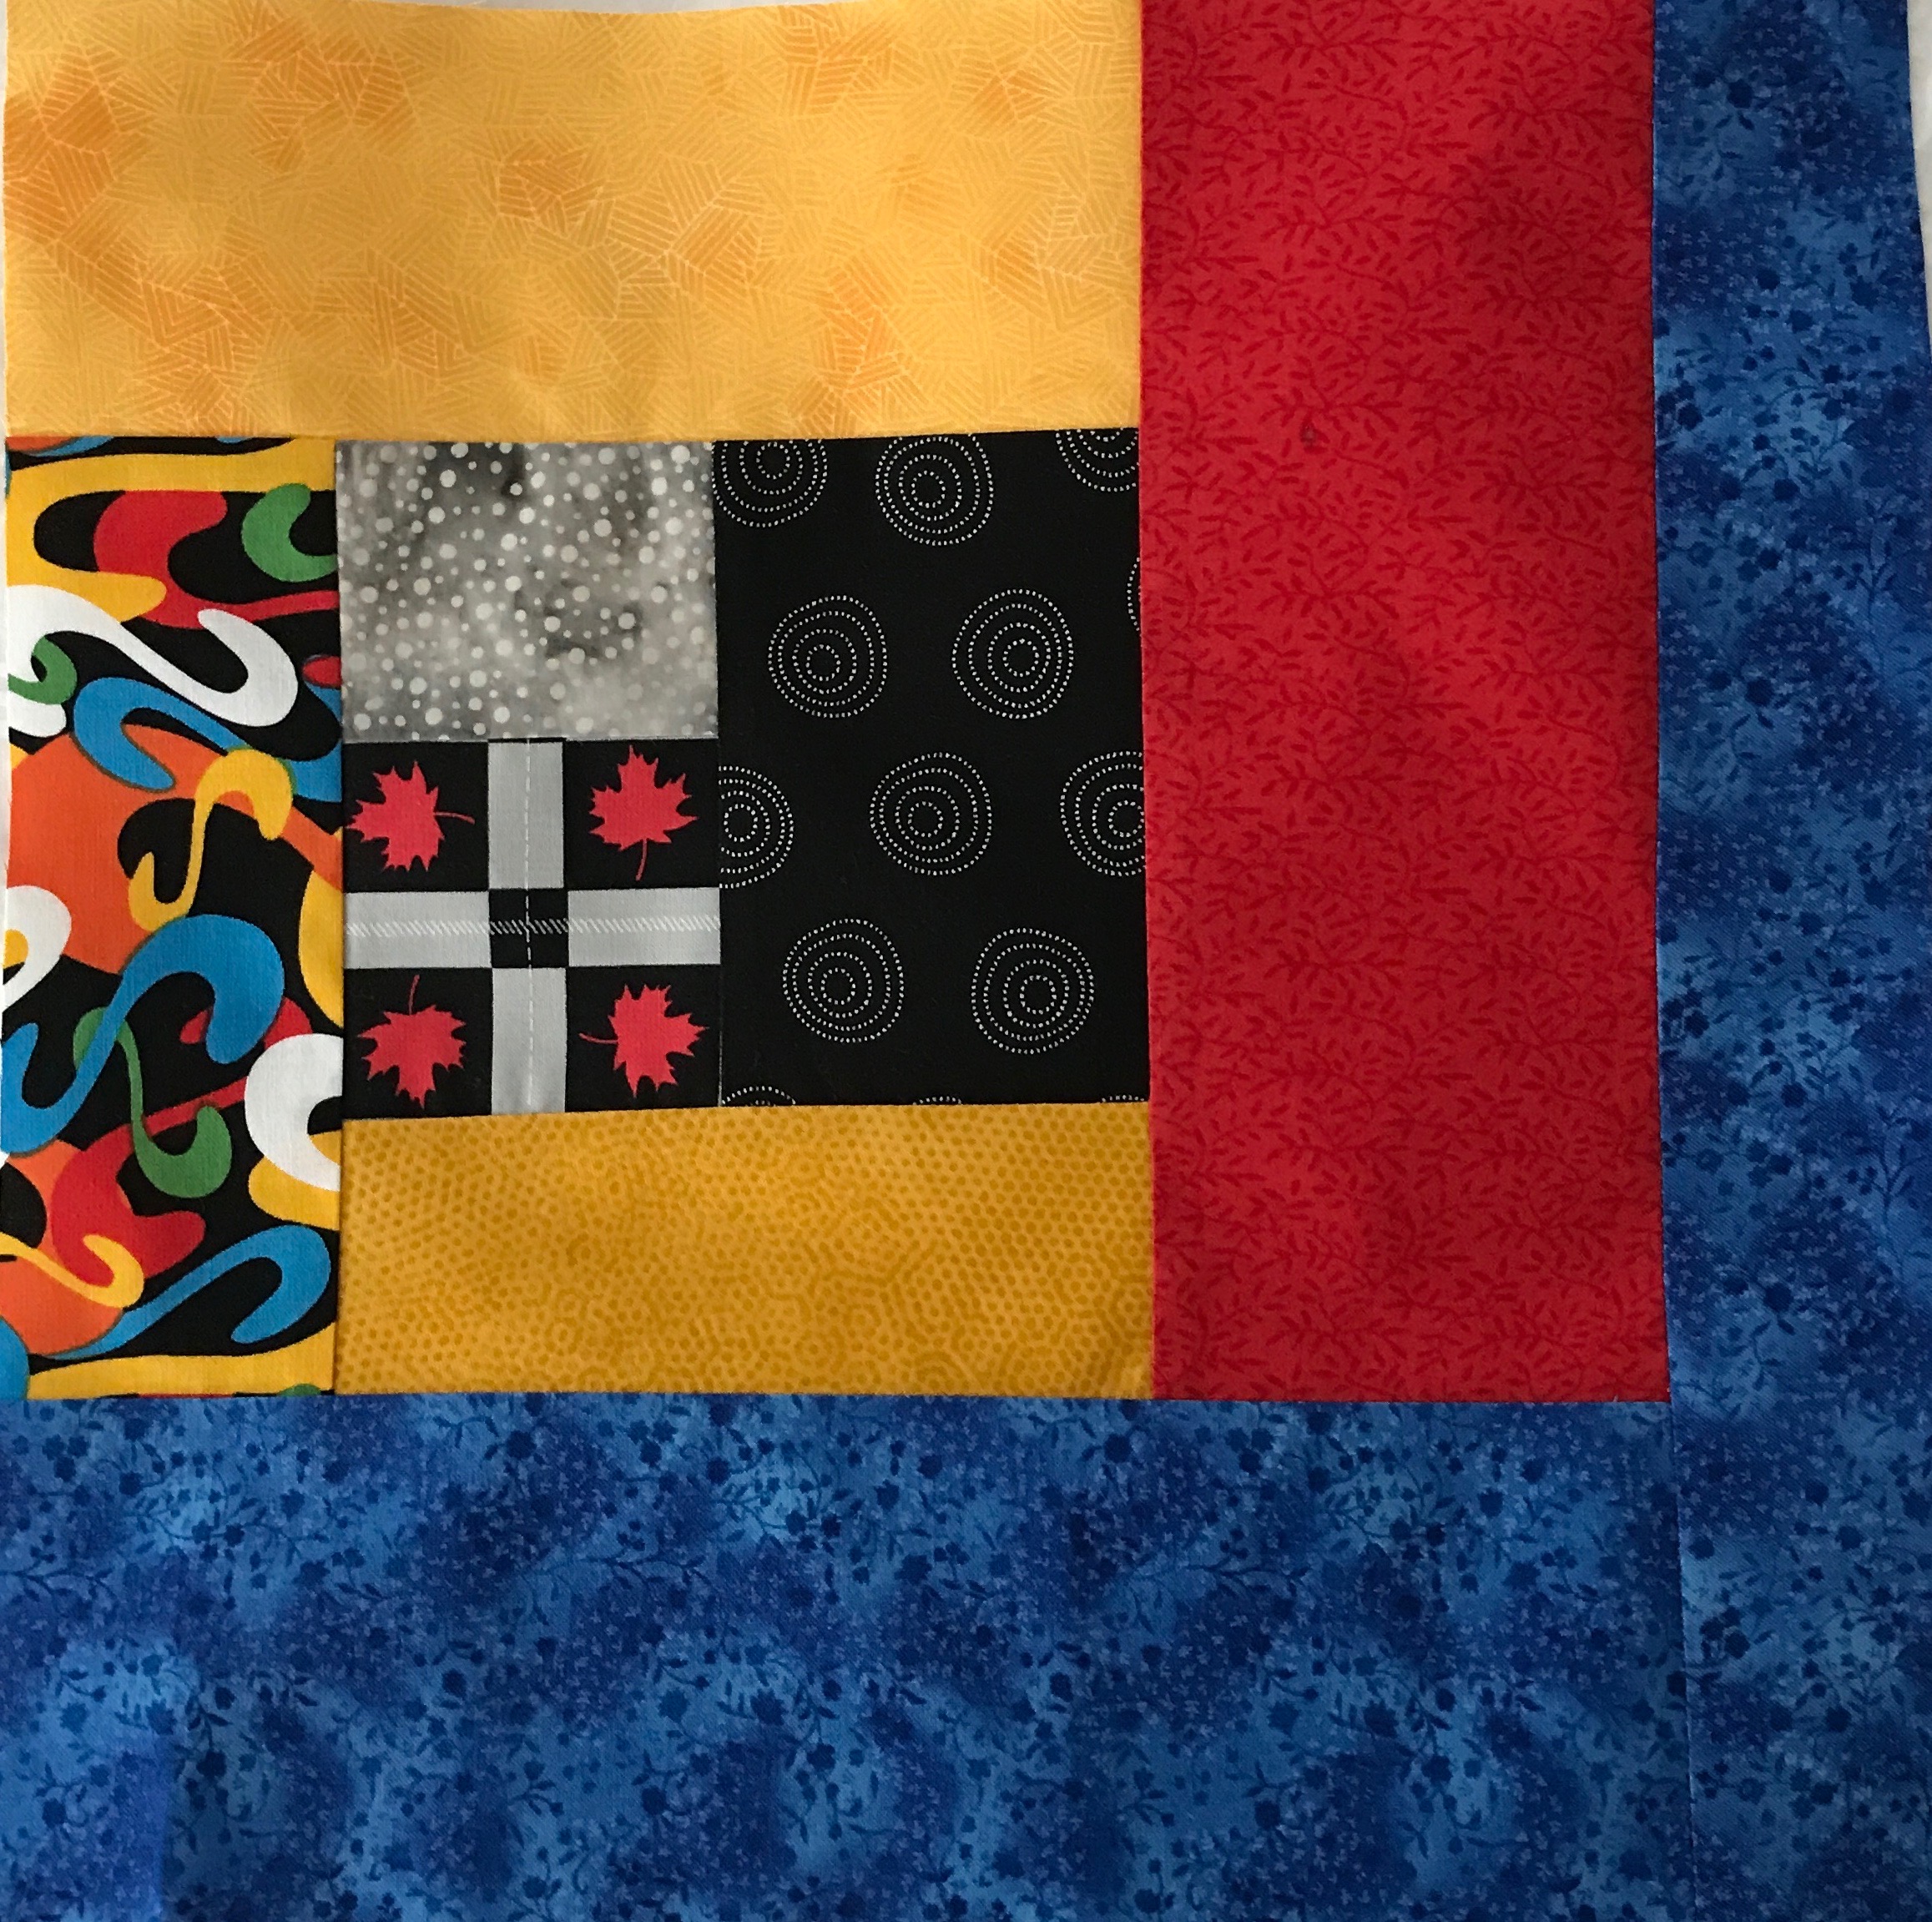
Improvised Slab #1

Improvised Slab #2

Improvised Slab #3

As you can see my slabs are improvised – started with a bit of Canada fabric, surrounded it with something colourful, and continued to build out the slab until I had enough to trim to 12 1/2″. They’re wild! Nothing subdued about them. I’m sure they’ll coordinate with slabs sewn by other women. I figure 1000 quilts will require close to 25,000 slabs! That’s a lot of piecing but with many willing hands I bet the Association will meet its goal.

There was one horrendous mess on my cutting table by the time I’d finished these three  – I’ve just tidied up. I have three more pieces of Canada fabric so over the next week I’ll probably build another three slabs. I’ll do another couple when the women get together next week.

Jeans #2

Back #1

Back #2

OK. Not impossible. I took a deep breath and unstitched the waistband (which I’d put on upside down). Turned it around, stitched it back on. Added the waistband facing and stitched it down.

I did it, not to salvage the pants – there are problems with how the back of the legs is hanging (because of the fact that the side seams are out by 2″, right?). It’s the bum I was interested in and I can see it’s not bad (click on the images to see the fit more clearly). Had I done the construction correctly, the back would be fine – except for the pockets which are too low – for me, the pockets have to be almost on the yoke seam and not 2″ below which they are (which means I have to attach the yoke before putting the pockets on the back). If raised, the point of the pocket would be in a better location.

There’s also a problem in the front –

Pants Front

the front waistline has to be dropped half an inch – with it that bit too long, the front crotch has “smiles” – which is something I definitely don’t want. (Part of the “smiles” is because I’ve been sitting in them while writing this – but I will shorten the front rise that 1/2″ in the next pair).

Also I’m rethinking adding 1/4″ to each side seam – having had the pants on for 15 minutes I think the legs may actually be fine as they are (given the 20% stretch in the fabric).

Other than that, the pants aren’t too bad. They have served well for a muslin. Nevertheless, they’re still going into the “send to Value Village” pile – but the NEXT pair will be PERFECT! Really.

Weekend Failures

Two Failed Sewing Projects

I’ve been working at trying to get pants to fit me for a long time. I made my last pair last winter (I’m actually wearing them at the moment). Since then my waist has expanded a bit, my bum is still many sizes smaller, my inseam hasn’t changed… So instead of adapting my old pattern I decided to try a new Jeans pattern. I chose the Jalie 2908 – Women’s Stretch Jeans (I’d read good reviews).

I laid out the pattern pieces, saw I needed a size Z at the waist, a size U at the hips and a size R for the inseam. So I traced the pattern, making the adjustments between sizes using my trusty French curve, cut out the pattern pieces, cut out the light blue fabric (which I’d bought on sale and was treating as muslin) and put the pants together.

For me, the trouble with pants is I can’t baste them together and have any idea whether they fit – I have to put in the fly zipper, the pockets, add the waistband, even hem them (because the legs don’t hang correctly even pinned at the correct length) – in other words make the pants – before I know whether the pattern works or not.

I was using a stretch denim twill (20% stretch called for in the pattern) and the resulting pants were just ill-fitting! I didn’t bother with buttonholes in the waistband (all that was left to do) – I put the pants in the “off to Value Village” pile. (I will try the pattern again but probably not before the summer.)

That was Saturday.

Sunday, I went back to my Sandra Betzina Jeans pattern (V7608), redrafted the back panel yet again – last version had a long dart down the centre back of the leg from just under the bum to the top of the knee. I wanted to remove that excess fabric, instead, from the side seam and the inseam. Once I had the pattern retraced (with adjustments) I cut out my darker blue stretch denim/twill and constructed the pants.

I was doing a great job – put the decorative stitching on the pockets, attached them to the back panels, added the back yoke/waist. Attached front pockets and fly – both without a hitch. Time to join front and back – and here’s where I went disastrously wrong. I forgot to attach the front waistband before doing anything else!

I had stitched the front crotch so putting in the zipper was easier; I now stitched the back crotch (you get a slightly better fit if you sew the inseams first, then the crotch seam but in my head I was working on a second muslin and decided ease of inserting zipper trumped finessing the fit). I sewed the inseams, and the side seams – without the front waistband in place. Even though the front side seam was 2″ shorter than the back side seam (I trimmed away the excess on the back) then I stupidly serged both side seams – without questioning why the length difference. It was only when I reached to attach the waistband that I saw my mistake.

I stopped sewing. I made a quick trip to the fabric store to pick up more of both blue stretch denim/twills since I still had valid sale coupons and the fabrics were themselves still on sale. Planning on starting over – paying careful attention to what I am doing!

Today, I tried removing the “waistband” portion of the back yoke on the darker blue pants, tried adding a full waistband – only to see that I’d attached the waistband upside down! Not meant to be.

The pants would have fit quite well had I assembled them correctly. What I did learn is that although the legs fit not badly, I probably should add 1/4″ to side seam from the hip to the knee – in other words, take a bit less off the sides (I can always take them in – can’t let them out). These legs fit rather snugly.

So taking a deep breath, I’ve washed and pressed the new fabric and am ready to start over. Planning to assemble the parts in the right order this time.

Knitting Tip

Tracking Thread

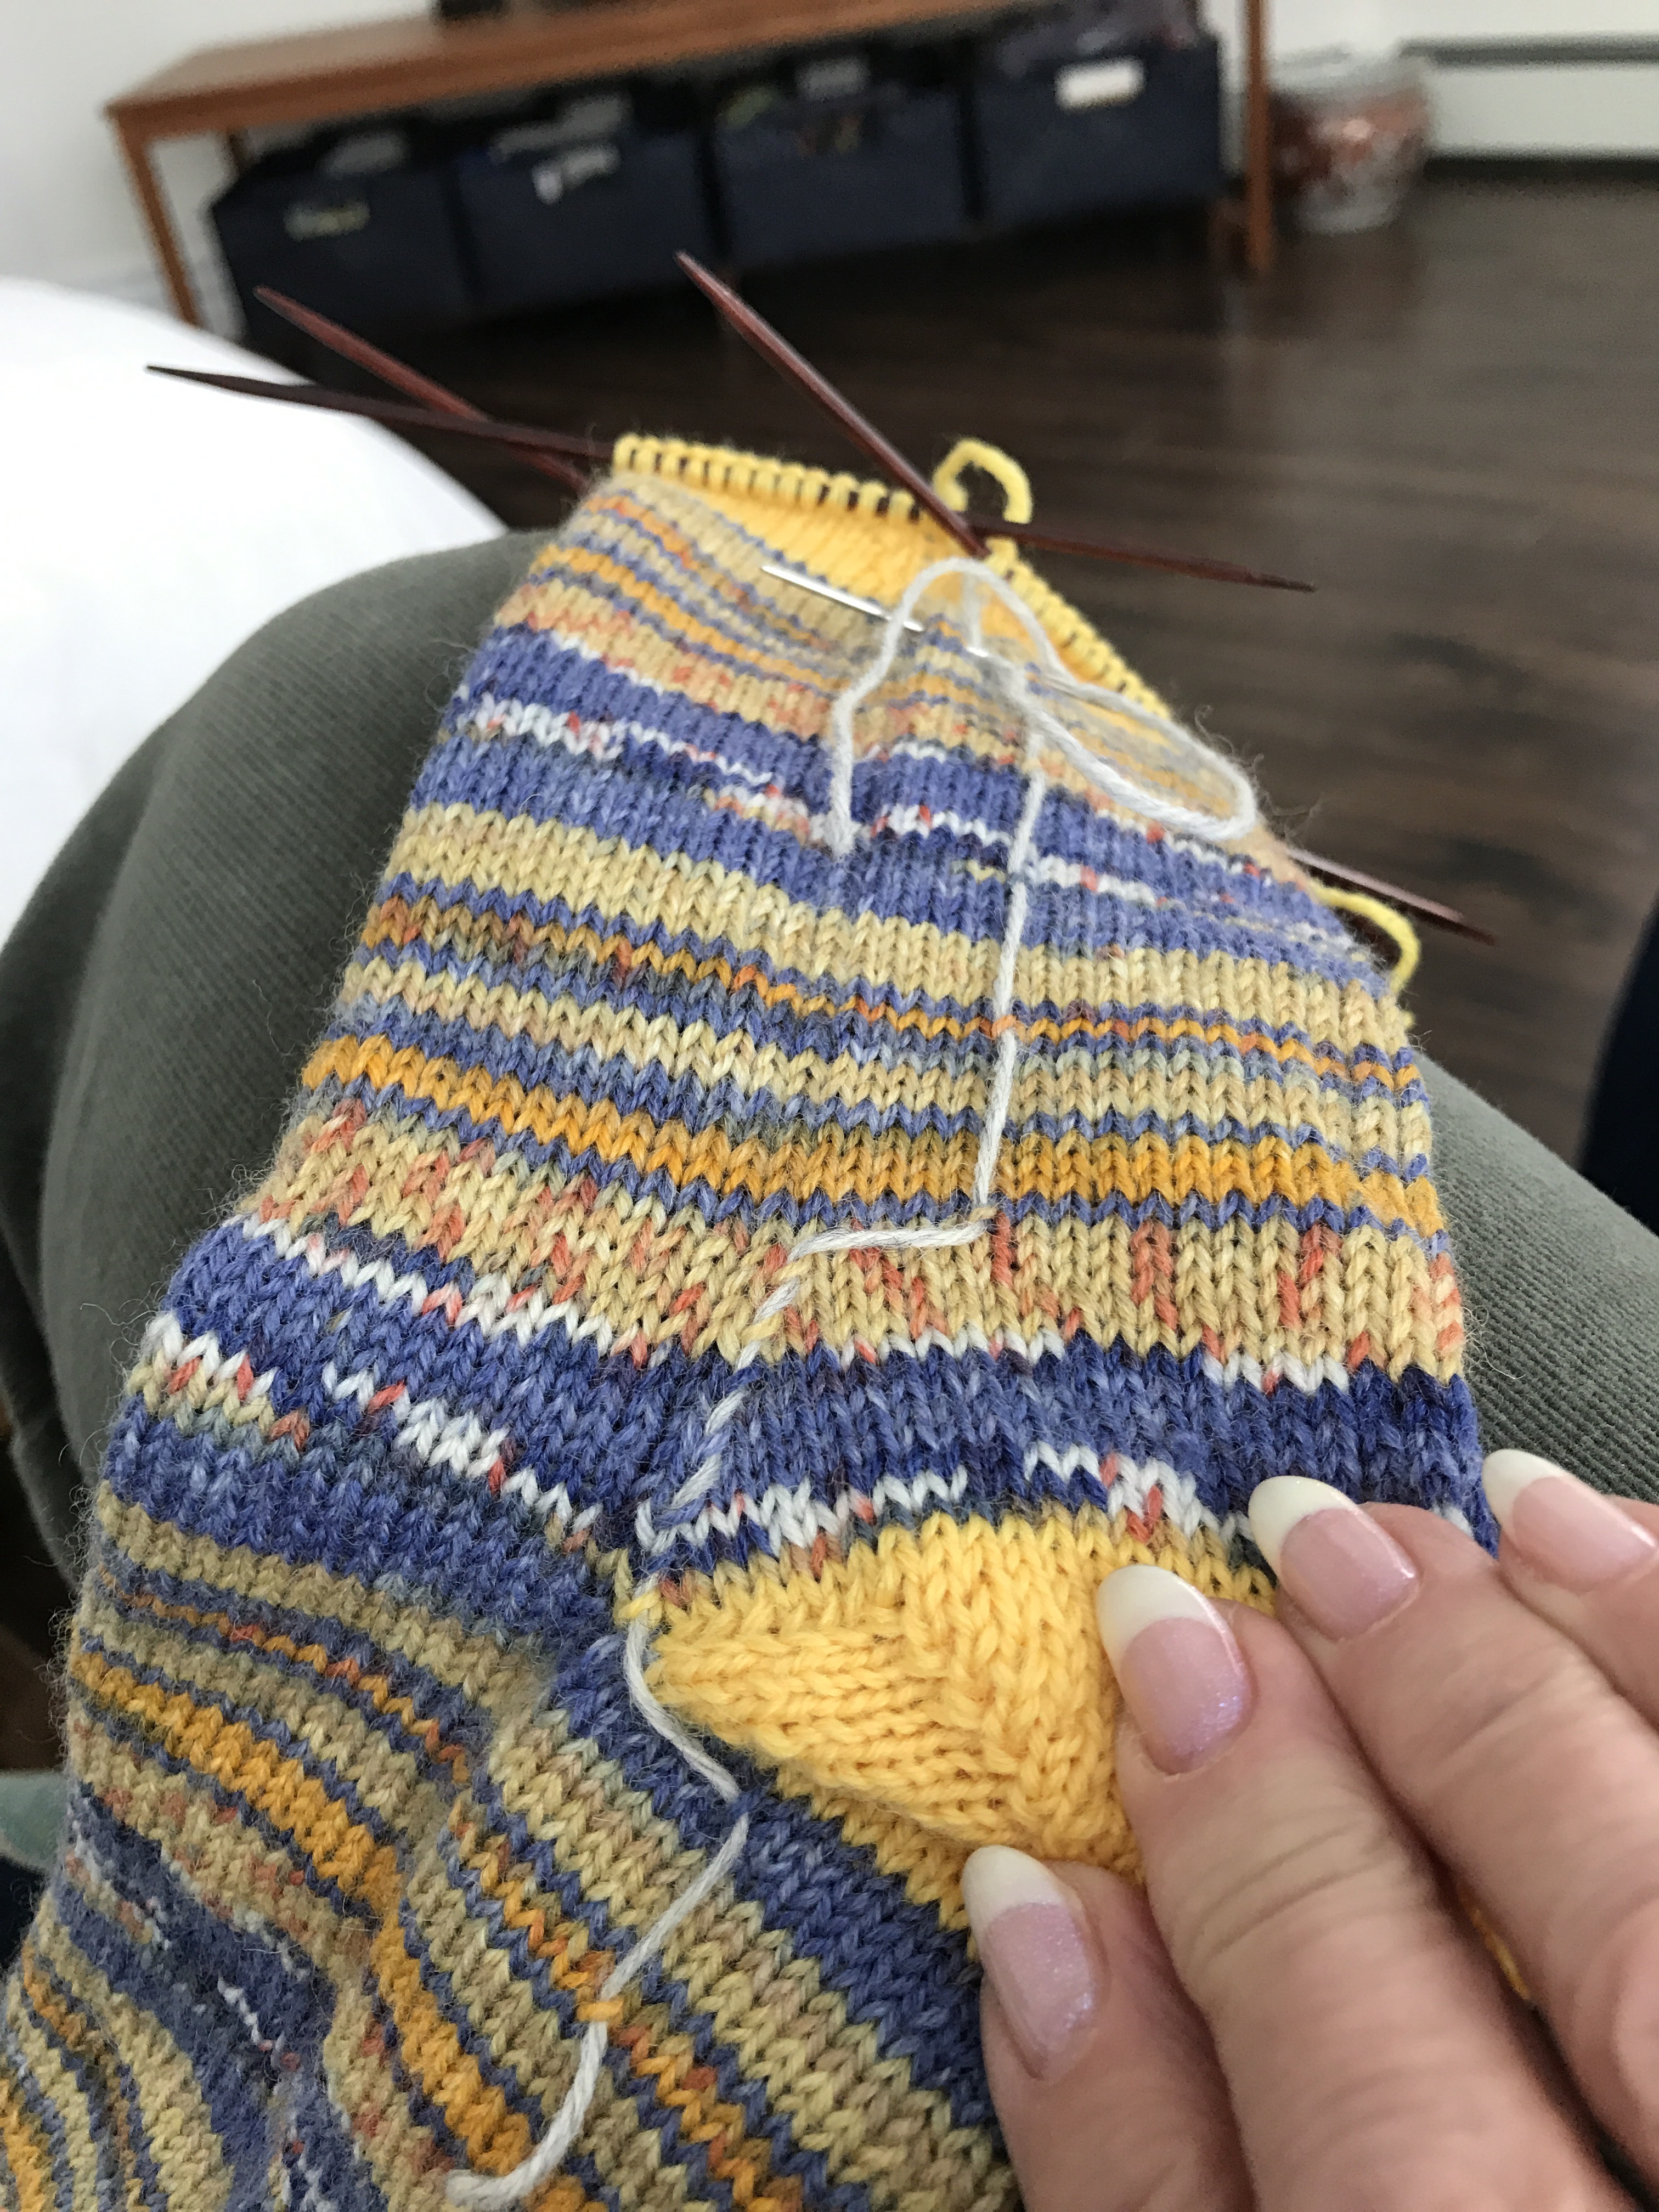
Friday afternoon one of the knitting women asked about the thread I use to track rows and decreases. It’s a real easy way to know where I am in the evolving sock. I mark every ten rows and each decrease in the gusset. When the sock is done I pull out the thread. Much easier to use than pins or marker rings. Been doing this for a very long time.

The Truth About Spring in Nova Scotia

I’ve heard nothing but griping about winter for the past week. I’m not among the gripers. That’s because I’ve been keeping records for 30+ years on the first appearance of Forsythia and Coltsfoot in Halifax.

We’re still in the grips of winter – two snow storms in the past ten days. Strong winds, freezing rain. I understand that the time has changed and the calendar has passed March 21 but guess what — we can expect at least another month of “winter” here!

First Coltsfoot – April 27 2016

When I started keeping track more than 30 years ago, the first Forsythia – those bright yellow shrub flowers, the first we see in spring in Halifax didn’t show up until close to the 20 of May – the earliest I recorded Forsythia up to 1992 was May 16. From 1997 to last year that date slowly shifted – from May 12 to around May 2. In 2015 I recorded some Coltsfoot and Forsythia on May 2. Last year I actually saw some Coltsfoot and Forsythia on April 27. That’s still a month to go.

First Dandelions – May 31 2016

We can’t expect to see Dandelions in bloom until around May 24 in Nova Scotia.

So there’s no point in griping – enjoy what sunshine we’re getting. Be sure to put on a warm jacket. The calendar may say “spring” but Spring won’t arrive in Nova Scotia until the very END of April – even with the changing climate.

Socks Again

Comfort Yarn

Finished last evening. I had intended knitting the heel with the golden yarn I used for cuff and toe but given the spot where the second gold stripe on the leg showed up, I thought a contrasting heel would be more interesting so I dug through my yarn stash and came up with this dark green (almost dark grey). 

Worked out well.

12 X 12 Quilt

I mused about the teal/indigo fabrics I had for a couple of days and decided in the end to limit the quilt to just the set of twelve fat quarters (I put the rest away). To use my set of twelve indigo fat quarters, I decided to make a 12 x 12 quilt based on Elizabeth Hartman’s “Low Volume Tiles” quilt from her Craftsy Class: “Inspired Modern Quilts“).

I based my quilt on Hartman’s design but had to adjust the sizes of my small blocks because once I cut the first 13″ square I knew I had to fiddle to cut a second set of 12 blocks – there wasn’t enough fabric for a second 13″ square. So the dimensions of my small blocks are a bit different than hers in order to be able to use the fabric I had – there was just enough with a 5″ x   8″ leftover piece of each fabric which I used in my side borders.

The idea behind this quilt is to take 12 fabrics, cut 13” (or whatever large size) blocks you want by stacking and cutting them into the same 12 sections. Next you sort them shifting fabric #1 to the back of the stack for the second small block, fabrics #1,2 to the back of the stack for the third small block, fabrics #1,2,3 to the back of the stack for the fourth small bloc…. You get the idea:

12 Blocks – Stack ‘n Whack – Sorted

When you’ve done the setup, each stack has 12 fabrics, arranged so that a different one of the 12 fabrics is at the top of a stack before you begin laying out the large blocks and the fabrics in each stack are in the same sequence, just shifted by one so when you sew the blocks, each block has all 12 fabrics with no repetitions!

I intended to end up with 10 1/2″ blocks (having started with a 13″ square) – I trimmed my stitched sections to 11″) and assembled them into a 3 x 4 array:

12 X 12 Stitched Together

That’s a small quilt, however. I had cut a second set of 12 small blocks from the residual fabric from my indigo fat quarters – so I stitched together the second set of twelve blocks. It turns out that I was lucky to have chosen 13″ as my starting size because I wouldn’t have had enough fabric to create the second set of 12 blocks had I started with 14″!

One other thing – I removed one of the light fabrics from the collection before I began cutting, substituting a bright green for block #12. I wanted one colour to pull the other fabrics together.

My Finished Double 12 x 12 Quilt With 4″ Borders Added to the Sides

My finished quilt top is a 4 x 6 array with added 4″ side borders to give me a final width more in proportion to the length. Finished quilt: width 50″; length 64″. I lost a tiny amount from both width and length with the trimming I did in order to able to fit the blocks together. But in a design like this you can’t tell where the trimming occurred. You really aren’t able to see the “blocks” or where the main joins are.

Now to come up with an idea for the back. Yesterday I bought some backing fabric and 1/4 m of four teal/indigo batiks to add to some others I have but didn’t use in the quilt top. I had to do that because I didn’t have a single scrap left from the original fat quarters I started out with.

From My Fabric Stash

Fabric Stacks

Nearly two years ago I returned from a road trip to Toronto via Center Harbour Vermont so I could visit the Keepsake Quilting shop. I’ve been buying fabric from the online shop for years. This was a chance to actually see the entire selection.

I was looking for green batiks to make a quilt for Noah. However, once I’d made my choices, I couldn’t help looking around and ended picking up two different fat quarter collections of indigo/teal – eighteen pieces of fabric in all.

Having just finished the Japanese Strip Quilt, I was looking through my stash and decided it’s time to use these indigo fabrics so I opened the packages, spray starched and pressed each piece. I realized I didn’t have enough light coloured fabrics so I made the rounds of my nearby fabric shops and bought several 1/4 m selections.

Now the prepared fabrics are sitting on my cutting table – along with a 1/2 m length of a bright green to use as an accent.

I just have to decide what to do with them! I want something “modern” but probably constructed using traditional elements. Can’t make up my mind, is the problem.

For example I could set up half-square triangles and recut them:

Disappearing HST

I could cut squares, stack them three/four at a time, wonky cut them, and sew, mixing and matching to create blocks.

Wonky Log Cabin

I could just make 4 HST at a time and cluster them:

HST Clusters

I could cut rectangles and arrange them somewhat randomly:

Japanese Blocks

Or I could just cut and sew, improvising as I go along!

Don’t know where to start yet.

A Note on Binding My Quilts

I bind my quilts using 2 1/4″ strips cut from the width of fabric to provide a bit of give as I attach the binding (given the large lap quilt size of my quilts I need six strips). I join the strips using a mitre – the reason is the angled seams don’t attract the eye and often they are nearly invisible.

Sometimes I press the long strip in half lengthwise, but lots of times I don’t bother. I attach the binding first to the back of the quilt starting 10 inches or so from one end (to allow me to create a mitre join when I get all the way around) – no pinning, just stitching in short sections, aligning the binding against the quilt edge (with a hint of stretch), and stitching a smidgeon more than 1/2″ from the edge. When I get near to the join I stop sewing, lay the quilt flat on the cutting table, cut one end of the binding then overlap the second end, measure 2 1/4″ from the end of the first binding edge, and cut. Now I create a mitre to join the two overlapping ends of the binding – I make sure the binding is the tiniest bit short (1/8″ – 3/16″) so I can stretch the joined binding to fit the quilt (that way I don’t get a bubble in the binding). (I haven’t said anything about creating mitred corners – click here to get more or less an idea for how  I do it.)

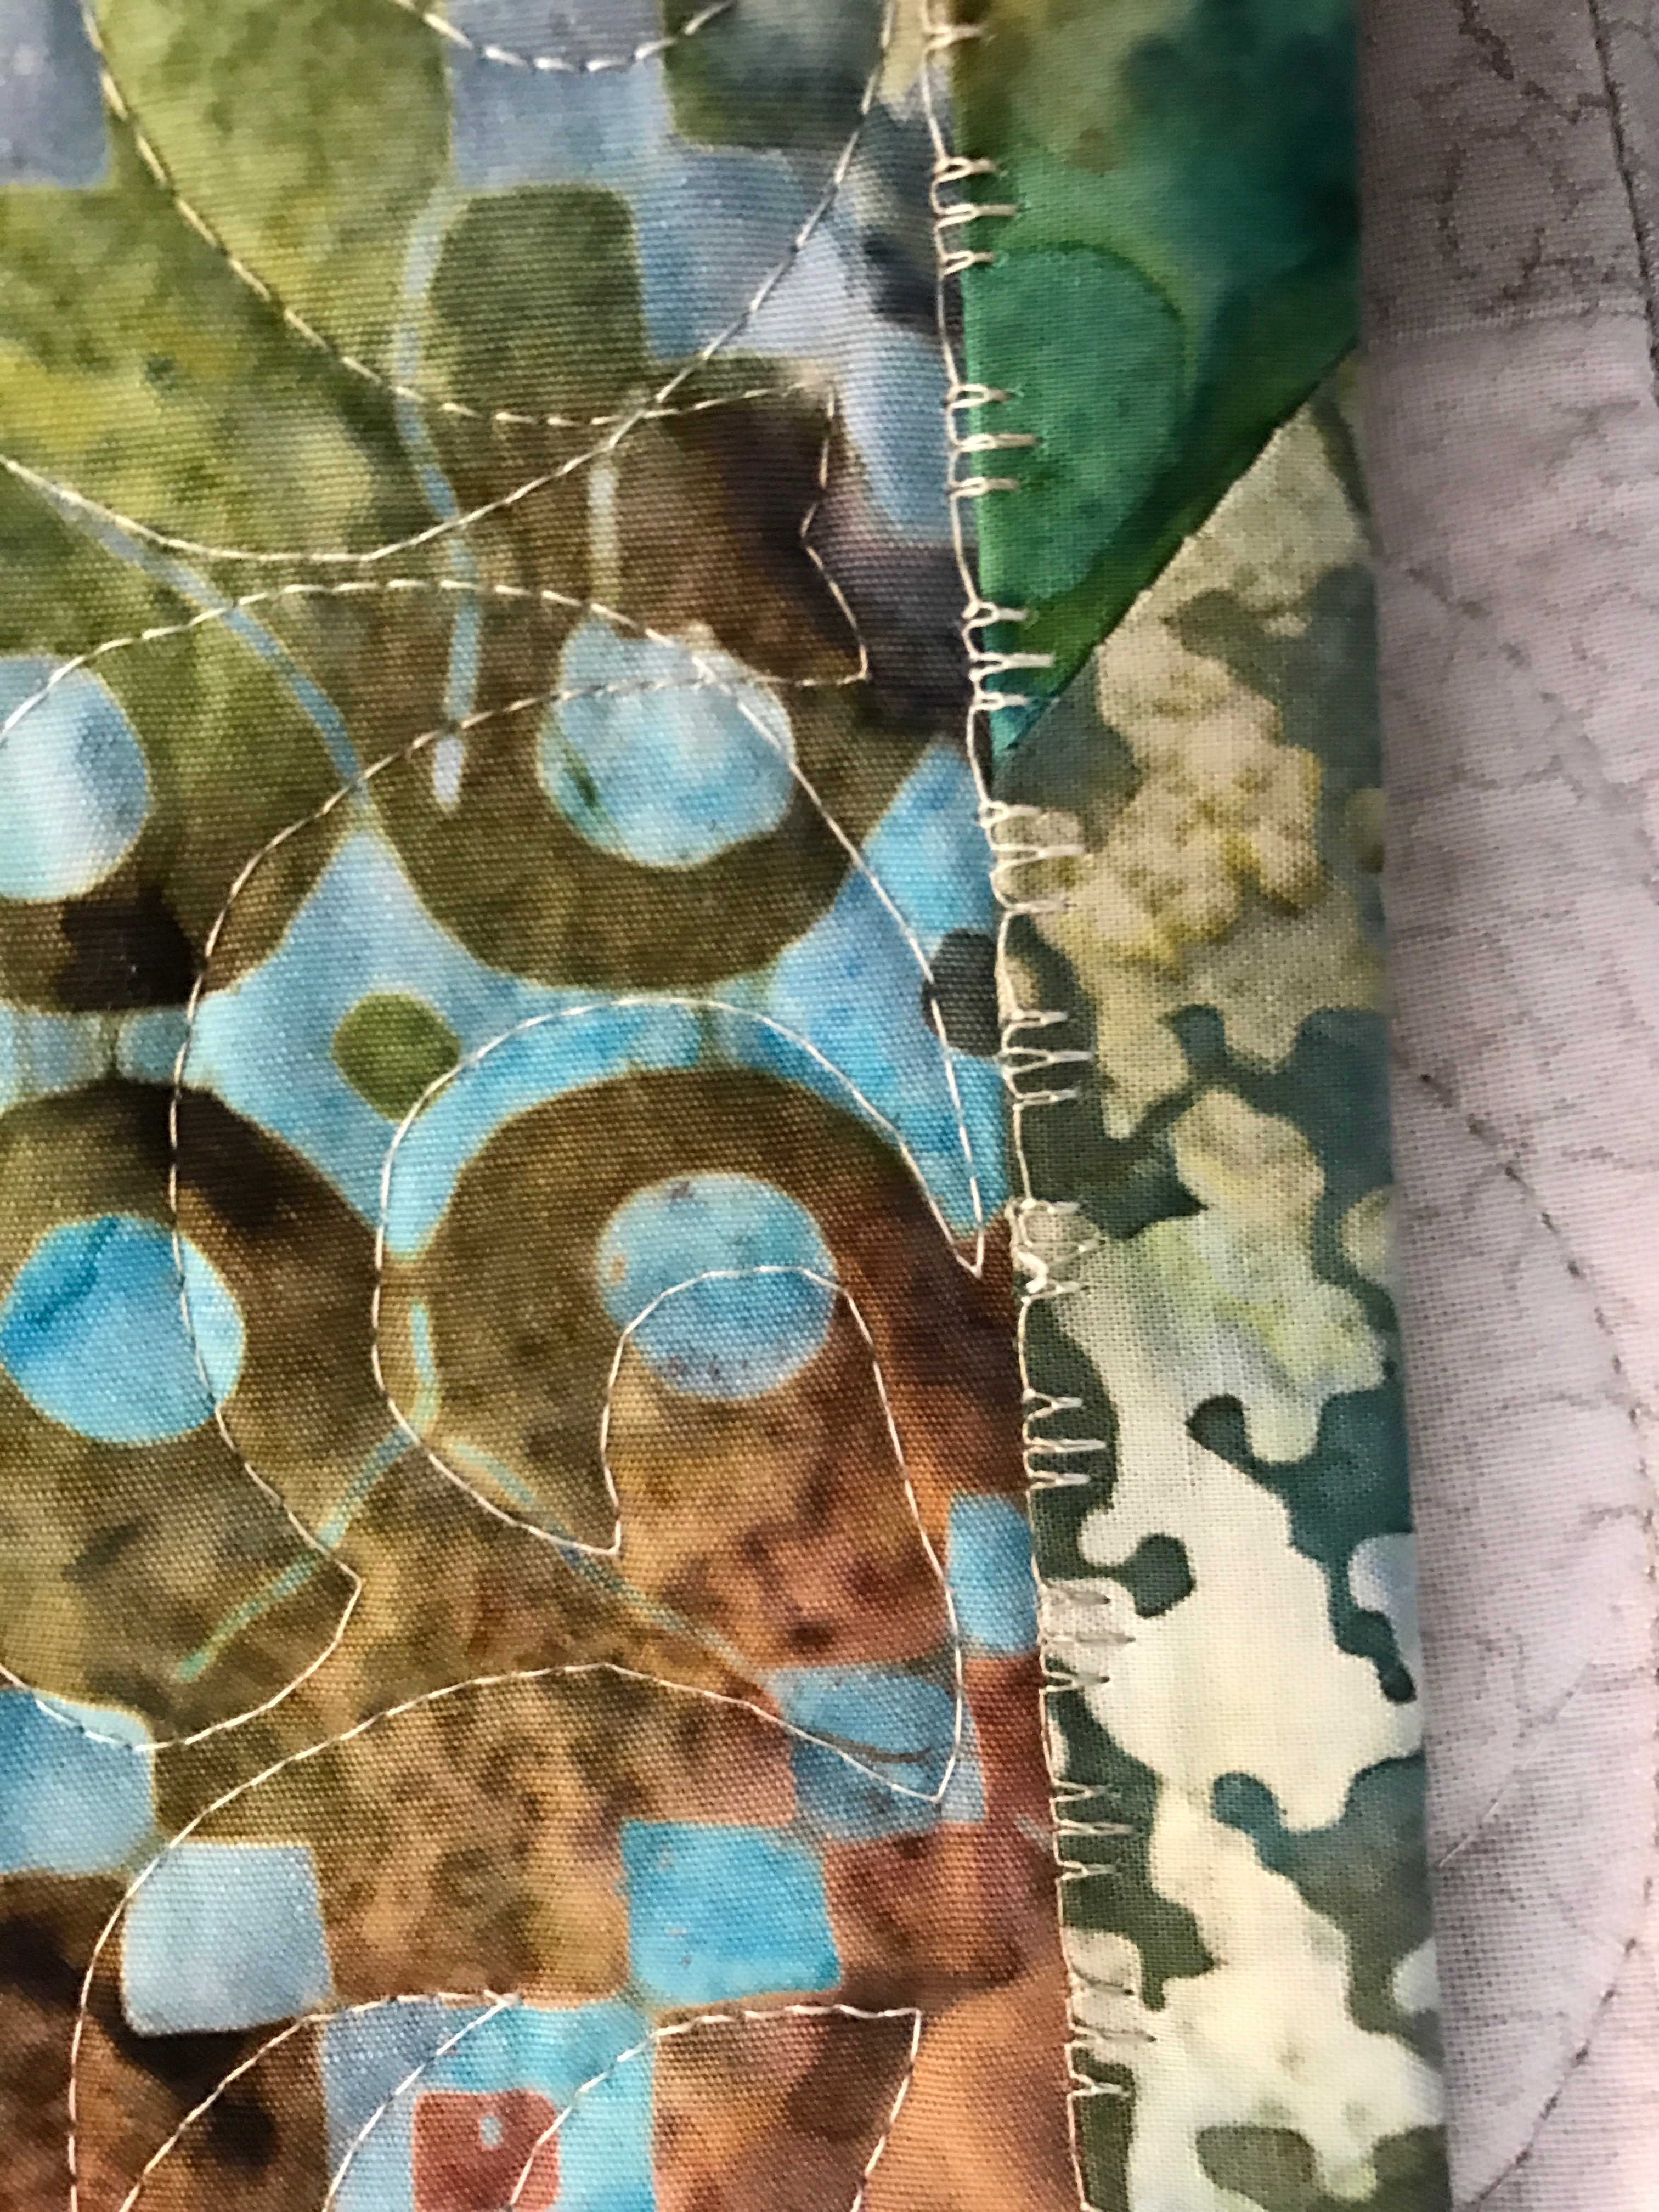
Now I turn to the front of the quilt, fold over the binding, turn it under and pin so the turned under edge just meets my stitching from the back. I have used a number of decorative machine stitches to attach the binding on the front. Here’s the one I use most often:

Binding From The Front

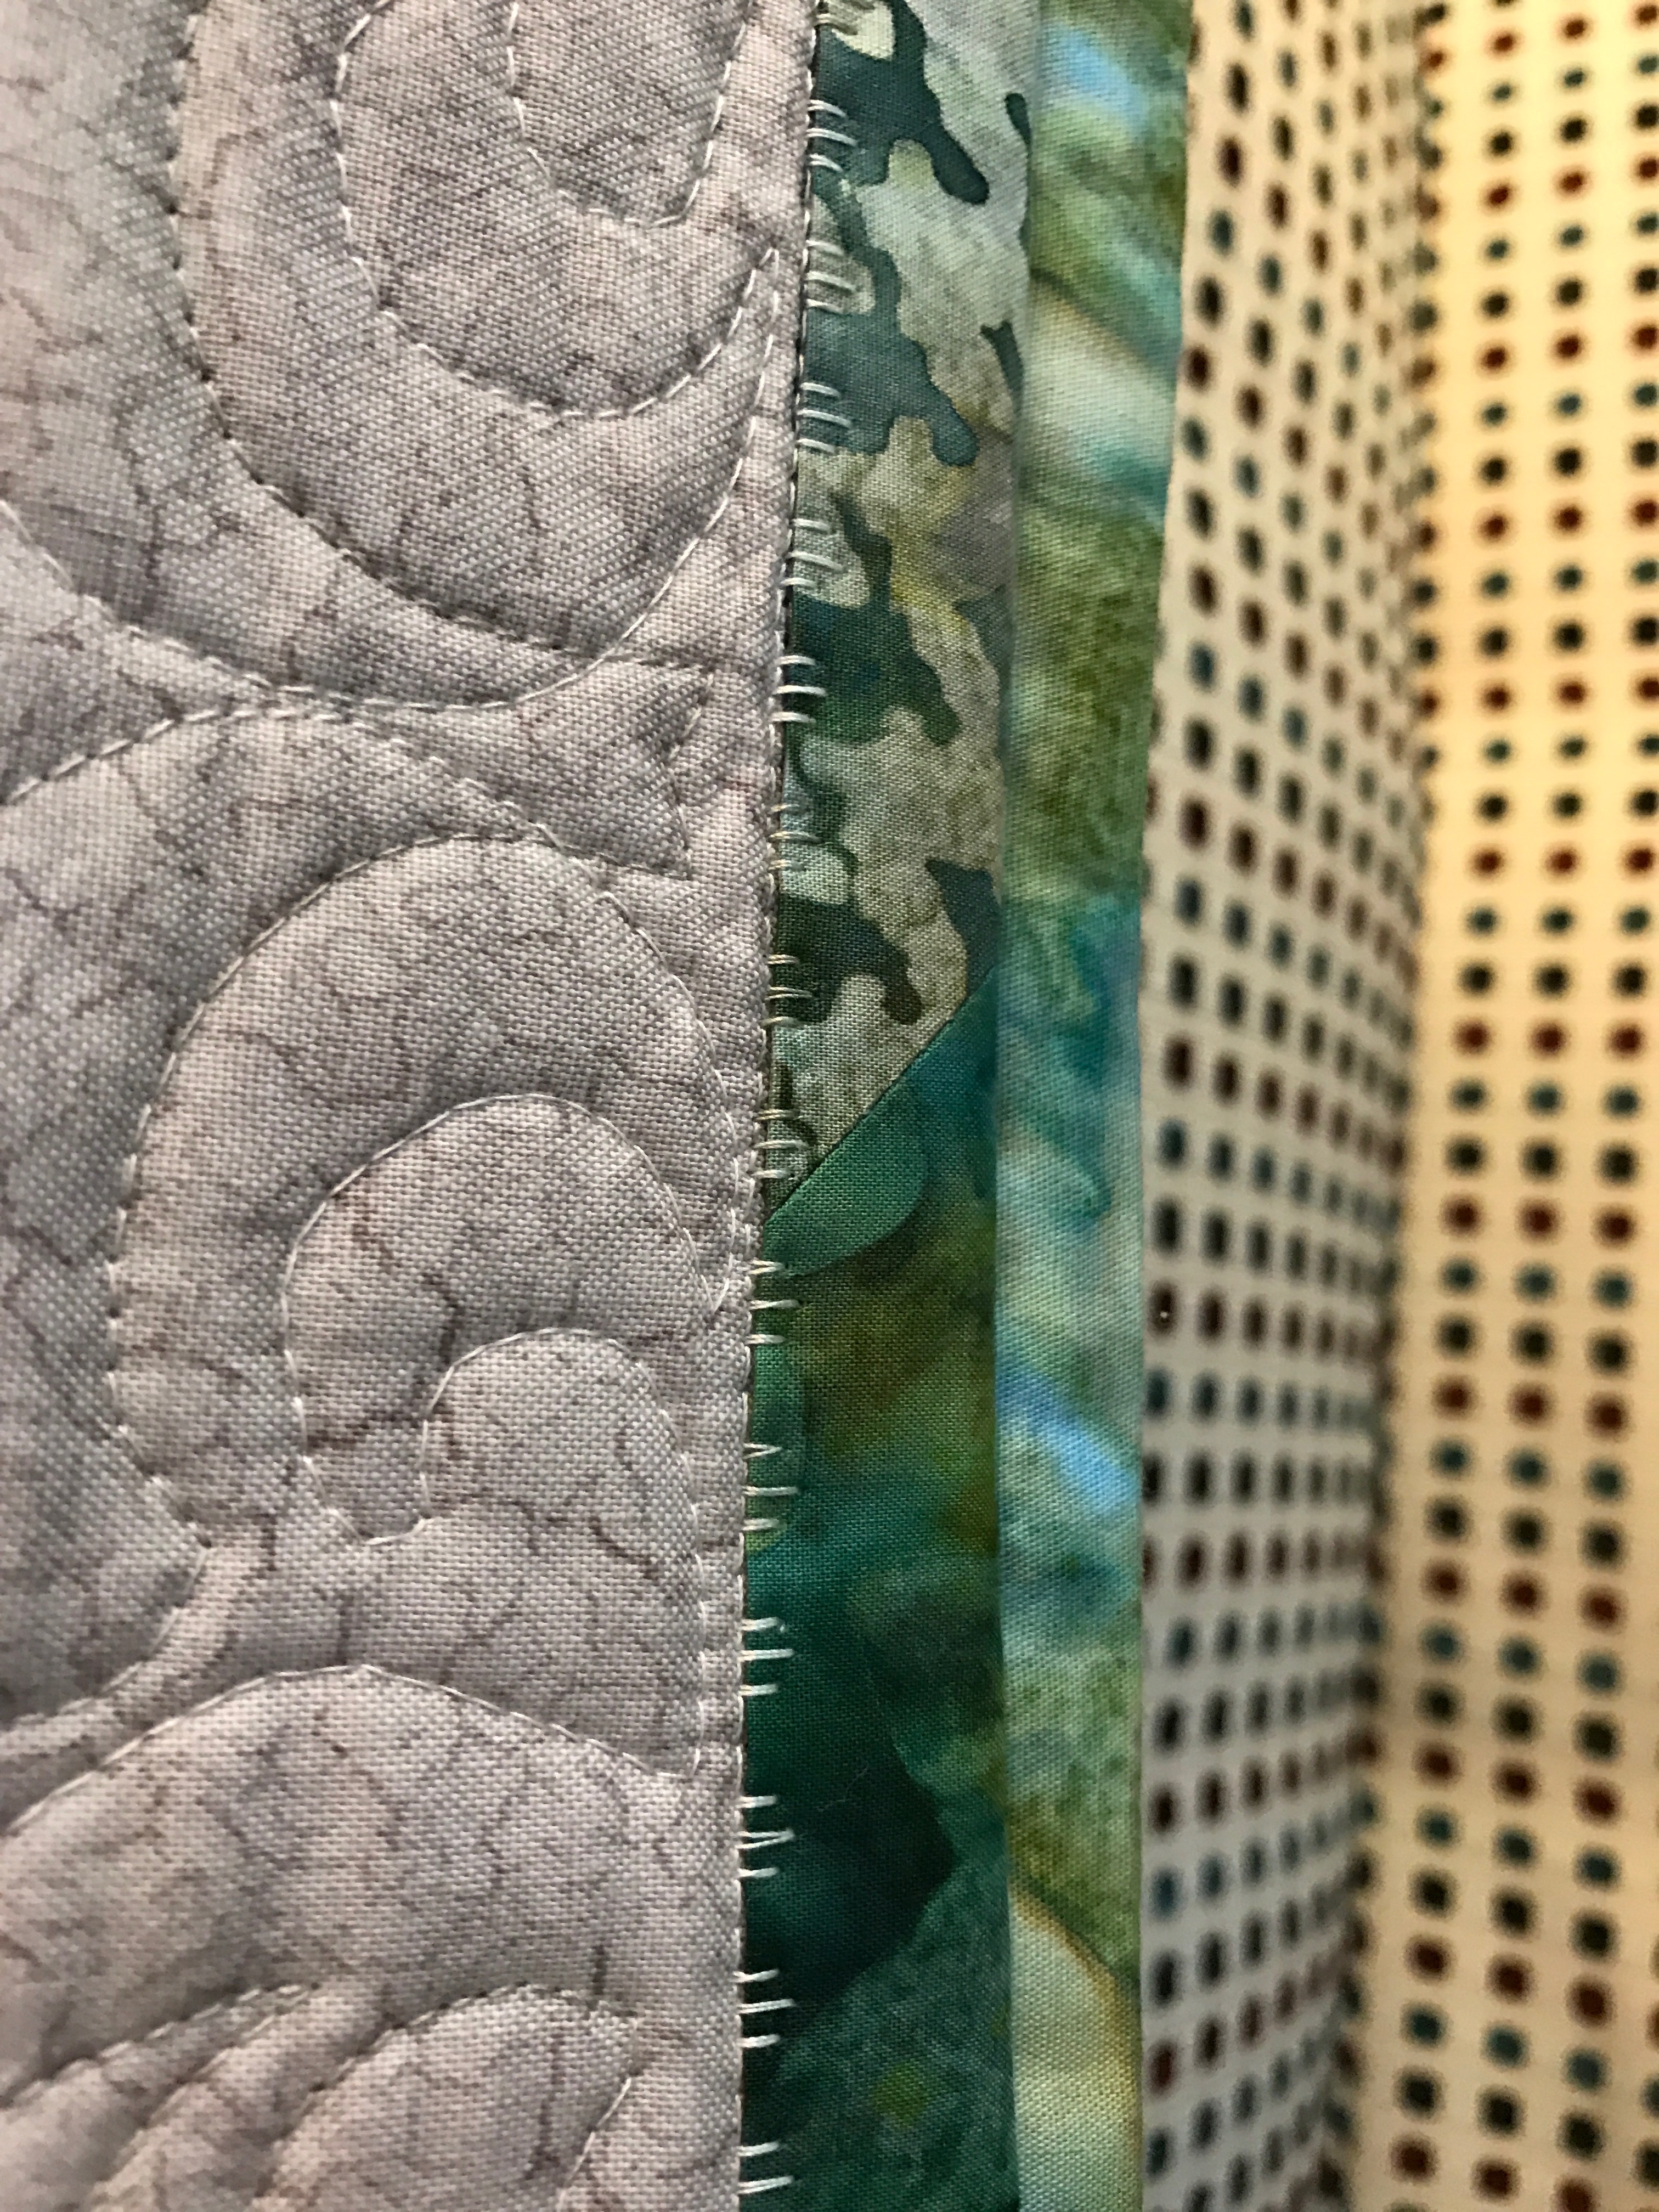
It’s a modification of one of my machine stitches – I am careful to keep the straight stitches along the edge, the stitching to the right and back overlaps the binding and holds it securely.

Binding On The Back

And because I’ve been careful to make my fold align with the stitching, the stitching is pretty much aligned on the back of the quilt (although my stitch tension isn’t always perfect – I don’t worry about that, it is the back of the quilt, after all.)

I’ve done this so many times that it doesn’t take long to bind a quilt.