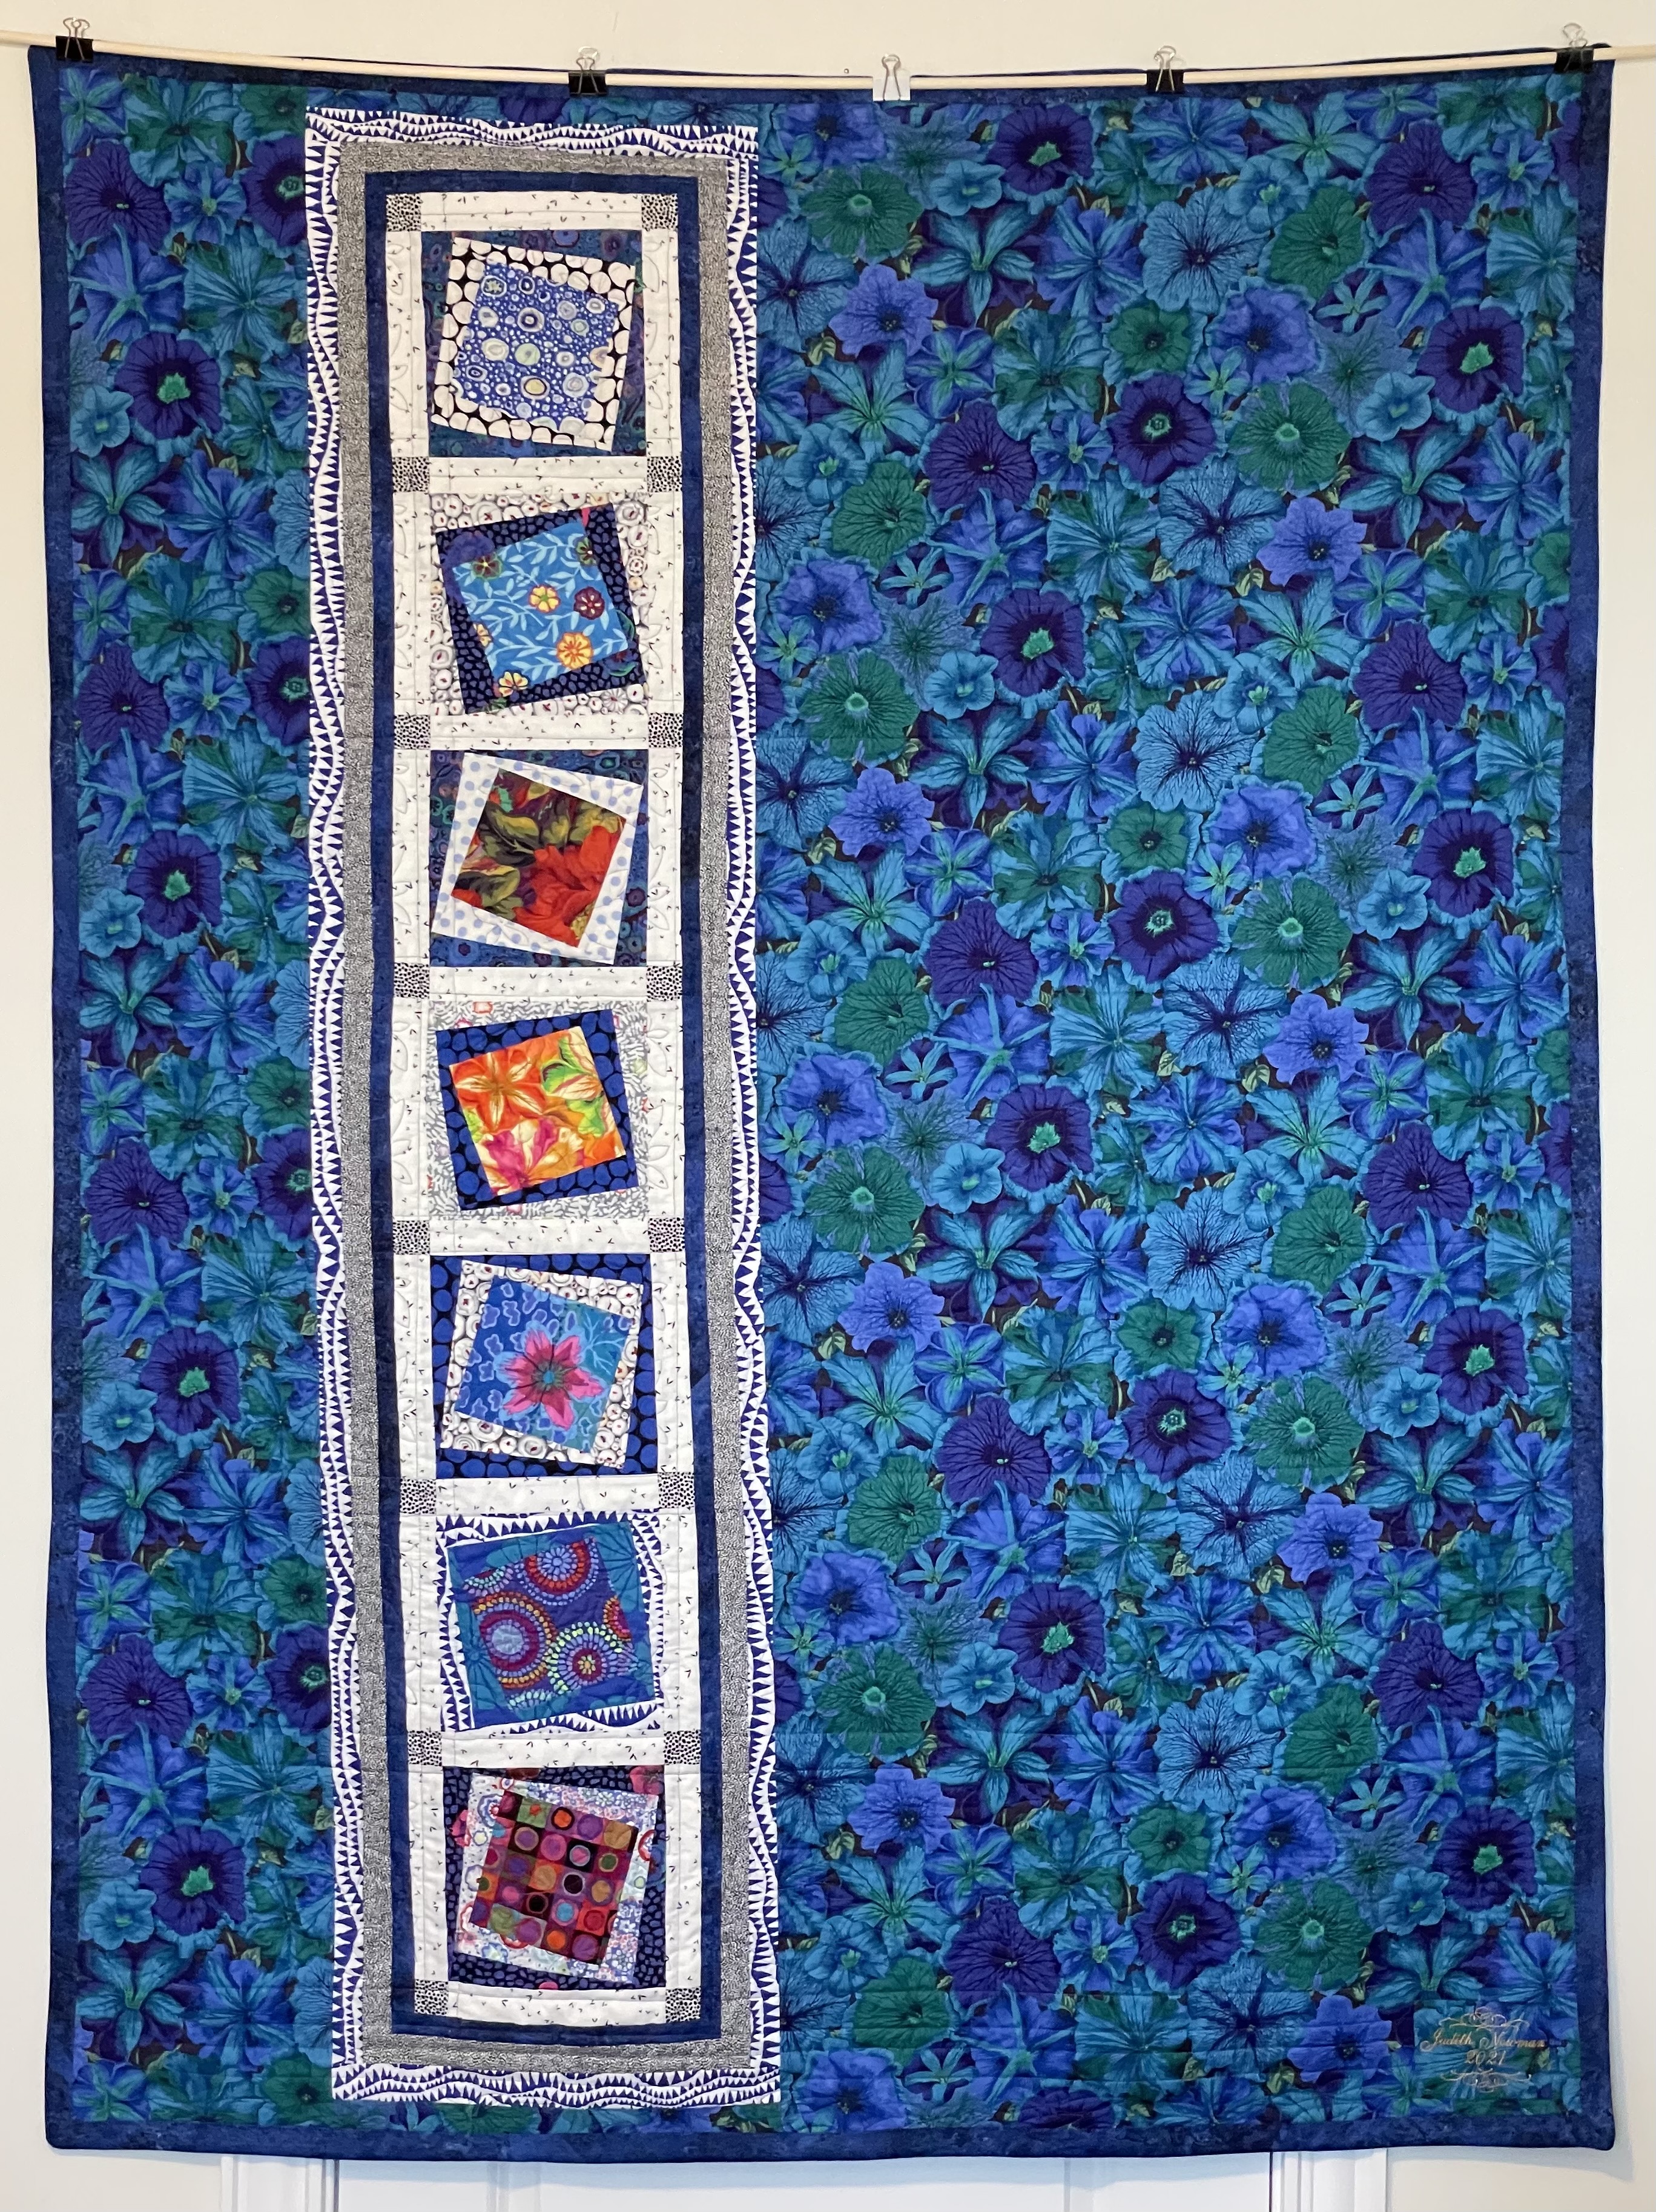
The photos don’t do it justice – the colours are more vibrant, the relationships among the elements on the quilt top are much clearer.
I finished with a hidden binding – I didn’t think the quilt front wanted another edge element. Besides, I didn’t have any more “petunia” fabric and used the darker blue stonehenge to finish the edge on the back.
The quilting turned out well. I chose to quilt the blocks excluding the sashing – in part because I’d have been left with an unattached row of sashing either at the top or the bottom. It was simpler to just quilt the blocks themselves. I stitched-in-the-ditch along all sashing edges, then quilted the outer border with a modification of the block design to fit the border width.
That’s it for quilts at the moment. I’m now picking up the Kantha bedspread and making another jacket – this time, the back without any flare. I need buttons – will go looking for some this afternoon.
Once again, it’s a “blue” quilt. The borders change the colour focus from “white” to blue. Adding the borders has resulted in a somewhat large throw quilt (55″ x 73″)!
Now I have to piece the backing – the insert strip needs borders which I will do now; I just have to make sure the panel with borders is wider than 13″.
That’s it. Nothing more to say about this project right now. I’ll do a hidden binding (maybe in the black dots fabric – don’t know yet).
I just finished adding the sashing/corners to the blocks and now have a completed panel. I find it interesting how much the sashing overpowers the blocks. Were I to leave the top as is, it would be a predominantly “white” quilt. To offset that, I plan on adding three borders: a narrow inner border using the dark blue/black stonehenge fabric (at the bottom of the photo), another even narrower border using the black dots/pepper fabric I used for the sashing corners (that’s on the way from Newfoundland – hope it arrives late this week/early next), and finally a wider outer border using the blue/green petunias at the bottom of the photo. Those borders will turn it back into a blue quilt, and downgrade the intensity of the white sashing.
The back will use the petunias with the strip I created on the weekend, also bordered with a narrow piece of stonehenge and maybe also the dots/pepper fabric as well.
Pieced Strip for Quilt Backing
In order to carry on, I have to go back to Mahone Bay to pick up another metre of the petunias! I ordered 2 yards which would have been enough for the backing but isn’t enough to do the borders on the front as well. I’m not going to cut the 2 yard piece I have, I will cut the front border pieces from the new piece I have to buy! Besides, I’m having to wait for the black/white fabric to arrive from Newfoundland!
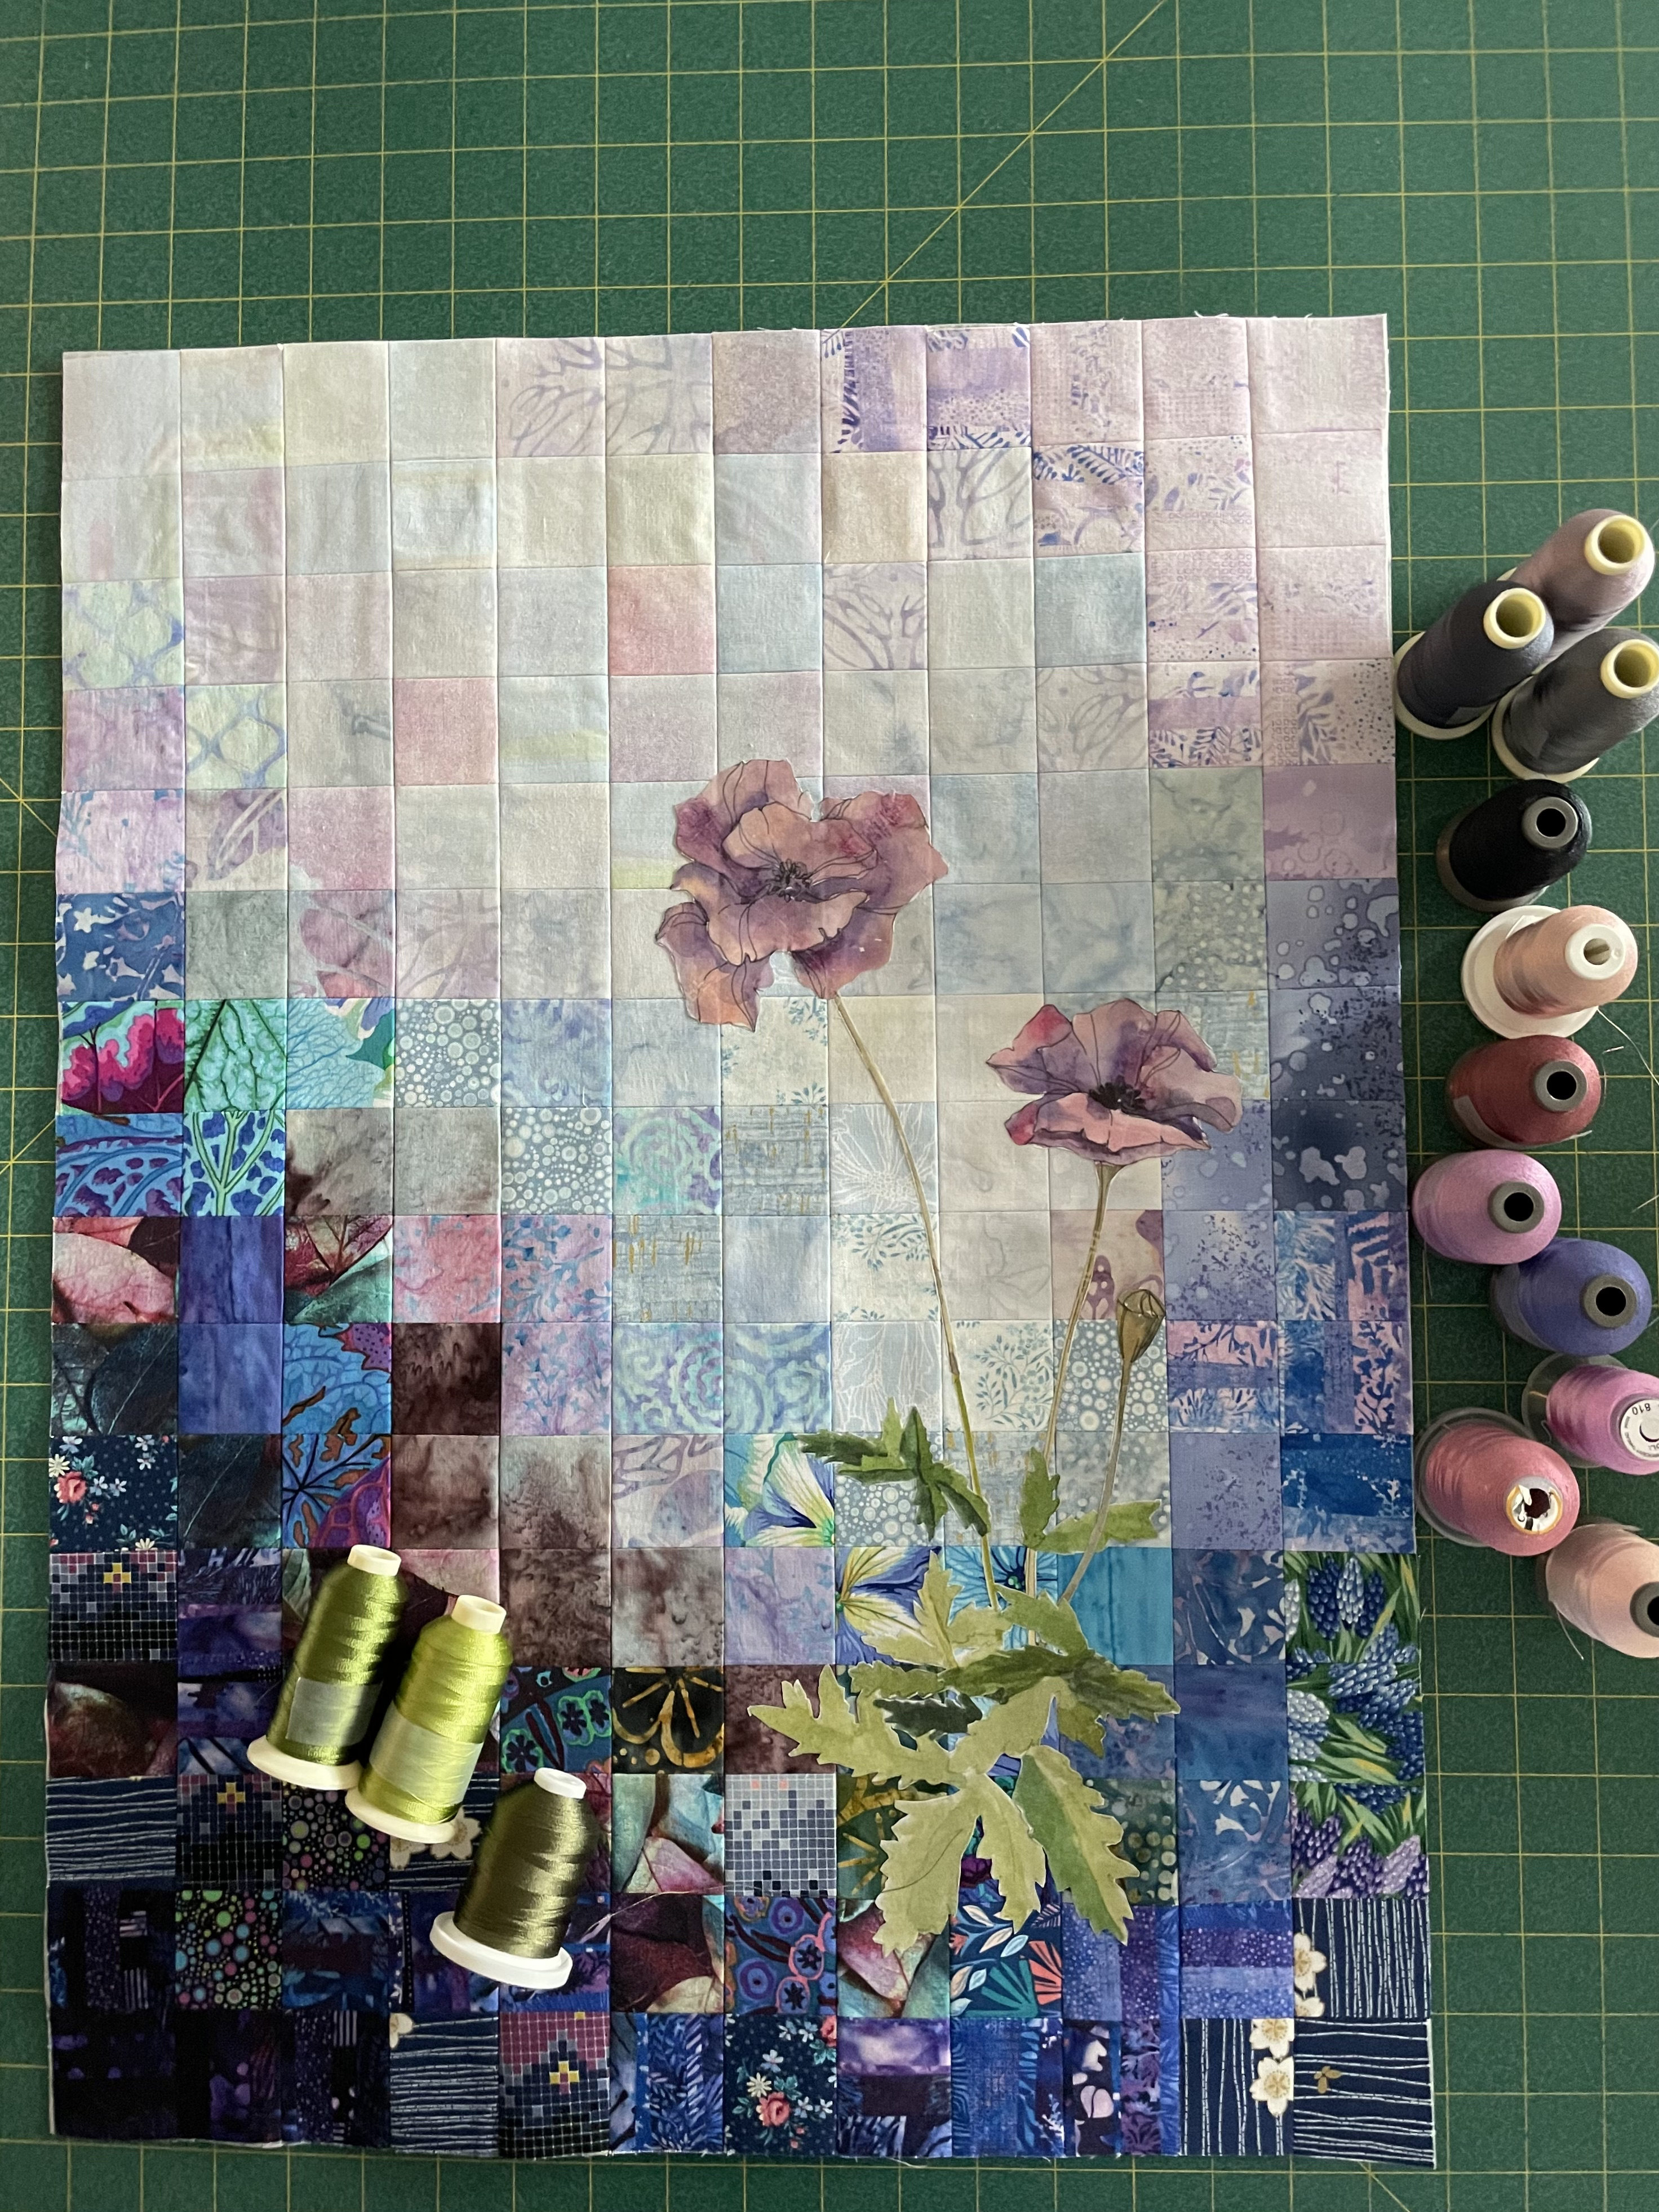
In the meantime, I’ll go back to the purple poppies wall piece I was working on several weeks ago. This will give me time to work on thread painting the poppies.
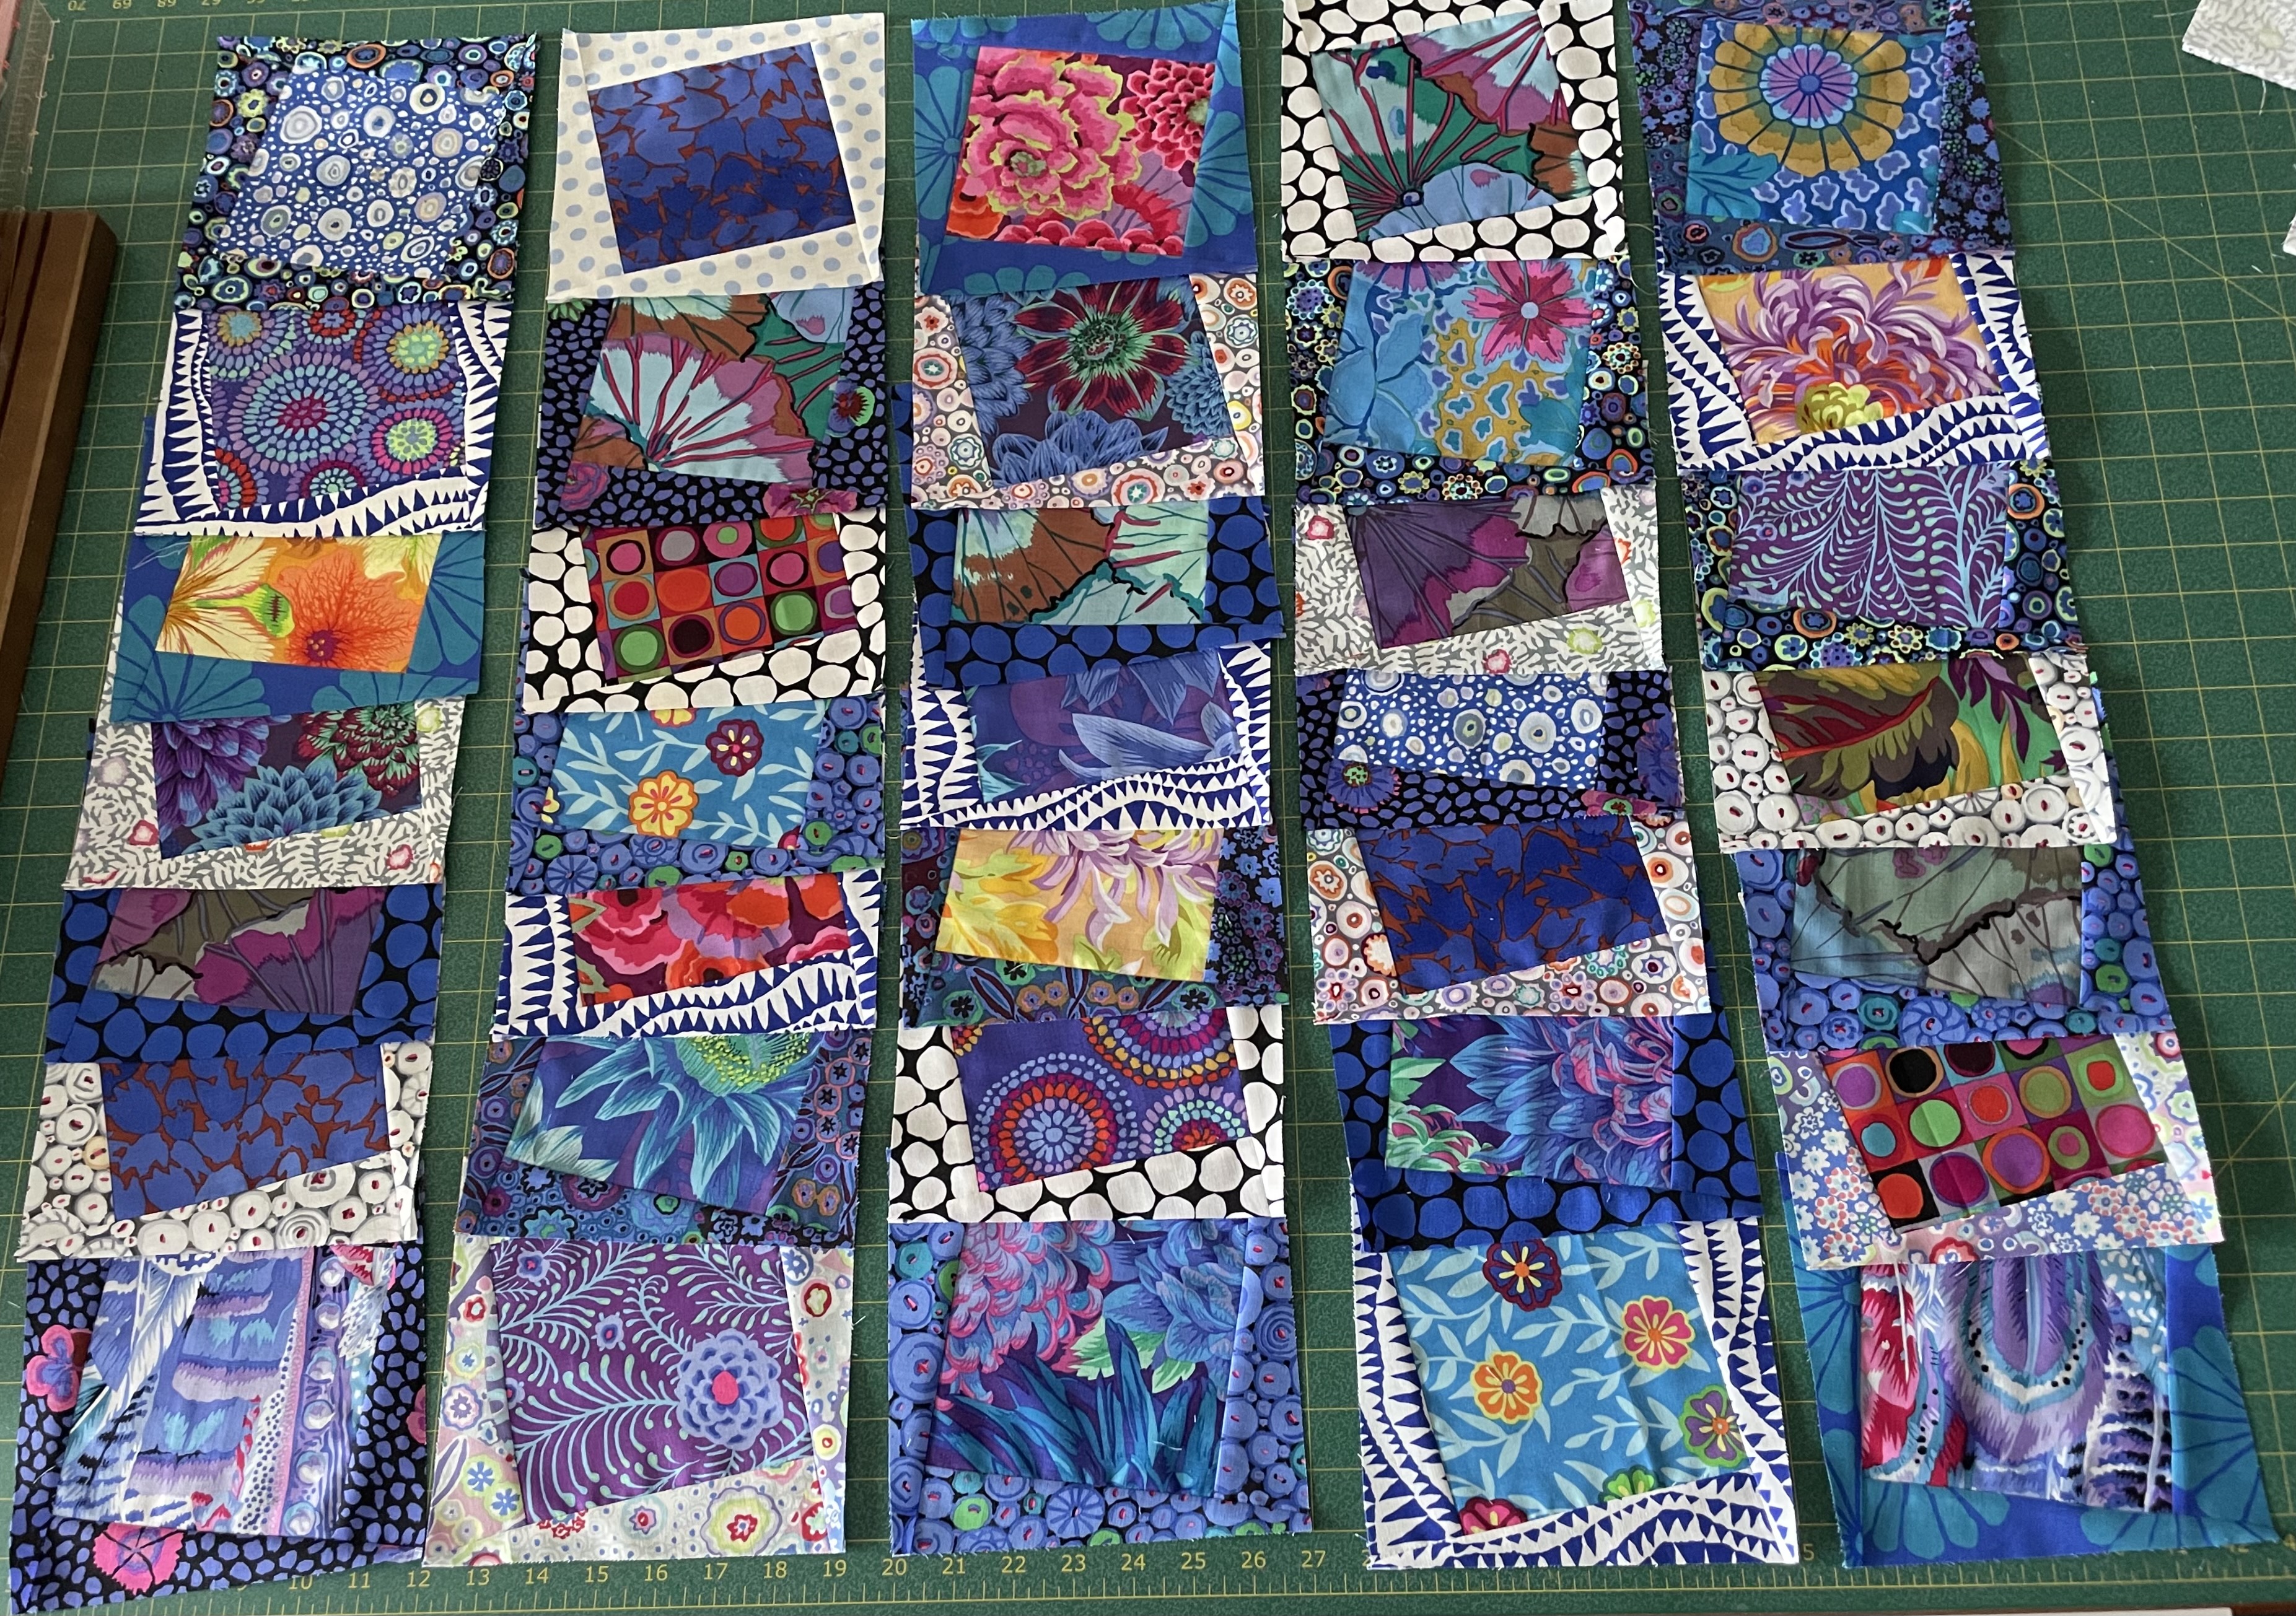
This is where I got to yesterday – all 35 blocks partially assembled with a triangle border on each. Today I began adding the second triangles to each block – I have 14 blocks done.
Then I was up early this morning going through my stash looking for something to use as sashing. I found a white fabric with black dots I thought would work but I didn’t have enough to do all the sashing, so after aquafit I went shopping for sashing fabric. I found one very close to the one I’d dug out of the stash. I also had a very small amount of a complementary white with larger black dots and had my fingers crossed there’d be enough in that piece to cut the 48 small squares I needed (I was lucky and there was!).
So here is what the setup is starting to look like:
Block Layout
I’m planning to alternate blocks with dark triangles with blocks with light triangles. That gives me alternating rotation as well since I cut all the light blocks in the same direction, all the dark on the second diagonal.
The sashing will be a wee bit narrower than the placement in the photo and will look fine once I have all the blocks completed and laid out.
So enough for today – back at it tomorrow. I expect the quilt top will be finished sometime on the weekend.
And then I have to start planning for a course I’m teaching in a couple of weeks – Industrial Techniques for the Home Sewer. My plan is to help people work their way through a relatively simple garment of their choosing while showing them some of the technique I’ve acquired over the years from various people I’ve taken classes with as well as other short-cuts I’ve figured out for myself.
I’m going to make myself a jacket from some kantha fabric I bought from Marcie Tilton a couple of years ago.
Kantha Fabric with Binding Fabric
I drafted a pattern from a jacket I bought at Gumps in San Francisco (looks like they’ve dropped the interesting clothing they had in the store) and made it from a kantha bedspread I bought online. I’m not sure whether I will line the jacket or not – quite likely not, but in that case I do need to bind all seams (I did pick up some faux suede to do just that). It’ll be a good example to illustrate details not in a pattern that make a garment more interesting and professional looking.