San Francisco 9

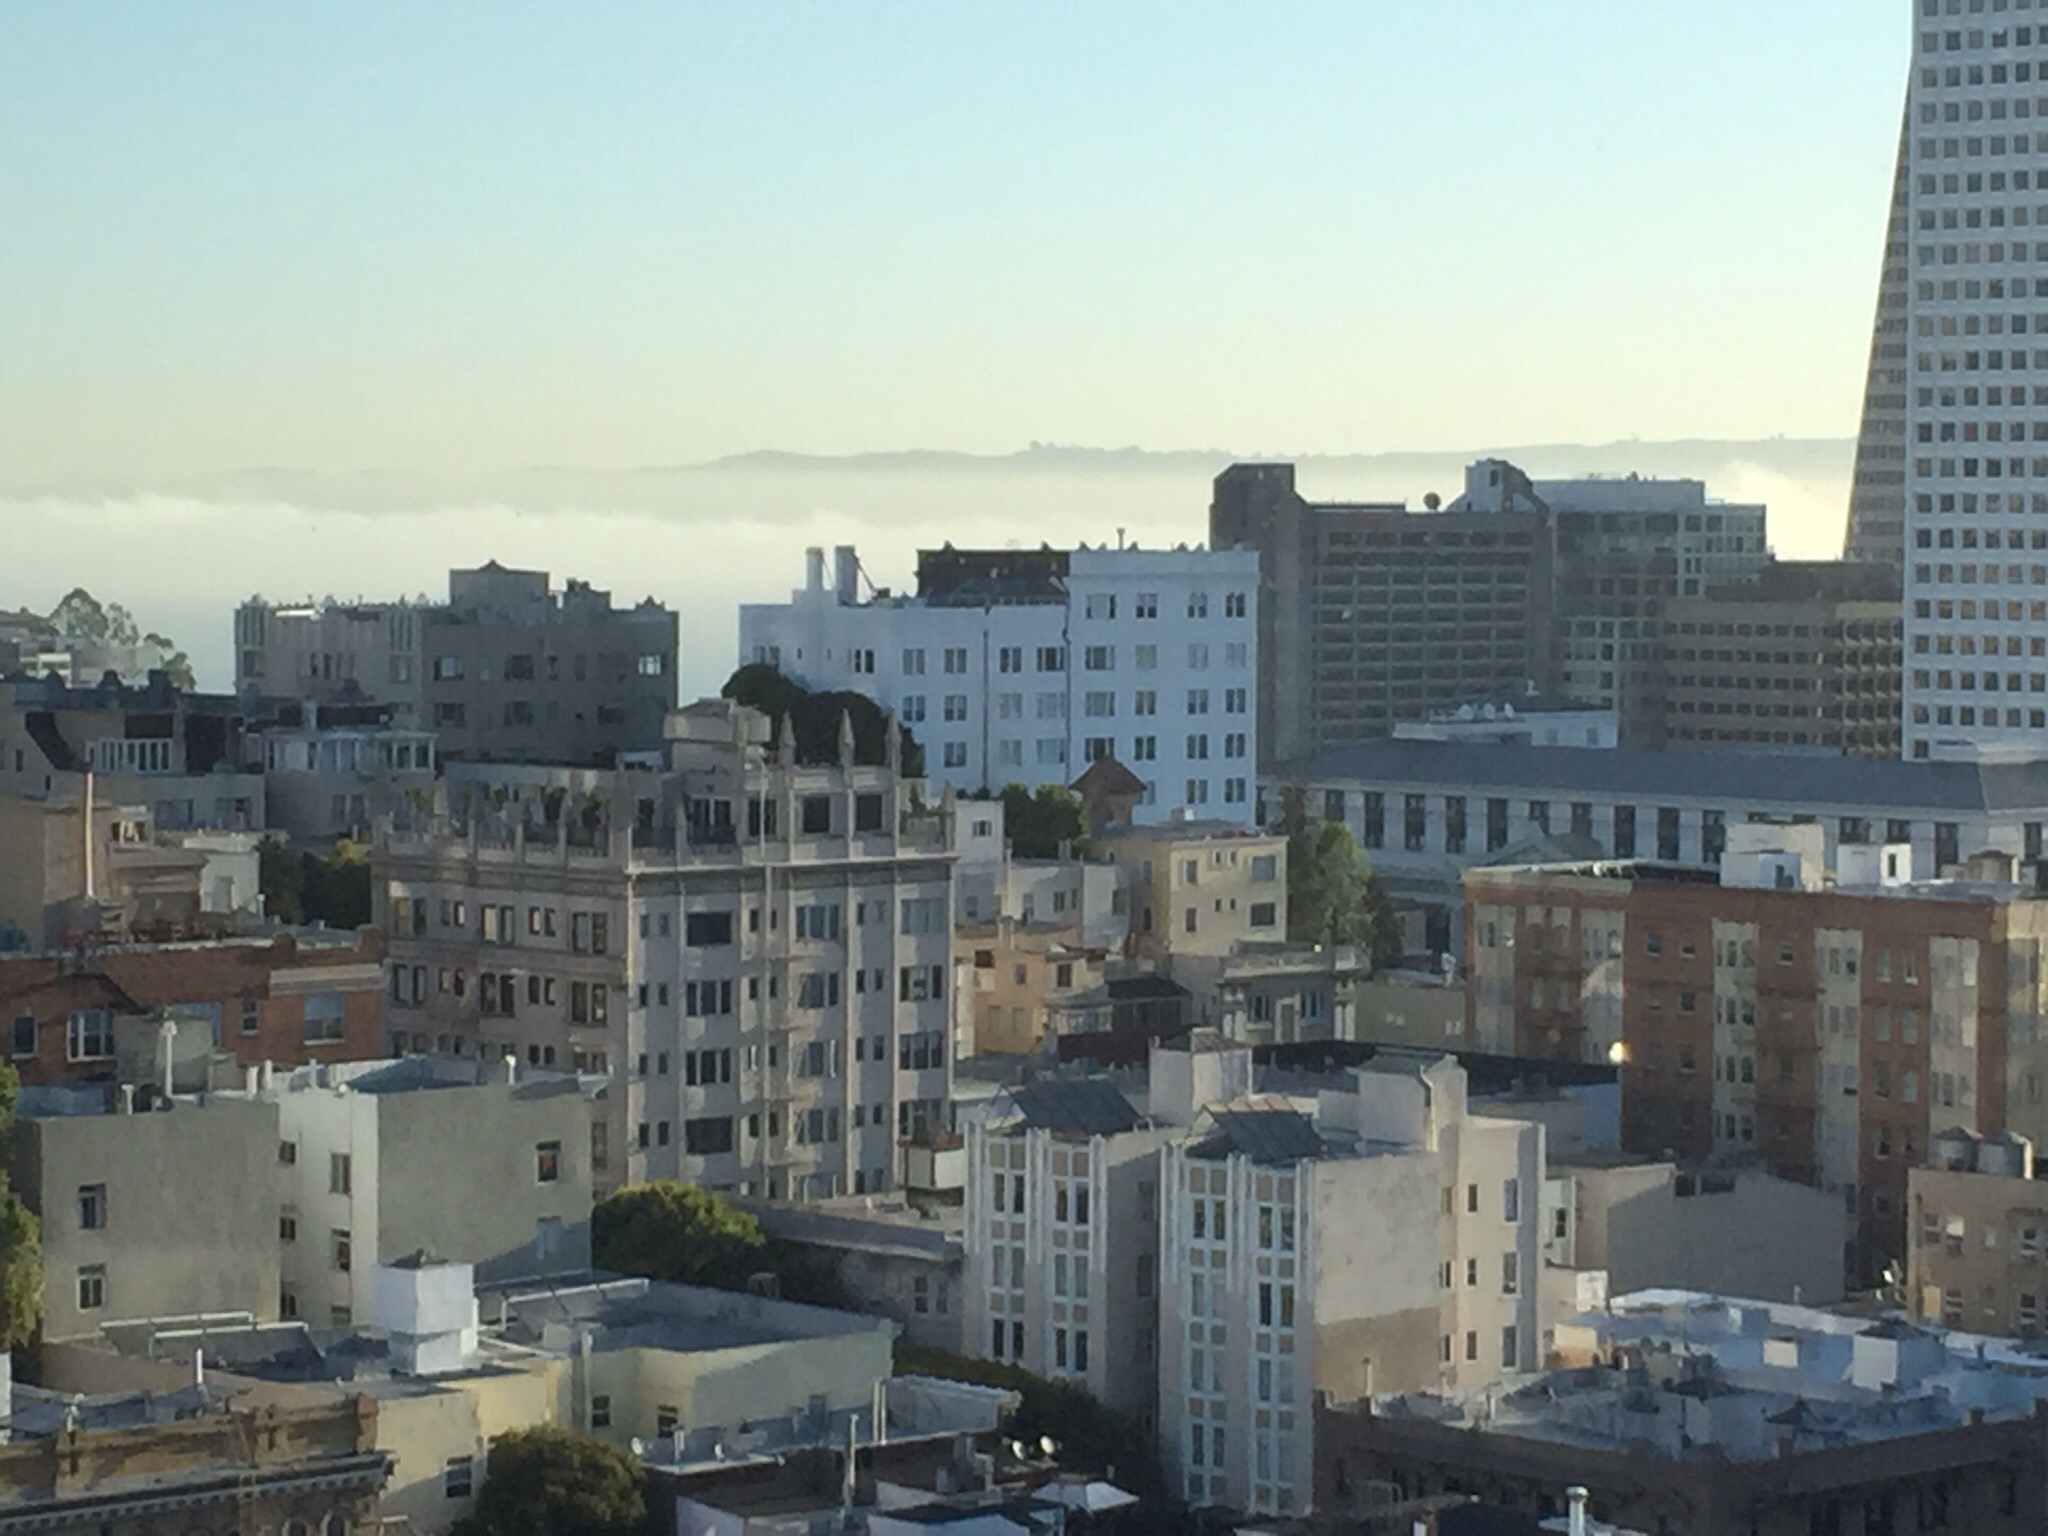
San Francisco fog in the morning

The packing is done – I must have packed more lightly than I thought when I came because I managed to get everything into the two bags, including the fabric I bought! Tomorrow morning I fly to Toronto for a few days before heading home.


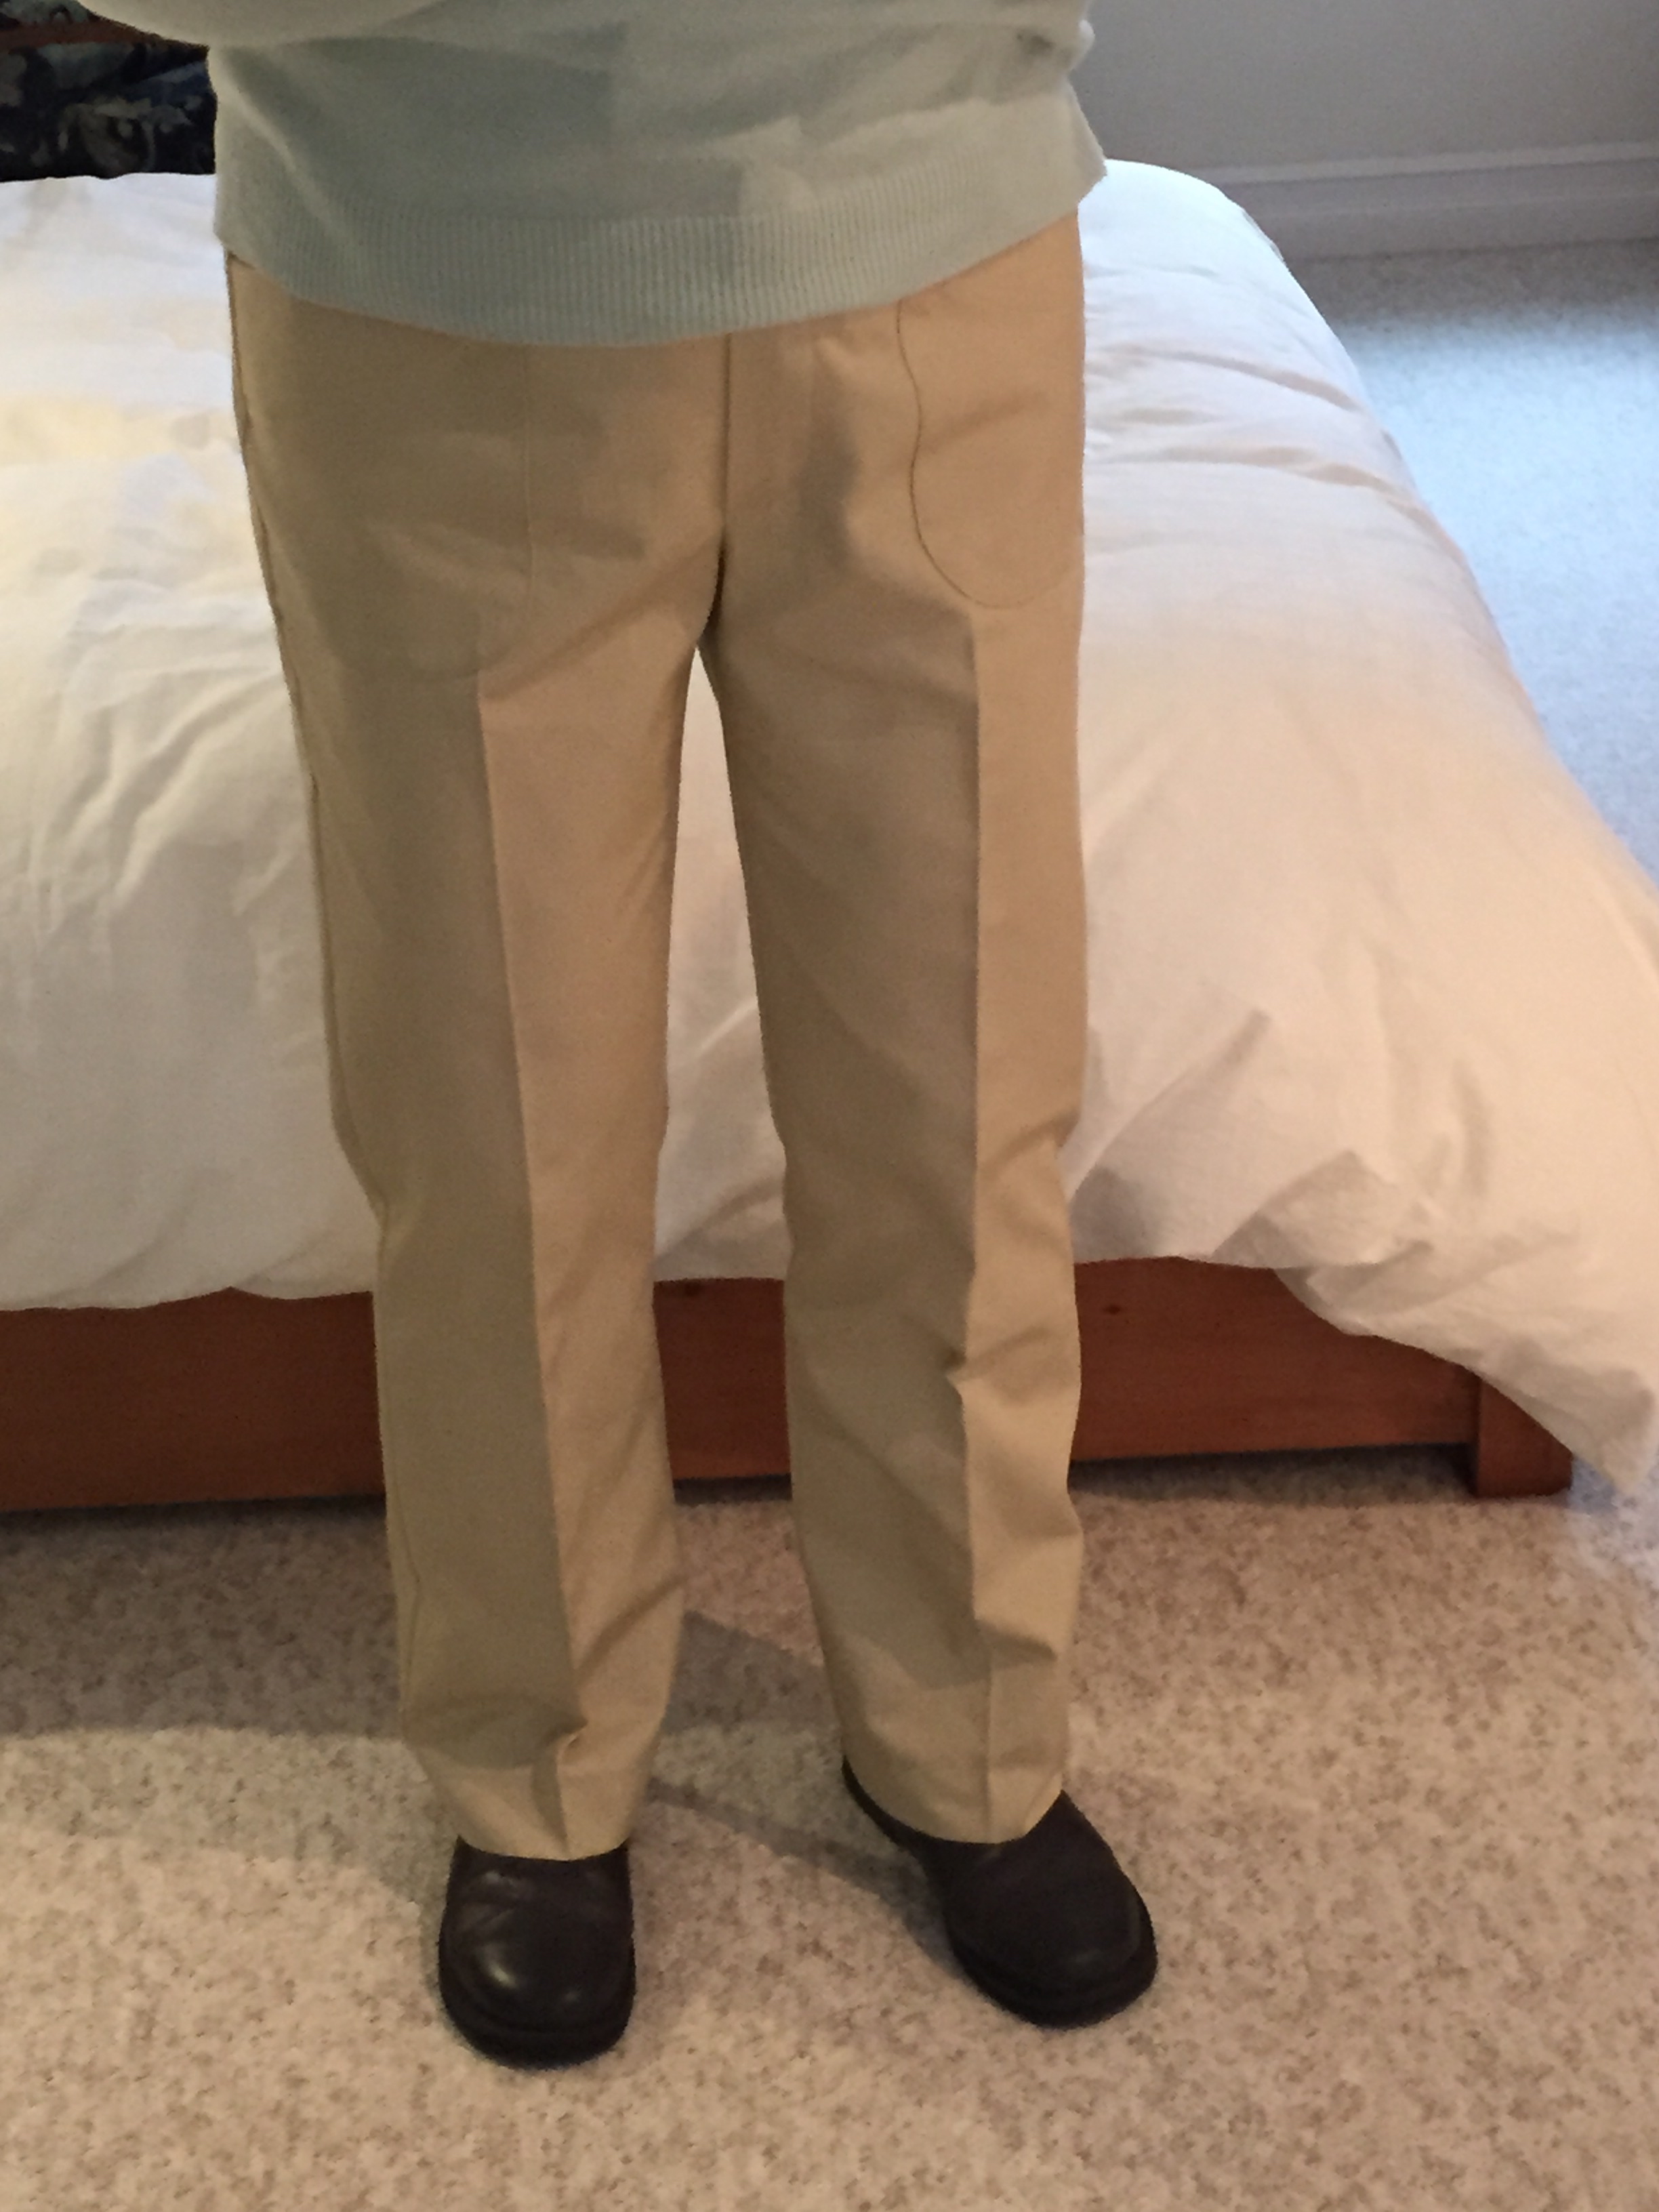
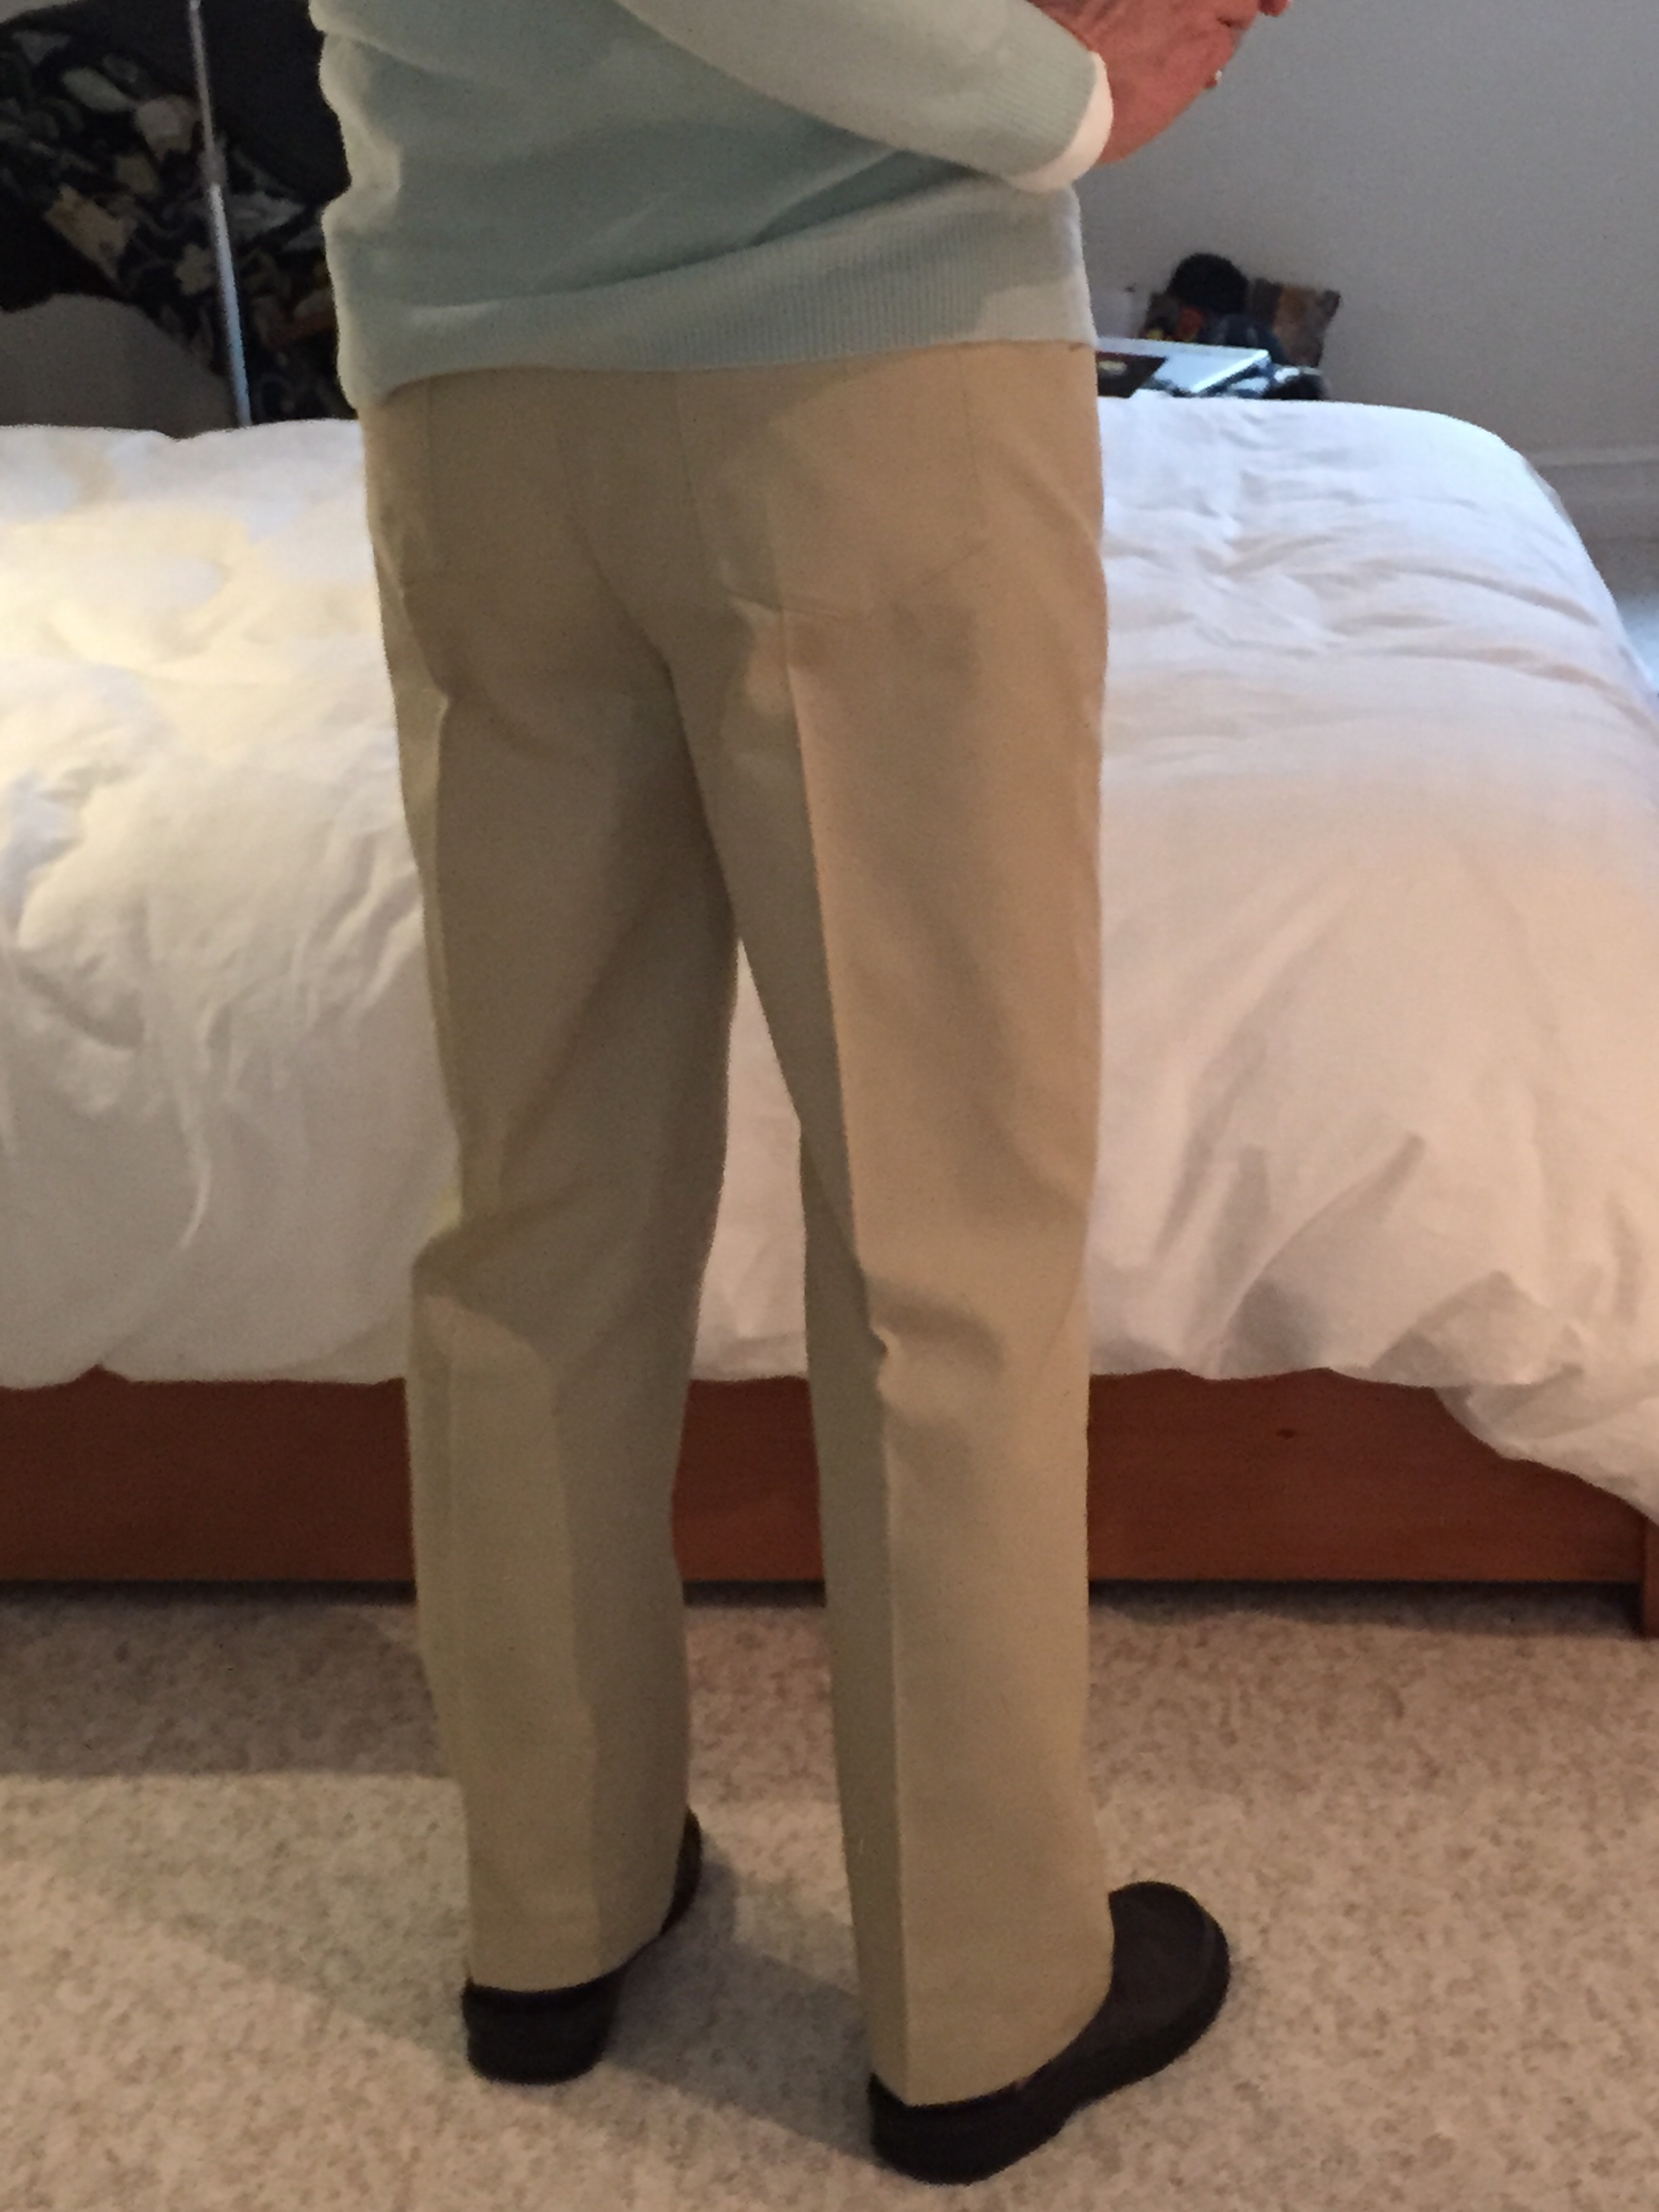
I finished the blue pants this morning – cut out, sewn, and wearable without further adjustment. That was my goal! However, the twill is unforgiving – very stiff with no forgiveness, hence the “wrinkles”. My next project will be to try the jeans in a fabric with a bit of stretch – I’m guessing the fit will be a bit more smooth because the fabric will be just that bit more flexible. What I like is it looks like I have a bit of bum in them.

I didn’t work on anything else after this pair of pants was done. Instead, I tidied and packed up, then eavesdropped on the assistance Sandra offered everyone else. Lots of great sewing “tips” – about how to cut out silk using paper beneath with the pattern on top (not precut, so you’re cutting through a paper/silk/paperture sandwich – that way the silk doesn’t slither around and you get an accurate cutting.

The day ended early – everyone tired but satisfied with their sewing projects. During the day, Dan, Sandra’s husband and helpers slowly broke down the room, taking away the garment samples, sewing patterns, fabric and notions, sewing machines back to wherever everything lives. It will all be back out again in a month or so for the next group of sewers.

Mid-afternoon, Sheila and I took our last walk to Union Square. I wanted to capture a photo of an interesting jacket I’d seen in Gumps my second day in SF.

I thought the fabric interesting – it’s organza, machine over-stitched to look like knitting! Apparently the jacket is also available in the Gumps catalog – when I get home I’ll look to see if it’s available in my size.

The snap dragons in Union Square were lovely this afternoon

It’s going to be a while before we see flowers in bloom in Halifax!

Our last walk back to the hotel I took the opportunity to capture a few more interesting sights. A window of antique Jewellery
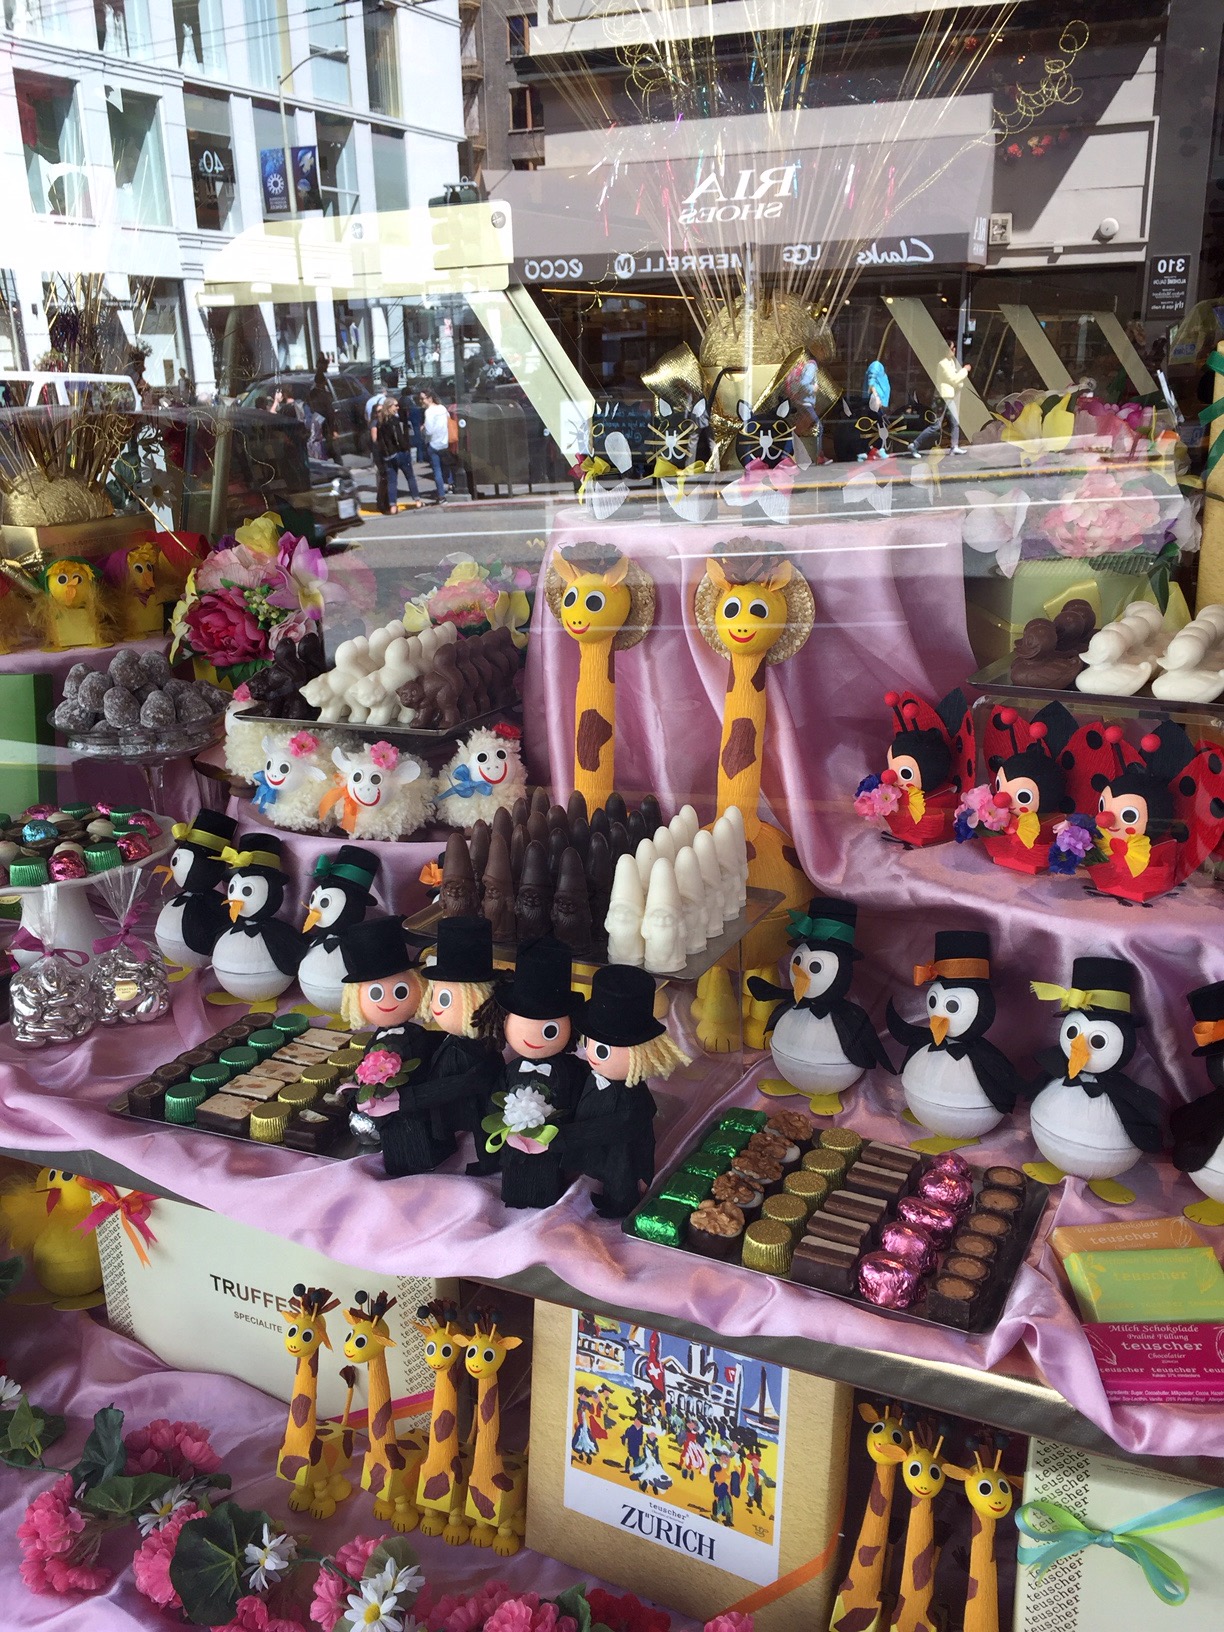
a chocolatier

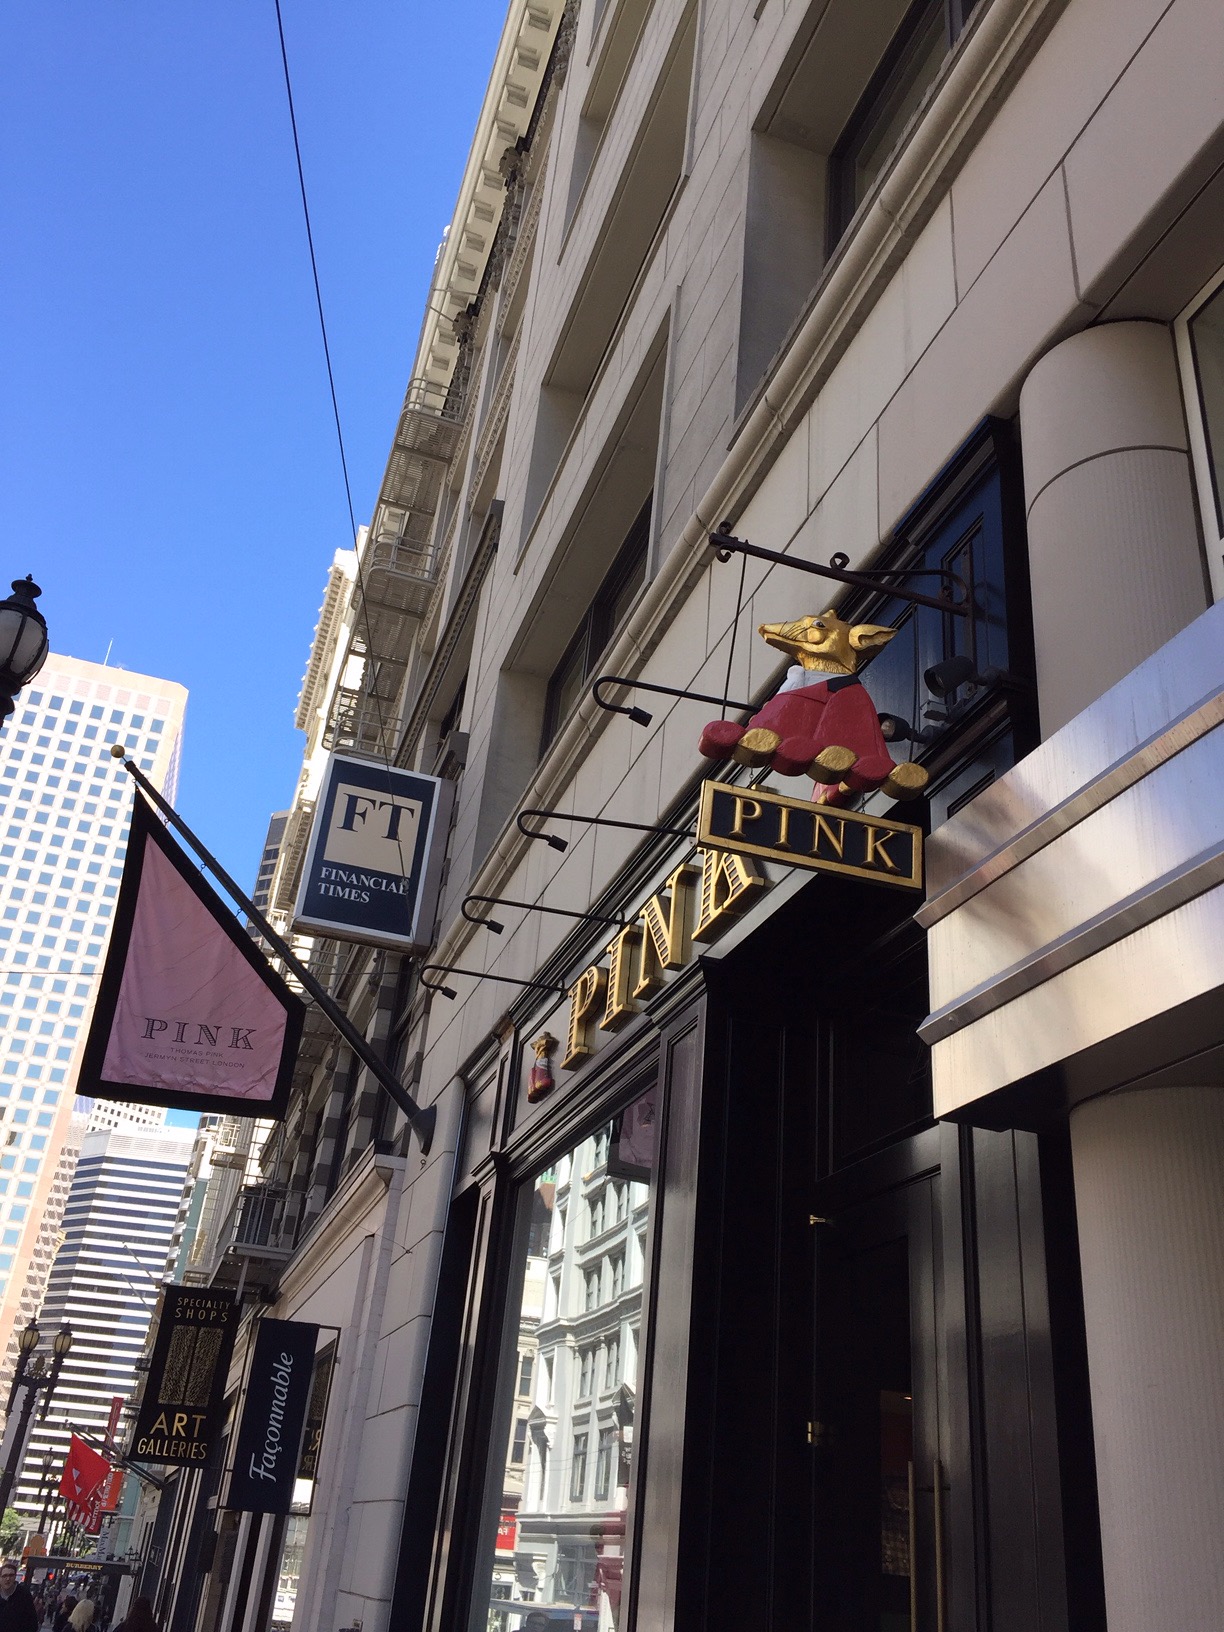
Pink – a men’s clothing store with lots of pink clothing

I’m ready to be heading home.

Second Pair of Pants

Yesterday I completed the pants in Twill – I wanted to see how the pattern would turn out in a less giving fabric than the denim I used (which has a lot of give).

The front is great – no fullness on the sides below the bum, just a straight side seam.
IMG_4302

The side view is also good. The pants are about 1/2″ too long – I may take them up after I’ve washed them – I hemmed them at a 27″ inseam (my usual inseam is 27 1/2″ – given the way these pants fit I’m guessing I should use a 26 1/2″ inseam for hemming – I know my legs aren’t shorter!)IMG_4304

And the back fits nicely as well. So I guess this pattern is a keeper as it is.IMG_4305

A useful addition to my wardrobe.

That’s it for pants for now. On to other stuff.

My Quest for Perfectly-fitted Pants – 2

Muslin #2

A made two major adjustments to muslin #1: I drafted the pattern using a size C/D waist, B hip – which took quite a bit off all of the seams, on the back & side back pattern pieces I removed 3/4″ from just under the bum (tapering to the side/inner leg seams). I kept the size B crotch dimensions as is for now.

As you can see, the front fits nicely without pulling (were I to shorten the pants another 3/8″ the front below the knee would fall without breaking).

IMG_4203

But the side view show a bum that is still too full! The side seam is straight, pulling neither to the front or the back. But you can see the extra in the bum and the extra fullness in the back leg – so on muslin #3 I will take those back seams in a bit (as well as increase the amount I take out horizontally under the bum).

IMG_4208

The back view looks not too bad – the back seams are straight – that’s a good thing, but I do need a bit more taken from the bum.

IMG_4209So it’s on to drafting pattern #3!

On this version I will go back to the original waistband from the pattern – I’ll use a size C/D but the hip edge will have to be fitted quite a bit which will mean I have to be careful to make sure it fits the top of the size C/D pants. I am also going to increase the length of the back about 1/2″ – when I sit down the back waistband pulls down – that may mean the crotch depth is too short! I’ll see what lengthening the back does.

What was successful with muslin #2 was the flat fly front! That worked out well.

So each step of the way I’m learning more about how pants are designed – it’s not simple taking flat pieces and trying to fit a curved 3D body!


Quilted Jacket

IMG_3244

Like I need another jacket! However, when Bonnie mentioned the quilted jacket class I thought I’d enjoy sewing with the gals again, so I signed up.

First, select two different fabrics (I chose two batiks) – buy 3 meters. Then I left the fabric at Sew With Visioin (the Pfaff/Husqvarna shop where the class was going to be held) to make into a quilt sandwich with bamboo batting, then to have the whole thing quilted on the long arm quilter.

Thursday I went to class having prepped the pattern – traced a size small knowing it would need a bit of adjusting. Cut the fabric, pin based it, adjusted the fitting and then began to sew.

The point of the class (as far as I was concerned) was to learn ways of joining double sided fabric using bindings. For the most part that wasn’t terribly difficult – line up one edge of the binding with the edge of the seam, sew, press binding away from the garment, fold over seam, press, pin (I actually found it easier without pinning), stitch binding to garment on the second side. The tricky seam was along the underarm of the sleeve – it gets narrow pretty quickly so it’s slow going carefully keeping the binding flat against the sleeve as you go along.

Because I wanted the jacket to be completely reversible and have pockets on both sides, I had to come up with a way to access the pocket on one side through a zippered welt opening on the second side.

IMG_3247

It looks as if there’s a pocket on the second side, but it’s actually just access through the front to the pocket on the other side.

The buttonholes took forever – I tried some samples on my embroidery machine but today the machine wouldn’t cooperate with me (it may have to go in for a check-up). In the end I decided to create bound buttonholes. This meant creating a facing for the second side to cover the unfinished buttonhole seams on that side. They turned out reasonably well.

Last thing – add buttons to both sides.

We’ve a second class coming Thursday but I’ve got appointments during the morning so I finished the jacket today. I’ll still go to class to show off my completed jacket and to socialize with the other gals.