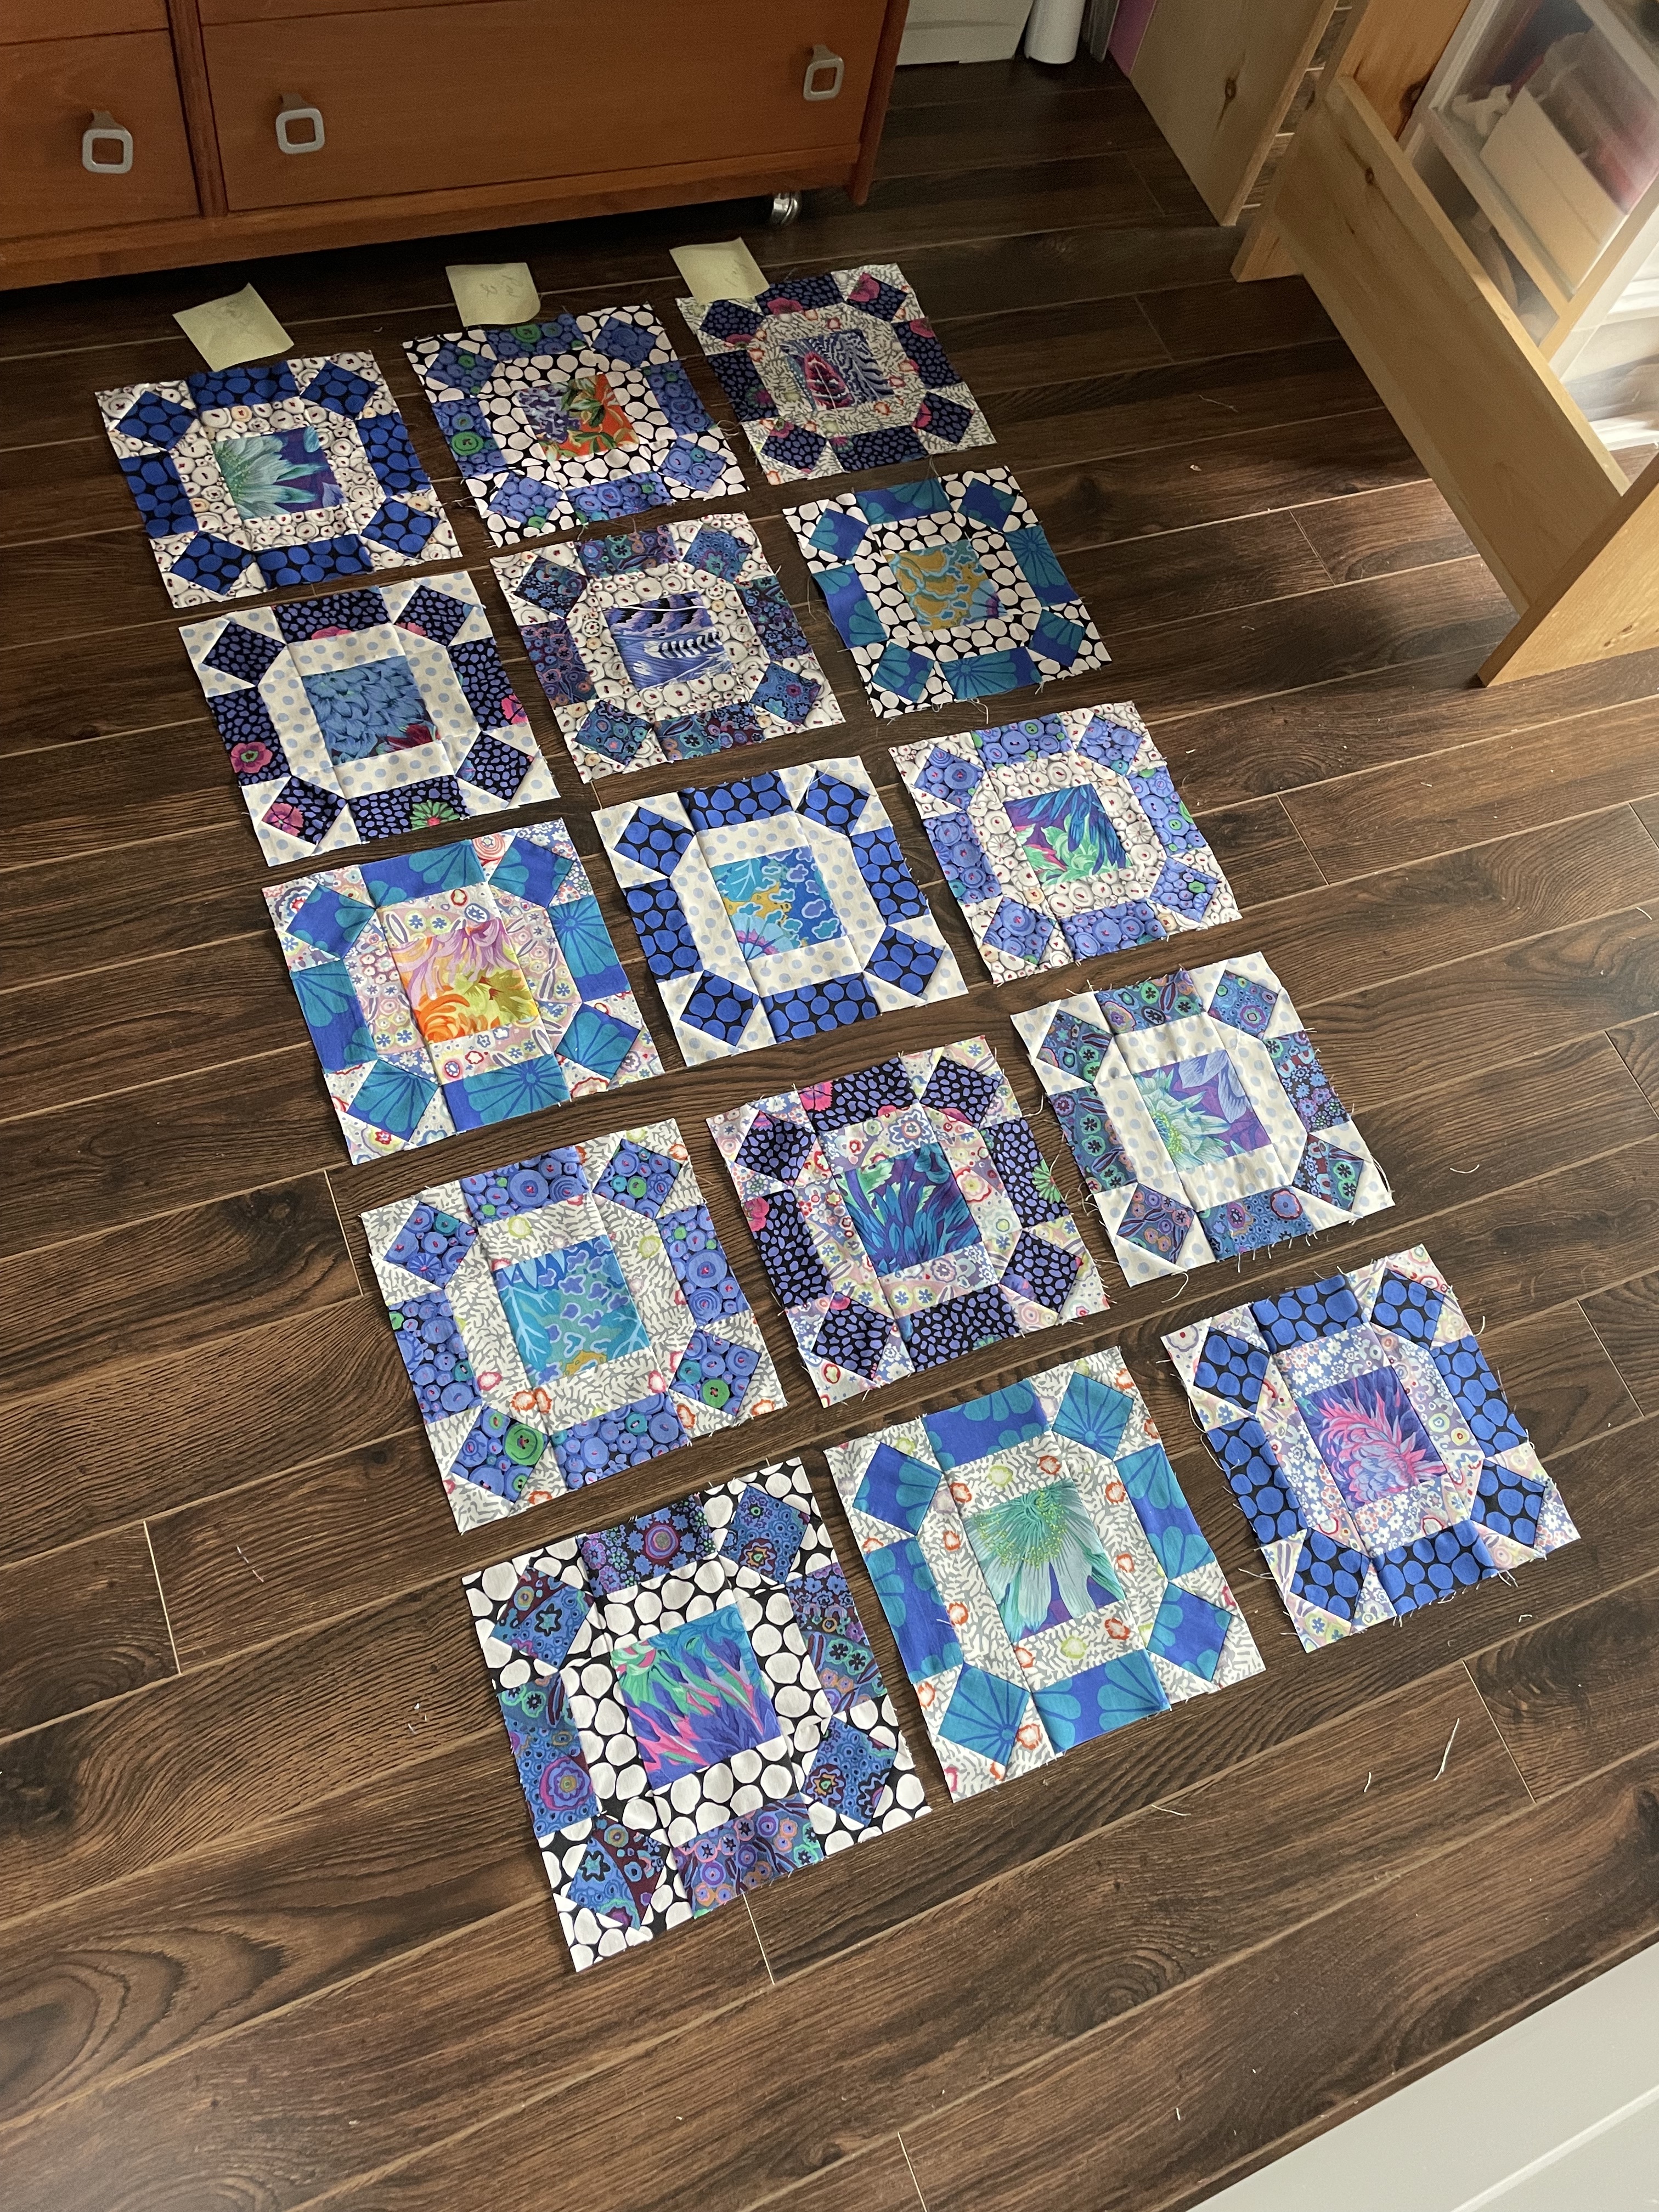
This is where I got to yesterday – all 35 blocks partially assembled with a triangle border on each. Today I began adding the second triangles to each block – I have 14 blocks done.
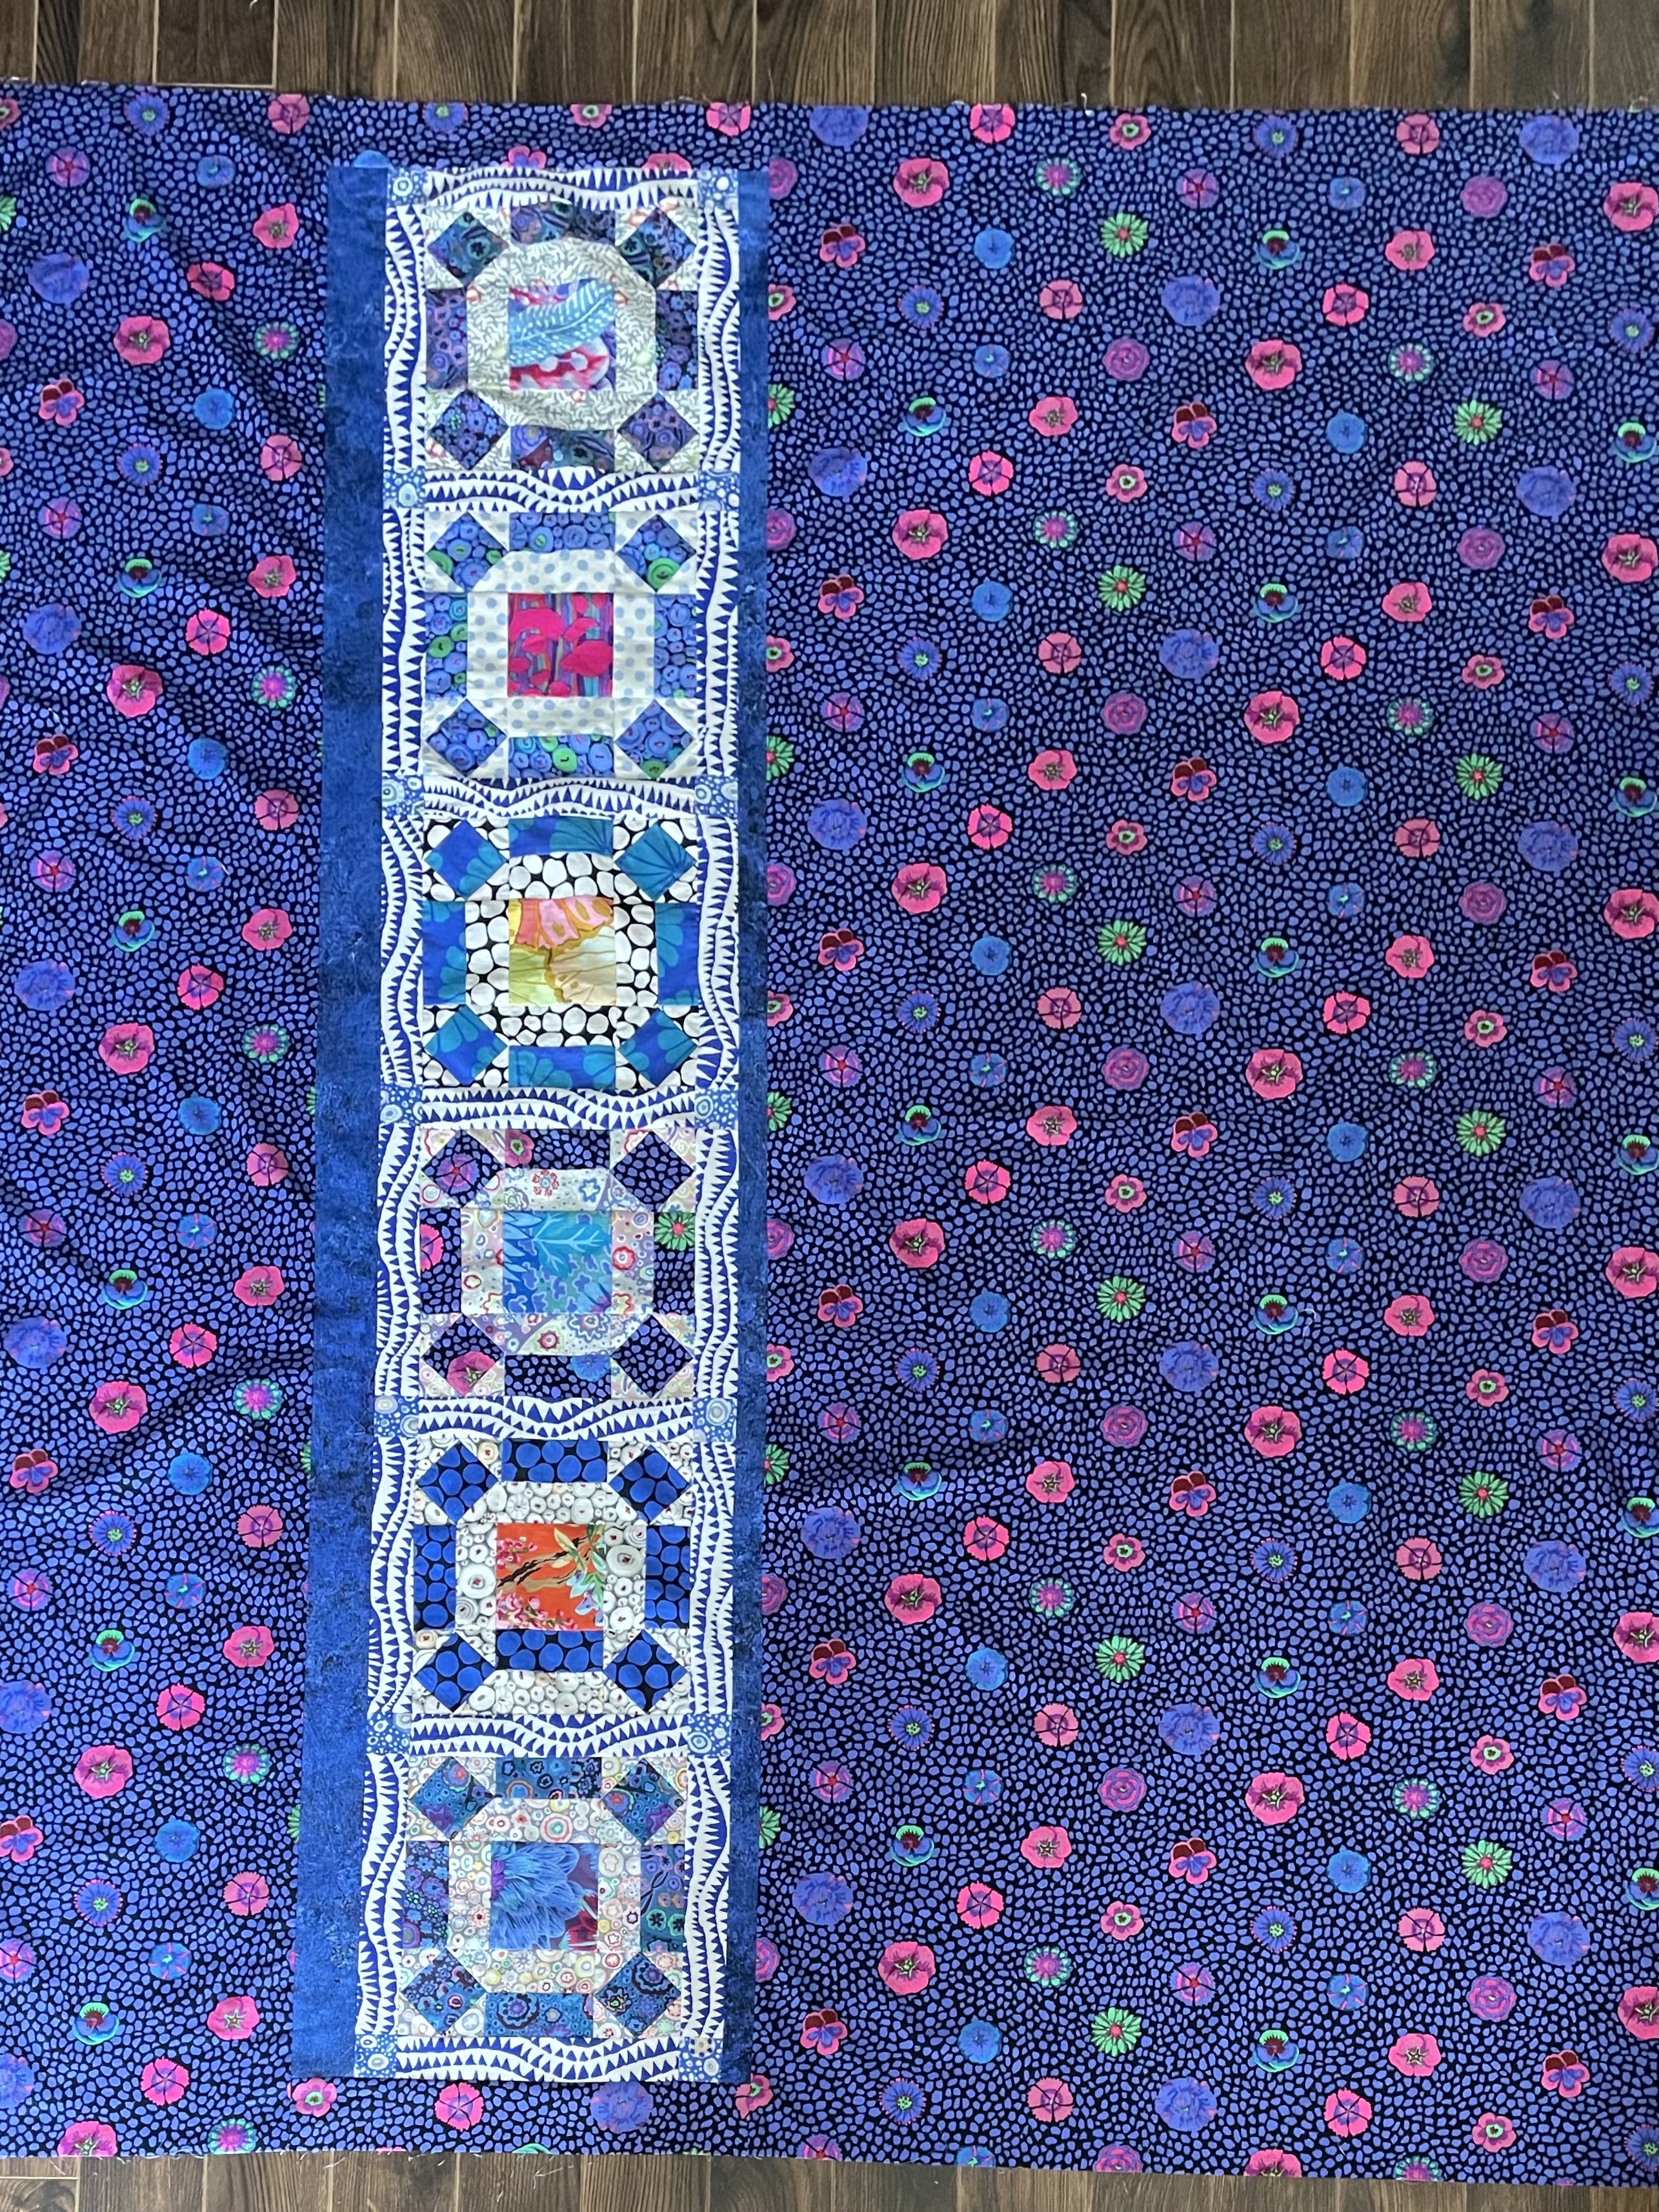
Then I was up early this morning going through my stash looking for something to use as sashing. I found a white fabric with black dots I thought would work but I didn’t have enough to do all the sashing, so after aquafit I went shopping for sashing fabric. I found one very close to the one I’d dug out of the stash. I also had a very small amount of a complementary white with larger black dots and had my fingers crossed there’d be enough in that piece to cut the 48 small squares I needed (I was lucky and there was!).
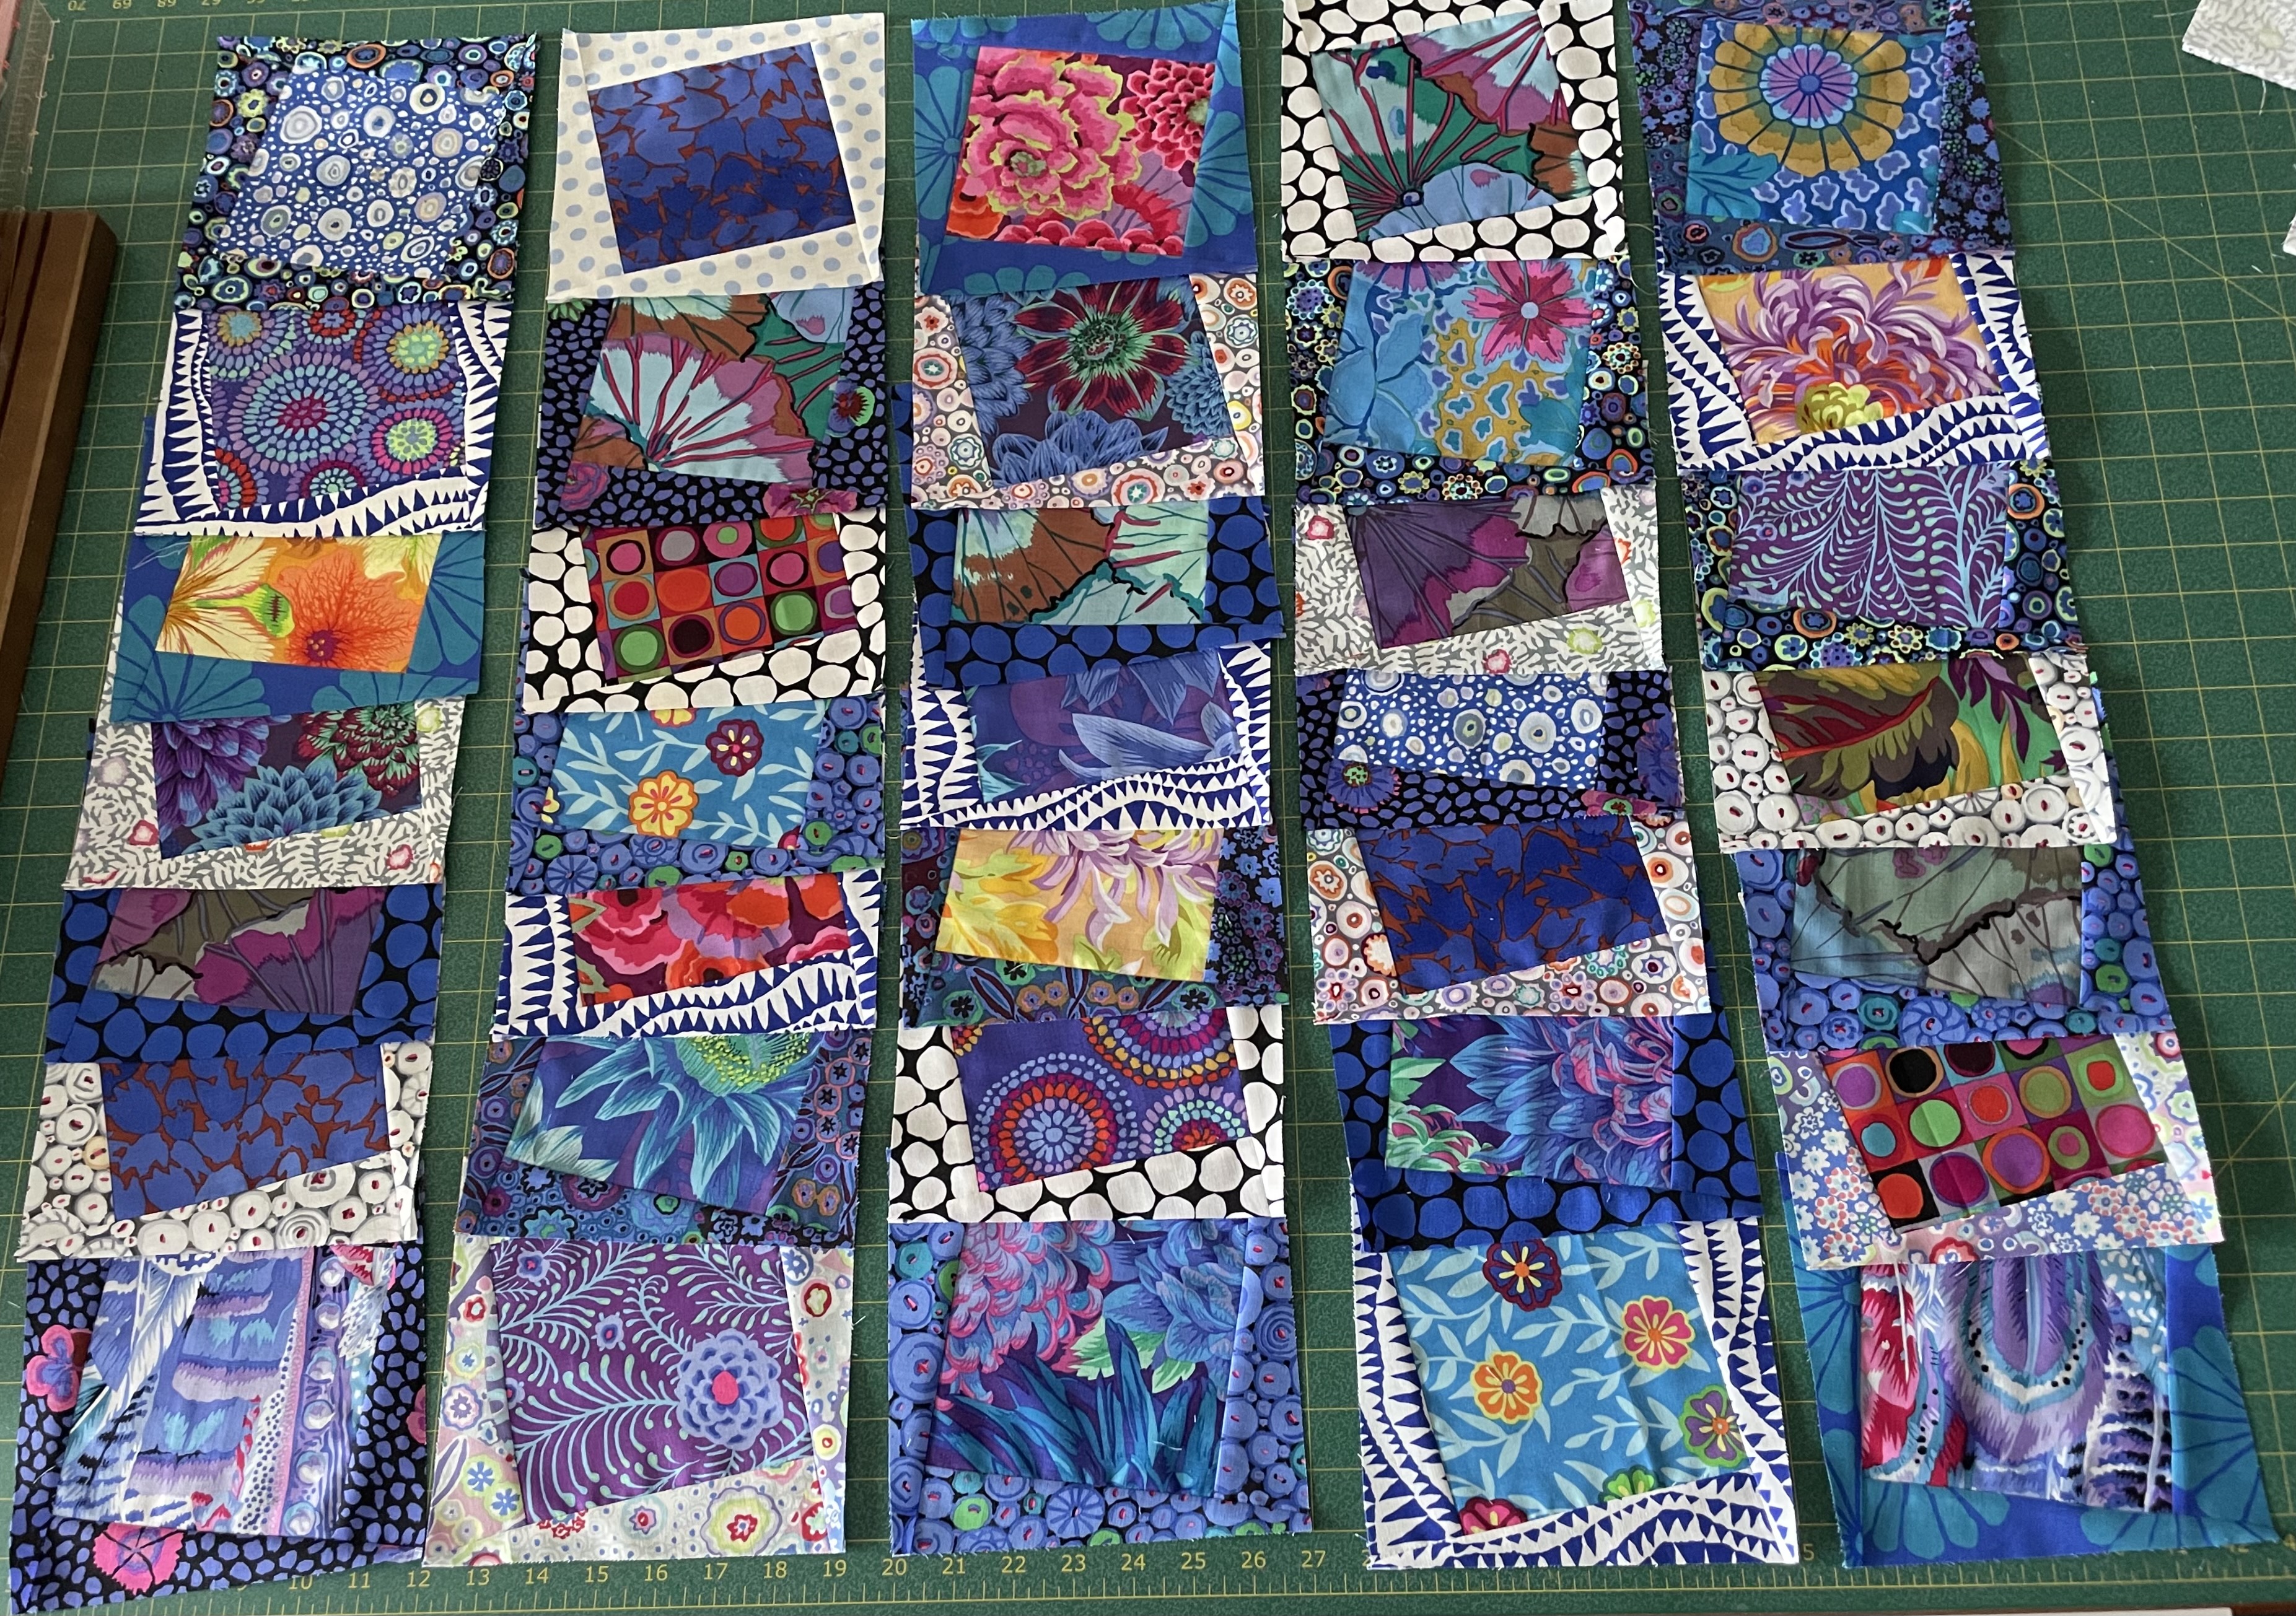
So here is what the setup is starting to look like:

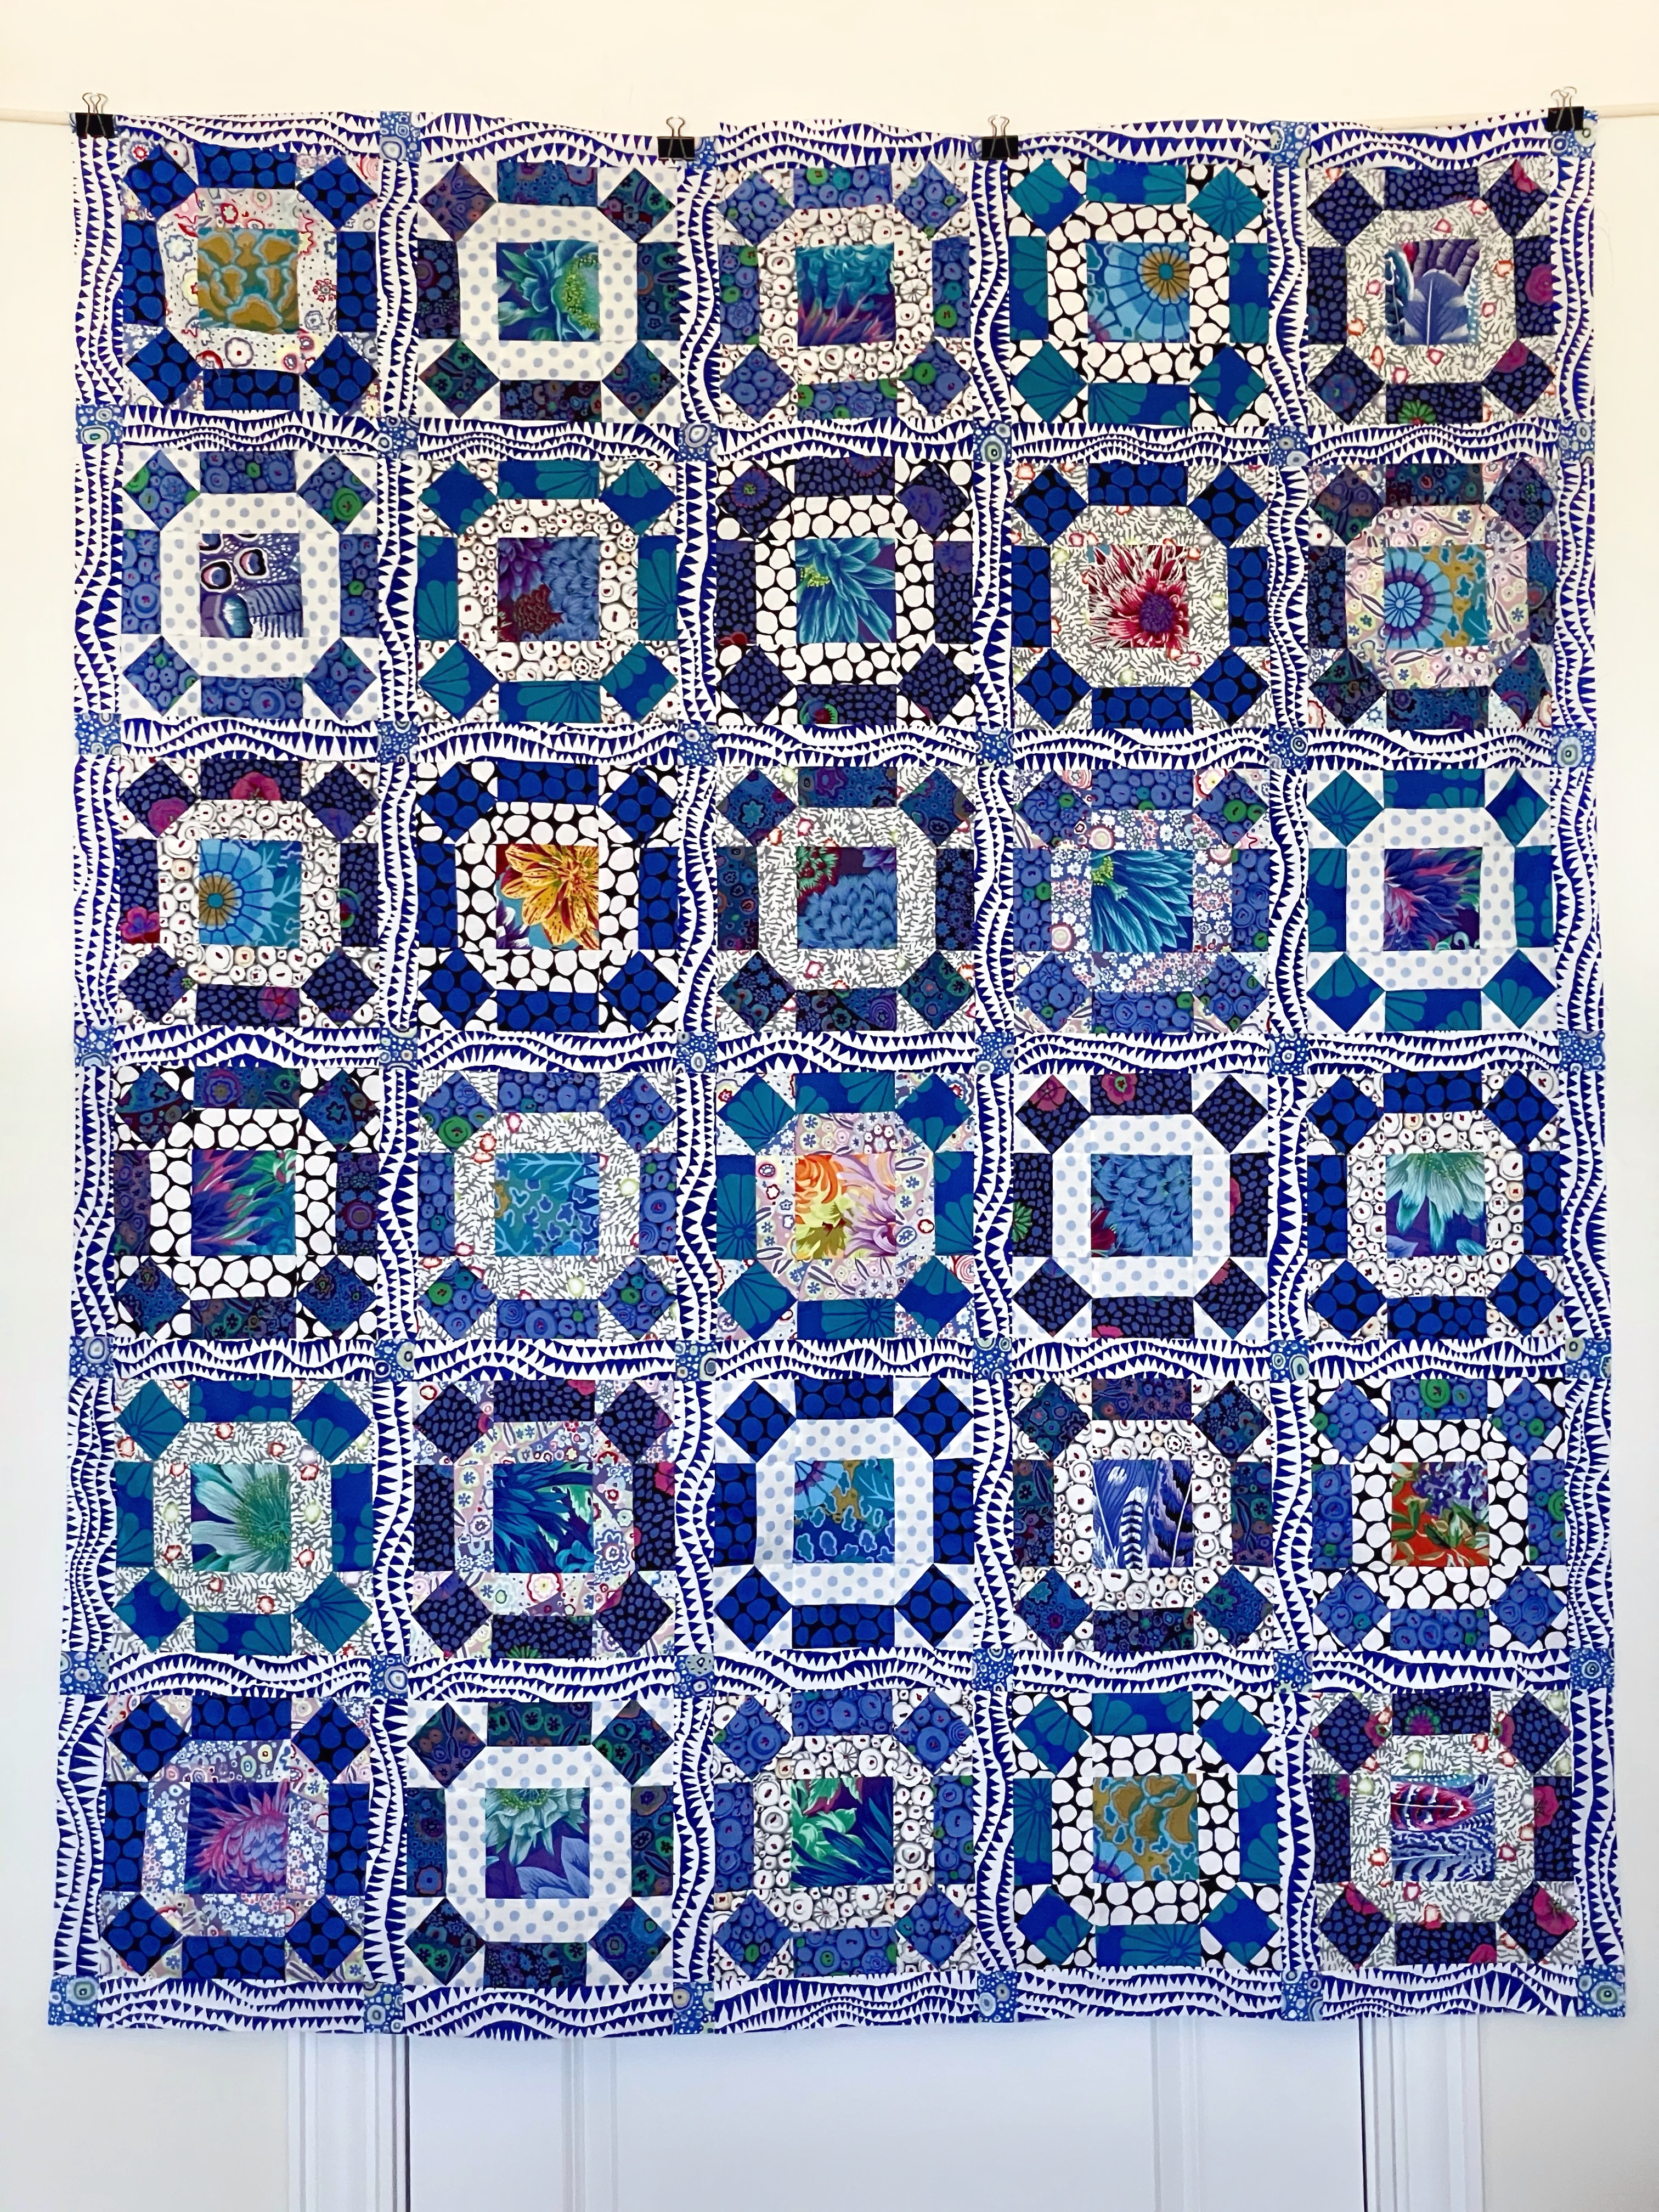
I’m planning to alternate blocks with dark triangles with blocks with light triangles. That gives me alternating rotation as well since I cut all the light blocks in the same direction, all the dark on the second diagonal.
The sashing will be a wee bit narrower than the placement in the photo and will look fine once I have all the blocks completed and laid out.
So enough for today – back at it tomorrow. I expect the quilt top will be finished sometime on the weekend.
And then I have to start planning for a course I’m teaching in a couple of weeks – Industrial Techniques for the Home Sewer. My plan is to help people work their way through a relatively simple garment of their choosing while showing them some of the technique I’ve acquired over the years from various people I’ve taken classes with as well as other short-cuts I’ve figured out for myself.
I’m going to make myself a jacket from some kantha fabric I bought from Marcie Tilton a couple of years ago.

I drafted a pattern from a jacket I bought at Gumps in San Francisco (looks like they’ve dropped the interesting clothing they had in the store) and made it from a kantha bedspread I bought online. I’m not sure whether I will line the jacket or not – quite likely not, but in that case I do need to bind all seams (I did pick up some faux suede to do just that). It’ll be a good example to illustrate details not in a pattern that make a garment more interesting and professional looking.