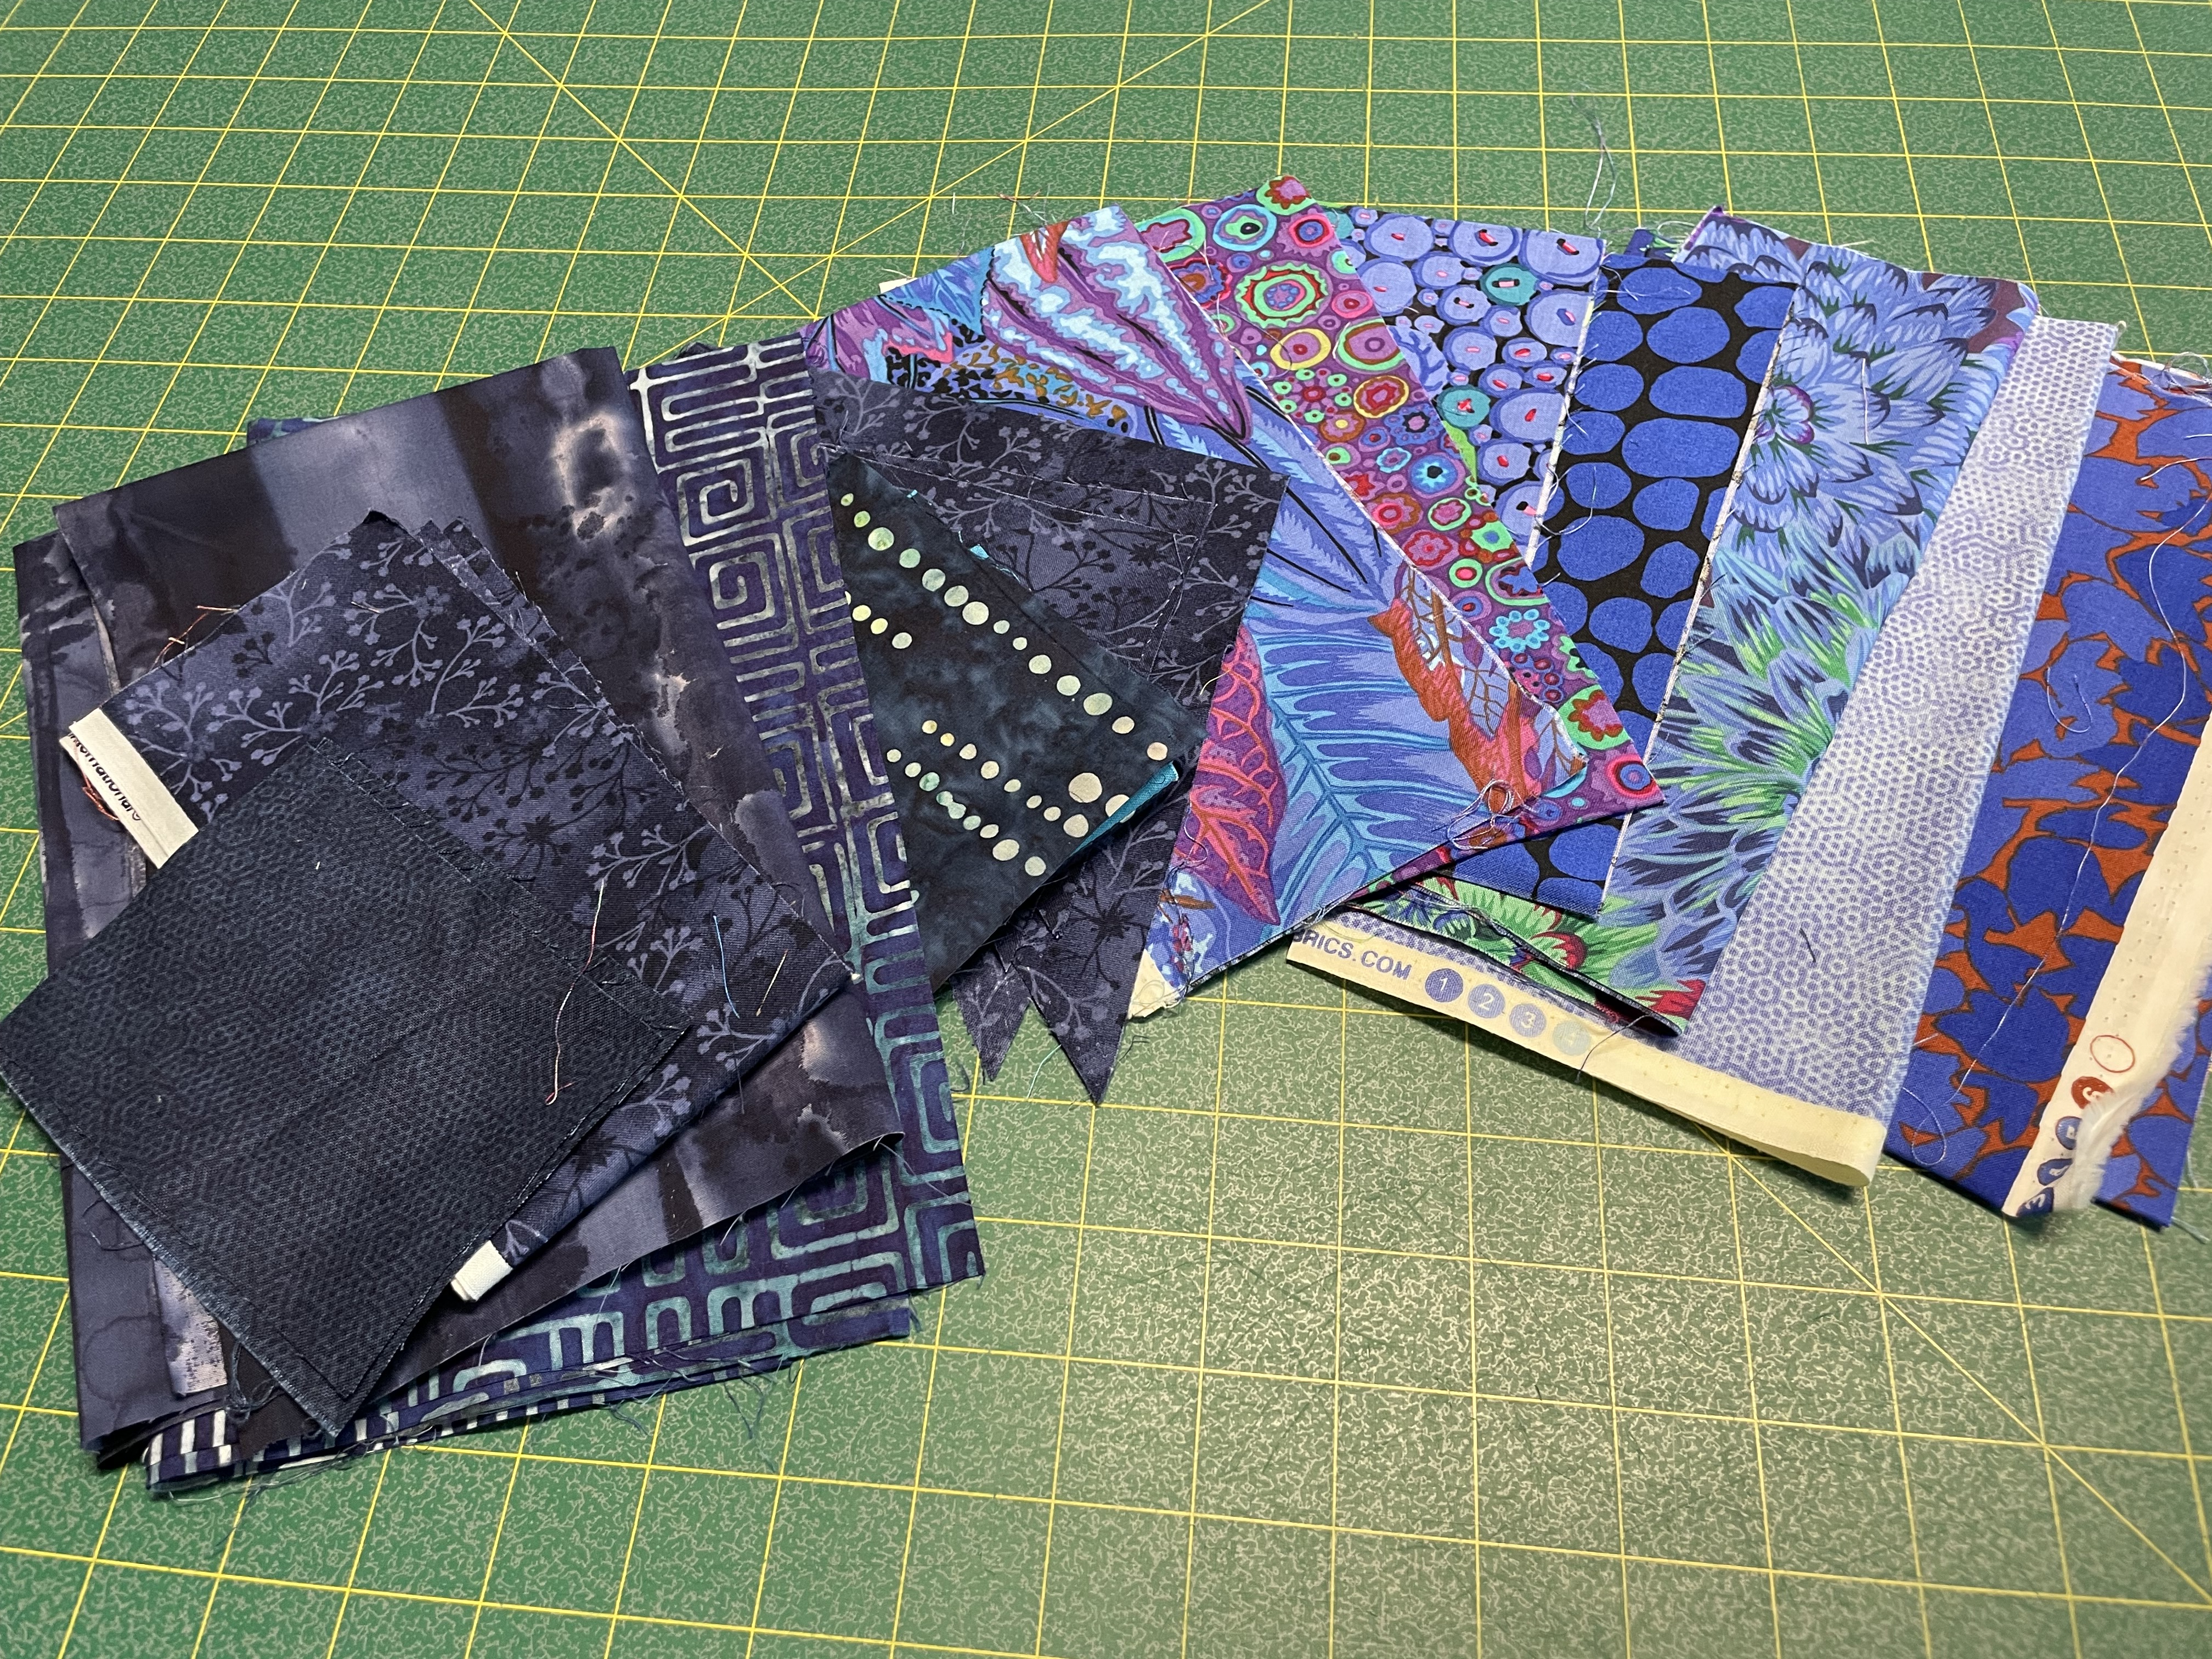
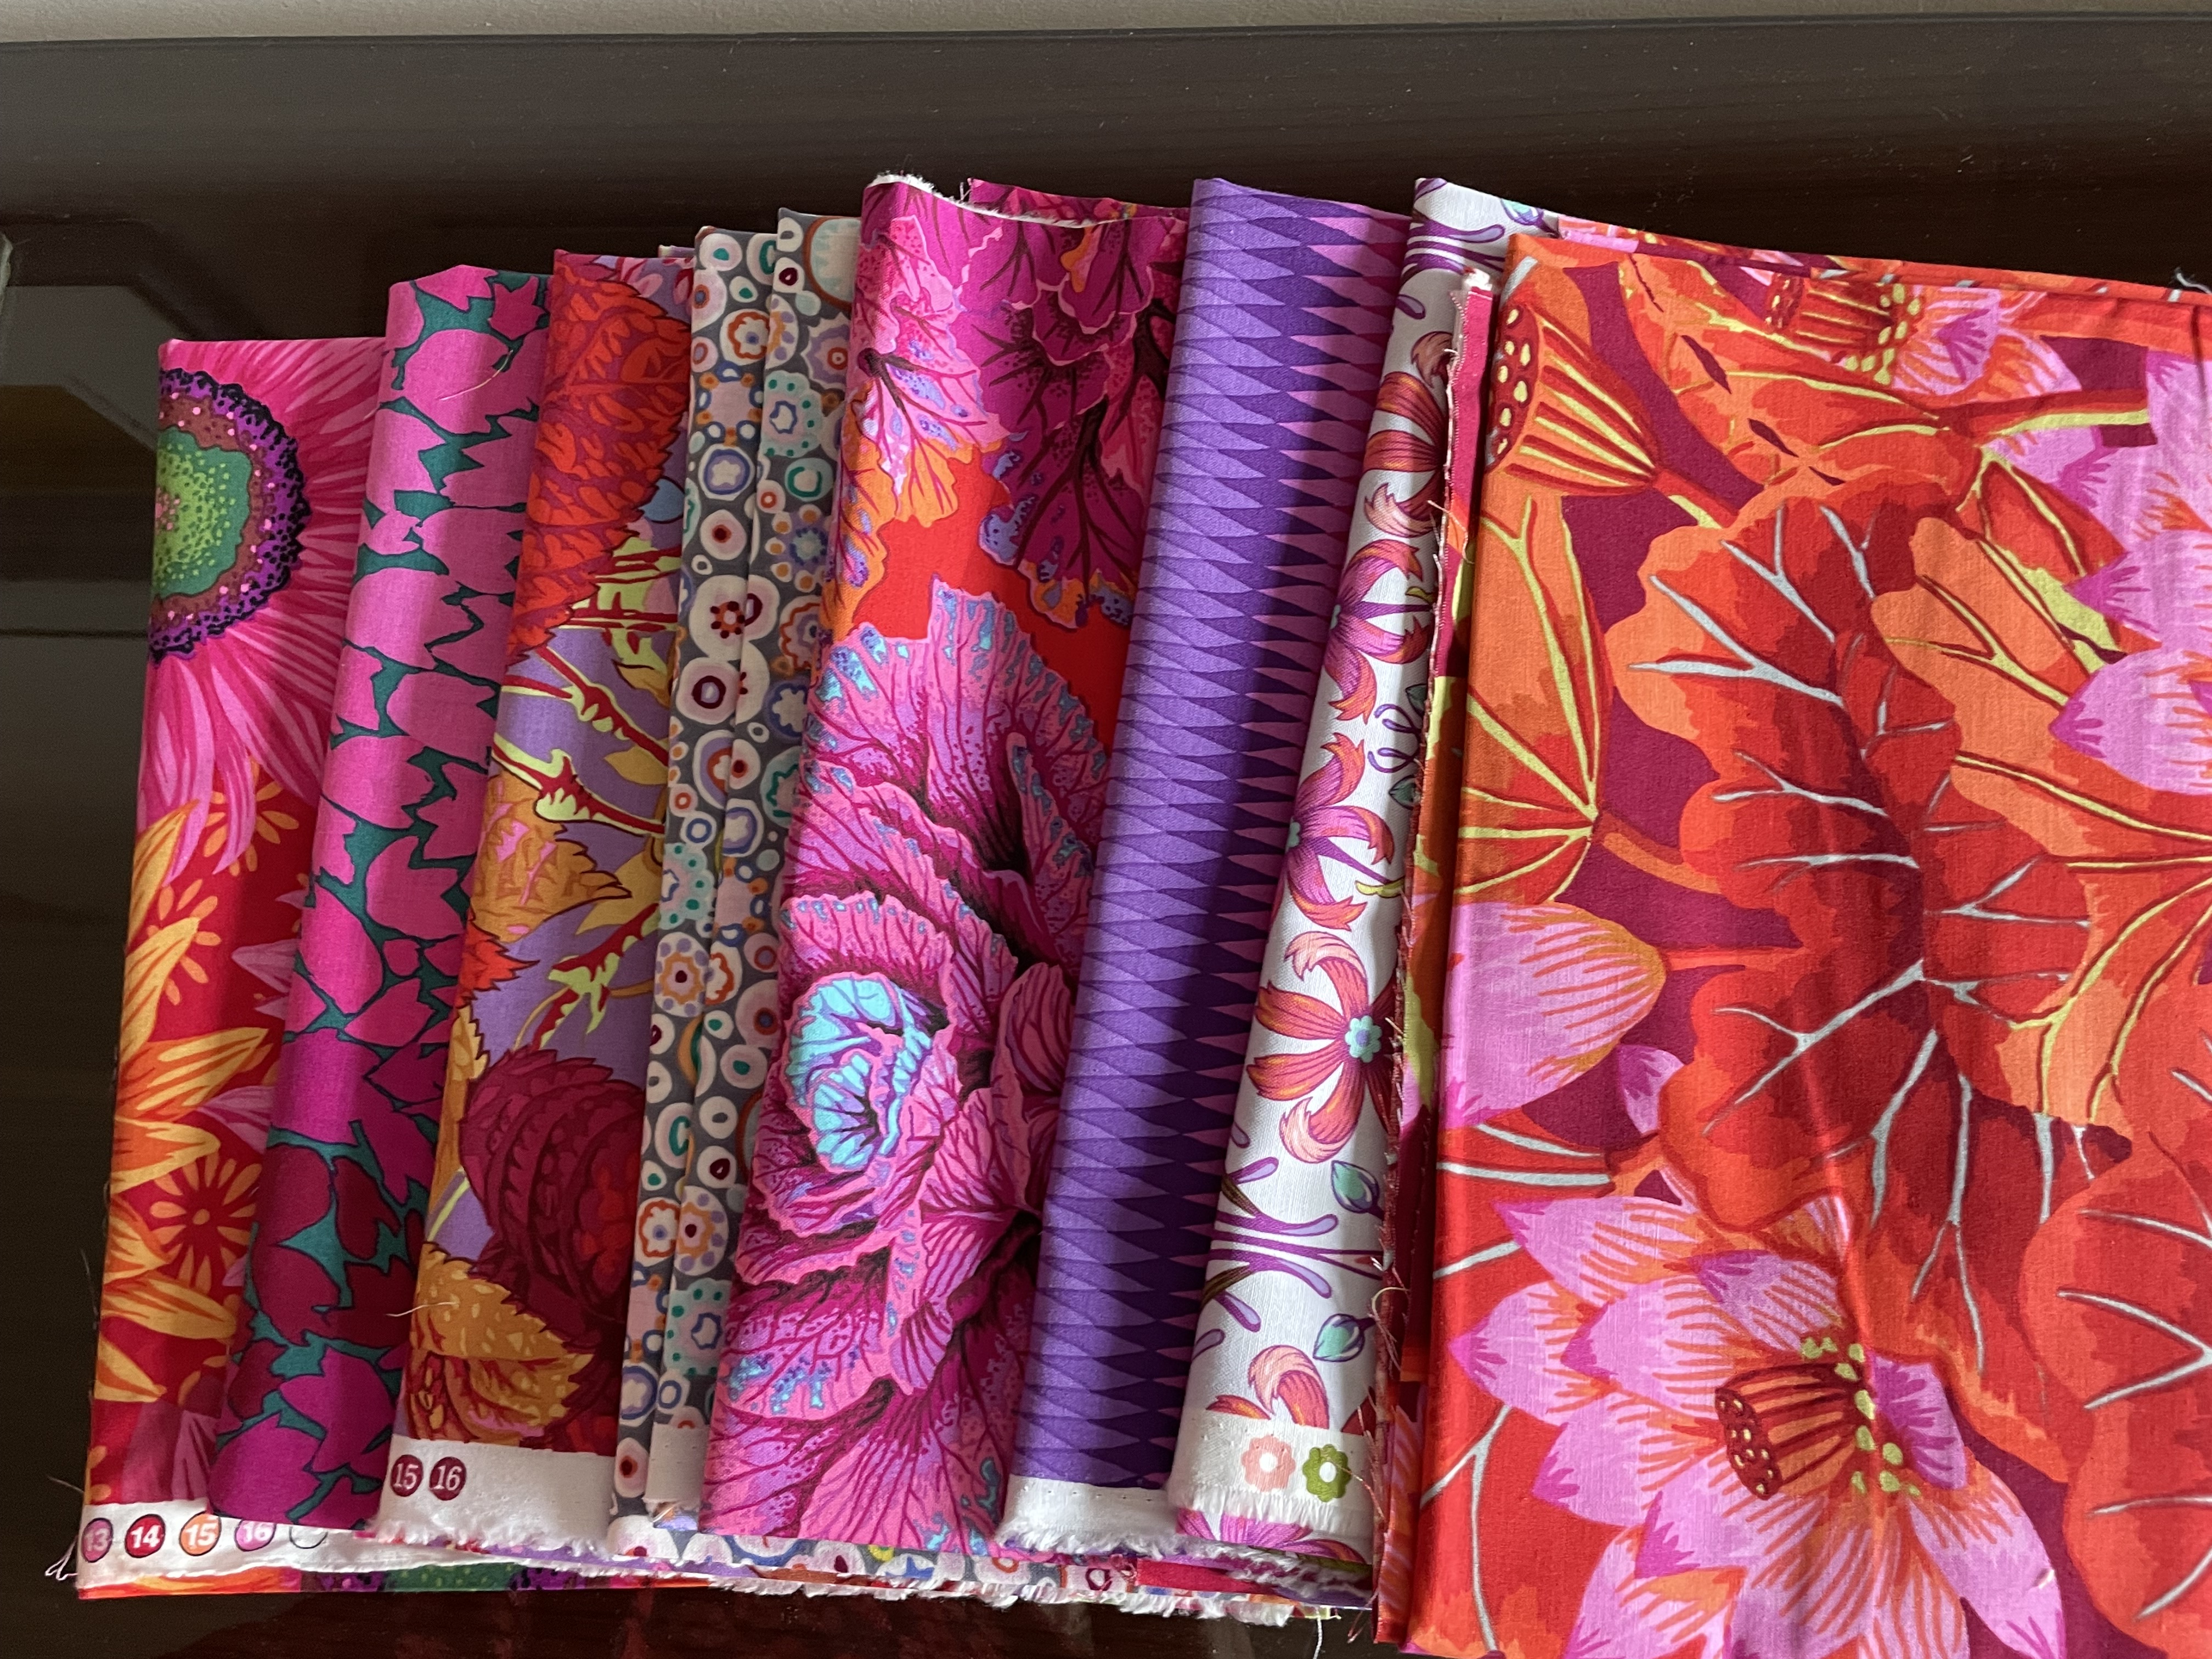
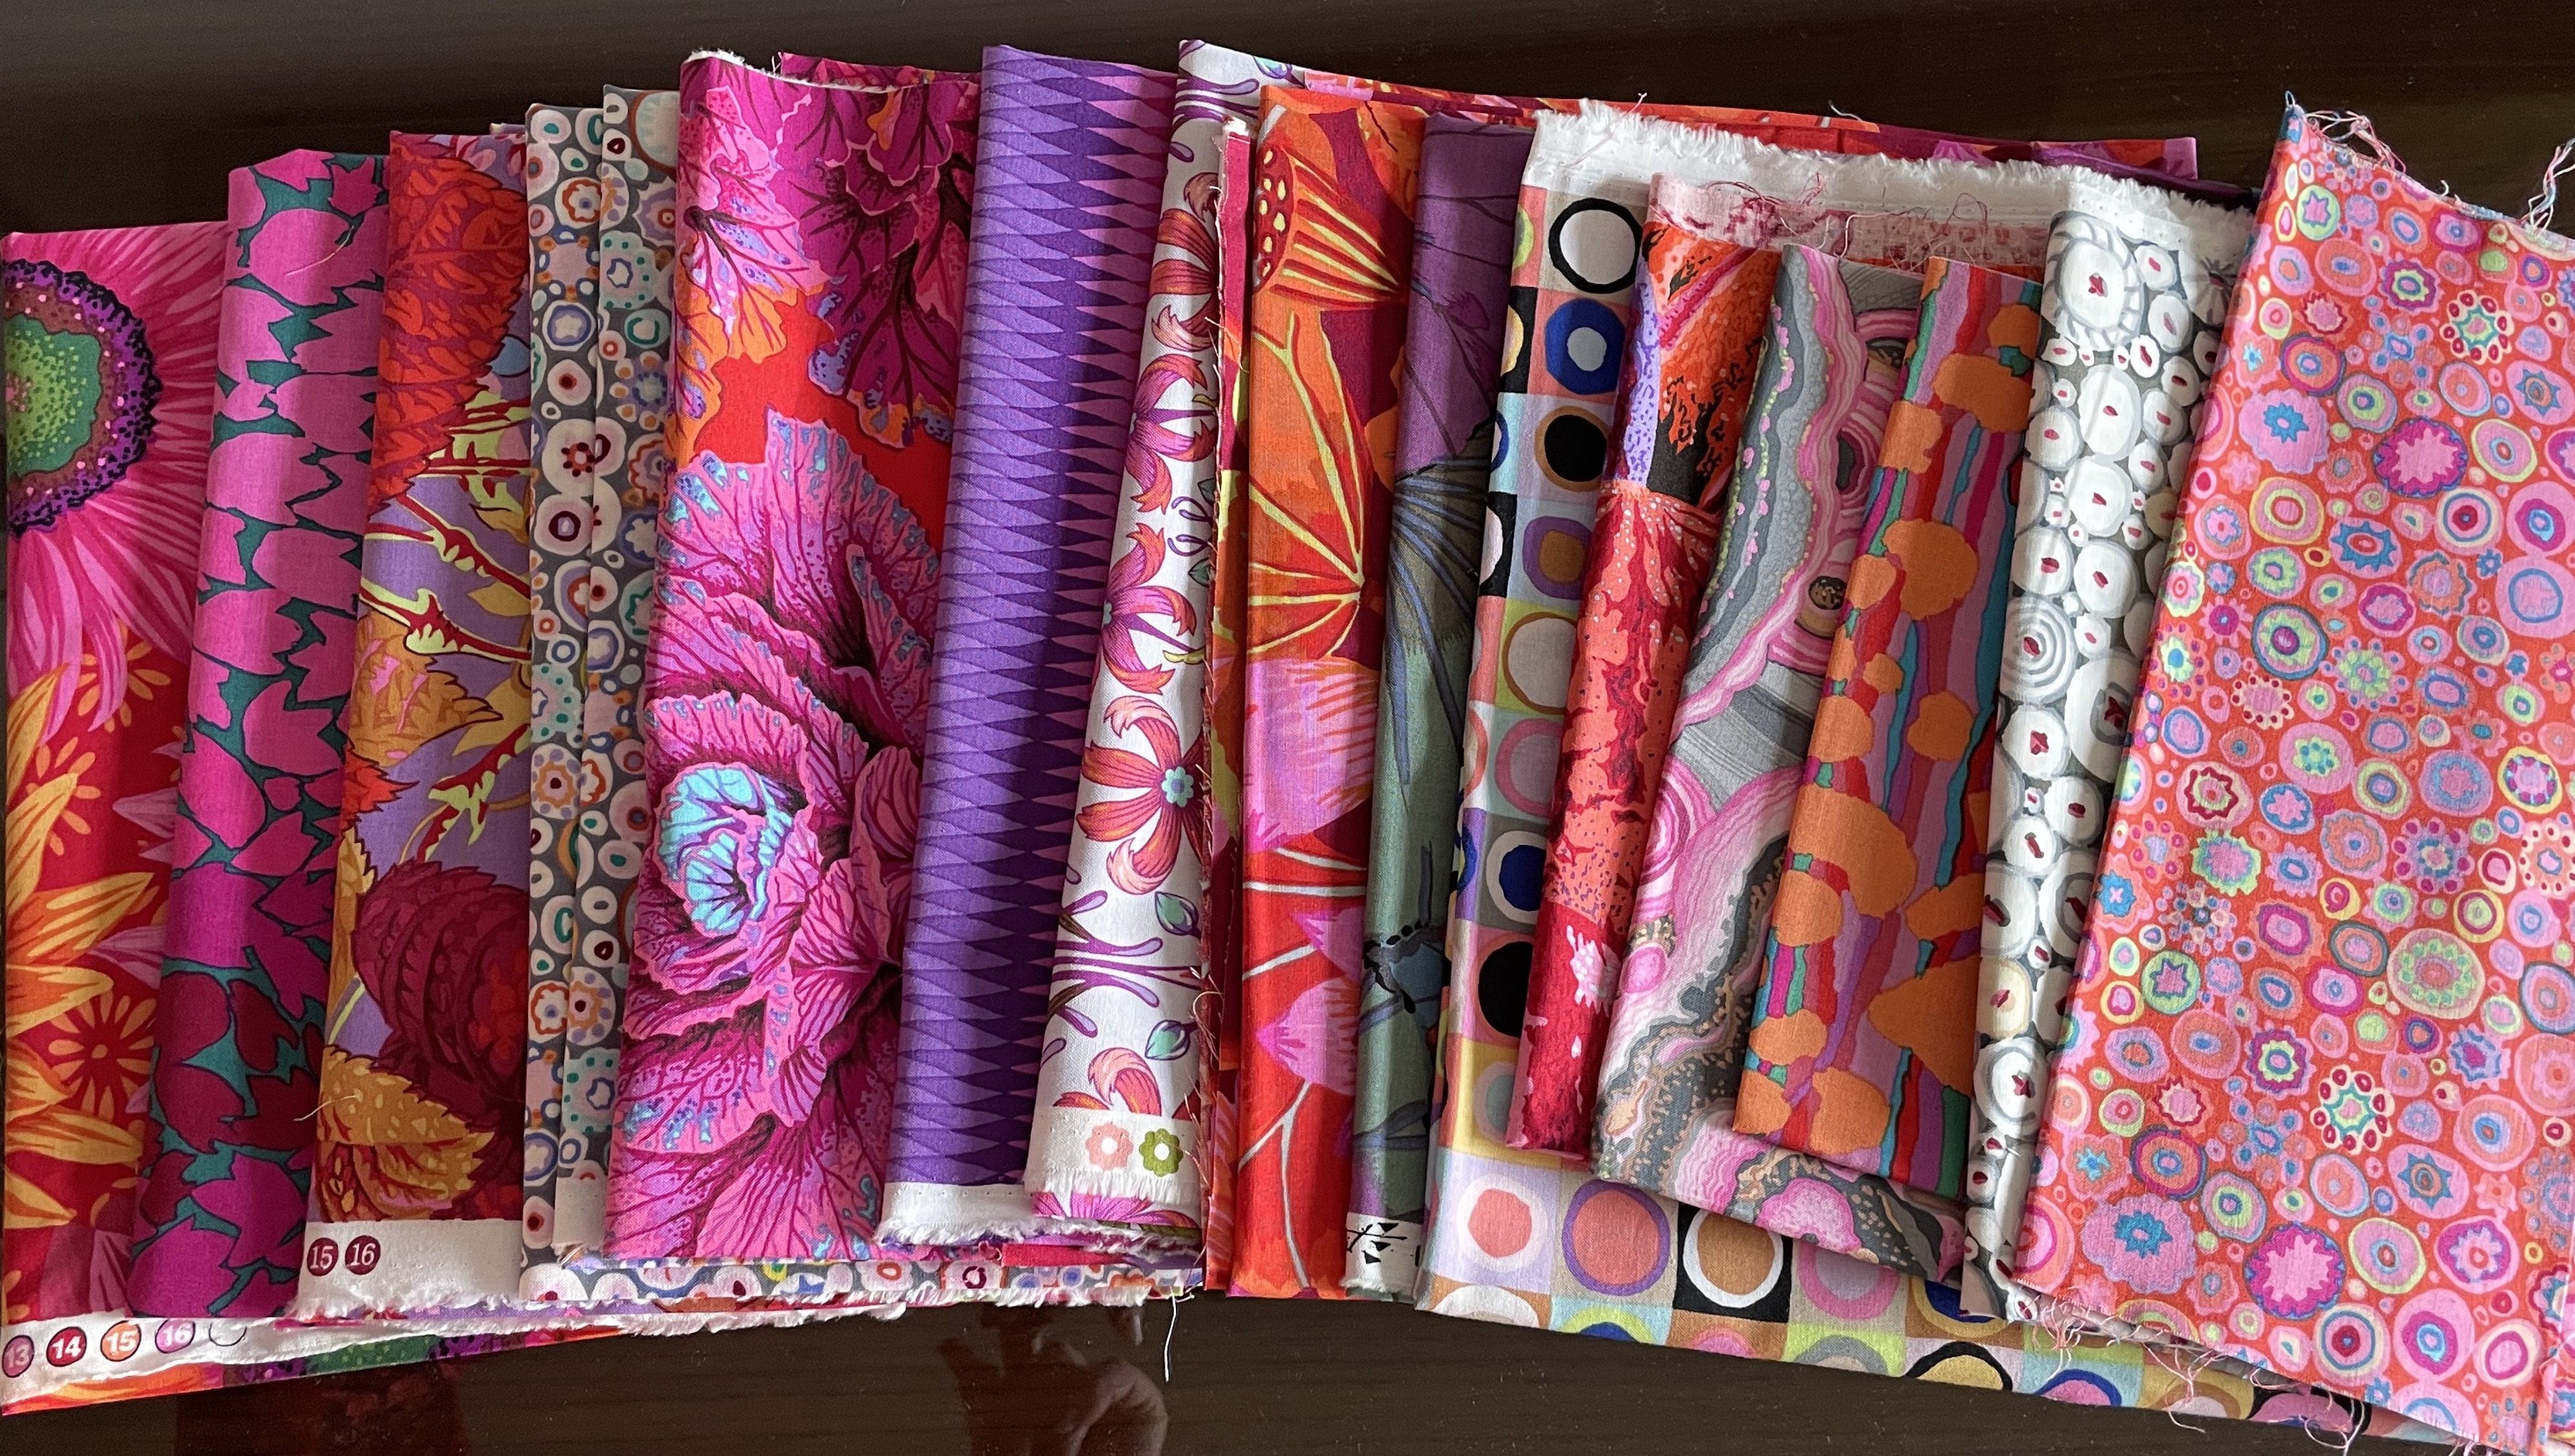
I was looking at the print fabric and the solid fat quarters and thinking I didn’t have “light” in my collection. So I eliminated the colour to see what my tonal contrasts looked like – not too bad, but I could use a bit more light in my colour assortment.
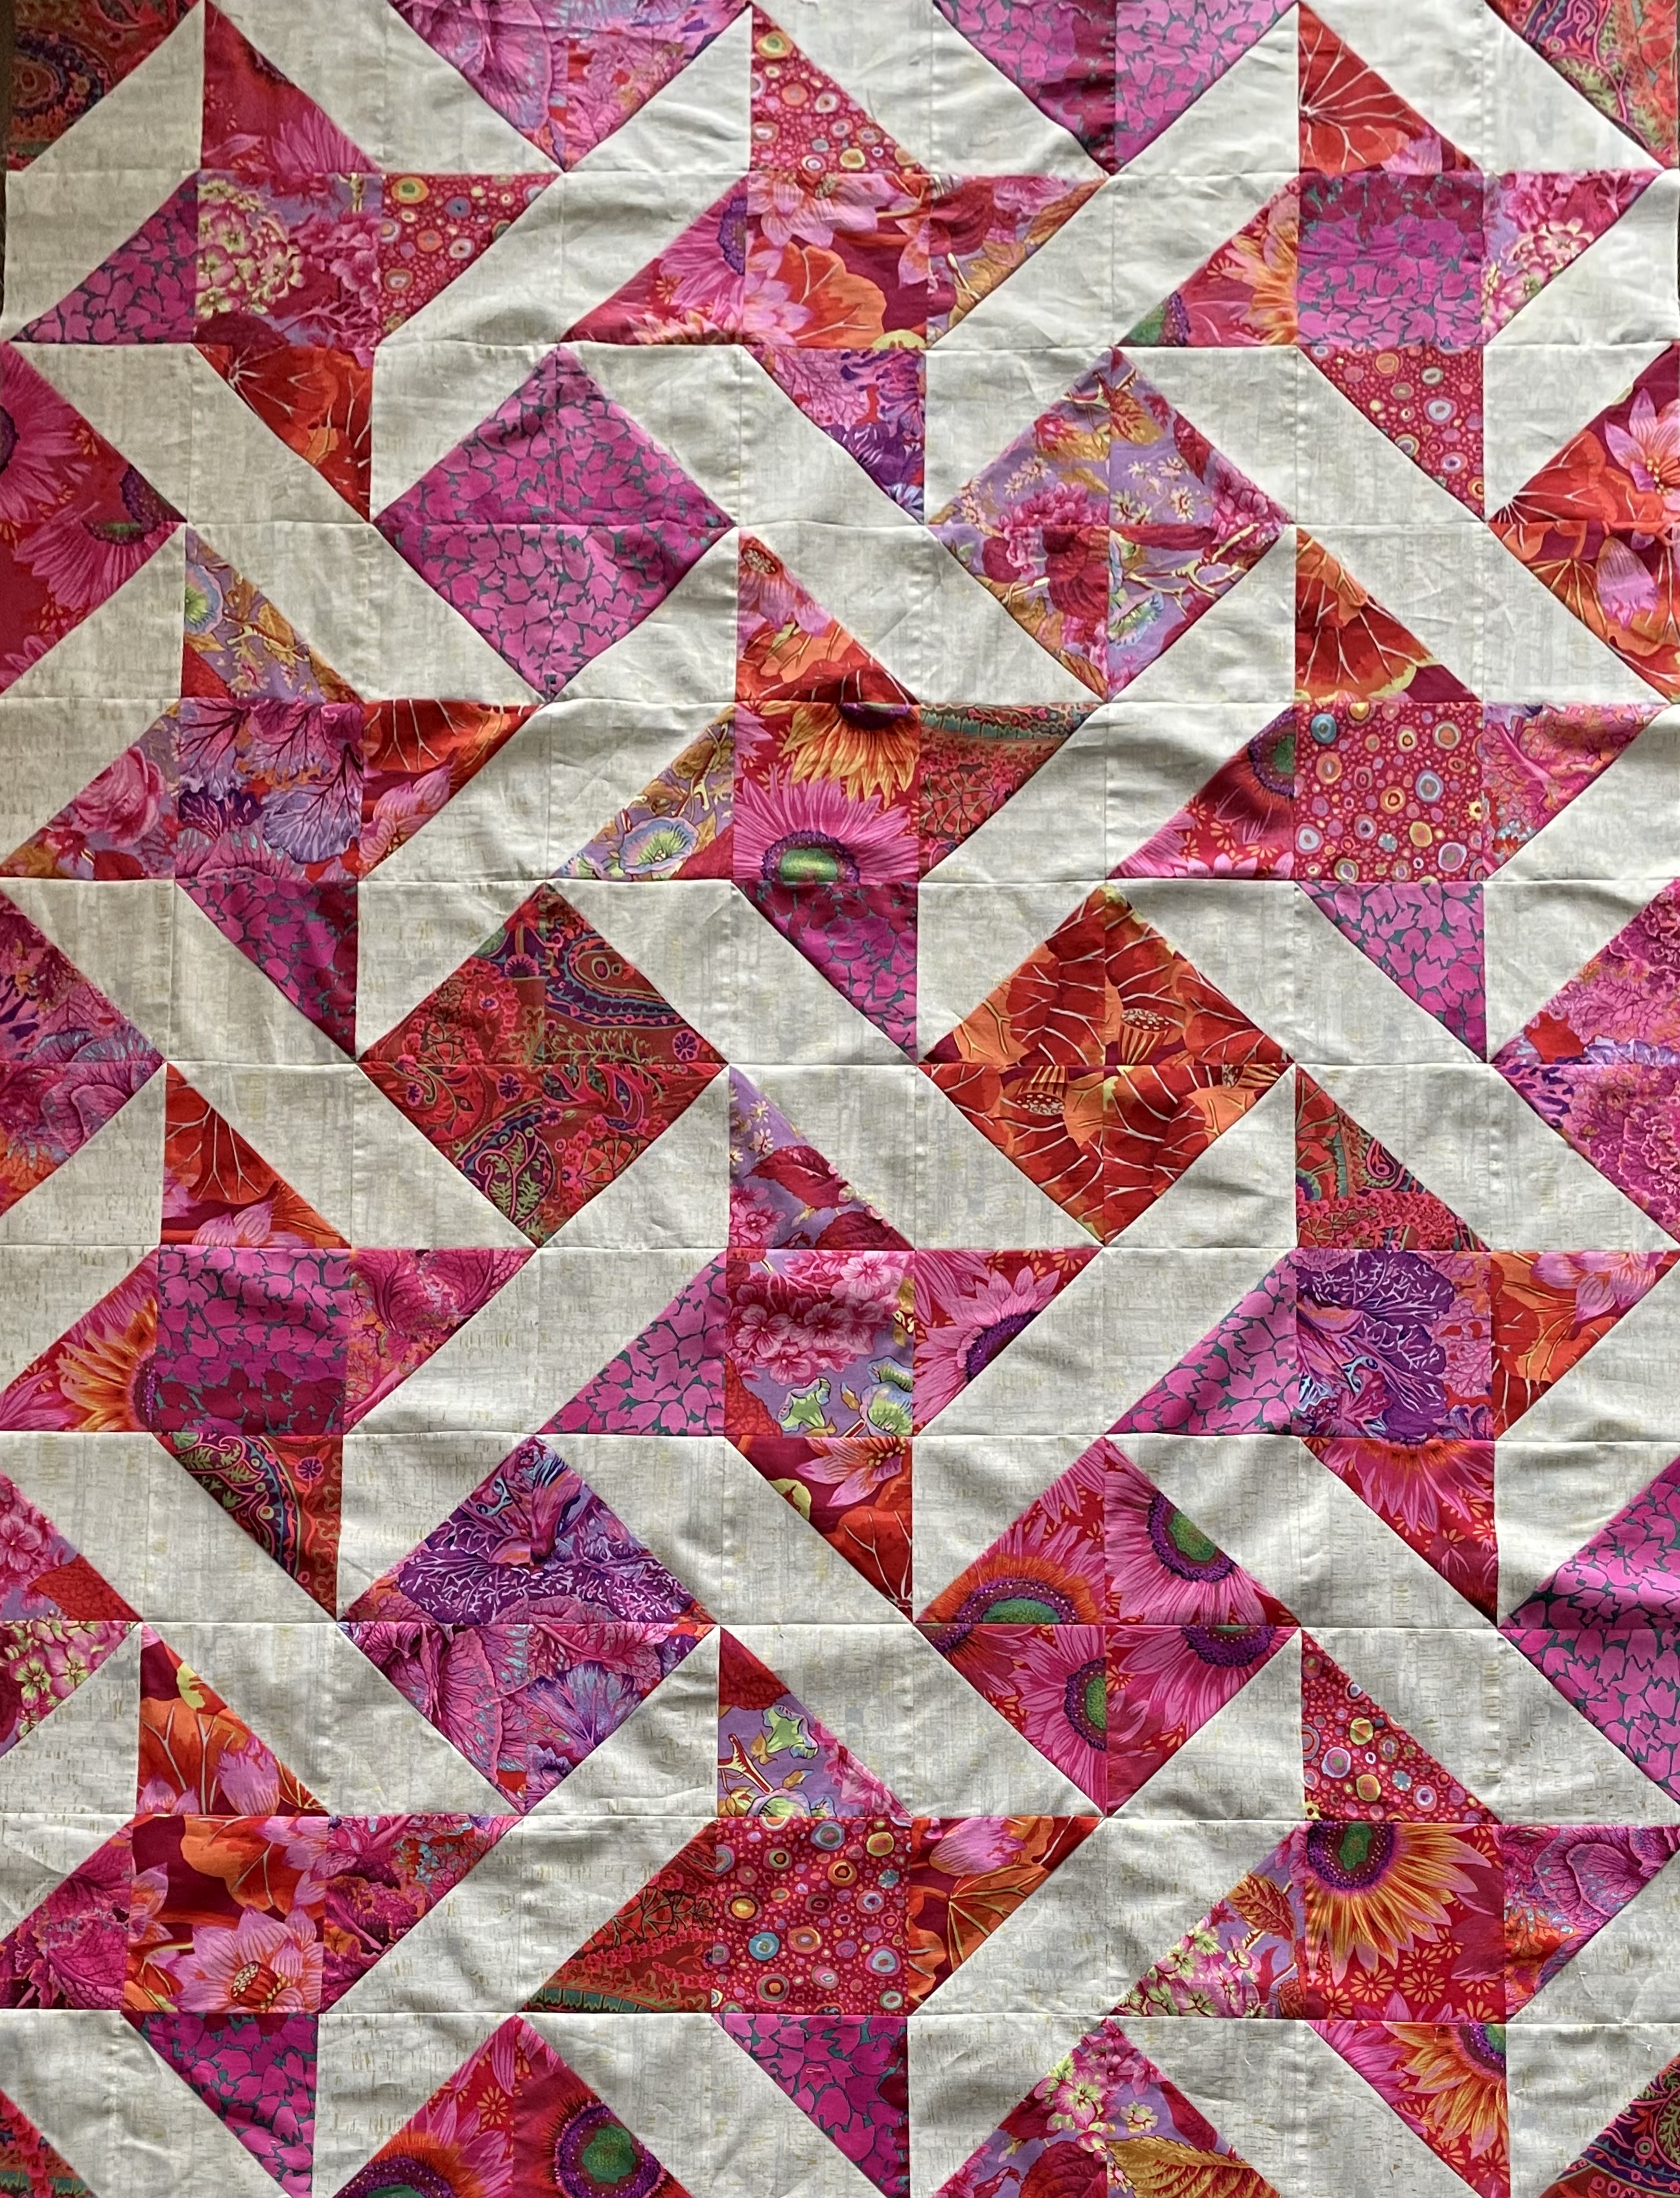
Also, I want to showcase the print even though, in a sense, it’s the background. I found an idea on Pinterest I thought might accomplish that for me:
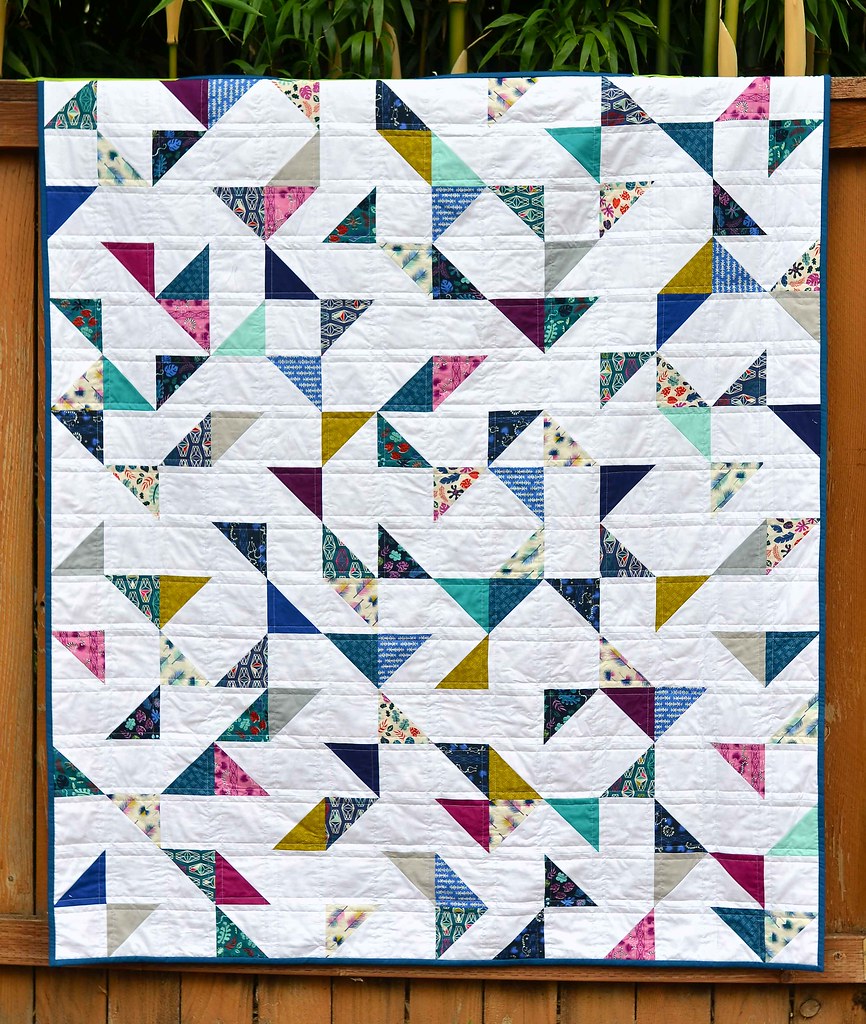
You have to stretch your imagination to visualize the white above as my print fabric, and the print triangles as my solids. Even further, I’m thinking I will break up the triangle with strips from at least two different solids and include a narrow strip of the background fabric as well.
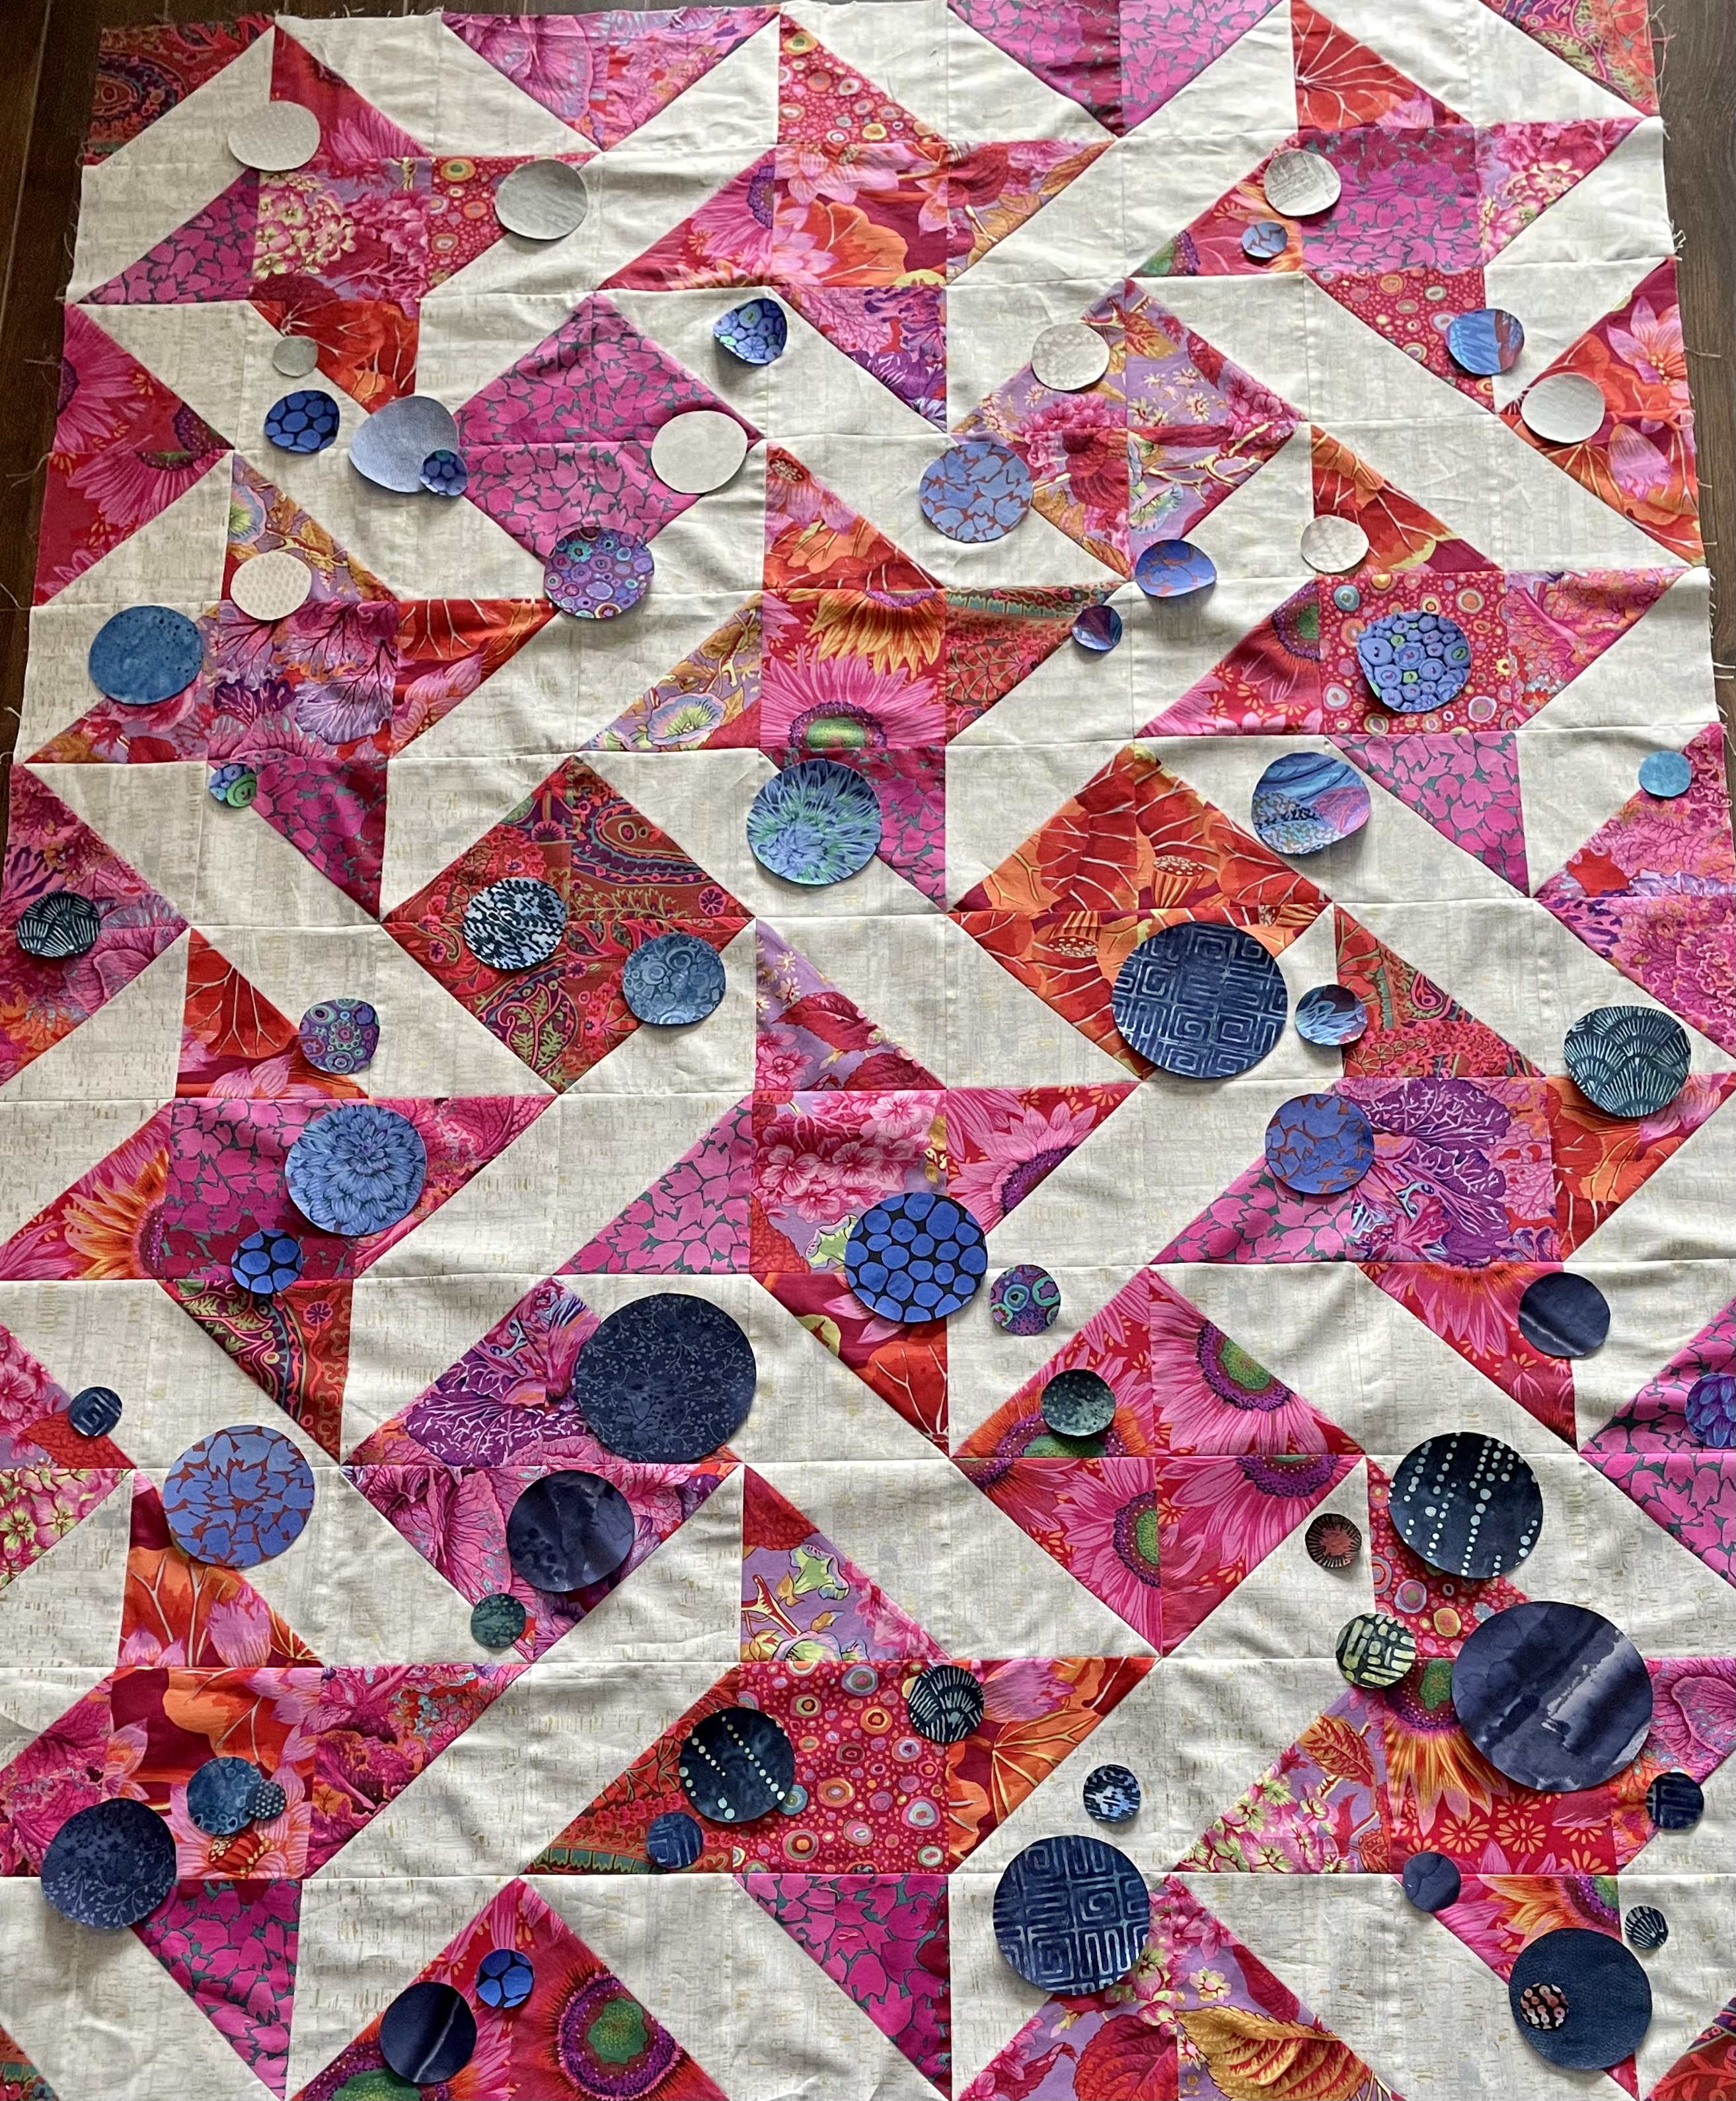
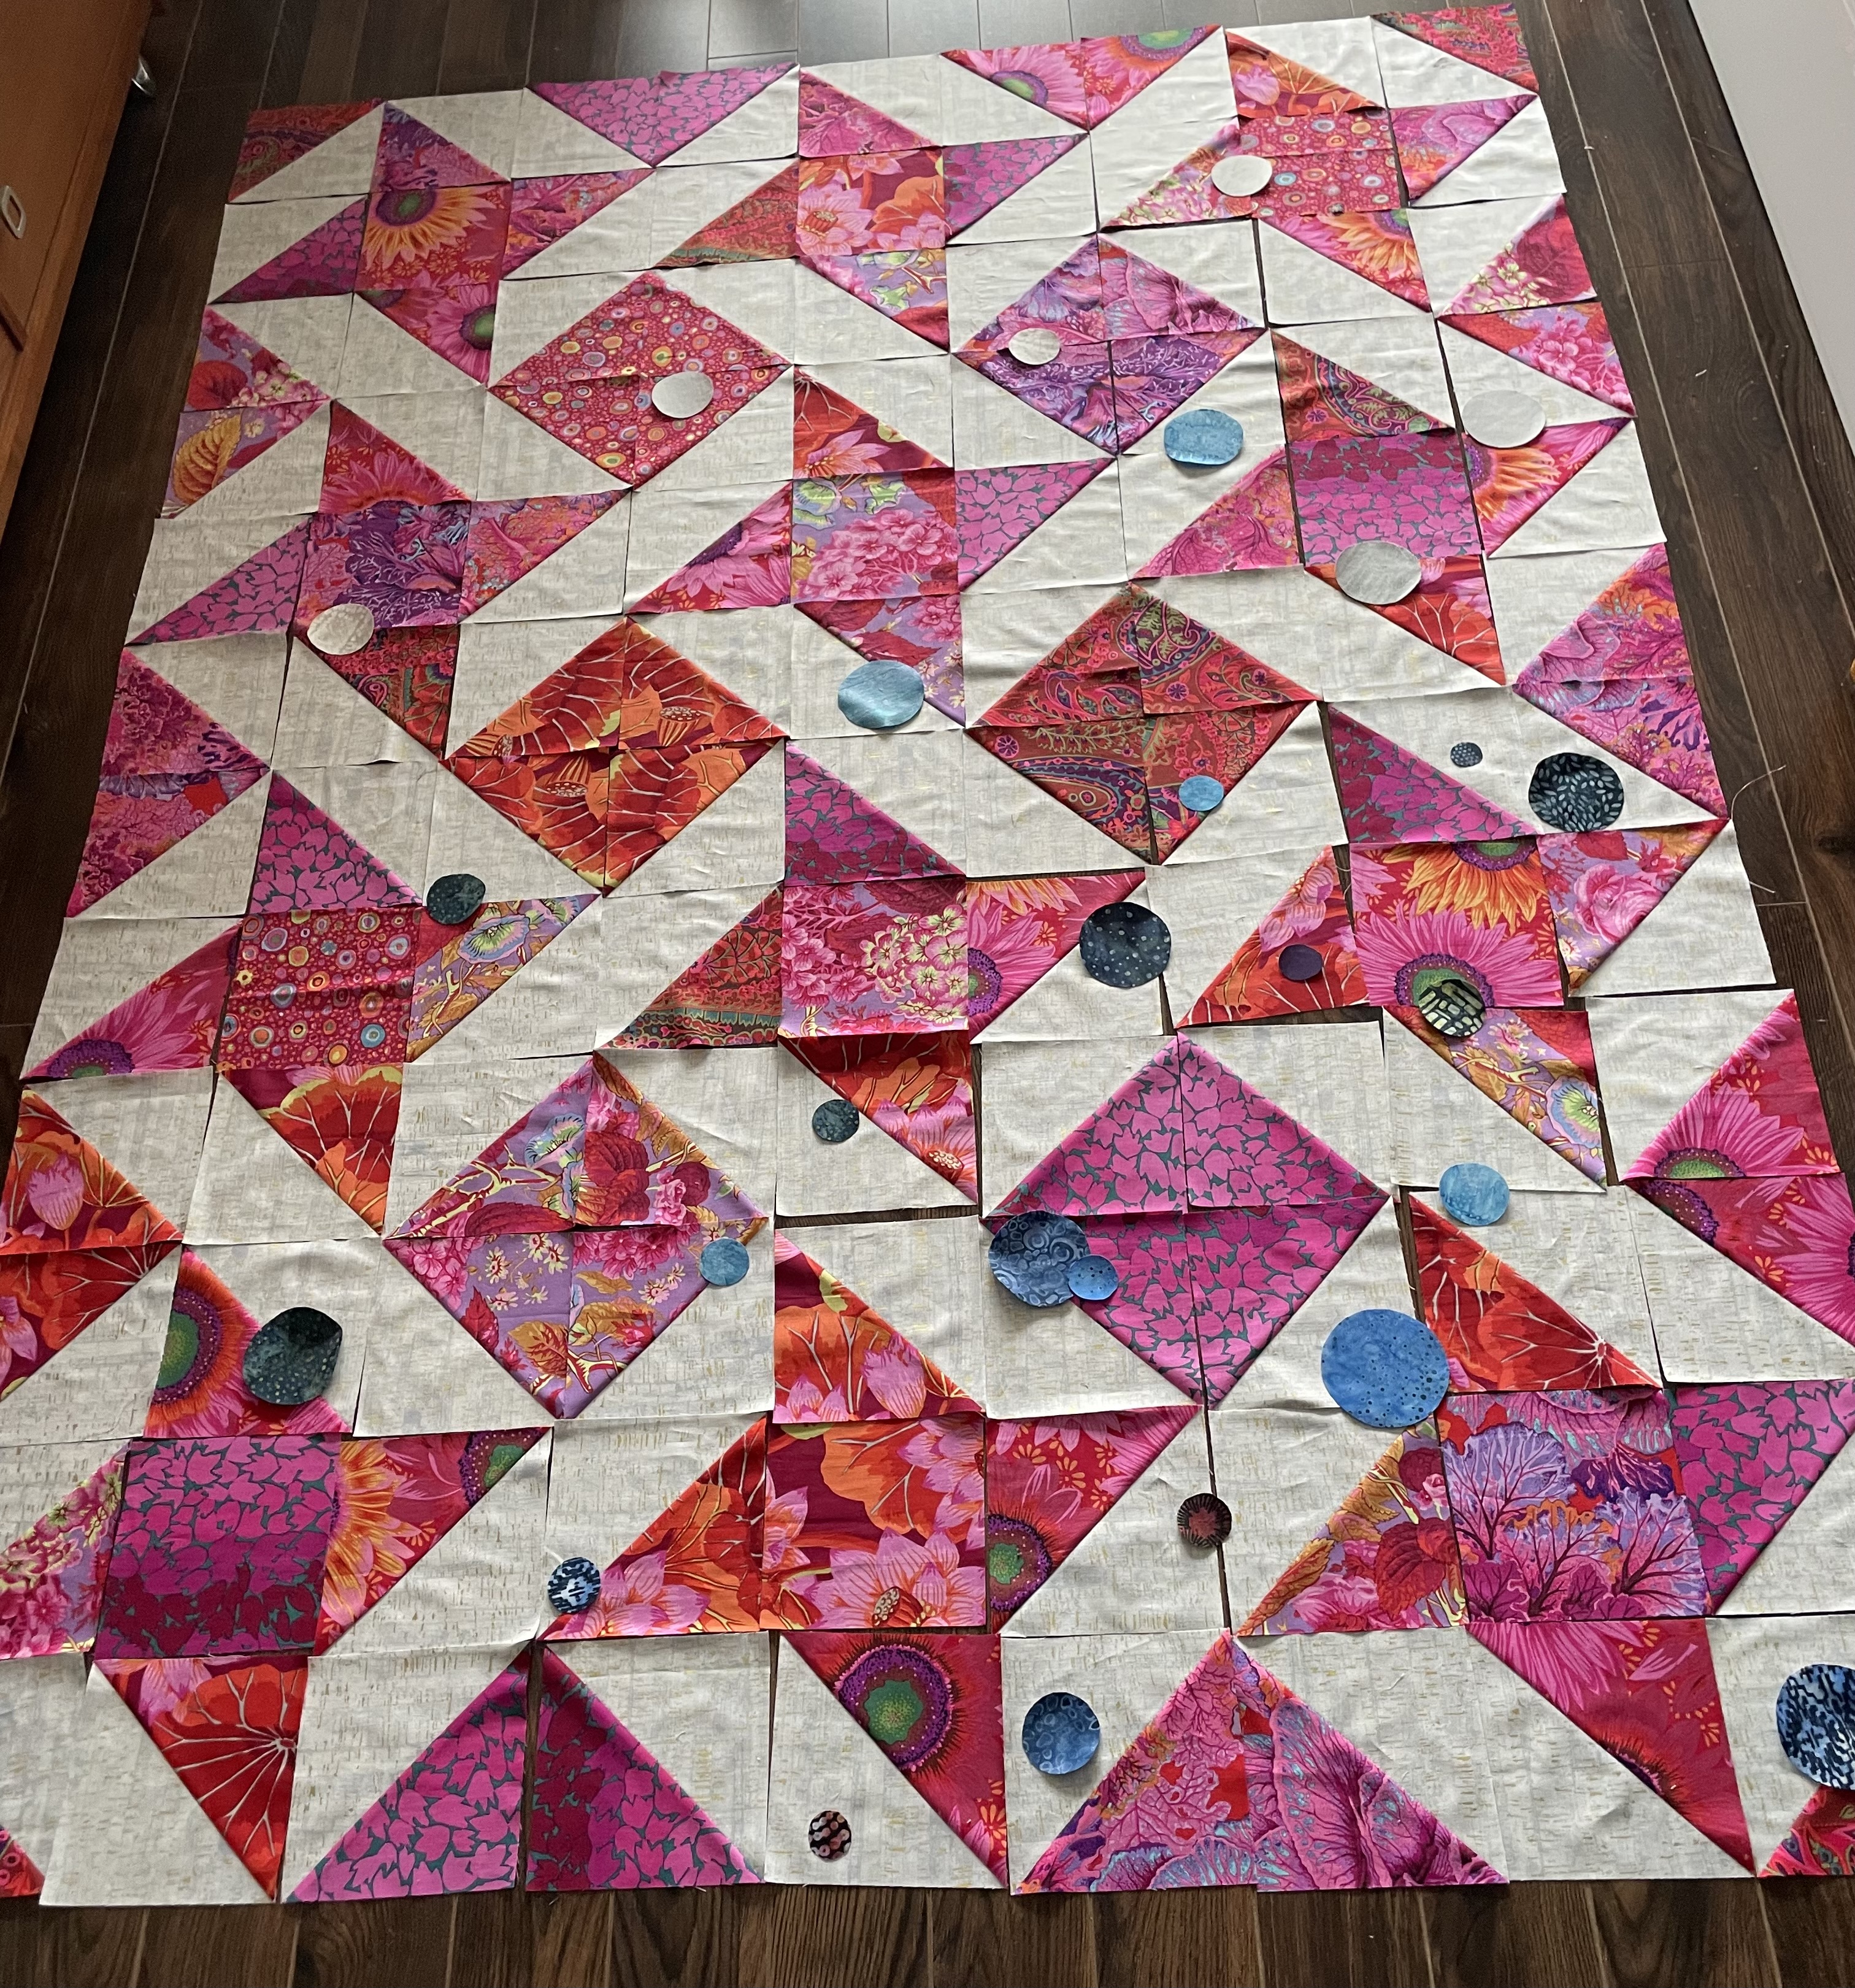
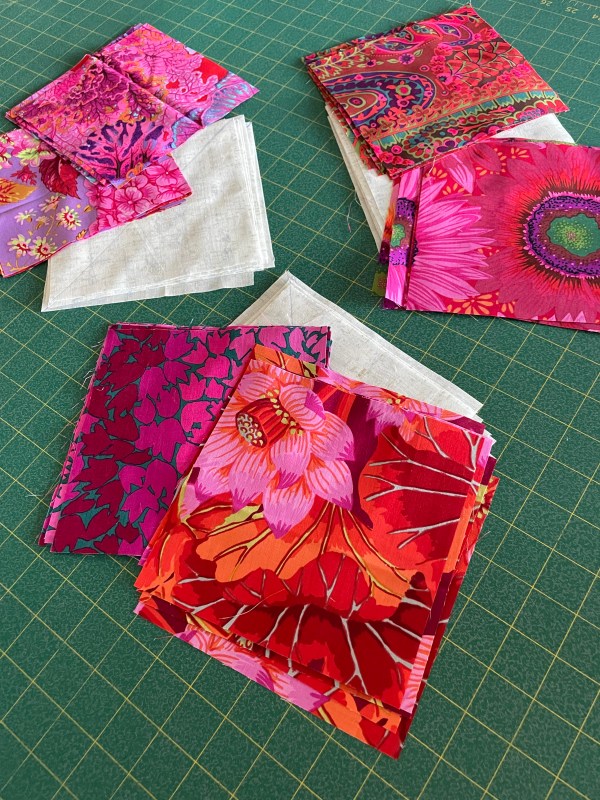
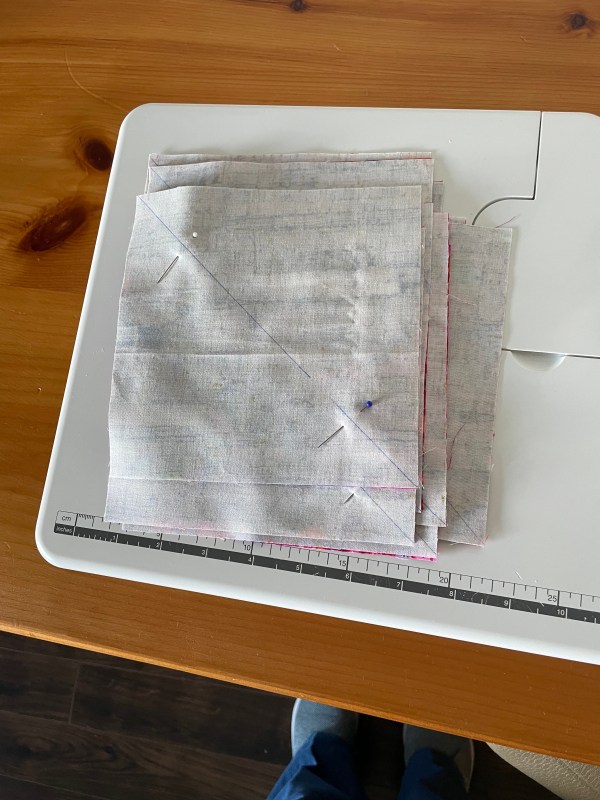
Just playing around with scrap fabric I start to get a sense of what this idea might yield:

Now imagine that bullrush print as my bright yellow/orange/turquoise/green fabric, those triangle elements as the bright solids above and you get a glimmer of where I think I’m heading. I have more bullrush fabric and a couple of different brown/taupe solids to add to the above – tomorrow I’ll do those and include them to the array.
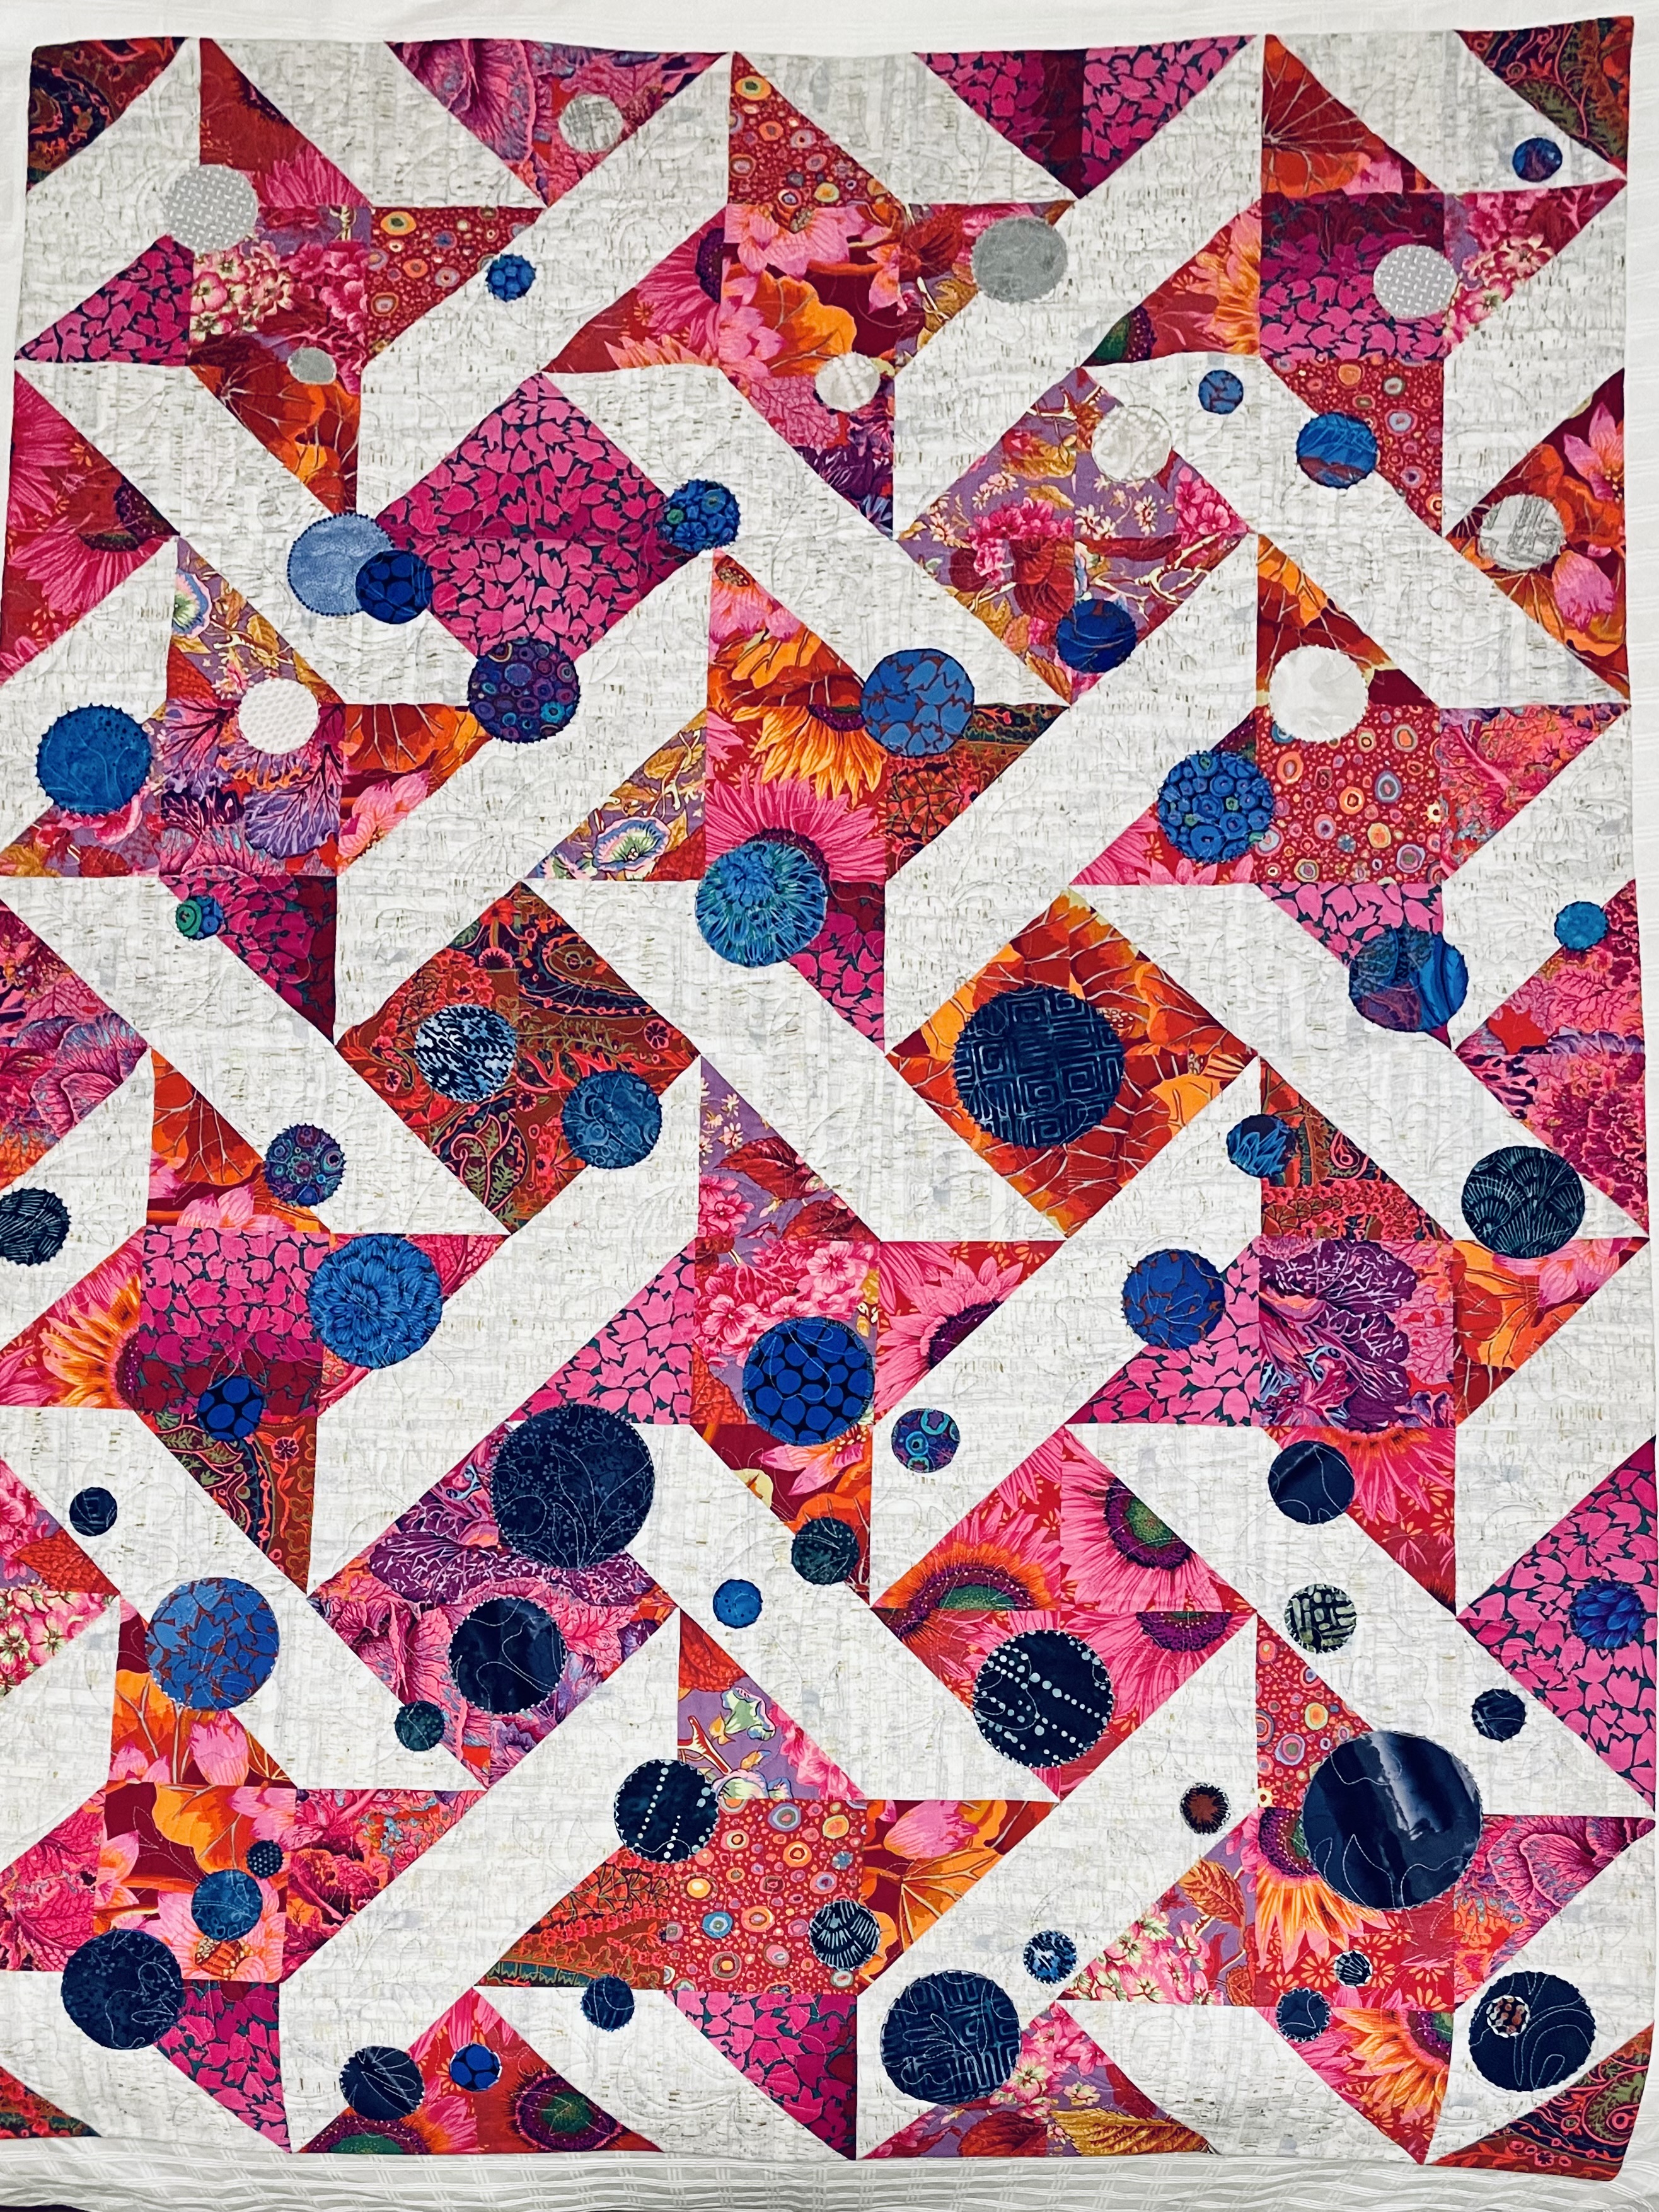
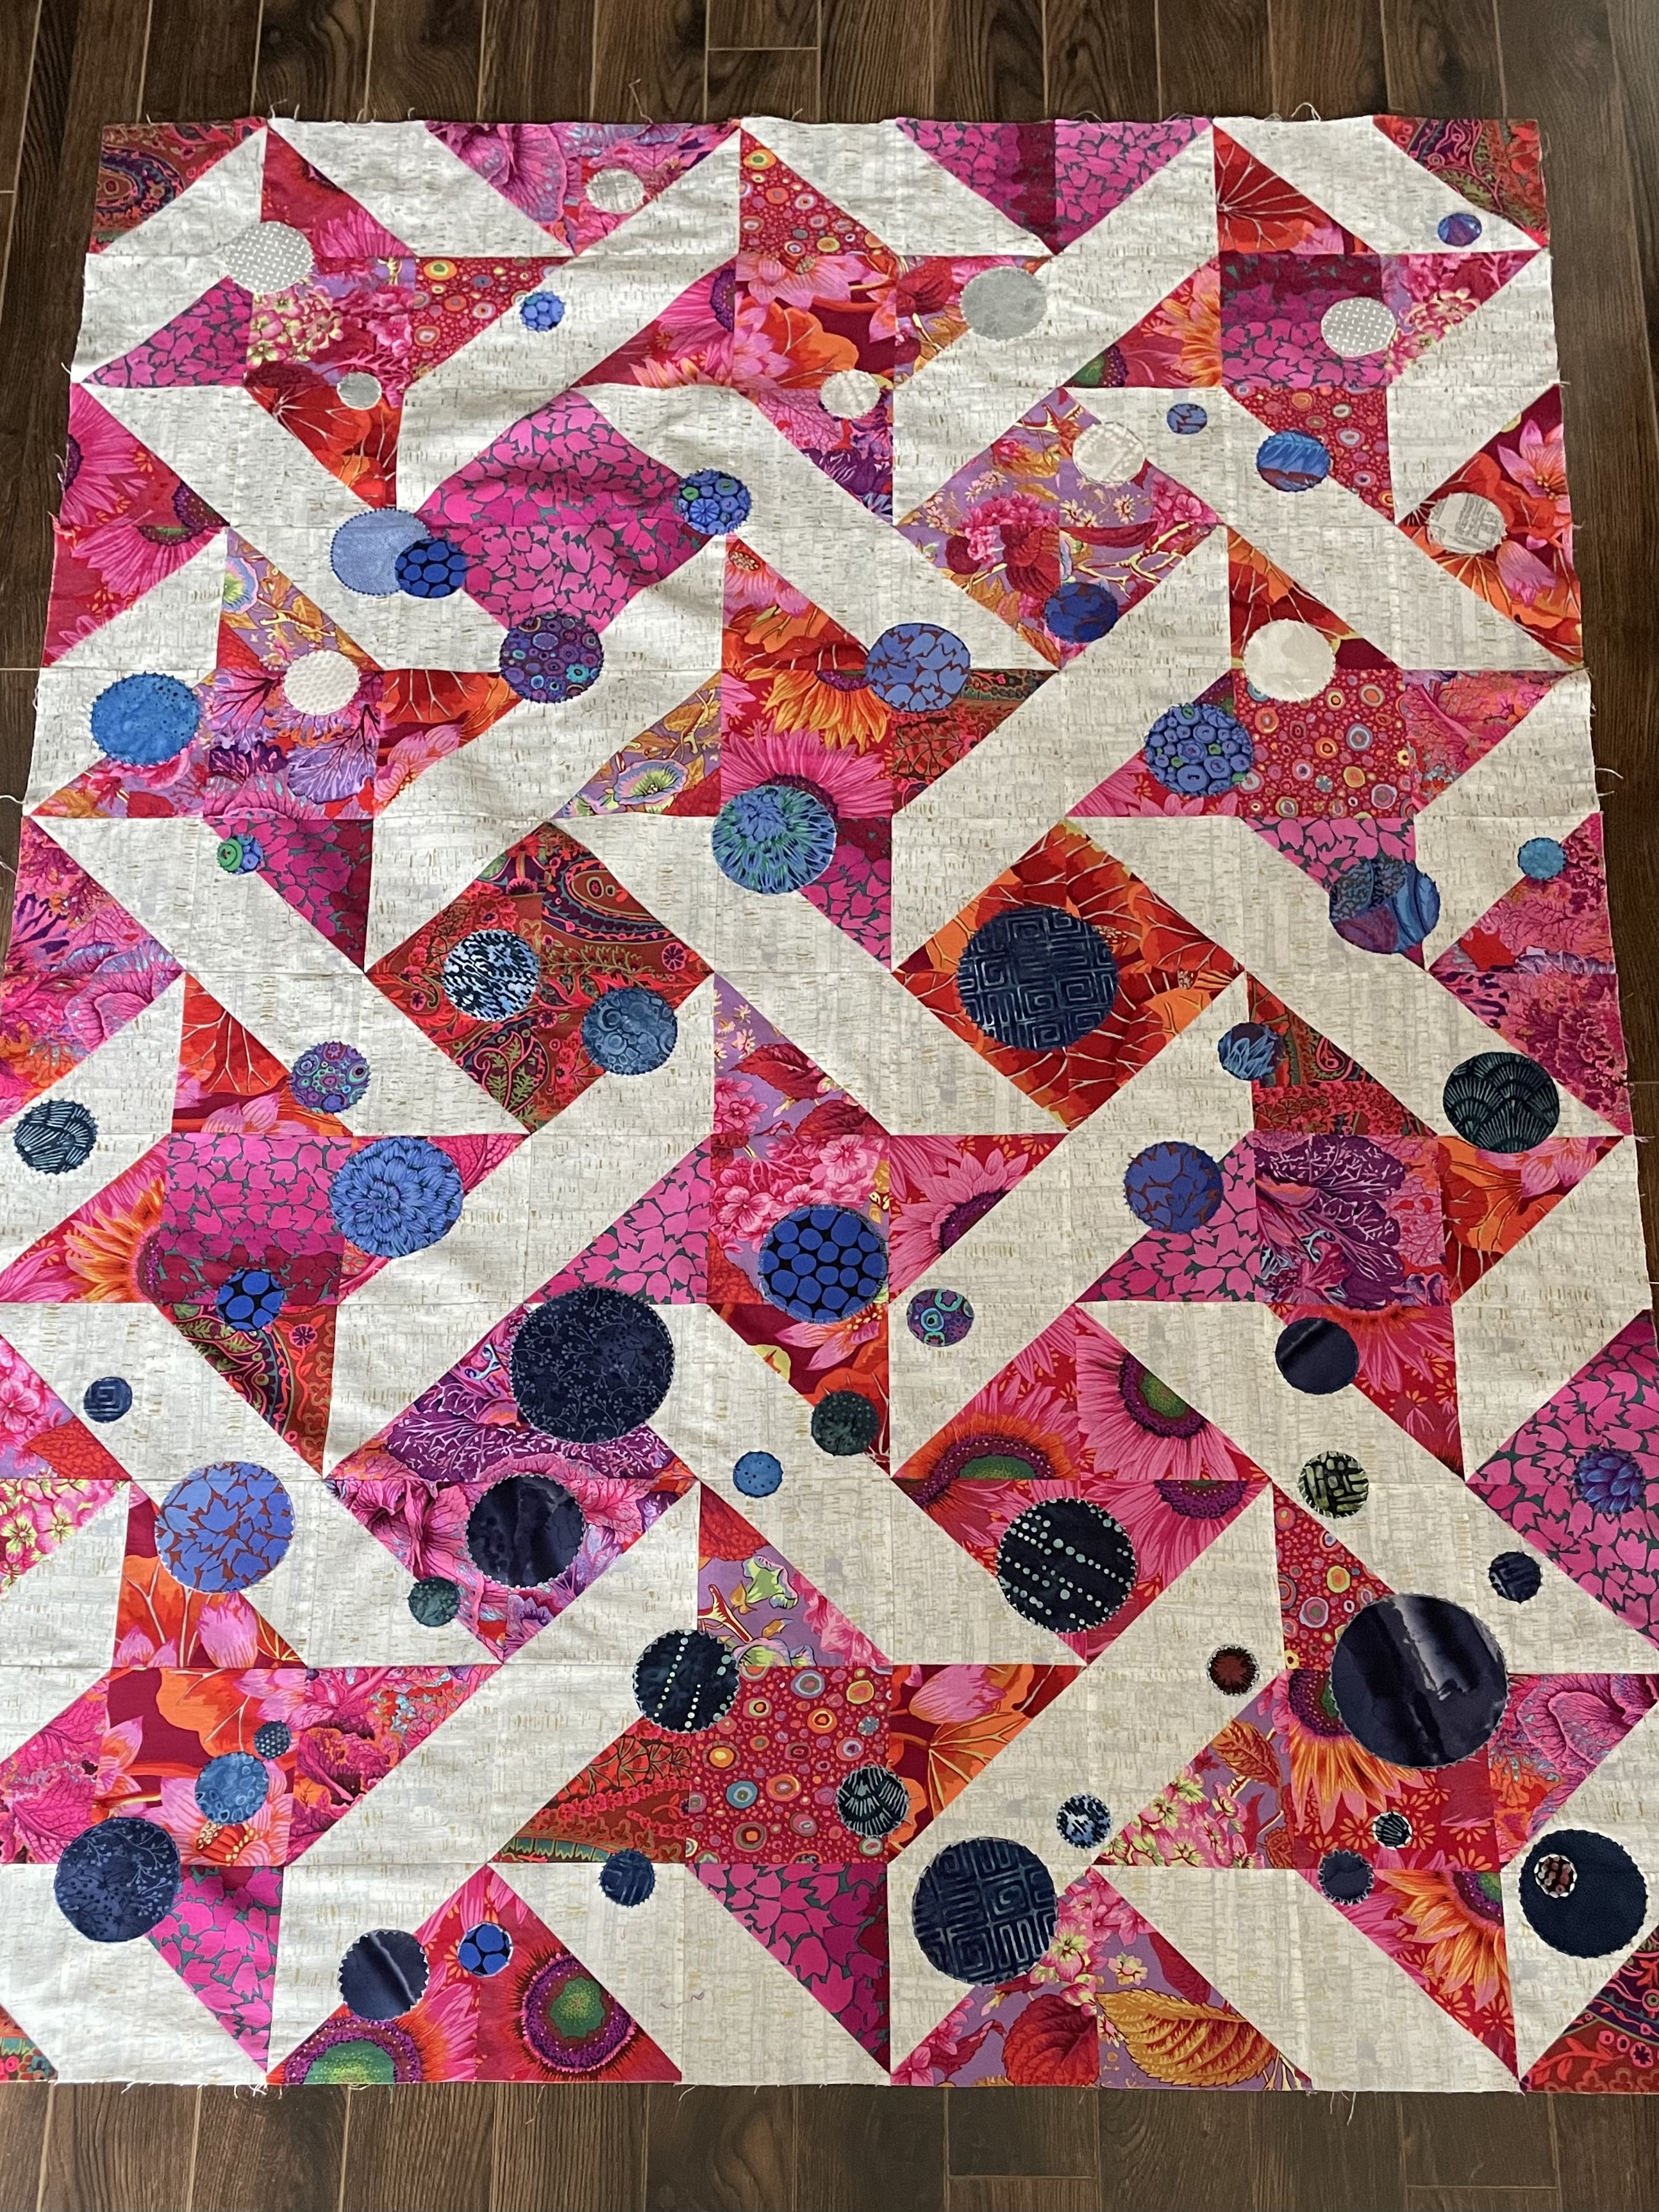
There is actually a pattern for this quilt online: Lagoon Quilt Tutorial but I’m not planning on following it. The block size in the pattern is 4 1/2″ – I want to end up with 5″ or 6″ blocks (not sure which yet). My final quilt size will be more rectangular then the Baby or Lap quilts for which Erika @ KitchenTableQuilting gives dimensions. Her triangles are “solid”, mine will be striped. Lots of differences. What I’m taking from the quilt photo is the inclusion of squares from the background fabric – in my case, the foreground fabric! What I didn’t want was to bury that very interesting print amidst the solids – this way I can showcase it.
One thing stopping me from proceeding at the moment is that I don’t have enough of the print fabric. I’ve ordered some (because my local shop has none left), and I’m waiting for it to arrive! (I’m also in hold mode because my right wrist has decided to be painful – arthritis that will take a bit of time to settle down – cutting with a rotary cutter is almost impossible and I tried but can’t cut with my left hand). As soon as the fabric arrives (and my wrist settles down), I’ll get to work on this quilt.