Here’s what I accomplished on my snow day, yesterday…

On Monday, I cut out shirts from two pieces of lovely wool fabric I’ve had in my stash for years – the original intention was to make pants, but I realized I was likely never going to do that – in part because wool pants need to be lined, and while I make all my pants from a pattern that pretty much works (most of the time) I wasn’t up for the effort involved in having to line the wool. A couple of weeks ago I dug out the fabric and put it in plain sight so I’d make time to create a couple of shirts.
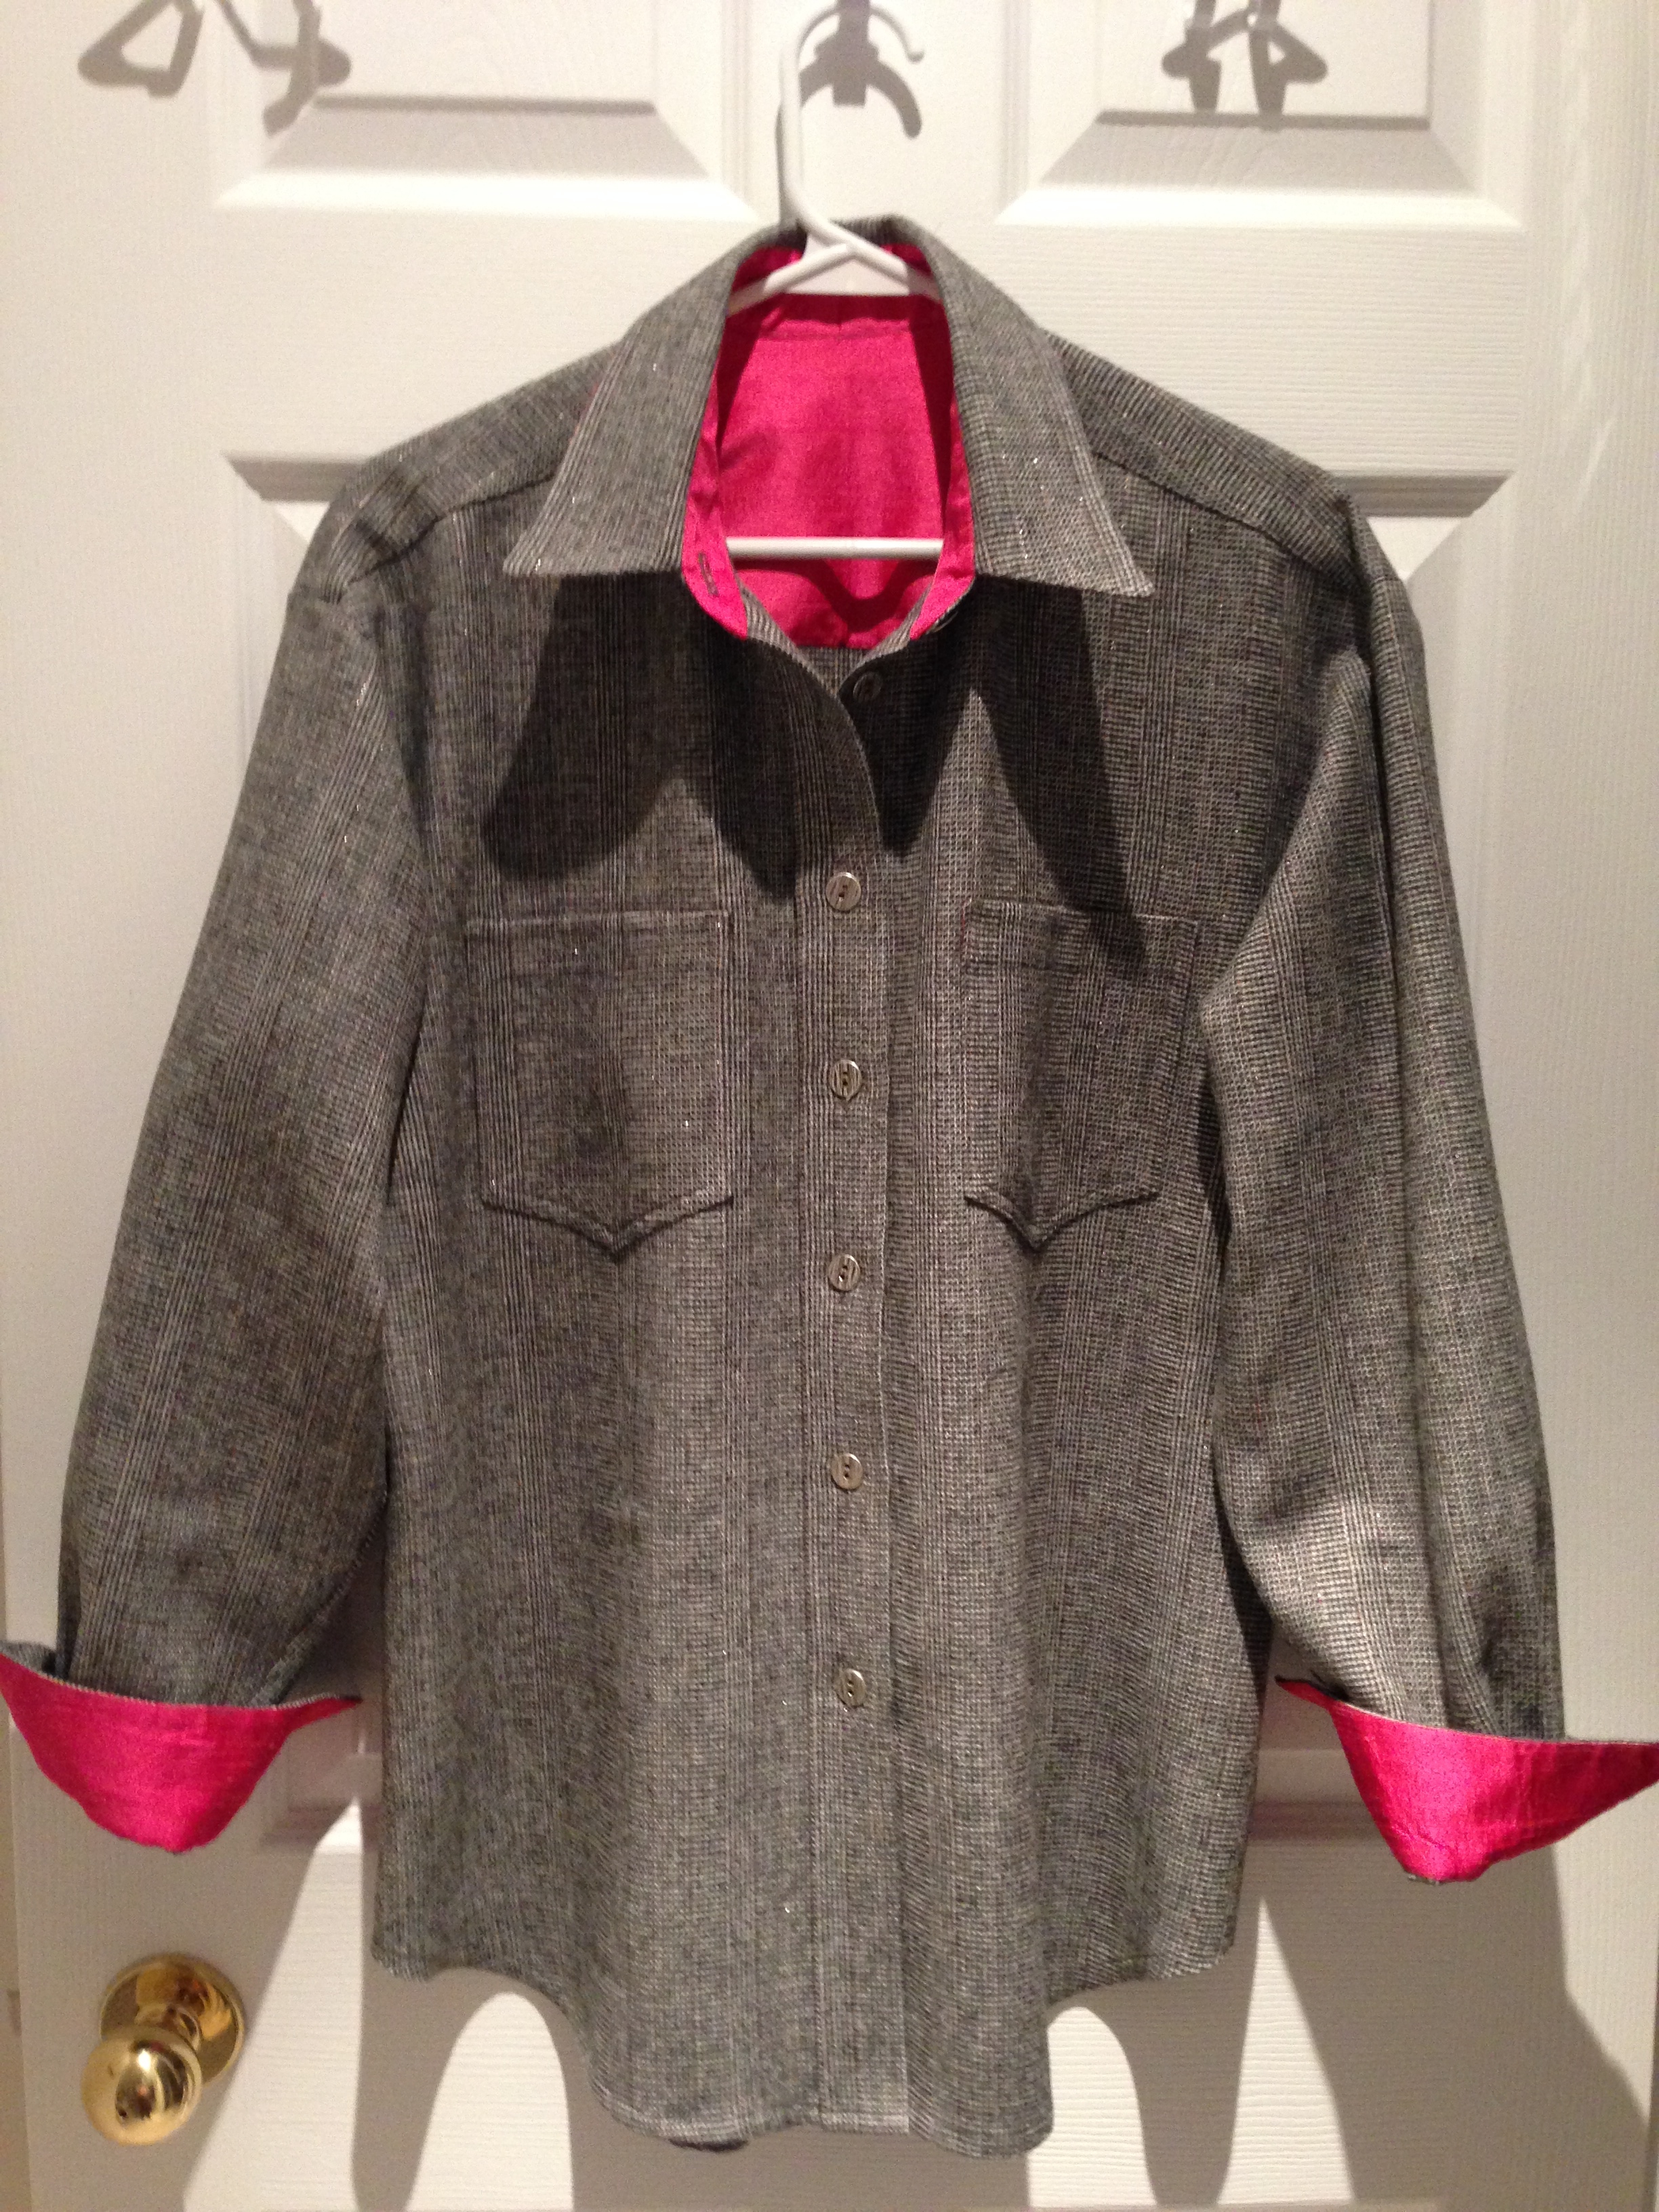
The grey striped shirt worked well with the silk accents (under collar, inner collar stand, inner yoke, inner cuffs, inner pocket top). I knew I wanted to do that again for both shirts. The second piece of wool is a subtle plaid with a value of navy. I had no navy silk dupioni in my stash and there’s no silk to be had locally, so I had to order a 1/2 yard of dark navy silk dupioni from Etsy which arrived last week. I still had enough pink silk in my stash for this grey shirt (I also have some black silk taffeta – I cut off a half yard to audition it against the grey fabric, but the subtle red/metallic thread in the grey called for the pink accent so I went with the pink).
I tried several new techniques on this shirt: 1) Collar points – Pam Erny has a great technique for making sharp collar points using a thread embedded next to the seam which gets sewn in when you stitch the side edge of the collar and then you pull the thread from the right side and the point actually pops out – WOW! It works. 2) Last week Pam posted her method for getting perfect sleeve plackets. She uses a two piece placket (which allows you to use different fabrics, for example for the under and over lap – which I did this time). Again, her technique is simple to follow and produced a very neat placket.
My challenge is still getting the edge of the collar stand to align with the shirt front edges. I managed not badly on this shirt, but that join still isn’t as tidy as I want it to be – so I spent time last evening tracking down different methods of applying the collar stand. I came up with two different methods – one which attaches the stand first then adds in the collar, the second which uses the “burrito” method. I think I’ll try the stand attachment method and if that doesn’t work, I’ll have a go at the “burrito” technique. I use that technique on the cuffs and it works well, but the collar stand has so little room to manoeuvre that I haven’t been able to get it to work. The video included in the blog entry on the “burrito” technique shows clearly what the gal is doing, so I think it should be manageable.
I find that once I’ve cut out all the pieces (including interfacing) and do the prep work (pressing the interfacing in place), the actual shirt making is very satisfying – the shirt assembles quickly and the pieces in the shirt pattern I use (by Janet Pray) all line up precisely – no fudging necessary!
