Red Shirt

red shirt
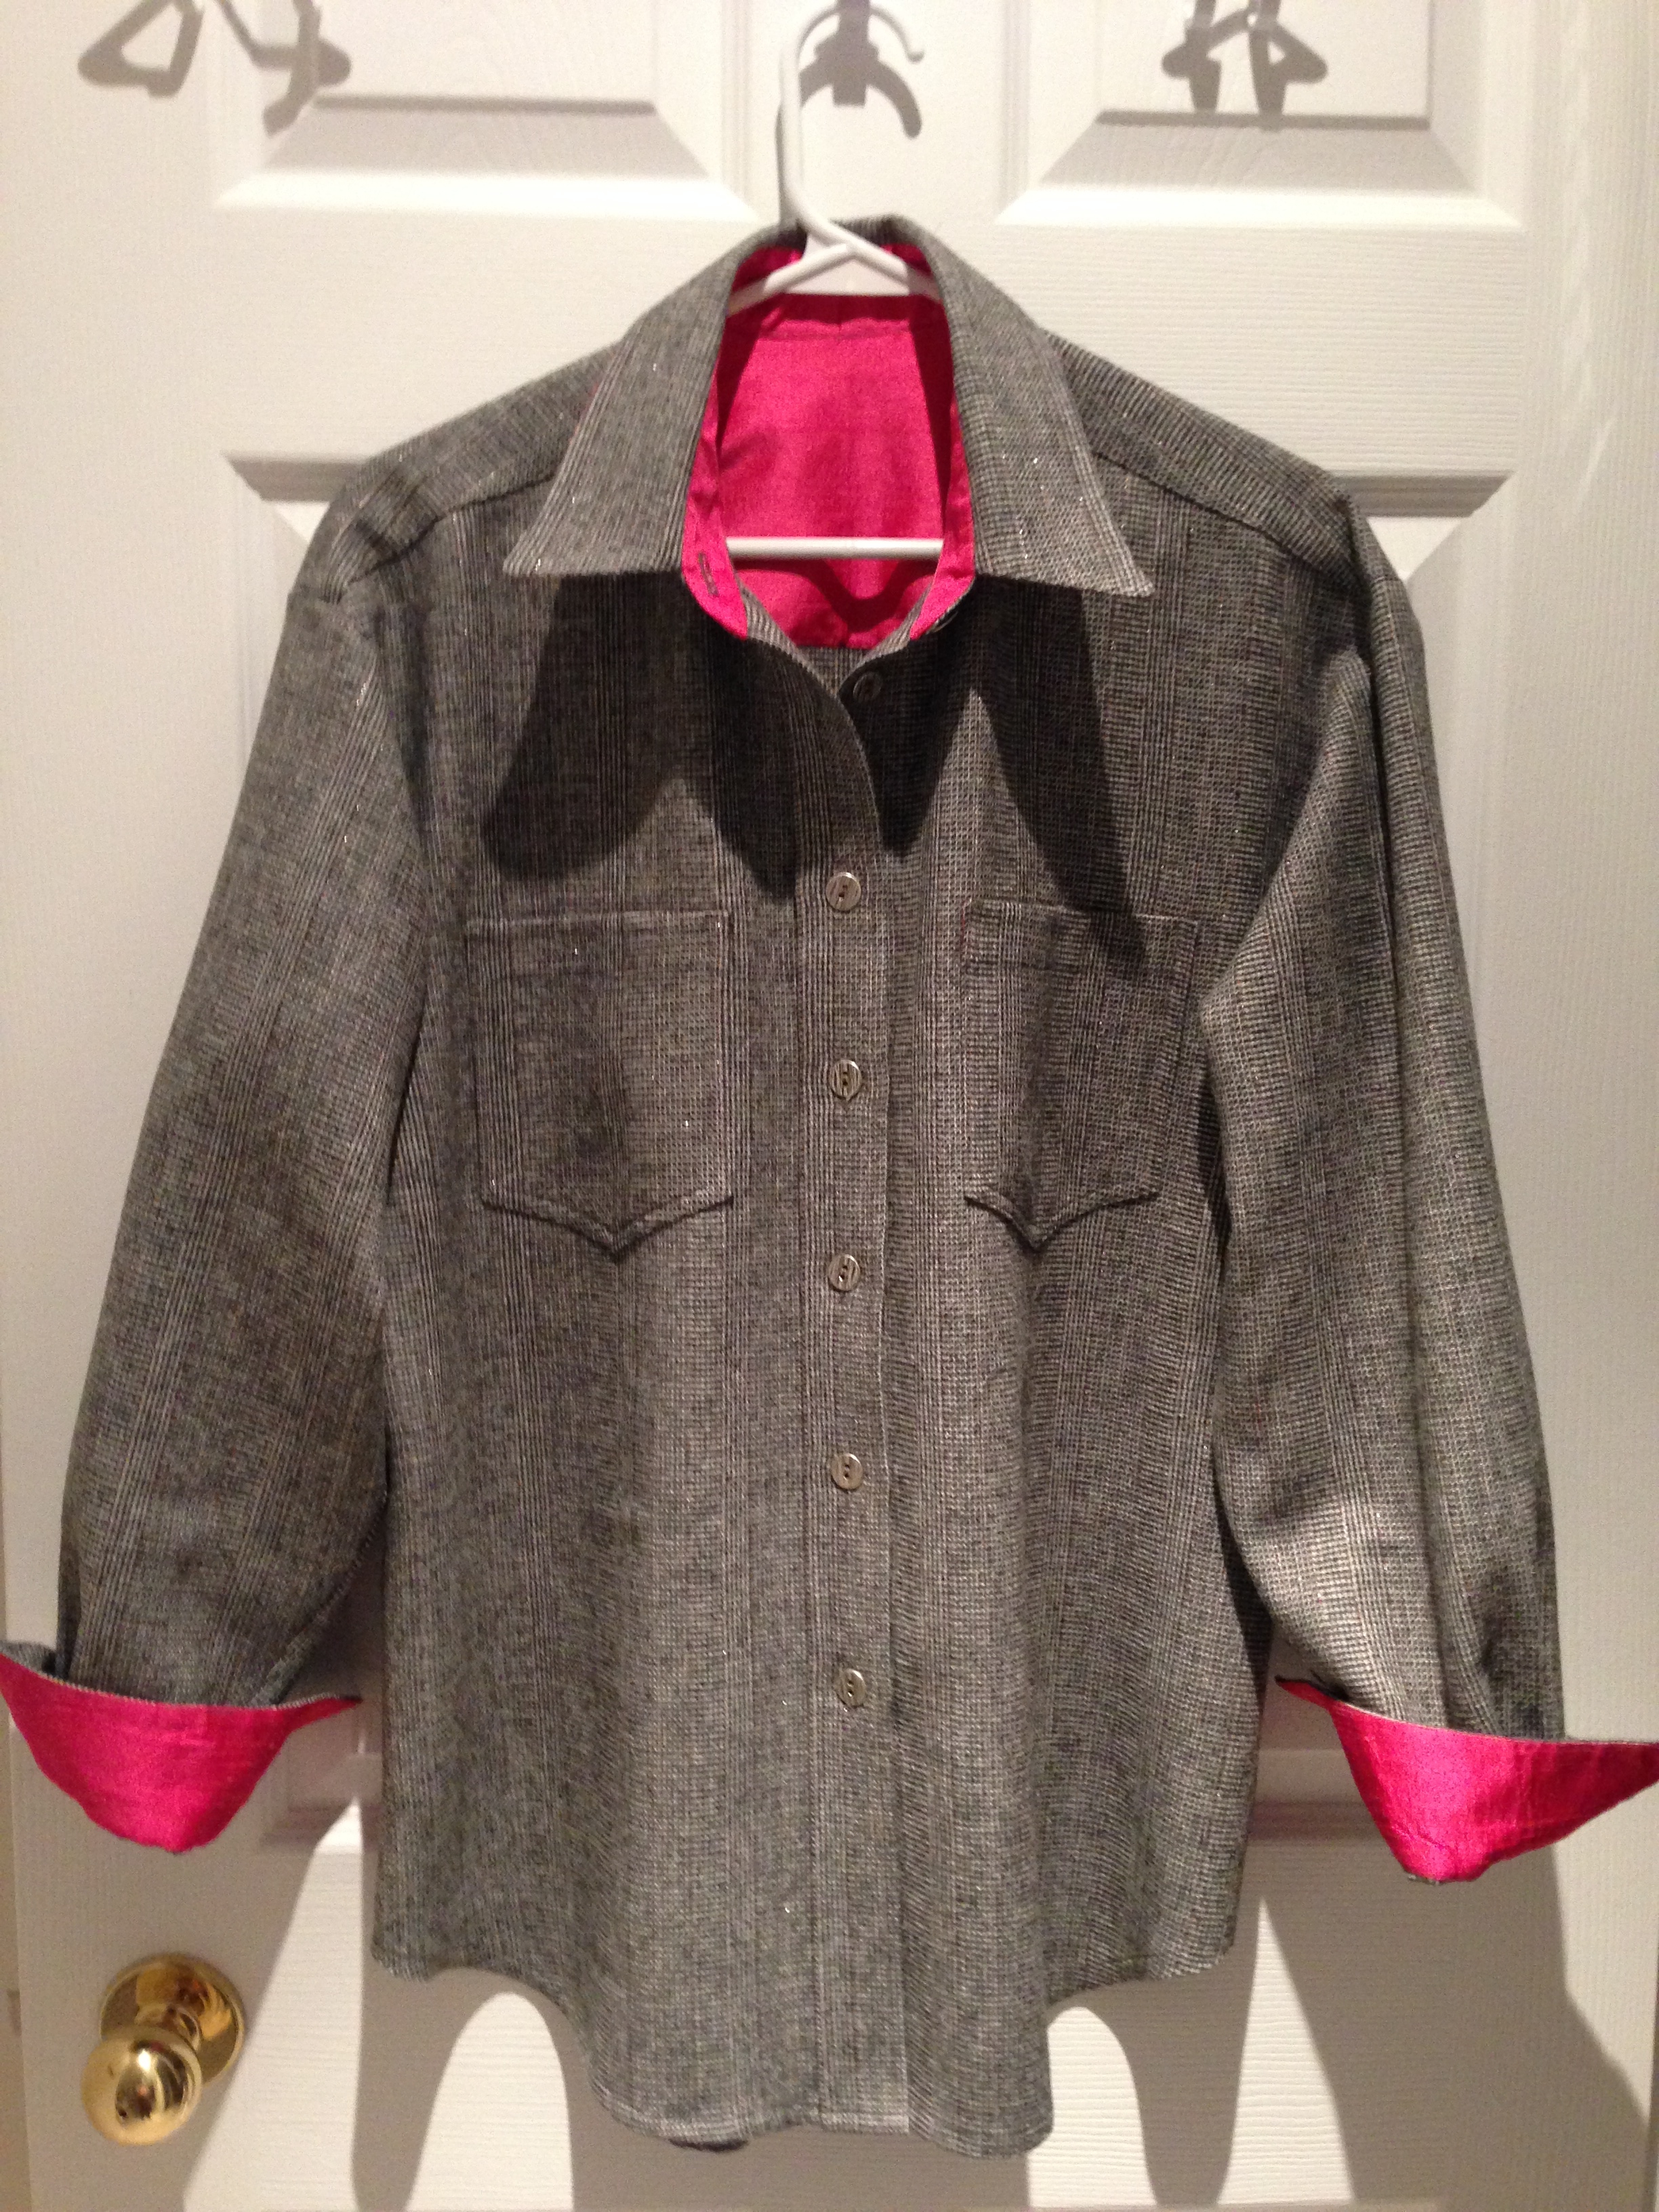
I bought this cherry red wool fabric a couple of years ago at the rug hooking shop in Petite Riviere (River House). Hard finding real wool fabric anywhere nearby – just loved the colour so I bought 2 yards and put it away. I’ve been meaning to make a jacket of some sort with it – I decided on a shirt last week. I used the leftovers from the last grey stripe shirt (the one with the red and silver threads) for the accent on the under collar, inside of the collar stand, inside cuffs and sleeve plackets. For the inner yoke I used some steel grey silk dupioni I had on hand. The buttons came from a stash of shirt buttons I bought from Pam Erny a while back – there were twelve of these buttons – enough for the shirt.

I finally succeeded in doing the “burrito” collar stand application – it isn’t quite perfect because the wool was a bit heavy to work with but next time on a cotton – it’ll be just right!

IMG_2558I embroidered the yoke in the back – a cherry coloured thread slightly darker than the fabric. I was pleased with the fact that I managed to get the embroidery absolutely in the centre back. The embroidery was a modification of one of the Pfaff collection: Sensational Swirls.

The joke here is that next weekend I’m attending a Scouts Canada event in Toronto and we’ve been asked to wear the “uniform” for one of the meals – I am now officially a scouter (having done Woodbadge I and had the police check, etc.) – so I guess I am expected to wear a red shirt – except I don’t have an official Scouts Canada Scouter Shirt! I will take this one, instead.

Day Two: Second Wool Shirt

IMG_2515

Today was clean up from the storm day – got up, dressed for the cold weather, went out to dig out my car (and move it so the plow could clear the parking lot). Then came in and set to work on the second wool shirt.

In the photo it looks quite brown, but the tonal value of the fabric is closer to an ink blue, hence the navy silk accents! Also in the photo you can discern the red stripe in the fabric – not so noticeable in daylight.

Because I’d done all the prep work yesterday the whole production went quite quickly. In the end, I did a “burrito” finish for the collar stand – it turned out reasonably well – I can see I definitely should do a practice set – at least half a dozen – in order to become proficient at the technique. I think I also want to modify the ends of the stand – in my pattern they taper quit a bit toward the centre edge rather than being rounded. A rounded collar stand would be easier to apply having just a bit more room to stuff seam allowances in (I already have modified the seam allowances for the collar and stand to 1/4″ so they don’t have to be trimmed but that’s still difficult handling the seam allowance fabric with the tapered stand).  The other thing I realized, I can’t stitch the turned up portion of the inner stand in this technique at 3/8″ before applying the stand, I need the full seam allowance available so I can do the turning at the ends and still be able to stitch along the seam allowance line!

When I picked out buttons for this shirt there was some discussion with the gals in the fabric shop about whether to go with these light coloured buttons or to choose something that blended better (there was a “bronze” shank button that did blend well, but I really didn’t want a shank button). In the end I went with “bold” and glad I did.

Snow Day! Another Wool Shirt

Here’s what I accomplished on my snow day, yesterday…
grey-front

grey-back

On Monday, I cut out shirts from two pieces of lovely wool fabric I’ve had in my stash for years – the original intention was to make pants, but I realized I was likely never going to do that – in part because wool pants need to be lined, and while I make all my pants from a pattern that pretty much works (most of the time) I wasn’t up for the effort involved in having to line the wool. A couple of weeks ago I dug out the fabric and put it in plain sight so I’d make time to create a couple of shirts.

The grey striped shirt worked well with the silk accents (under collar, inner collar stand, inner yoke, inner cuffs, inner pocket top). I knew I wanted to do that again for both shirts. The second piece of wool  is a subtle plaid with a value of navy. I had no navy silk dupioni in my stash and there’s no silk to be had locally, so I had to order a 1/2 yard of dark navy silk dupioni from Etsy which arrived last week. I still had enough pink silk in my stash for this grey shirt (I also have some black silk taffeta – I cut off a half yard to audition it against the grey fabric, but the subtle red/metallic thread in the grey called for the pink accent so I went with the pink).

I tried several new techniques on this shirt: 1) Collar points – Pam Erny has a great technique for making sharp collar points using a thread embedded next to the seam which gets sewn in when you stitch the side edge of the collar and then you pull the thread from the right side and the point actually pops out – WOW! It works. 2) Last week Pam posted her method for getting perfect sleeve plackets. She uses a two piece placket (which allows you to use different fabrics, for example for the under and over lap – which I did this time). Again, her technique is simple to follow and produced a very neat placket.

My challenge is still getting the edge of the collar stand to align with the shirt front edges. I managed not badly on this shirt, but that join still isn’t as tidy as I want it to be – so I spent time last evening tracking down different methods of applying the collar stand. I came up with two different methods – one which attaches the stand first then adds in the collar, the second which uses the “burrito” method. I think I’ll try the stand attachment method and if that doesn’t work, I’ll have a go at the “burrito” technique. I use that technique on the cuffs and it works well, but the collar stand has so little room to manoeuvre that I haven’t been able to get it to work. The video included in the blog entry on the “burrito” technique shows clearly what the gal is doing, so I think it should be manageable.

I find that once I’ve cut out all the pieces (including interfacing) and do the prep work (pressing the interfacing in place), the actual shirt making is very satisfying – the shirt assembles quickly and the pieces in the shirt pattern I use  (by Janet Pray) all line up precisely – no fudging necessary!