A friend asked me today how my sewing class was going – because I hadn’t written about it afterward. In part, it’s because I didn’t take photos during the session, and also because I haven’t yet got to working on the denim jacket I’m making for myself. I do have to get to it, because Thursday will be here before I know it and I, too, need to have my “homework” completed.
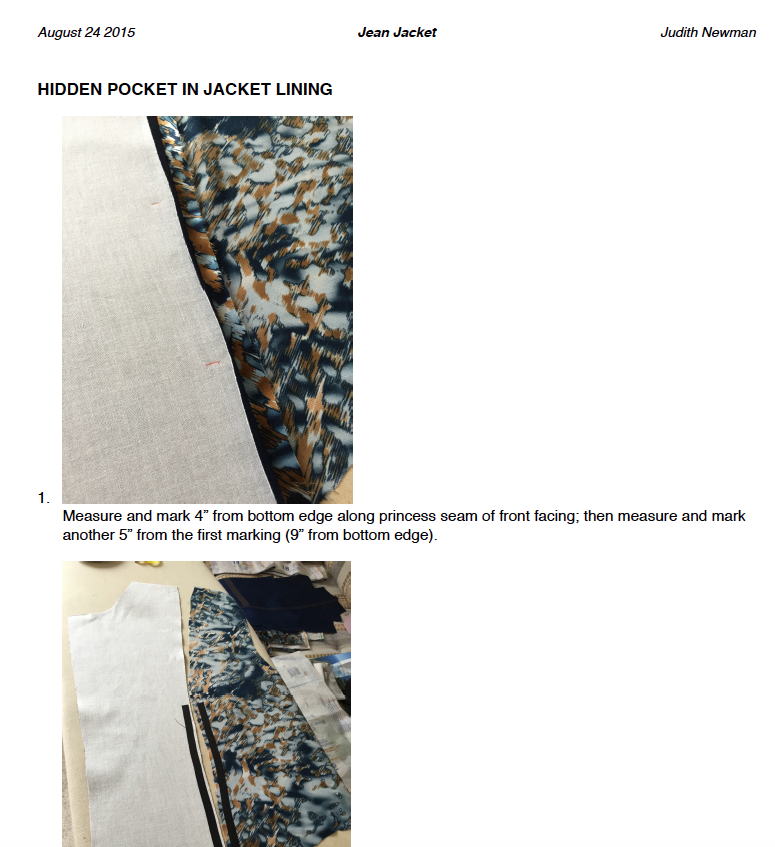
Thursday was our second class – I wanted us to have the fronts and back assembled so we could try the body on and make any adjustments that were needed. We took in princess seams (both front and back), lifted shoulders a smidgeon, took in side seams a bit, particularly under the arms… We adjusted sleeve patterns just a tiny bit so the cut out sleeves will fit the armscye where we’ve changed the side/shoulder seams. So homework this week: to cut out the sleeves, assemble the bottom pieces, attach to the upper sleeve, sew sleeve underarm and insert sleeves into the body of the jacket.
We worked on two things in class: creating and inserting the hidden pocket in the lining. I had prepared a set of instructions for making this hidden pocket so we had something to work from.
I had made the first pocket in my jacket lining before class; I finished the second one during the session.
We also worked on shoulder pads. I had done some research on shoulder pads (the jean jacket is shaped to accommodate them). I had decided the instructions I found in an old Reader’s Digest (1979) “Complete Guide To Sewing” would work well. So I showed them the pads I had made, and shared with them the “pattern” pieces I’d prepared to construct them.
Everybody went home pleased at having made considerable headway on their jackets.
When I tried on the body of my jacket I thought the front at the sleeve gaped a bit so I created a small dart in front (from bust point to armscye), then basted in the sleeve top to see how it would fit – no go! I’d put in a temporary dart in the front of the sleeve so it would fit the opening and adjusted the underarm seam. The whole assembly pulled and the sleeve twisted! So I took out the dart in both sleeve and jacket front and basted the sleeve back in. Definitely a better fit. Now I have to removed the sleeve, press the front and sleeve top (to remove the needle holes left from the basting) – assemble the sleeve and sew it all back together again.

The back lining is ready to go, as are the two front lining panels – all I need to do is join them at the shoulders and side seams; won’t take long.

Then I’ll put sleeves in the body and in the lining and stop there.
Next class (#3) we’ll make the last adjustments to the fit, then join lining to body with the collar. Once that’s done, we’ll be able to add the bottom band and sleeve inner cuffs which join lining to body at those two locations finishing the jacket construction.
The last step will be buttonholes and buttons and the jackets will be complete.
