Quilt On The Go – Finished!

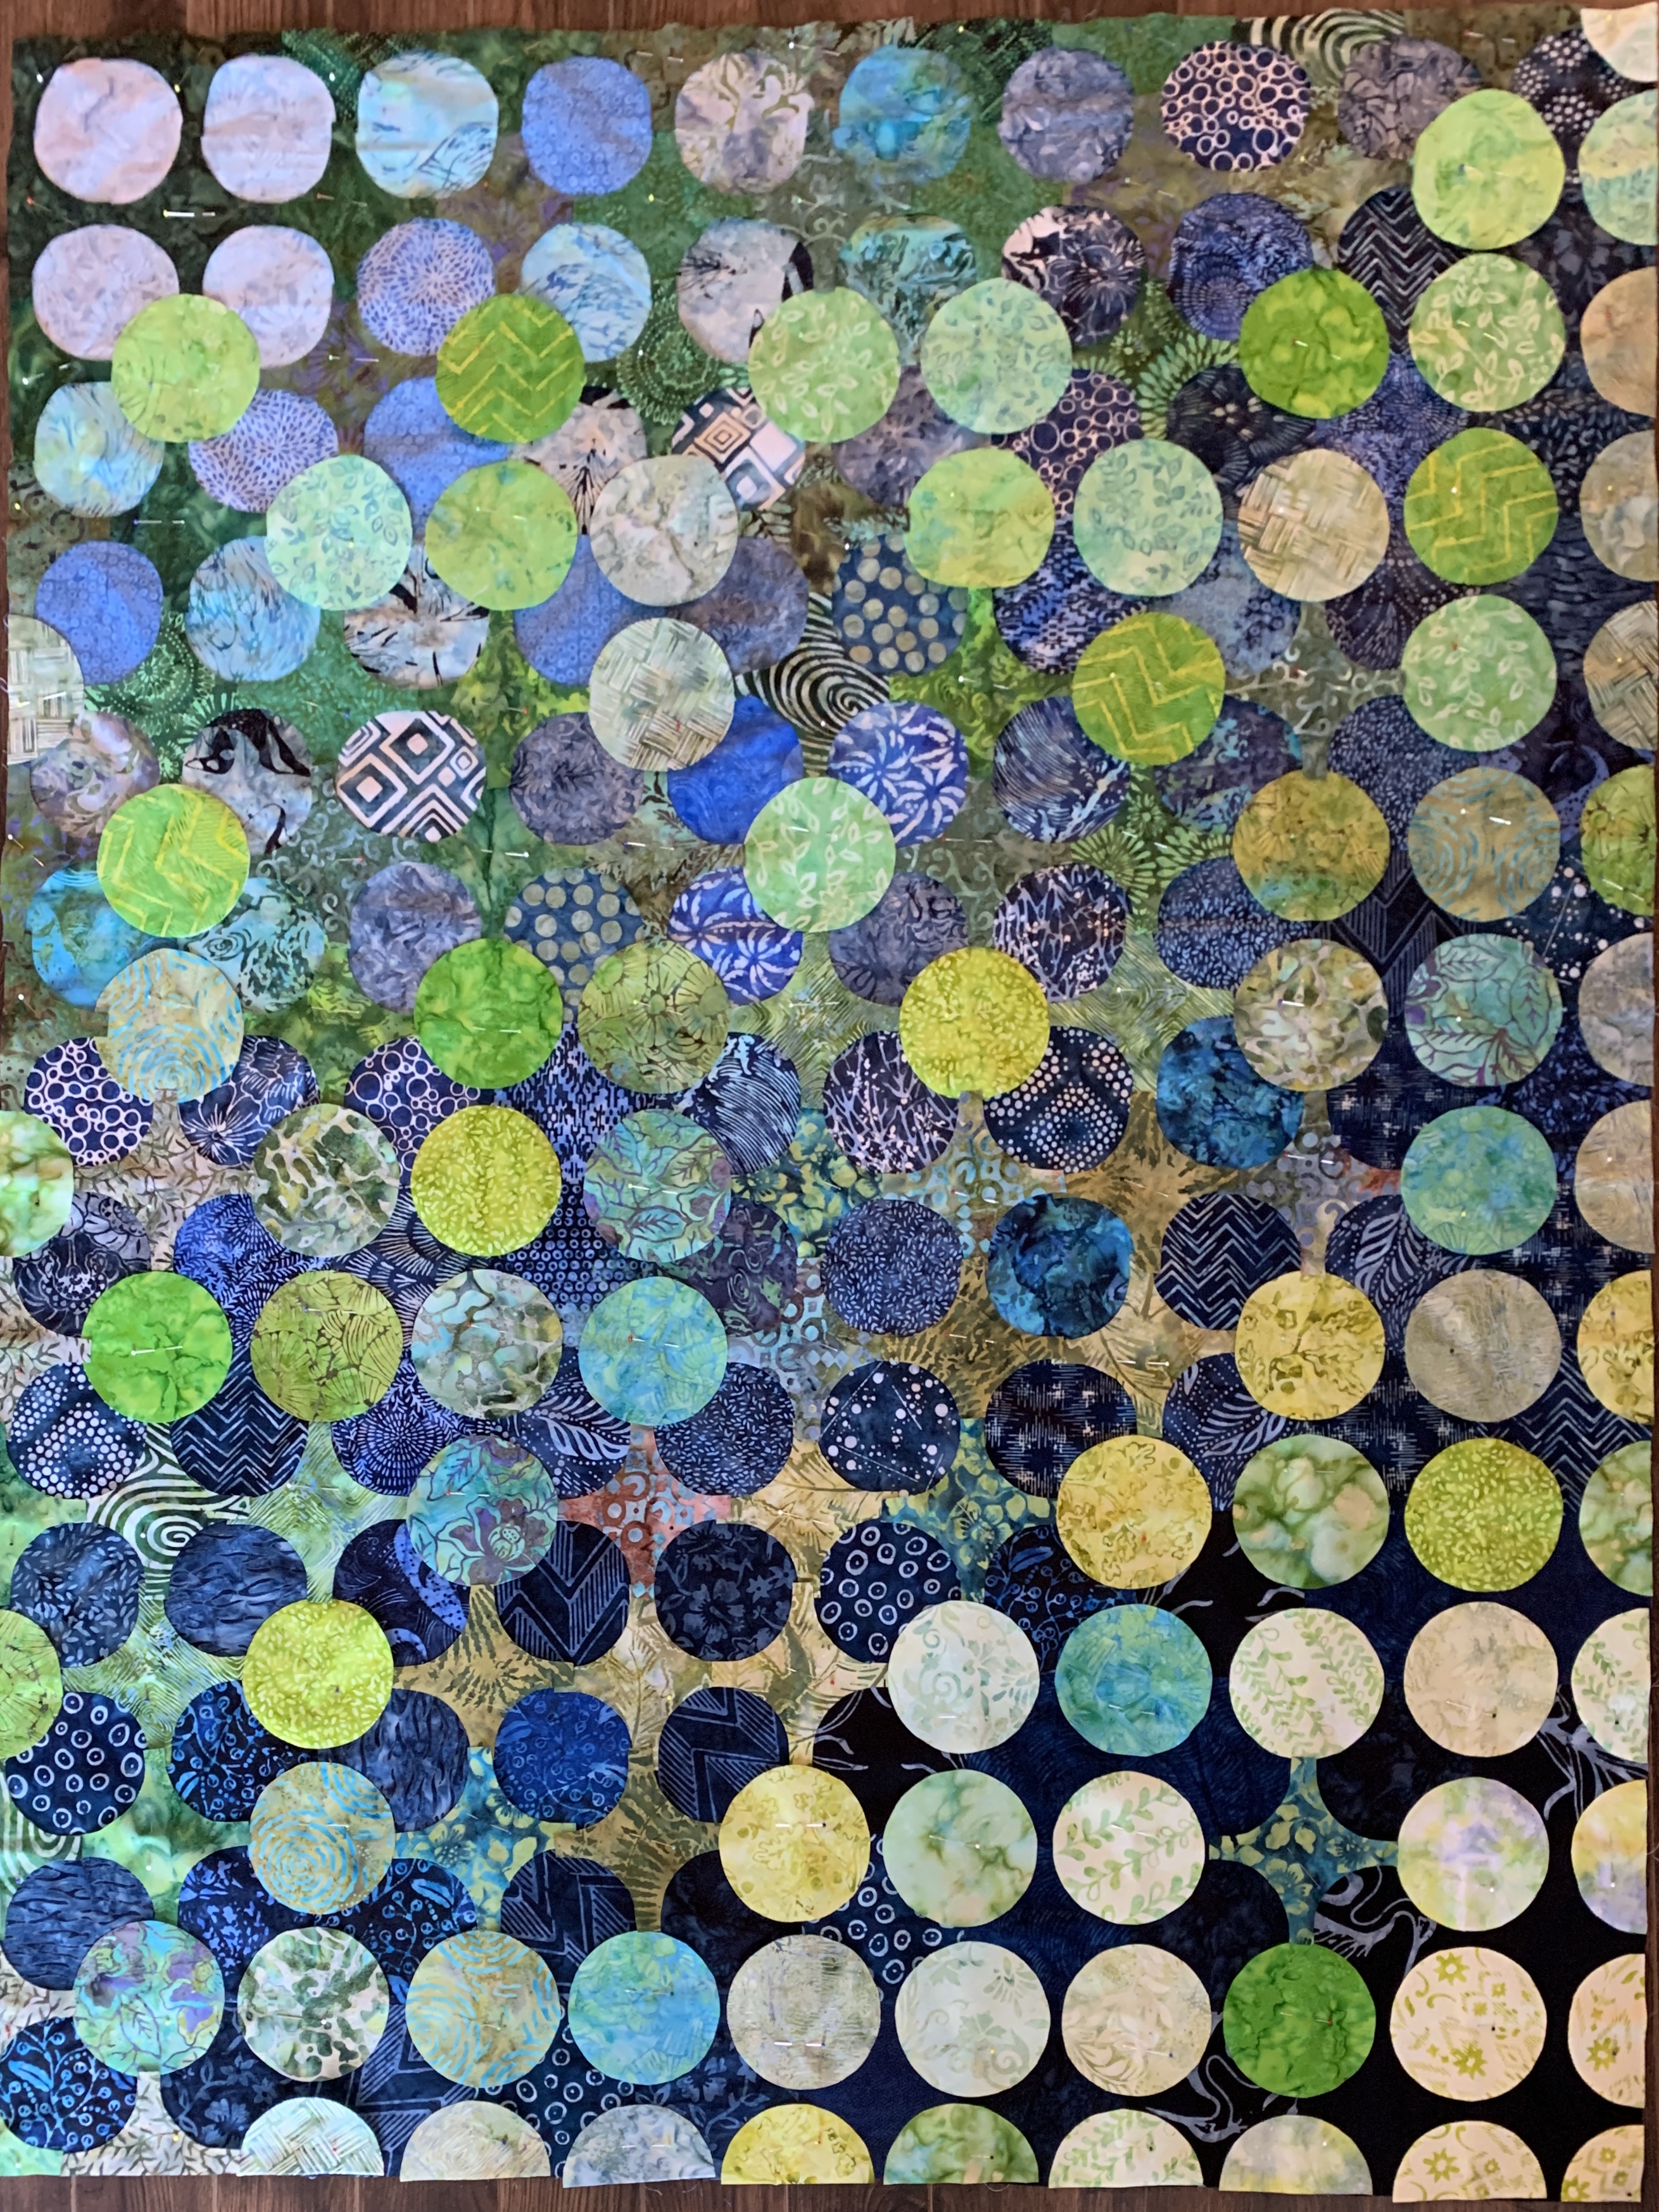
Finished this quilt this afternoon. I’ve been working steadily on it since early last week. First doing all the edge stitching on the appliqué (154 fused elements), adding the borders, setting up the quilt, then quilting the “blocks”.

I’d created a single run design (enlarged and modified from a previous quilt [there’s a l-o-n-g story here about embroidery software not working after upgrading my iMac OS to Catalina!]) for a 227mm x 227mm block – it was four circles in a 2×2 array which meant I needed to embroider/quilt 30 repeats and then do  5 more half-block embroideries to complete the centre panel. I used the half-block motif scaled in width to accommodate the 3″ border. In all, it took 4 days to do all the quilting.

Quilt Top

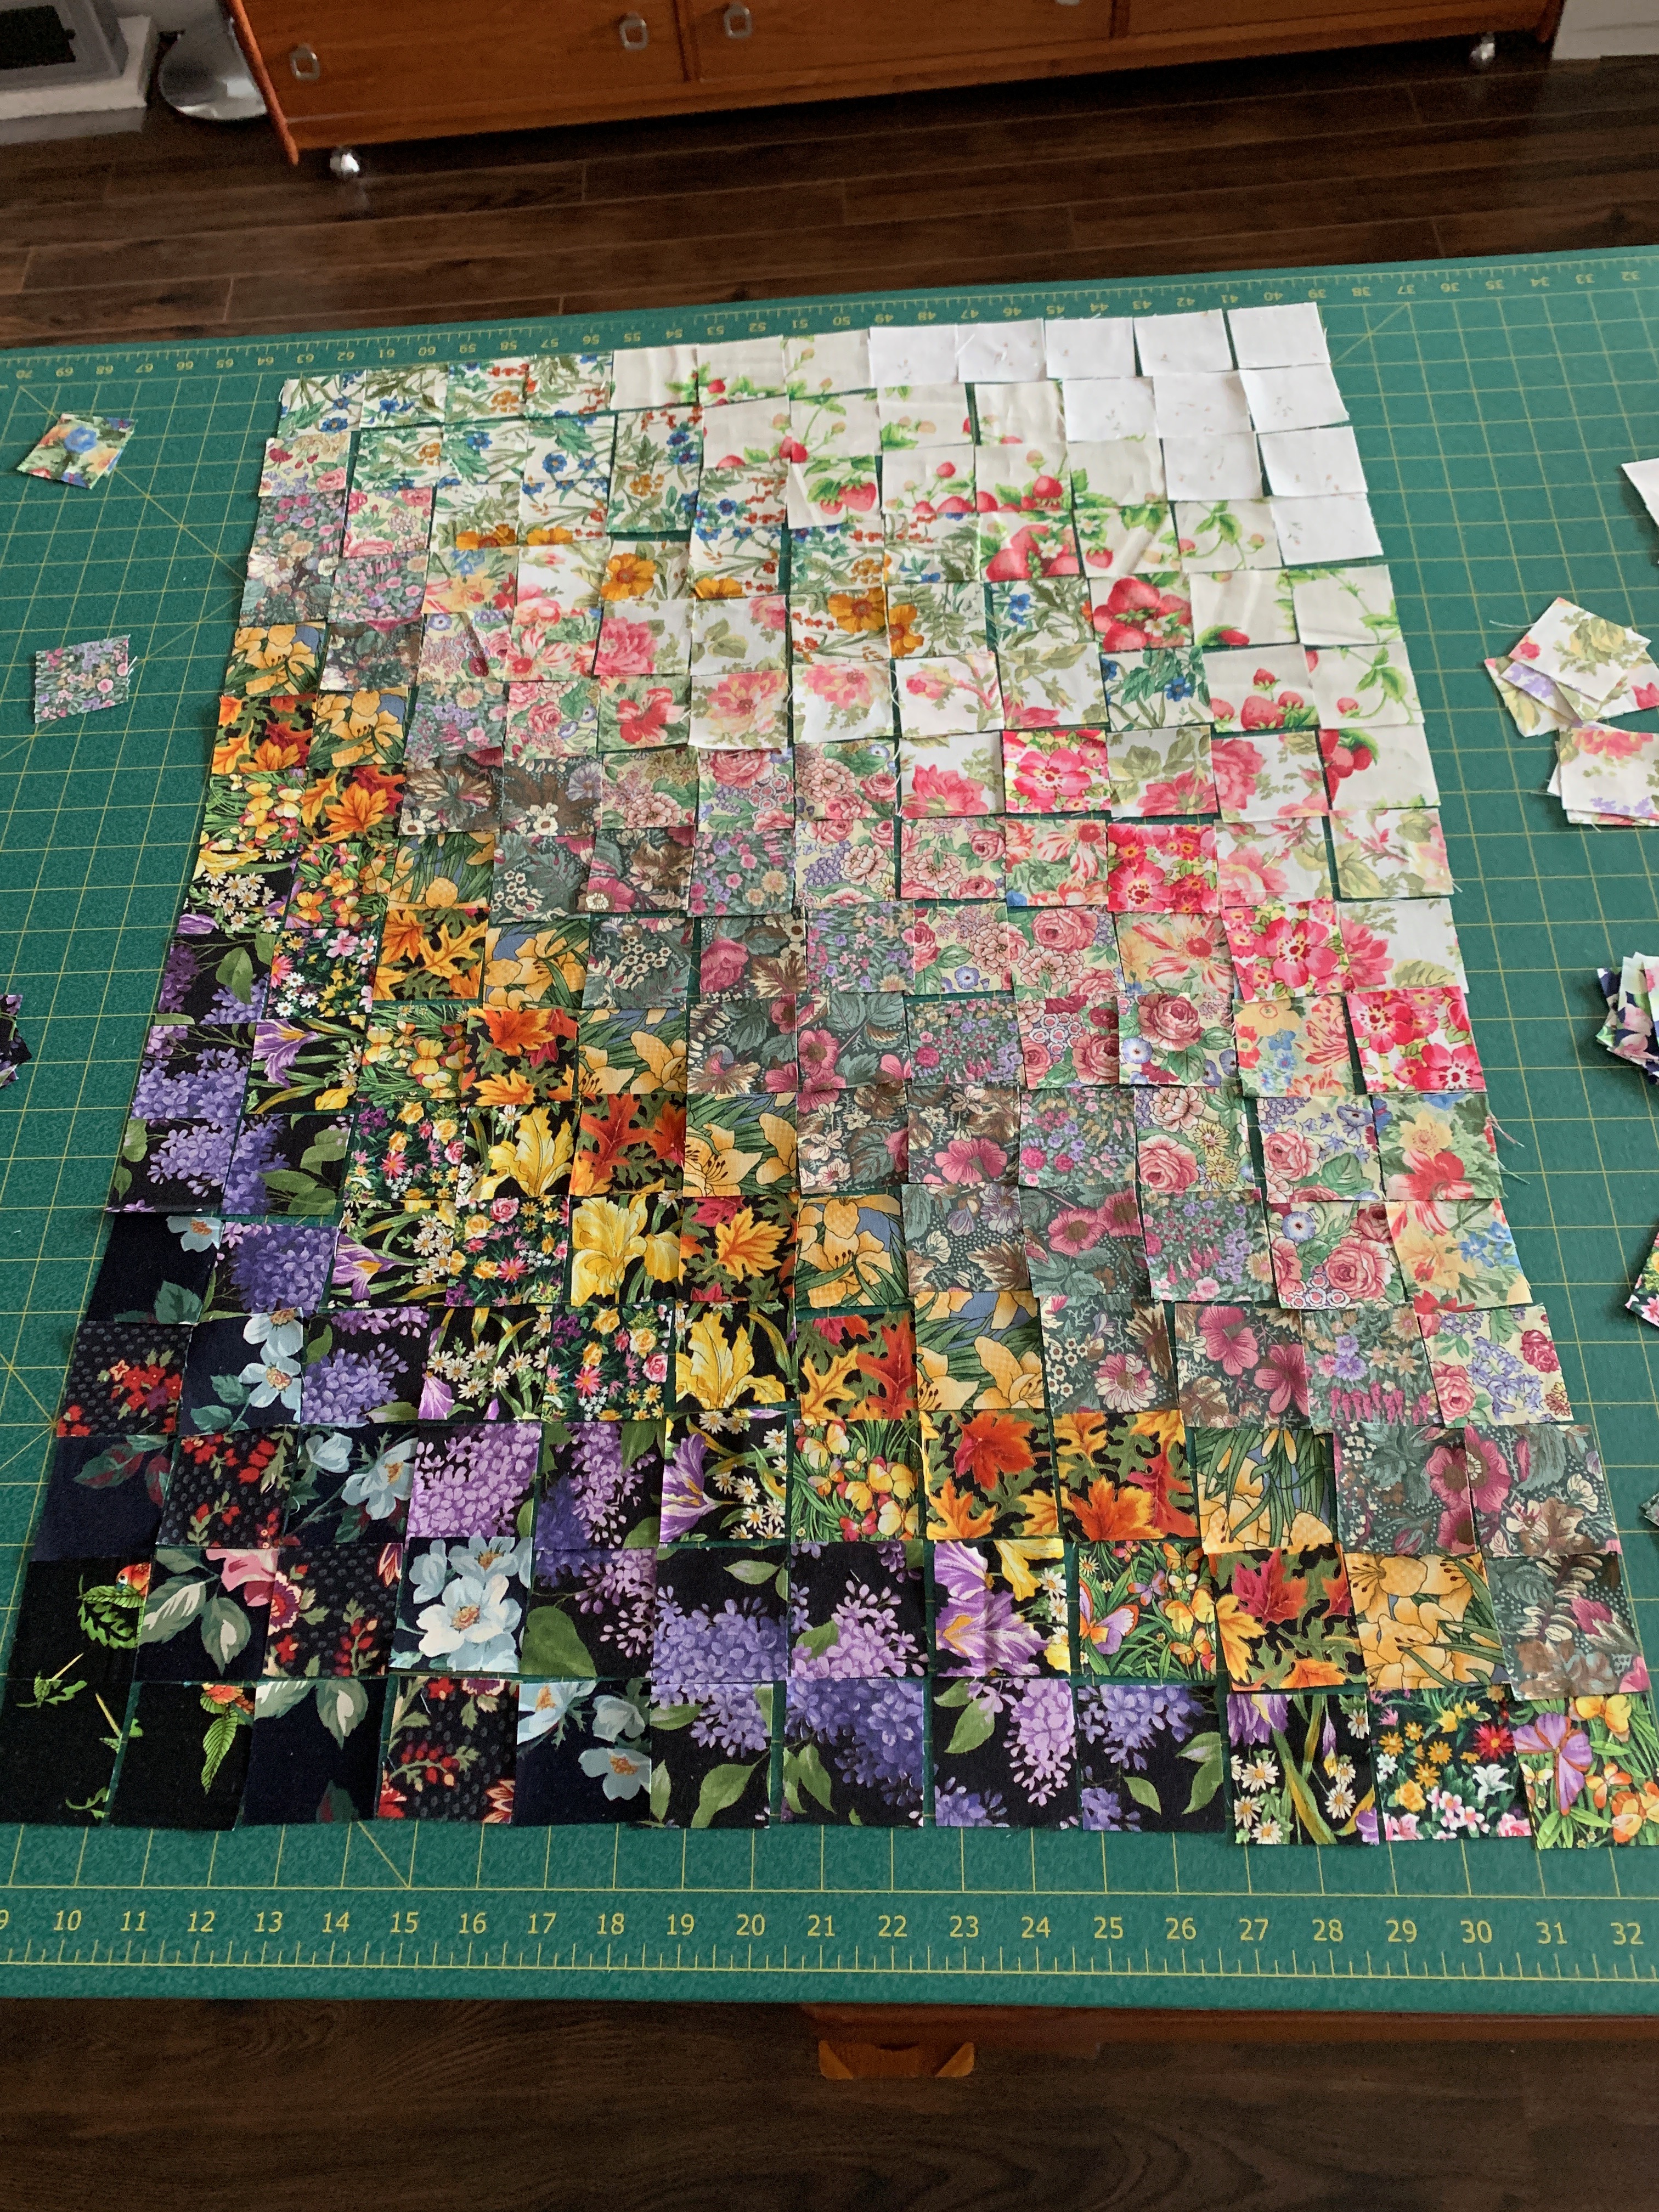
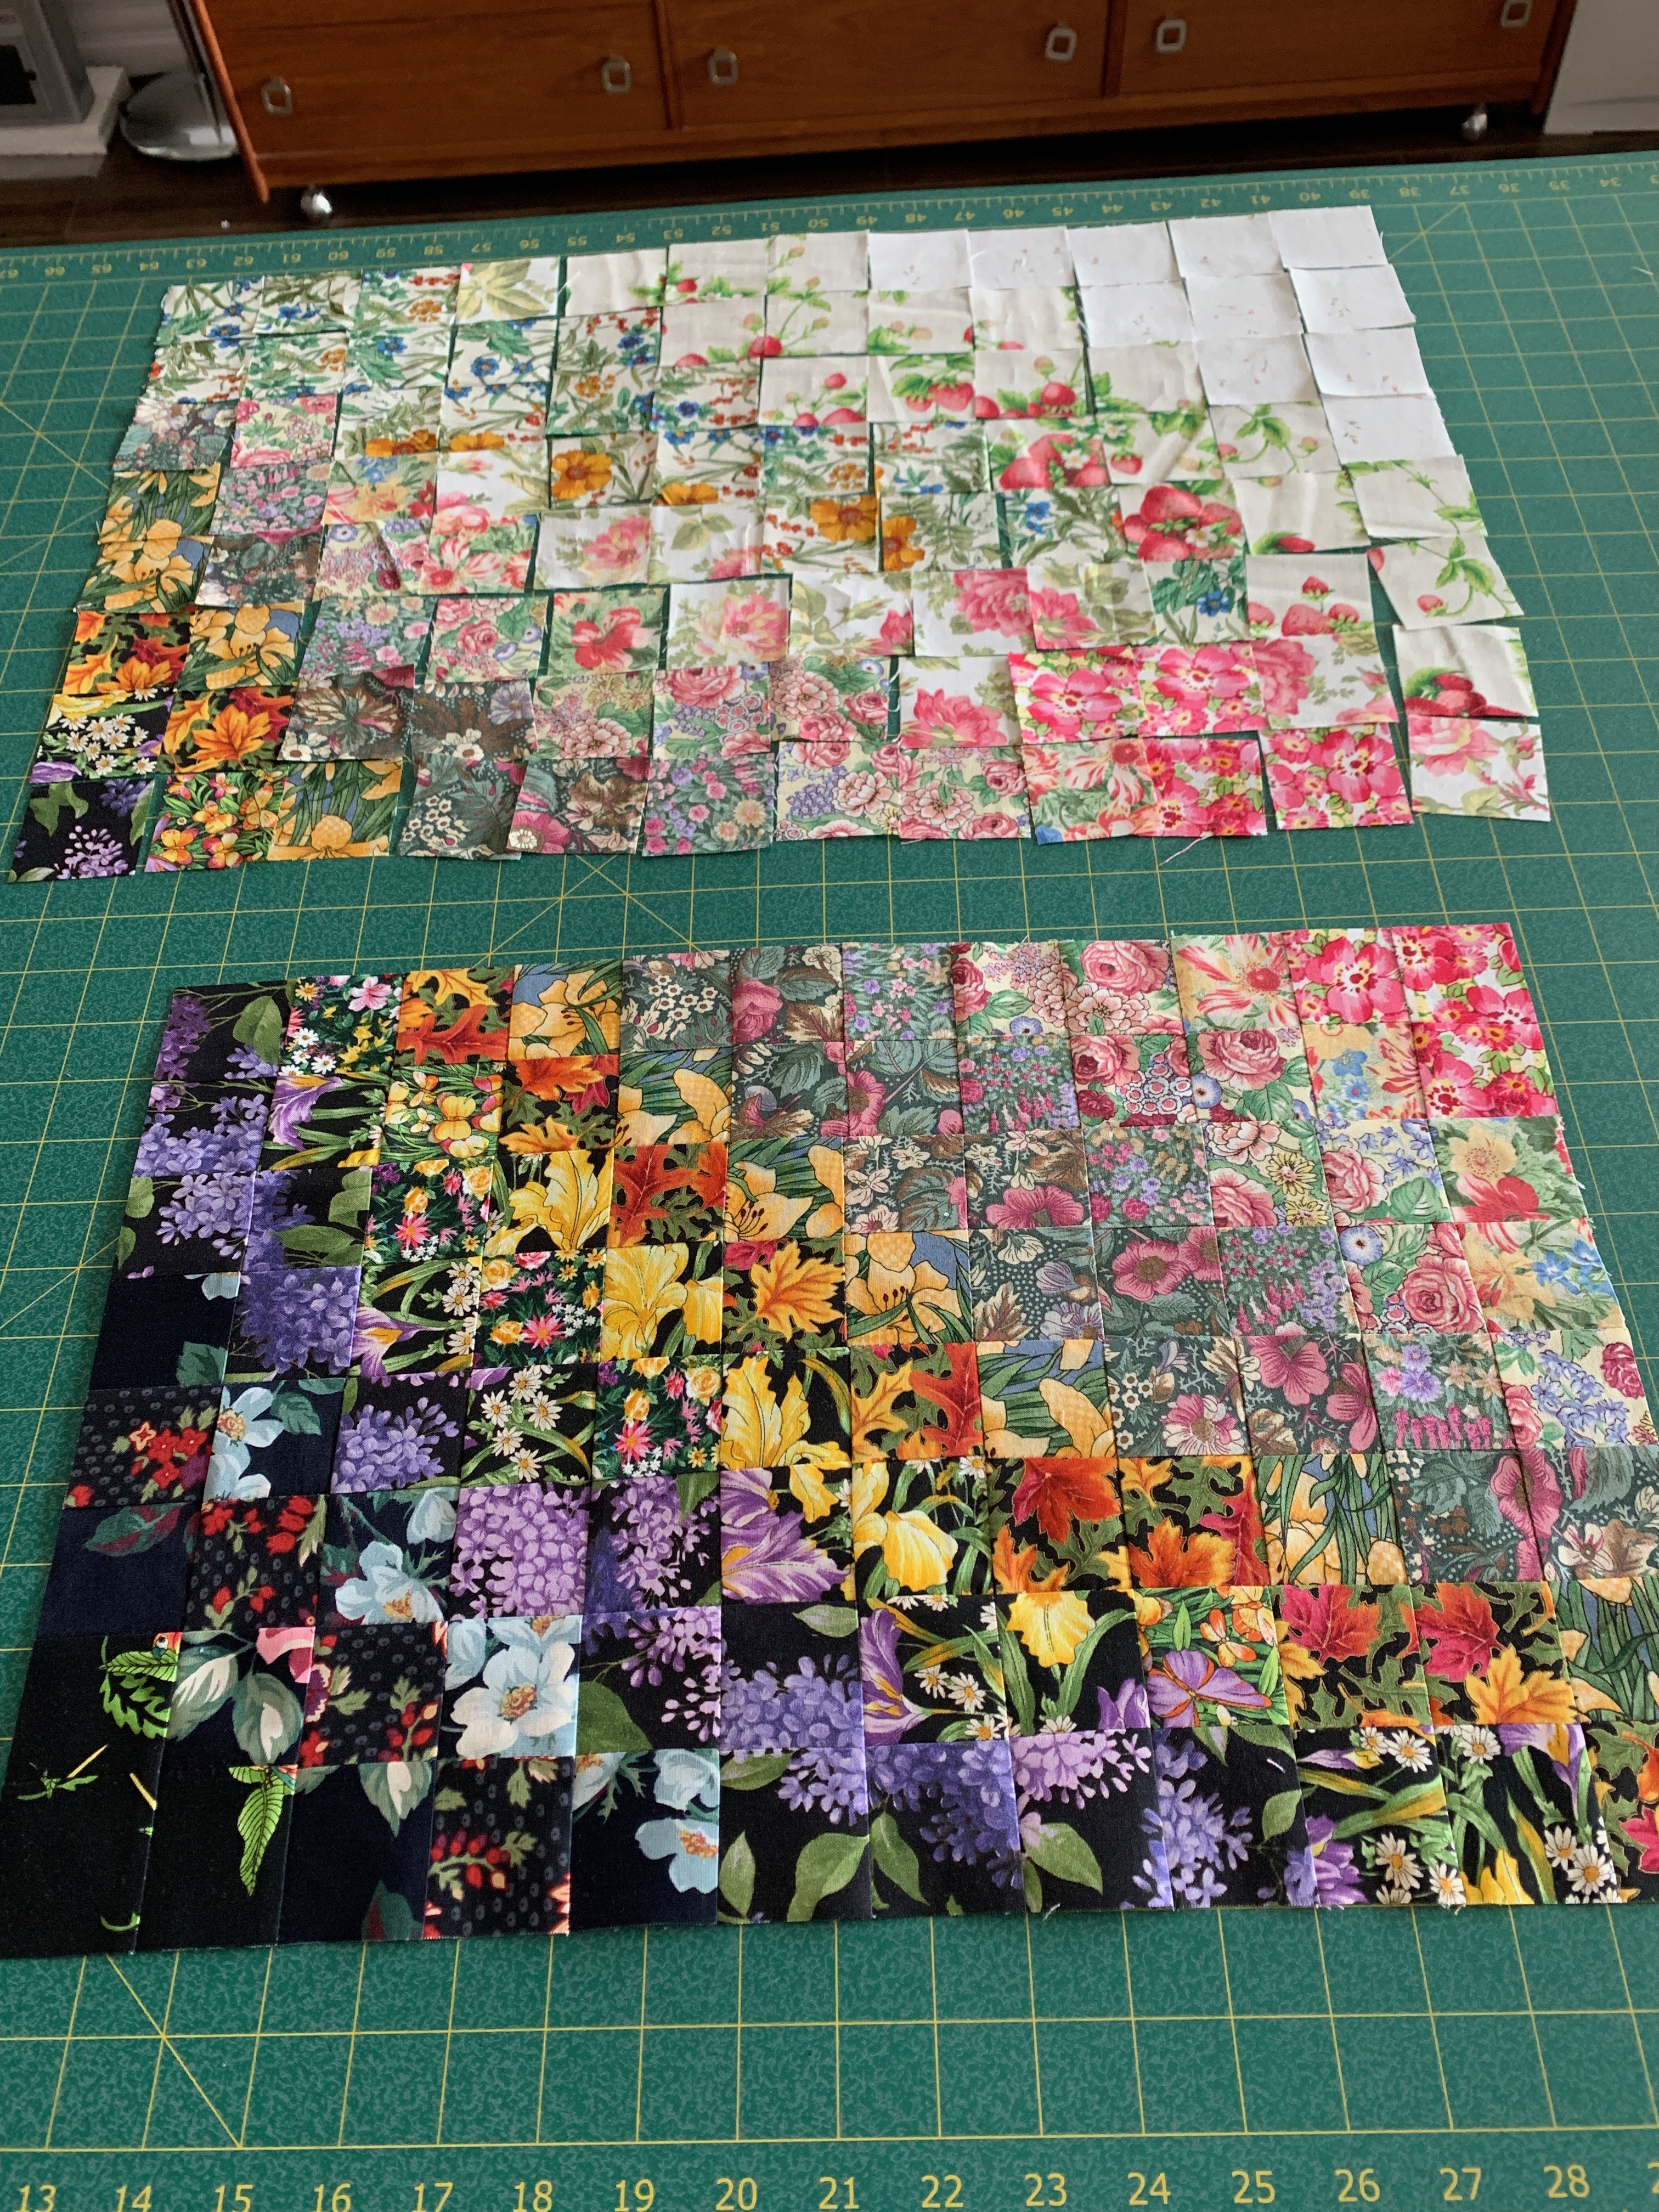
Here’s the pieced back – I didn’t have quite enough of the dark blue fabric so added in a block of the main fabric, along with the longitudinal stripes.
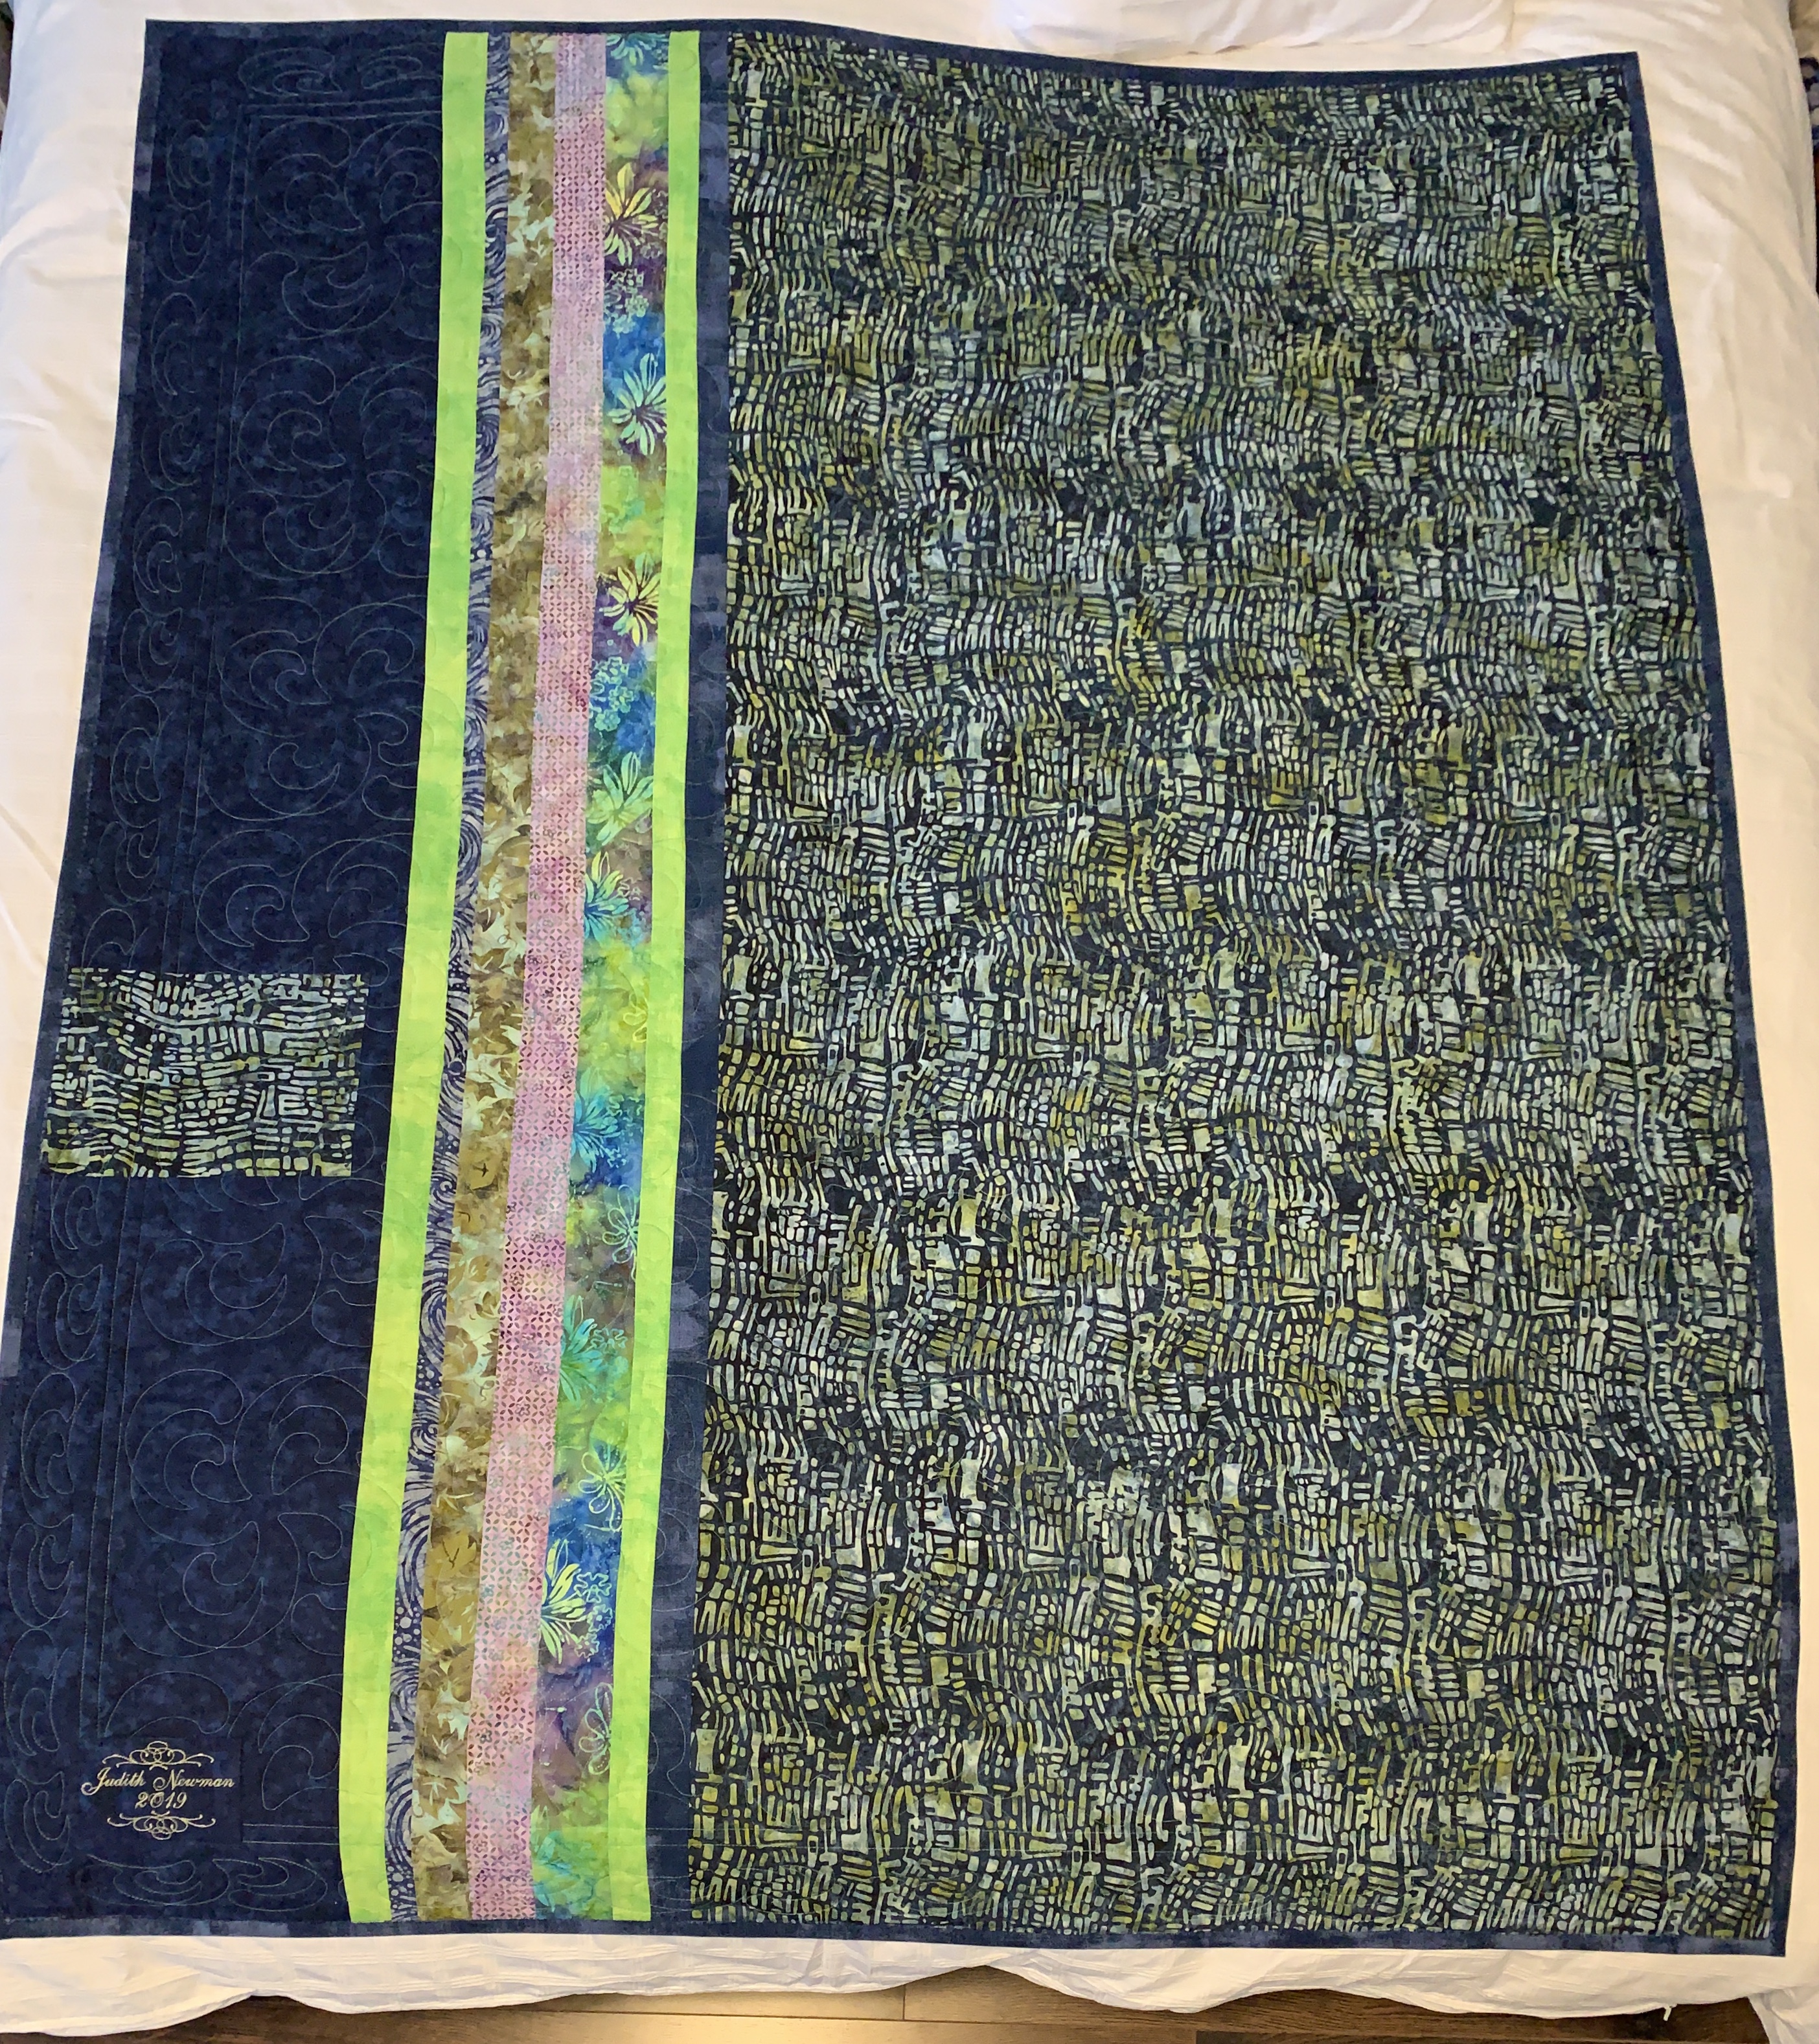
Quilt Back

You can sort of see the quilt block as it sits over 4 of the underlayer blocks – it’s a curved pinwheel which was large enough to overlap the appliqué circles and follow the curves of the “x” pieces.

Quilting Detail

The finishing was interrupted on Tuesday because I had to spend the day preparing for an art quilt class I was teaching on Wednesday. I finally got to binding the quilt this afternoon.

The quilt is finished, label and all.

Christmas Fruit Cake

It’s the week after Canadian Thanksgiving – time to make the Christmas Fruit Cakes which are a staple gift for family and friends. It wouldn’t be Christmas without Judith’s Christmas Cake. I do them this early because they need time in the refrigerator to allow the rum that has absorbed into the fruit to osmose into the cakes themselves resulting in a dense, moist dark fruit cake.

The process started a week ago when I bought the fruit, dumped it into my 27 cup Tupperware mixing bowl with lid, added 8oz of dark rum, mixed it, covered it, and let the fruit stand for 5 days.

Yesterday was cake baking day. I invited my friend Ruby to join me – with that extra pair of hands the cakes came together in half the time!

An Oven Full of Fruit Cake

The Recipe:

Here’s the recipe [it’s a forgiving recipe – the amounts of fruit are approximate – I don’t measure, just guess – I must end up with a 18-20 c of fruit; the Tupperware mixing bowl is ~ 4/5 full]:

  • 2 lbs. mixed candied fruit (a mixture of regular and deluxe which includes pineapple and cherries)
  • 1 lb. red/green candied cherries
  • 1 lb. Thompson raisins
  • 1/2 lb dried cranberries
  • add whatever other candied fruit you like – I add at least 1/2 lb chopped dried dates
  • a 10-12 oz jar of a good orange marmalade
  • 8 oz. dark rum
  1. Soak candied fruit, raisins, cranberries, dates in rum for 4-5 days before making the cakes. Add rum to the fruit, cover bowl with plastic wrap and stir occasionally to make sure rum is absorbed by the fruit (Add the marmalade at this stage). I have a large 27 cup Tupperware mixing bowl with a lid that is perfect for this job.
  2. I turn my Tupperware covered container twice a day – by the end of 5 days, all the rum has absorbed into the fruit.
Wet Ingredients
  • 1 lb. butter
  • 4 tsp. almond extract
  • 4 tsp. vanilla
  • 3 c. white sugar
  • 2 c packed brown sugar
  • 12 large eggs
  • 8 oz. bittersweet chocolate
  • 1/2 c. molasses
Dry Ingredients
  • 6 c. flour
  • 1 tsp. baking soda
  • 3 tsp. baking powder
  • 3 tsp. cinnamon
  • 2 tsp. allspice
  • 2 tsp. ground nutmeg
  • 1 tsp. ginger
  • 1 tsp. cloves
  1. Preheat oven — 325° F
  2. Prepare loaf pans (8-9 two pound pans) by wiping with butter and sprinkling with flour. [I use aluminum 2 lb loaf pans and discard them afterwards; even so, I line them with strips of parchment from side to side – holding the parchment with clothes pins so when I add batter to the pan they keep the paper in place; makes lifting the baked cakes from the pan much easier]
  3. Transfer fruit to a very large mixing container [I use my lobster pot to mix these cakes because this is a double recipe and with all the fruit and batter, it’s a large amount of stuff!]
  4. In a second large mixing bowl, cream butter until soft. Add almond extract and vanilla and incorporate.
  5. Add sugar and cream until well blended. Add eggs one at a time beating well until incorporated into mixture [I actually used 14 large eggs this year – the cakes have come out fine]
  6. Add molasses and mix.
  7. Melt chocolate [I use my microwave oven for this – 1 min. stir, then a second minute and stir – if your chocolate still isn’t fully melted you can microwave a tiny bit longer] and add to batter and mix.
  8. Set aside while you prepare the dry ingredients
  9. In a separate large bowl mix flour, baking soda, baking powder, spices.
  10. Add about half of this mixture to the candied fruit and mix well.
  11. Add remaining flour mixture to fruit and mix.
  12. Add wet mixture to fruit and mix well. [You need a strong wooden spoon and even then you may need to dig deeply enough that your mixing hand is involved in the procedure!]
  13. Fill loaf pans about 3/4 full. [The cakes rise and will spill over into the oven if the pans are too full; I put the loaf pans on a cookie sheet to catch any spill over — I’ve had to clean the oven more than once so I don’t take chances any more]
  14. Place pans in middle of oven.
  15. Bake slowly. Test with a skewer. Cakes are done when the skewer comes out clean. [Takes anywhere from about 1 1/2 to 3 hours]
  16. Remove cakes from oven. Place on a rack to cool.
  17. Once they’re completely cool, remove the cakes from the pans [peel away parchment if you’ve used it].
  18. Wrap each cake in waxed paper. Put each into a ziplock bag and refrigerate for at least a month before using.

Depending on the amount of fruit you use, this recipe makes between 8-9 two pound cakes.

BTWI double the wet and dry ingredients. [This year I got 9 2-lb cakes and 8 small (~1/2-lb) cakes]

If you enjoy a tasty dark fruit cake, do try this one.

Quilt On The Go – VI

This is the completely edge-stitched, bordered top panel.

Bordered Panel

The photo doesn’t do this panel justice – I have nowhere to hang it and photograph it in a way that allows me to align it perfectly. I laid it on my bed and adjusted the sides as best as I could with my photo software. But you get the idea here.

The narrow chartreuse inner border was a good idea – it brings out the brighter greens. The wider darker blue grunge border stabilizes the blues in the panel. I’m also happy with the subtle diagonal flow in parts of the piece.

Now to build a back

Fabrics For The Backing

These are the two main fabrics I’m planning on using – I also want to build in a bit of piecing using the blues and greens from the top. That’s a job for tomorrow.

Yesterday I sat down at my iMac to play with my Pfaff TruE3 embroidery software to discover it won’t run on my recently updated operating system!

The first line problem is the dongle driver which is incompatible with Catalina (the new OS 10.15); there may be problems further in I don’t know about and can’t know about until I get past the registering of the dongle.

It infuriates me – I bought the software for a whopping amount of money a year and a half ago and now I can’t use it. I immediately contacted Pfaff TruE3 Embroidery Software support who replied they had no information on whether the dongle manufacturer was planning a dongle driver update! TruE3 was only compatible with Mojave (10.14). No help there, obviously.

So by the weekend I’m in a bind – I can stitch out embroideries I’ve already created but I can’t modify them to any great extent and I can’t create anything new.

I’m going to have to ask around among the women I know who have invested in Premiere+ and see if I can spend a bit of time on their computer creating a design to quilt this new quilt with – that’s if that software will actually run on an updated Mac!

Quilt On The Go – V

I’m making headway – I’ve got all the circles edge stitched and about 2/3 of the Xs – It’s taken me several hours each of the last three days to get this far. Tomorrow afternoon I hope to be able to finish the remaining Xs.

Circles Appliqué Quilt – Edge Stitching

I’m stitching using embroidery rayon (in many different colours to more or less match the fabric I’m stitching – the stitch is a narrow blanket stitch (l: 2mm, w: 1.5mm) making sure I’m using the needle down position so I can pivot the fabric to keep the stitching along the raw edge.

Once I’ve finished the edge stitching, I will add a narrow chartreuse inner border, and a navy/teale grunge outer border to finish the top. I have fabrics for the second side – I will do some piecing as I assemble it so my narrow width of fabric can be extended to fit the width of the quilt.

What I have no idea about is how to quilt the sandwich! The last time I did a quilt like this I simply stitched the underlying block edges as squares through the circles and Xs. However, this time the arrangement of circles and Xs doesn’t lend itself to that. I’ve discussed ideas with several people and heard many suggestions. Were I doing the quilting on a long-arm quilter I’d just do some open curvilinear design but I will be stitching in the hoop so I need to come up with some kind of “block” idea that will fit within my 360mm x 200mm hoop. (I have a large reversible hoop but I’ve learned the hard way that whatever design I create has to not cross the centre line.) I need to let this percolate for the next week or so when I’ll be ready to do the quilting.


Quilt On The Go – IV

Alright – here are the circles and Xs pinned to the background. The result is the illusion of circles (greens) on circles (blue) which is what I was after.

I laid the panel on the floor and photographed it – the circles that were in the wrong place stood out dramatically – I made a few swaps although that wasn’t so straight forward since I had precisely the right number of circles and crosses to fill the panel with just a couple left over. I thought I was going to have to cut more but I got away with what I had by moving a few around.

Circles / Xs pinned

Now comes the painstaking task of pressing the pieces in place so I can then edge stitch them with a decorative stitch. I’m hoping the Wonder Under holds better than the Heat ‘N Bond I used on a previous quilt – I had to use white glue on some of those circles when they began separating from the backing. It will take me the better part of a week, I’m anticipating, to edge stitch all of these 154 elements.

I still have no idea yet where to go from here – I think I want a navyish small print (a grunge?) for a narrow border, then a wider border in chartreuse – I will have to go shopping with the panel to decide what might work because I haven’t anything in my stash that suits the colour scheme in the panel.

Quilt On The Go – III

Here’s how the appliqué work is beginning to shape up – I fused Wonder Under (Pellon 805) to the back of 4 1/2″ x 17″ strips of 30+ fabrics ranging in colour from pale yellow/green to a very dark green. I made the decision to cut the circles from the lighter fabrics and the crosses from the darker ones (that may be a limiting decision but I had to start with some kind of order from which to begin).

So far, I’ve cut a bunch of circles and have pinned them on the blue background and I’ve started interspersing crosses  – I’ve been placing/pinning as I’ve cut out circle and cross elements – I think at the moment I need to cut out more crosses and see how close I can get to the bottom right edge with them, then fill in the rest with circles.

Circles & Crosses

NOTHING is fused in place! I have to get the space filled with circles and crosses, stand back and look at the whole from a distance, take photographs to see what the whole looks like, before putting an iron to the quilt top. I have a feeling I may have too many light coloured circles in that upper left corner (over the darkest squares of the background panel) – I think I will want to drop a few darker circles in that quadrant – just trying to visualize what that would look like.

I’ve done maybe half of the cutting out of circles and crosses. I need to spend the rest of the afternoon and evening getting the rest cut out before I attempt placing more elements. The crosses when placed side by each create circles from the background panel – I want to bring out more of the blue in the middle of the quilt top so that will mean more crosses in that area.

The good thing is everything is just pinned at this point – I can still change my mind about all of it.

Quilt On The Go – II

Here I am with a stitched background layer – it took 3-4 hours to assemble the pieces – the difficult part was collecting them from the floor in the order they were placed and keeping the paired squares in the same order while I was sewing them. I did reference yesterday’s photo several times to be sure I hadn’t reversed blocks.

Stitched Background Layer

I began by creating the vertical columns stacking the 13 pairs from bottom to top proceeding to the next column, then the next. I put post-it notes on the top square of each stack to identify the order in which I needed to sew them. I chain stitched the pairs in each column, cut them apart, pressed the seam to alternating sides, then built each column being careful to nest the seams.

Contrast Fabrics

Yesterday I pulled 27 contrast fabrics from my stash from dark green to light green – in the photo there is a lot more turquoise in the selections than I saw when I stacked the fabrics and the light green looks rather peach. I think my pale colours aren’t strong enough to make the elements I plan on cutting out pop. So back to the stash I must go – I’ll see what I have in yellow that might provide a better contrast, or maybe (heaven forbid) I will have to go shopping for more strong bright lime green batik for the appliqués over the dark background  blocks.

I’m trying to stay within the stash for this quilt, although I already know I’m probably going to have to shop for some fabric to create a border – that’s because about a third of my blocks came from a charm pack (I have no more of those fabrics) and the other fabrics I used came from my scrap boxes (there is very little left of those as well – not enough to do 4″ borders).

Finally – A Quilt On The go

I finally have a quilt on the go.

I started by pulling from my stash a double jelly roll of batik fabric (5″ width of strips) with an idea – but beyond opening the package of fabric strips I haven’t been stuck. Nice fabrics but I just can’t find a way to start. Next I pulled out a charm pack of blue batik fabrics (5″ squares) and that seemed to get me underway. 5″ squares are rather small – ending up as 4 1/2″ blocks so I’d need a 10 x 13 array at the least to make a decent size quilt.

Quilt Background

By adding more than twice the number of squares in the charm park using fabric from my stash of fat quarters and scraps I’ve managed to come up with 130 blocks to set up a graduated 10 x 13 array from light to dark which I can see serving as background for an appliqué quilt.

Inverted Array

I’m still not sure what will develop as a layer on top of this background – I will likely use circles somewhat in the way I did the original “Double Vision” quilt which my niece now has.

The question is what colour palette will complement these blues – shades of green ranging from light chartreuse to dark green/blue? I’ll have to see whether I have enough fabrics in my stash to make this work.

More as the work progresses – now to stitch this assembly together. That’s for tomorrow.

Watercolour Quilt Panel – Making Progress

I played with the arrangement and the colour flow off and on yesterday – I’m stopping with this layout:

Laid Out

I worked at changing the block placement from linear on the diagonal to a more parabolic flow and also tried bringing in brighter colours toward the top.

Half Assembled

The curved colour flow is stronger with the stitched blocks because they end up 3/4 the size (1.5″) of the raw 2″ blocks.

Assembling the blocks is a careful, slow process – I decided to work in pairs of rows, laying the row above on top of the blocks in the row below and rotating them 90˚ so I would be stitching the horizontal edge (12 pairs at a time). Next I pressed the pairs open, assembled 4-block units, finally stitched those together to form a 2-row strip.

I’m needing to be extremely focused while doing the pairing to make sure I’m reconstructing the block layout precisely. So far I’ve succeeded without having to take any stitching apart. I’ll have to be just as careful when I get back at the sewing later today!

I still think I want to add an appliqué of some sort because the panel seems unfinished – at least at this point. I still have no idea what I can add – I googled “watercolour quilts with appliqués” for ideas but everything I’ve seen doesn’t achieve the elegance I’m looking for. So once the panel is completed I may have to put it away and sleep on it for some time. I don’t think the panel wants a silhouette and a photo image printed on fabric won’t do either because the background is very busy. So I will just have to leave it for a while.

Modern Flowers – II

Just finished. I’ve spent the past four days stitching the edges of the appliqué – the leaves and flowers, and creating embroidered flower centres. It’s been slow but steady. Whereas I did a narrow quilt border on the previous version of this idea (flowers on a black/white background), this time I took the flowers to the border edge and decided to do a hidden binding so the cropping of the flowers was easily evident.

Modern Flowers – II (Wishing For Spring)

This version of the idea is brighter than the previous one. I could continue with variations on this theme, but I’m going to stop here. This is wall art piece #9 – I’m aiming to have 12 pieces completed by the end of July – so I’m getting close. On to other ideas.

Last week I cut a set of “watercolour” jellyroll strips in to 2″ blocks – I want to try doing some kind of “watercolour quilt” with the fabric squares – a wall art piece, actually, not a lap/throw quilt. I thought this would be a quick and easy project – not so sure now that I’m trying to lay out the squares in some kind of dark/light array.

There are quite a few people who are doing these quilts – there are any number of tutorials on how to make one. They use a special fusible gridded interfacing – not going to bother with that – I am planning on simply sewing the blocks together in rows based on the layout I create on my cutting table. Also many versions of these quilts use the “watercolour” piecing as a background for something else – I may end up doing something like that but I have no idea what the top appliqué elements might be at this point. Anyway, this is the next project I’m going to try – let you know how I get along!