I’m signed up to teach a class in two weeks on colourwash/watercolour quilting. After finishing “Nine Shades Of Grey” two days ago, I opened my box with the gazillion 2″ squares of fabric all nicely colour sorted in ziploc bags and started laying them out.
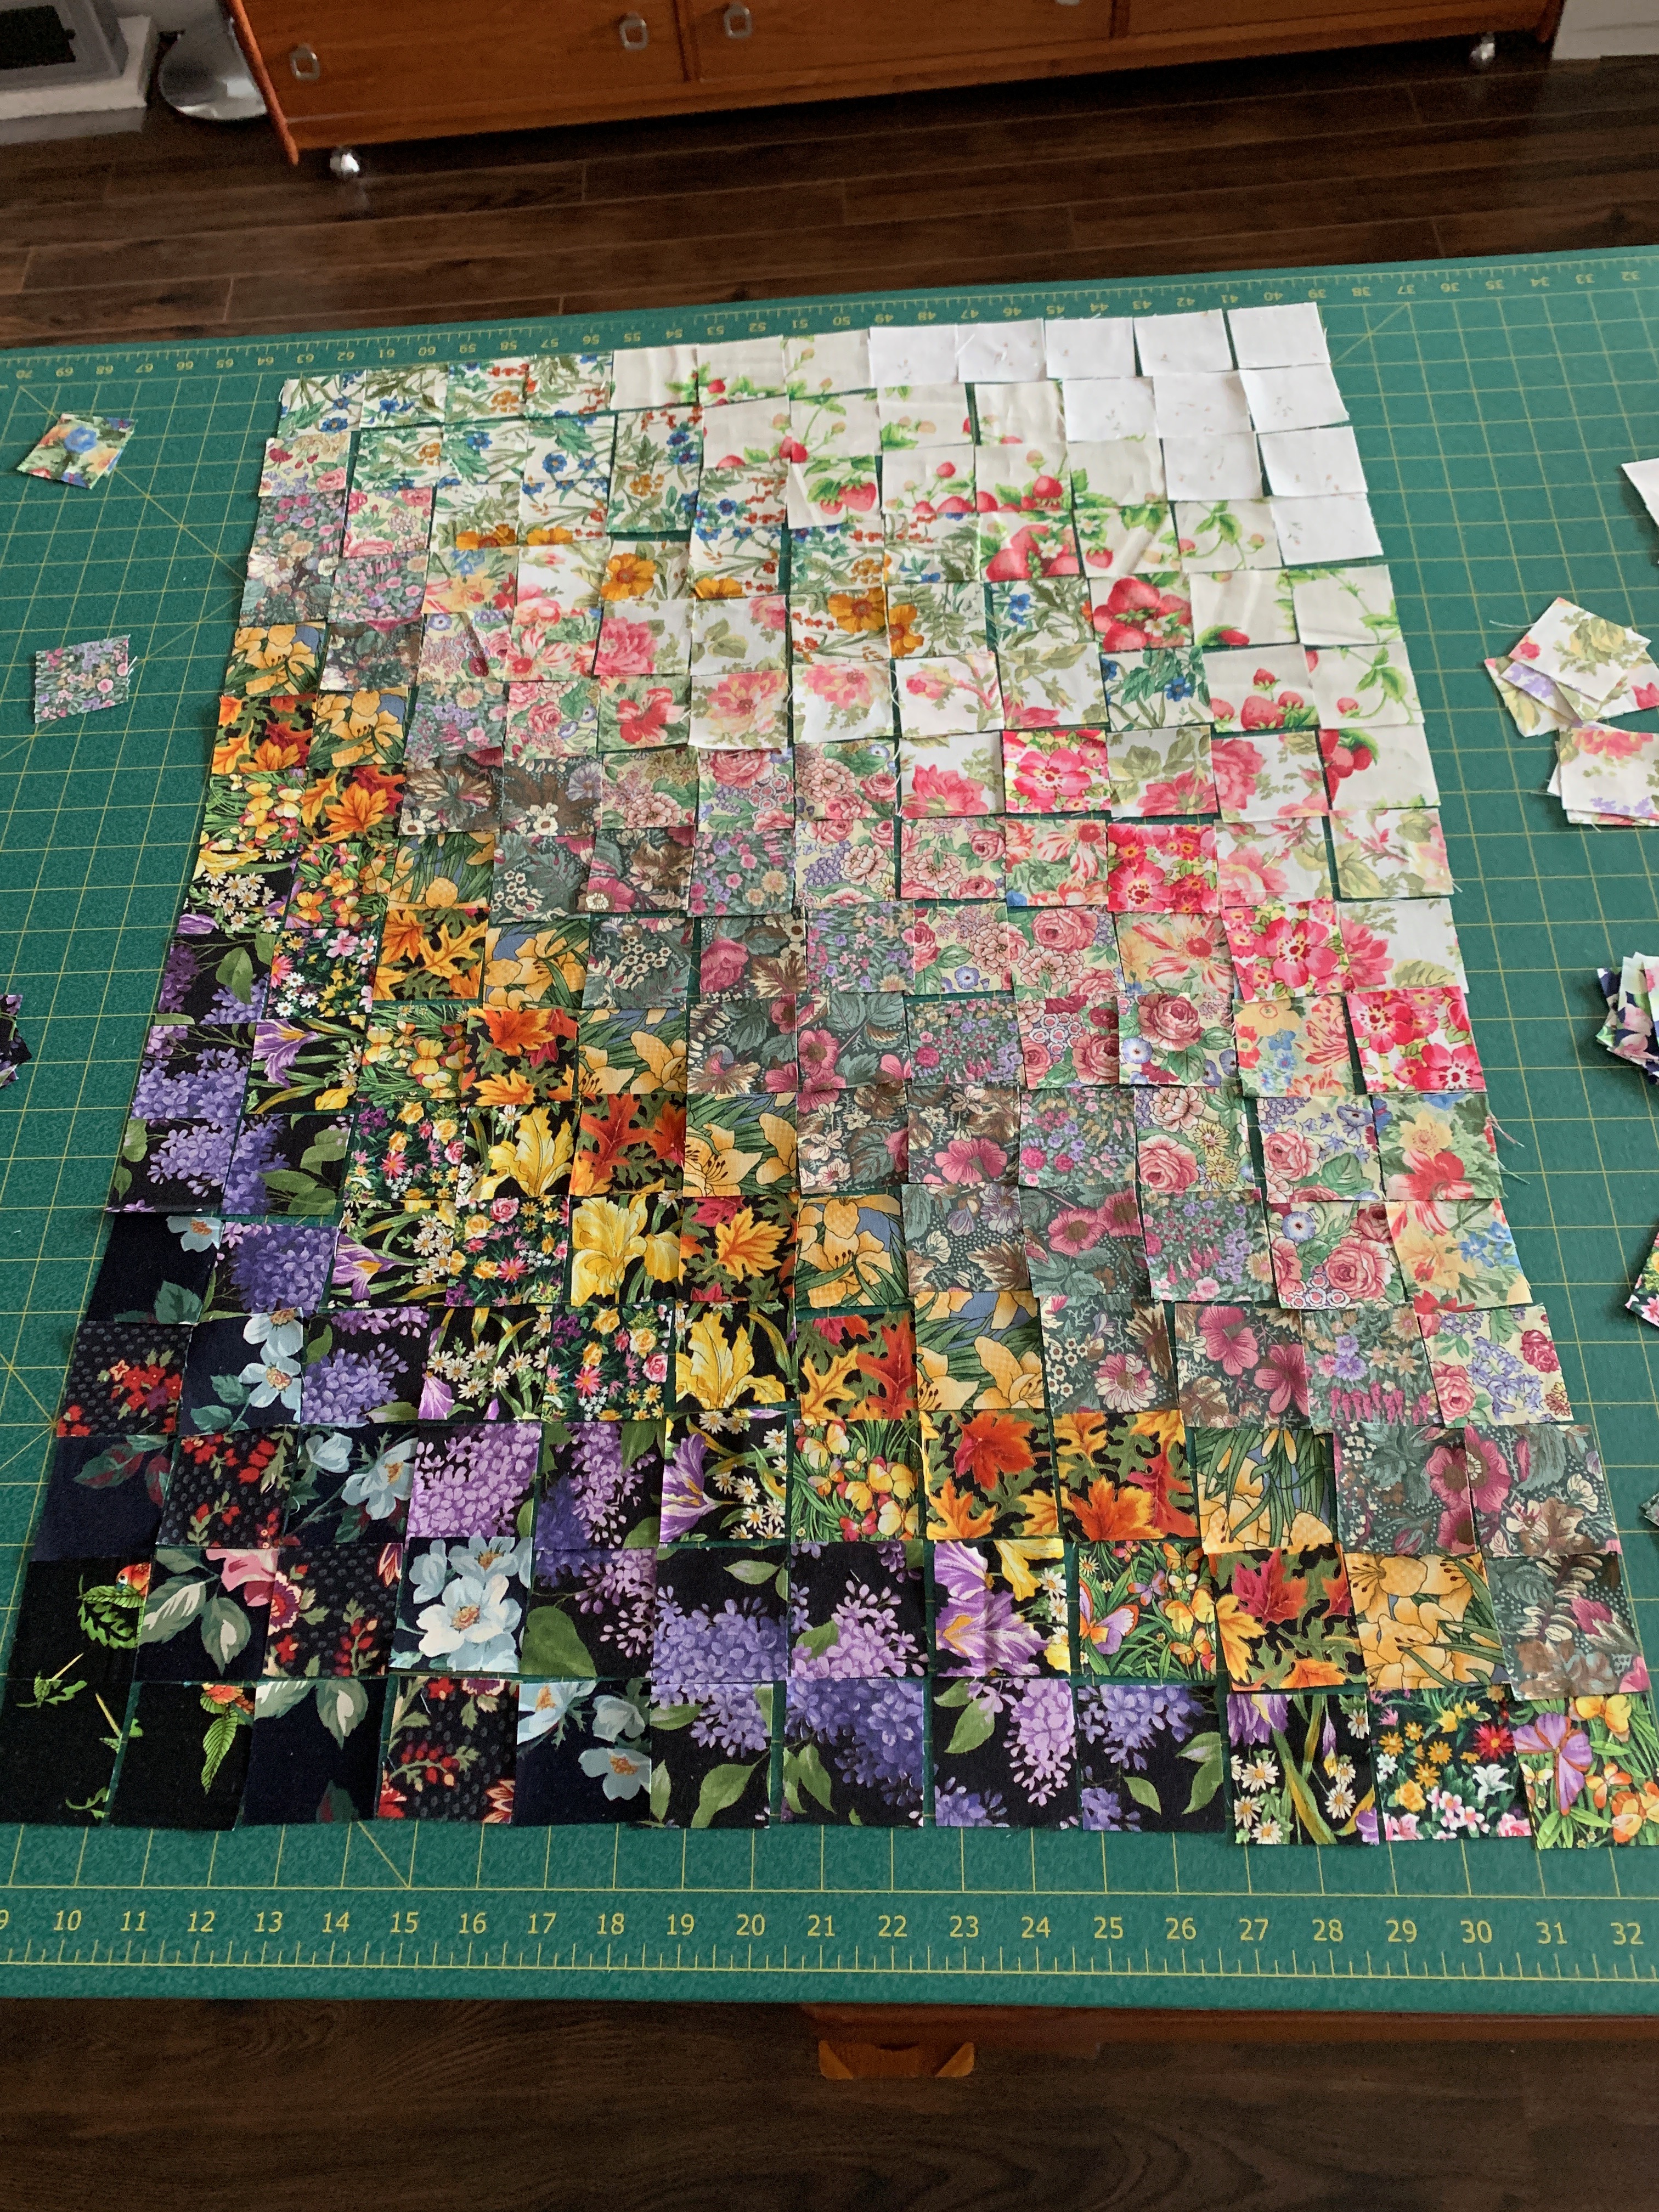
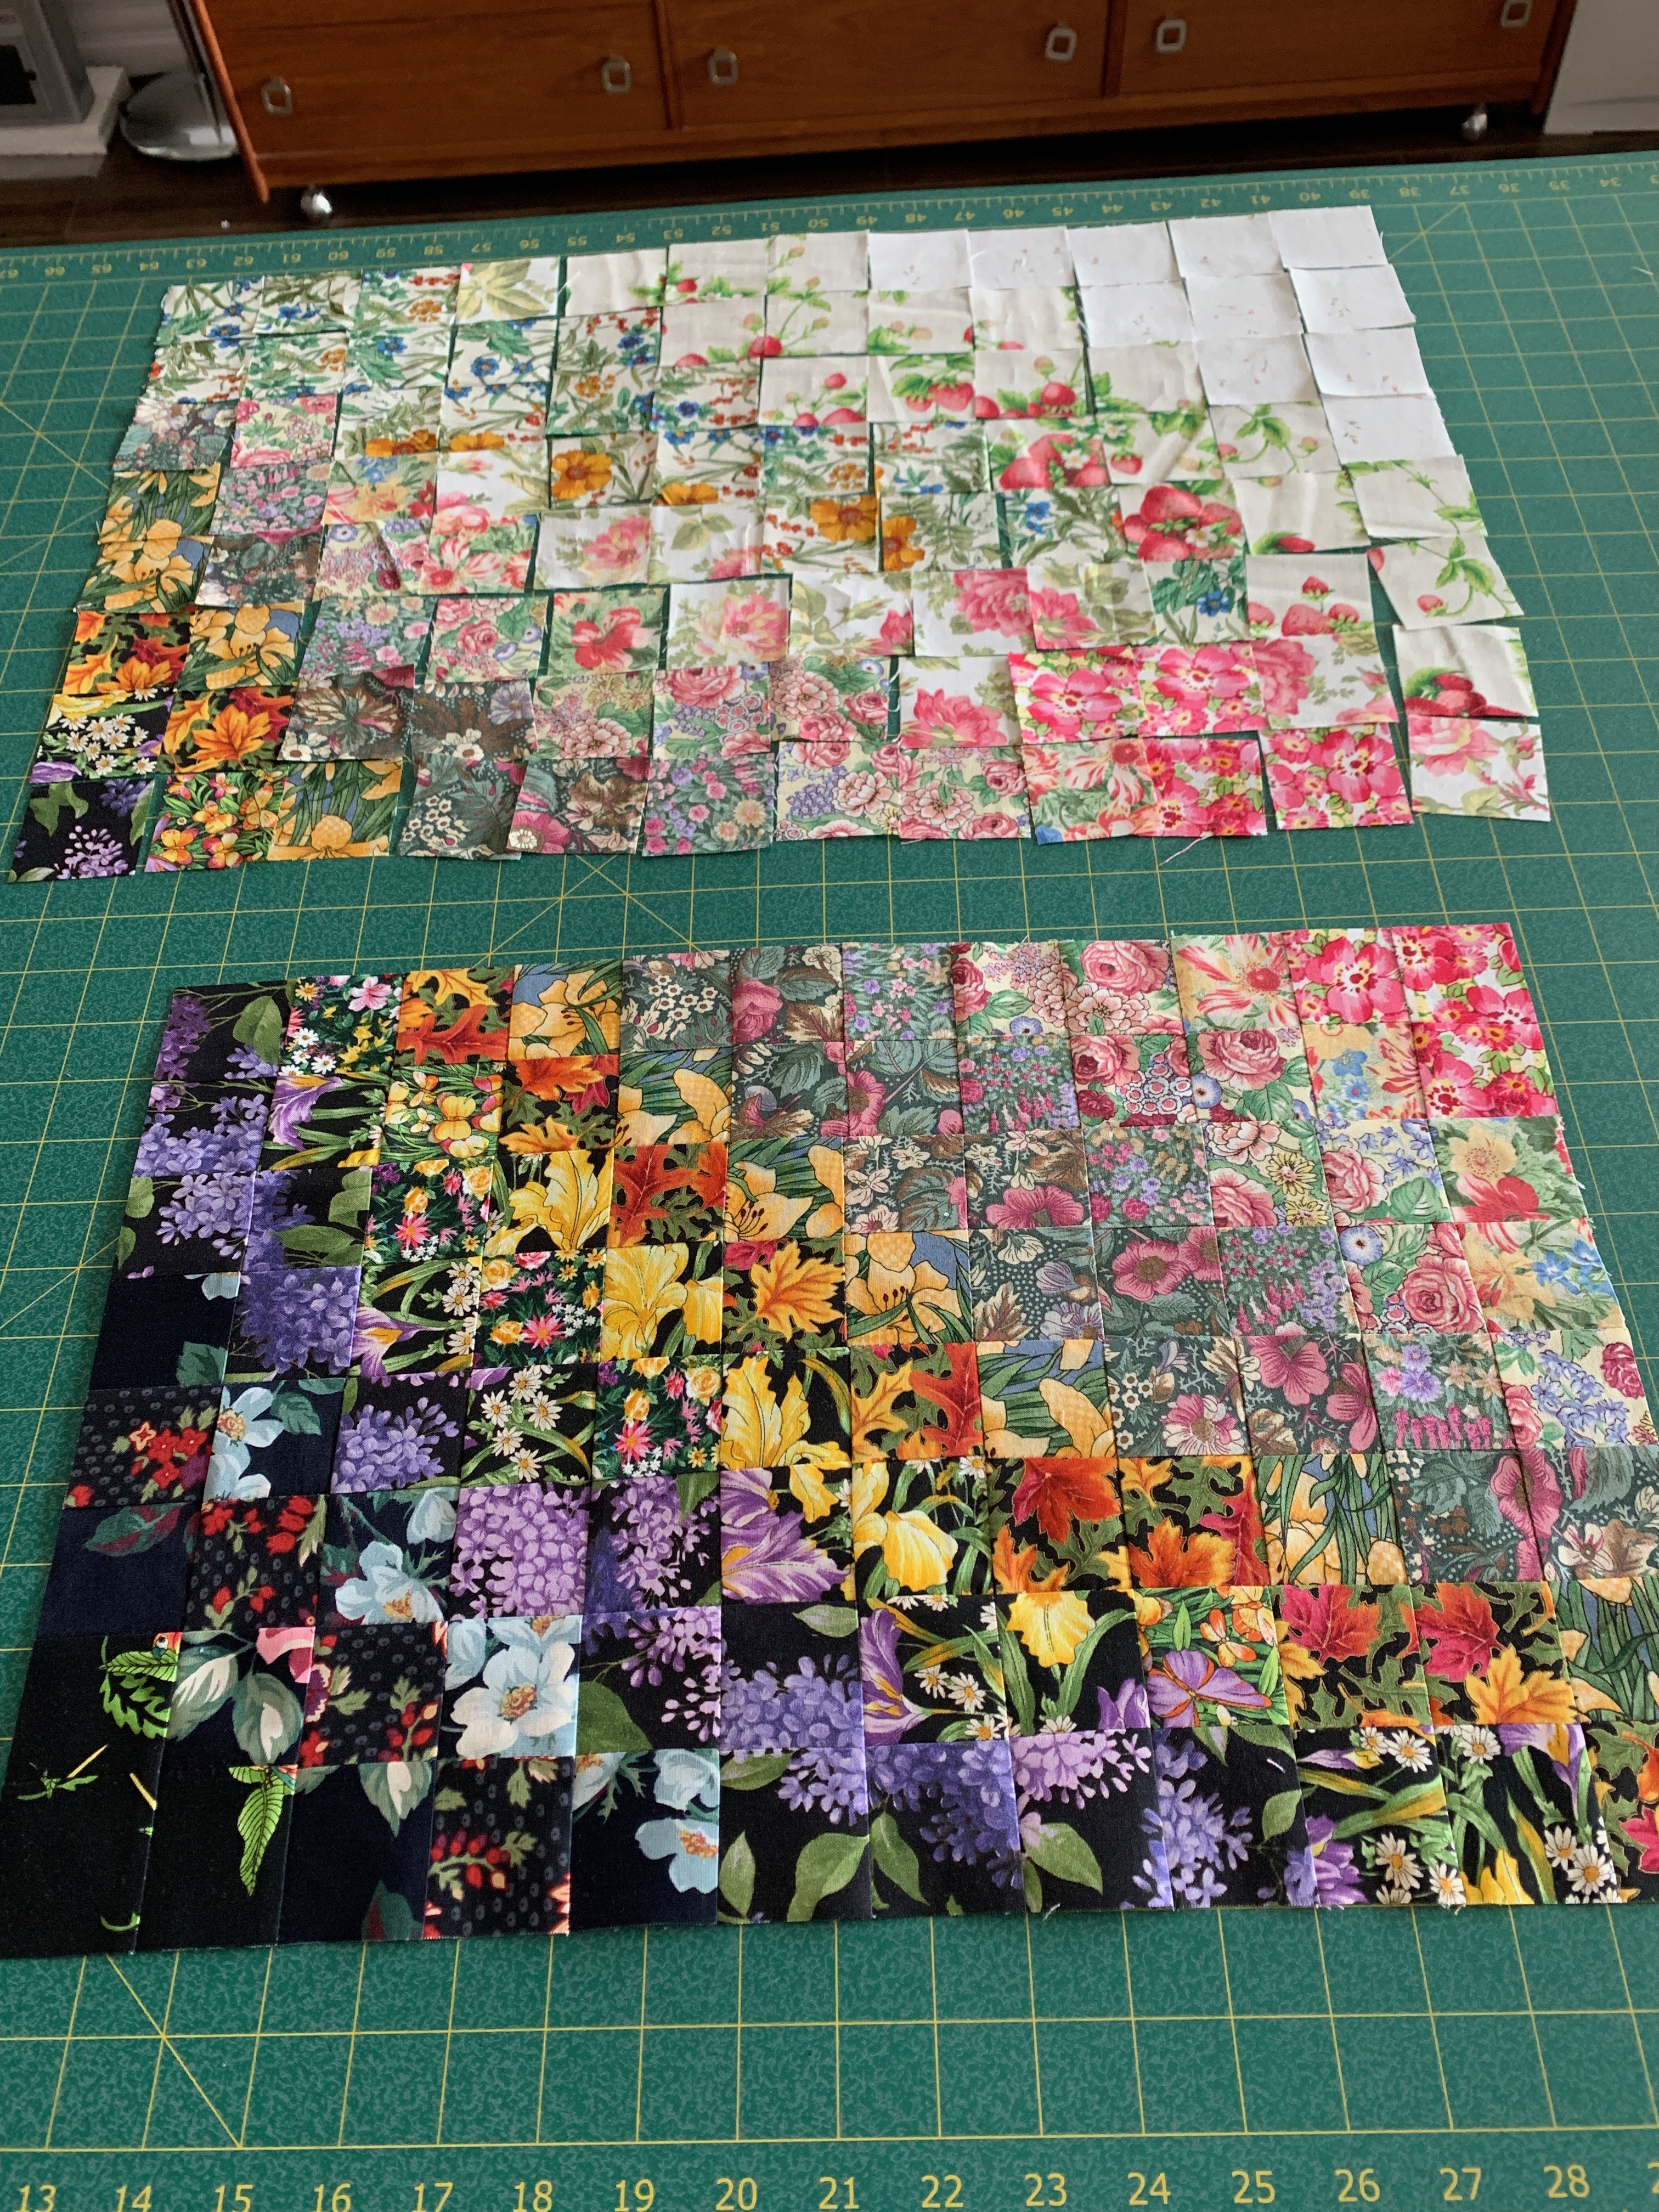
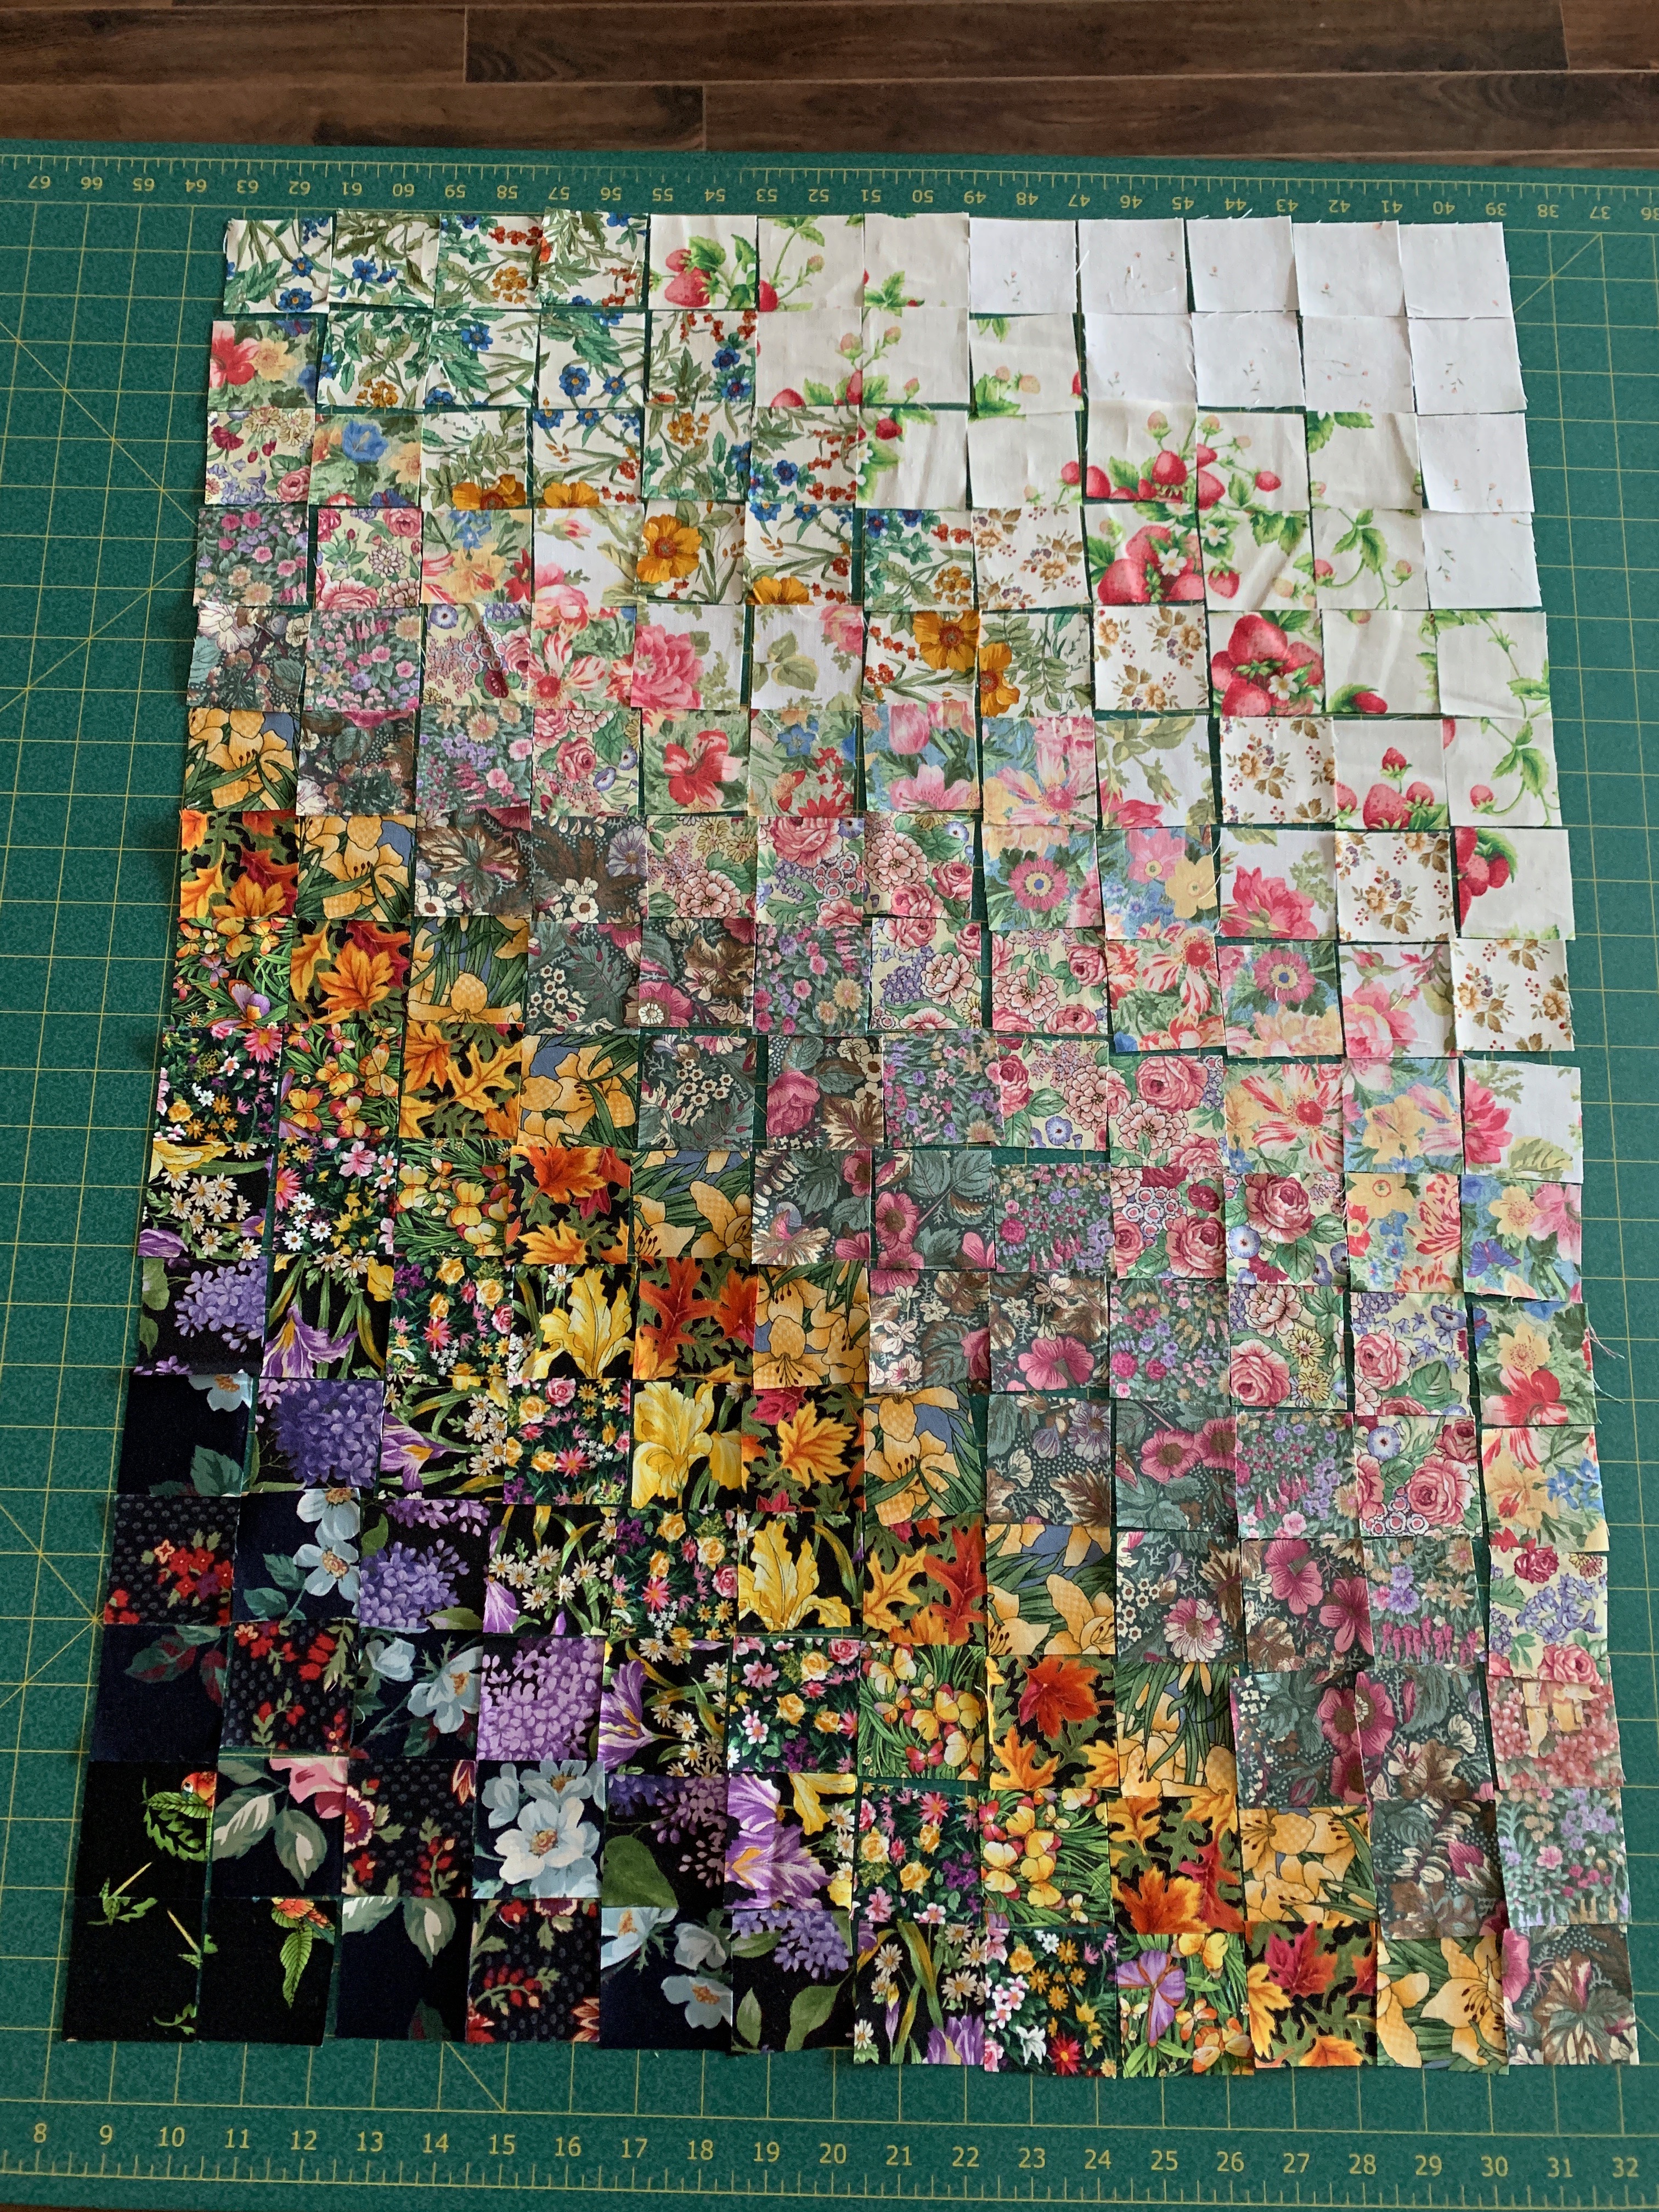
The other day I bough a couple of metres of fusible grid interfacing to see if that simplified the process of setting up a colourwash panel. I began by cutting a 24″ x 20″ panel of interfacing, then glue side up (which is the back of the interfacing, so it’s kind of hard actually to see the grid), started laying out squares attempting to bring some kind of colour order to what I was doing.

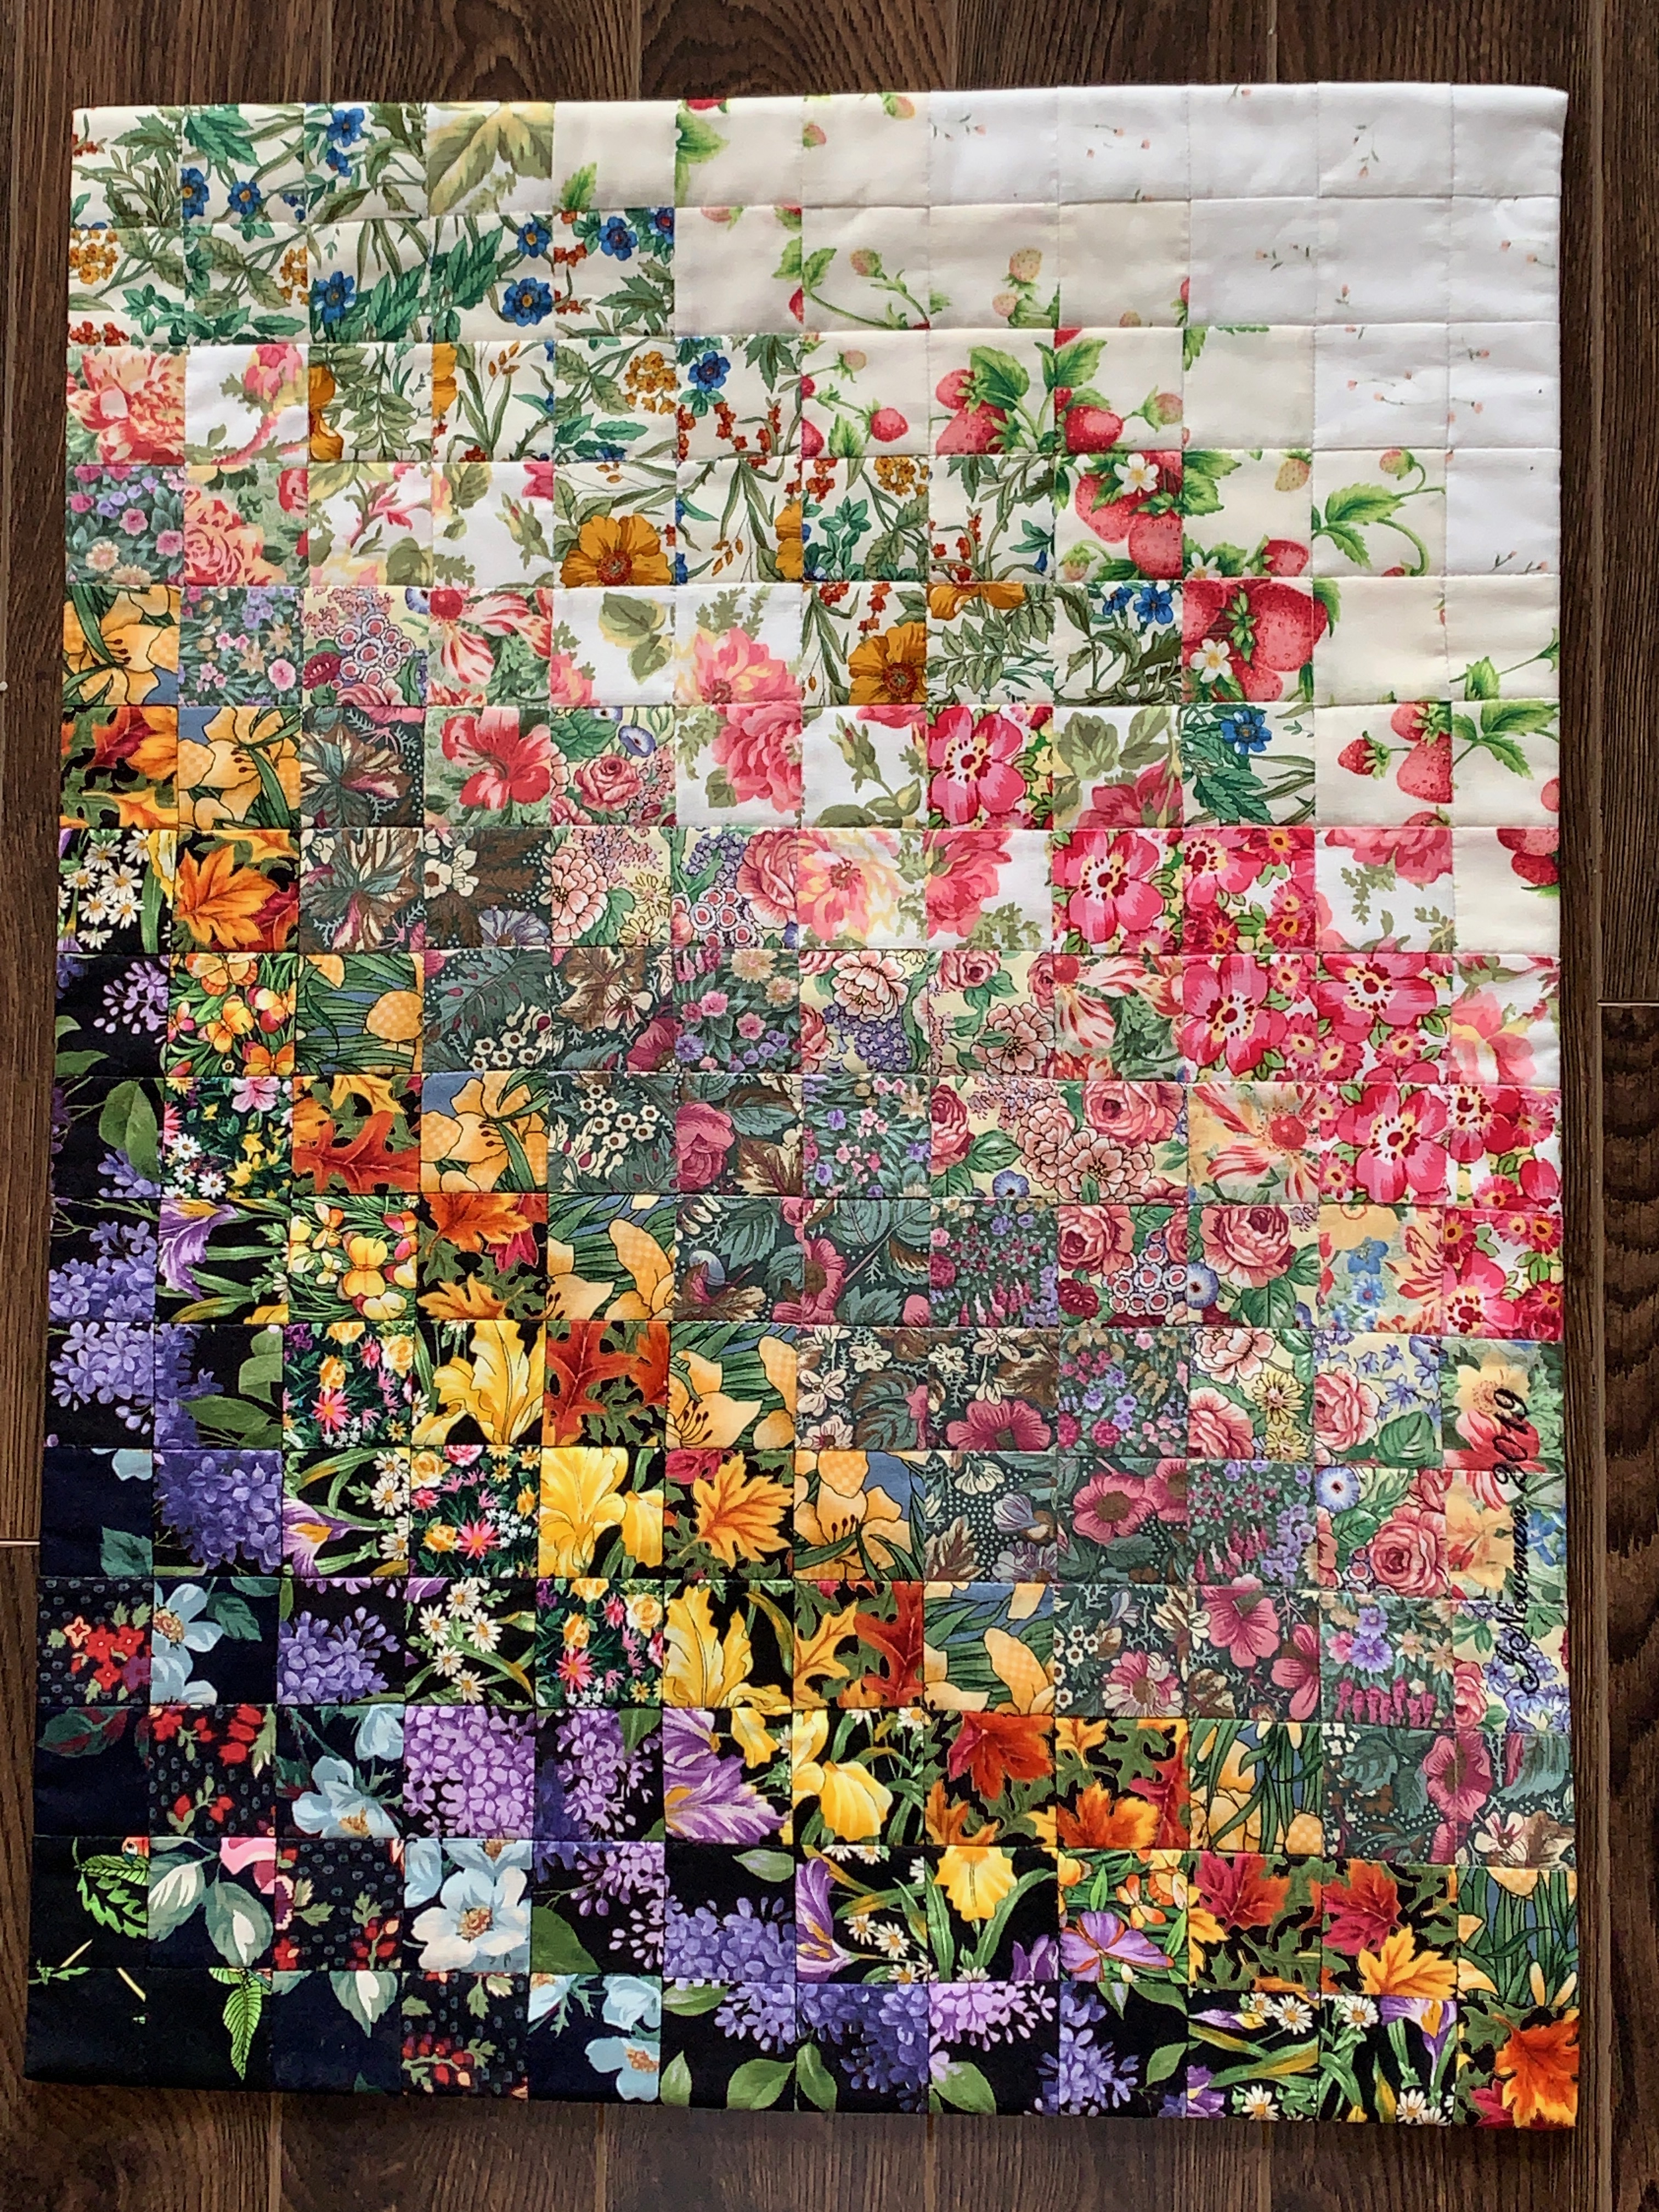
Blue Garden With Butterfly
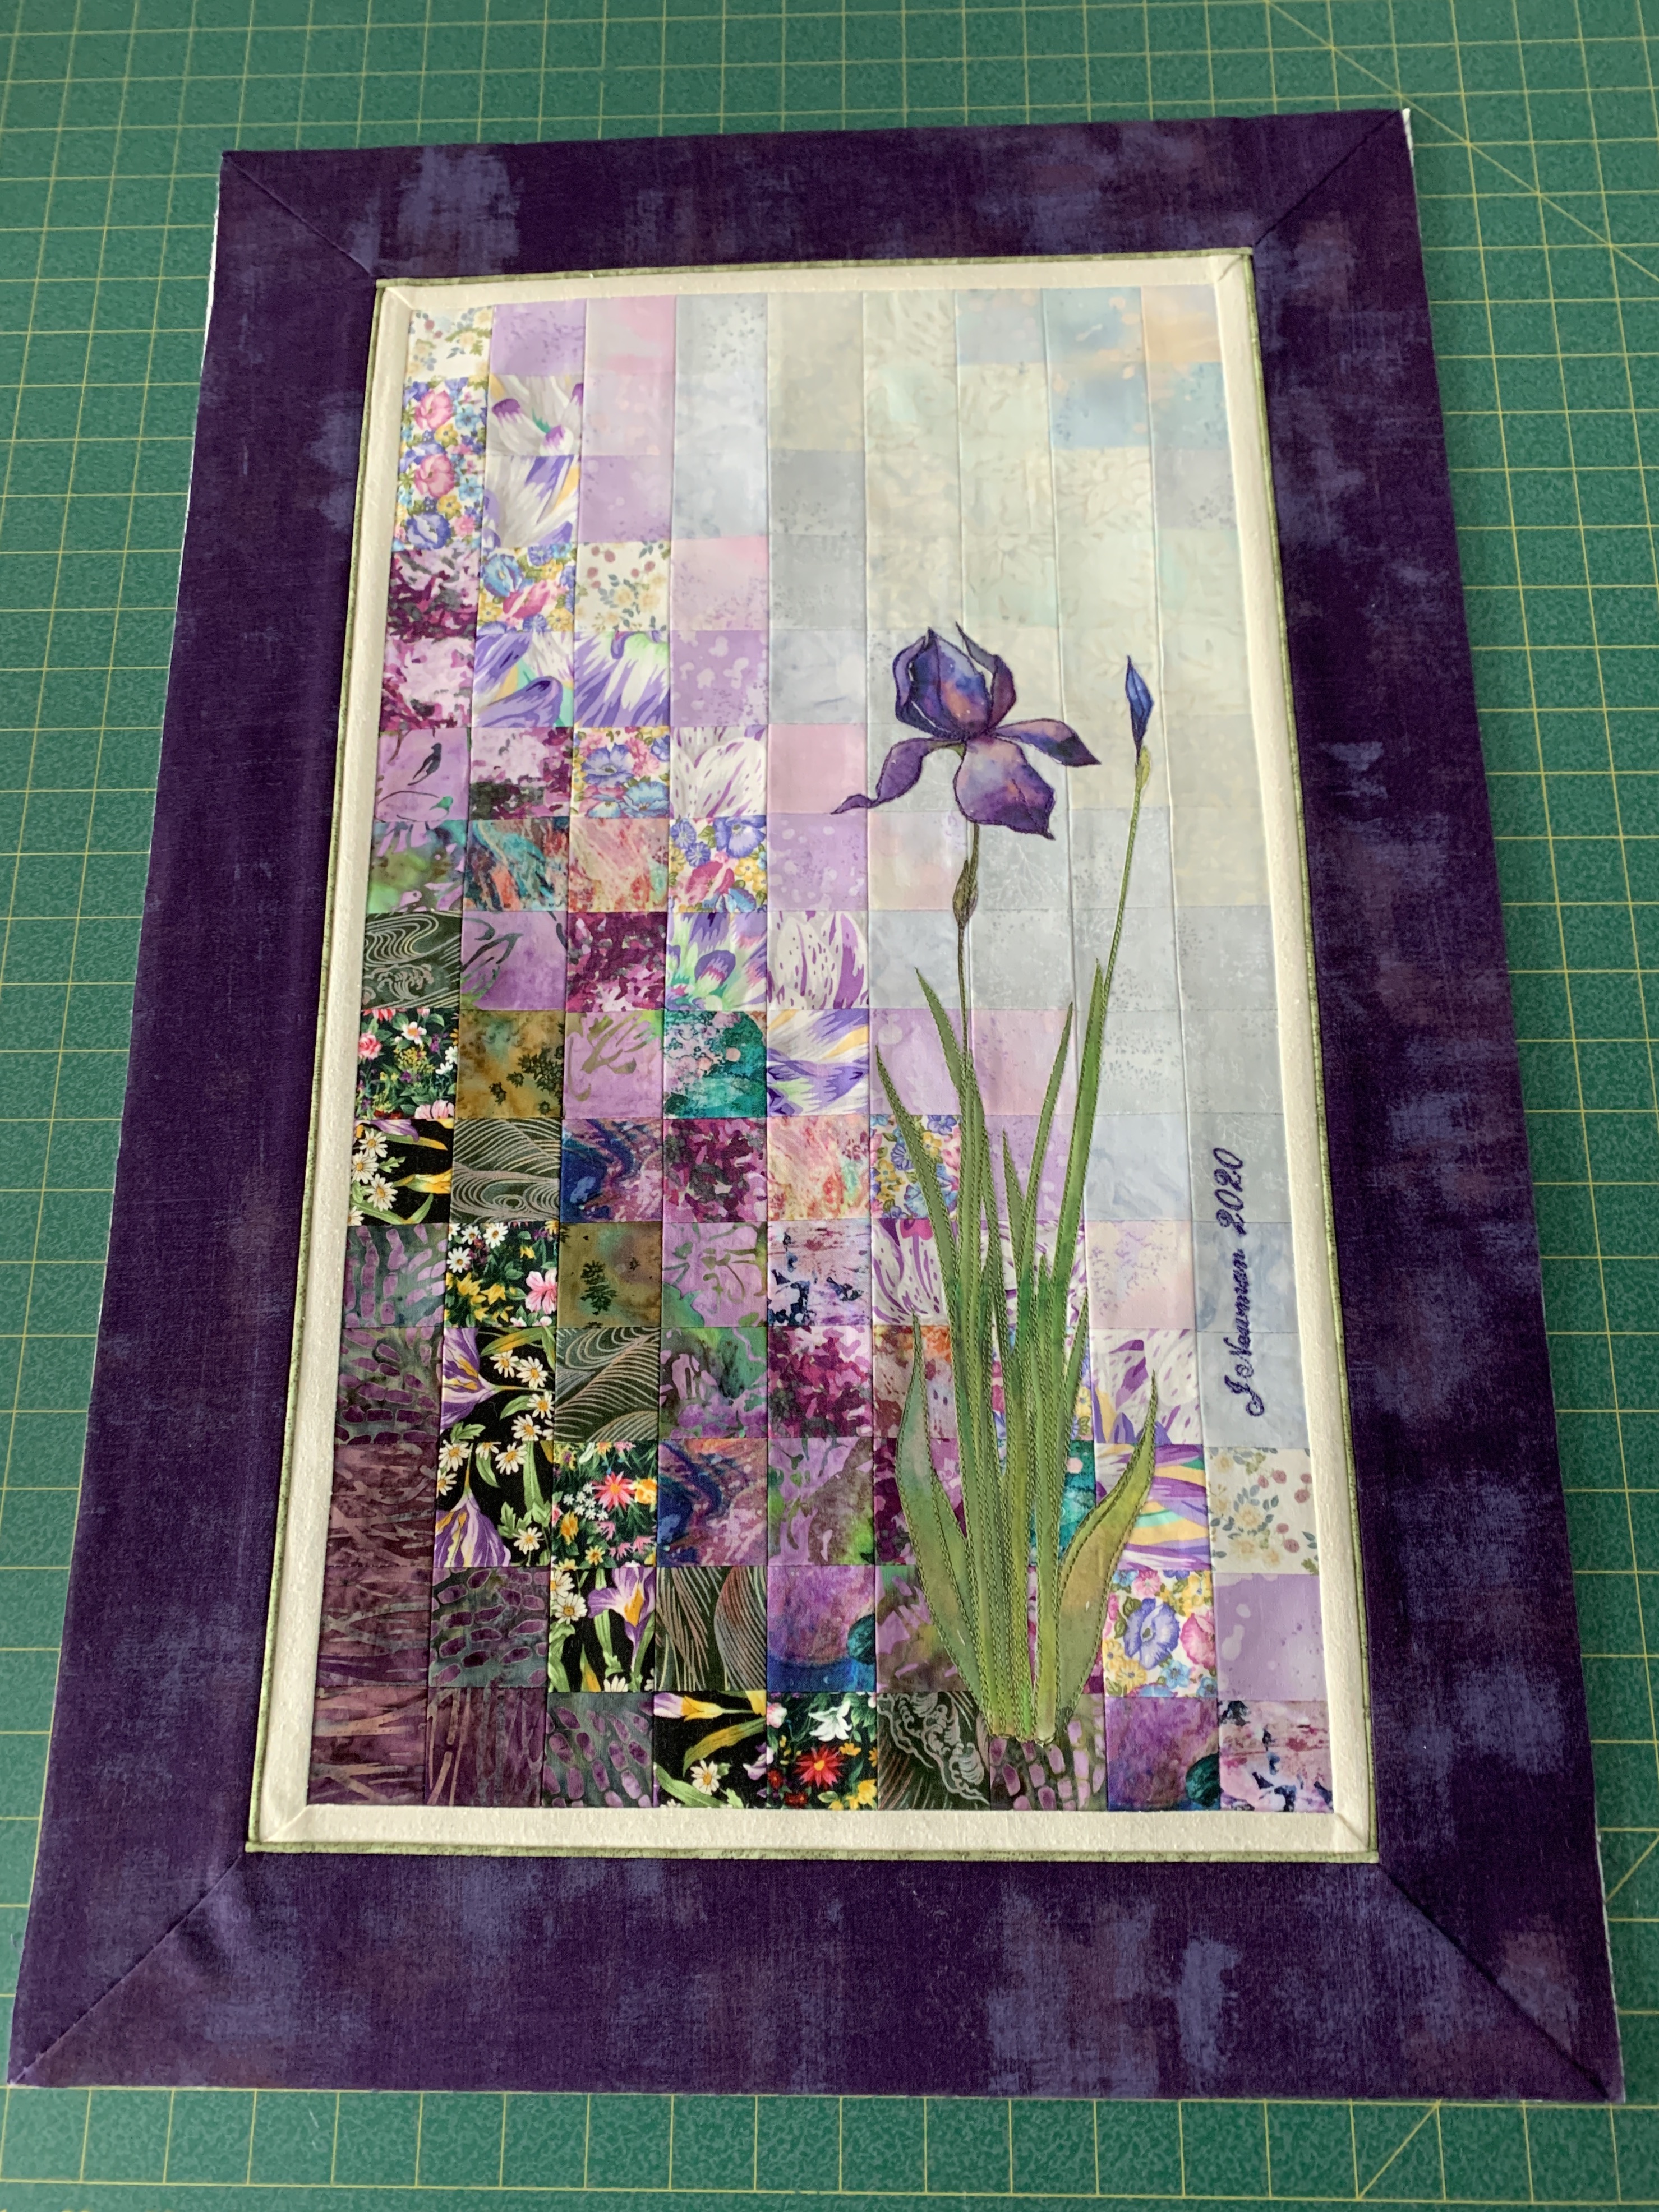
I wanted my light focal point to be off-centre which took some moving of squares as I laid them out. I felt hampered by an insufficiency of both light and predominantly dark squares (I need to go fabric shopping this weekend to see if I can add to my stash of suitable fabrics both light and dark so I have enough contrasting fabrics for me and the workshop participants to work with).
After placing squares, walking away, coming back, moving them around, I was ready to fuse the squares to the grid. That was when the process became hairy! I had a difficult time moving the grid panel from my cutting table where I worked, to the ironing board – without having squares flying all over the place. In the end I slid one of my smaller cutting mats underneath the grid interfacing so I could support it as I moved it from table to ironing board.
Now I really ran into trouble – I couldn’t press directly on the cutting mat (the heat from the iron would make it buckle). I tried sliding the grid interfacing (with loose squares laid out) onto the ironing board but my board wasn’t wide enough to support the whole piece. Fortunately I had taken photos of the layout so when the bottom half of my squares landed on the floor, I was able to reposition them (more or less) as I’d had them so I could systematically press them all in place. This is clearly a problem I have to solve before the class because I can’t have people struggling to retain the positioning of the squares as they press them onto the grid interfacing!
I used straight pins on my previous colourwash piece (because the grid cloth I used wasn’t backed with fusible glue) – I think pinning may be in order here as well. I plan on making another test piece before the class to see if that will work better.
I chain stitched the squares in my original watercolour piece which worked nicely – however, I had to stack my pieces carefully and mark the placement of each stack with post-it notes so I got the assembly the way I’d originally laid it out. Using the fusible grid cloth has definite advantages but you can’t fuse as you go along since, at least for me, I need to be able to reposition blocks until I’m happy with the colour flow.
I will continue working to solve this problem so it will be easy for the class participants to concentrate on colour flow and not get hung up on the technical aspects of securing the small fabric pieces.
Postscript: I’ve just had a thought! What if I cut my grid interfacing into 8″ strips, laid the strips together on my cutting board, placed my squares, then carefully carried the narrow strips to my ironing board to press the squares in place – these narrow strips would fit on the board. Ultimately, I have to sew 1/4″ seams along the edges of the squares – all I need to do is juxtapose the narrow fused strips where they are to be joined and sew a 1/4″ seam along that join. That would work quite nicely. Have to give it a try as soon as I have some more dark and light fabrics from which to cut more squares!
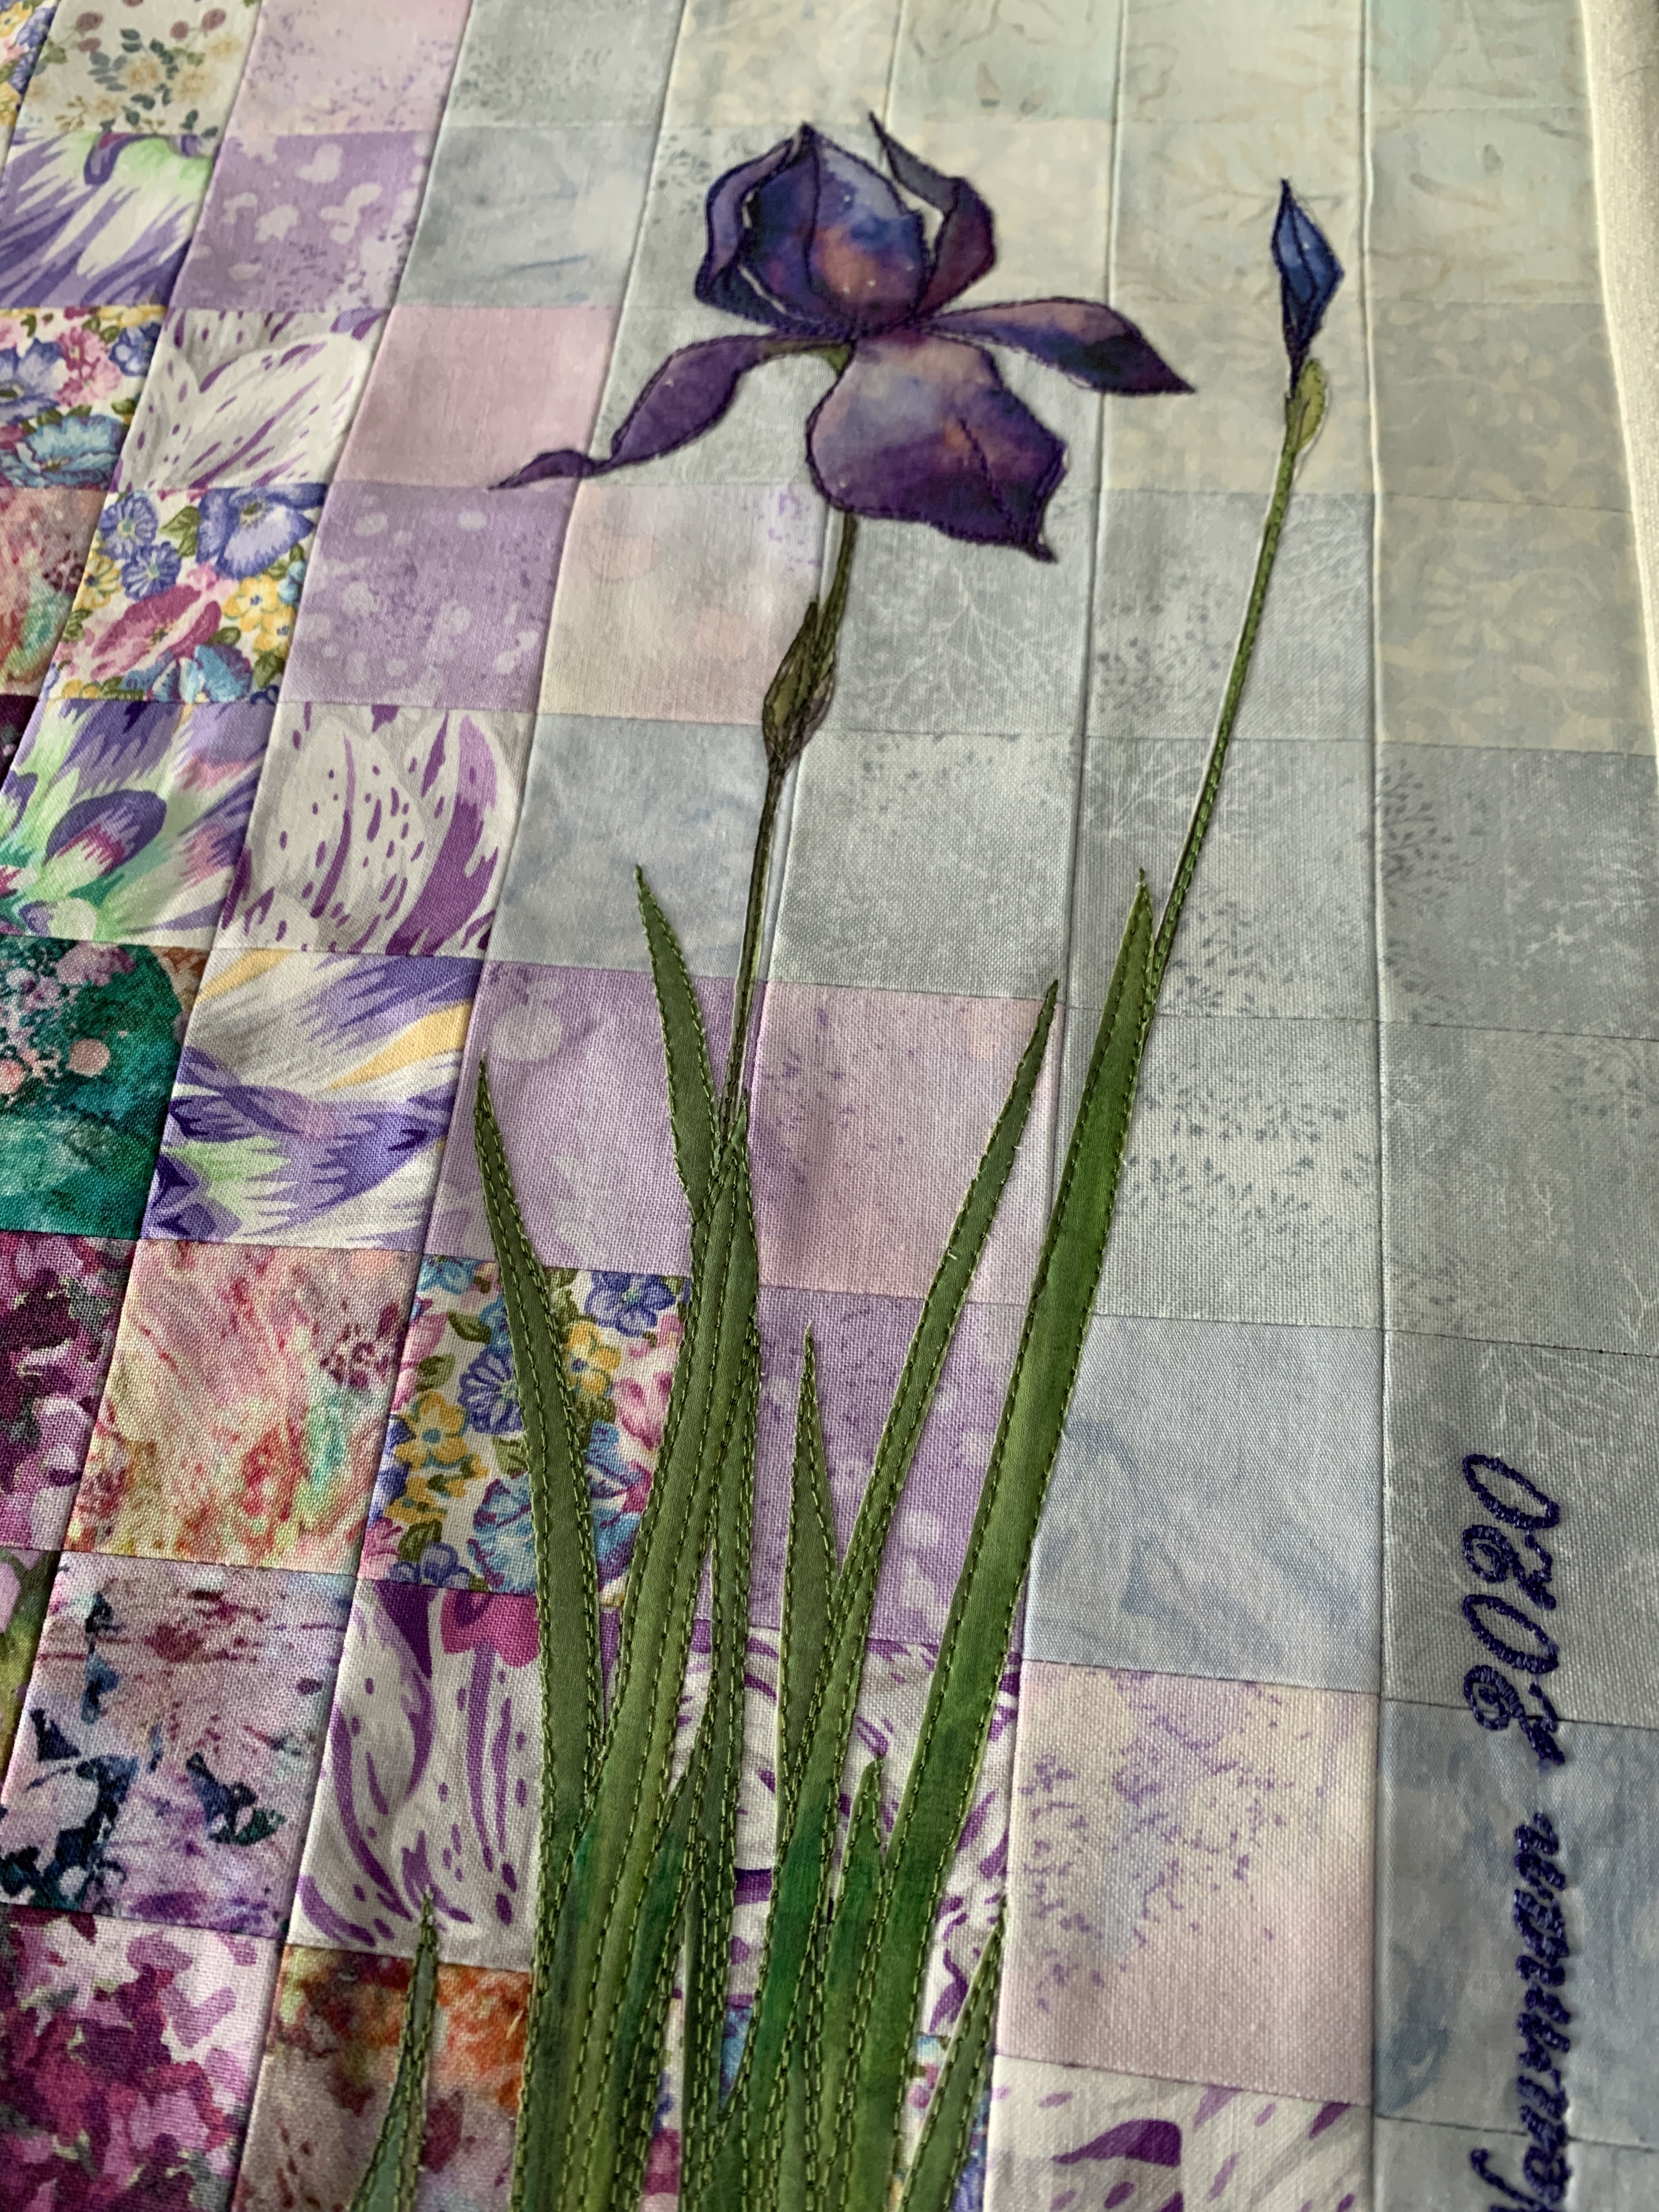
A Second Postscript: I appliquéd a small purple/orange butterfly in the lower left of the light area to provide some kind of focus to the piece. I wish I had more butterfly fabric to choose from – this one is a wee bit on the small side but it was the only size I could find in what I had.