Blushing Peonies – IV

Just done – the piecing for Blushing Peonies is completed. Fiddly! More than once I opened seams and rotated/repositioned small 4-patch blocks because a colour was next to the same colour in a larger block. I took apart large sections of the middle portion of the top in order to center the large bordered block. At this point, I have to say I’m please with the colour flow and can live with the symmetrical layout.

Blushing Peonies – Piecing Finished

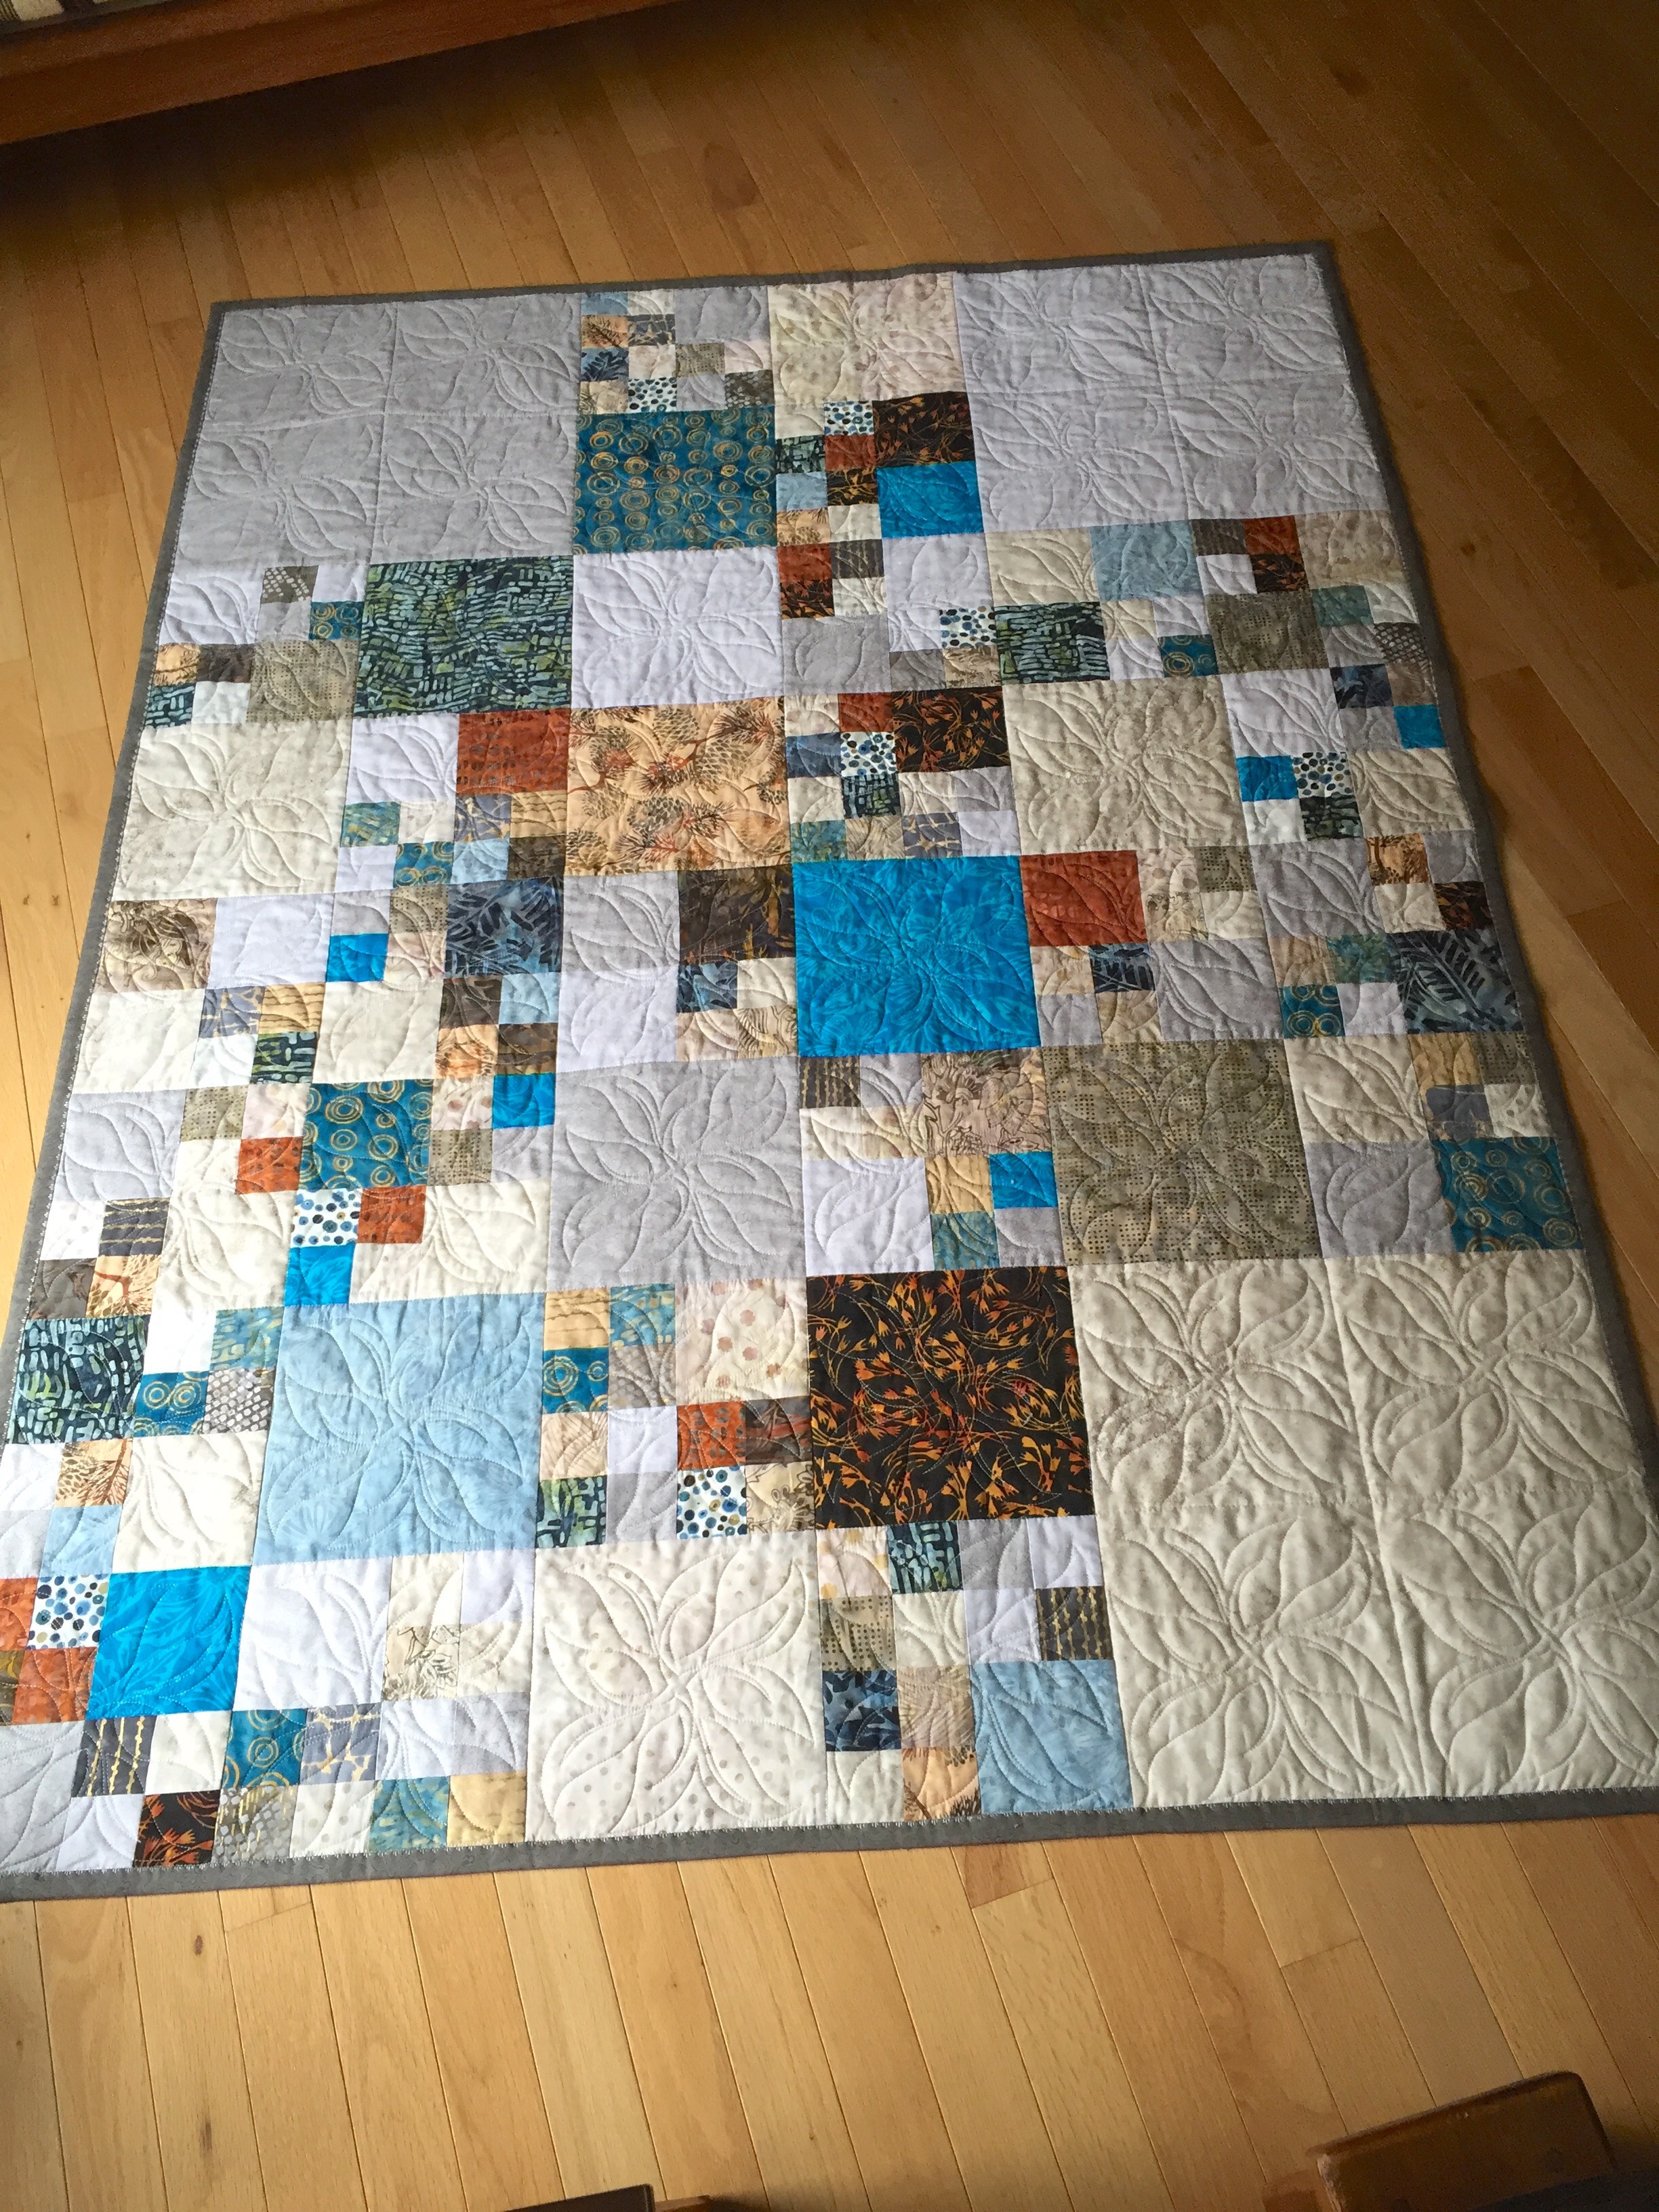
I now understand why I ended up stuck with the symmetry after looking again at the first 2, 4, 8, 16 quilt and comparing it with this one:

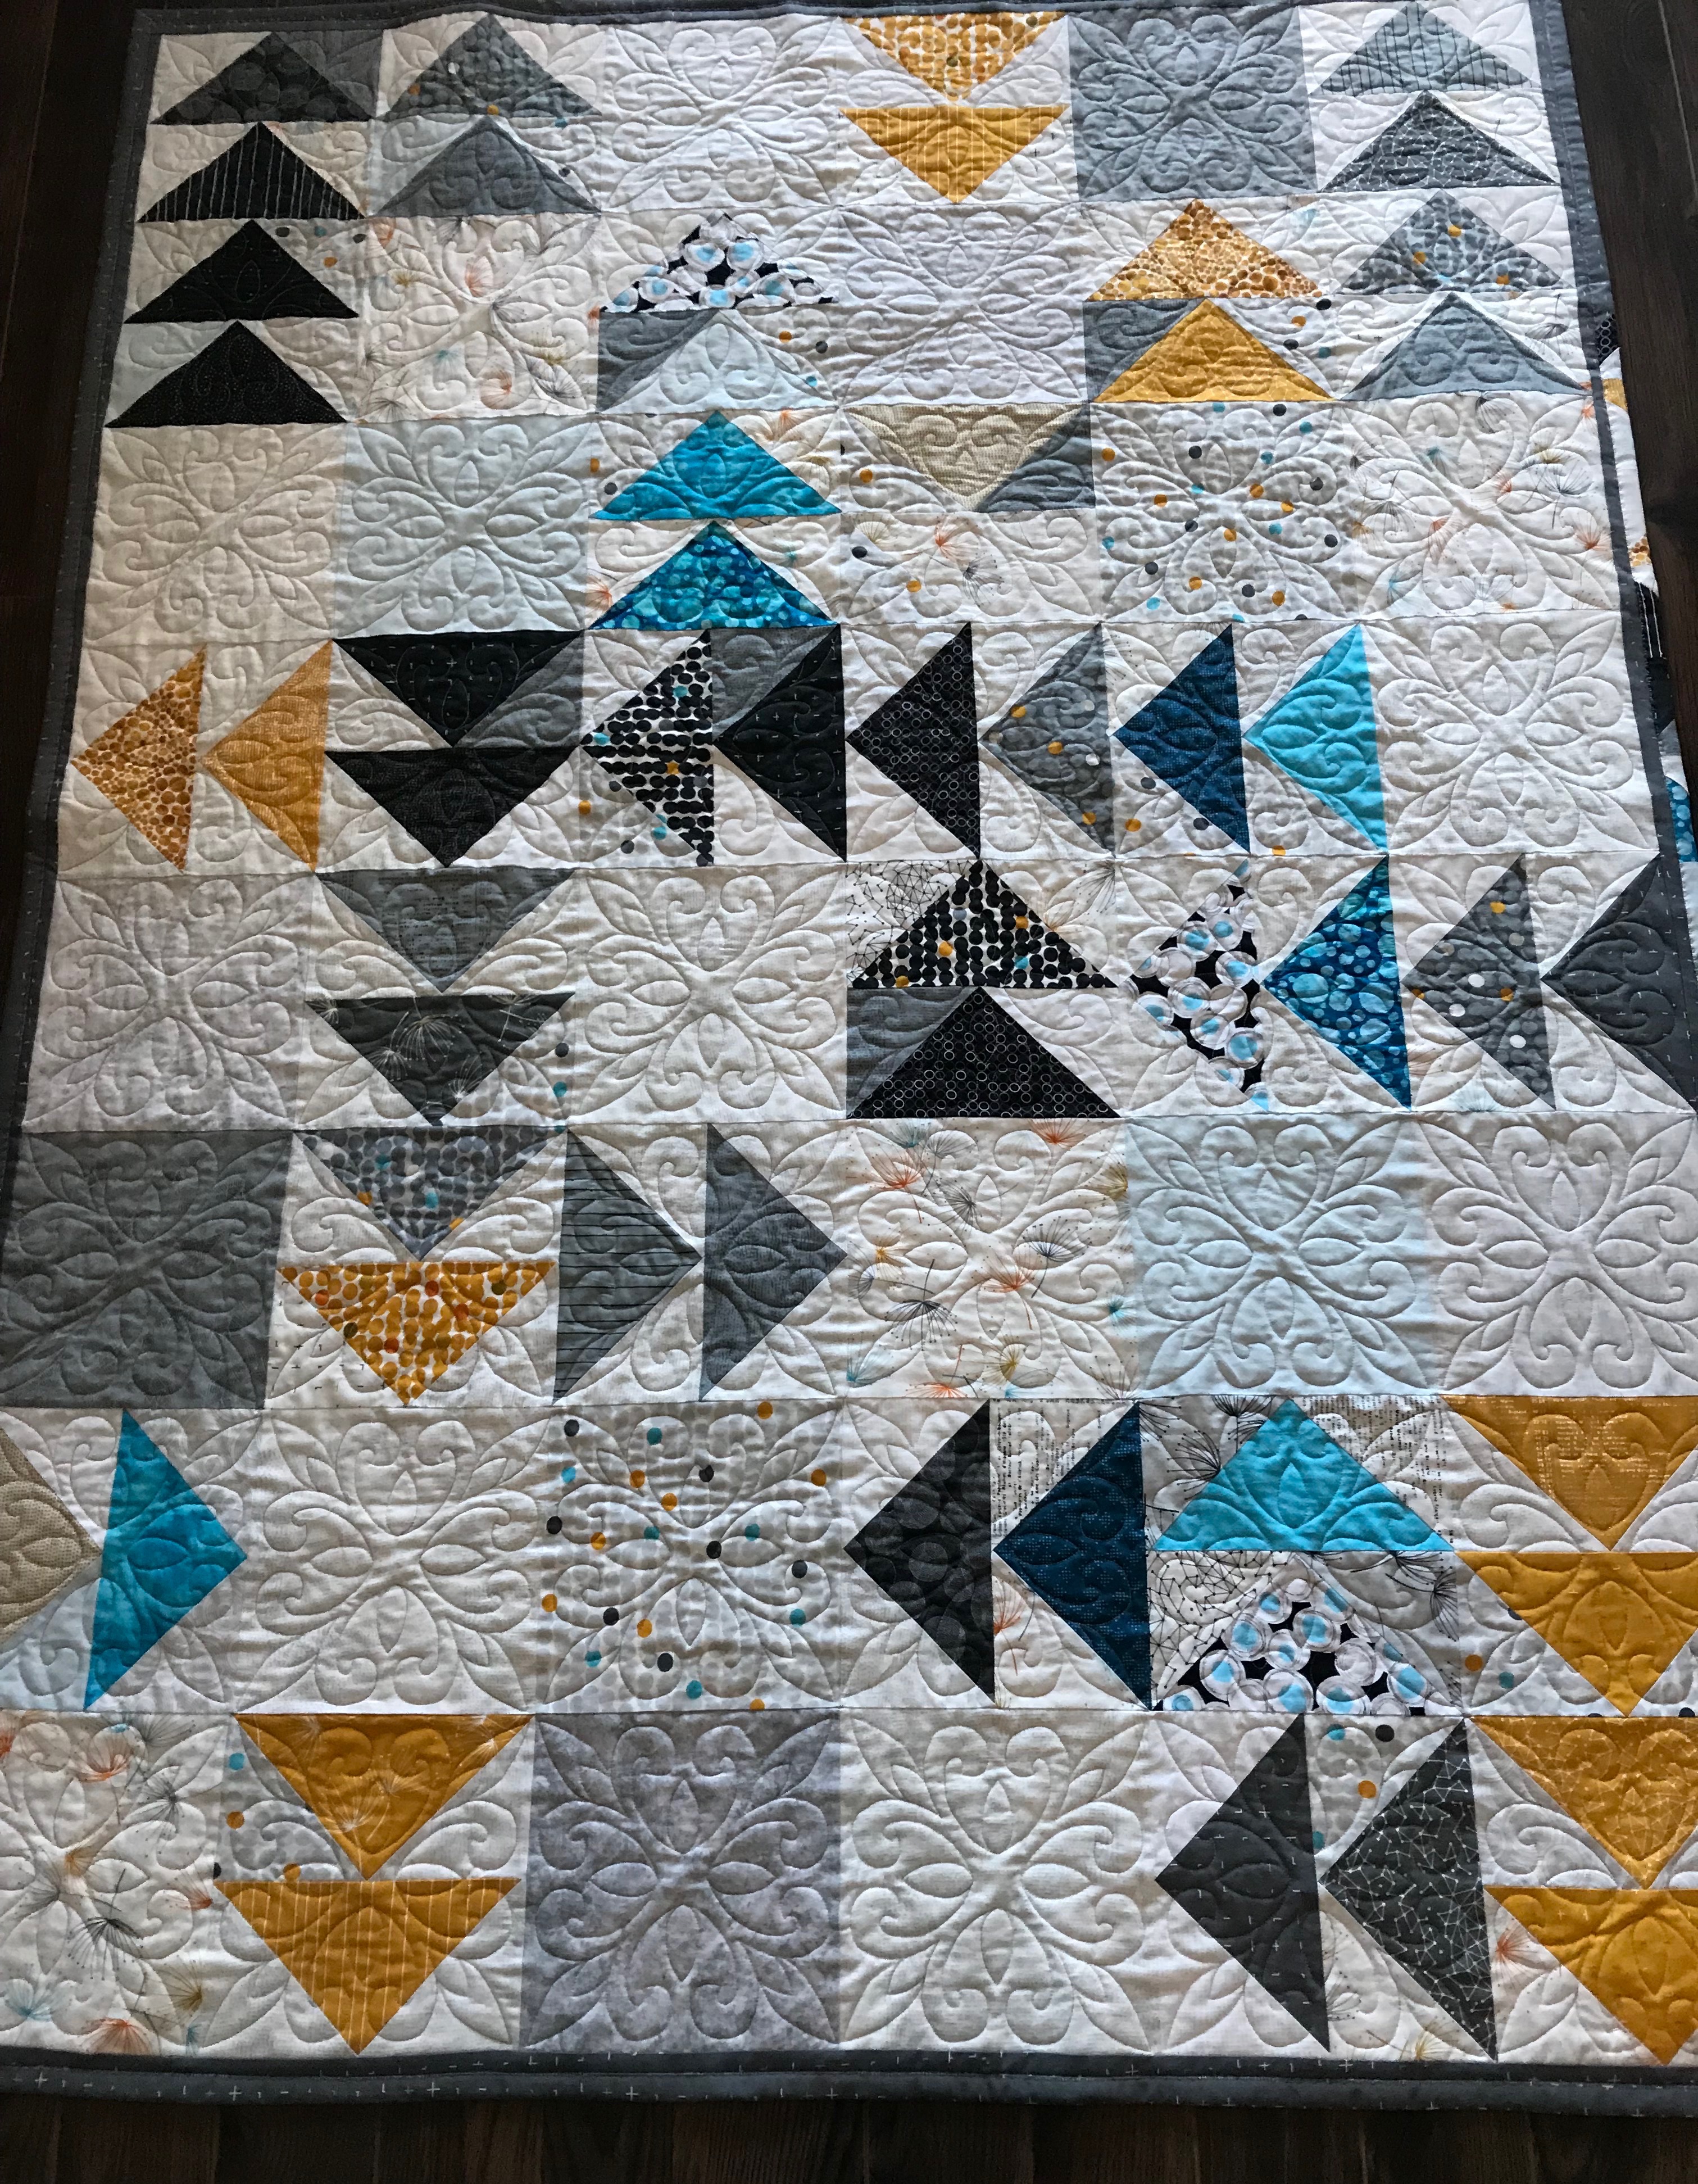
Original 2, 4, 8, 16 Quilt

Same block size – same number of blocks (more or less) – but in this first version, my 16″ blocks were background, neutral, used to showcase the bright 8″ blocks. The strong turquoise block draws the eye to the central portion of the quilt and the large blocks in three of the corners fade away. Your eye moves to the other 8″ blocks in turn and then picks up the colour flow of the small blocks, but not really ever landing on the three large corner elements. So in this quilt asymmetry allowed me to make the 8″ blocks the focus of the quilt.

In Blushing Peonies, having decided to border the three 16″ blocks and make them the focus of the quilt I was forced to arrange them in a diagonal with symmetrical placement. The 8″ blocks don’t capture your attention, and the smaller 4″ and 2″ blocks just fill in colour around the three large blocks.

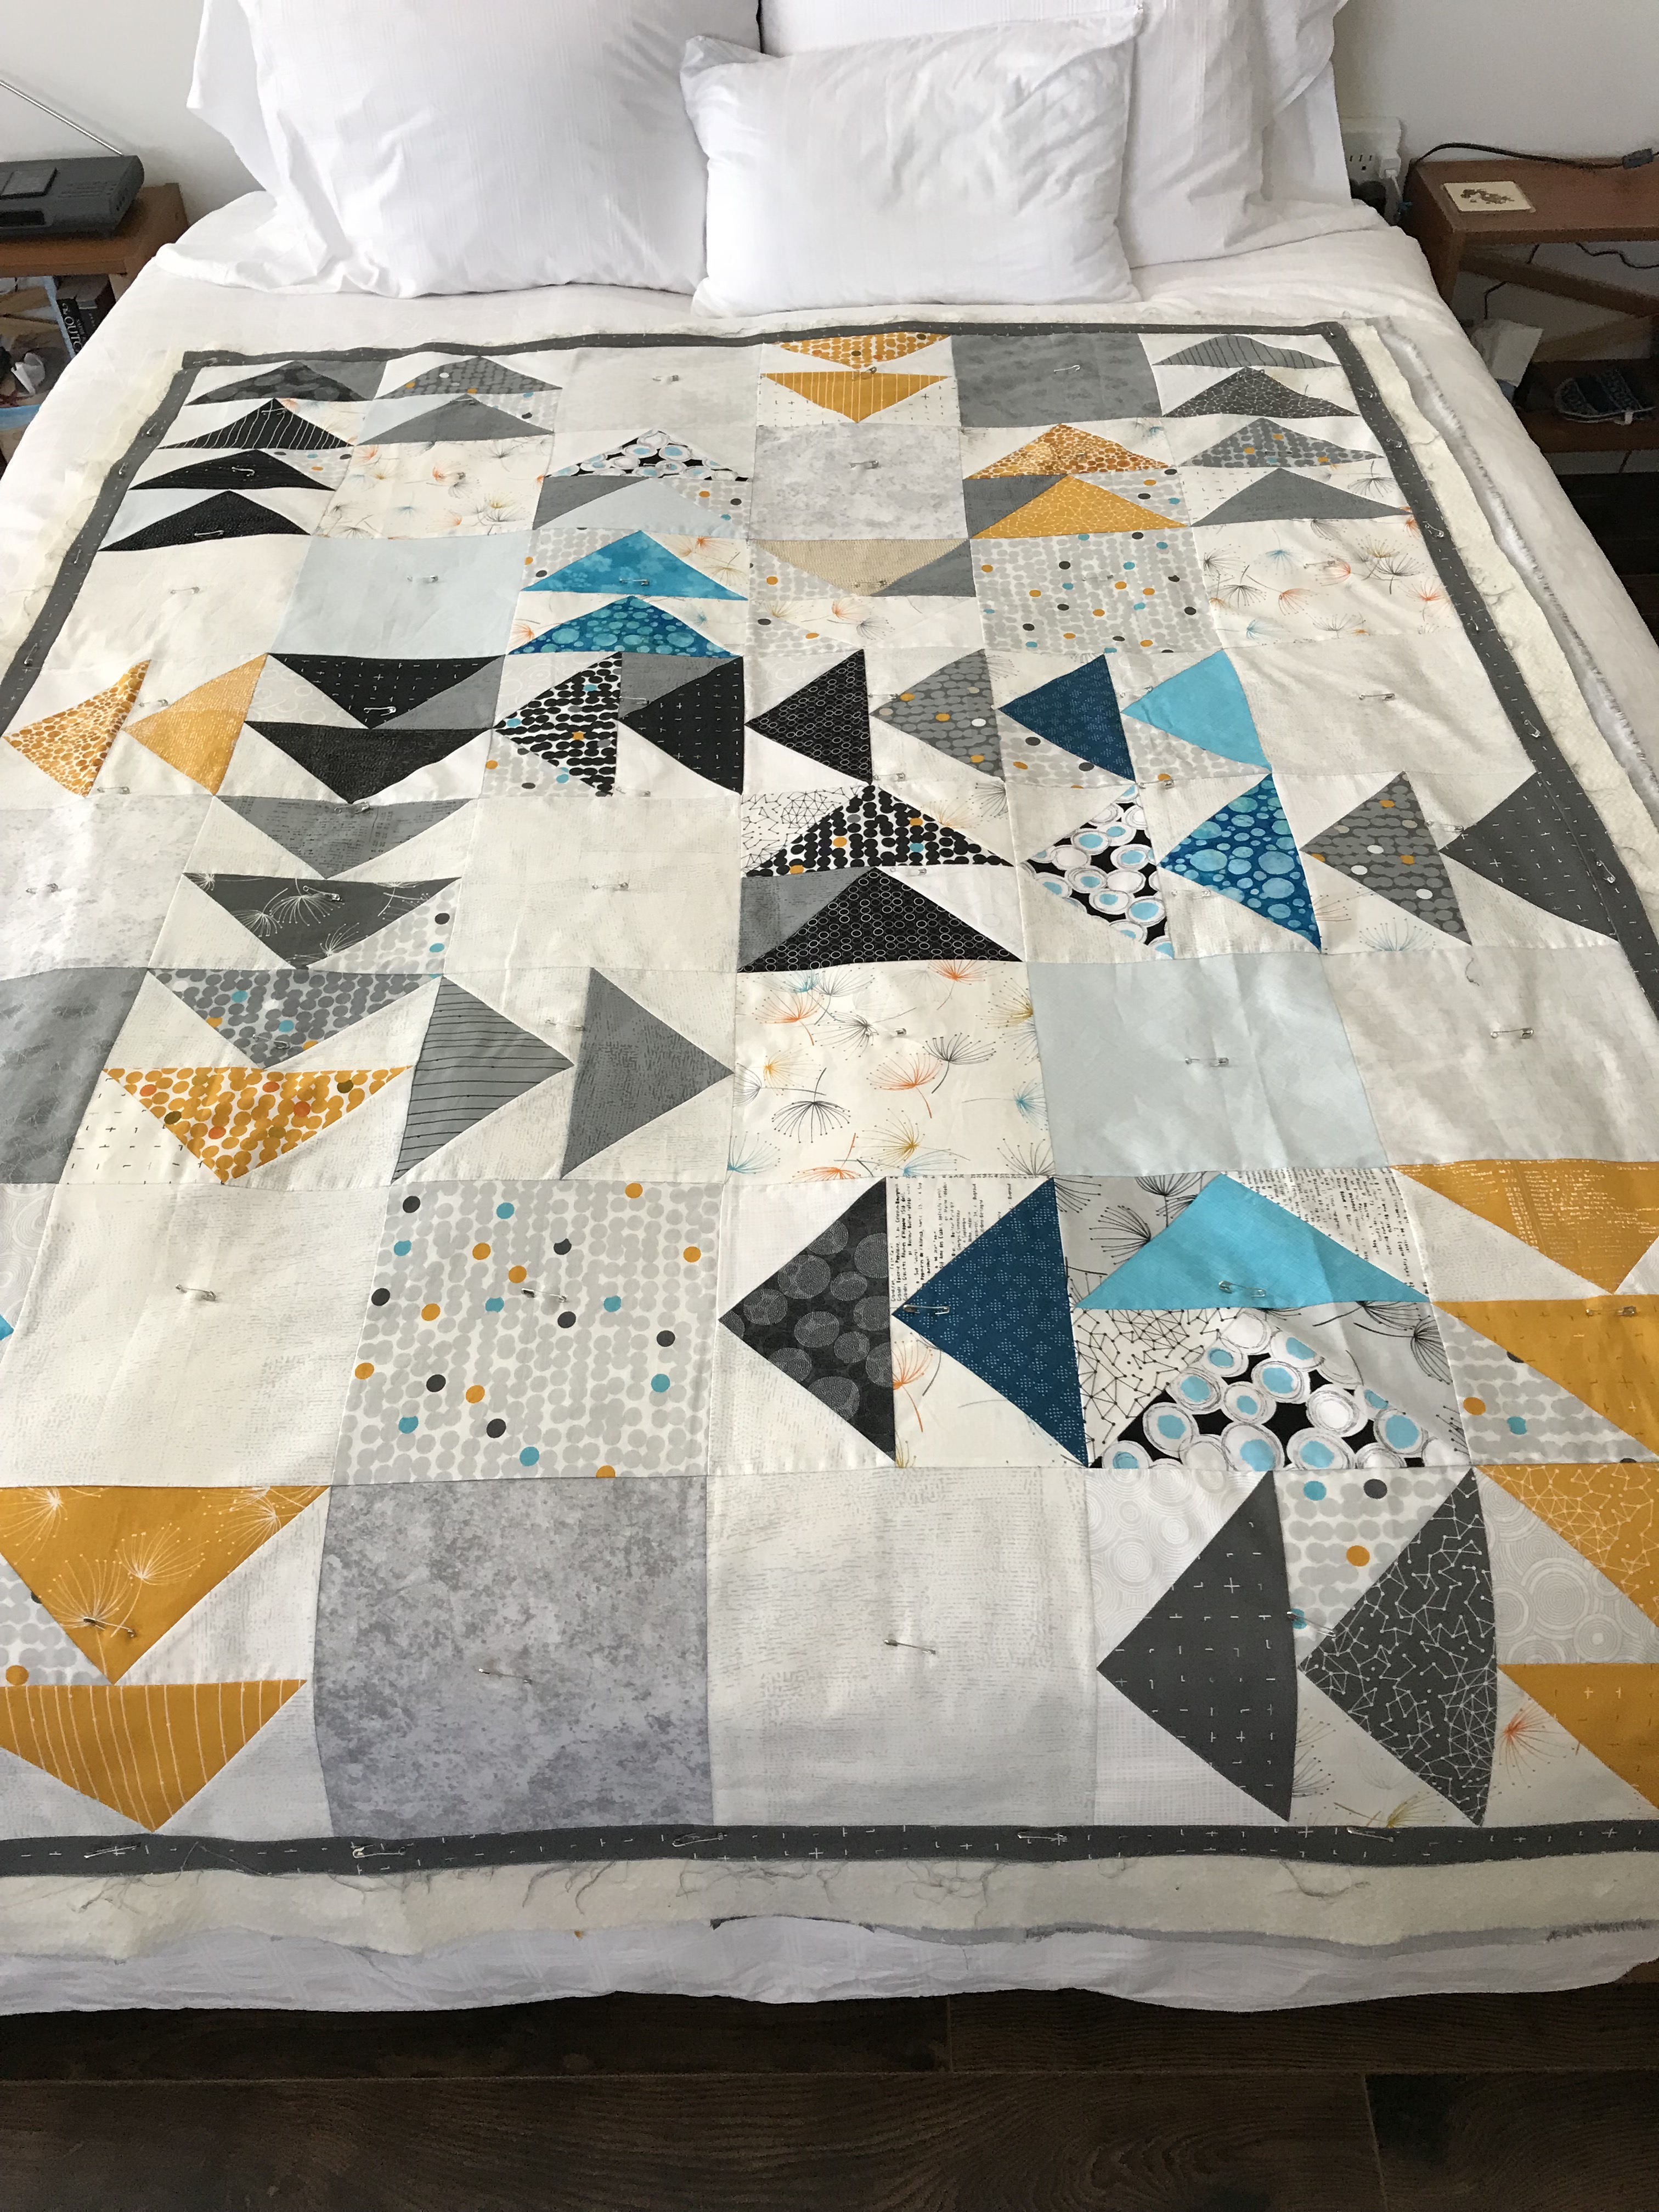
I could have gone with my original idea:

Quilt Top Laid Out – Sort Of

In this case I managed a viable asymmetry – but the final quilt dimensions were wrong – it wanted another 4″ in the length and if I had put a 4″ row on one end, I would have wanted a complementary 4″ column on the right side – which would have distorted the width/length ratio. So I opted for inserting the 4″ between the middle and the bottom and centering the large block.

Now the question is – do I frame the piecing with a narrow border (in which fabric)? Do I bind it conventionally, or use a hidden binding and allow the pieced edges to border the quilt?

I have enough each of the red mottled and grey mottled fabric to construct a backing with some kind of insertion – not sure yet which to use – it will likely turn out to be the grey to tone down the back in relation to the top. I need to sleep on all of this before doing anything more.

It’s been an interesting exercise – I’ve learned a lot more about colour and design by doing this quilt. I did not anticipate the decisions I’d run into before I started out.

One other thing –

Yesterday Melanie McNeil raised the matter of quilting seam allowances:

(someone) asked today about a “scant” quarter-inch seam allowance. A variety of responses were given, from “it doesn’t matter as long as your seam allowance is consistent” to “it DOES matter if you want things to fit.” The best answer included a link to this video, which explains exactly why a good seam allowance matters.

This Blushing Peonies quilt top is an example of when it does matter – in order to get all the small 4-patch blocks to fit the 4 1/2″ squares, etc. I needed careful scant 1/4″ seam allowances. There have been instances where I haven’t needed to be so vigorous about the seam allowances but here (and with the Wandering Geese quilt) I had to be meticulous.

Watch the video if you’re interested in what this discussion is all about.

Blushing Peonies III

I’ve just completed 2/3 of the assembling of the Blushing Peonies quilt top and I can see I’m not going to be happy with the asymmetrical position of the middle large block!

I wanted to offset it from dead centre but it’s going to annoy me if I go any further and don’t reposition it so that it’s balanced in relation to the other two large blocks. (I wish I could think of another way to create asymmetry in this quilt top, other than the random placement of the 2, 4, & 8″ blocks, but I can’t. I tried eliminating the 4″ horizontal row between the top and middle sections and didn’t like how that looked. Pushing the middle block to the left as I have today feels unbalanced as well. So I guess I will have to go with a symmetrical placement of the three 16″ blocks and live with it. Those large blocks definitely stand out and draw your attention – they need to be in an aligned diagonal.)

Blushing Peonies – 2/3 assembled

So first thing tomorrow I will open sections of the pieced middle so I can move the large block over 4″ to center it in the panel. Then I’ll piece the top 1/3 – that will go fairly quickly once I have the elements in the middle 1/3 moved around.

Blushing Peonies – II

I’ve just finished laying out the elements for the quilt top – sort of. The area adjacent the top left large block has been pieced – the rest is on the floor waiting to be stitched. I need to walk around this layout more – I need another 4″ row (at the moment sitting, partially filled in, at the bottom of the photo) which will be inserted horizontally between the bottom two large panels but that’s going to want moving those panels laterally some more. And then I want to look at the photo to see where there are clashes I don’t like. It’s all too busy right now to make final decisions.

Quilt Top Laid Out – Sort of

Nevertheless, I’ll keep stitching elements together in small sections that I can keep moving around until I’m satisfied with the arrangement. Need to cut a few more 2.5″ blocks to finish that 4″ row.

I’ll do that tomorrow. It’s over to the US Open Tennis this afternoon.

2, 4, 8, 16 Quilt

Some time ago I did a quilt based on 2.5, 4.5, 8.5, and 16.5″ blocks. What I was after in that quilt was to establish a pleasing colour flow using blocks of these varying, but proportional sizes.

Lap Quilt 2,4,8,16

Sometime this past year I purchased pieces of the Moda “Blushing Peonies” fabric. My shop didn’t have all in the collection (and many I wouldn’t have wanted to use, anyway) so I went hunting for complementary fabrics. I ended up with 14.

I wanted to do something similar with the Blushing Peonies showcasing the large print with beautiful flowers and fill in with the complementary fabrics in the smaller sizes.

Here’s where I have so far:

2, 4, 8, 16 Bushing Peonies

Unlike the original quilt, I don’t want the large peony blocks in the corners, but indented. The large, framed panel will finish at 16″. To fill in around it, I developed 4″ rows of 2″ and 4″ blocks to fill in below and on one side of the large block that will be in the lower right corner. I also want a 4″ row between this block and the next one which will be offset closer to the center. That means assembling more blocks that will create that row and a combination of 8″, 4″ and 2″ blocks to fill in above this first block and the offset second one.

Cut Fabrics

This is an improvisation – I should have enough blocks cut to assemble a quilt top. I’ve done enough for today. I’ll work on this quilt top again tomorrow.

Wandering Geese Quilt – Finished

Just finished quilting and stitching the binding on this “Wandering Geese” quilt. I’m happy with how it has turned out. My decision to use a narrow dark border was a good one – the points of the triangles are intact and not hidden beneath the binding.

The back has more piecing than I usually do, but I had so many half-square triangles as a result of the way I constructed the flying geese I thought I should use as many as I could.

Just need to hand stitch the label on the back.

Another Quilt To A New Home

I gave away another quilt this morning. It’s going to a new home and I’m happy for it. I know it will be used well and appreciated.

Quilt Top – Convergence Quilt

I need to draw up a list of friends who would appreciate receiving a quilt and give more away. I have three which I’ve put out to use myself and some of the rest in that closet need to move on.

I’ve given away about half of the quilts I’ve produced since I began quilting 15 years ago. If I have them hanging around too long I grow attached to them and it becomes harder to send them on their way. I like keeping particular ones on hand as examples for classes but I have photos of every quilt I have made (front and back) and, you know what, that will have to be enough.


Moved On

My sister and niece were here from Toronto last weekend to visit the boys attending summer camp not far from the city. I was able to spend time with each of them at the apartment and to my delight two quilts have found a new home.

My niece fell in love with this “Double Vision” quilt which I completed in 2017. She has new light furniture in her family room and this quilt will be a bright addition to the room.

Finished Quilt Top

My sister came over a few days later – I showed her the quilt I wanted her to take back to Toronto for my niece. She loved the red. I mentioned there were more red quilts in my closet. In the end she chose the Shadow Quilt I made in 2016 to complement her new grey furniture. I love how the red blocks seem to float above the background – that, of course, is the effect of having a drop shadow on an image, it creates the illusion of depth.

That gives me room to make two new quilts. I have to go through what I have in the collection and see if I can find homes for a few more of them.

Wandering Geese Quilt

Just finished pinning this quilt together. The quilt started with a “Jolly Bar” of “Fragile” fabrics by Zen Chic (Moda). Turns out this 5″ x 10″ size is practically useless. In order to construct flying geese I had to trim down the size, and trim away triangles from the corners – a wasteful way of doing this quilt block. However, I saved the triangles and created half-square triangles from the remains and used about half of them on the back.

Quilt Top

The original collection of fabrics had hints of turquoise in several of the colour ways but no predominantly turquoise fabrics. I decided to add several to brighten the overall appearance of the finished quilt. I had enough turquoise fabrics in my stash (dark and light) that I didn’t have to go looking for more. I also added in some light fabric since I didn’t have enough lights from the jolly bar to complete the flying geese blocks. I’m pleased with the modern layout and the overall feel of the top.

The quilt is pinned ready for quilting. I’ve set up an 8″x8″ embroidery design which will fill each block and give me an overall quilting that should work reasonably well with the flying geese. Just trying to decide what colour thread to use for the machine quilting.

Quilt Back

I plan on binding the quilt with the dark grey I’ve used on the back, with a small amount of contrast inserted in one side.

On Show in Parrsboro 2018

Last Saturday I travelled to Parrsboro for my 4th Annual exhibition of “Quilts As Art” show at the Art Labs Gallery.

Sign on the Sidewalk

It took about an hour and a half to hang the 8 quilts and 11 smaller wall art pieces. That’s my complete production for 2017/2018 – new since last year’s showing.

Quilts Hung

Hard to believe I manage to get so much sewing/quilting/machine embroidery done. That’s not everything I did make – there were a variety of garments: pants, jackets, tops that I constructed in that same time period – from end of August to mid-July of this year.

Two Wall Art Pieces On Display

There was an “Opening” later in the afternoon – a small attendance because the weather was so hot I’m guessing people in Parrsboro spent the day at the beach. Those who did come to see and talk about the textile art with me were interested and  appreciative of my work. Always fun to see how people react to it. The show lasts for two more weeks until August 17. Then I’ll head back on the 18th to bring it all home. I think I’m going to hang Federer somewhere in my place, the rest will be put away in my “quilt” closet (which is getting full).

I’ve already got work for next year under way. I pinned a new quilt this morning – ready to start quilting it. When that’s done I’ve got fabric for some summer pants (almost too late to bother making them this season). I’ll get those cut out and maybe one or two pairs stitched up.

An Adaptation of “Twisted Geese”

Several months ago I bought a “Jolly Bar” of Moda Fabrics (Zen Chic – “Fragile”) – that’s fabric cut into 5″ x 10″ rectangles containing one (sometimes two) strips of the collection’s fabrics. I realized the half-squares were too large for a lap quilt, and the rectangular shape required a wasteful method of creating flying geese. Nevertheless, I decided to go ahead but I needed more fabric. I added some turquoise (which is hinted at in the printed fabric collection but not used as a background colour in any). There were also nowhere near enough light coloured rectangles to construct the flying geese so I went through my fabrics to find white, pale grey, & pale turquoise cuts.

Because I wanted to end up with a lap quilt size, I scaled down the darker rectangles – 4.5″ x 8.5″ (for the “geese” portion), trimmed the remaining light ones to 9″ then cut them in half for  4.5″ squares to construct the flying geese – 48 rectangles / 96 squares.

My Adaptation of Zen Chic’s “Twisted Geese”

The quilt top in the Zen Chic version of “Twisted Geese” also uses solid blocks – once I’d finished assembling the flying geese (forty-eight in all) I added eighteen 8.5″ x 8.5″ squares from some fabrics in my stash (a few of which were yardage from the Zen Chic “Fragile” collection I bought a couple of months ago) to complete the arrangement.

So here is my tentative layout – definitely a non-traditional distribution for a flying geese array.

I plan to use the 4″ equilateral triangle off-cuts to create half-square triangles for the back – I have 96 already cut and laying in pairs – it’s just a matter of sewing them together along the bottom edge (being careful not to stretch the fabric).

Tomorrow I will sew the forty-eight blocks together. I am planning on a 1″ narrow border to extend the quilt top just enough so the binding won’t disrupt the side points of the geese.