My Kaffe Fassett Quilts

Just got the Pinterest Weekly and found a quilt I’d made (photographed on my bed) attributed to someone else! I thought I ought to set the record straight: I have done seven quilts, either using Kaffe Fassett fabrics, or based on photos of his quilts I’ve found online.

#1: At the time I didn’t have any Kaffe Fassett fabrics so I took his idea (which I’d seen online) and made it using batiks I had in my stash. The backing is a single fabric.

DSCF2007

#2: I had no sooner started #1 when I realized I could do something more with the way the colours were assembled and started #2 – setting it up to tell a colour story. The back of this quilt is also a single fabric.DSCF2072


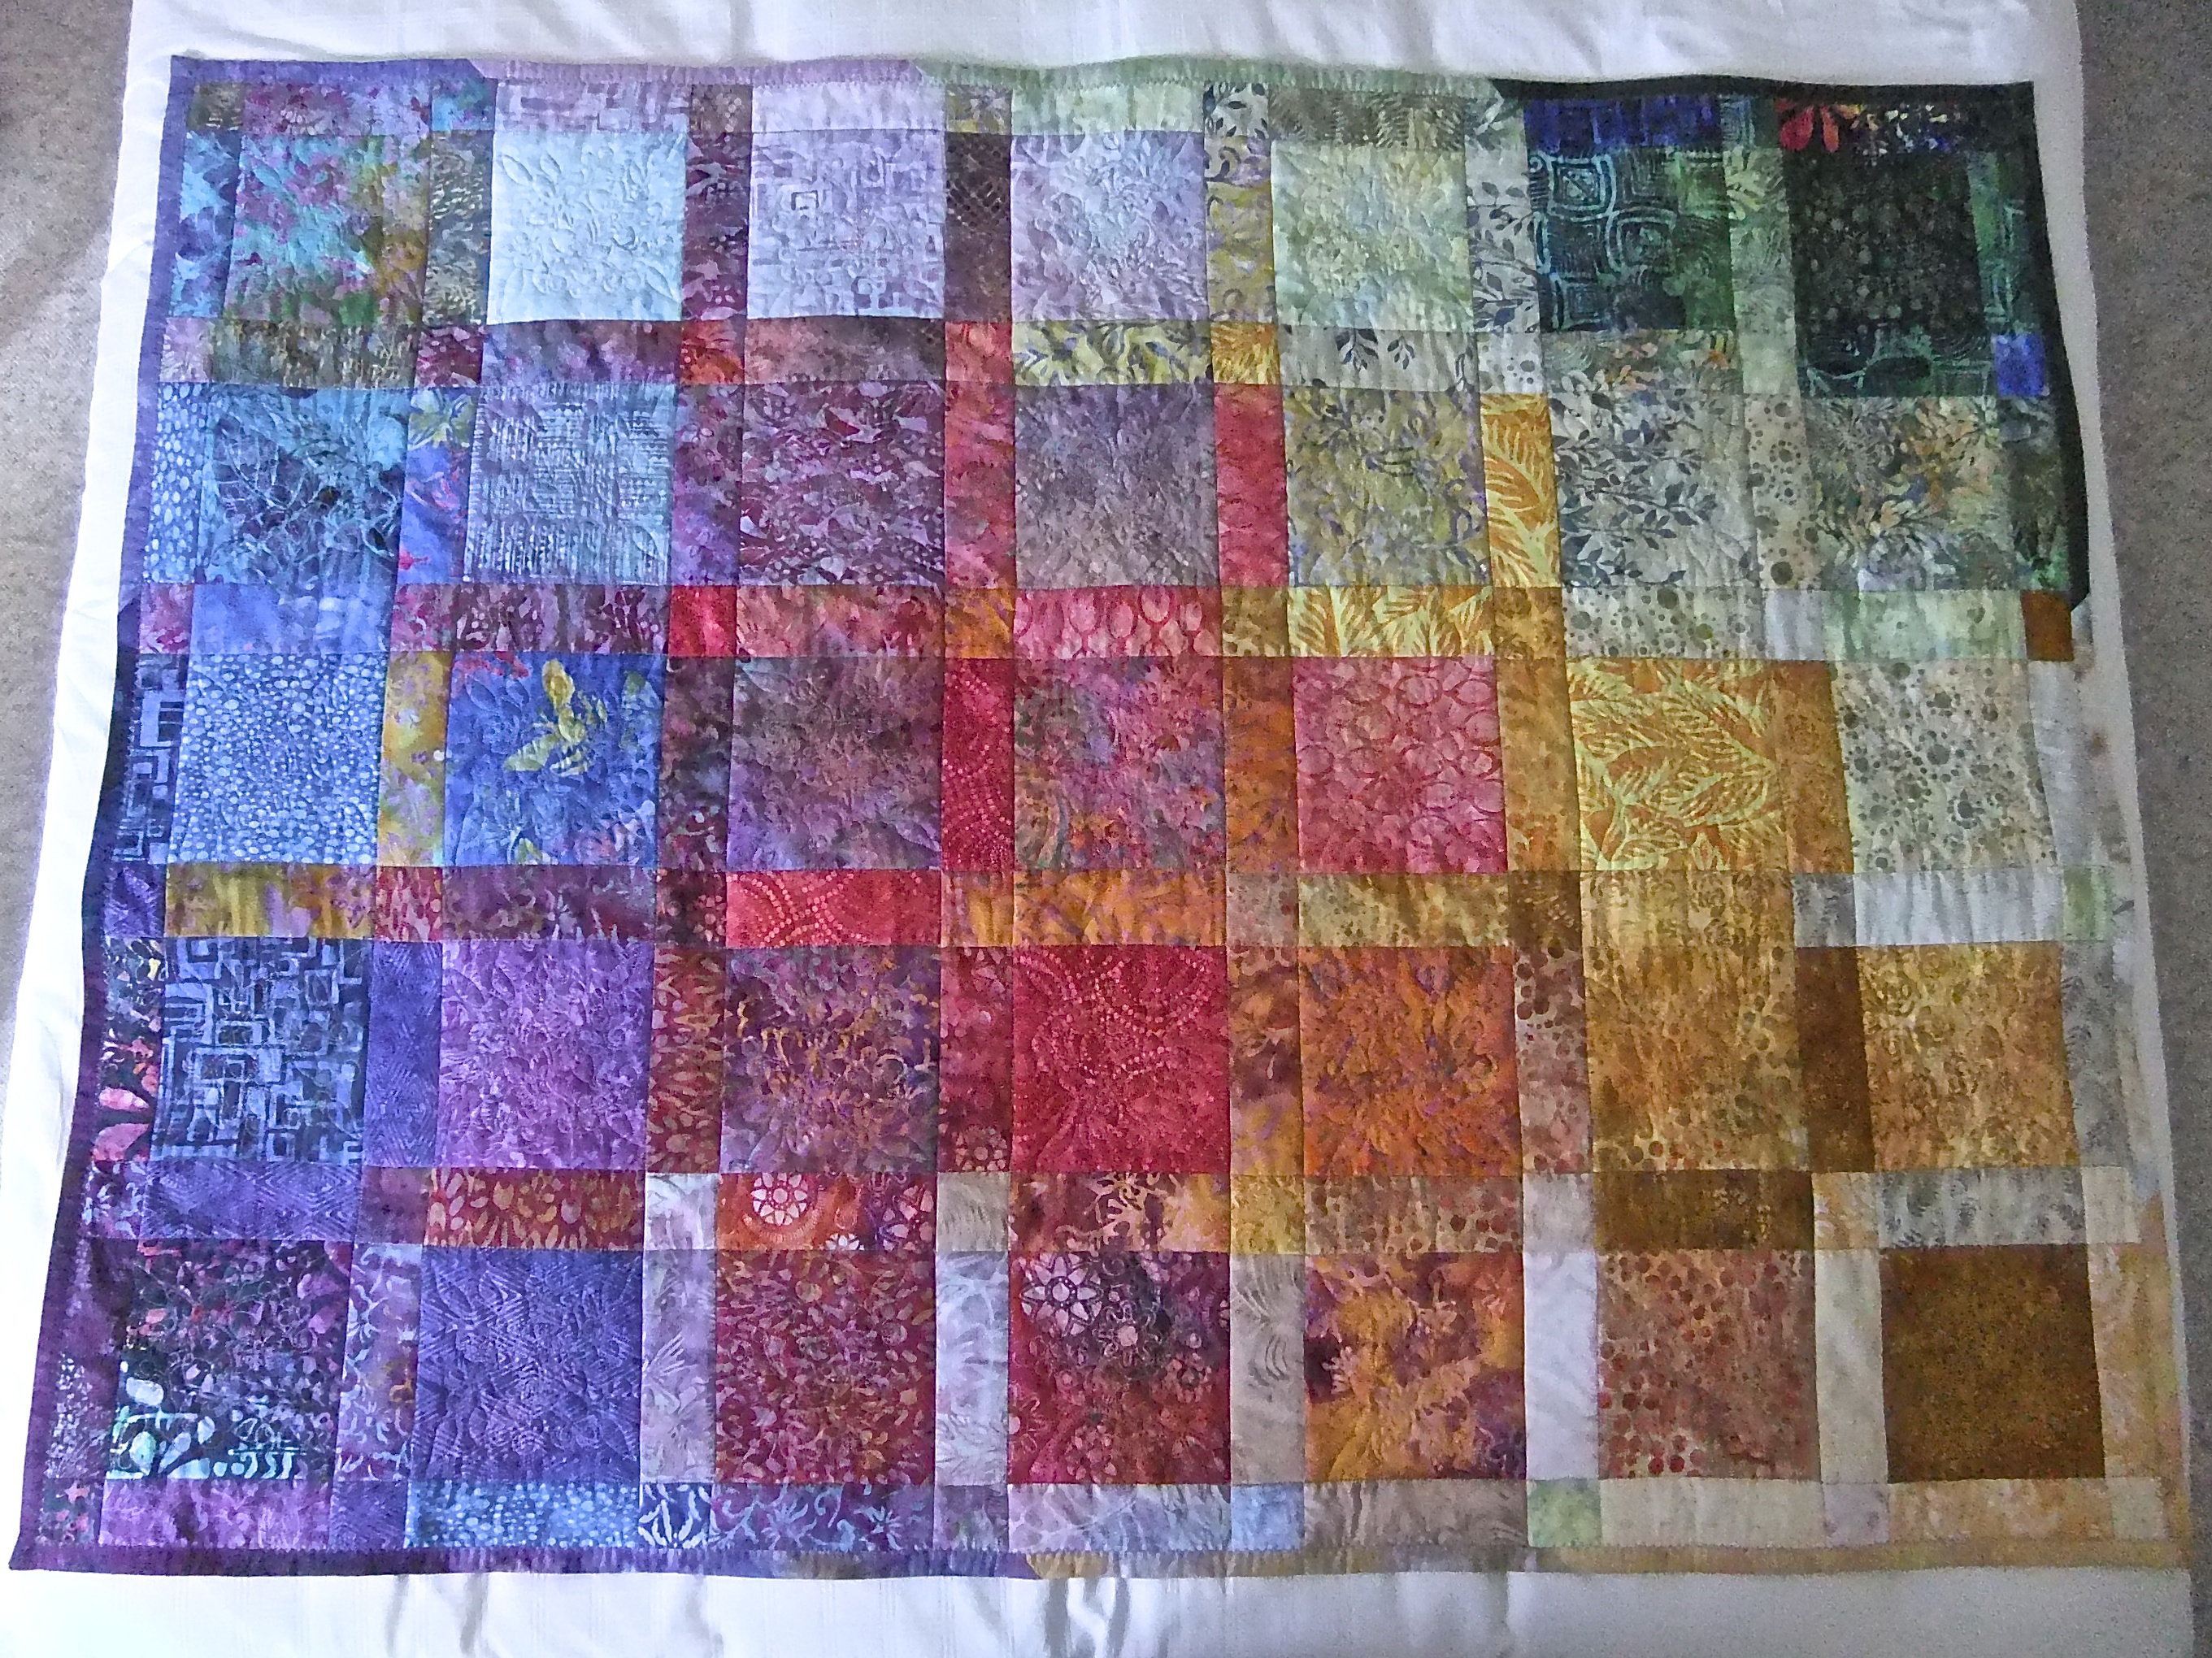
#3: The idea of a colour story grew when I came across the Kaffe Fassett diamonds quilt – this quilt has 650+ pieces including diamonds and borders and partial diamonds on the outer edges. Back of quilt is still a single fabric.DSCF2124


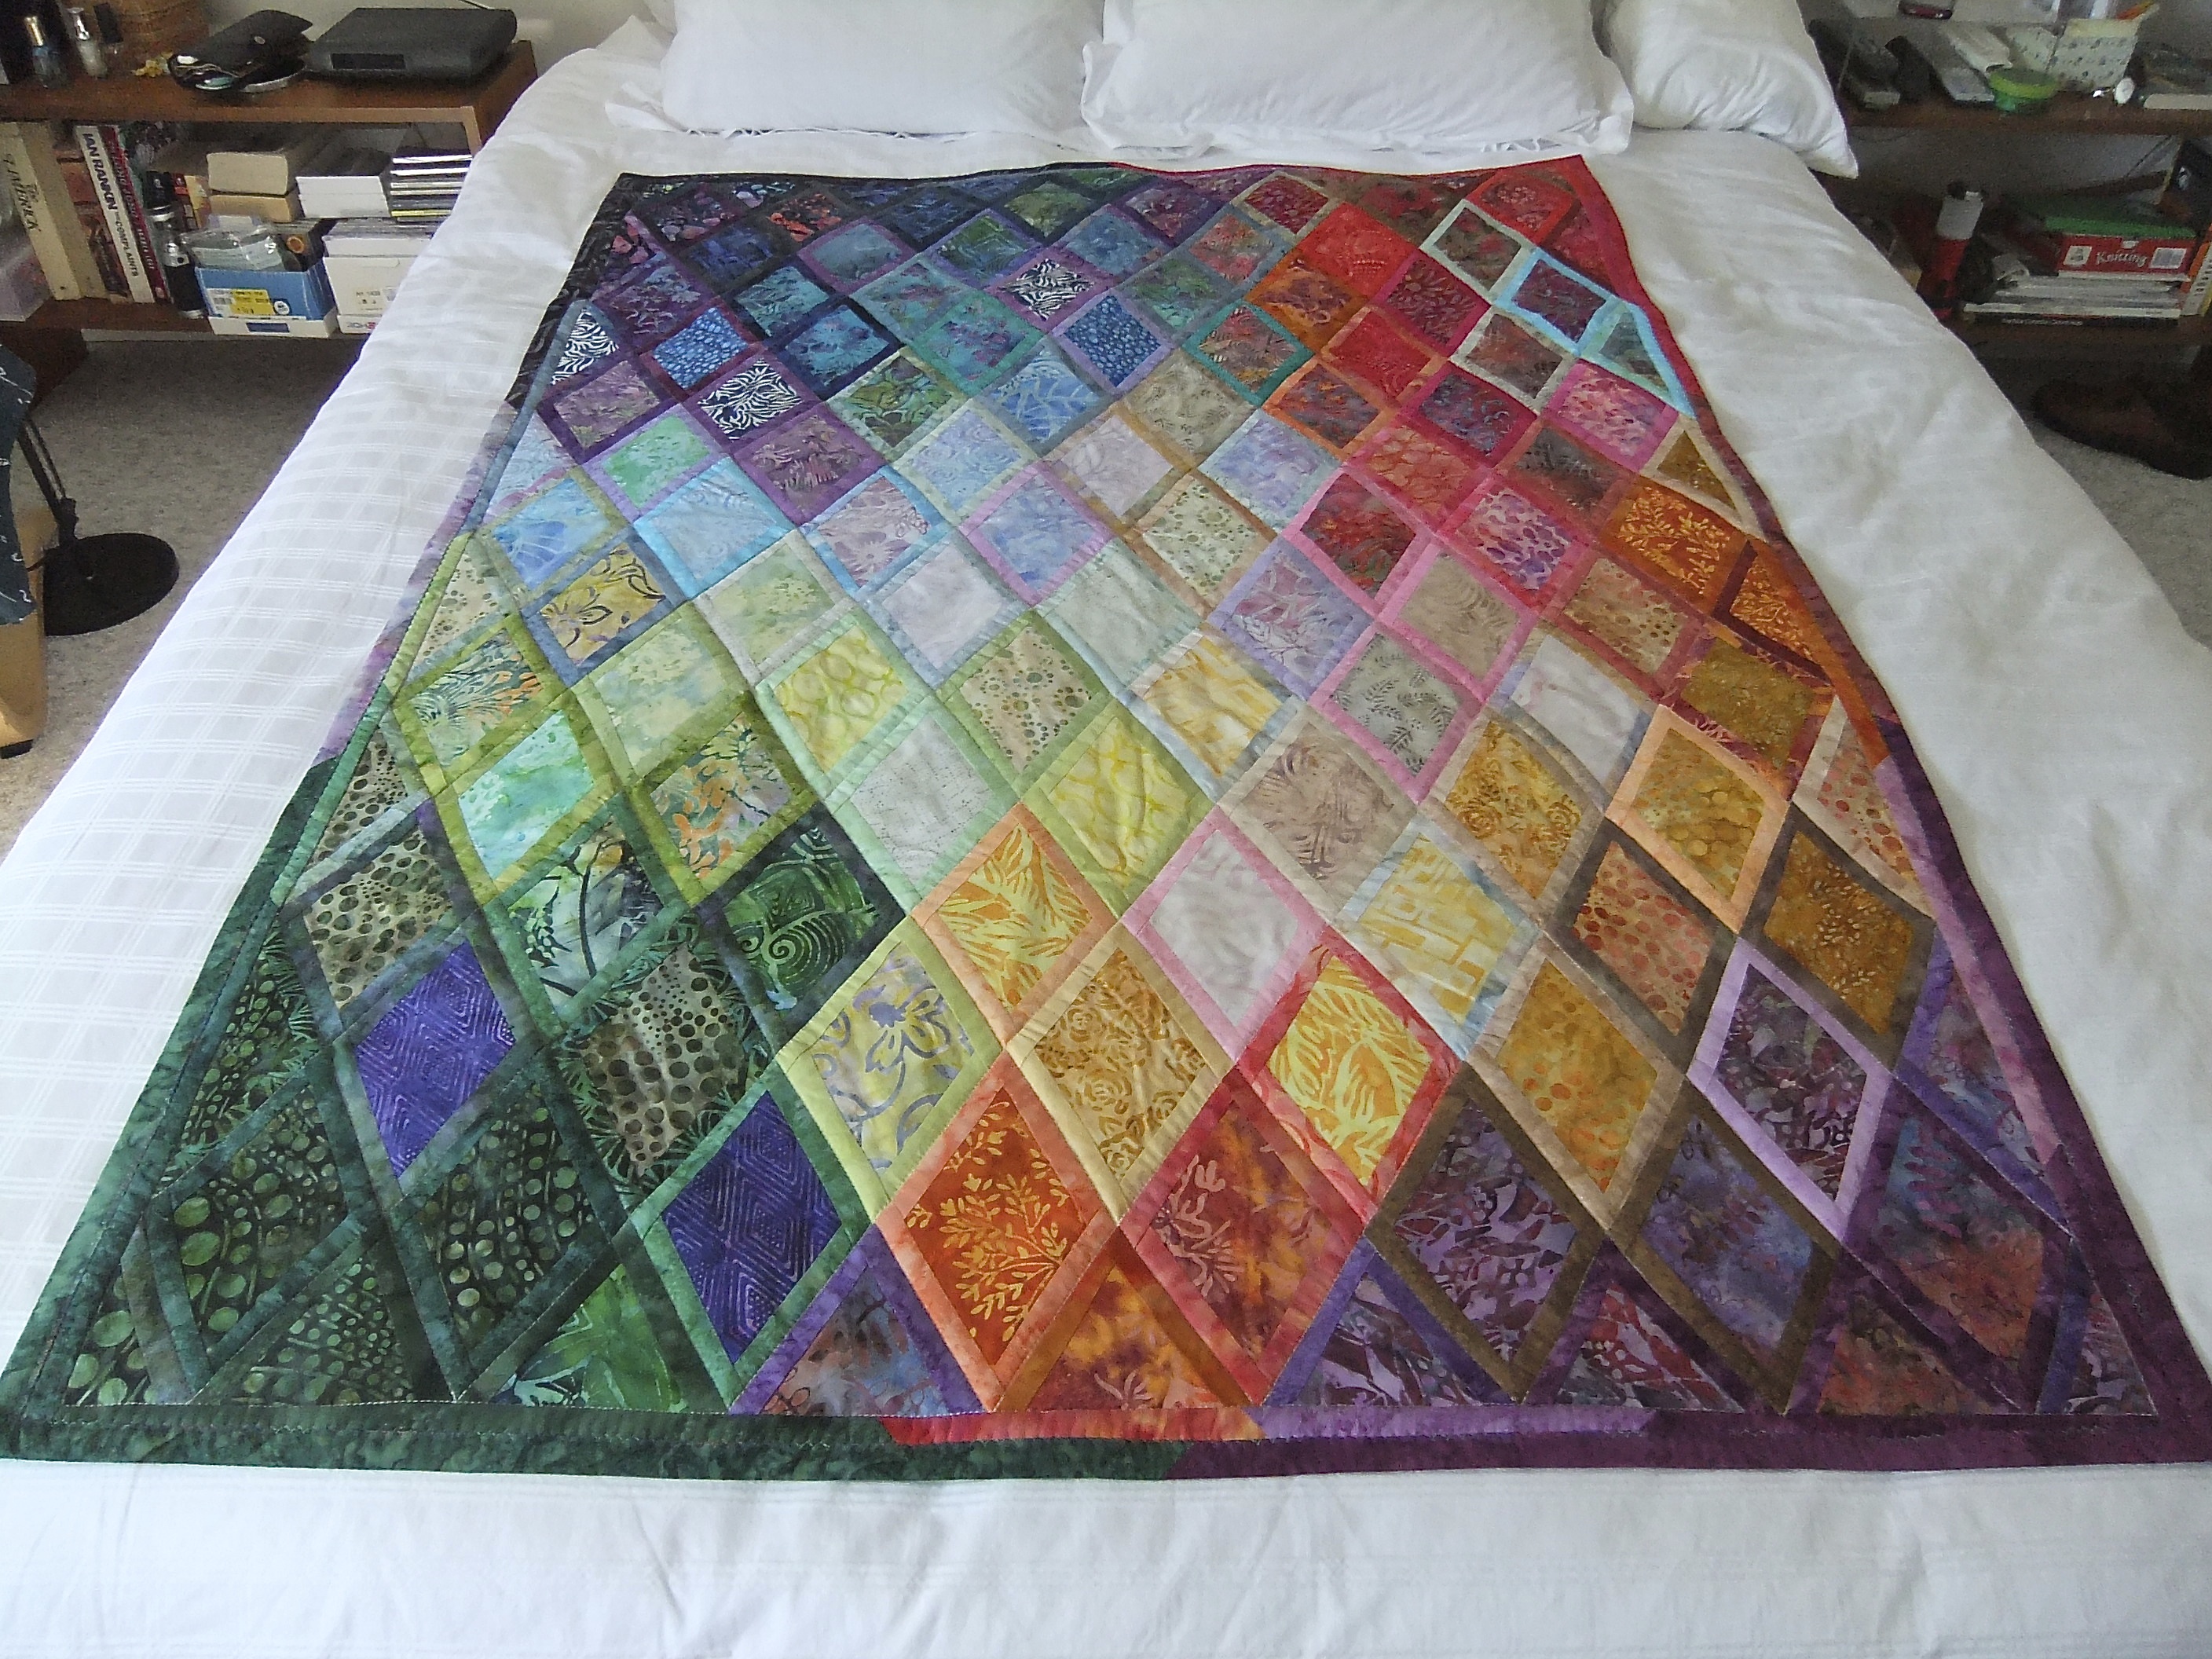
#4: This quilt uses Kaffe Fassett fabrics but is built on a vanishing 4-patch. This was one of the first quilts where I did something interesting on the second side – I had to because the quilt was wider than WOF (width of fabric) and I needed more width than my backing fabric provided.

DSCF2385

DSCF2389


#5: A Kaffe Fassett idea (from one of his books – although I worked entirely from an image on Pinterest) using batik fabric from my stash. The back of this quilt is a single run of fabric.IMG_1579


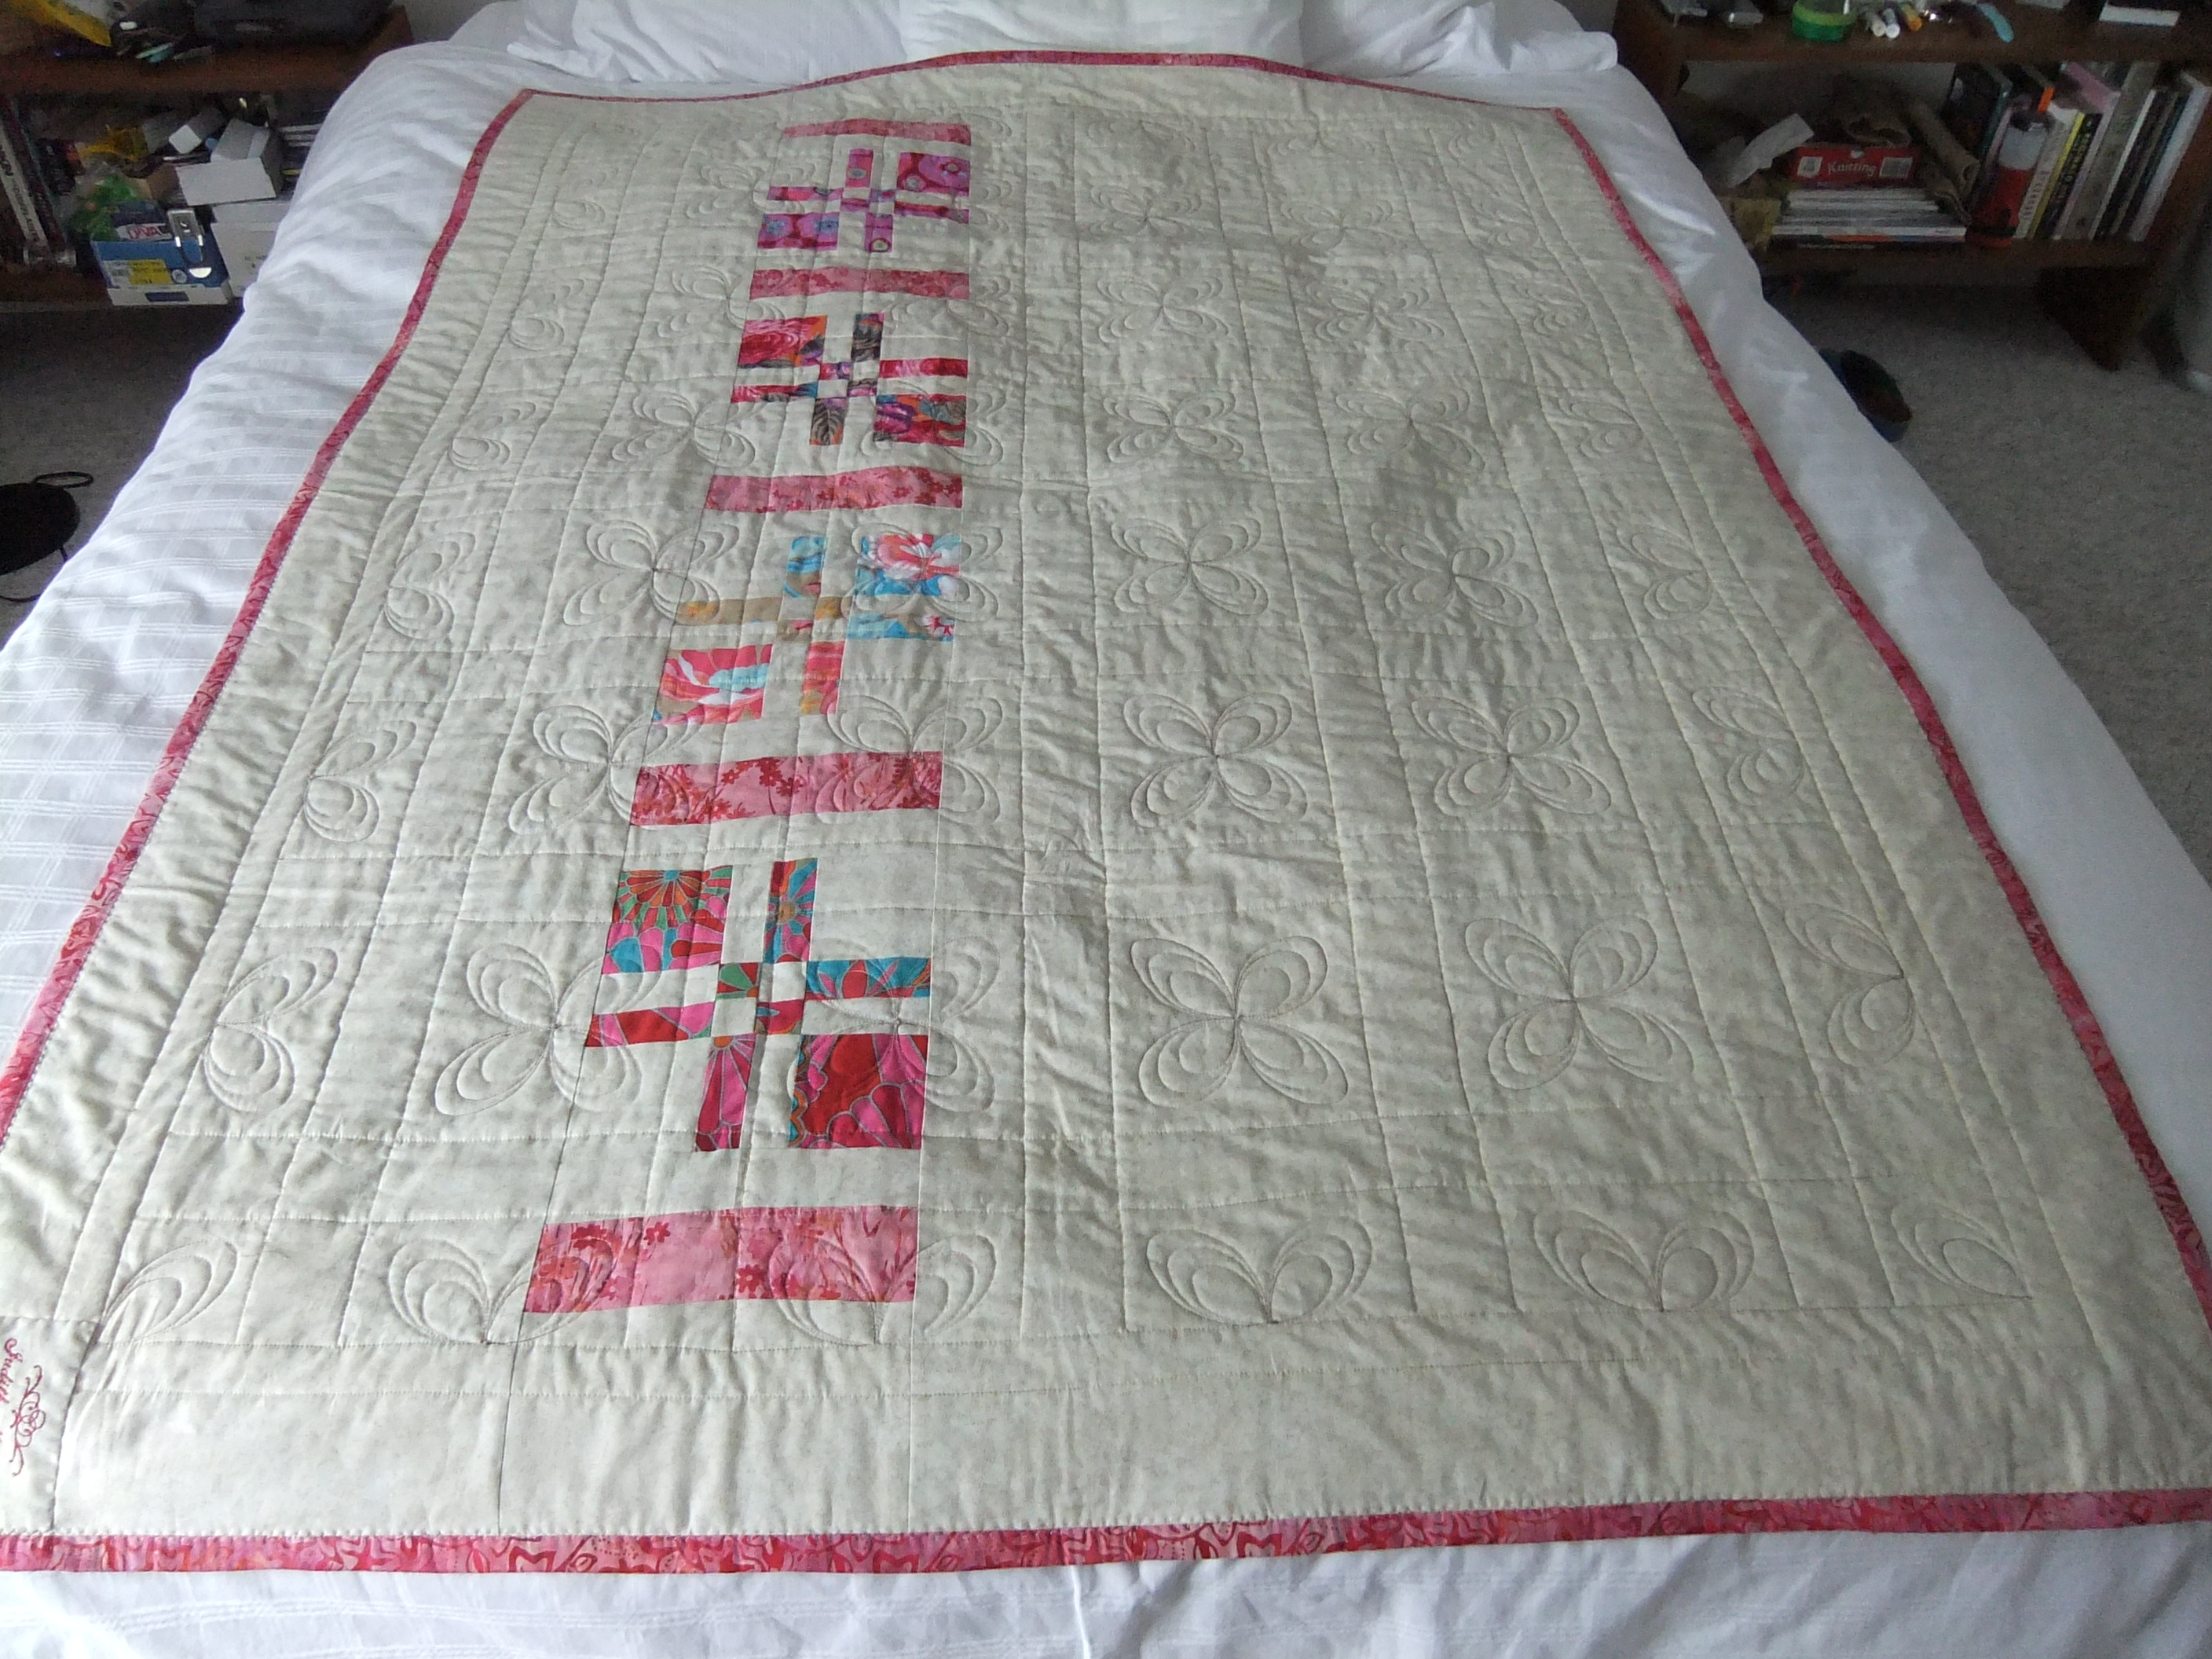
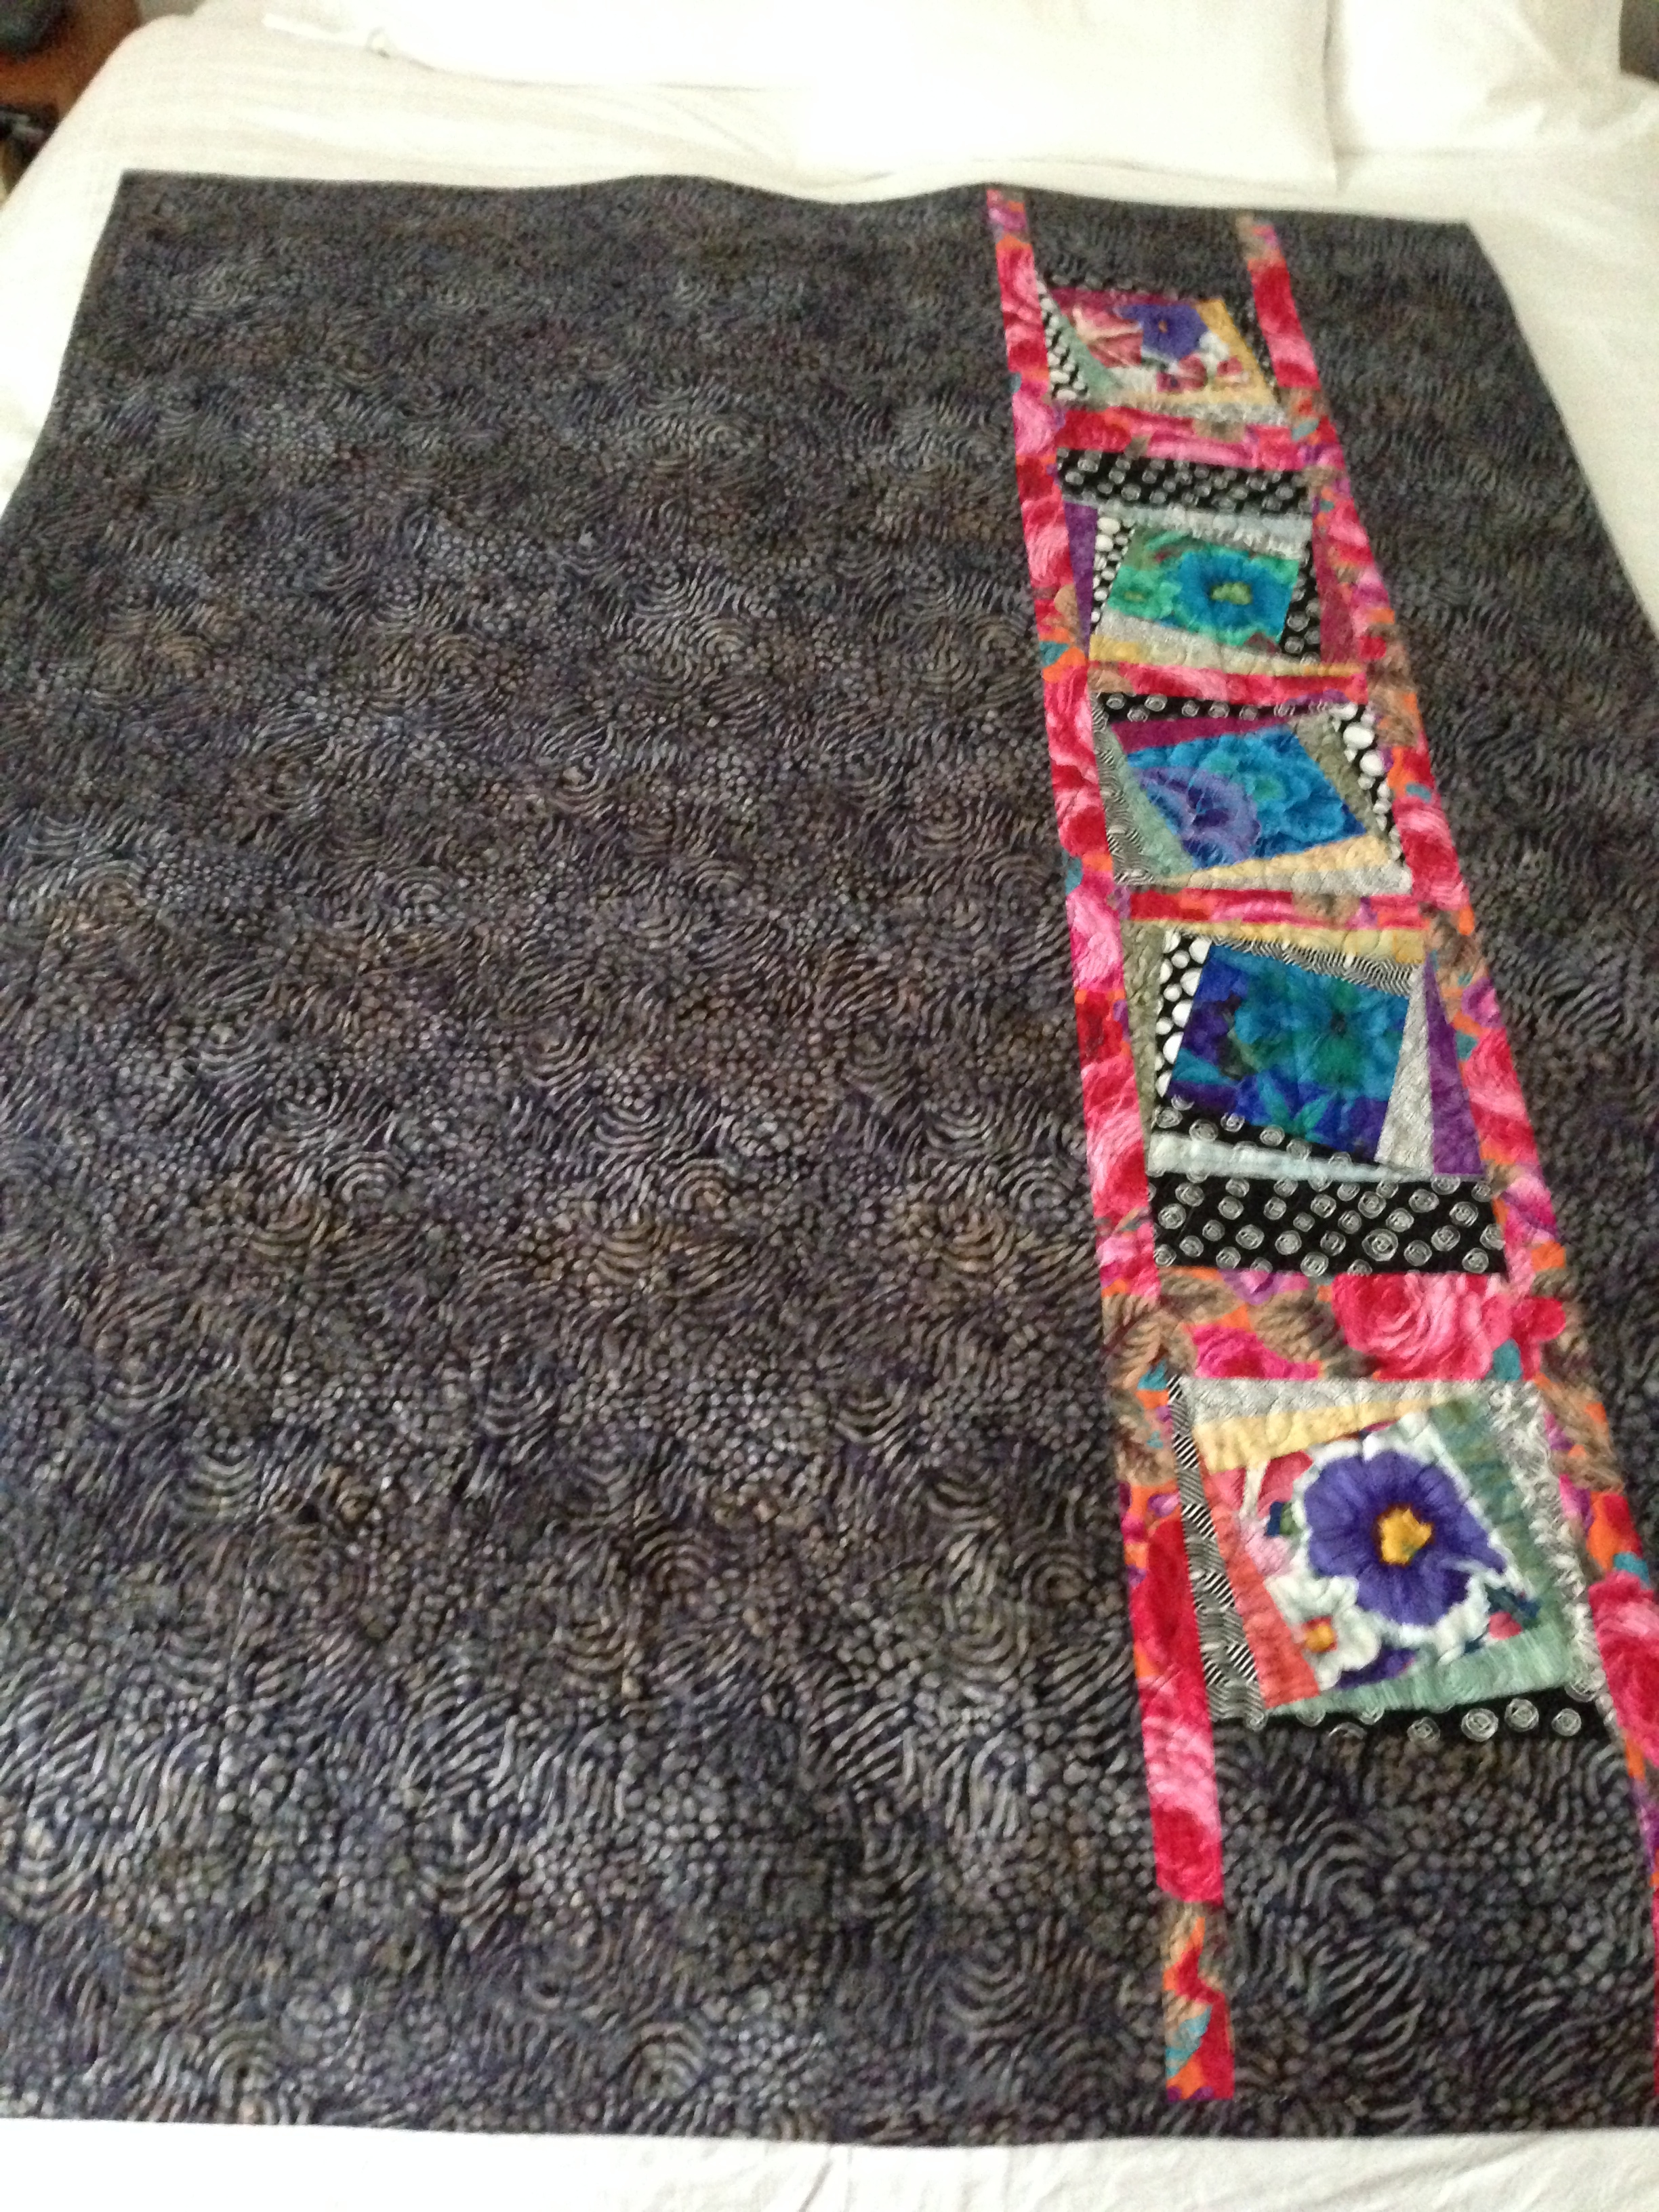
#6: This is the quilt I found on Pinterest attributed to someone else! It’s both Kaffe Fassett fabrics for the squares as well as based on a Kaffe Fassett quilt (again from an image of a quilt he did which I found online). This quilt has a pieced second side using left over bits of fabric from the top using a “jellyroll race” technique to make the inserted strip.
IMG_2098

IMG_2099


#7: This quilt uses Kaffe Fassett fabrics for the central squares of each block – it isn’t a Kaffe Fassett design, I don’t believe. Again the inspiration came from a photo I found online. The back is also pieces using leftover blocks from the front of the quilt.DSCF2615

IMG_2478


So these are my Kaffe Fassett quilts to date – either made with Kaffe Fassett fabrics or from images of quilts he’s done which I’ve found online. I still have quite a bit of Kaffe Fassett fabric in my stash so there will be more quilts…

Art Quilt 3

So, this morning I went through photos to see what I might attempt next as an art quilt… Here’s an idea ben-zach-3The image is a composite – the sidewalk beside the Public Gardens in Halifax and Ben and Zach at the Toronto Zoo. The original Zoo image background was just too dull to bother using – so I cut the boys out and added them to an enlargement of the background scene. I have to do it all again making careful adjustments to the enlargements, and the boys need to be played with quite a bit in Photoshop because I need to sharpen the detail and add a bit more sunlight/highlights so they aren’t so dark.

I have a few other ideas as well:

hfx hrbr cropped Halifax in the fog from across the harbour

photo7143Paragliding from Second Beach, Parrsboro NS

DSCF0419Sailboats in Halifax Harbour

In The Park 3

Just finished!

IMG_2598Couldn’t resist hanging it in my living room for now. All along I’ve intended the piece for my sister since these are her two oldest grandsons (she has five). The fabric I used to frame the work wasn’t anything I expected – but yesterday in the shop Pat hauled out a bolt of dark green striped batik and it tied together all the colours in the piece. I added a muslin panel to the back to hide the mess of threads from all the thread painting.

I have to say, I was pleased with how the work turned out. I know what I’m going to attempt next – maybe start it on the weekend. The problem with all of this work, pieced quilts as well as these art quilts is that making them becomes  addictive – it’s the challenge of figuring out how to make something work – once I start, my OCD tendencies take over and I can’t stop – “I’ll just do this one more thing…” I say to myself and suddenly the creative process has taken over my life!

In The Park-2

Still a work in progress – but I made some decisions a couple of days ago – the major one being that I would use printable cotton fabric to create the boys. That meant returning to the original photos, upsizing each boy so he would fit the background appropriately. I printed the images this morning, let them dry thoroughly (as the directions describe), fussy cut them carefully, then applied them with a medium iron. Using a 60 universal needle, I stitched around the outside of each using Wonderfil Invisifil thread – it’s a very fine polyester thread that blends with the fabric and permits very small stitches.

IMG_2589I also decided to stop fighting the large rhododendron bush beside the tree – I removed all the previous fabric and stitching (took a couple of hours of carefully picking out thread!). Today, I decided to print that element on printable cotton as well. In Photoshop I sized that part of the photo to fit the space where I wanted it to be, printed it out, cut it, pressed it, and stitched it into place. It looks way more realistic than what I’d had before. Now I need to do some thread painting to bring out the shaded areas of the bush so it appears three dimensional.

I still have a lot of careful outline stitching to do on each boy. I also need to thread paint the gravel quite a bit more – I had done a bit when I lay the grey fabric in place but now I need to carefully create a more gravel-like texture there.

My plan is to bind the image using a natural coloured raw silk fabric I have, then “frame” the piece with some kind of batik that will complement the image – I’ll have to shop for that (it may not be a batik – something like Northcott’s Stonehenge Colorado might work well).

This is where the piece is, today.

In The Park-1

After finishing  Asparagus Field in late September, I started a second art quilt: I had photos of my two oldest great-nephews taken a number of years ago when they were 4 1/2 and 6 on a visit to the Public Gardens (in Halifax) – I decided to combine two photos into a single image so both boys would be in the work. I enlarged the photos using Photoshop and printed out sections from which to assemble the piece which I wanted to be ~15″ X 23″.

IMG_2502I began by setting up the “quilt sandwich” – a grey stonehenge fabric for the gravel path (which I used to cover the entire piece), batting and heavy fusible stabilizer on the bottom. I marked out the finished dimensions, stitched the sandwich together and didn’t get much further than that – the stumbling block was the boys’ hair – it’s the highlight of the piece and I had NO idea how I was going to create it. I played unsuccessfully with yarns of various kinds. In the end I decided to try machine embroidery thread laid on a sticky stabilizer, then stitched into place. It kind of works – I’ve done half-a dozen trials but I’m not quite satisfied — that stopped me doing anything else.

At the beginning of the week, with my shirts all done and no new quilt started, I thought – it’s time to get back to this art piece. So I dug out the box of fabrics and got to work. I added a strip of dark fabric to the top edge, below that I used a bright green for grass, then started creating “shapes” for the rhododendron bushes and threes and the large tree closer to the boys.

The image gets built up from top to bottom, from background to foreground. I added in bits of coloured fabric for the flower beds. Next some shadows for the bench, the trees outside of the scene on the left side, under the big tree at the top.

At this stage, the boys are still the paper cutouts with the “hair” pinned on. Not happy with that hair!

IMG_2562

Next the grass gets extended and stitched, the gravel gets filled in with free-motion stitching, then comes the benches – just fused in place at this point (the boys are still those paper cutouts pinned in place).IMG_2563

Three days into the project and here’s what I have:

DSCF2630The elements of the background are all in place: the shadows, the benches, the grass patch behind and above the benches, the tree with a hosta patch around it, one of the large rhododendrons in the Gardens, two small flower beds, and some trees in the background. I have stitched them all in place – I need to do much more thread painting: the hosta could use some more leaves and flower stalks, and the rhododendron still needs a lot more stitching using a lighter green thread (I’ll probably use a variegated to give some variation to the texture of the shrub).

So far, the boys are still in paper (with the latest attempts for hair pinned on). I’ve carefully traced all the elements needed to construct the boys, figured out an order in which to assemble them, I’ve prepared fabric swatches with double sided fusible interfacing – so tomorrow I’ll start constructing the boys – the bodies and clothing are straightforward – it’s the faces and hair that are still challenging me! I thought I might try setting up a portrait embroidery but my software isn’t sophisticated enough to produce a decent rendering of the faces – so I’ll use a combination of oil pastels and permanent marker to hint at the facial features. The hair – still not sure how I’m going to accomplish that but something will work out, I’m sure.

So all that’s left is to create the boys, and do more thread painting before I add the boys to the background. Oh yes, and last – add my signature with a date!


Purple Socks

IMG_2554Finished this pair of socks last weekend – in September on my way to Lunenburg I stopped in Mahone Bay at the wool shop (Have A Yarn) and picked up some yarn for my neighbour Joan and two 50g balls of this purple yarn for myself. This pair is in the “gift” stash – waiting for an occasion to pass on to someone. I gave my friend Linda the blue pair I finished a couple of weeks ago.


Red Shirt

red shirtI bought this cherry red wool fabric a couple of years ago at the rug hooking shop in Petite Riviere (River House). Hard finding real wool fabric anywhere nearby – just loved the colour so I bought 2 yards and put it away. I’ve been meaning to make a jacket of some sort with it – I decided on a shirt last week. I used the leftovers from the last grey stripe shirt (the one with the red and silver threads) for the accent on the under collar, inside of the collar stand, inside cuffs and sleeve plackets. For the inner yoke I used some steel grey silk dupioni I had on hand. The buttons came from a stash of shirt buttons I bought from Pam Erny a while back – there were twelve of these buttons – enough for the shirt.

I finally succeeded in doing the “burrito” collar stand application – it isn’t quite perfect because the wool was a bit heavy to work with but next time on a cotton – it’ll be just right!

IMG_2558I embroidered the yoke in the back – a cherry coloured thread slightly darker than the fabric. I was pleased with the fact that I managed to get the embroidery absolutely in the centre back. The embroidery was a modification of one of the Pfaff collection: Sensational Swirls.

The joke here is that next weekend I’m attending a Scouts Canada event in Toronto and we’ve been asked to wear the “uniform” for one of the meals – I am now officially a scouter (having done Woodbadge I and had the police check, etc.) – so I guess I am expected to wear a red shirt – except I don’t have an official Scouts Canada Scouter Shirt! I will take this one, instead.

Blue Socks

blue socksFinished these the other day. I have to say I love working with that Opal – Sweet ‘n Spicy yarn – the resulting pattern is such a nice one. This pair is ladies size 7 12/ – 8. They are in my “to give away” pile – I have lots of blue socks – not tempted to keep these.

I do have to admit, however, this yellow pair made it from the give-away pile to my sock drawer last week, when I decided they matched the outfit I decided to wear that day!

yellow socks

Contrast

20140211-204856.jpg

Notice the juxtaposition of the orchid in my livingroom and the snow outside! That’s winter in Canada for you.

I have four Phaels in bloom and I was taking pictures this morning when I discovered this one – with the snow in the backrgound. Mid-February – it won’t be long before the snow begins to disappear and then soon there will be flowers in my outdoor deck garden again.