Navy Twill Pants

I’m heading to Italy in a week. Two days ago I tried on all my summer weight pants – they ended up in two piles – a small pile of those I could zip up comfortably and a much larger one of pants I’ll have to modify in order to button the waistbands. My navy pants were in the “not wearable” pile.

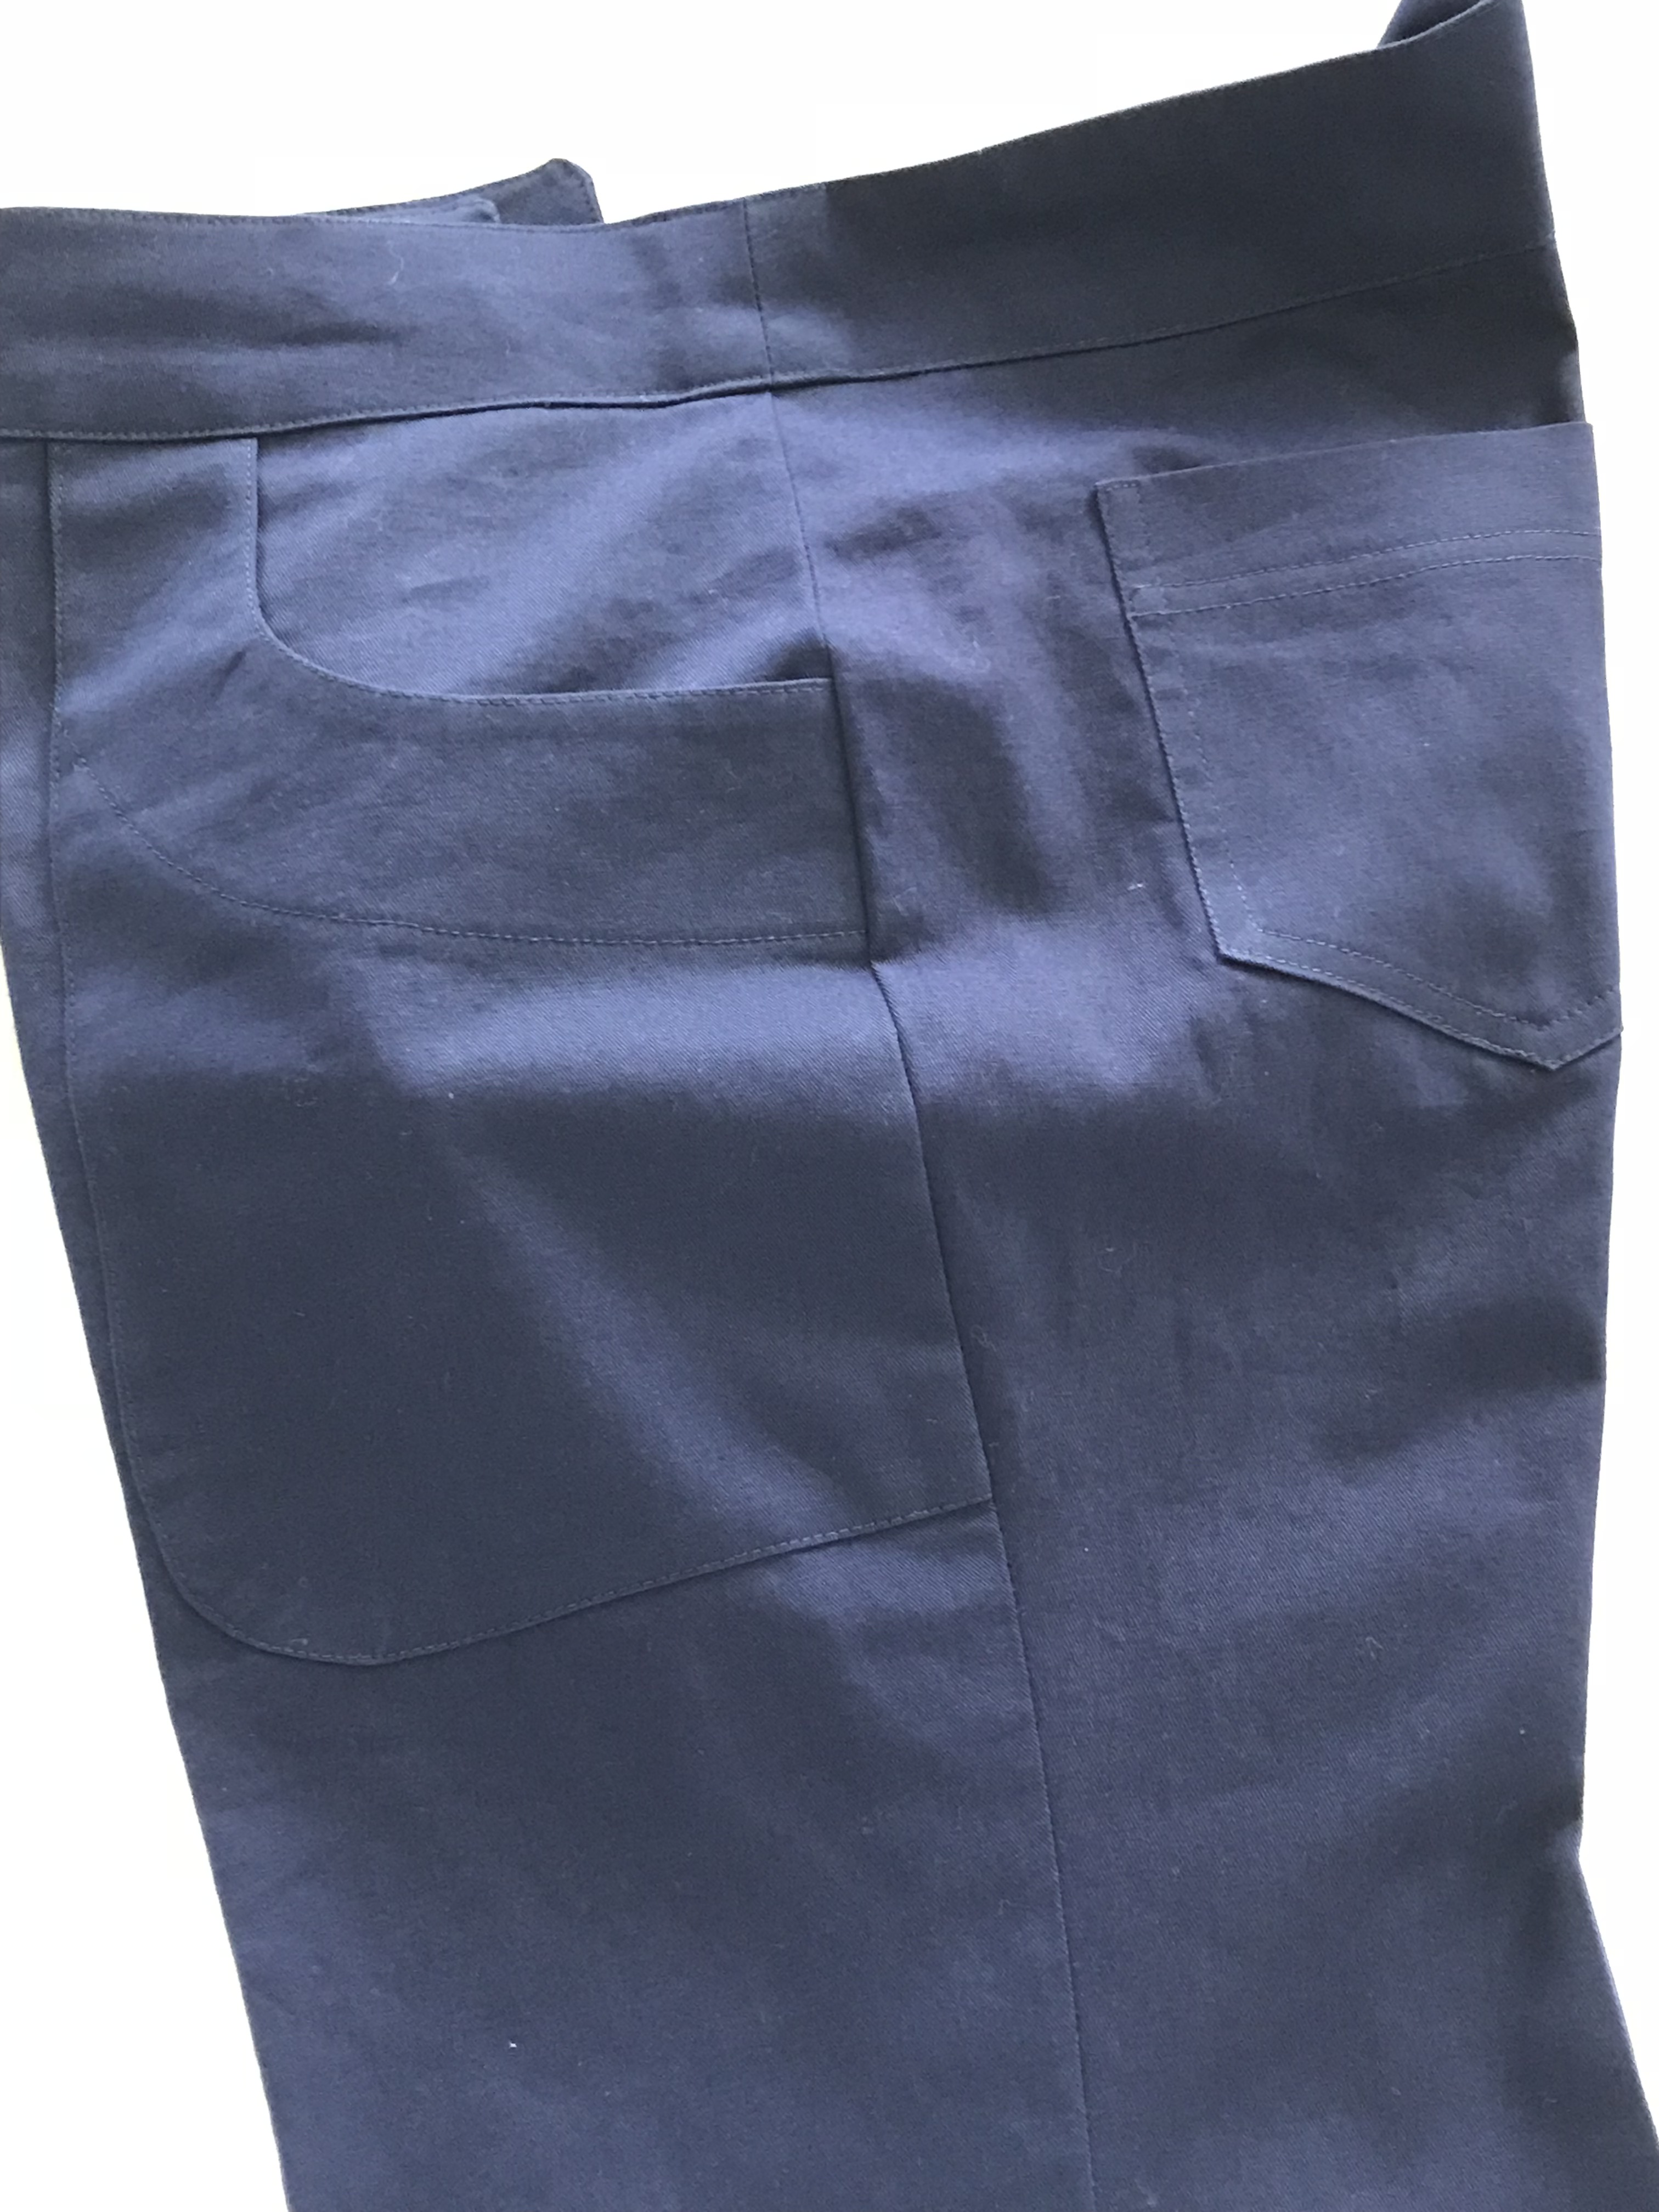
Navy Cotton Twill Pants

So I made a new pair. I knew I’d probably have to make navy pants a couple of months ago so I dug out the navy twill I had in my stash, washed it, and put it aside to work on but didn’t get around to pants-making until yesterday. I used a modification of an old pattern for a culotte adding pockets and reshaping the legs to make a straight leg pant.

Cutting out, adding interfacing, setting up pockets, fly front are all straightforward. The problem with making pants (at least for me) is I have to make them up completely before I can try them on to determine if they actually fit. I cut this pair largish because there was absolutely no give in the width of this fabric and I didn’t want to make the pants too small to fit into. However, they turned out too big in the bum and through the legs. So I did what I’ve done before – put a shaped dart down the centre back of the leg to get rid of much of the fullness below my bum and to narrow the thigh.

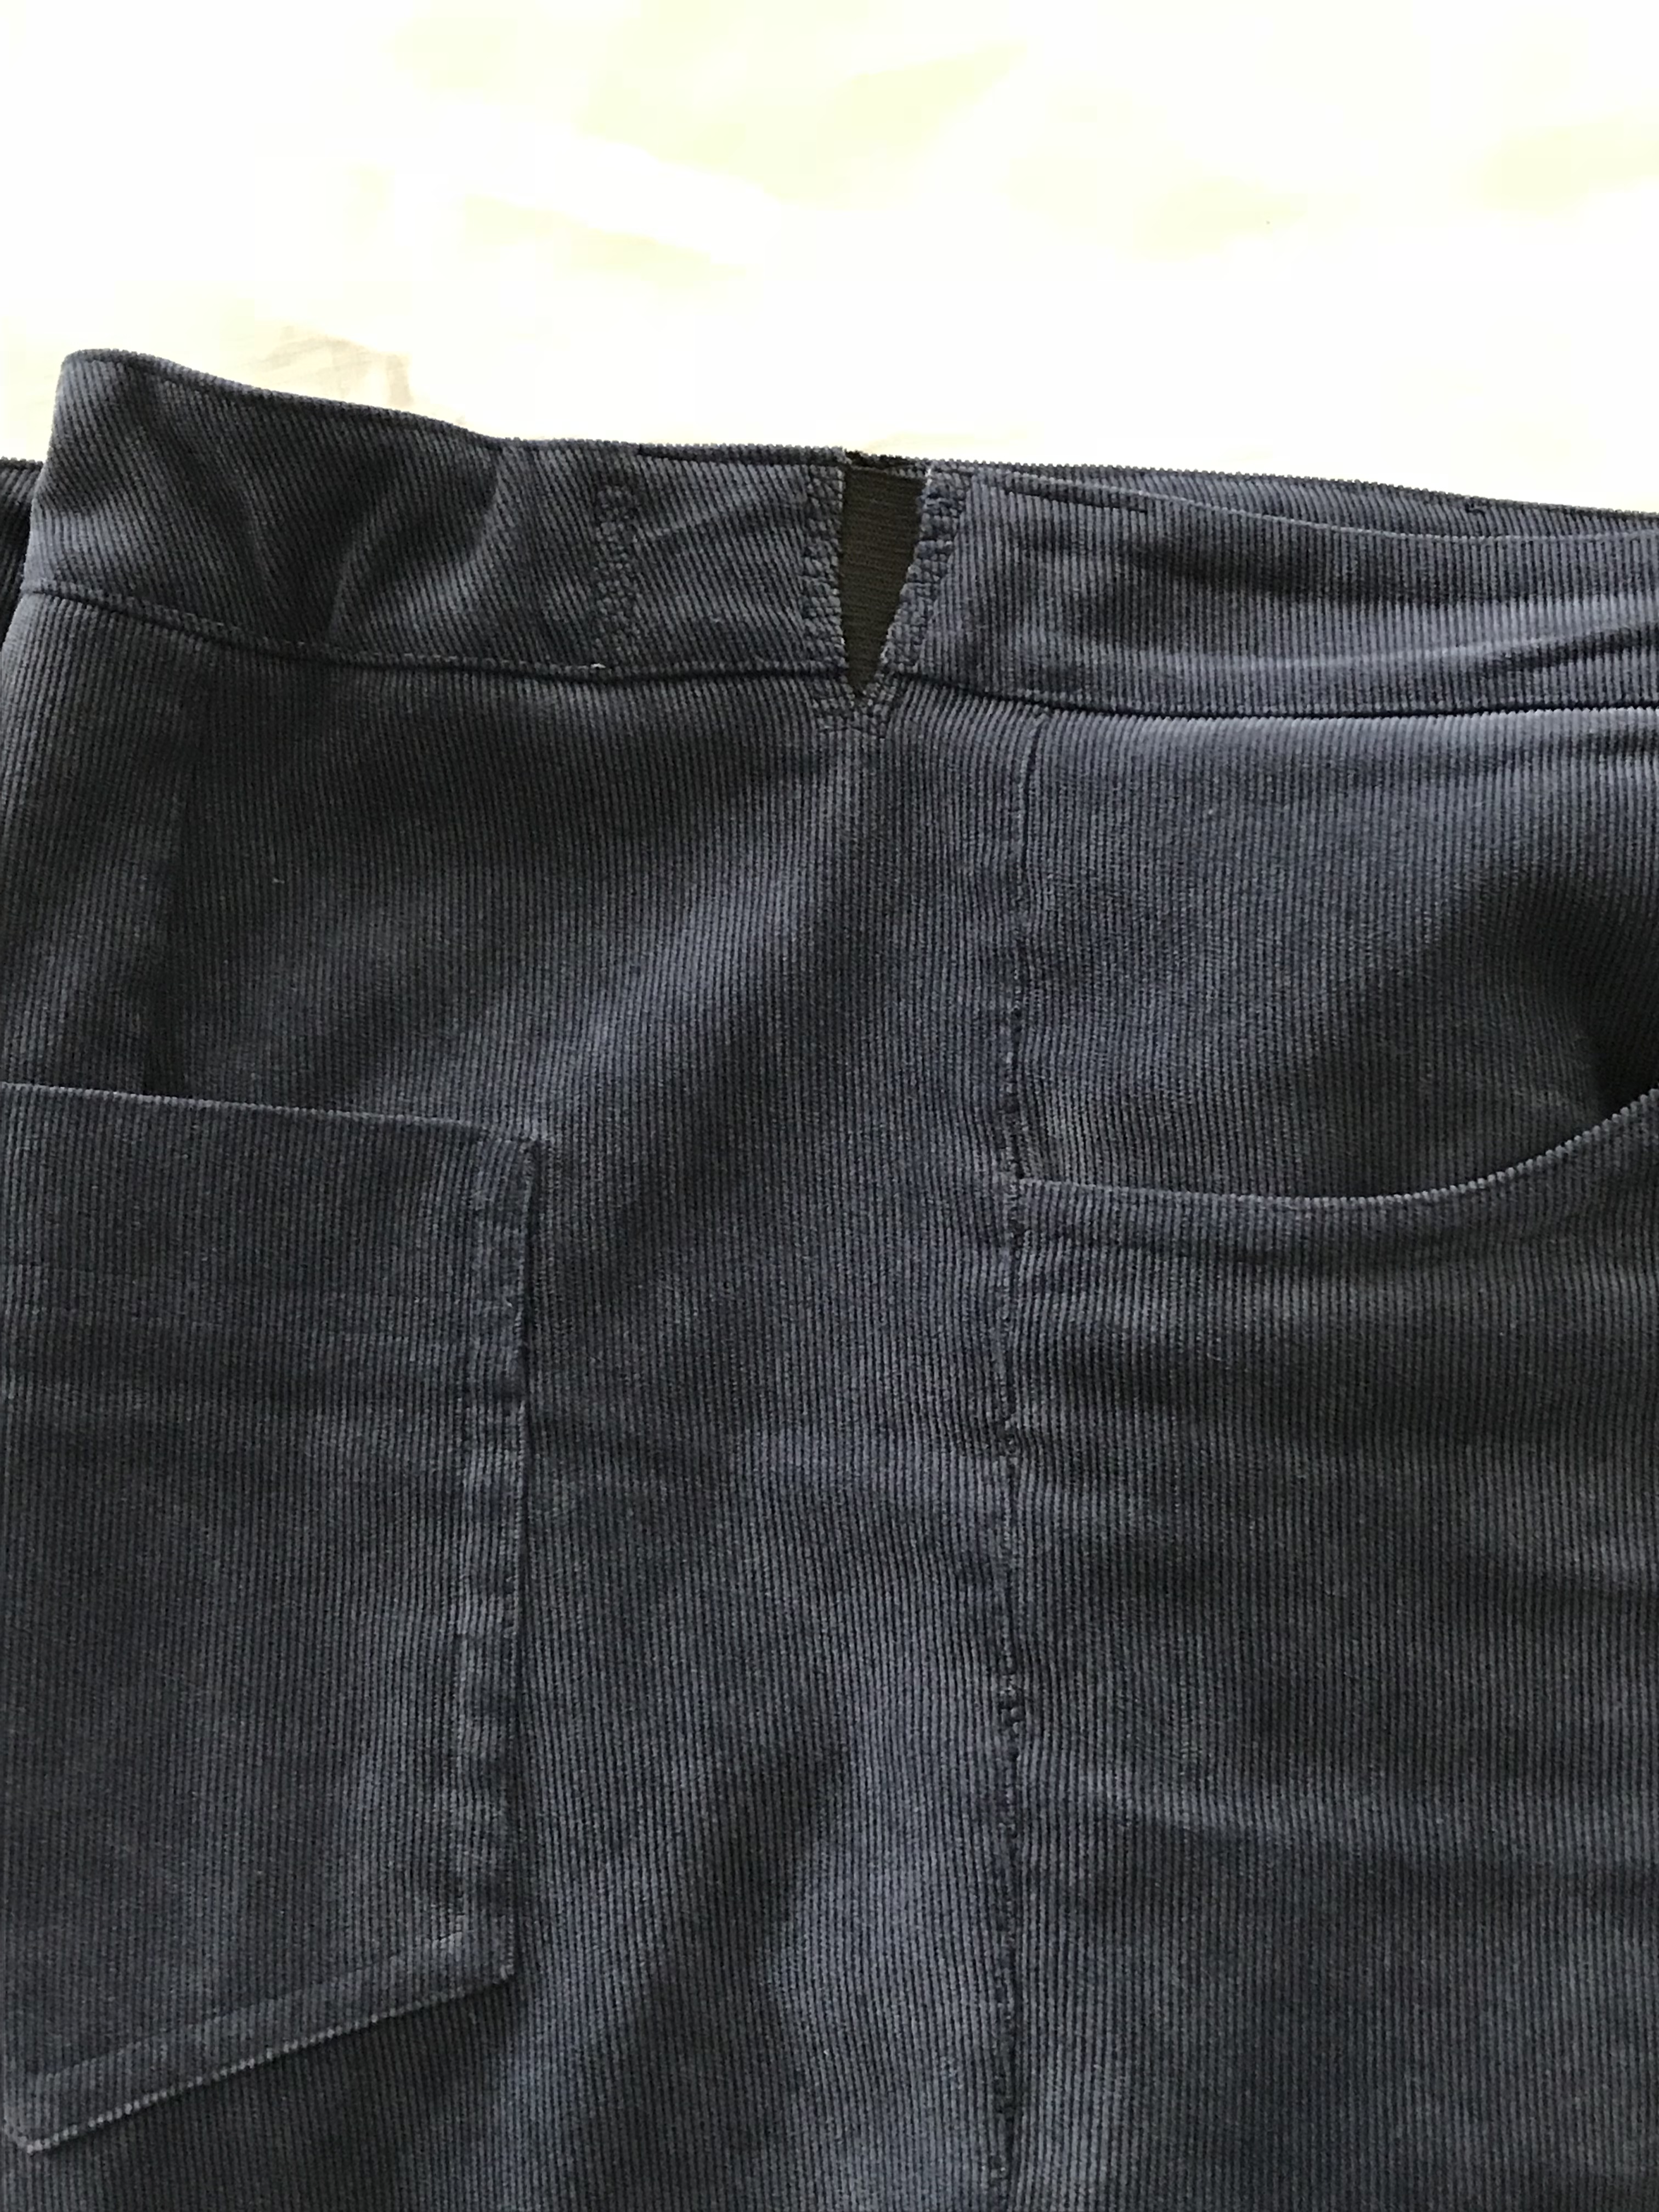
The back pockets are typical jeans pockets. I decided not to do inner front pockets – instead I cut out a pocket shape, added a facing to the open edge, then turned under a 1/4″ seam allowance and top stitched the pockets in place on the fronts before they were attached to the back.

I made a couple of further adjustments to the fit today but now the pants are wearable.

Green and Yellow Socks – Finished

I have to say I haven’t really enjoyed knitting these socks. The yarn was lovely in the hand, but the colours weren’t ones I’d have chosen to work with. Furthermore, the skein had the darker green at one end and the strong yellow at the other, graduated from one to the other with more green than yellow.

Green & Yellow Socks

What I did was ball the skein, then separate the yarn into smaller balls of the various colours. What I didn’t account for was the fact that I should have halved each small ball and reserved the second set for the second sock. However, I didn’t do that so there was no way I was going to be able to make two socks that matched.

I kept swapping yarn at somewhat random intervals, sort of matching the colour flow from the first sock to the second.

The yarn before I started knitting – I began the cuff with the teal colour – shouldn’t have done that – it kind of blends but a green cuff would have worked out better.

Green & Yellow Yarn

I did have someone in mind while I was knitting them. Sometime in the next couple of days I’ll put them in the mail to her.

Binding A Quilt

A couple of days ago Melanie McNeil described in her blog how she was binding her latest quilt – “For this particular quilt, I chose to finish the binding by machine rather than by hand.”… I wrote her that I always machine finish the binding (for a host of reasons I won’t go into here), except I use a decorative stitch with variegated thread when I attach the binding on the front.

Let me back up here a bit: many quilters machine stitch the binding to the front of the quilt, then blind stitch the turned binding on the back by hand. However, if you’re going to machine stitch the turned binding edge, then you have to sew the binding to the back of the quilt, turn the binding under on the front (I pin the turned binding, then lightly press it), then machine stitch to secure it to the front.

I’m assuming you already know how to apply a quilt binding. If you don’t, Melanie has very clear instructions with videos, etc. explaining and showing you how to bind a quilt. What I’m offering here, is an alternative for the final stitching to secure the binding to the top of the quilt.

Graduated Stitch – Edited

Here’s a stitched binding on one of my quilts (notice the diagonal fabric join in the binding). What I want you to observe is the stitching I’ve used to attach the binding to the top of the quilt – a stitch that stitches adjacent the edge of the binding and incorporates jump stitches to the right and back which permanently attach the binding edge to the quilt (remember, the binding is already machine sewn to the back using a standard 2.5mm straight stitch – Melanie prefers a longer 3.0mm stitch).

This is what the stitch looks like on my machine screen:

Double Graduated Stitch – Edited

This is my modification of a more complex built-in stitch on my embroidery machine. Here’s the original stitch:

Double Graduated Stitch

I wanted the stitching down the centre to be just to the side of the binding with the cross-over stitches just securing the binding so I used the stitch editor built into my embroidery machine to get rid of the stitches on the left and keep just two forward stitches between the grouping of stitches to the right. It attaches the binding securely and I’m not having to worry about whether I’m getting my straight stitch a consistent needle width from the binding edge. (The decorative stitch also is forgiving on the back of the quilt if it doesn’t align perfectly with the binding edge.)

Here’s another decorative stitch I use frequently:

Honeycomb Stitch – Edited

Below is the “honeycomb” stitch on my machine – I’ve reduced the width quite a bit, and extended the length so the stitch doesn’t extend very far on either side from the binding edge on the quilt front.

Honeycomb Stitch

Here are two other decorative stitches that could work:

Graduated Stitch

My point is it doesn’t take long to machine stitch a binding to the front of a quilt with a decorative stitch and it’s visually a lot more forgiving than trying to stitch the binding with a straight stitch!

Bamboo Quilt – Piecing of Panel Done

Finally, I have finished piecing the elements for this quilt top. The next steps will go relatively quickly.

Bamboo Quilt Panel – Finished

Now I have to add borders: a narrow light one, then a wider batik that seems to coordinate with all the other batiks in the pieced panel.

I’m thinking I will do something simple to extend the width of the back – a jellyroll race piecing, crazy quilt strip…. Whatever it turns out to be it will go a lot more quickly than this piecing did. I got tired of creating these elements which took quite a bit more time than I expected when I started which is why the project ground to a halt.

Now I can move again, get the quilt done and added to the collection for the showing in Parrsboro this summer. Whew!

Amaryllis – Stalk #3!

Well, I’m going to have at least one flower (maybe even two or three) on this stalk. A couple of the flower buds look like they might poop out but for sure, this one is going to open fully.

Amaryllis Stalk #3

I’ve never had three stalks on an amaryllis before. This one has certainly been special.

Oh, and the snow is all gone. Melted away this past weekend with rain and mild temperatures. That doesn’t mean we won’t have another storm before the end of April, but if there should be snow, it won’t last long!

I even noticed buds on the trees this morning while I was out and about.

Elastic Inserts

OK, so I’ve been procrastinating on the quilt! I’ve been feeling somewhat under the weather but that’s no excuse. I should be working on the quilt.

Yesterday, however, when I sat down to sew, wearing a pair of black corduroy pants I made many years ago (they are still in good condition and fit everywhere except in the waist!) I admitted I was uncomfortable. Over the last couple of years as I’ve grown shorter my waist has grown larger – and the waist in my pants has become tighter and tighter. I can still get the button done up, but the waist is just plain tight. Time to do something about it.

Years ago I came across a very useful article by Kathy Ruddy on how to create elastic inserts. So I took off the pants and got to work.

Elastic Inserts

The instructions are for creating elastic inserts while constructing pants. To do an elastic insert in existing pants here’s what I do.

  • Cut the waistband about an inch and a half from the side seam in the back – cutting just a tiny amount below the waistband itself (if you want to open the waist more than, say, an inch on each side then cut deeper into the top of the pants to allow you to spread the waistband further – depending on the depth of the cut you will need wider elastic, obviously – the widest (6″) I’ve been able to find comes from Kathy Ruddy).
  • Using 3″ wide elastic, cut wedges about 2 1/2″ across the top, 1 1/2″ at the bottom, serge the cut sides.
  • Position the top of the waistband against the top of one side of the elastic and stitch, then attach the waistband to the second side, leaving an opening in the elastic wide enough to be comfortable but not so wide as the make the waistband too loose.
  • With the top of the waistband and the elastic in place behind the opening, top stitch (I use a utility stitch because the cut edge is raw and I want to secure it) along both cut edges securing the pants fabric to the elastic.
  • I don’t worry about attaching the elastic on the inside of the pants.

The whole operation took me about 10 minutes. I put the pants back on and I could sit comfortably. So I gathered up the other four pairs of corduroy pants in my closet and did the same to them.

Now I can breath when I’m wearing these pants. Truth be told, I’m going to have to do the same thing to all of my jeans. They all still fit everywhere but in the waist and are more than wearable. No point in tossing them out – I just need to make the adjustment so I can wear them comfortably. And since I wear my sweaters or t-shirts out (not tucked in) my kluge doesn’t show!

Ugly Yarn – Interesting Sock

I started with this yarn – came in a skein which I balled and wondered whether I’d ever use it. I didn’t particularly like the colour combination and as a rule, these skein-dyed yarns don’t knit up into an interesting pattern.

Ugly Yarn

However, these are the socks that knit up – not bad at all!

Interesting Sock

Finished last evening. Now on to another pair.

I have another skein (which I’ve also balled) not variegated but green on one end, yellow on the other, graduated in between. Were I to knit it up I’d have one green sock and one shades of yellow. What I think I will do with that yarn is knit using both colours at the same time alternating rows to form a spiral. The socks will not match but at least they’ll look similar – we’ll see.

Yellow/Green Ombre Yarn With Turquoise Contrast

As for the Bamboo Quilt top – I’m plodding along slowly. I still have three/four blocks to make, then I have to find something for borders. I don’t think I have anything in my stash that will complement the inner panel so it’s off to the fabric store yet again.

And talking about new fabric – I came across this collection “Blushing Peonies” at Sew With Vision and couldn’t resist buying some. I already have an idea what to make with it.

Blushing Peonies by Moda

I’ve ordered yardage of two more grey fabrics from the collection from The Missouri Star Quilt Company – the greys I have on hand just didn’t blend well enough to work with the other fabrics.

So now to get on with finishing the Bamboo Quilt.

Bamboo – Further Along

Making headway. The width is now about 42″, with the fill-ins being place-held with batik blocks; the panel length will approximate 62″ – with borders added the quilt top will end up a reasonable size for a lap quilt.

Tentative Layout

So it’s looking like I will want between 7-10 more “bamboo” blocks – that’s getting to be within range (it was beginning to feel as if the end of the project was nowhere in sight). I’m giving up on getting any overlap between the blocks – bits of sashing to make blocks fit is going to have to do.

Truth is I’m feeling pressure to get this quilt done. I want to get onto a bit of garment sewing – I need to make a pair of pants and maybe another casual jacket to take to Florence at the end of April – that’s just a month away.

Bamboo – Making Progress

I’m making headway slowly on the Bamboo quilt top. I’ve created some more blocks – they’re getting better even though I’m not getting faster! The tapering of the inserts is looking more like I want it to. I’ve also started joining blocks and fitting in inserts where needed to make row segments. I’ve got 15 blocks assembled – I figure I’ll need between 35 and 40 to make a lap-size quilt.

Bamboo – Beginning To Take Shape

In the picture I saw originally, there are some leaves overlapping from one block to another: 

The only way I think this can be done is if the whole quilt top was constructed using raw edge appliqué. I’m doing this with slashing and inserting contrasting fabric.  I’m stumped about how to accomplish the overlapping across blocks! Nevertheless I’ll keep working away at these blocks.

New Socks

Finished these socks the other evening.

I used a yarn from New Zealand (Waikiki) that contains 10% possum, 15% alpaca – very nice yarn to work with – for the heels. I do hope it wears reasonably well – 20% nylon, it should. It would be a shame if it didn’t.

The socks went into the stash; I started the next pair.