Skinny Quilts/Banners II, III, IV – Completed

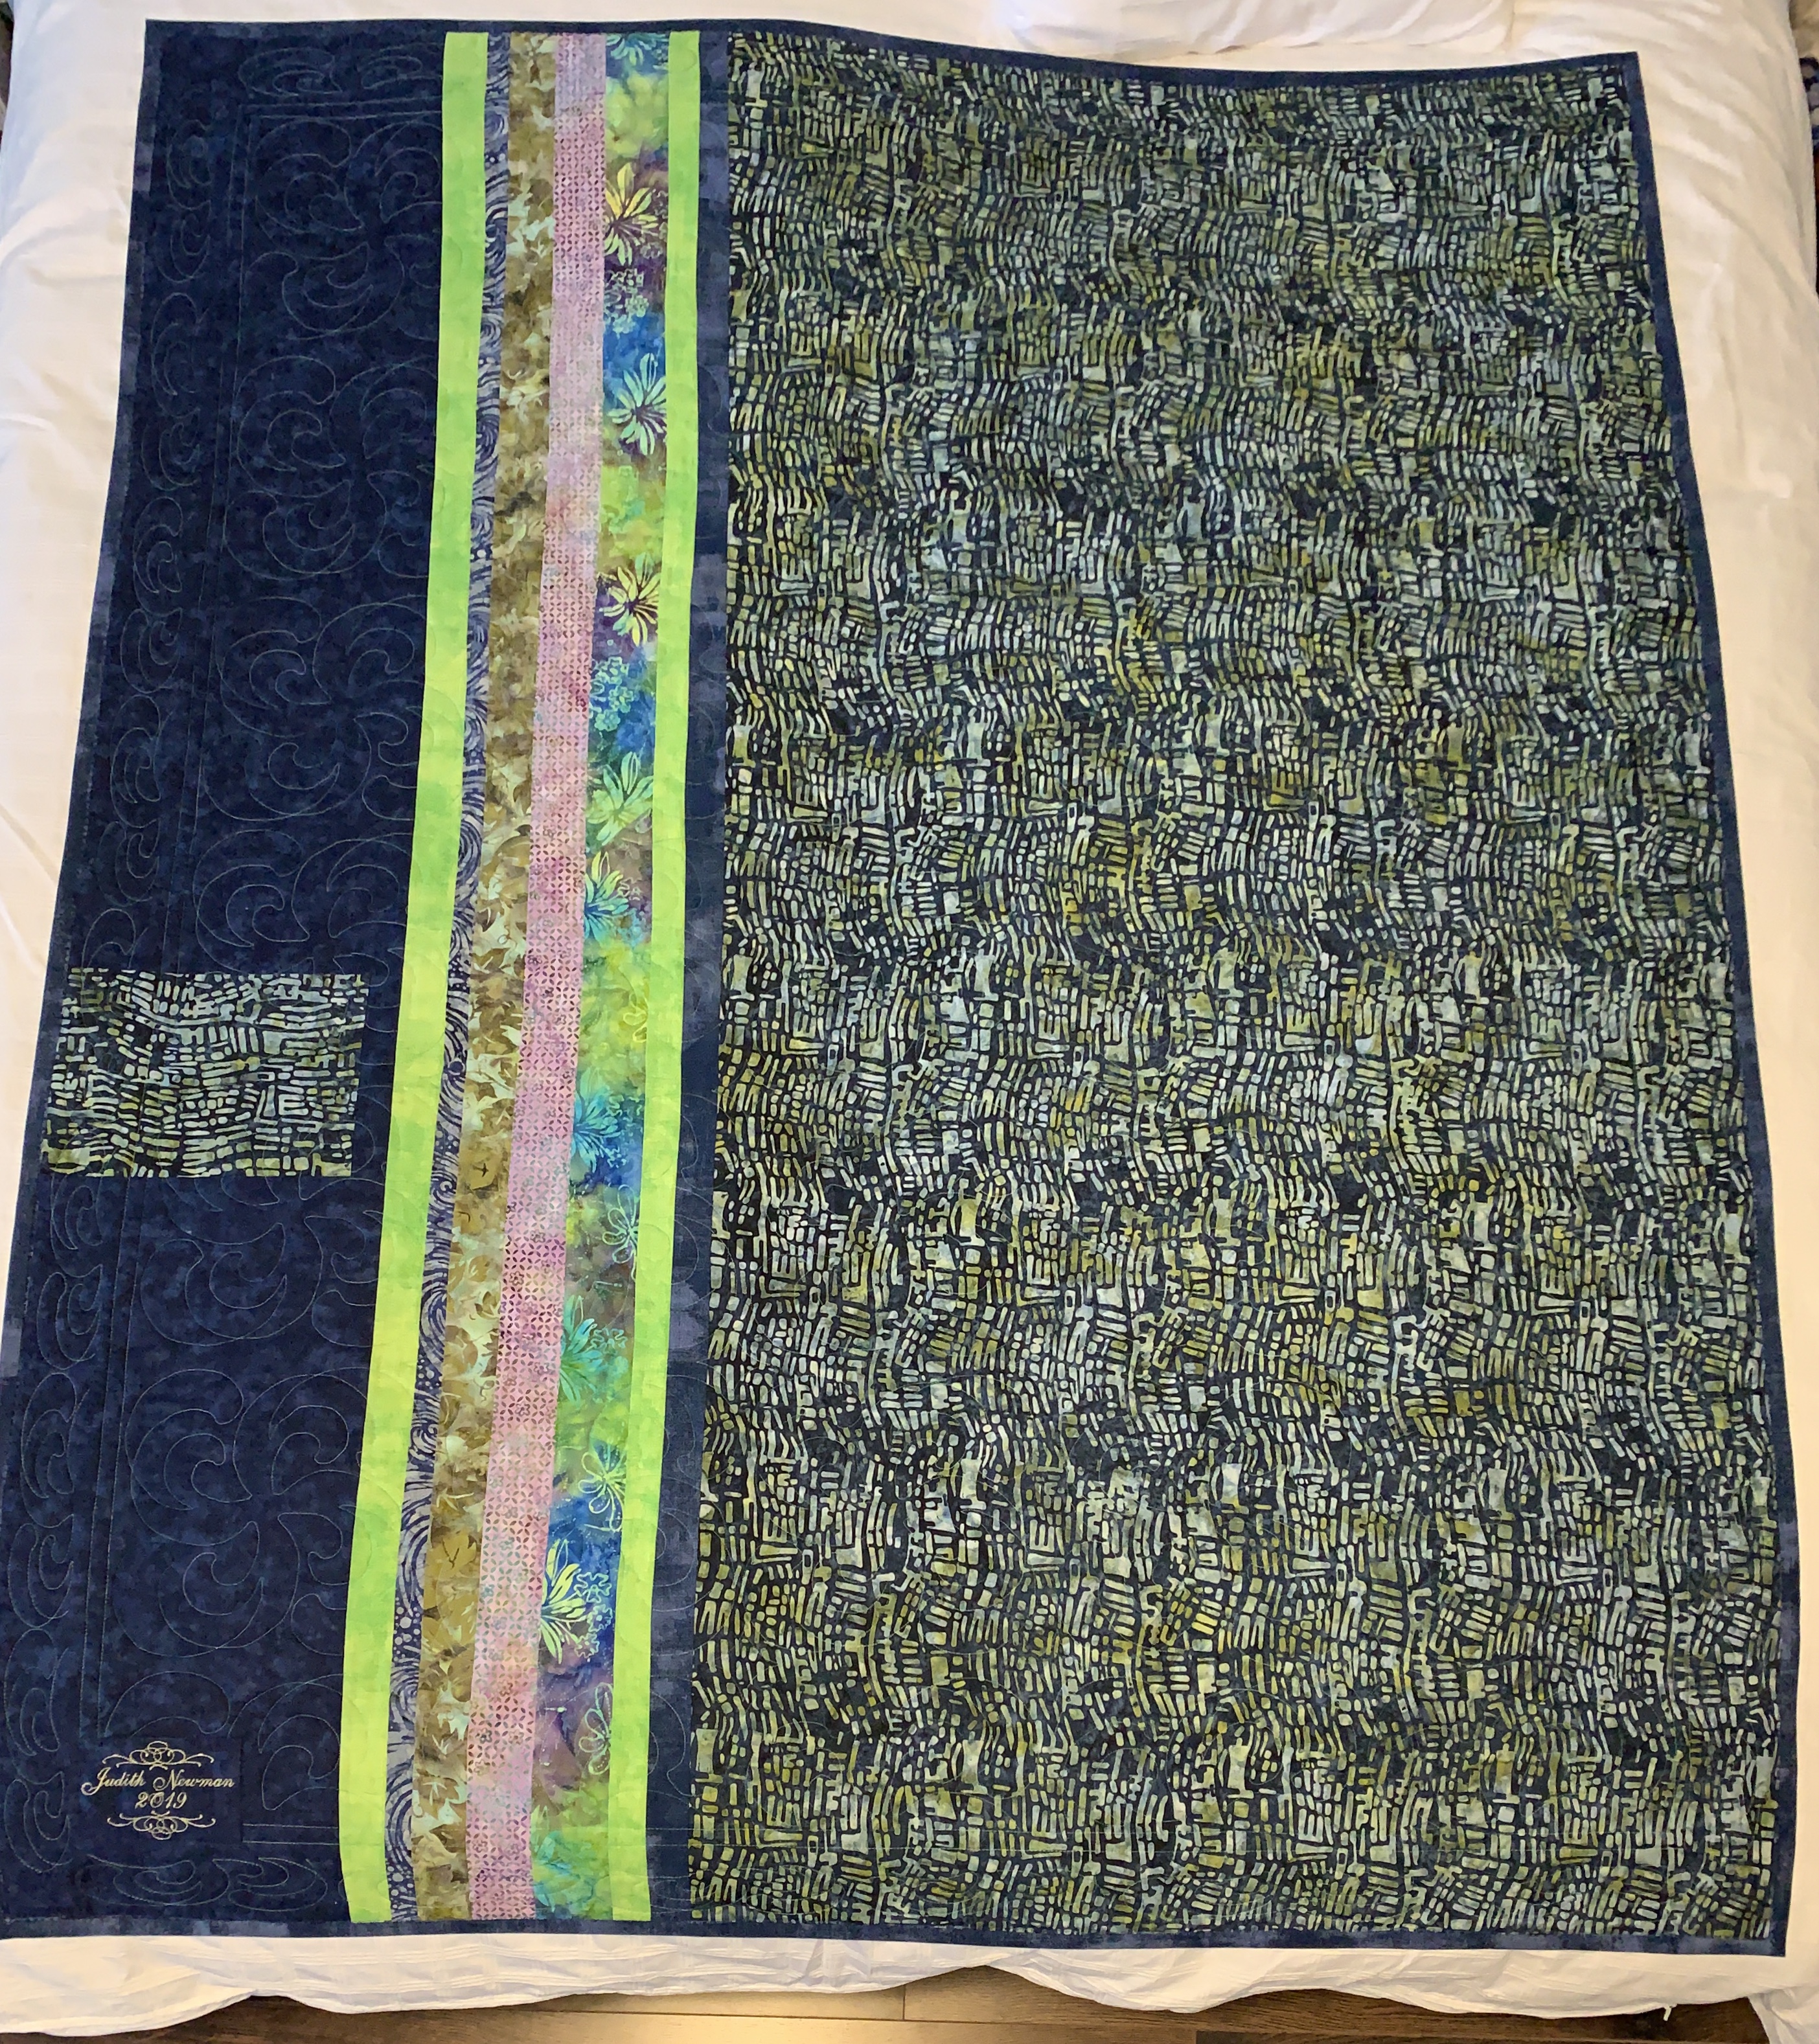
The remaining skinny quilts/banners are finished. I hand stitched the hidden bindings on the back of each hanging and added a sleeve for hanging it.

I’m happy with the combination of background fabrics and the appliqués – a close look shows I managed the edge stitching precisely. I like the quiet background and strong appliqué colours in this panel.
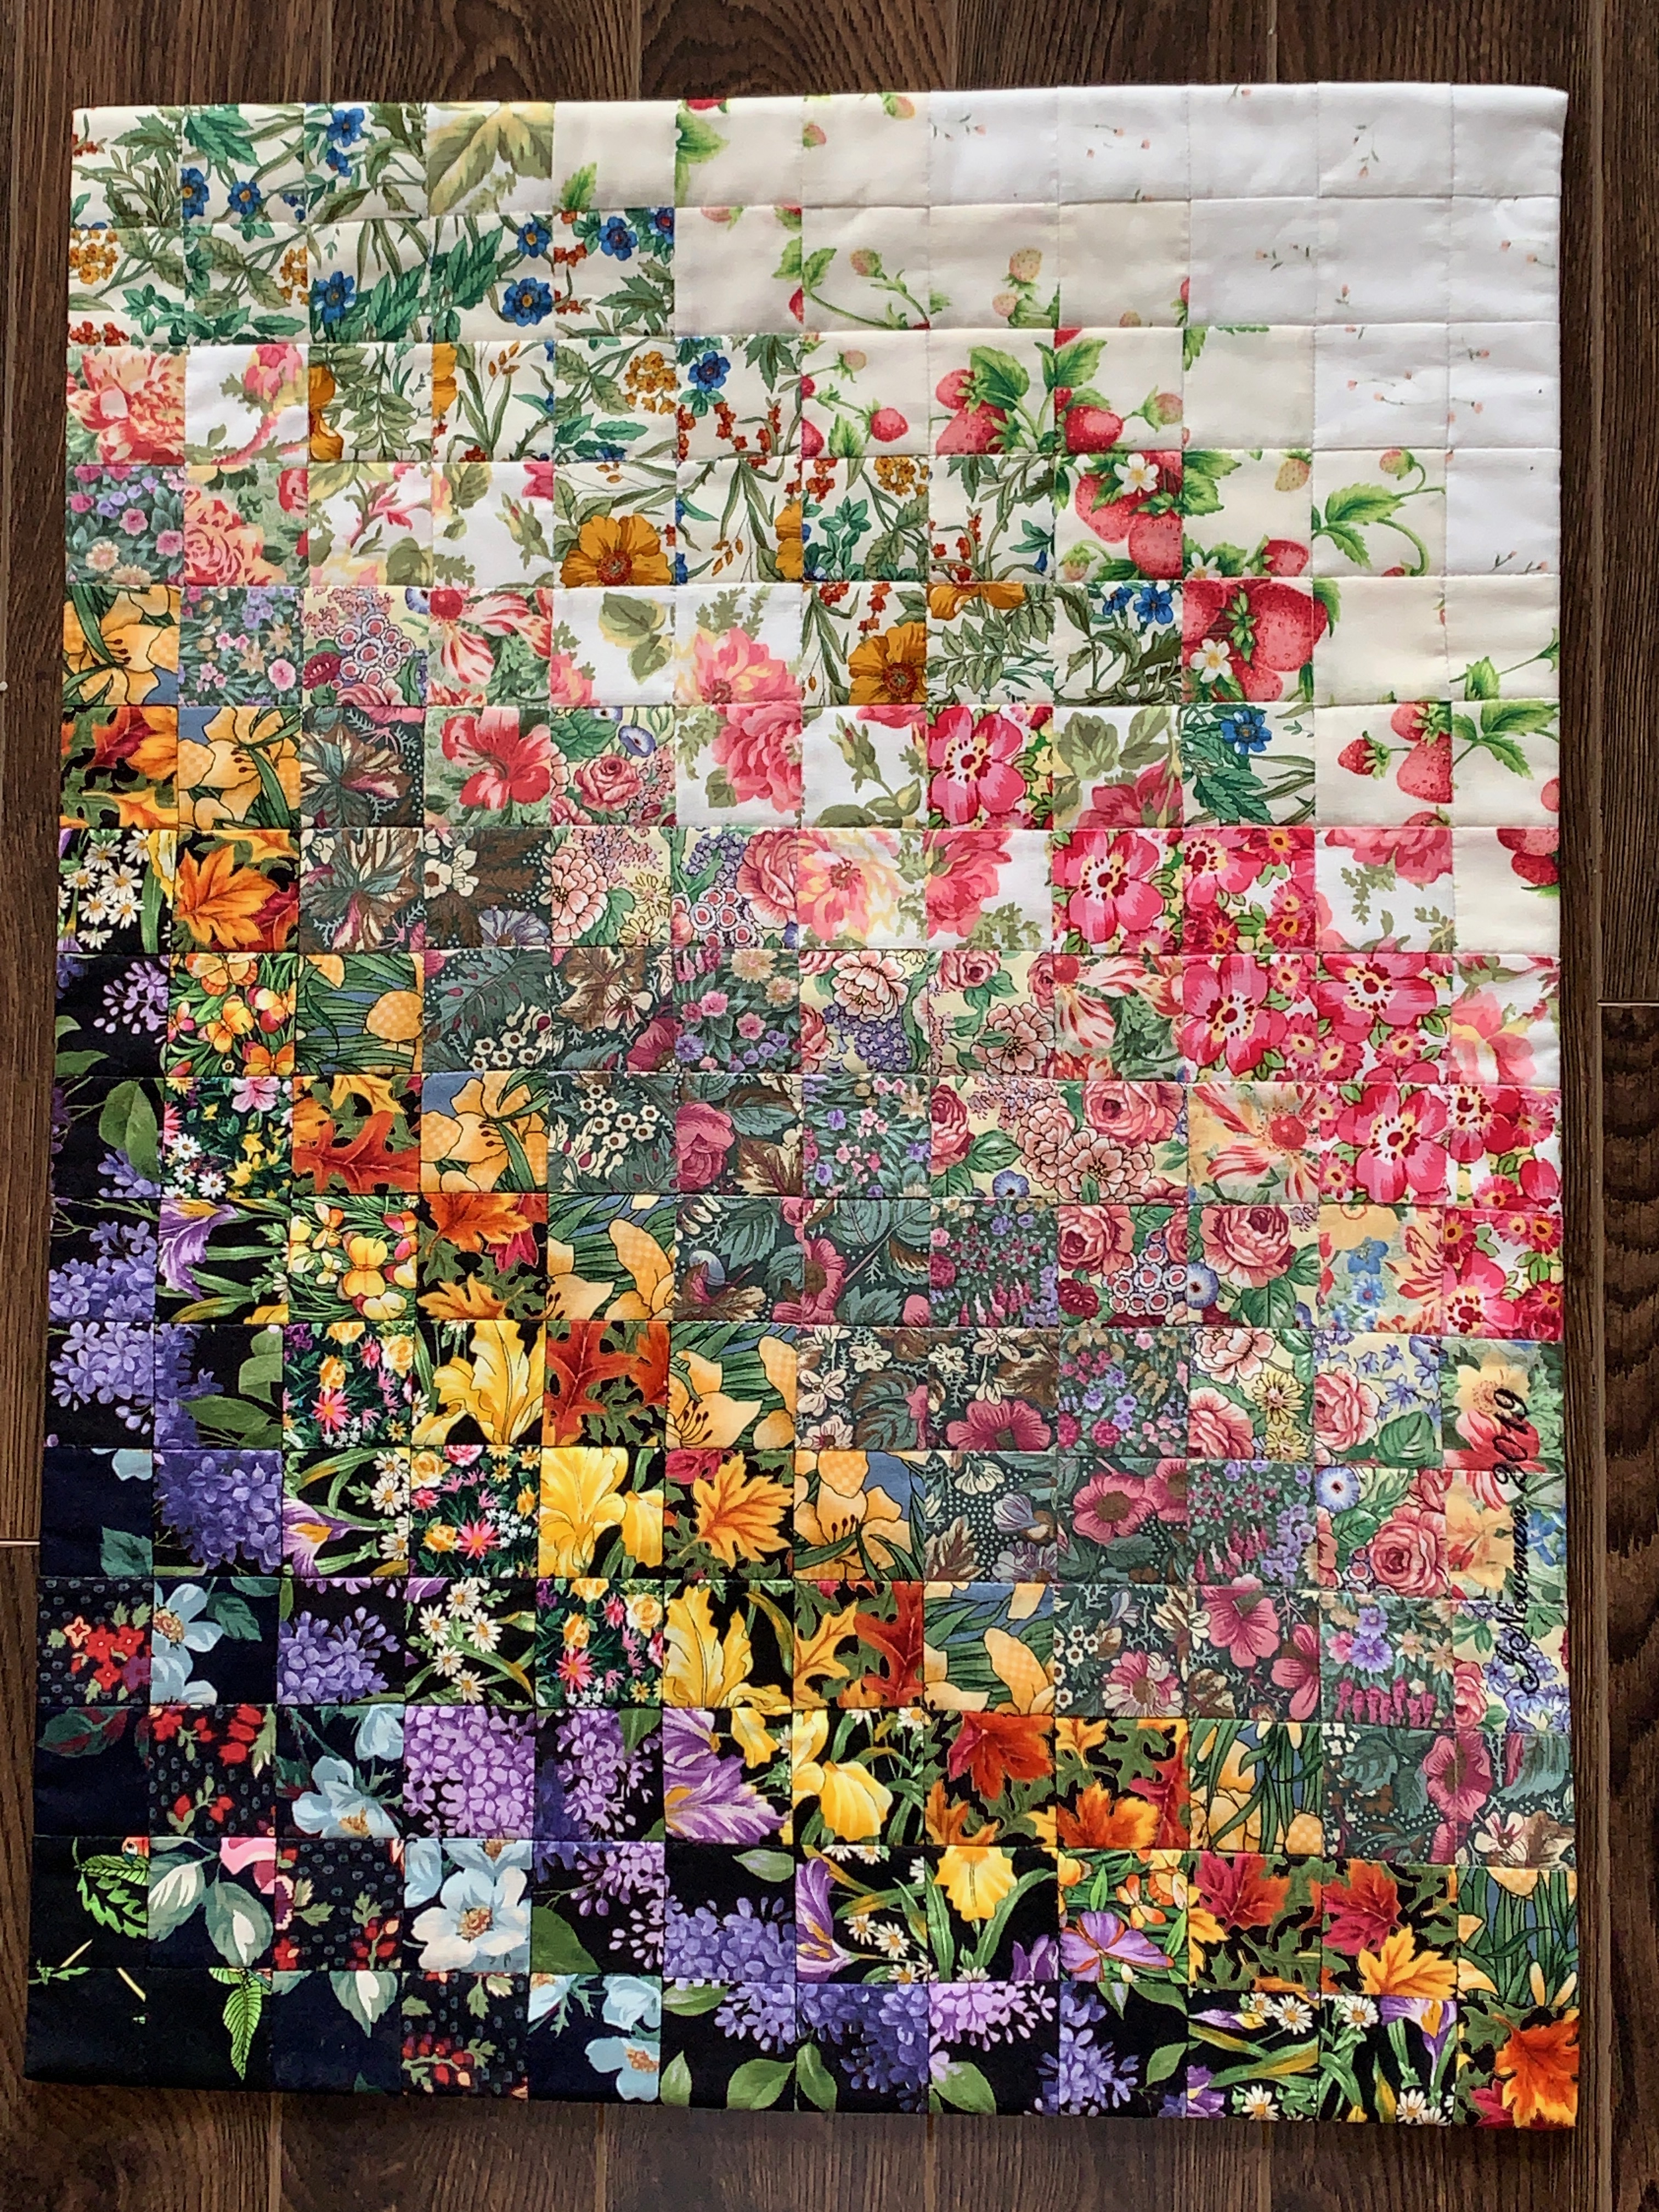
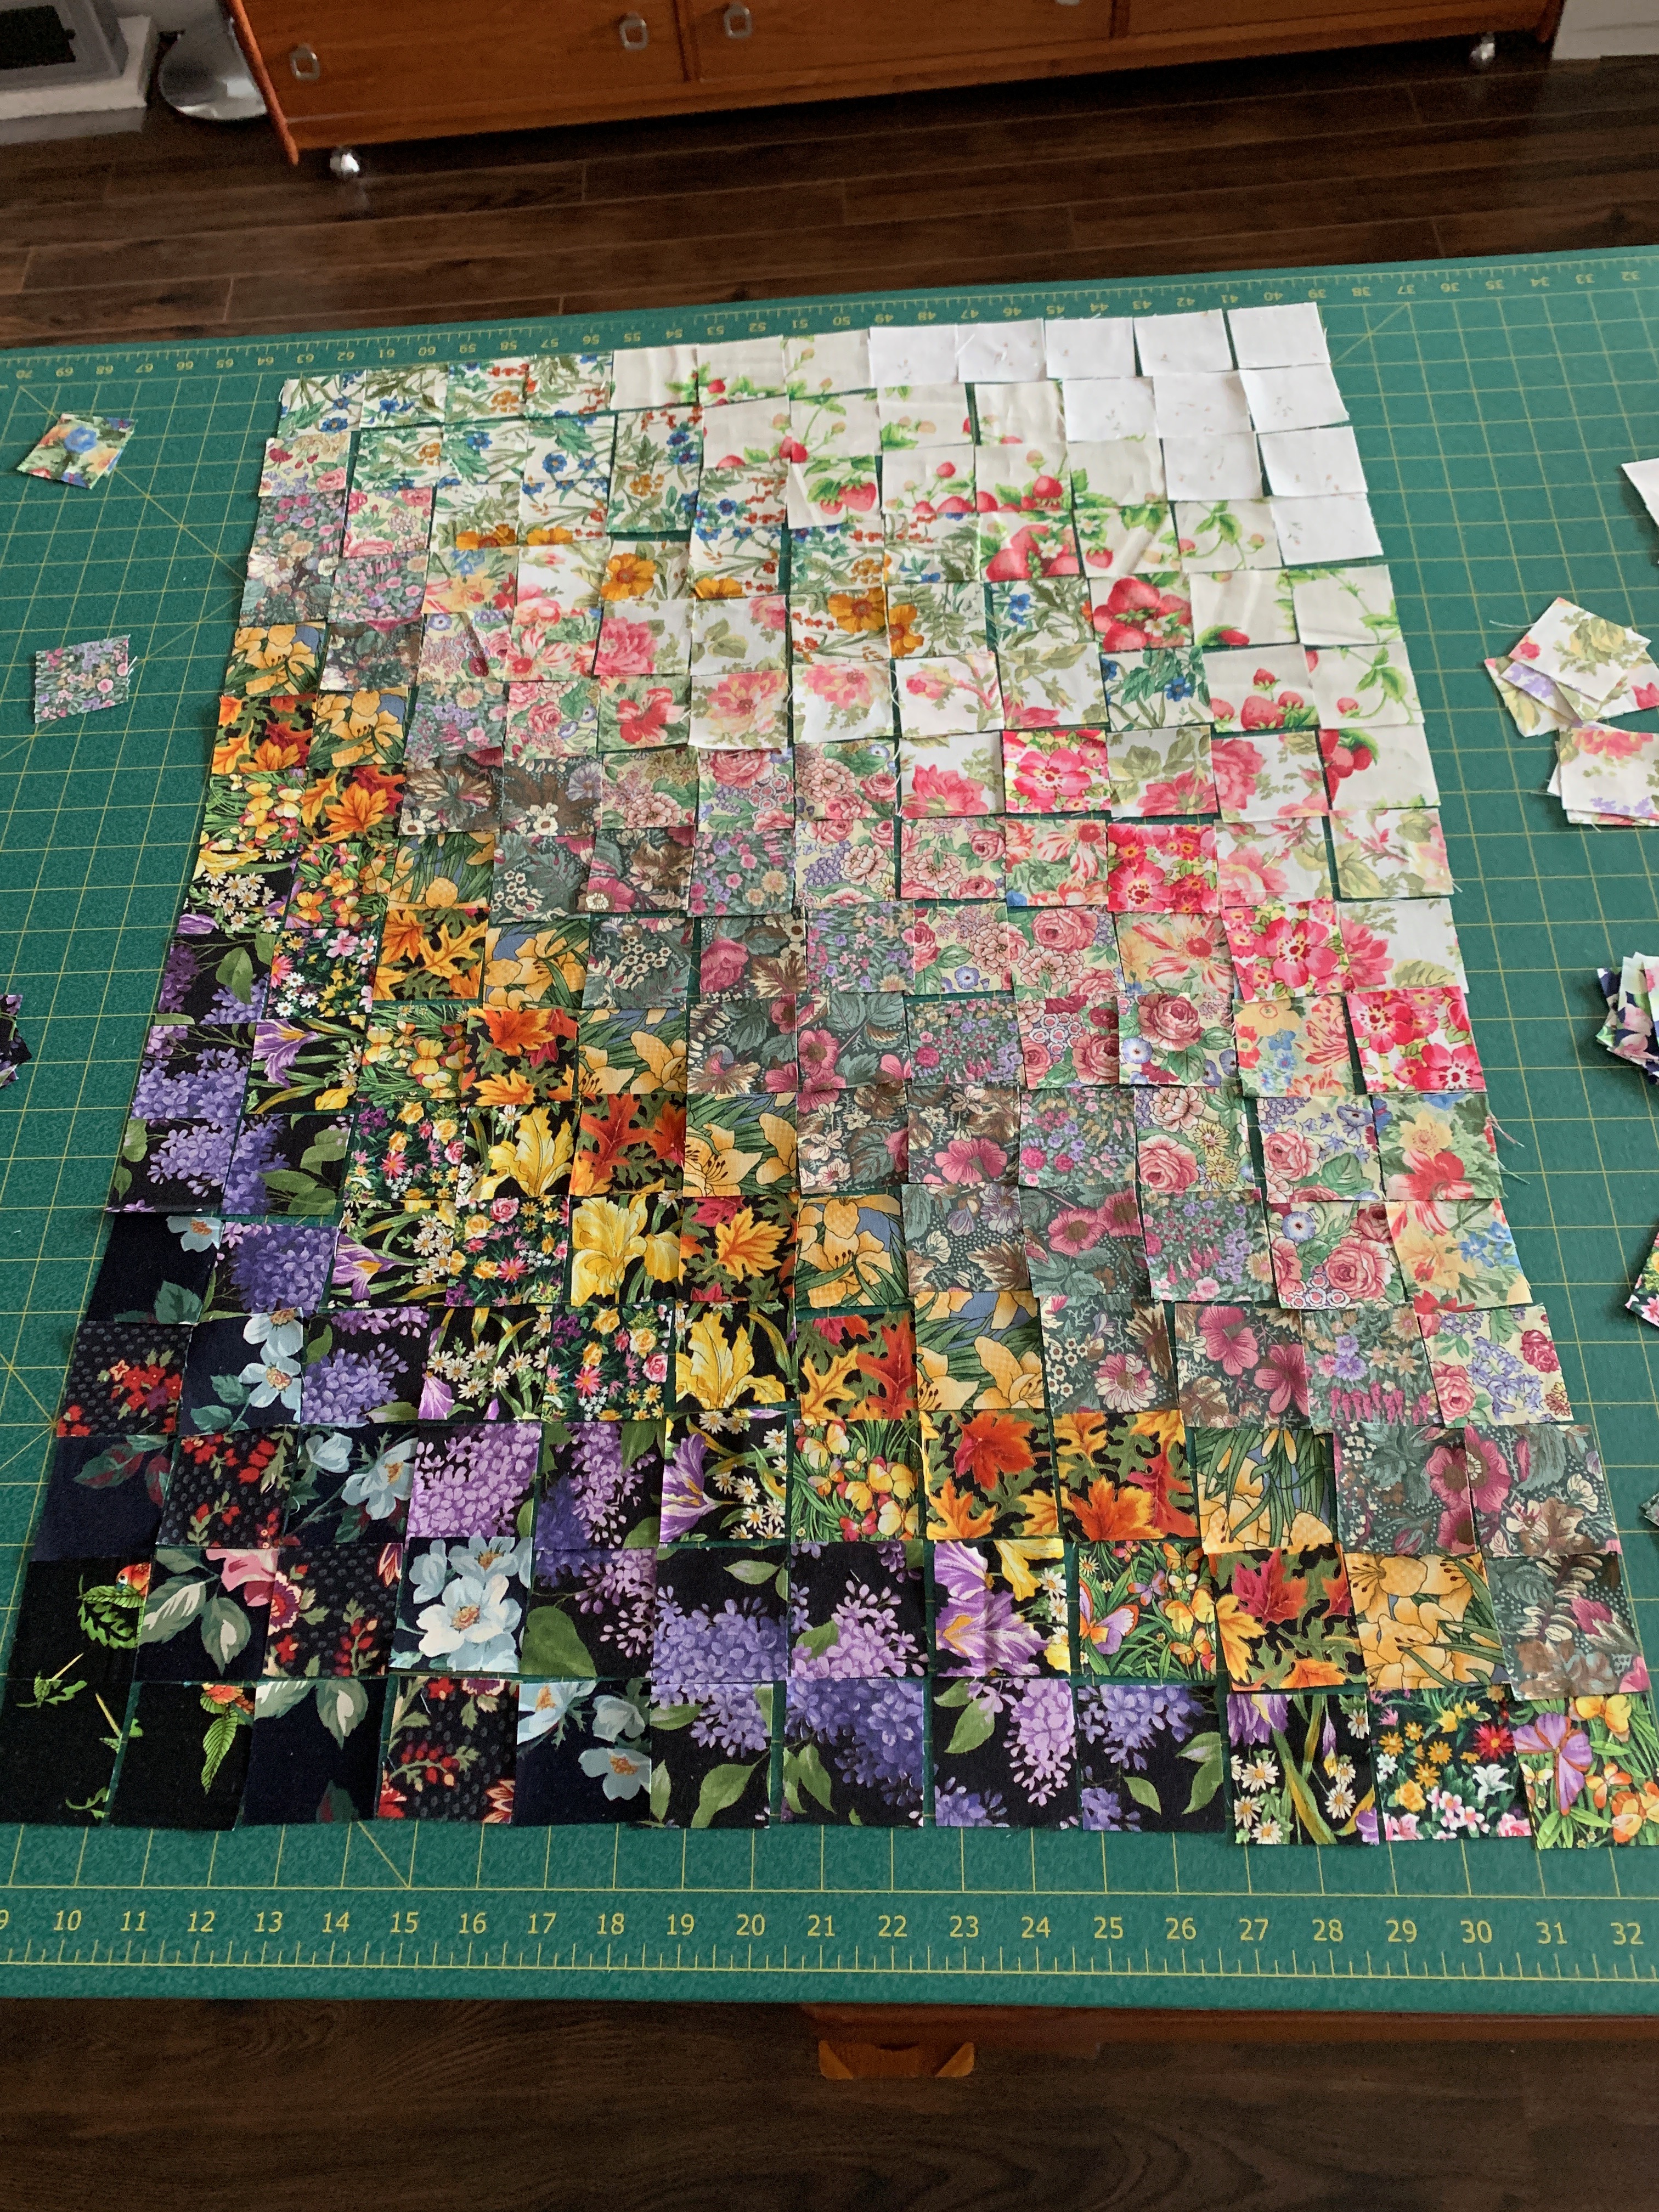
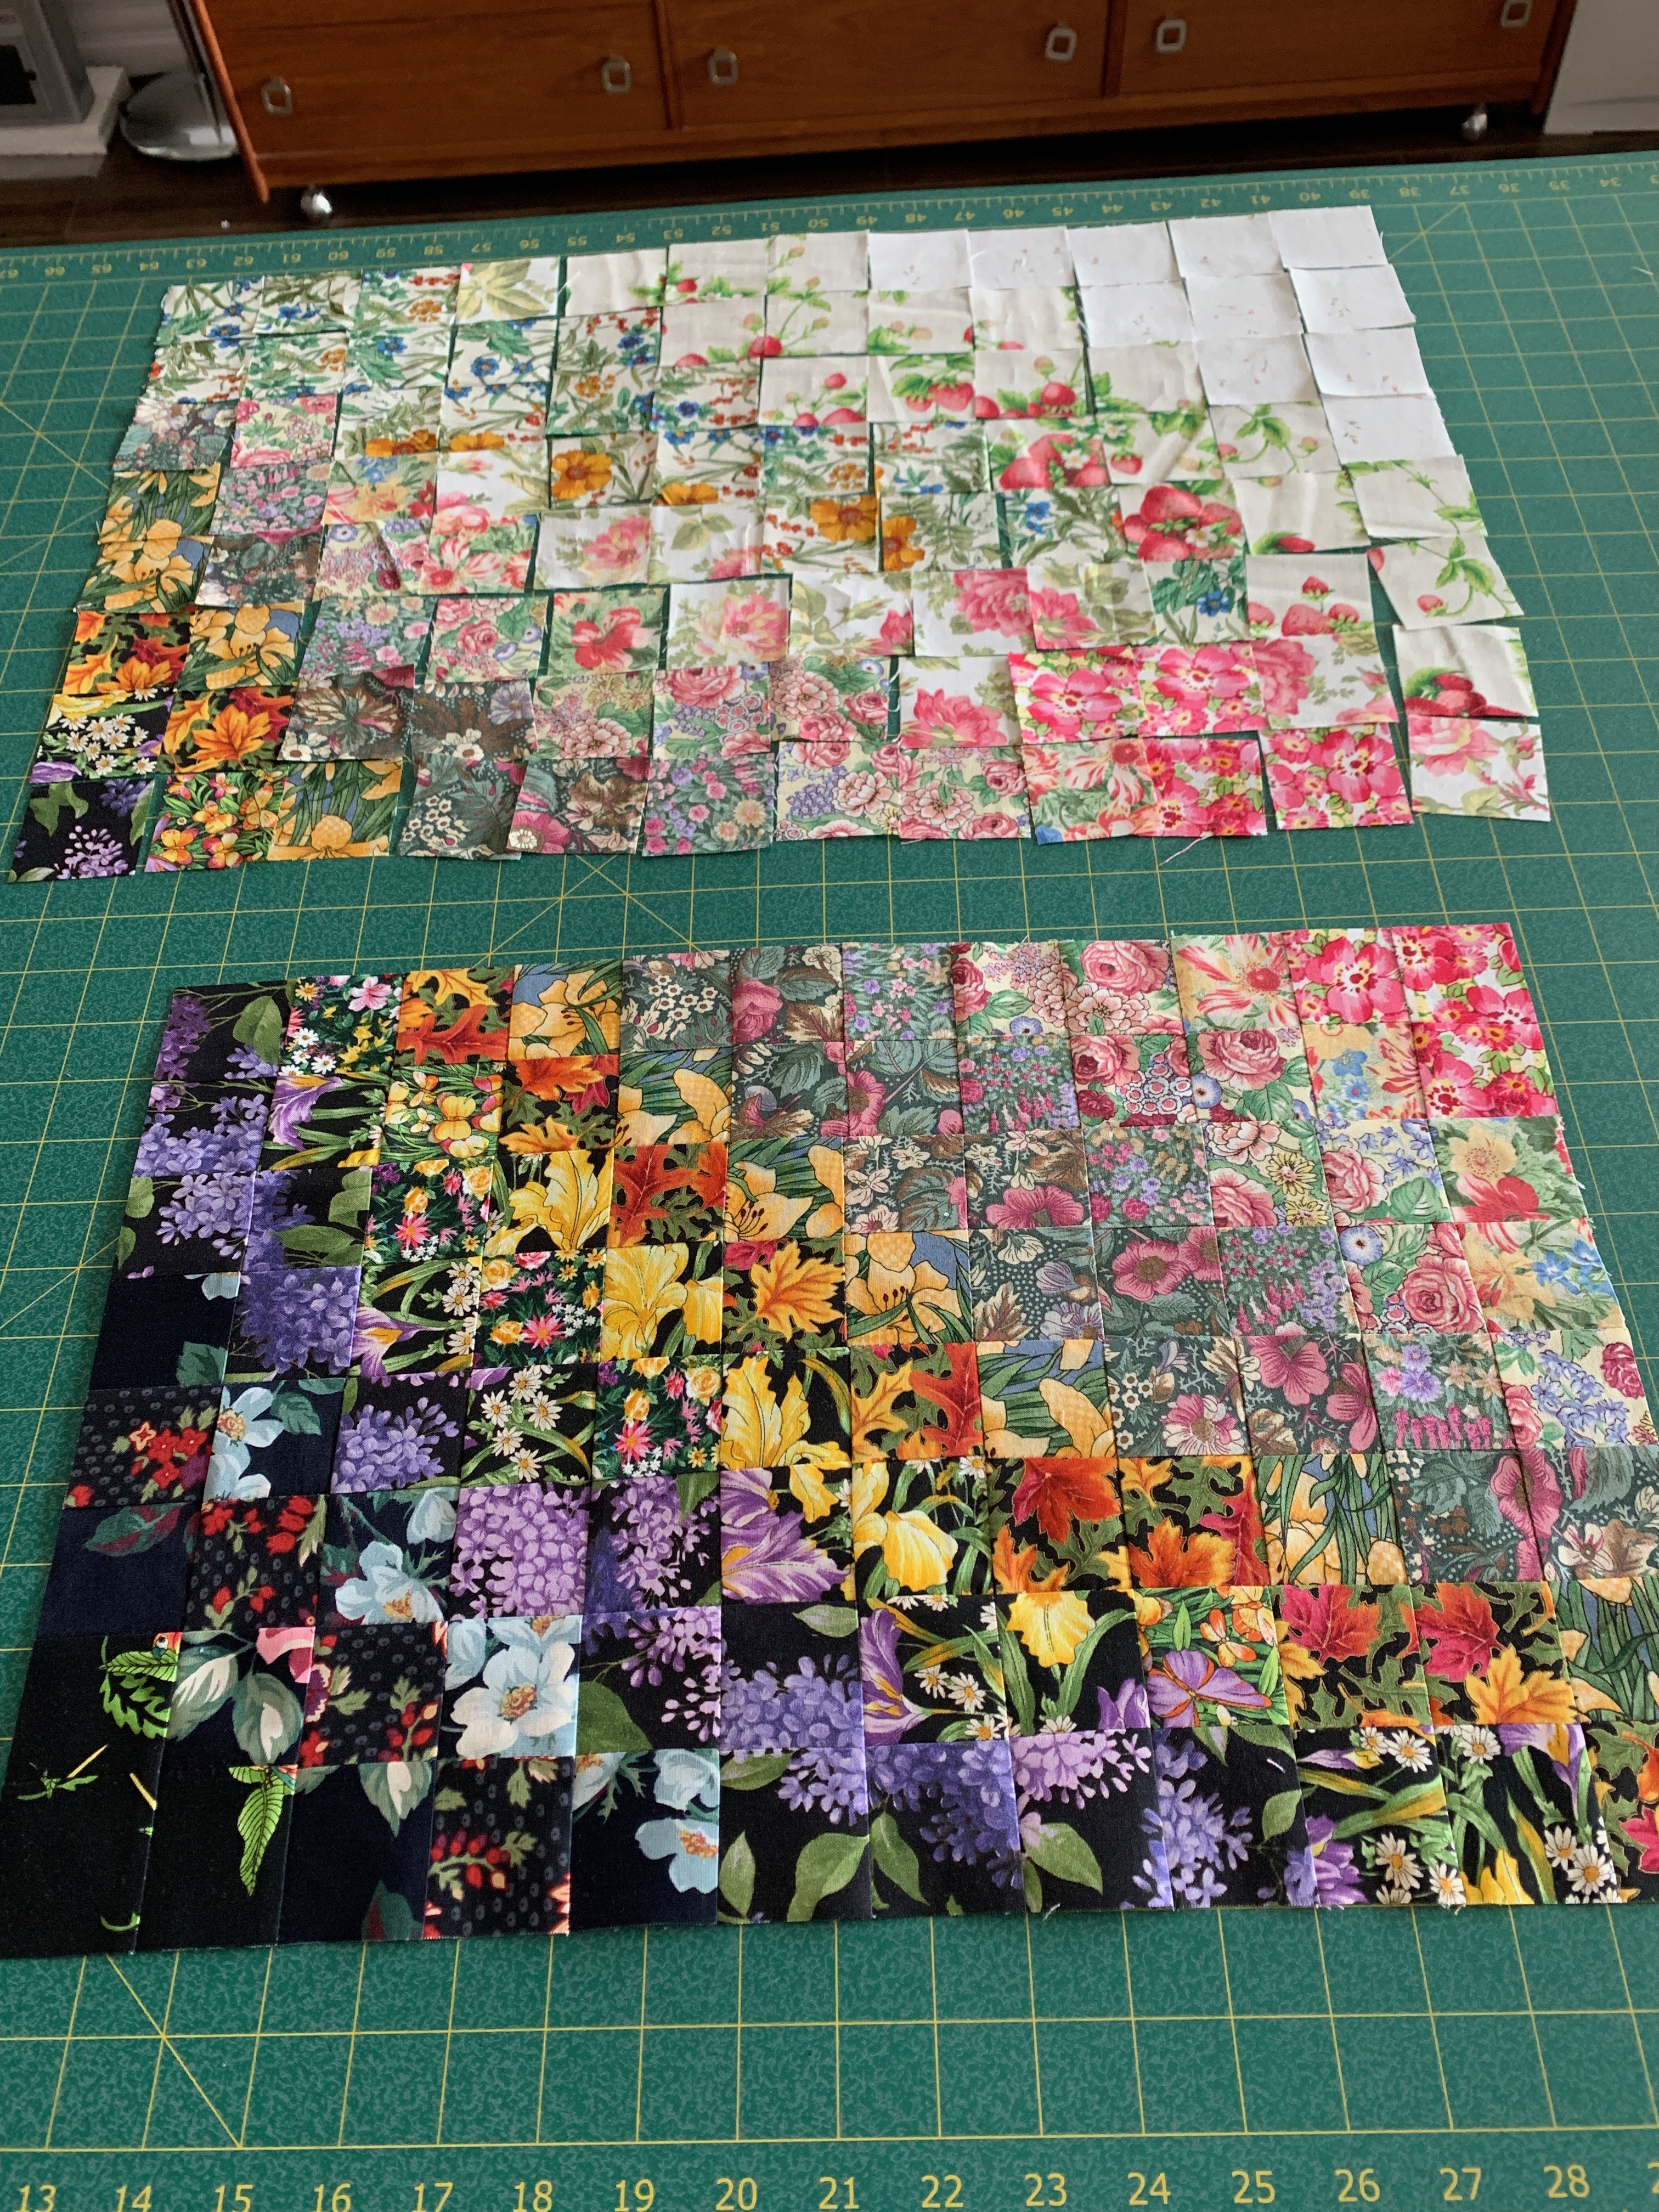
Skinny Quilt II

I wasn’t sure how I felt about the bright colours in this second banner but now that it’s completed I like the profusion of “dots” in the appliqué fabrics, echoed by the two small circles to fill in the space on the right. In the right location this could be an interesting accent piece.

Skinny Quilt III

I’m less happy with this banner – now that it’s finished I can see my idea to increase the spacing while decreasing the circle size didn’t work so well and I didn’t see, until now, that I have an inbuilt curve to the left! I think I chalk this one up to experiment and construct another to take its place.

Skinny Quilt IV

That’s what’s so interesting about improvising – I’m always amazed by how most of the time my experiments turn out well. It’s not that this one didn’t have potential – it’s just that I didn’t see the “flaws” until it was actually finished and hung on the door. It’s a lesson that I need to be a tad more detached and analytical when looking at these pieces at a distance.

Magical Garden – Colourwash Quilt II

This past couple of weeks I’ve been teaching a class on improvising wall art and I’ve been working on four Skinny Quilts/Banners myself as part of that project. The other day when I finished embellishing each panel (although I still have to bind each one), I thought about another project that might interest the gals.

Magical Garden

Last spring I attempted a watercolour quilt – made from many 2″ blocks cut from small print floral fabrics to use the colour in the squares to “paint” a canvas. I have many bags filled with 2″ squares (light, medium, dark) and thought this might be an idea to interest the women.

I laid out an array (9 x 12) creating a colour flow across the surface, stitched the  pieces together and took it to class yesterday to share with the women. Today, I decided to finish the piece with a narrow inner border, a piped border, and a wider dark border.  I’ve added a hidden binding and backing – I just need to do the hand stitching to tack the binding in place.

The photo doesn’t do the panel justice – the prints are all quite sharp and showcase the colour flow rather better than the photo would suggest. Looks like this might be a go for January. The women all thought it would be fun to attempt something like this.

Quilt On The Go – Finished!

Finished this quilt this afternoon. I’ve been working steadily on it since early last week. First doing all the edge stitching on the appliqué (154 fused elements), adding the borders, setting up the quilt, then quilting the “blocks”.

I’d created a single run design (enlarged and modified from a previous quilt [there’s a l-o-n-g story here about embroidery software not working after upgrading my iMac OS to Catalina!]) for a 227mm x 227mm block – it was four circles in a 2×2 array which meant I needed to embroider/quilt 30 repeats and then do  5 more half-block embroideries to complete the centre panel. I used the half-block motif scaled in width to accommodate the 3″ border. In all, it took 4 days to do all the quilting.

Quilt Top

Here’s the pieced back – I didn’t have quite enough of the dark blue fabric so added in a block of the main fabric, along with the longitudinal stripes.

Quilt Back

You can sort of see the quilt block as it sits over 4 of the underlayer blocks – it’s a curved pinwheel which was large enough to overlap the appliqué circles and follow the curves of the “x” pieces.

Quilting Detail

The finishing was interrupted on Tuesday because I had to spend the day preparing for an art quilt class I was teaching on Wednesday. I finally got to binding the quilt this afternoon.

The quilt is finished, label and all.

Quilt On The Go – VI

This is the completely edge-stitched, bordered top panel.

Bordered Panel

The photo doesn’t do this panel justice – I have nowhere to hang it and photograph it in a way that allows me to align it perfectly. I laid it on my bed and adjusted the sides as best as I could with my photo software. But you get the idea here.

The narrow chartreuse inner border was a good idea – it brings out the brighter greens. The wider darker blue grunge border stabilizes the blues in the panel. I’m also happy with the subtle diagonal flow in parts of the piece.

Now to build a back

Fabrics For The Backing

These are the two main fabrics I’m planning on using – I also want to build in a bit of piecing using the blues and greens from the top. That’s a job for tomorrow.

Yesterday I sat down at my iMac to play with my Pfaff TruE3 embroidery software to discover it won’t run on my recently updated operating system!

The first line problem is the dongle driver which is incompatible with Catalina (the new OS 10.15); there may be problems further in I don’t know about and can’t know about until I get past the registering of the dongle.

It infuriates me – I bought the software for a whopping amount of money a year and a half ago and now I can’t use it. I immediately contacted Pfaff TruE3 Embroidery Software support who replied they had no information on whether the dongle manufacturer was planning a dongle driver update! TruE3 was only compatible with Mojave (10.14). No help there, obviously.

So by the weekend I’m in a bind – I can stitch out embroideries I’ve already created but I can’t modify them to any great extent and I can’t create anything new.

I’m going to have to ask around among the women I know who have invested in Premiere+ and see if I can spend a bit of time on their computer creating a design to quilt this new quilt with – that’s if that software will actually run on an updated Mac!

Quilt On The Go – V

I’m making headway – I’ve got all the circles edge stitched and about 2/3 of the Xs – It’s taken me several hours each of the last three days to get this far. Tomorrow afternoon I hope to be able to finish the remaining Xs.

Circles Appliqué Quilt – Edge Stitching

I’m stitching using embroidery rayon (in many different colours to more or less match the fabric I’m stitching – the stitch is a narrow blanket stitch (l: 2mm, w: 1.5mm) making sure I’m using the needle down position so I can pivot the fabric to keep the stitching along the raw edge.

Once I’ve finished the edge stitching, I will add a narrow chartreuse inner border, and a navy/teale grunge outer border to finish the top. I have fabrics for the second side – I will do some piecing as I assemble it so my narrow width of fabric can be extended to fit the width of the quilt.

What I have no idea about is how to quilt the sandwich! The last time I did a quilt like this I simply stitched the underlying block edges as squares through the circles and Xs. However, this time the arrangement of circles and Xs doesn’t lend itself to that. I’ve discussed ideas with several people and heard many suggestions. Were I doing the quilting on a long-arm quilter I’d just do some open curvilinear design but I will be stitching in the hoop so I need to come up with some kind of “block” idea that will fit within my 360mm x 200mm hoop. (I have a large reversible hoop but I’ve learned the hard way that whatever design I create has to not cross the centre line.) I need to let this percolate for the next week or so when I’ll be ready to do the quilting.


Three Hangings – Completed (Skinny Quilts)

I spent the better part of the day hand stitching the hidden bindings on the back of each panel – took over an hour each and left a small hole in the middle finger on my right hand in spite of the small metal thimble disc (Ultra Thimble) I had stuck to my finger. (The hole will take a day or two to heal.)

Three Hangings – Completed 10″ x 42″

I made a point of matching the hidden bindings with the front of each hanging so that when they’re on the wall the fabric at the edge is consistent with the panel itself.

Back of Panels

I am definitely pleased with how these panels turned out – they feel refined, sort of elegant. I must find a location to hang at least one of them somewhere in my apartment! That will be a challenge because there isn’t much wall space left.

Untitled #1

Untitled #2

Untitled #3

Garden In Bloom – A Colourwash Quilt

Finished this quilt last evening with a hidden binding. I auditioned various fabrics for bordering but I didn’t think anything worked very well. A black border muted the white corner and any other colour simply didn’t work. So a hidden binding it was.

Finished Watercolour Quilt

Final dimensions: 18.5″ x 24.5″. As one of the women in the Friday knitting group would say – a good sized place mat!

I quilted the piece by stitching in the ditch on a zig-zag – that allowed me to do complete stitching runs in a single thread colour. The lower left corner was stitched in black, the upper right in white. The more middle tones I stitched using an Aurifil variegated grey. I did a reasonably good job – the stitching isn’t at all obvious.

I’d considered quilting the panel in 4-block or 16-block units. I went so far as to create an embroidery design, but in the end I thought I’d not be happy with the quilting overriding the colour flow and in the end settled on stitching in the ditch.

I have several hundred 2″ blocks left over from this project. I don’t see me doing another art piece like this but you never know. I have discovered these quilts are also referred to as “colour wash”. And it also qualifies as a “postage stamp” quilt because of the small block size.

I’m happy with the outcome. Notice I embroidered my signature using black rayon embroidery thread along the right side. The bottom rows were too busy for any signature to show.

Now on to the next project.

Socks From Leftovers #7

Finished this pair of socks last evening. They’ve turned out to be rather wild and colourful. I did think about keeping them but I’ve put them in the giveaway sock stash. They might not stay there – they might still end up in my sock drawer!

Socks From Leftovers #7

These were socks from one of the original yarns:

Here are socks from the second.

I have to say each of these creations from leftovers are interesting – the socks have turned out to be unexpected and quite interesting. I’ve already begun another pair using leftovers.

Watercolour Quilt Panel – Making Progress

I played with the arrangement and the colour flow off and on yesterday – I’m stopping with this layout:

Laid Out

I worked at changing the block placement from linear on the diagonal to a more parabolic flow and also tried bringing in brighter colours toward the top.

Half Assembled

The curved colour flow is stronger with the stitched blocks because they end up 3/4 the size (1.5″) of the raw 2″ blocks.

Assembling the blocks is a careful, slow process – I decided to work in pairs of rows, laying the row above on top of the blocks in the row below and rotating them 90˚ so I would be stitching the horizontal edge (12 pairs at a time). Next I pressed the pairs open, assembled 4-block units, finally stitched those together to form a 2-row strip.

I’m needing to be extremely focused while doing the pairing to make sure I’m reconstructing the block layout precisely. So far I’ve succeeded without having to take any stitching apart. I’ll have to be just as careful when I get back at the sewing later today!

I still think I want to add an appliqué of some sort because the panel seems unfinished – at least at this point. I still have no idea what I can add – I googled “watercolour quilts with appliqués” for ideas but everything I’ve seen doesn’t achieve the elegance I’m looking for. So once the panel is completed I may have to put it away and sleep on it for some time. I don’t think the panel wants a silhouette and a photo image printed on fabric won’t do either because the background is very busy. So I will just have to leave it for a while.

First Pass – “Watercolour” Quilt

I’ve just spent the past two hours trying to set up some kind of graduated layout using the 2″ squares I cut from the jellyroll I bought from Whims.

Not an easy task I discovered – 40 different fabrics (20 2″ squares of each) which I’d put in tonal groups in ziplock bags. Trying to keep track of what I used and what I had was not so straightforward.

Watercolour Quilt – First Pass at a Layout

This is my first graduated layout. I am thinking about sewing this together just to see how it turns out but I have no idea what I’d do with it after that! This array would end up about 16″ wide x 20″ long. Although I started with 40 different fabrics many are rather dull and not easy to incorporate into this layout.

Looking at the photo, now, I think I may rework this layout by extending the dark colours further to the right and see what else may be possible with the dull colours in the middle. That will mean collecting up squares from the same fabric, piling them to one side, then digging through the bags for more of squares that belong to the darker colours!

It’s gonna sit on my cutting table over night, and likely into the weekend before I actually time to take it apart and start over.