Convergence Quilt #1

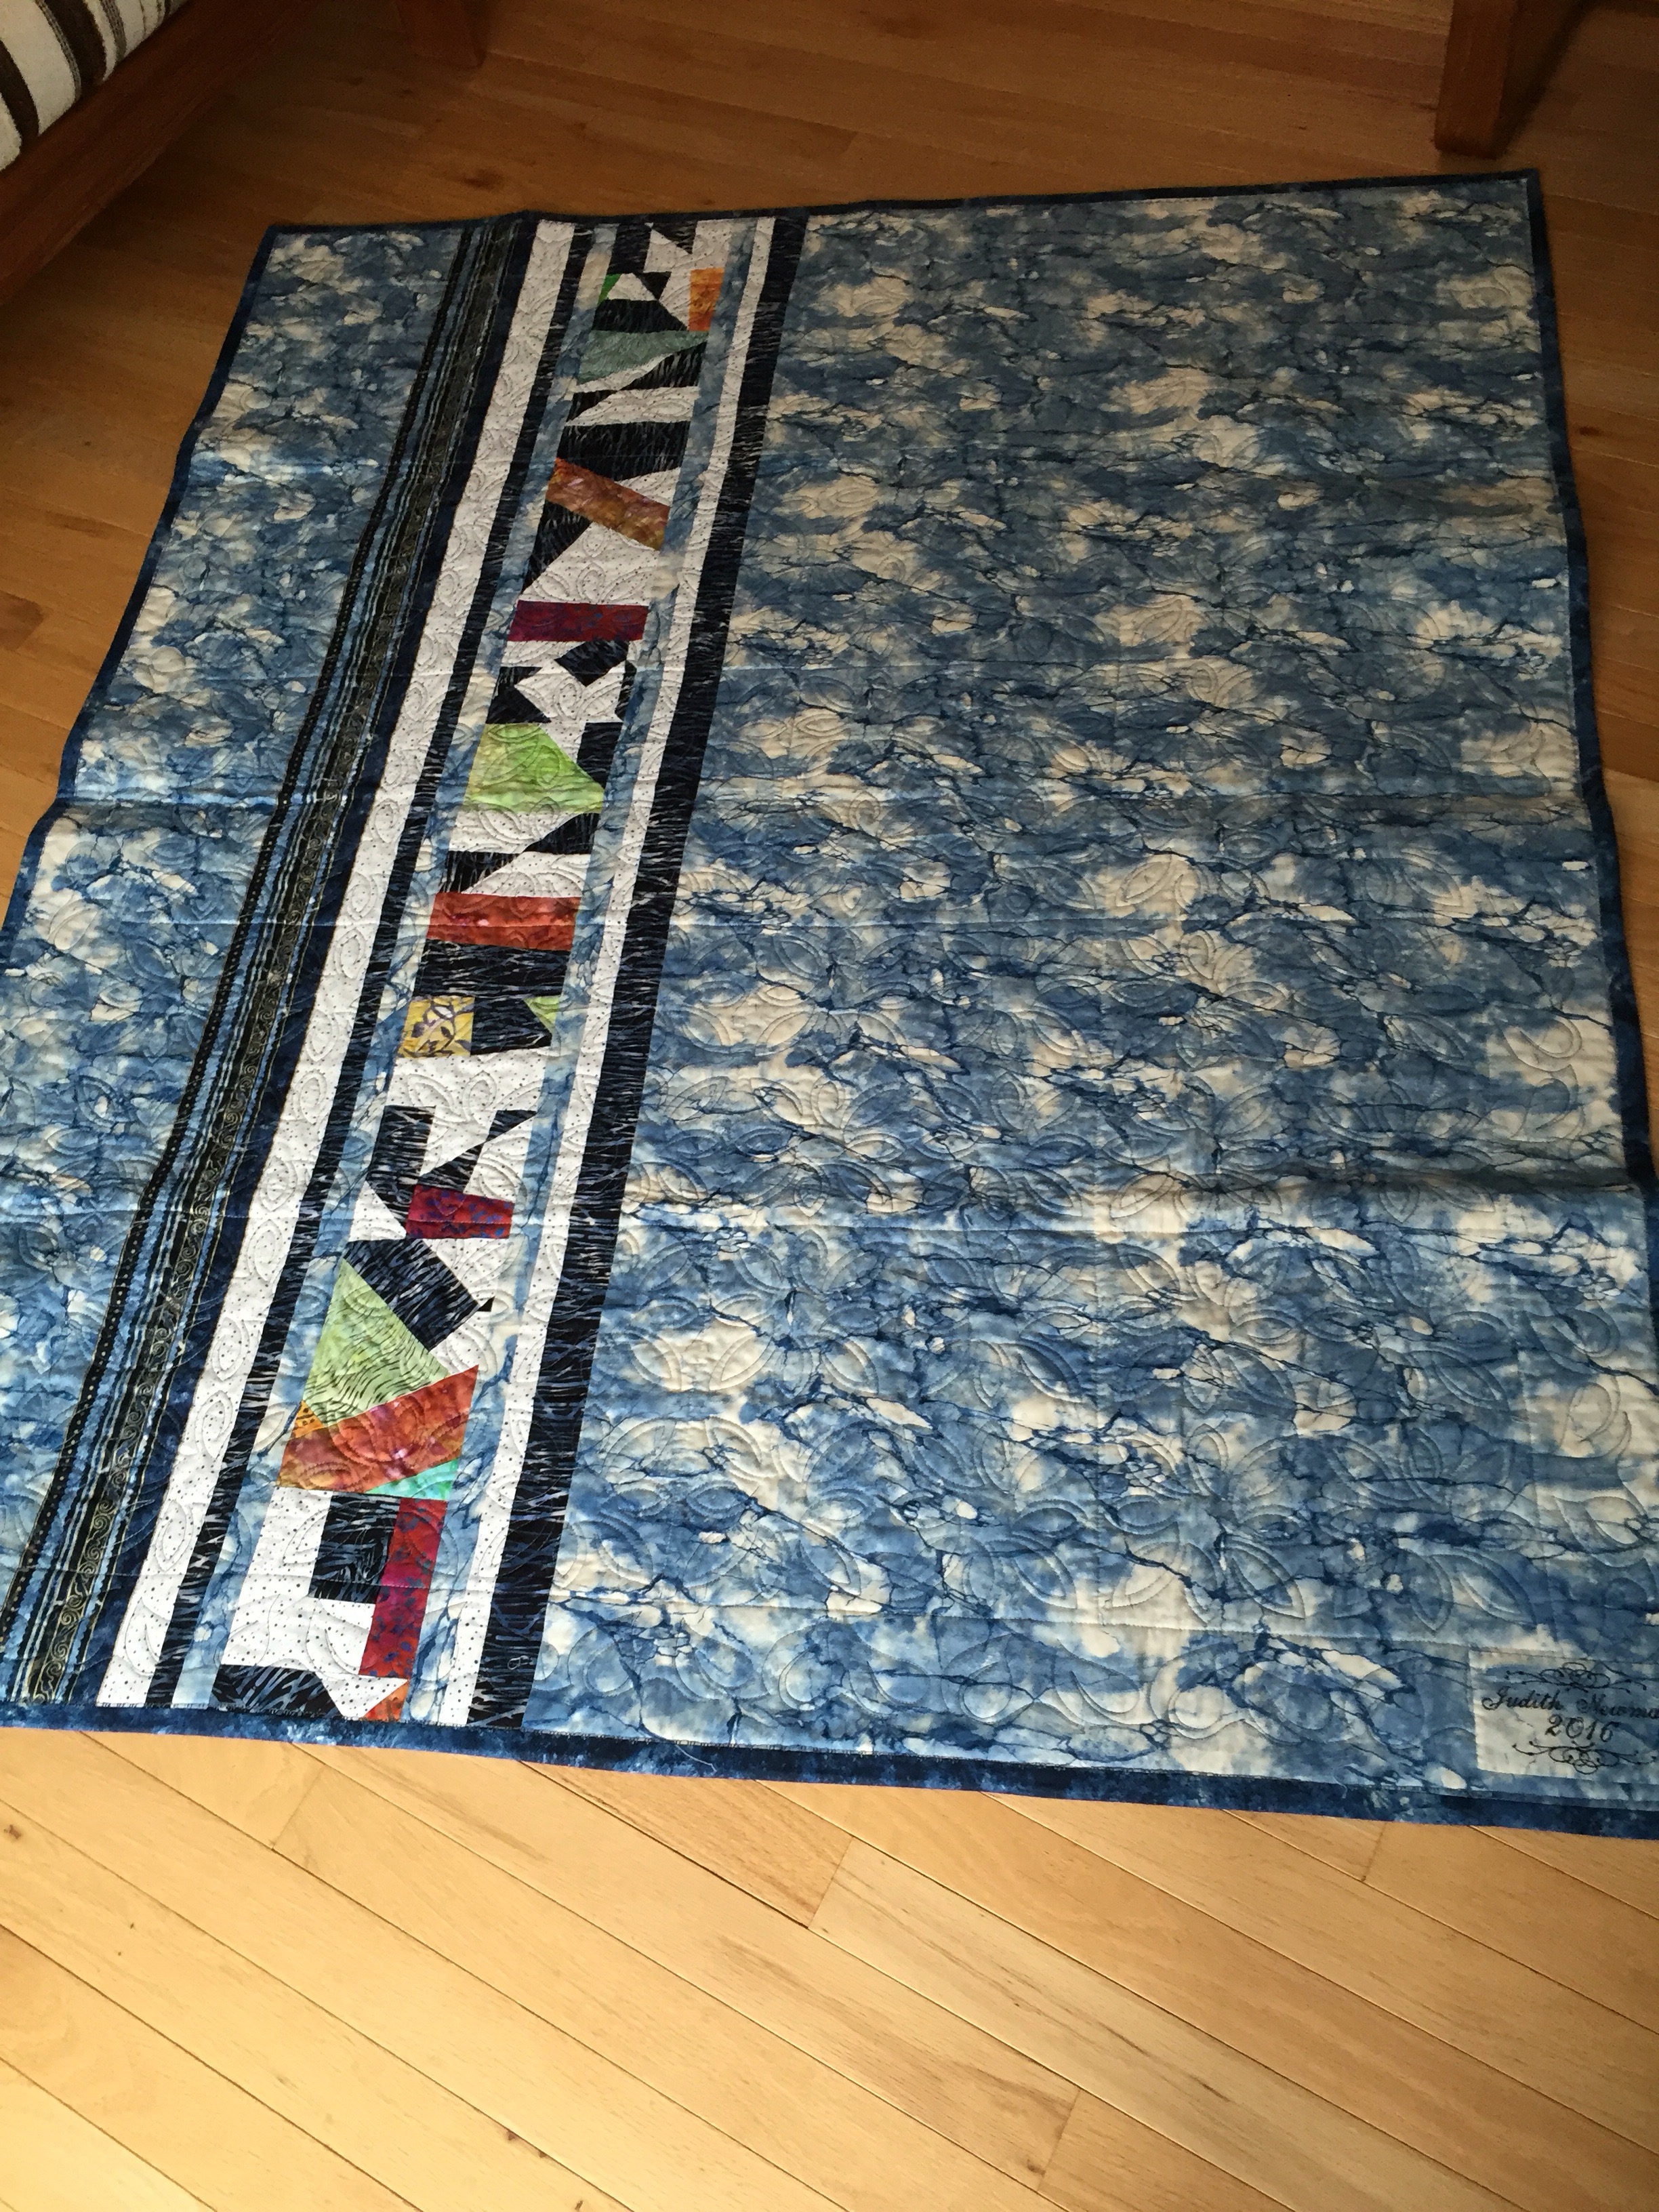
Yesterday I drove to Parrsboro to retrieve my quilts from the Art Lab Exhibit. No sales – wasn’t expecting any. Lots of nice comments in the guest book, though.

When we were hanging the quilts three weeks ago, Michael asked me if I’d ever tried a quilt using the Fibonacci Sequence of numbers (0, 1, 1, 2, 3, 5, 8, 13, 21…). I never have but I googled Fibonacci Quilts and found a gazillion examples!

Turns out that modern quilters began playing with this idea quite some time ago. One of the earlier quilters to explore intersecting graduated, spliced fabrics in two directions was Ricky Tims. He used a slightly different sequence of numbers but the effect is similar. His book: Ricky Tims Convergence Quilts offers a variety of ways to play with this idea.

cover-rickytims

Book Cover

c2

Example from the book

Quilts called out to me today. I put the shirt/jacket to one side (I have to take the back princess seams apart and reduce the fullness of the side back panel to smooth out the fit of the back of the garment – I’ll get back to it likely tomorrow because once I solve the back fit problem the assembly of the garment will go very quickly!).

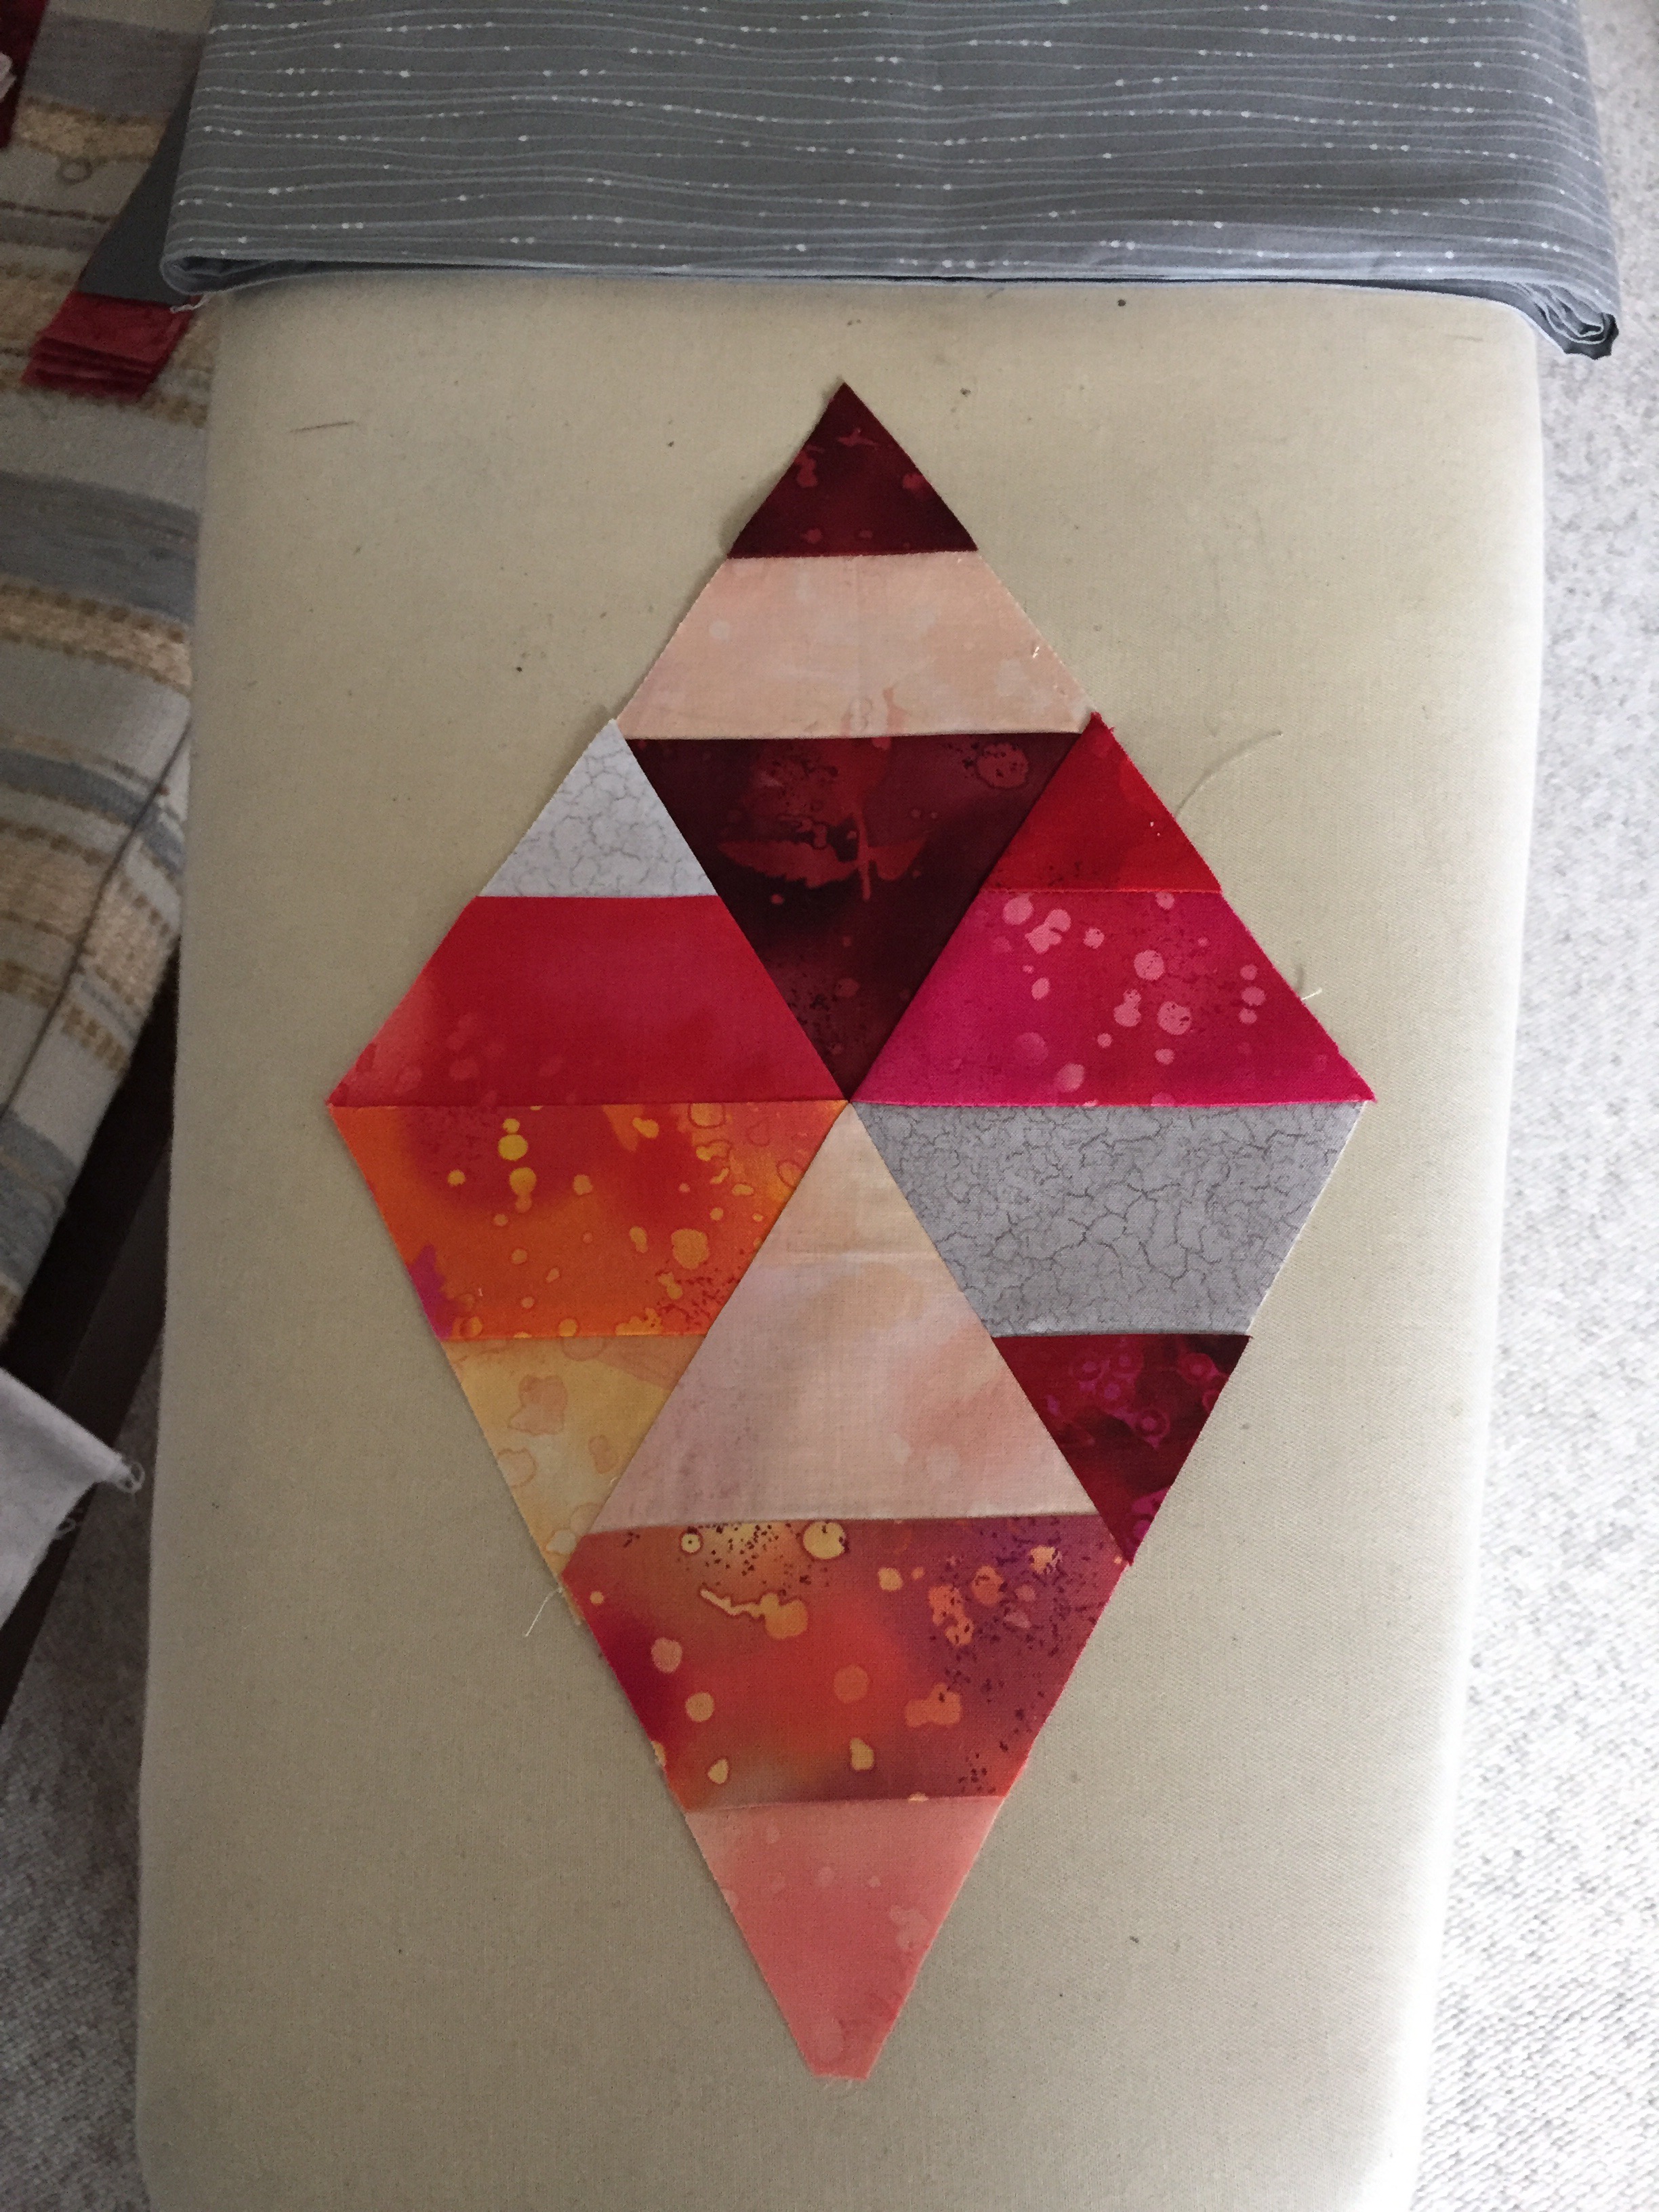
I went to my fabric stash and chose four complementary fabrics – two with strong patterns, two more muted. I had 1/2 m of each fabric – I cut 20″ blocks from each, pressed and starched them. Lined them up, trimmed them, sewed two together, folded them right sides together, then cut the following strips from each pair: 1″, 1.5″ 2″, 3″, 4.5″, and 7.25″ (that used up most of the width of the fabrics).

I interleaved the strips, then stitched each set together giving me two graduated panels. Here they are with the strips assembled in one direction:

img_8012

The second step is to cut the panels again, with the fabric rotated 90°. I laid the two pieced fabrics right sides together, strips horizontal, then cut vertical strips again, using the same dimensions, then interleaved them once more. This produces a single panel with the four colour blocks converging into one another:

img_8017

My “convergence” panel #1

My finished panel is 34″ x 34″ – now I need to do something with borders to extend the quilt top so I have a lap size quilt (~ 45″ x 60″). That means asymmetrical border elements so I end up with a top that is longer than wide. I’m thinking I might want to use this panel on point, making the strips diagonals… something like this example below – I’d want to offset the panel somewhat more than this one so I could then add more asymmetrical borders to the enlarged square. 

diagonal

Convergence block on point…

I’ll work on this some more tomorrow. Tims calls these “mystery quilts” – he’s right! It’s hard to anticipate how the spliced, interleaved fabrics will look. I’m happy with this first attempt – I’ll want to play with it some more using strong coloured fabrics with more muted patterns to see how that might turn out. I can see I might be engaged in this cutting, sewing, cutting, sewing for quite a while – there’s lots to learn here… 

Shadow Quilt – Quilt Back


I started this insert for the Shadow Quilt back by cutting 2 1/2″ strips of the fabrics used on the top and sewing two strips together. At that point I wasn’t sure what I would do with the double strips. I ended up cutting equilateral triangles, sewing pairs into diamonds, then compiling four diamonds into a larger one.


This large diamond gave me 9″ for the start of what I intend to be a 14″ strip.

I aligned five large diamonds end to end: 75″ – long enough for the quilt back but I wanted to fill in where the points touched. I added single small diamonds on each side in the space. That still left ten half-diamonds needed on each side. The easiest way to figure out the dimensions for these half-diamonds was to place a sheet of paper beneath the diamond layout and draw in the missing half-diamond (I added a 1/4″ to each angled side to be sure there would be adequate seam allowances).


I did the same for the 1/4 diamonds needed to complete the ends as well.

Now diamonds are pieced in diagonal lines. Because I was improvising as I went along, I already had the large 4-part diamonds sewn which complicated the process somewhat. In the end I laid out the pieces and assembled the strip section by section.

Width so far: 9 1/4″ – so I’ve cut strips for each side:


The borders: 1″ red, 1/2″ dark grey, 2 1/2″ light grey on the outside. The strip will be inserted into the darker grey fabric with vertical pale lines and dots.

I’ll add the borders tomorrow.

Charms Quilt II

Just finished – the second charms quilt. The goal here was to use up more of the leftover charms from the first charms quilt. I had to add some strong batik 5″ blocks to those I was able to select from the charms packs because I didn’t have enough strong coloured ones otherwise. The strips came from my scrap boxes I didn’t need a lot of fabric (I chose all darker colours) – 1″ x 5″ strips  (70 in all). The blocks were easy to assemble, deciding on an arrangement took a couple of days, first auditioning all 140 on the floor then tweaking the placement over a few days.IMG_7297

The big decision was whether to border the quilt in the off white fabric or to use the darker grey – I obviously chose the darker grey. Glad I did although the quilt would also be interesting with the background fabric as border – in which case, looking at the quilt now, I can see if I had done that I could have stuck one or two triangles in the border along with a couple of strips! Didn’t think of that at the time. Something to keep in mind for my next quilt.

IMG_7299

The back uses some more charm pieces to make “flying geese” blocks. My pinterest feed had instructions for making the blocks – since I’d never tried them I thought this a good opportunity to have a go at some. In the photo you can’t really see the teal colour in the backing fabric but there is some. That was the reason I decided to border the strip with a strong turquoise. It does bring out blue in the backing.

My backing was wide enough that I was able to salvage almost enough fabric for 2 1/2″ binding strips (I had a bit of backing leftover which I also used and incorporated one orphan strip to complete the binding. It blends rather well with the whole).

That’s two completed quilts in four weeks. Now on to a quilted jacket/coat that I want to take to San Francisco in a couple of weeks.

Charm Quilt I – Finished

Just done. Label and all. I’m pleased with how the quilt turned out. I like the contrast between the two muted background fabrics and the individual swatches – each is strong and colourful, yet they blend well.

I wasn’t sure about the bold batik I used for the back – whether it complemented the insertion or not, but now that the quilt is completed I’m happy with the result.

This quilt I think has found a home in my living room- it fits in better than the quilt I had there.

“Charm” Quilts

One of the things I wanted the ladies in the quilting class to learn was how to look at pictures of quilts and deconstruct them. So I hunted for quilts I thought would be relatively easy to analyze. Among the photos I sent them was a charm quilt. “Charms” if you don’t know are precut pieces of fabric 5″ square. I had several charm packs (a charm pack is 40 of these 5″ pieces) in my stash and thought I should give the quilt a try. The original photo sashed and bordered the charms in alternating darker and lighter grey. I took my charms to the fabric store to see what would work with the charms I’d selected. Dark and light grey for the sashing was going to make those small coloured blocks pop. So I cut the strips I needed and quickly assembled the quilt top. What I particularly like are the vertical strips from one row to the next linking the rows.

IMG_7208

I made a few more bordered blocks, cut half of them in half to assemble a strip for the backing.

IMG_7209
The quilt sandwich is pinned and ready to be quilted.

However I still had a large number of charms not used in this quilt so I thought I’d have a go at another quilt idea based on two blocks: half-square triangles and strips. The quilt I had in mind would need 140 4 1/2″ blocks. So I made 70 half-square triangles and 70 blocks with 1/2″ strips down the middle.

IMG_7242

Here are the blocks laid out on my office floor. I’m still auditioning them – trying to find what for me is the most pleasing arrangement. That’ll take a day or two of coming back to look at the layout and tweeking it a bit more. Once sewn together, I intend to border the quilt with the darker grey fabric I used in the first quilt, backing and binding – I don’t know yet.

Charm Quilt

One of the things I’ve been teaching in the quilting class is how to deconstruct a quilt design. To this end I’ve shared images of quilts with the gals and helped them break down their construction.

One of the quilts I shared was a photo of a quilt made from “charms” (5″ blocks) bordered in two neutral shades. I’ve had 4 charm packs in my stash for some time and I thought this would be a good way to use them. 

I selected the most interesting blocks from 3 of the charm packs (the rest I put into a scrap pile and a use later pile). I auditioned the chosen blocks, sorted them into rows, then bordered half with the darker fabric, the remaining I bordered with the lighter.

What caught my attention with this quilt was the contrasting sashing linking the blocks vertically.

I used some leftover charms for the back keeping the motif intact in the inserted stripe. I thought about backing the quilt with the darker border fabric, but I happened across this batik and thought it would bring a bit of life to the quilt.

I think I will bind the quilt with the darker grey. I still have to think about the quilting motif and whether to include the block borders in the embroidery or not.

Jellyroll Quilt – Finished

I actually finished the quilt before I went to Toronto to visit my sister’s kids and grand-kids 10 days ago. I was happy with the border and how the mitre worked so well; with the splashes of colour; with the quilting design and how well it filled the block…. I was pleased with the second side and how it used the leftover bits and I had enough border fabric leftover to add a stripe to the back.

The only thing I might have done differently was to use a lighter thread for the border. I chose a dark variegated thread to blend into the border but I could have used a little contrast.

The quilting shows best on the second side:

The class meets again tomorrow – our focus will be on embroidering in the hoop – how to hoop, how to center the block, how to precise position the design, how to embed thread ends within the quilt. And we’ll discuss various ways of binding a quilt.

I will try arranging another get together in a month to show off the finished quilts. 

Jellyroll Quilt Class I

image
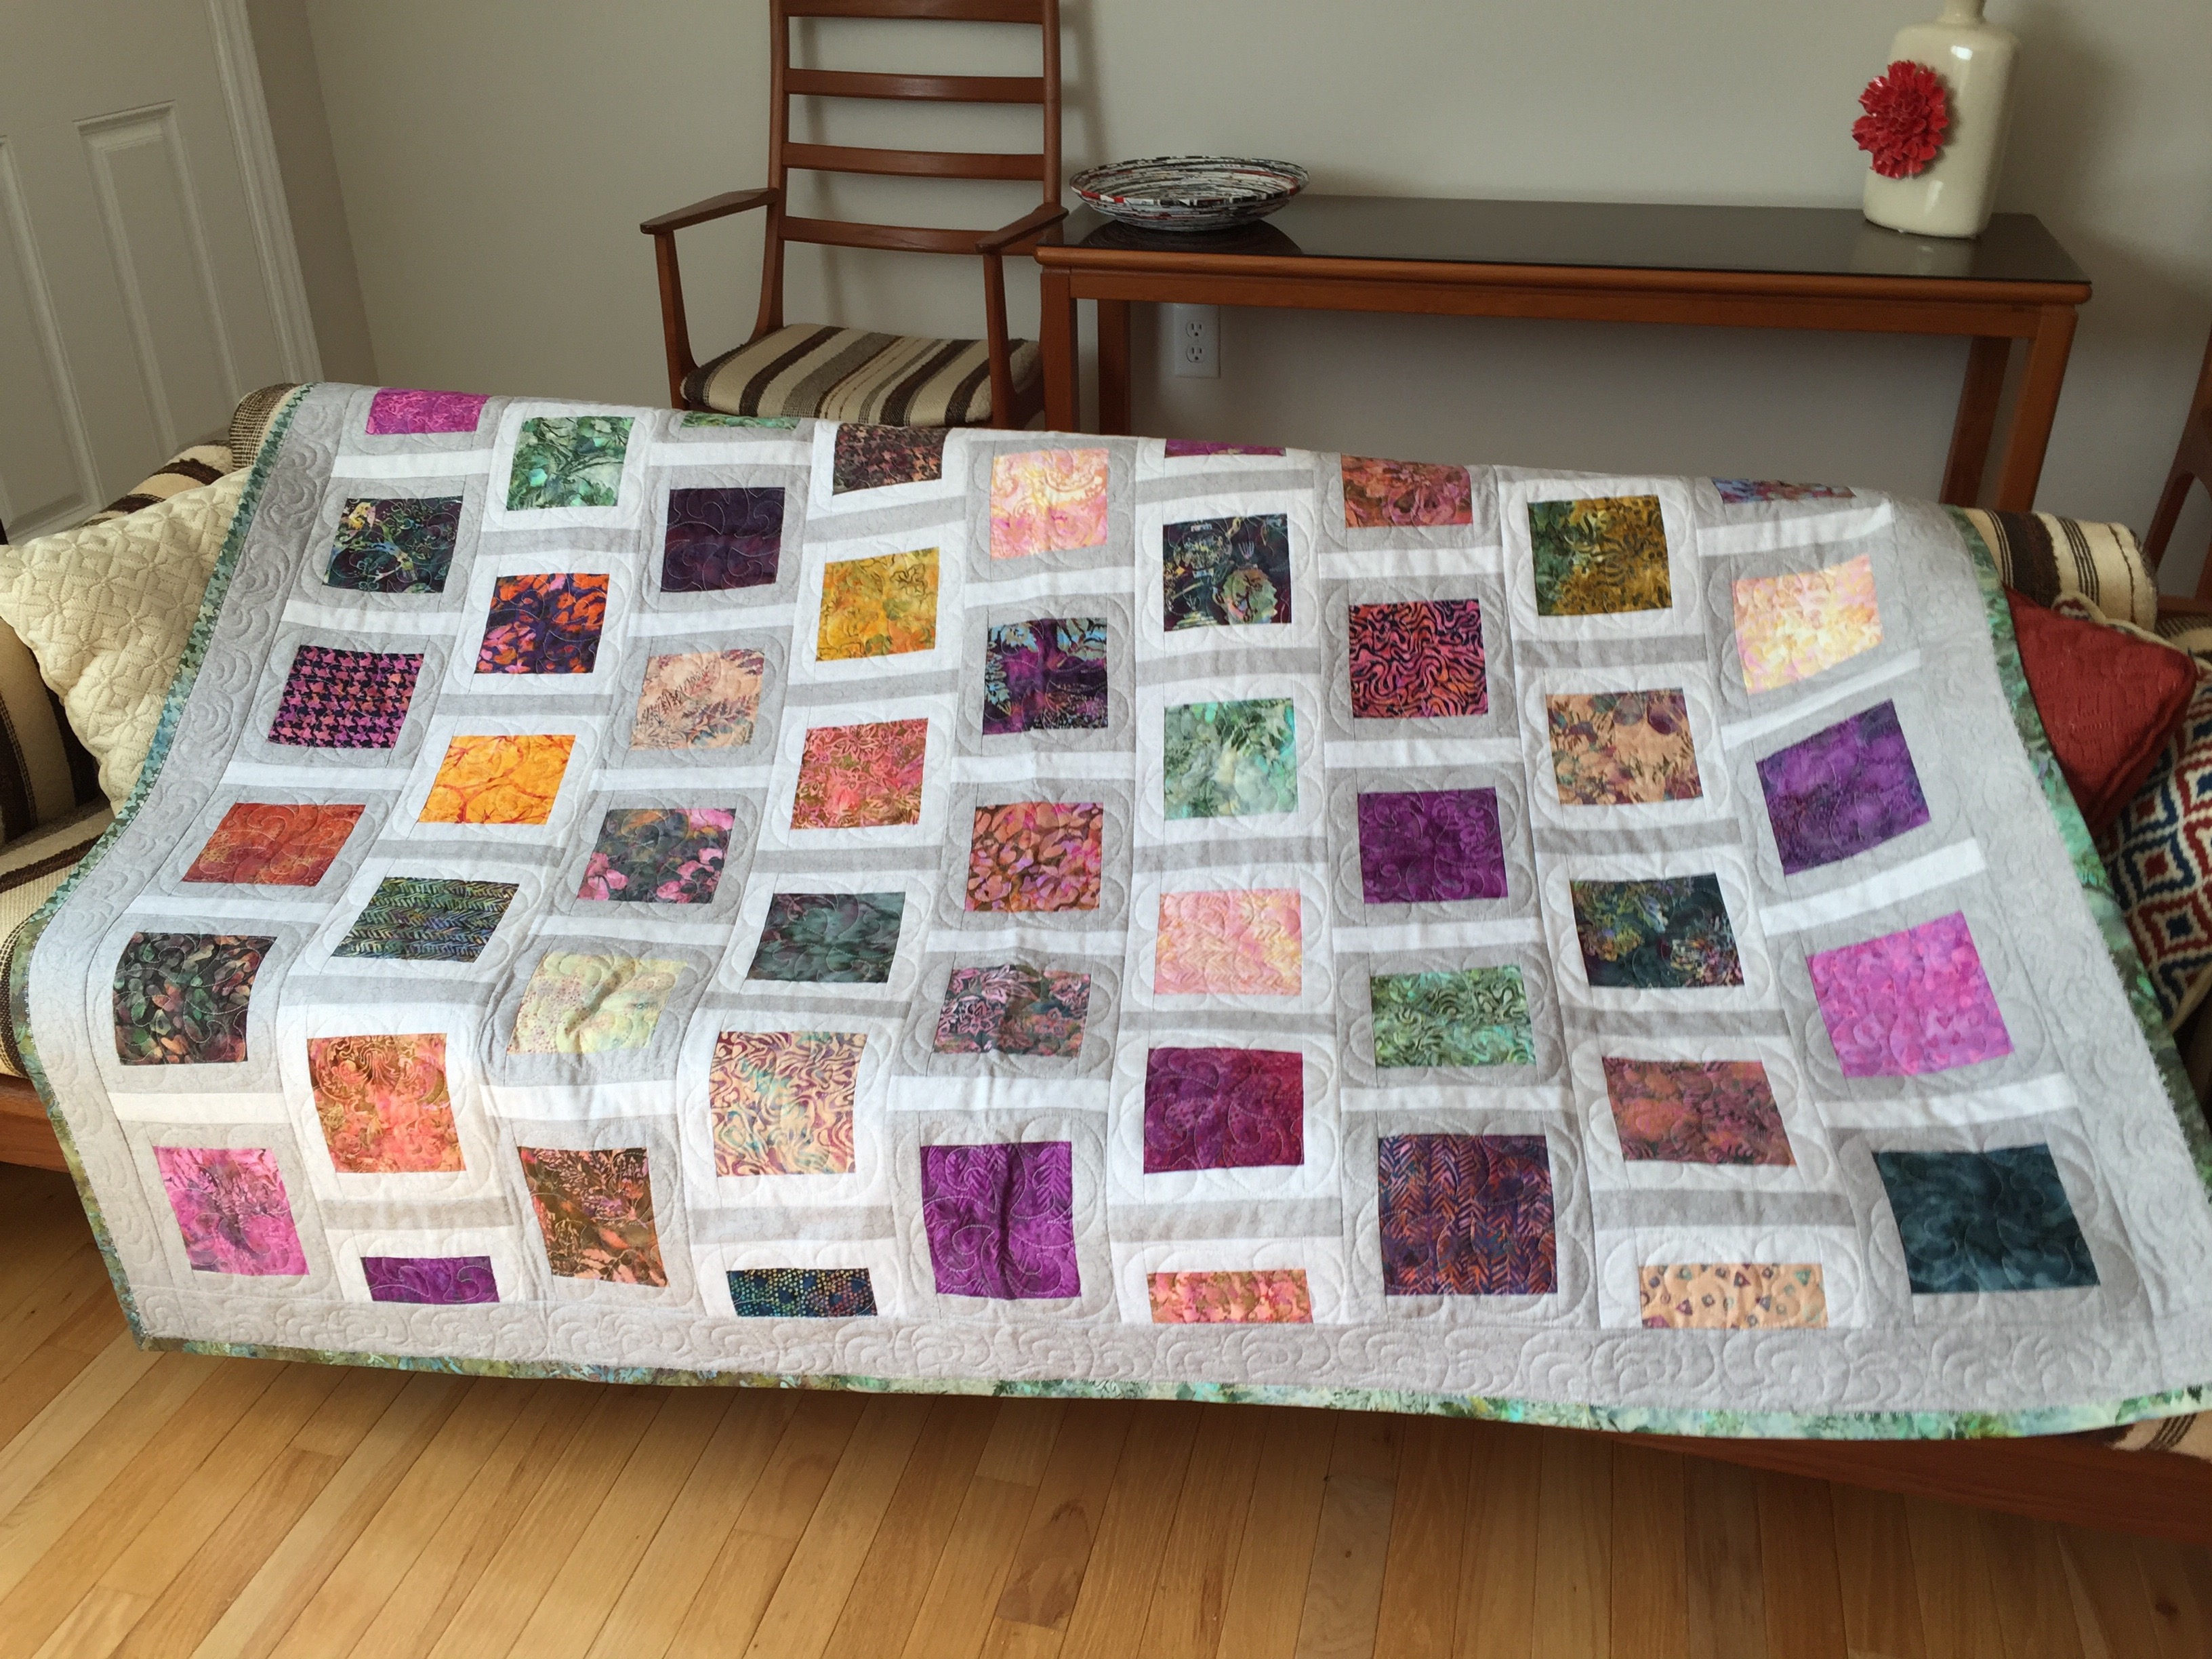
The class came about when I showed Bonnie this jellyroll quilt made from a jellyroll I’d “won” one evening at an event at her shop Sew With Vision. “Good idea for a class she said.” I agreed to do it.

However I had no interest in taking another jellyroll and repeating the quilt for the class so the challenge I set for myself was to create a strip quilt with just two fabrics. I picked out two contrasting fabrics and got to work.

image

I joined pairs of strips – one light, one dark. Cut triangles (8 from each pair of strips), joined pairs of triangles to make 6″ blocks, trimmed them, assembled large blocks from four small blocks alternating colours at the center of the big block.

I’d made five large blocks when I thought I needed a bit of colour to make the quilt work.

image

I inserted a colored center into 3 blocks and stopped there. I finished the remaining blocks today and laid them out on the floor:


image

Not enough colour. So I added a bit more

image
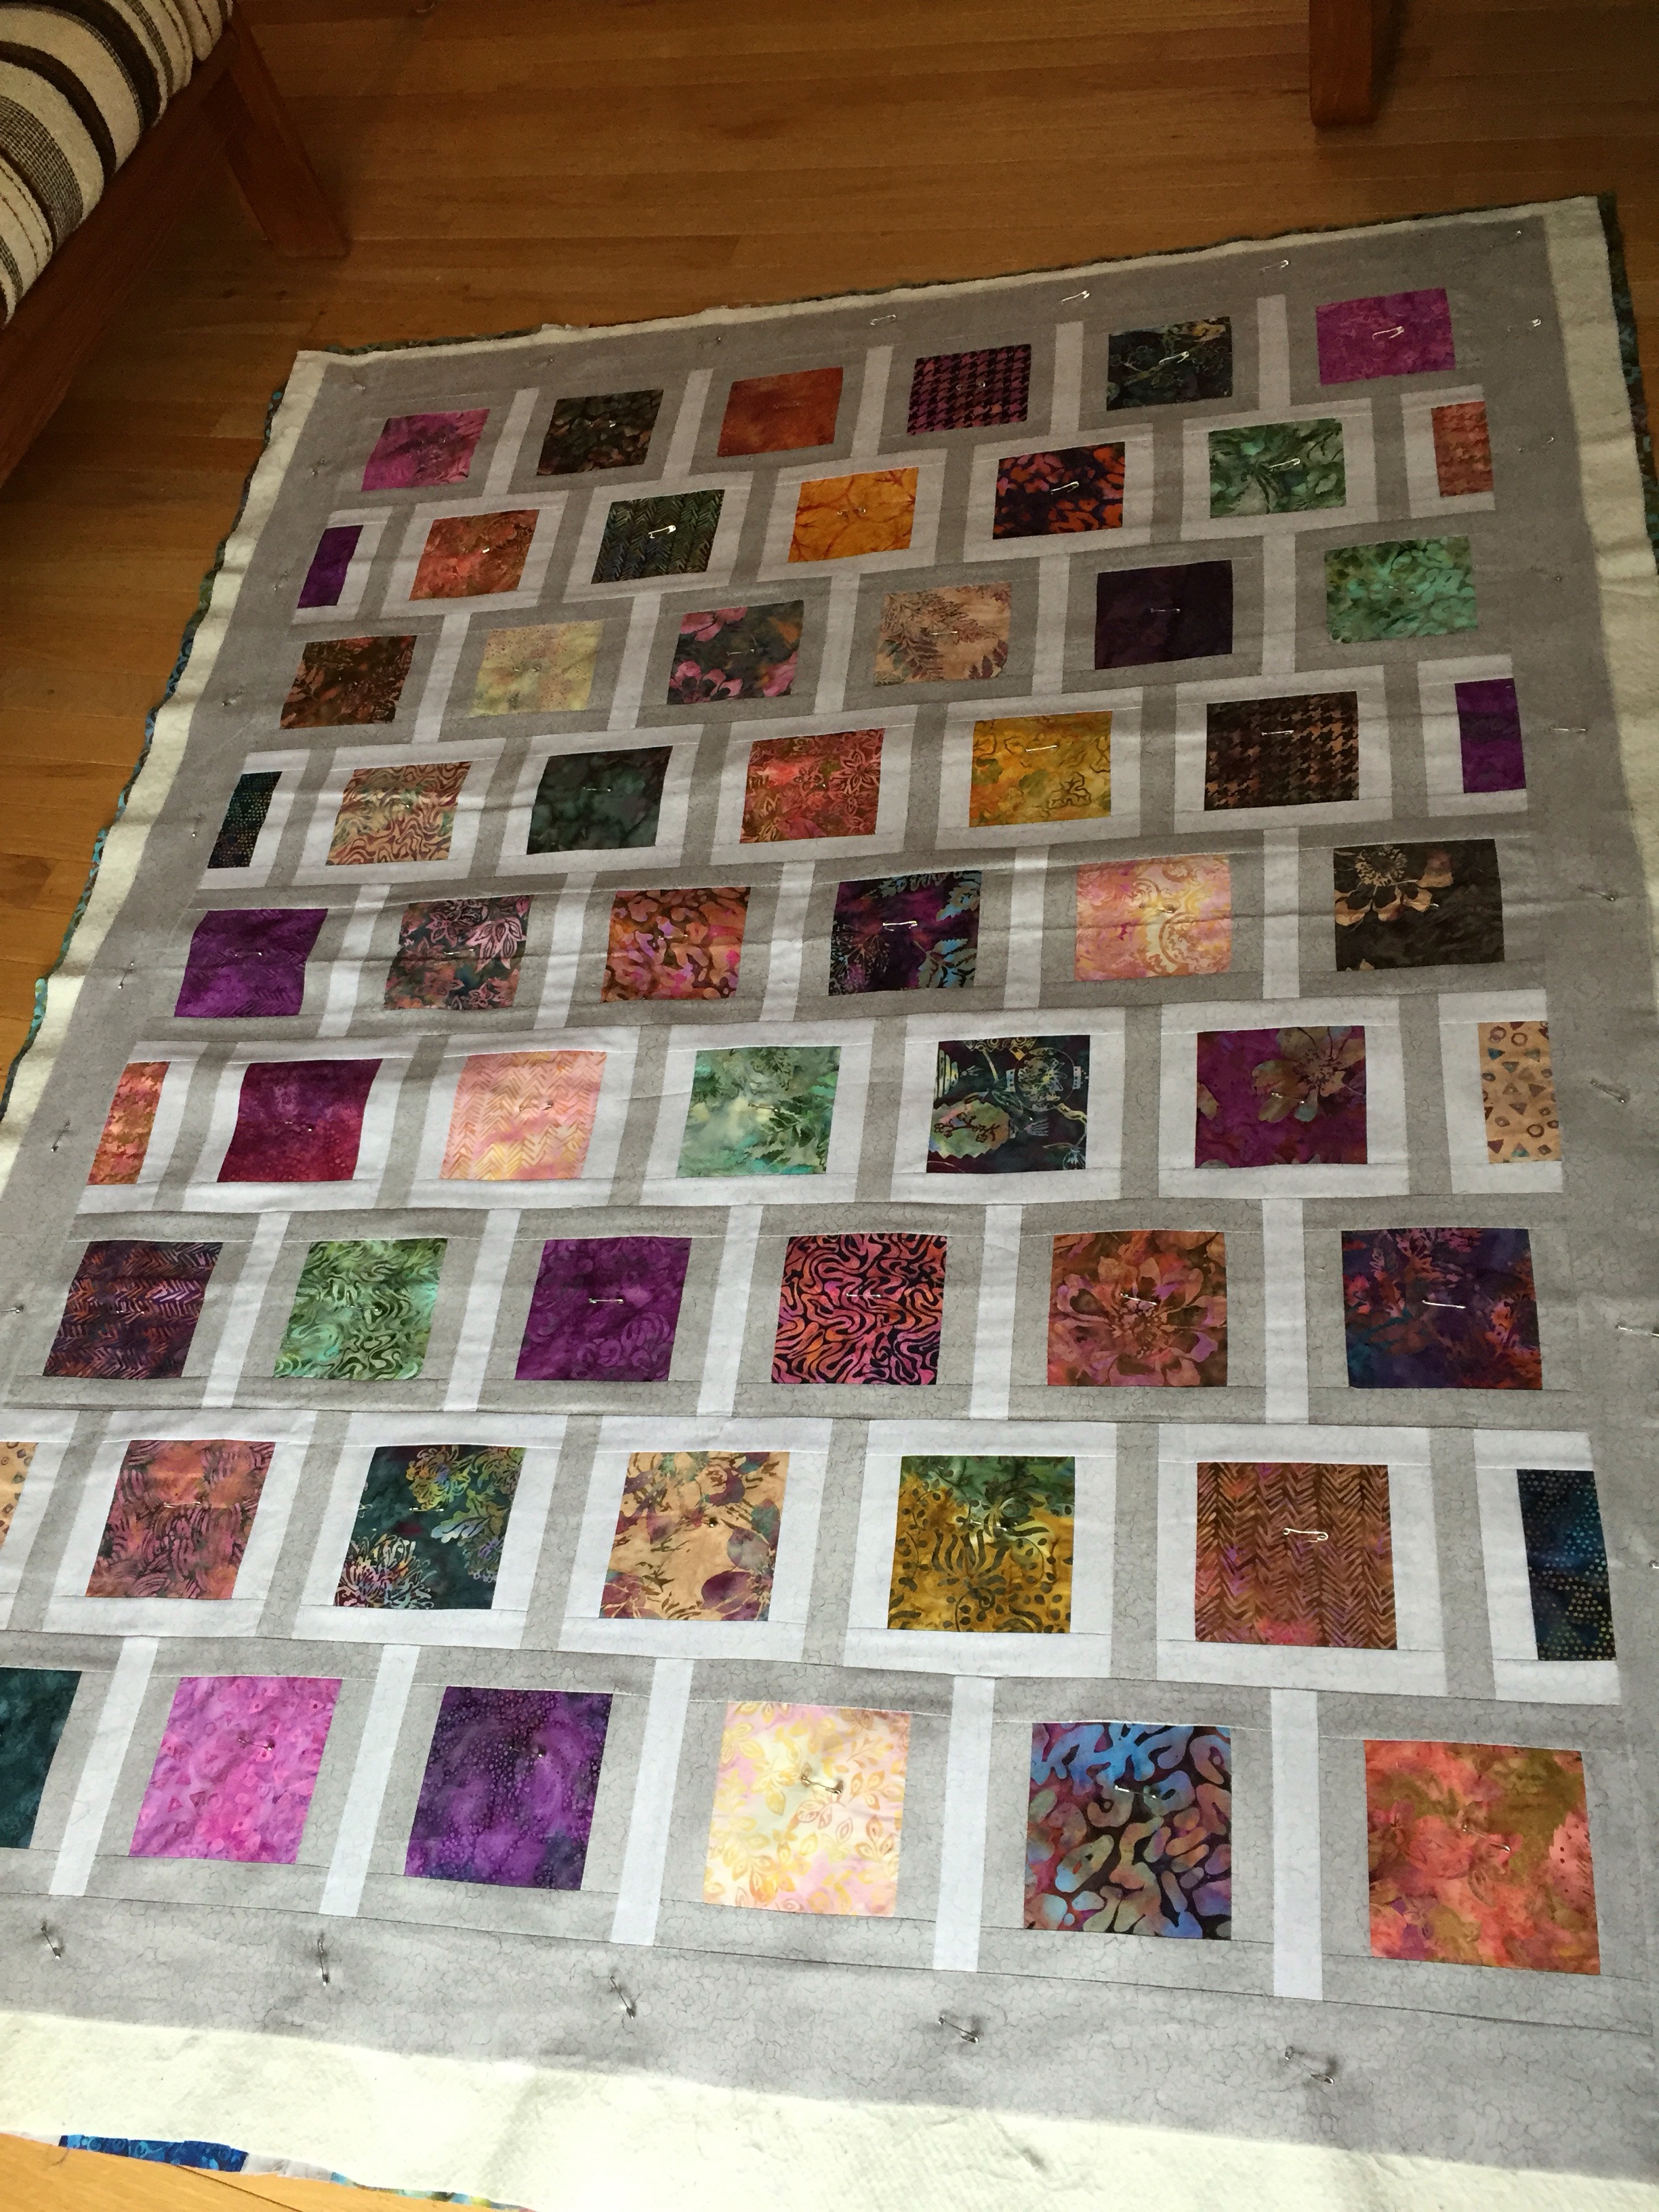
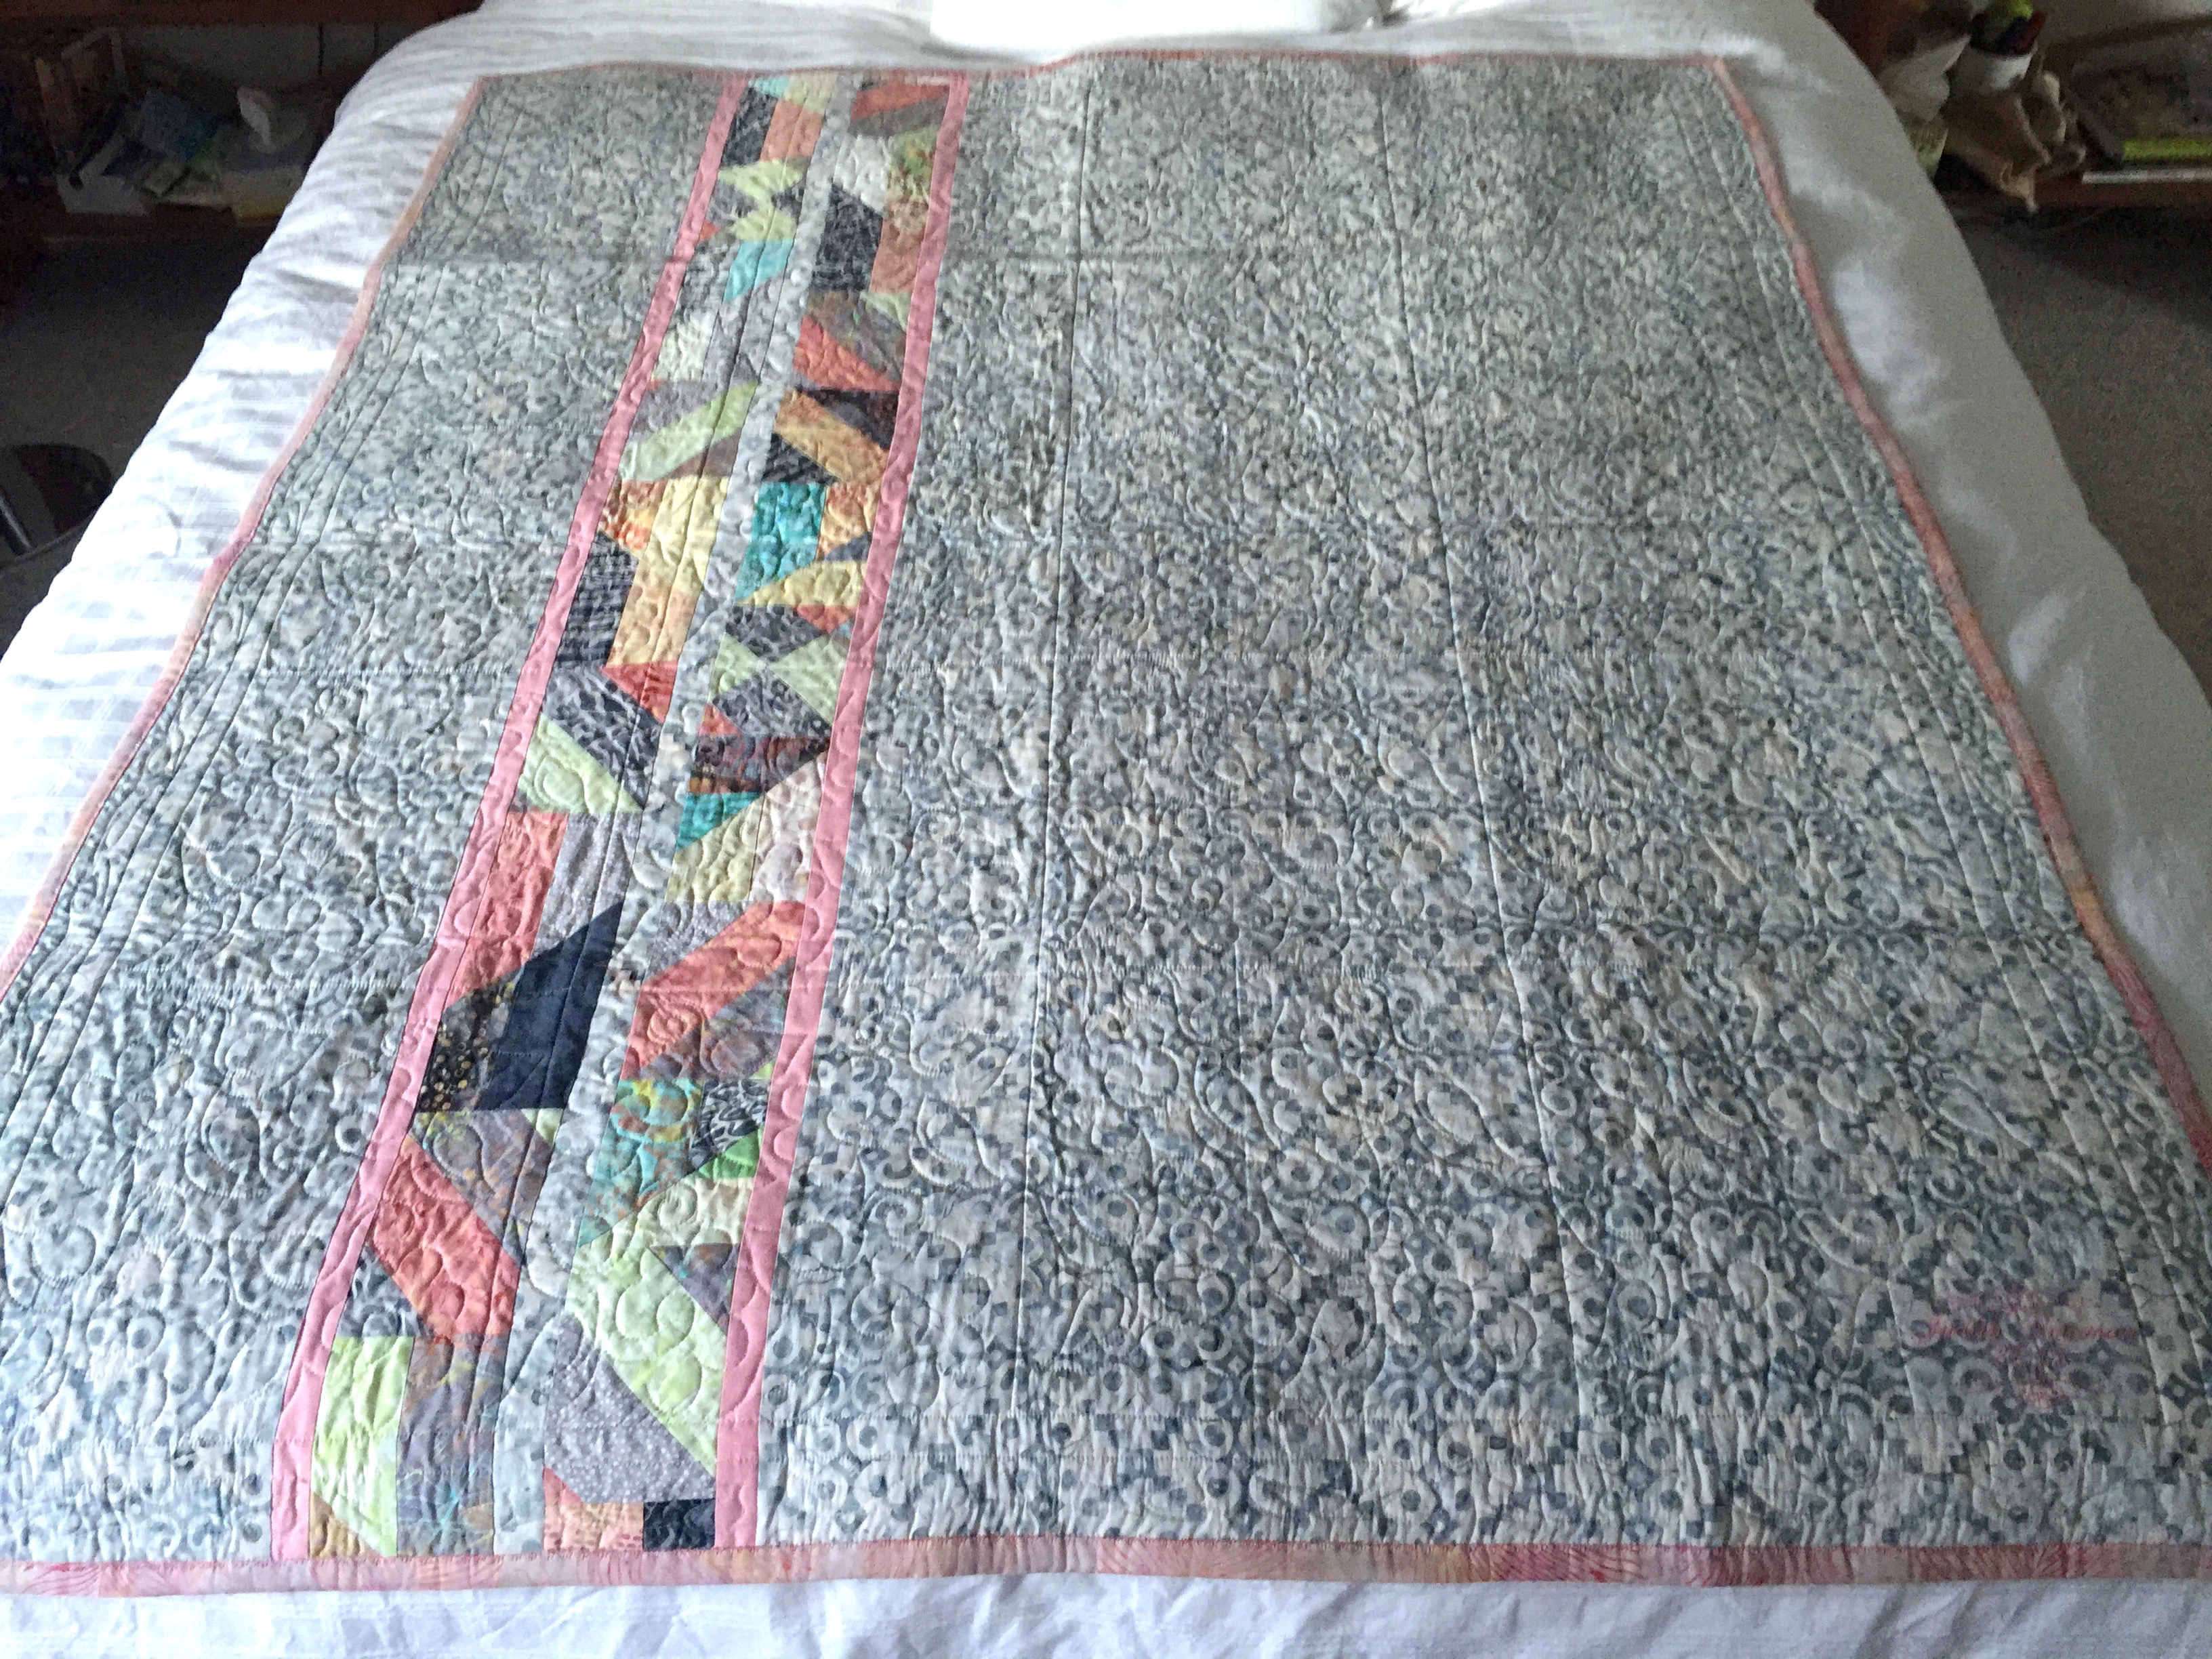
That’s it. I was going to add sashing but I think any sashing will disrupt the improvisation so I think I will leave well enough alone although I will probably lay out a couple of sashing strips to see how they look.
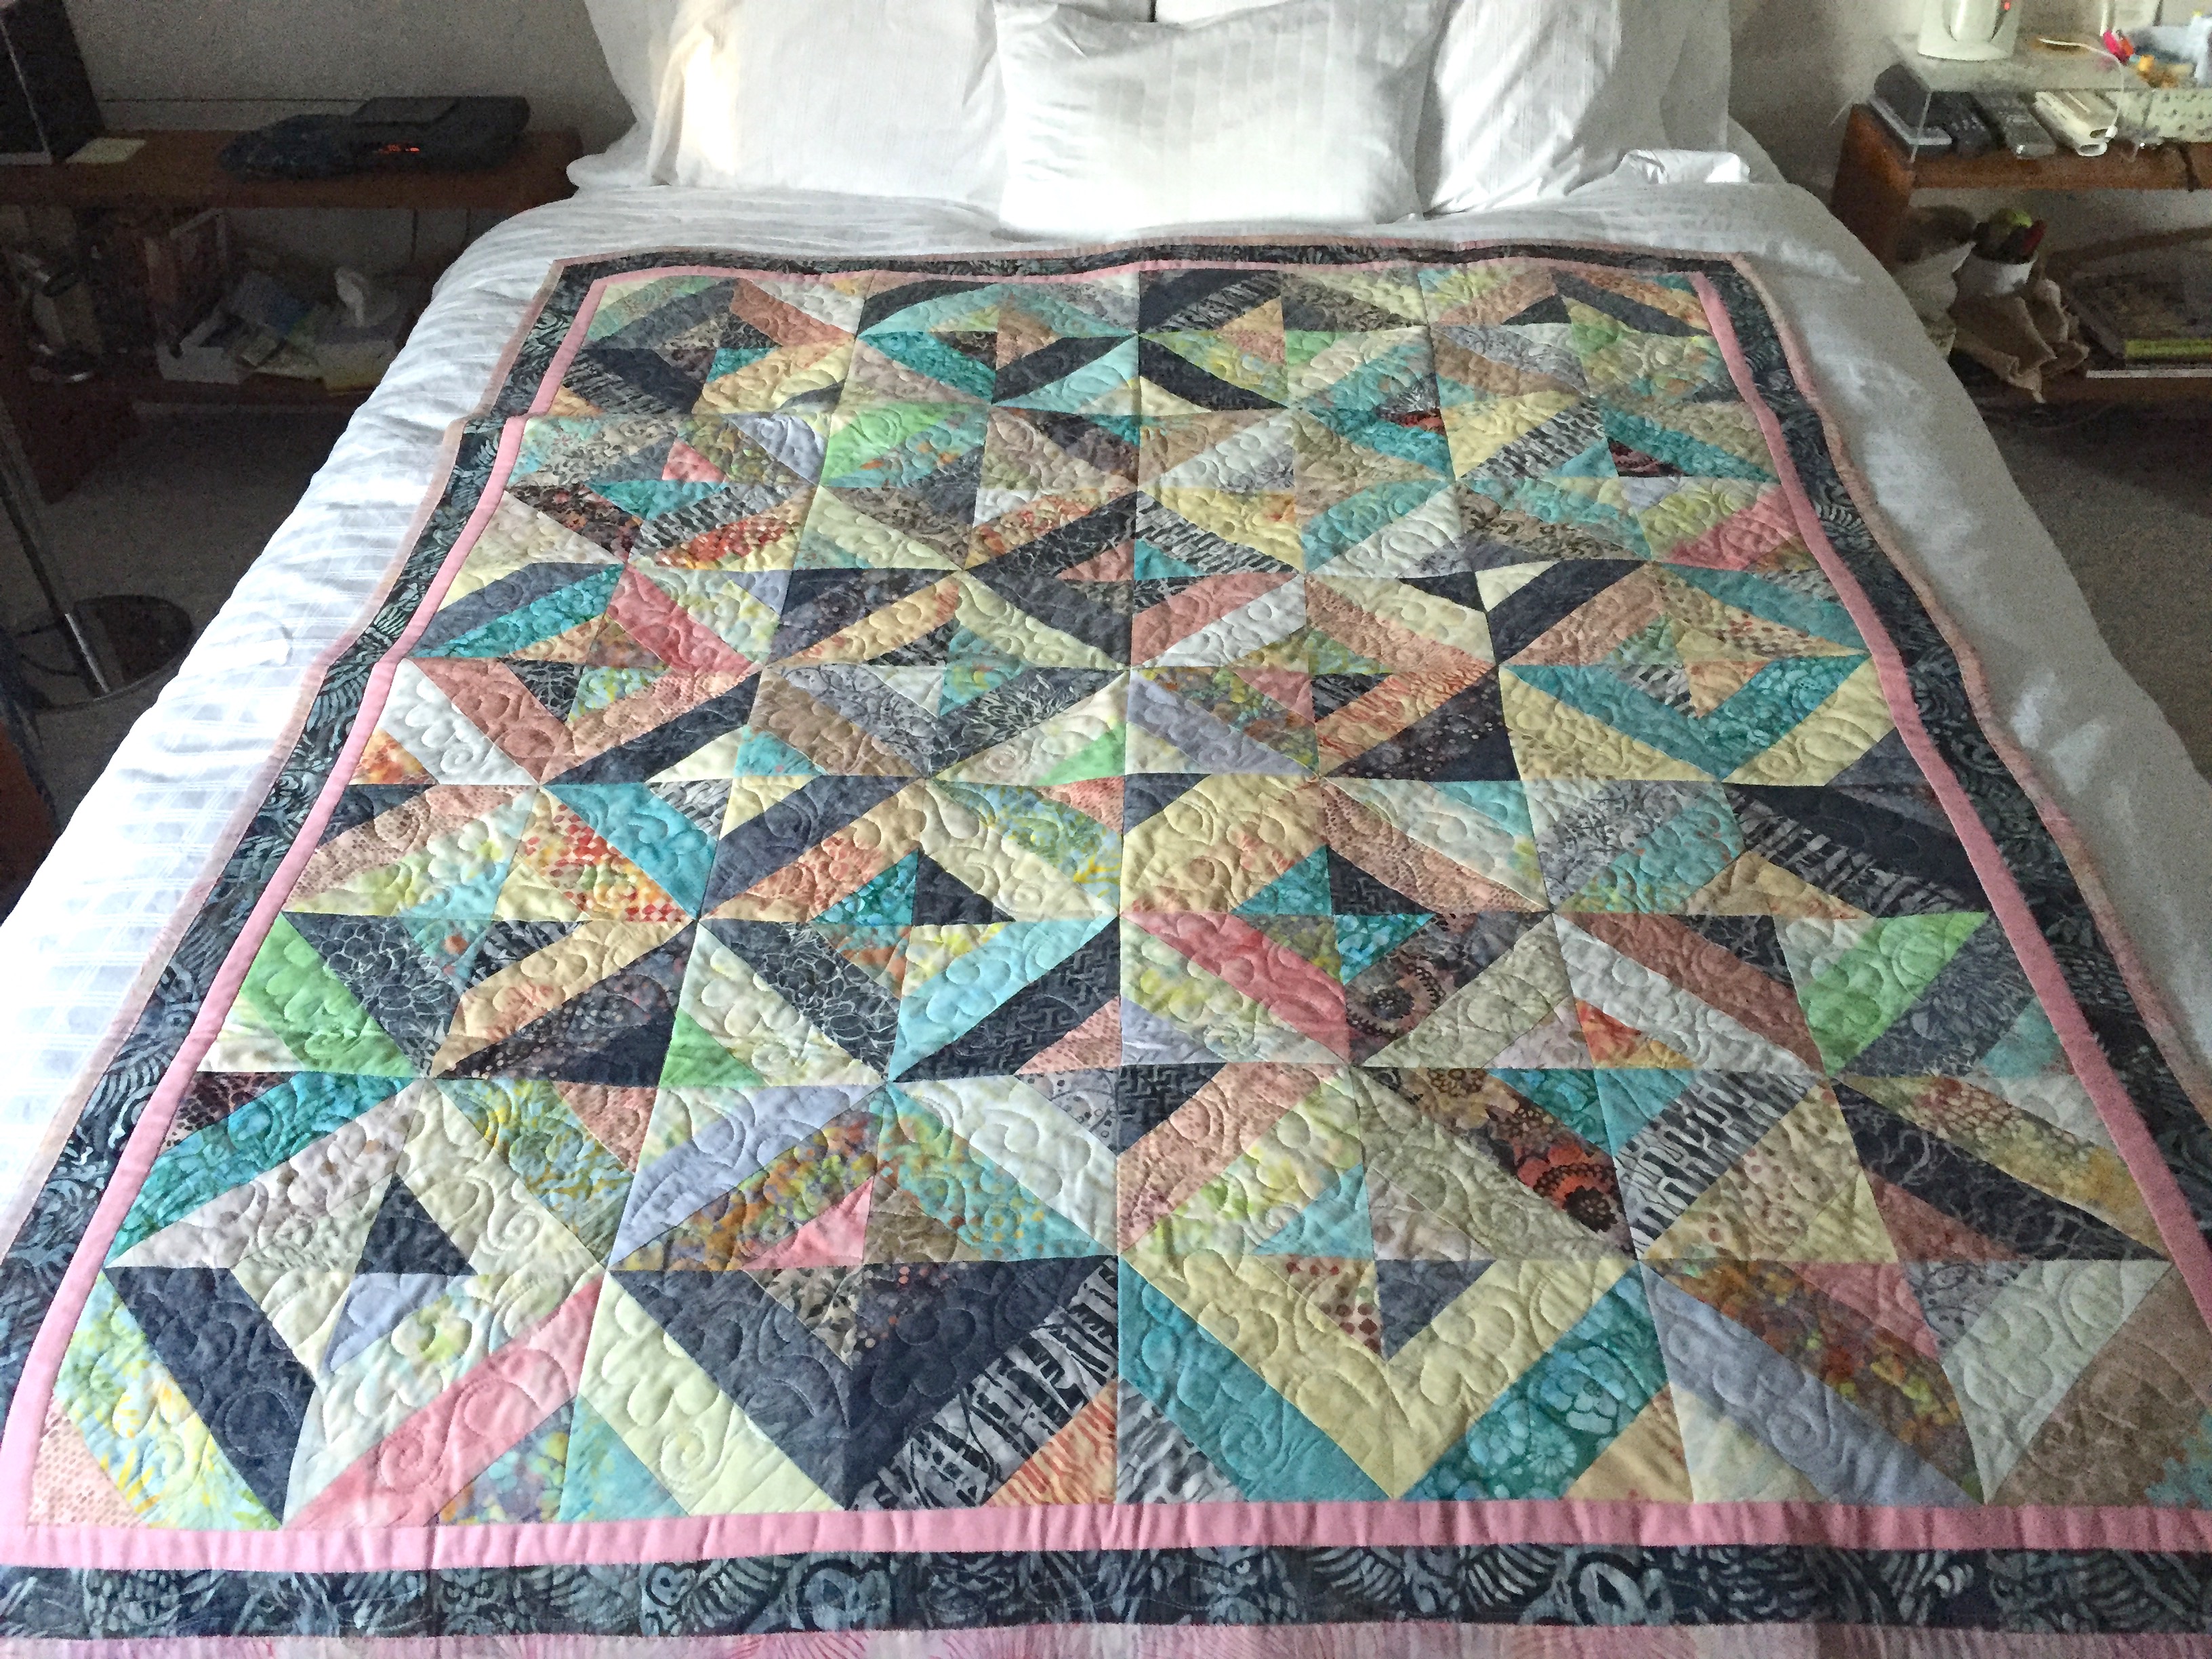
I’m stopping for now.


Diagonal Diamonds Quilt

IMG_7012

Quilt Top

Finally finished. I started this quilt about ten days before heading to Peru – got 20 blocks sewn before I departed. I resumed sewing the top when I got back. The fabric is Cockatiel Bali Pops by Hoffman Fabrics which I’d got as a “gift” the night I attended an event at Sew With Vision (the local Pfaff / Husqvarna dealer) in September. Although on the surface the construction technique seems simple enough all of the blocks edges are on the bias so it takes a lot of attention to match the seams when joining blocks.

Because these are not colours I’d usually use I wasn’t sure what to do about borders and backing. In the end I chose to highlight the peach tones and the dark grey on the top, and bring out the lighter greys on the back. The inserted strip is constructed from the small pieces of leftovers – fortunately there was enough to create the strip length I needed.

IMG_7016

Quilt Back

Final dimensions: 50″ X 60″

Stacks / Galaxy Quilt

IMG_5121

The idea for this quilt came from a pinterest photo a friend sent me a while back. I liked the idea of just creating blocks from strips of variable length with a background fabric. I had a jellyroll of blue batiks and lots of scraps in blues/greens. I’m guessing the pinterest original likely used 2 1/2″ strips but that would yield blocks too large for me to embroider in the hoop, so I reduced the strip width to 2″ (which meant cutting 1/2″ from the jellyroll strips) and created 9 1/2″ blocks of six strips each.

It took a while to assemble the blocks then I laid them out. I knew from the outset I’d place the strips horizontally in blocks assembled as columns (7 blocks x 5 columns = 35 blocks). I auditioned the blocks on my office carpeted floor and decided to reverse direction of two blocks which meant a narrow (1/2″) background strip to set them off from those in the adjacent column. And narrow borders so the binding would be separated from the batiks.

IMG_5122

Once the top was done, I used leftover strips to set up an 8 1/2″ wide strip the length of the quilt, inserted it into the backing fabric (so I’d have enough width for the quilt). I pinned the quilt together, stitched in the ditch (blocks that were 4 strips wide so I’d be able to quilt them in the hoop).

To quilt the whole thing, I adapted a long-arm quilting design and embroidered it in each section. Once done I added the binding (a 1/2 yd of Michael Miller fabric I bought at Britex in San Francisco for this purpose).

The embroidery design in this instance had tie-ons and tie-offs which I left (usually I remove them and draw the threads into the quilt when each block is finished). That left me on the reverse of the quilt with obvious small white clumps of thread at each tie-on/tie-off! So I did what I’ve done before – took a permanent marker in a colour that blended with the backing fabric and coloured the knots. Worked like a charm – the knots became invisible – until I turned the quilt over and discovered small grey-blue dots all over the front of the quilt!

PERMANENT marker, remember! I tried a bunch of different solvents on scraps of white fabric – bleach, soap, bleach & soap, nail polish remover, rubbing alcohol. The only solvent I didn’t try was hair spray only because I had none in the house. It was obvious that ink was there to stay.

So how was I going to salvage the quilt? I woke up this morning with an idea – smallish circles in yellow/orange hues appliquéd over each ink mark. I had some Heat ‘n Bond Easy Print Transfer Sheets so I opened Photoshop, set up a page of circles (in 3 sizes), printed two sheets, rough cut the circles, fused the transfer to the back of scraps of fabric, fussy cut the circles, then positioned them over the ink marks. I added quite a few more circles in random locations to balance the arrangement of the necessary yellow & orange dots.

IMG_5127I’ve renamed the quilt “Galaxy” – because it kind of looks like a constellation of suns. I’ve already fused the circles to the quilt front. All that remains is to stitch around the edge of each circle with some kind of decorative stitch. I’ll probably use rayon embroidery thread on the top and the same variegated Sulky I used for quilting the back in the bobbin.

So one quilt salvaged!

Jun 22/15 Update

I had to create a second set of circles using Heat ‘n Bond Lite because the first set didn’t fuse well to the quilt top – another couple of hours precision work. I carefully removed the first set of circles, fused the second set. It took the better part of two days to stitch around all 42 circles!

I used a variegated yellow Aurifil 50 on top and an olive green bobbin embroidery thread on the bottom (which disappears in the batik on the back). I had to stitch VERY slowly to outline each circle precisely.

From a distance the appliqué stitching disappears!