Carry-on Bag

Past weekend I had a meeting in Ottawa. I arrived at the airport with my “carry-on” bag only to discover it was half an inch too deep to fit in the frame and the woman tagging acceptable carry-on baggage would not allow me to carry that bag on! It had to be checked at a cost of $30.

I had my travel pharmacy in that bag, no lock (I was going to carry this bag on, right?), as well as my iPad. So I had to unpack the stuff and put it in my small back-pack, which was relatively empty.

Monday I went online to check specifications:
Air Canada – 21.5 x 15.5 x 9
West Jet – 21 x 15 x 9
Delta / United – 22 x 14 x 9
Porter – 22 x 16 x 9
You get the picture! Buy a bag that meets Air Canada specs – won’t fit the others.

I went shopping for a suitably sized bag – one that met the minimum of all the specifications – no such bag.

I decided the way to do this was to make a bag: 21 x 14 x 8 (no wheels and fabric handles).

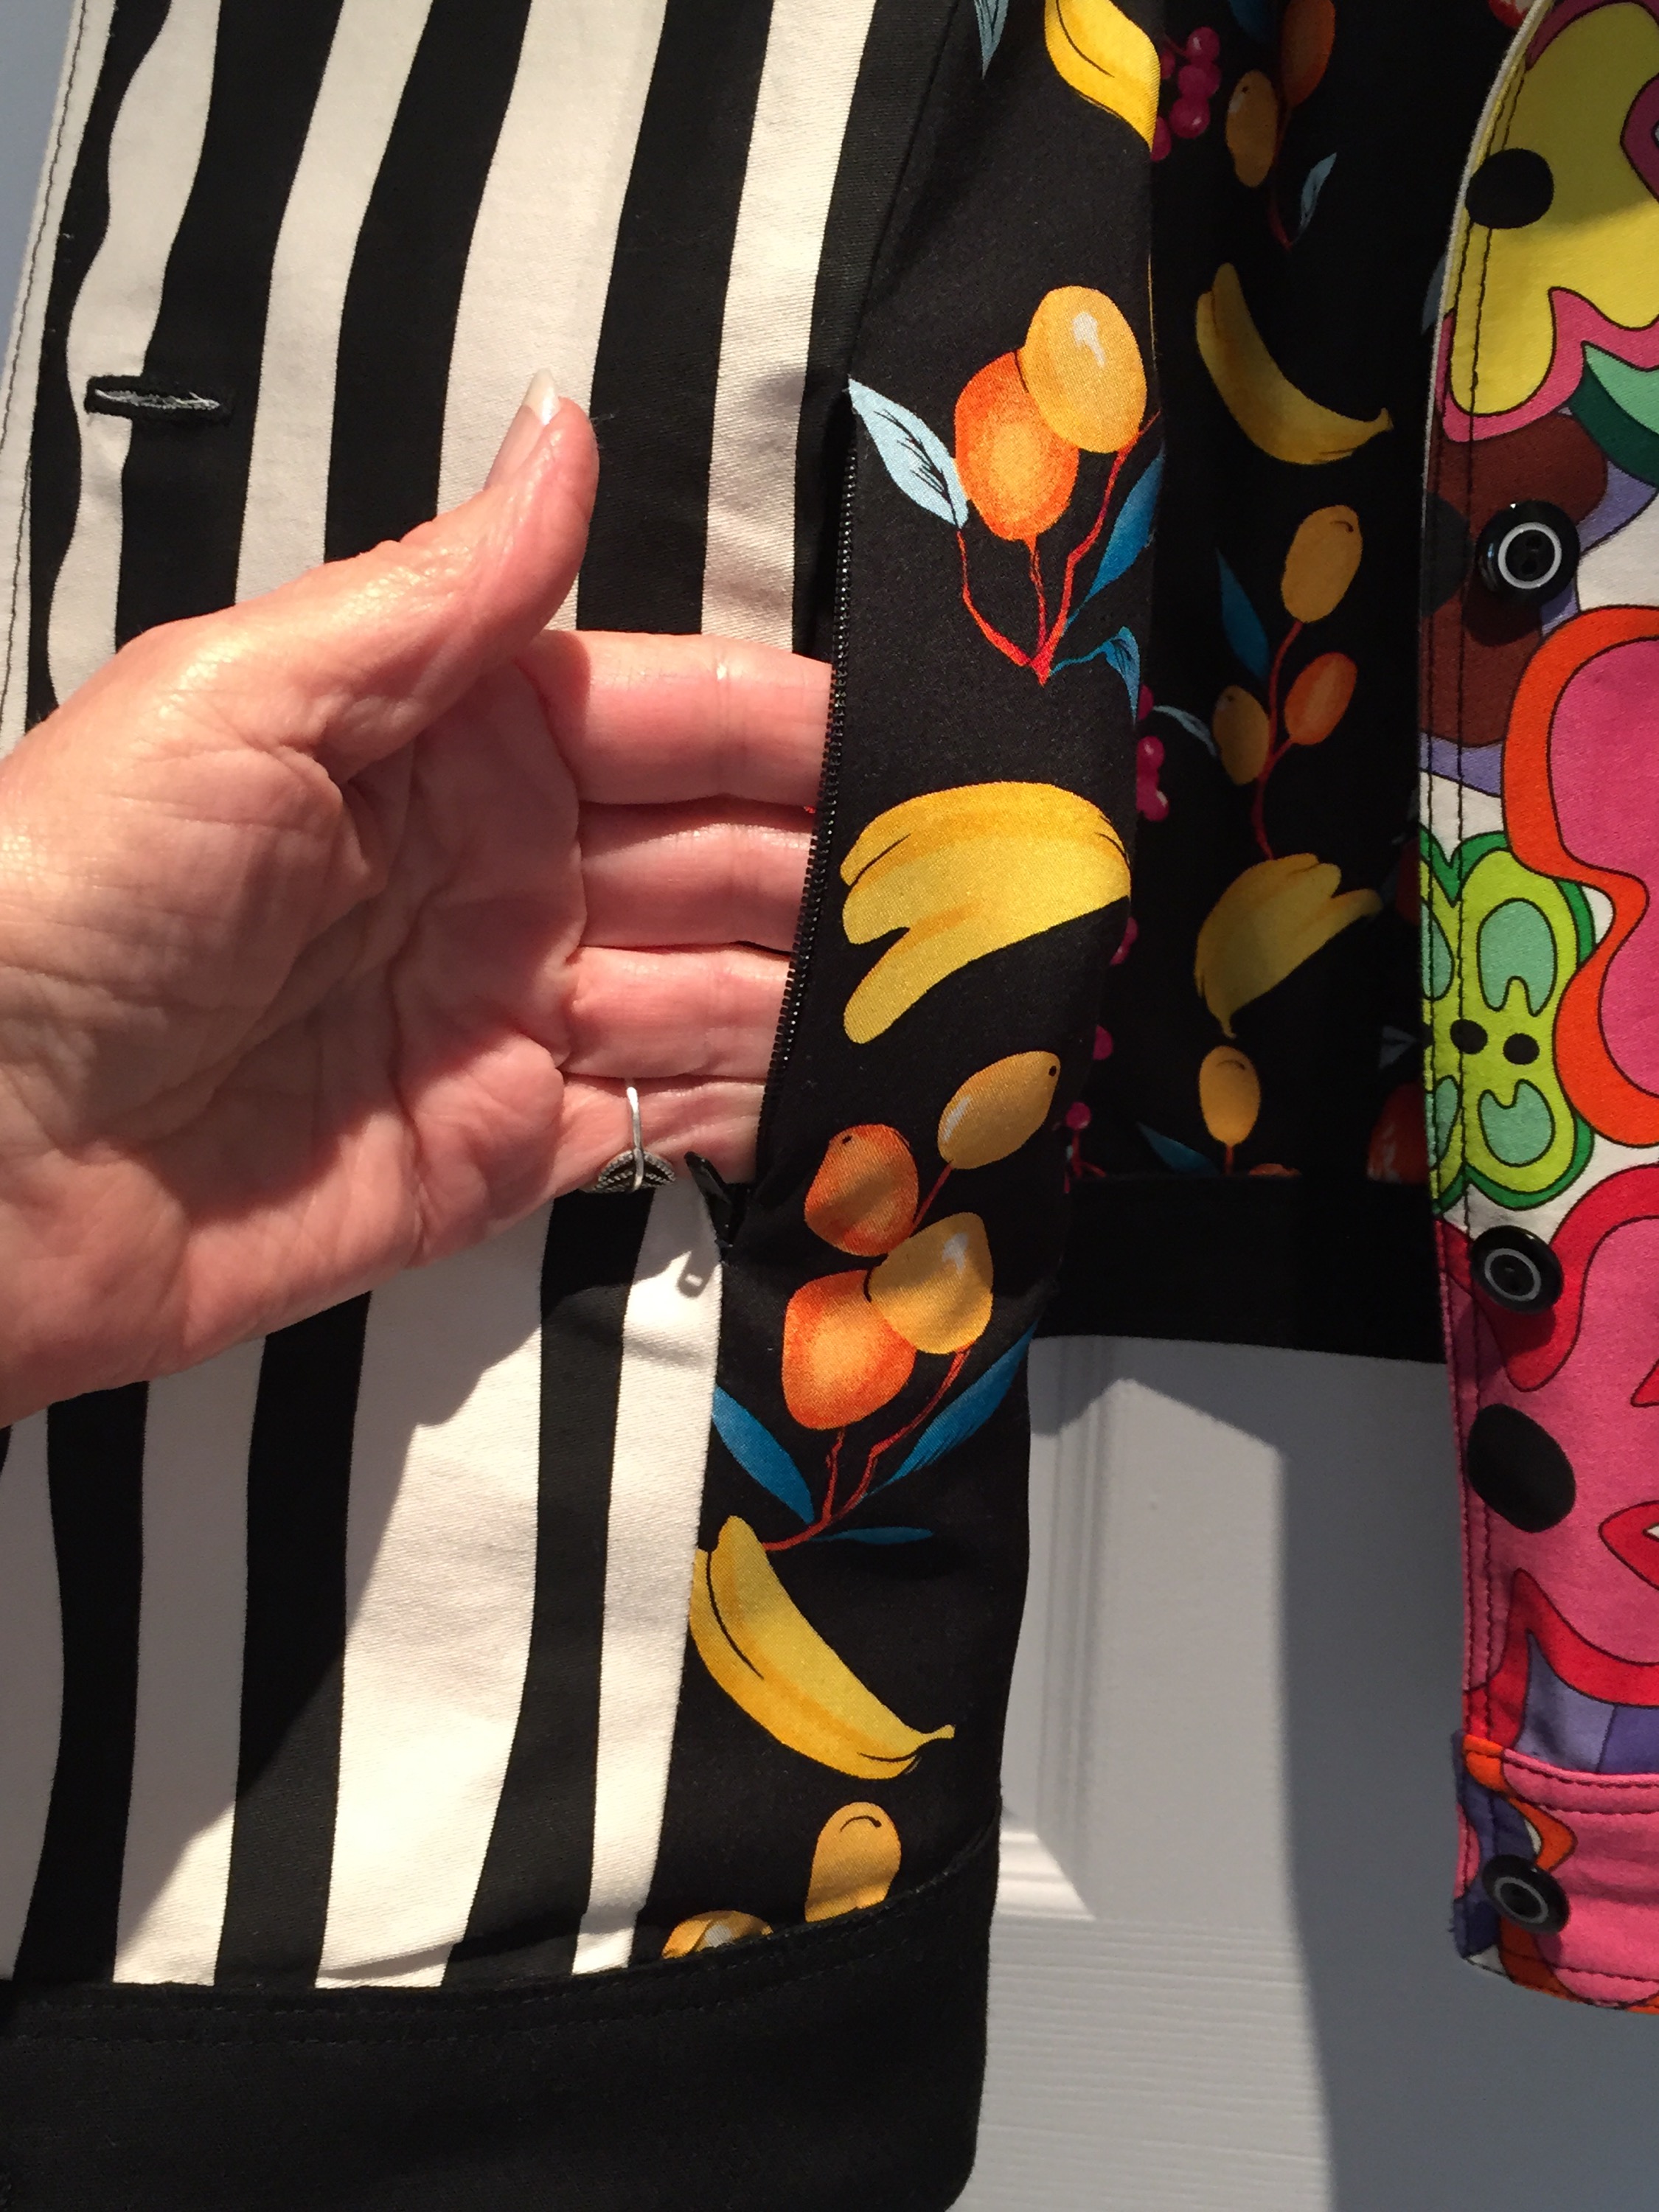
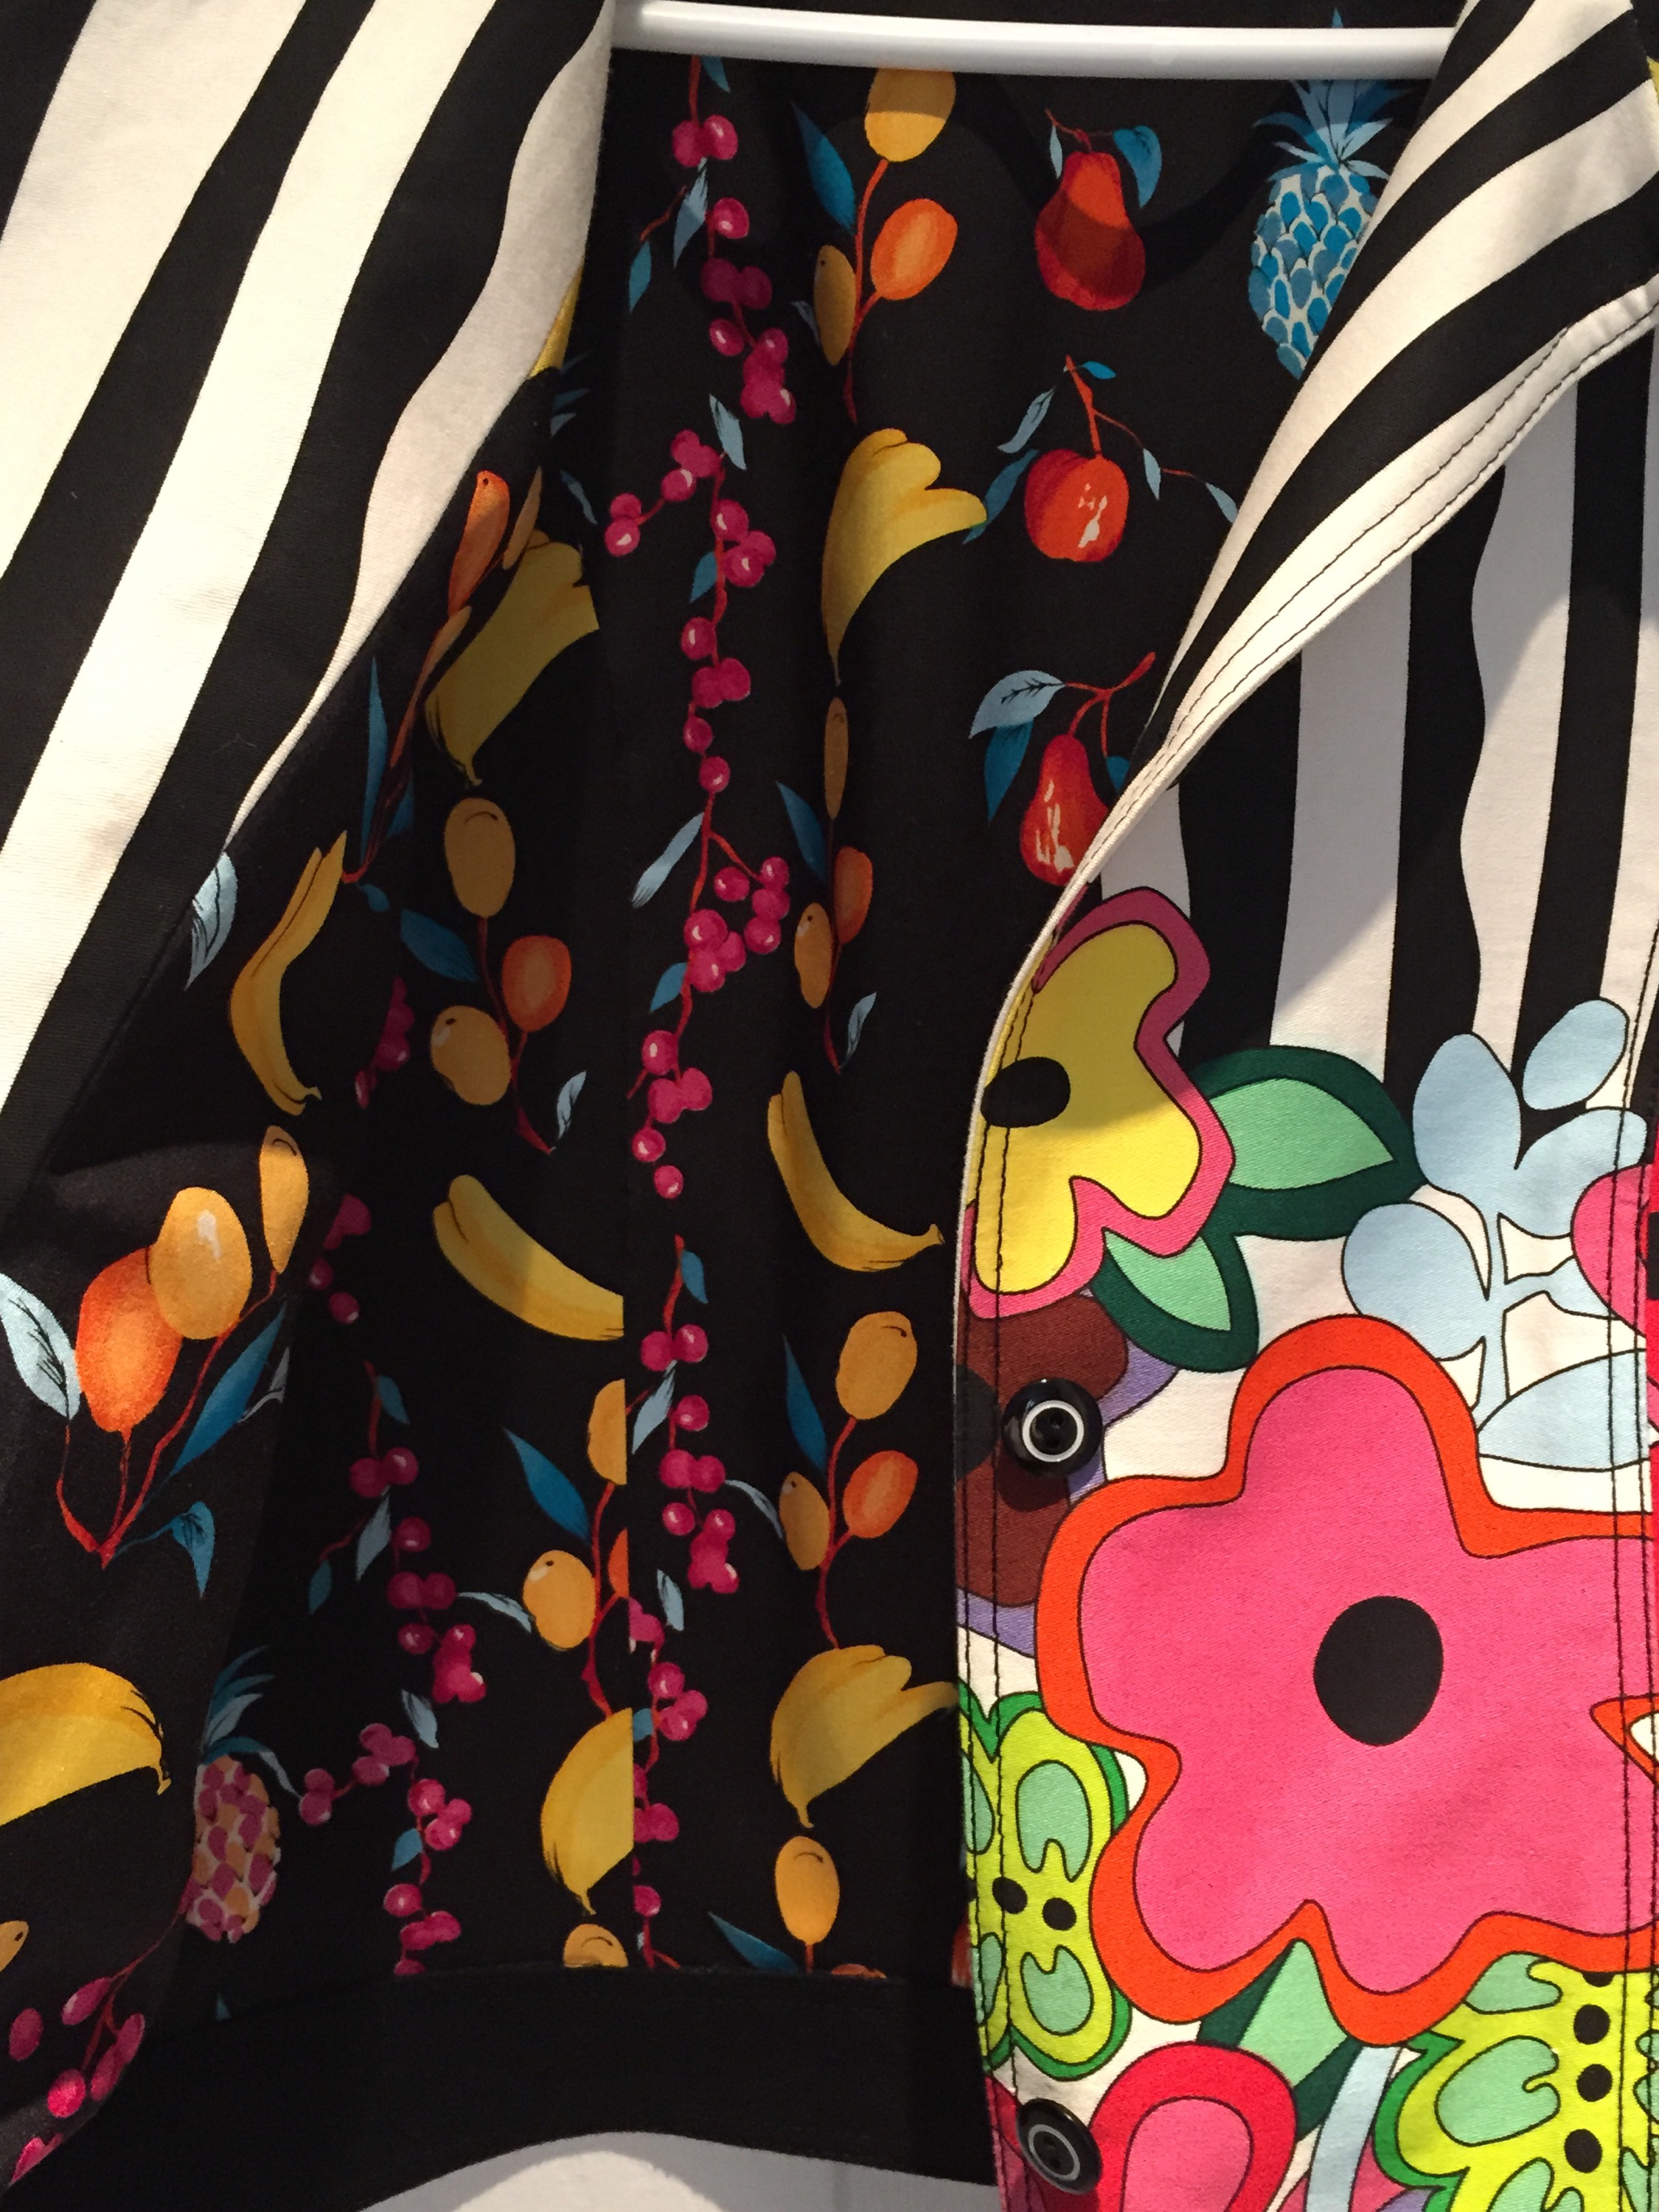
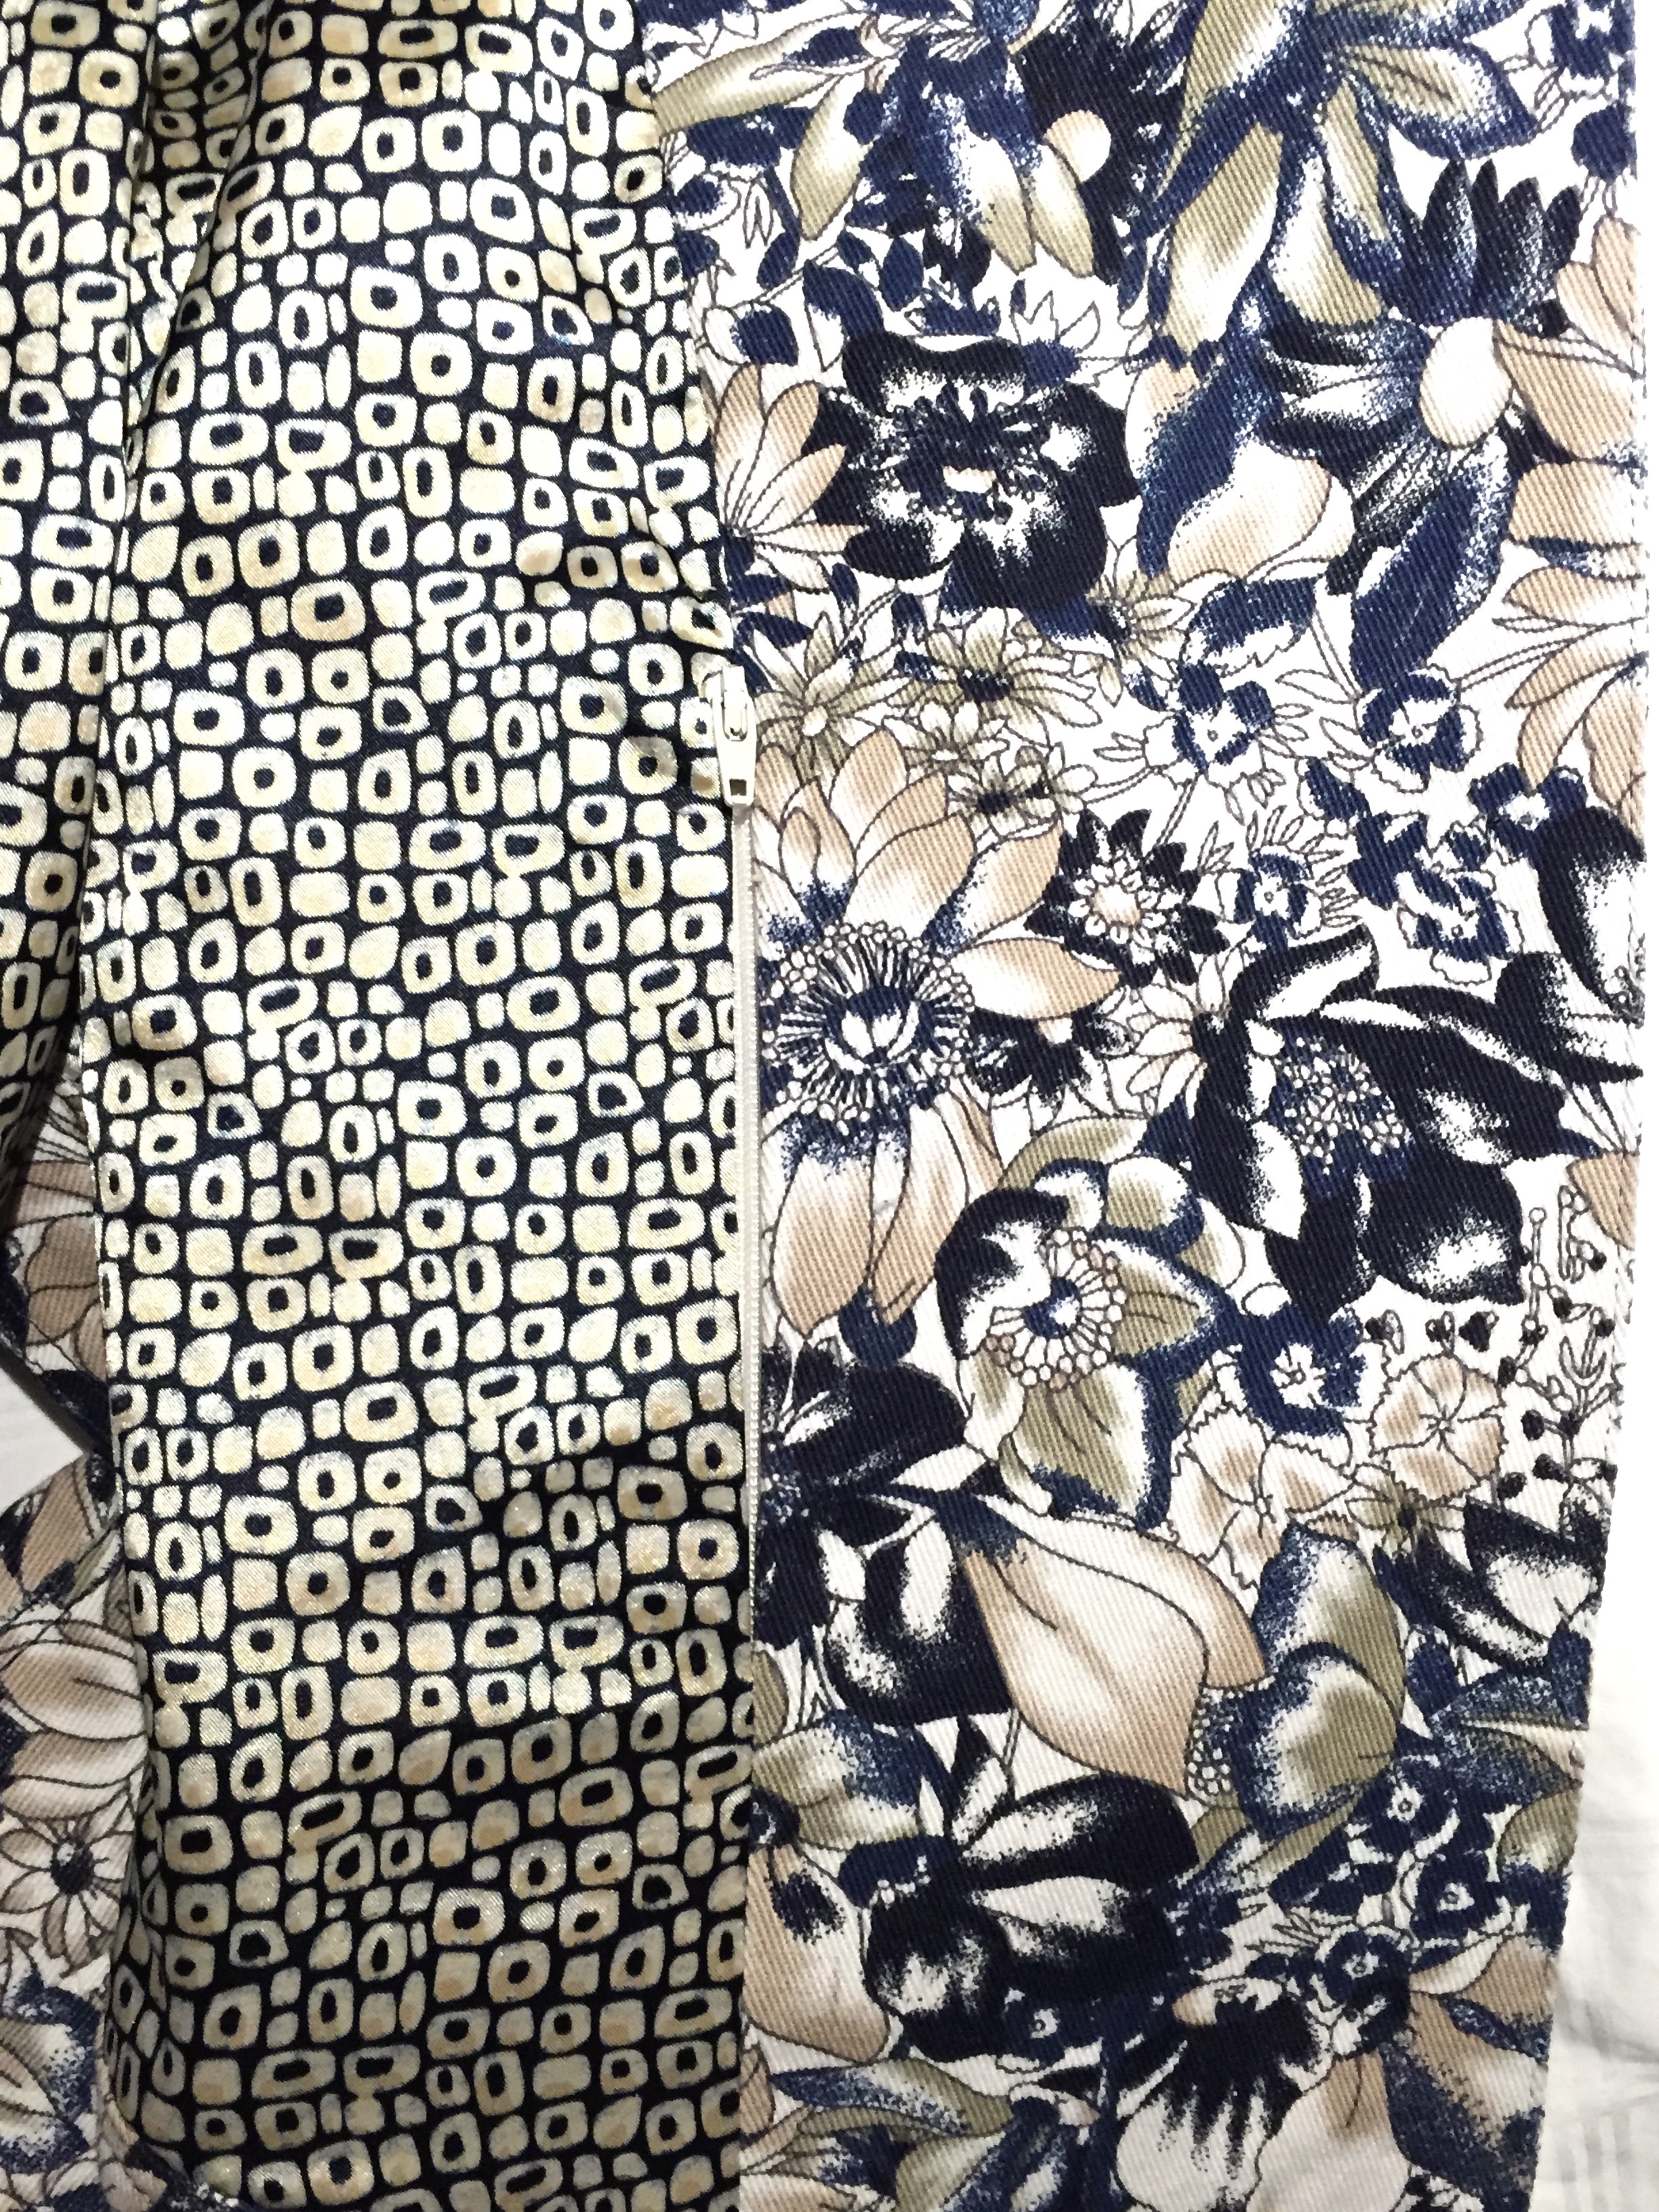
I’ve made lots of tote bags and even a weekend bag (too big to be a carry-on), so this would be relatively straight forward. I chose some fabric from my stash for the outside as well as the inside, cut out sides, ends, top and bottom, and strips for binding and assembled the bag complete with a zippered compartment on one side.

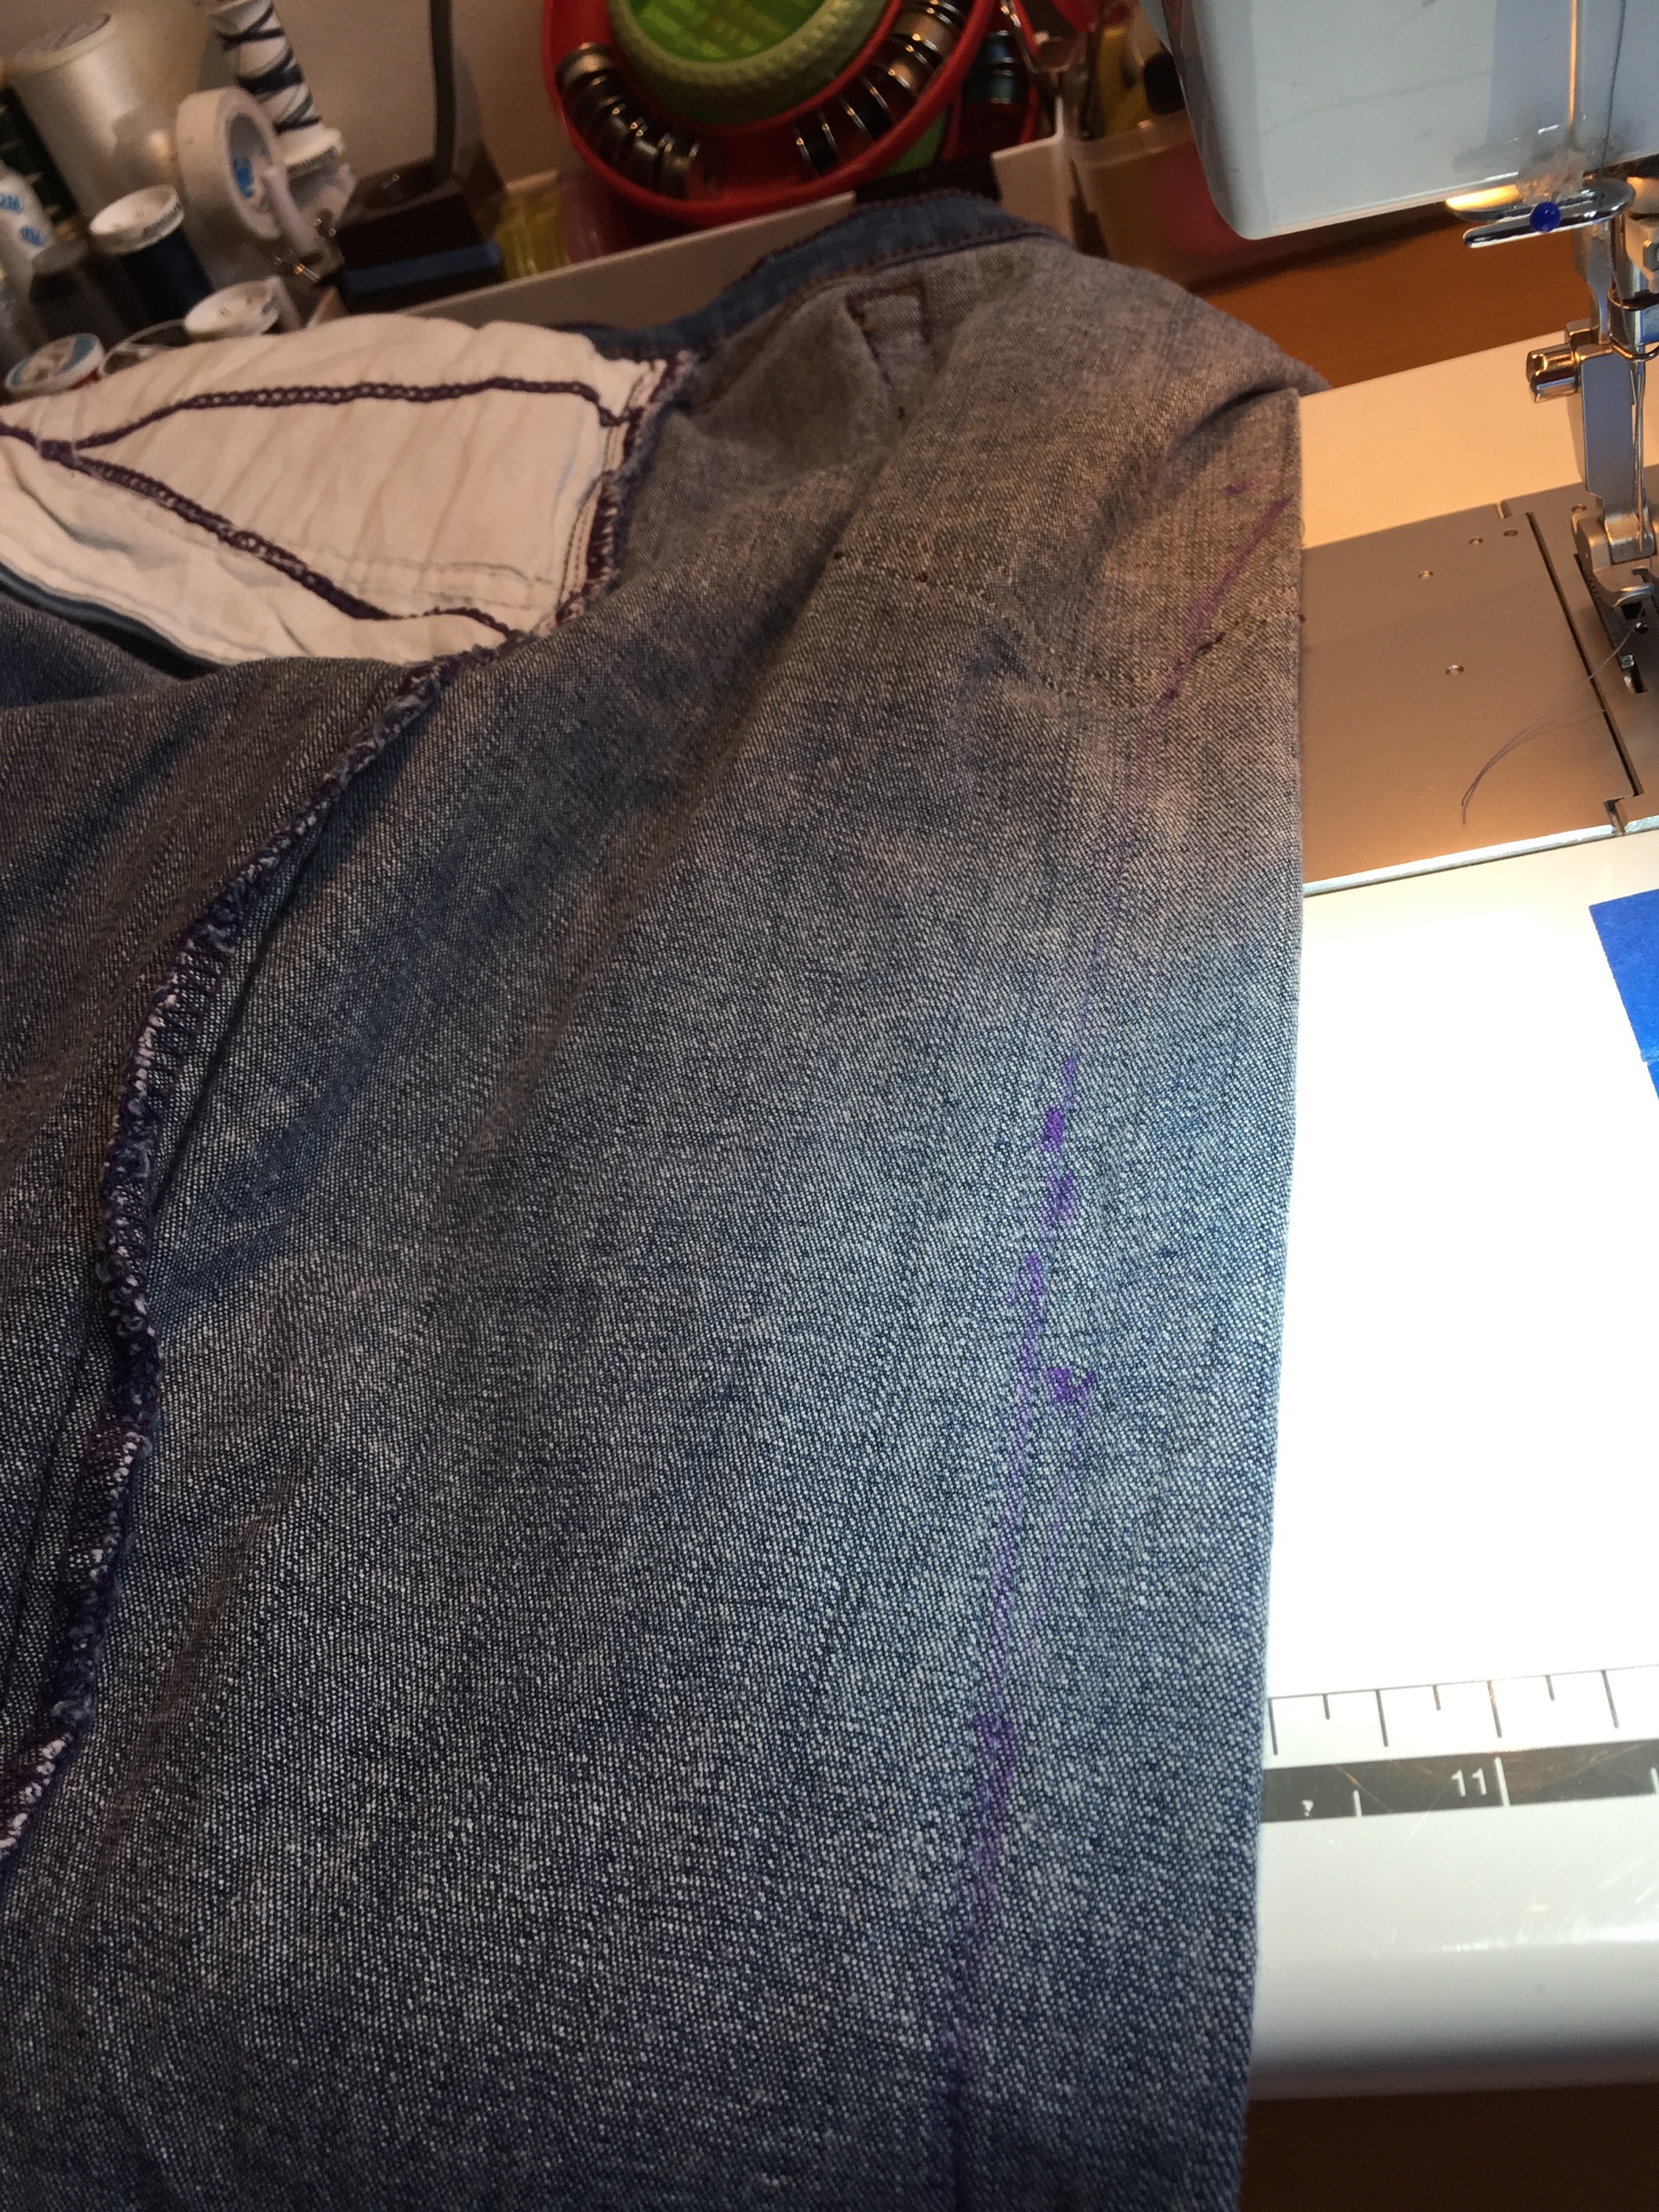
I made one error – I wanted the zipper across the top and down the sides – the zipper should have wrapped into the bottom! The bag, is finished, but it doesn’t open flat into two halves!


The size is good: 20.5 x 13.5 x 8 – smaller than any of the specs and it holds more than my other carry-on bags, and weighs nothing! But it’s hard to pack!

A trial packing allowed me to put in 4 turtlenecks, underwear for a week, a pair of jeans, a pair of Sketchers, a pair of sandals, 5 pairs of wool socks, 3 light wool sweaters, a night gown! More than enough for a week somewhere (with the travel pharmacy and iPad in my back-pack and I’m set).

The only problem is wheels – I still have my Air Canada wheeled trolley – the question is whether I’ll be able to take it as carry-on!

Kimono Jacket

Made this jacket a couple of years ago and while I like it, I don’t wear it often and yesterday I figured out why. I was wearing the jacket and didn’t want to have to carry a handbag but the jacket had no pockets. When I made it I thought about pockets on the front but couldn’t figure out how to apply them to the asymmetric front panels.

Having put hidden zippered pockets on the inside of the jean jackets I realized I could add zippered pockets to the reversible side of this jacket!

The reverse side had a wide binding – a perfect place to insert pockets:

So today I picked up a couple of invisible zippers, used a piece of black silk leftover from the silk pants I made to take to San Francisco, opened the seam at the bottom in the back so I could get at the binding/lining seams on the front panels, and in short order I had quite large hidden zippered pockets on each side!

Definitely makes this a much more useful garment.

Jean Jacket II

I had about a metre and a half of Luella Doss’ Hot Flash – Juicy Blooms (HDLD01) fabric in my stash. I bought it 3-4 years ago and wasn’t sure what to do with it. From time to time I’d take it out and look at it, then put it back in the closet.

When I got back from San Francisco with the jean jacket pattern, I took the fabric out once again. I knew there wasn’t quite enough for the jacket pattern, but with a bit of contrasting twill (I decided to use black), I thought I could make it work.

The challenge was the way the fabric was printed – flowers along one side, black and white stripes along the other. Straight off I knew I’d have to cut the jacket with the grain line on the width if I was to get flowers on the bottom and stripes at the top.

I didn’t have enough flower fabric to do all of the sleeve detail – so I decided to “mix & match” using flowers, stripes and black. I could only get one side of the collar and the bottom band pieces in the flower fabric, the facings had to be cut from black.

I also had enough of a perfect piece of black printed silk fabric for the lining which I’d bought in New York – I’d bought it intending to use it for lining, this seemed to be the right garment!

So I cut the jacket out on Thursday, constructed the outside yesterday, built the lining (again with hidden zippered pockets in the lining), and put the whole together today.


The jacket is definitely one of a kind! It’ll be fun wearing it.

Remodelling Summer Pants

You get up one day and decide today is the day to swap out the winter pants for the summer ones. That was this morning – however, I knew I would want to do something with the fit in the back of all eight pairs of pants which I’d made last summer.

I tried each on, pinned a dart to get rid of the fullness under the bum. Then I dug out some thin cardboard and drafted a template for the dart.

All of the pants were made from a palazzo pants pattern – with modifications as I went along – the legs got narrower, some ended up cropped, the first pair had the side opening used in the pattern, but second pair on I changed to a fly front.

I figured out a system for doing the alteration – I turned the pants inside out, pressed along the centre back, marked 6.25″ from the lower waistband seam, positioned the template, marked the dart seam with a fabric marker or chalk, then stitched it. Pressed the dart toward the centre back, turned the pants right side out and pressed along the seam. Done!


The pants fit so much better than they did.

Now to incorporate the shape and depth of the dart into the back of my jeans pattern, as well as the palazzo pants pattern. I think I have the dimensions of the “dart” just about right now.

Jean Jacket

Just finished – Jean Jacket (Vogue 1036 – Today’s Fit/Sandra Betzina). A lot of detail, edge stitching and top stitching, lining, but not difficult to construct. I made a couple of modifications: In the original, the sleeves had a flare – I made the sleeve straight from elbow to wrist; the outside pockets are more decorative than useful (too shallow to hold my keys, for example), so I added two interior zippered pockets (credit card in one, cash in the other).

Photo on 2015-05-20 at 8.46 PM

Photo on 2015-05-20 at 8.46 PM #2

The fabric is a cotton twill with a tiny bit of lycra (the bolt in the shop said “fabric content 100% unknown – as were all the other sample fabrics on display). Great for a light spring jacket.

Oh, and Sandra suggests snaps for the front, I used buttons (I couldn’t find any heavy duty snaps in navy – all that was available in town were various metallic colours and I wanted the navy to blend with the flowers).

IMG_4946(Hidden zippered pocket between lining and front facing.)

Black & White Tunic

The fabric I bought in San Francisco – a striped knit. The pattern from Safe-T-Pockets T-Shirt Trifecta. I wanted the stripes to align on the diagonal seam and they did. Yeah! There is a small hidden pocket (with an invisible zipper) in the diagonal seam – that’s a trademark feature of all Safe-T-Pockets designs. This top will be a useful summer garment – with the white pants it’s both a casual or dressy outfit. Didn’t take long to whip it up. The neckband and cuffs intentionally add contrast just in case you thought I hadn’t planned that – I did.

bw tunic-front

bw tunic-back

Bargello Jacket

Haven’t had an occasion to wear the Bargello jacket in quite a while. Today a friend and her daughter and I were going for “tea” and the temperature was perfect for this jacket.

I still love how the chevron works and even though I’m wearing jeans, I end up with dressy outfit.

BTW, “tea” was lovely – two great desserts share three ways and a cup of tea and some interesting conversation!

I have some great silk dupioni fat quarters that would work into an interesting Bargello – must dig them out and look at them with this in mind.

Jeans Makeover

Tuesday I stopped at Frenchy’s (a Maritime thrift store specializing in used clothing) to pick up a couple of pairs of jeans in stretch denim. I tried on several pairs – size 10 fit my waist and the top hip region, but were way to big through the bum and thighs – perfect for what I intended to do with them.

At $4.75 for a pair of jeans I can experiment to my heart’s content! I wanted to see if the dart/seam in the centre back of the pants would give me the fit I’d achieved in SF.

I started by lifting the back pockets:

Then I tried the jeans on putting a pin at the spot of the greatest depth for the dart, another pin to mark the point where the top of the dart ends, and another at the knee.

Next I turned the jeans inside out, used a fabric marking pen to identify the position of the pins. Now to locate the grain line in the back panel (I started at the hem, folding and pinning the back in half, aligning the side and inseams and marking the fold all the way to the mid-hip in back. Once I had the centre back I marked the dart/seam and stitched from the top of the dart (under the pocket) to the knee and continued with a narrow seam to the hem on both legs.

I tried on the jeans to see whether I’d removed enough of the excess fabric – pretty good fit. So I pressed the seam, pinned and restitched the pockets in place. 

I measured the inseam (a good length for me is 27″), added 1 1/4″ for the hem, cut the legs, serged the hem edge, folded, pressed, and stitched the hem.


Not bad huh? Took me about an hour and a half.

San Francisco 7

Day 3 – we’re now past the half way mark. Sandra arrived this morning with a load of garments based in her pattern line for Vogue Patterns. Several garments from the same pattern but in very different fabrics which makes them look very different! One short coat was made from a Vietnamese bedspread:

I tried it on later – too big for me but done in a smaller size using some kind of upholstery fabric with faux suede, for example, it would work well. It would also be a vehicle for lots of interior pockets so I wouldn’t have to carry a purse.

I managed to finish the pink twill jeans I was working on – not without a good bit of taking out! The fit is interesting – they fit reasonably well, the back yoke and pocket placement gives my bum a bit of shape. 

I applied the adjustments I made – a 1/4″ drop in the waist at the sides, a 1/4″ increase in the side seam from above the knee to the hem, the added 1/4″ in the side seam at the waist to a new pattern. The biggest adjustment – a substantial dart from just below the bum to the knee that Paul suggested yesterday to get out some of that unwanted fabric beneath the bum. I’ve cut the pattern out ready to have another go – a light blue twill, this time.

The pink pair could use a good pressing but I find the professional irons here difficult to use so I’m not getting a crisp, flat seam. I’ll do that when I get home.

Went out for a bit of dinner with Sheila – on the way home we walked passed a Clivia (a plant in the Amyrillus family) in bloom. My friend Marlene has one in her greenhouse but has a difficult time getting it to flower.

So tomorrow, I’ll have one day to cut out and assemble the second pair of pants. Friday, our last day will be filled with clearing up tasks.

San Francisco 6

Busy day! Sandra brought in lots of garments, various renditions of some of her patterns for us to see how we might improvise with fabrics and details:

Paul Gallo, a talented pattern maker and fabric draper arrived mid-morning to help with fit.

Fisheye Dart

He showed us a couple of different ways of getting rid of the excess fabric under the bum:

He showed us how to fit and shape a sleeve:

He measured several women and draped and fitted them for custom dress and blouse patterns.

He helped me with the fit of my pants by removing the excess under the bum with a large ‘fish’ dart which he suggested I turn into a princess seam. I drafted the changes to the back of the pants and quickly assembled a muslin to which he suggested further refinements. I redrafted the back pattern and cut a second muslin which I will stitch up tomorrow morning.

This evening I figured out a way to make the pink jeans work. I now have the fronts done and the backs with a dart down the middle of the back (I fit the dart into a faux seam because I had no pink fabric to redo the back from two pieces). I’ll put front and backs together tomorrow as well – at least that’s my intention!

By evening we were all weary – sewing is strenuous!