Another Watercolour Quilt Experiment

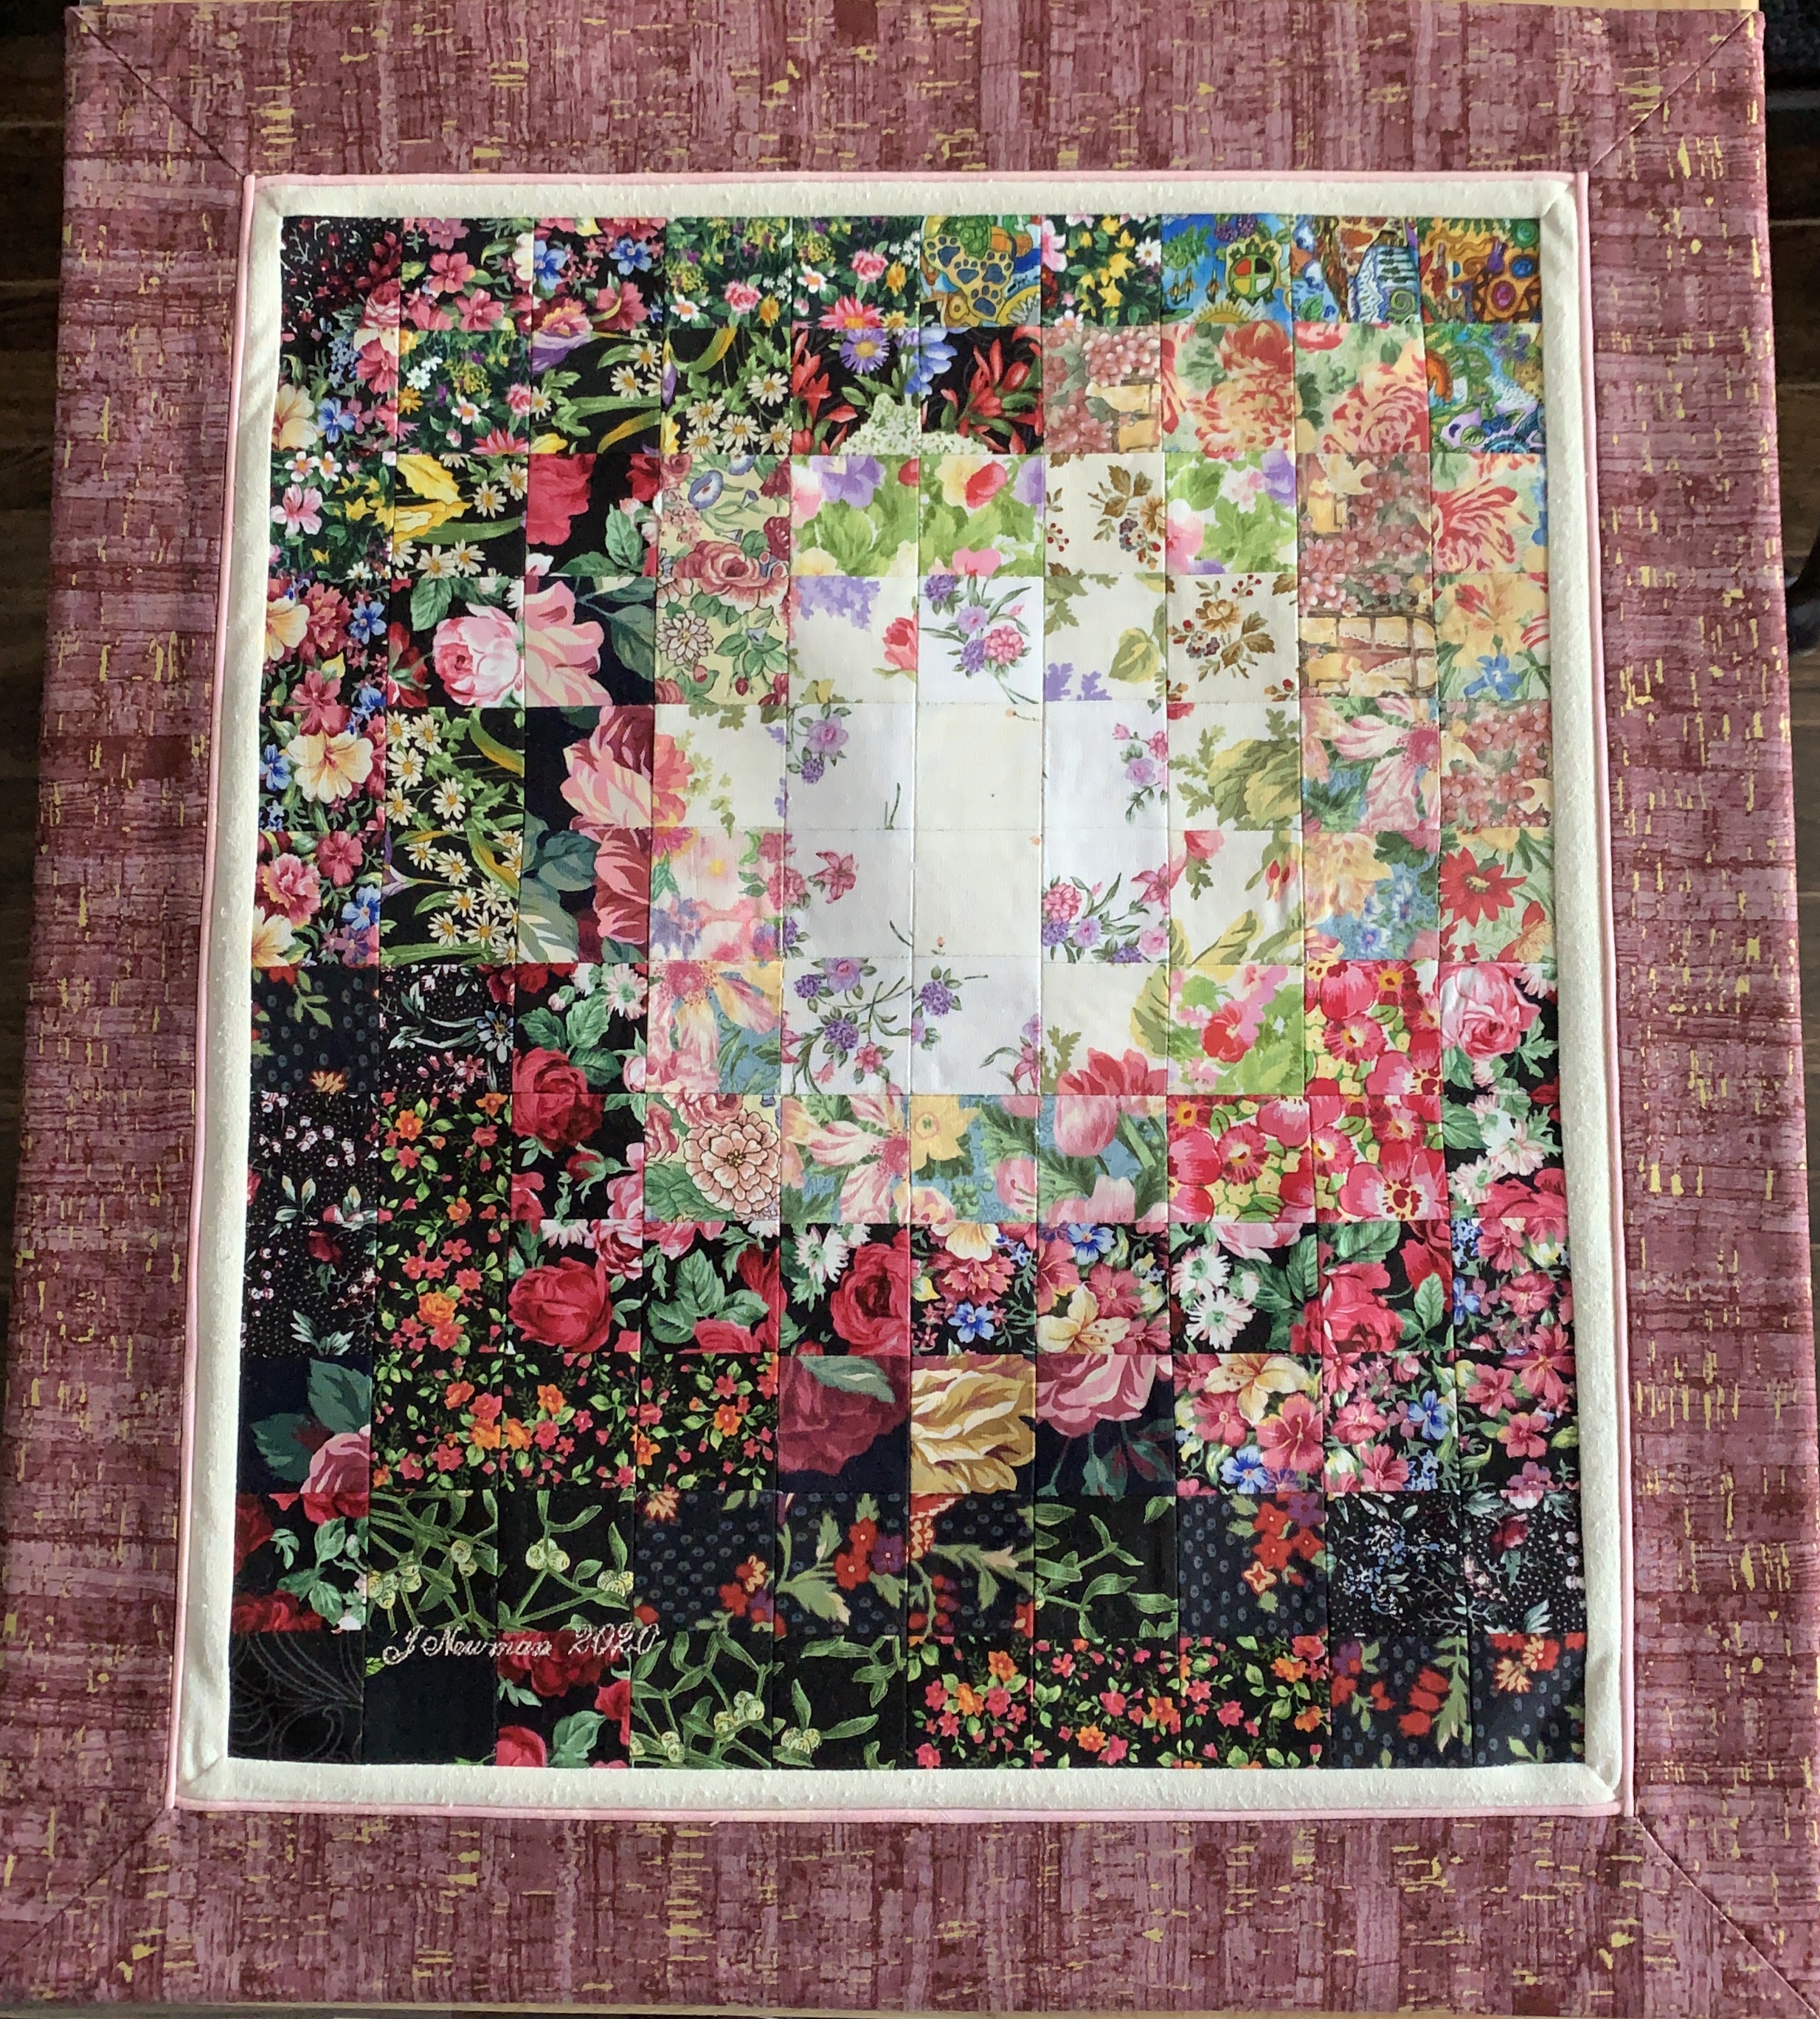
I’m signed up to teach a class in two weeks on colourwash/watercolour quilting. After finishing “Nine Shades Of Grey” two days ago, I opened my box with the gazillion 2″ squares of fabric all nicely colour sorted in ziploc bags and started laying them out.

The other day I bough a couple of metres of fusible grid interfacing to see if that simplified the process of setting up a colourwash panel. I began by cutting a 24″ x 20″ panel of interfacing, then glue side up (which is the back of the interfacing, so it’s kind of hard actually to see the grid), started laying out squares attempting to bring some kind of colour order to what I was doing.

Blue Garden With Butterfly

I wanted my light focal point to be off-centre which took some moving of squares as I laid them out. I felt hampered by an insufficiency of both light and predominantly dark squares (I need to go fabric shopping this weekend to see if I can add to my stash of suitable fabrics both light and dark so I have enough contrasting fabrics for me and the workshop participants to work with).

After placing squares, walking away, coming back, moving them around, I was ready to fuse the squares to the grid. That was when the process became hairy! I had a difficult time moving the grid panel from my cutting table where I worked, to the ironing board – without having squares flying all over the place. In the end I slid one of my smaller cutting mats underneath the grid interfacing so I could support it as I moved it from table to ironing board.

Now I really ran into trouble – I couldn’t press directly on the cutting mat (the heat from the iron would make it buckle). I tried sliding the grid interfacing (with loose squares laid out) onto the ironing board but my board wasn’t wide enough to support the whole piece. Fortunately I had taken photos of the layout so when the bottom half of my squares landed on the floor, I was able to reposition them (more or less) as I’d had them so I could systematically press them all in place. This is clearly a problem I have to solve before the class because I can’t have people struggling to retain the positioning of the squares as they press them onto the grid interfacing!

I used straight pins on my previous colourwash piece (because the grid cloth I used wasn’t backed with fusible glue) – I think pinning may be in order here as well. I plan on making another test piece before the class to see if that will work better.

I chain stitched the squares in my original watercolour piece which worked nicely – however, I had to stack my pieces carefully and mark the placement of each stack with post-it notes so I got the assembly the way I’d originally laid it out. Using the fusible grid cloth has definite advantages but you can’t fuse as you go along since, at least for me, I need to be able to reposition blocks until I’m happy with the colour flow.

I will continue working to solve this problem so it will be easy for the class participants to concentrate on colour flow and not get hung up on the technical aspects of securing the small fabric pieces.

Postscript: I’ve just had a thought! What if I cut my grid interfacing into 8″ strips, laid the strips together on my cutting board, placed my squares, then carefully carried the narrow strips to my ironing board to press the squares in place – these narrow strips would fit on the board. Ultimately, I have to sew 1/4″ seams along the edges of the squares – all I need to do is juxtapose the narrow fused strips where they are to be joined and sew a 1/4″ seam along that join. That would work quite nicely. Have to give it a try as soon as I have some more dark and light fabrics from which to cut more squares!

A Second Postscript: I appliquéd a small purple/orange butterfly in the lower left of the light area to provide some kind of focus to the piece. I wish I had more butterfly fabric to choose from – this one is a wee bit on the small side but it was the only size I could find in what I had.

Mauve Socks

These socks were completed last night. The mauve for the cuffs, heels and toes came from another 100g ball of variegated yarn with a very subtle tonal graduation – this mauve was the first colour in each of the two repeats (the second repeat signalled with a length of white yarn – remember how I missed that detail on an earlier pair of socks?)

Mauve Socks

This time I knew the repeat would be marked so I looked for it – unwinding and balling the yarn until I reached the white segment, then cutting the yarn and setting up a second ball. The remaining ombre yarn is very dull – I think I’ll probably use the remains from this pair of socks to liven up the pair I’ll make from it.

In the meantime I’m on to a new pair of socks – this time using a much brighter variegated yarn – while I find knitting relaxing, I much prefer working on lively colours rather than yarns without much contrast. The knitting seems to go faster when the pattern is strong and the colour changes are frequent.

Nine Shades Of Grey – Completed

Finished this quilt a couple of days ago, now. Although a very simple quilt, I find it’s simplicity appealing and I’m happy with how it turned out. I particularly like how the two narrow borders frame the inner panel bringing out the darker greys and highlighting the golden colours in the batik fabrics.

Nine Shades Of Grey

I’m happy with the back as well. Finding a way to use the small half-square triangles along with the cornered blocks was satisfying.

NIne Shades Of Grey – Quilt Back

I elected to bind the quilt in the same fabric as the wide outer border so the binding would be relatively invisible. I also didn’t use a decorative stitch to apply the front of the binding – I just straight stitched it down – harder to do accurately than working with the decorative stitch which is more forgiving! But I didn’t want to introduce any distracting detail into the overall simplicity of the quilt.

Magic Squares Quilt IV – Finished

I finished the quilt on Thursday – quilted the last four squares and the border, then added the binding and label.

Magic Squares IV – Quilt Top

Final Size: 51.5″ x 62.5″ – largish for a throw but useful to keep at the bottom of a bed to use when it’s cold.

The quilt back:

Magic Squares IV – Back

I had four blocks left over which I bordered and inserted into the backing fabric. I was pleased with how the backing echoes the dark teal feel of the quilt top and the inserted rectangle stands out nicely.

People ask “How long does it take to make a quilt like this?” It’s not an easy question to answer particularly since in this case I was working on another quilt, making a gazillion zippered bags and sewing other things.

I started this quilt somewhere around Nov 10 when I started sewing jelly roll strips together, cutting the panels into squares in preparation for the sewing retreat (Nov 14-17) where I assembled the “magic squares” blocks. I got to laying out the squares on Dec 2. On Dec 5, I created the top panel by adding the sashing. On Dec 6, I added the outer border. Sometime during the next several days (while I made more bags, finished knitting a pair of men’s socks, worked on and finished the second “fish” skinny quilt got some baking done), I created the quilt back. I began quilting it a week ago – the quilting took three days finished on Dec 25. Binding the quilt took a morning; I added the label that evening – Dec 26.

So you could say I worked on the quilt for 6-7 weeks, but the actual working time was much less – probably not more than 10-12 days.

And now I’m quilting “Nine Shades Of Grey” which is going quite quickly. My goal is to have this second quilt finished before Dec 31. I think I will make it.

Moth Sculptures Hand-Crafted by Yumi Okita

Artist Yumi Okita layers hand-painted fabric, embroidery thread, feathers, and faux fur to create large sculptures of insects. Each handmade moth and butterfly is one-of-a-kind, with coloration and patterning often inspired by existing species.

Moth Sculptures Hand-Crafted by Yumi Okita

Check out her work – it’s quite wonderful.

Two Skinny Quilts – Finished

School Of Fish #2

School Of Fish #2

Finished with a hidden binding and backing fabric. I like this one even more than the original. I think the ombre fabrics create a feeling of water and notice the single fish swimming against the school…. But that’s it for fish – I have no more in my bag of fusible scraps.

Skinny Quilt #4 – An Update

Skinny Quilt IV – Straightened

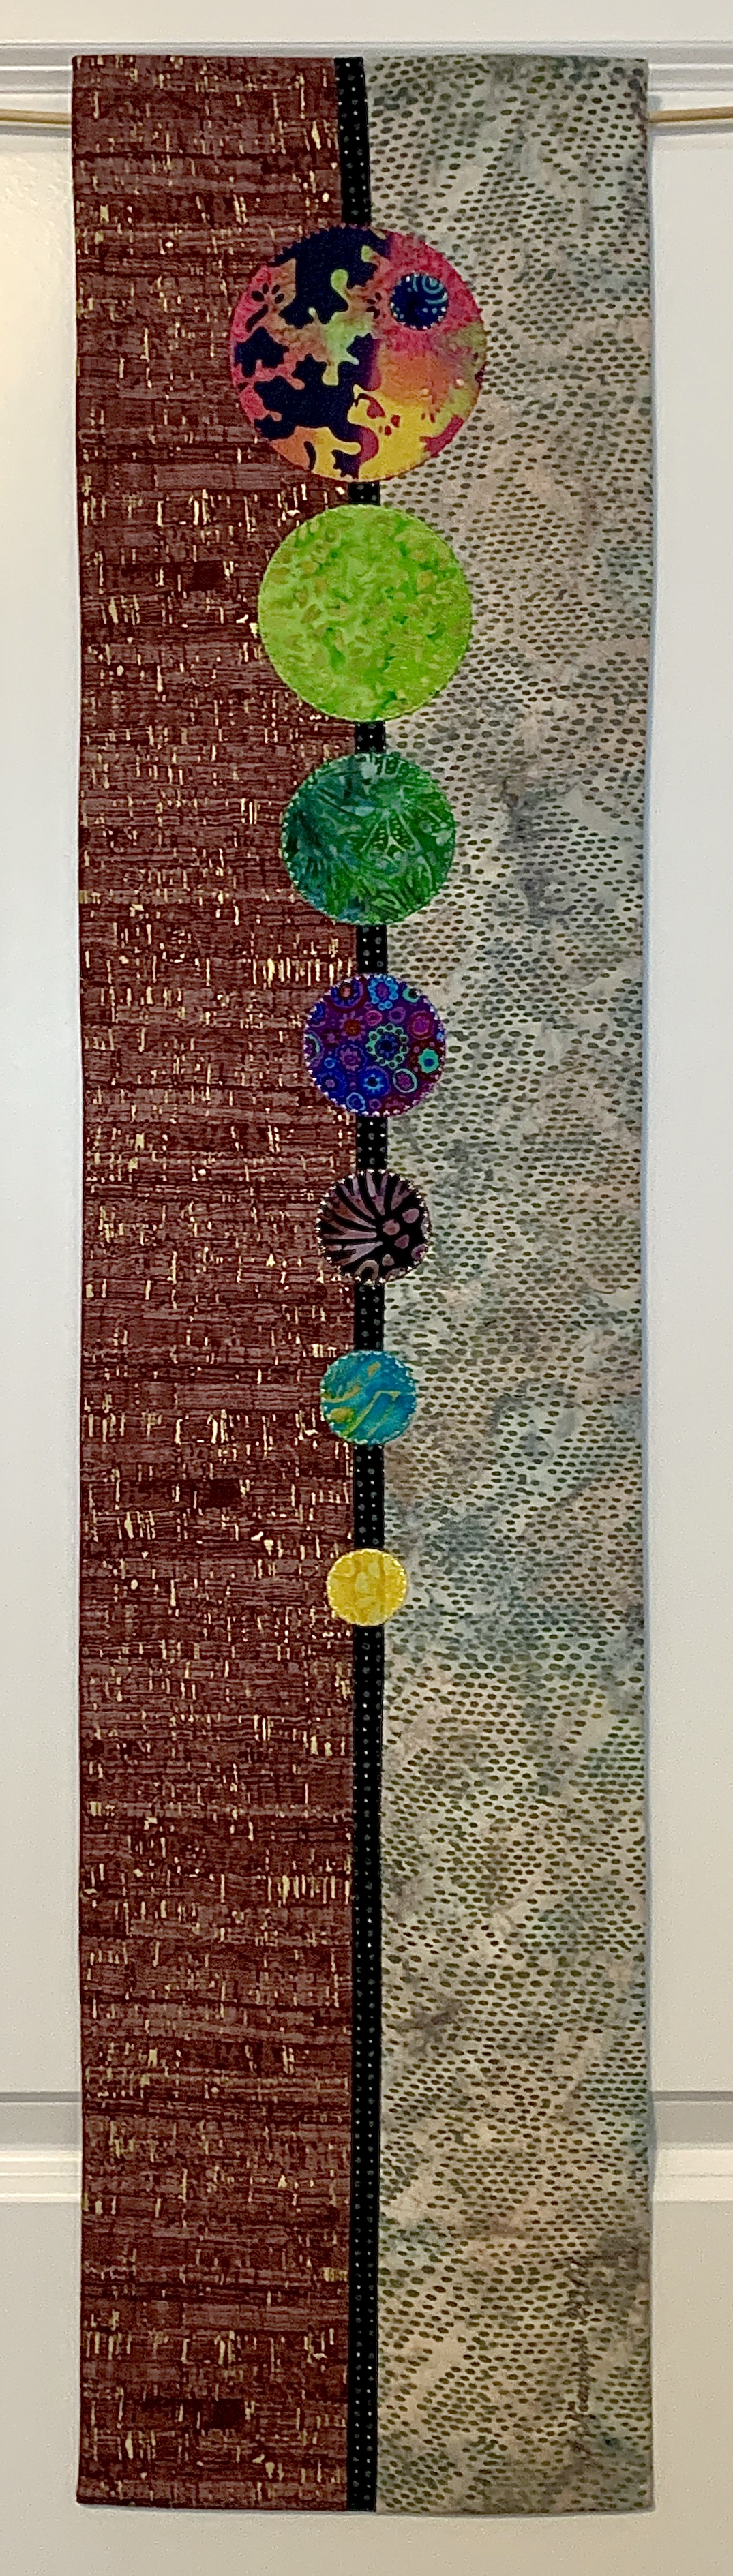
I wasn’t happy with this banner – it wasn’t quite square and it showed when the piece was hanging. Yesterday, I took it apart so I could straighten the sides and while I had the backing and binding off, I decided to remove the smallest blue circle – first, because it was the wrong colour – it didn’t really show up – and second, it was the eighth circle and an odd number is more pleasing. Now the yellow in the top large circle is now echoed in the small one and your eye moves between the two and is then drawn into the complexity of the fabric design of the other circles. A better balance.

Best of all, the banner is now square so it hangs straight and I can include it I the banner/skinny quilt collection.

No More Bags – Right?

I thought I was finished with the Christmas bag making – wrong! Yesterday afternoon I distributed the zippered bags to the women in the knitting group (they all loved them) – however instead of the dozen I’d planned for, by last evening I had given away 20!

I reconstructed a list of other people I’d already given bags to – that was another 15, and I still have a further 16 on my list. In spite of the ten small bags I made the other day I was going to be a few bags short and I still want to have some around for ready gifts through the year.

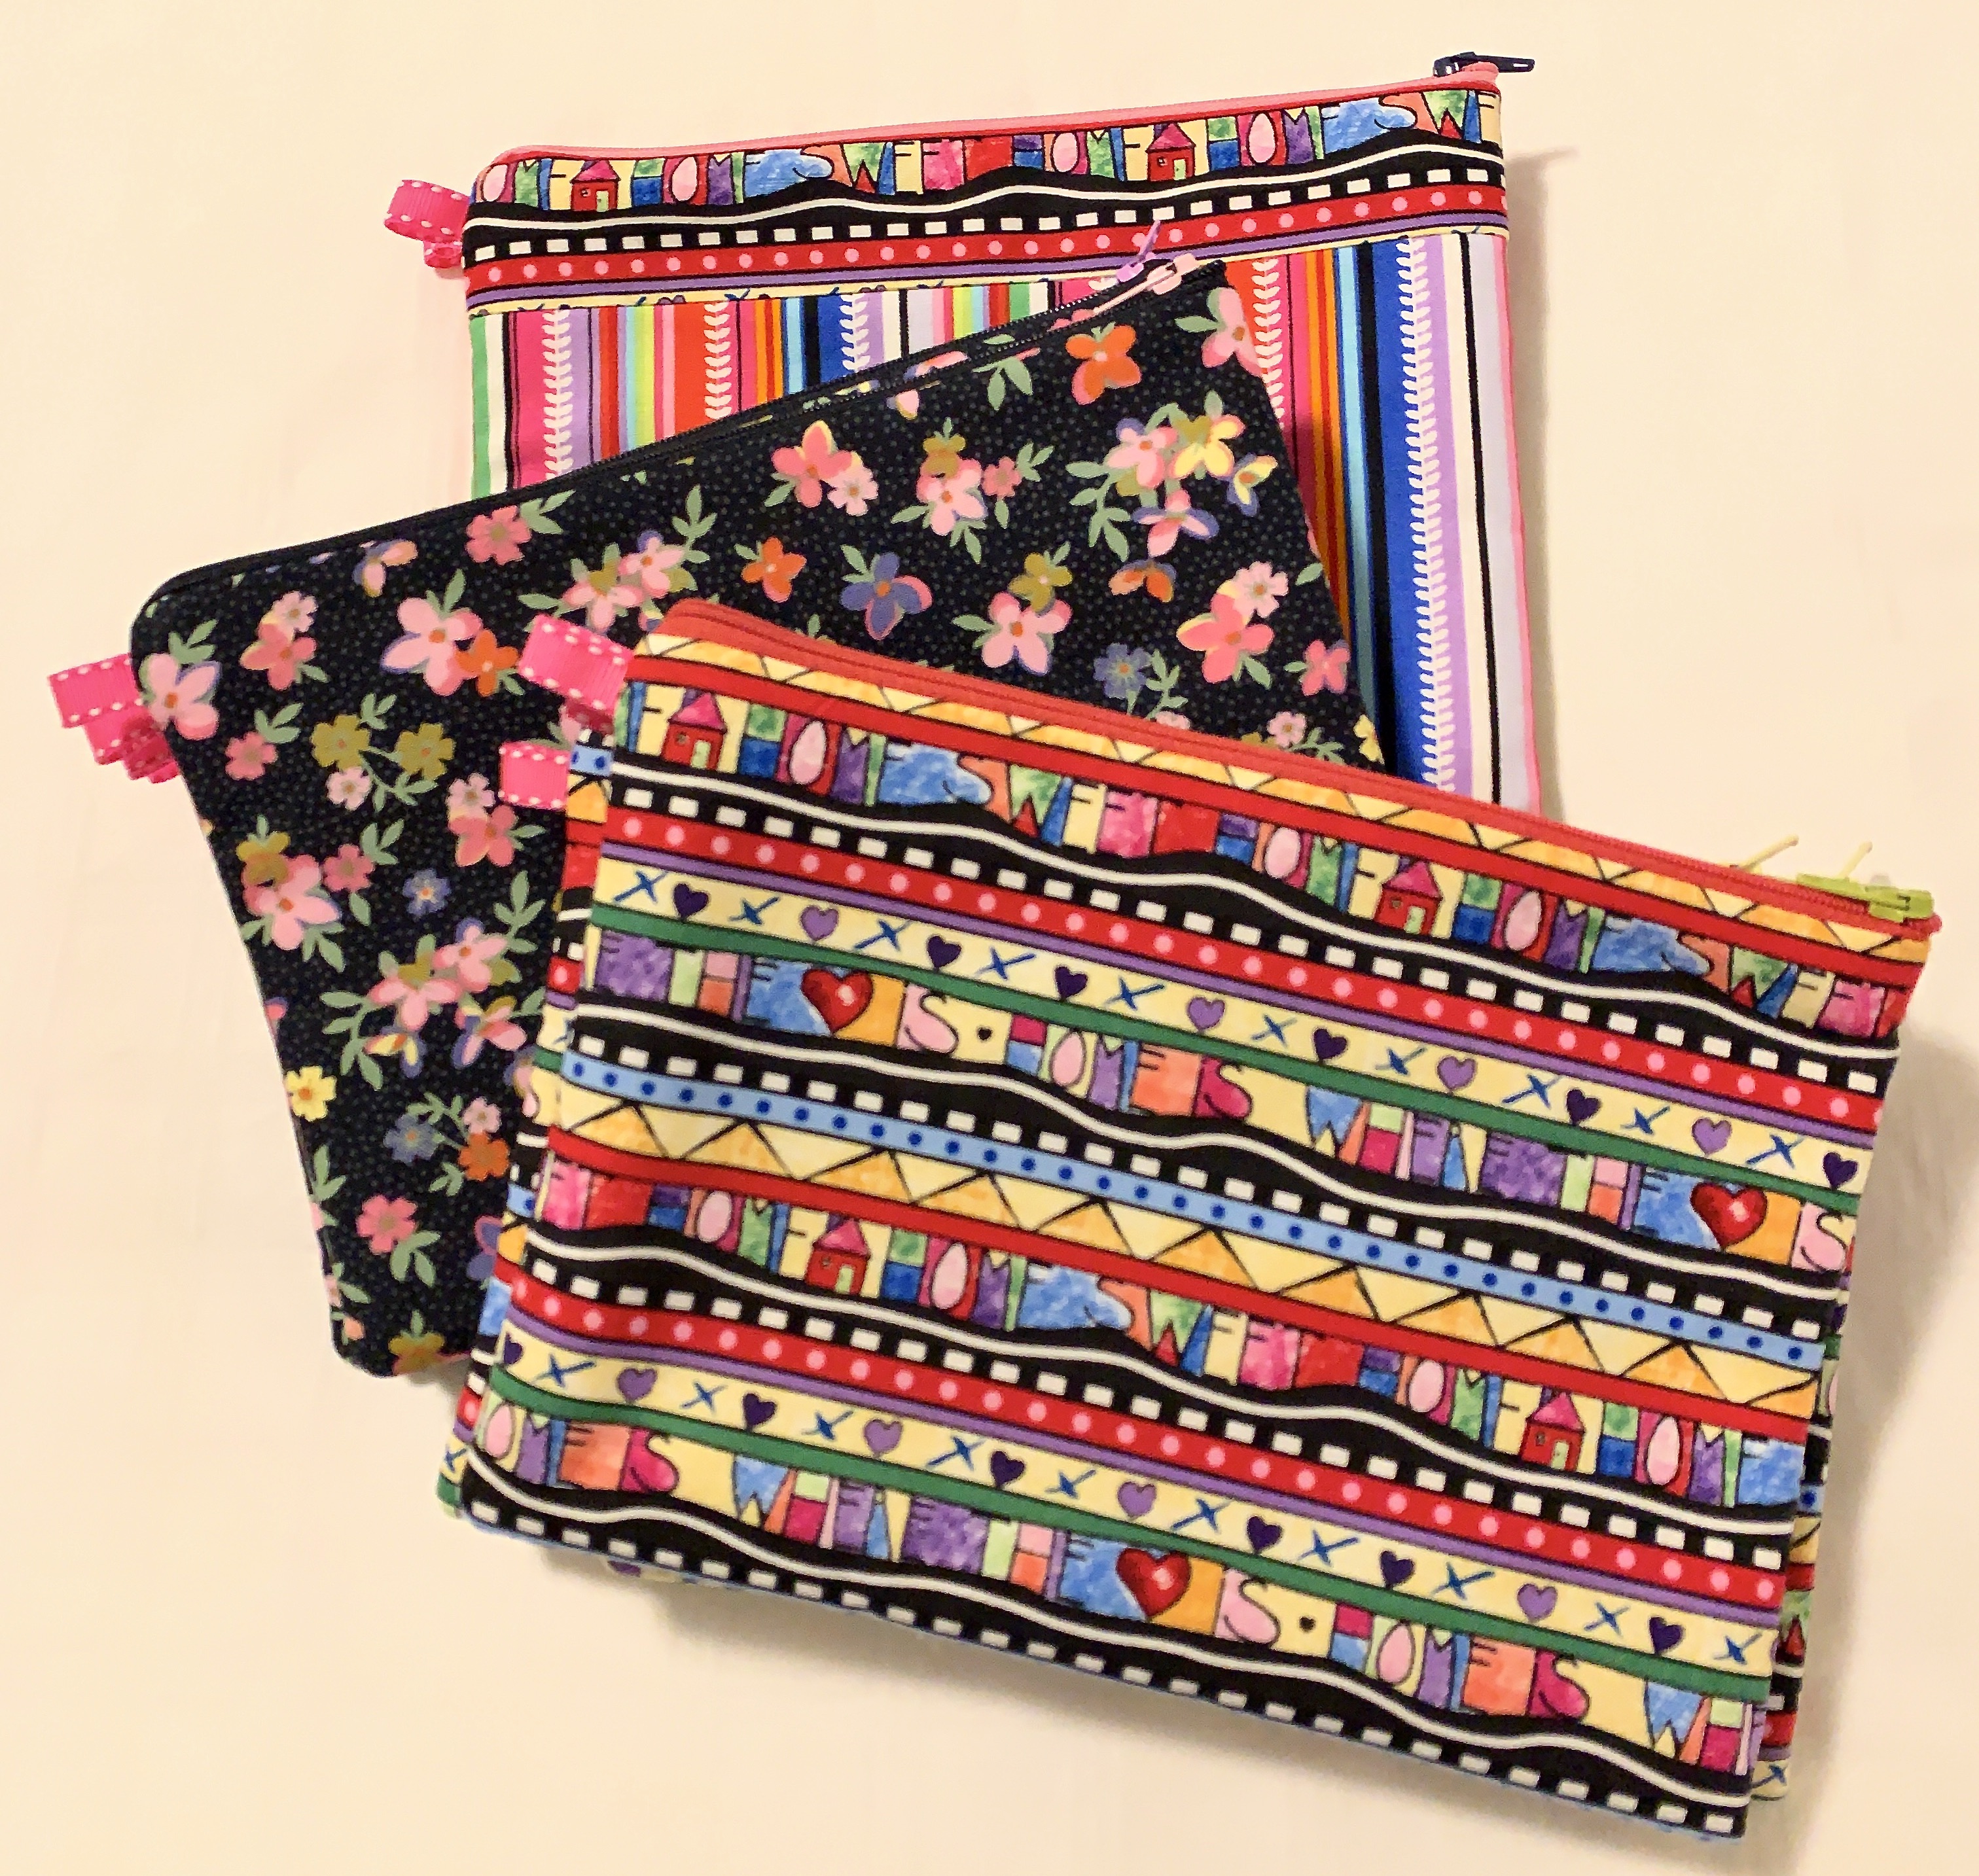
So this morning I got up and started prepping for another twelve bags (finished size 6″ x 8″).

Even More Bags

I cut the outside fabric, lining fabric, batting, zipper tape, grosgrain ribbon – that took about an hour. I sat down to production sew the bags which took just over 90 minutes (that’s less than 10 minutes/bag). By 11:30 I had another dozen bags.

And that wasn’t the end. I visited my friend Joan during the afternoon. She’s 88 and not as active as she used to be. I didn’t think she’d find a use for a bag so I didn’t take one. However we discussed them and turns out she could use a small bag to carry a credit card, a bit of cash and a key. When I came home I made her one. I’ll take it over to her tomorrow!

20 to the knitting group
15 given to other friends
14 more to give away
10 sent to my niece (for her to use as gifts)
24 in my stash

That makes 83 bags I’ve done in the last month and a bit. No more!

Last 10 Bags For 2019 – Really!

Not much to say about these – I can practically make them with my eye’s closed. The size of these bags was determined by the fabric pieces I had – a sample collection of colour ways in graduated sizes I was given at the sewing retreat last month. I was limited by the size of the smallest sample piece. That was when I decided to add a top strip using leftovers from the larger pieces.

Last 10 Bags For 2019!

I have now sewn close to 50 this season – that’s it, no more. Ten went to my niece for her to use as gifts.

Maxelle’s Gift Bags “Hand-made by Aunt Judith”

The Gifts

Twelve are for the women in my knitting group – they get their’s tomorrow.  The others have been disappearing quickly from the stash – which is why I decided to make ten final ones.

I should now have enough zippered bags for this season with a few left over to give away during the year.  The bags don’t need to be wrapped – they are the wrapping and useful besides.

That’s it! No more till next year.

Clever Face & Other Architectural Photos

This is the lead photo in an article showing a number of very clever Architecturally-Inspired Self-Portraits by photography duo Daniel Rueda and Anna Devis.

A Very Clever Face

Do take a close look and enjoy the ingenuity these photos represent. They’re very interesting.

Fish 2

I have two quilts to work on but I’m not satisfied with the embroidery design I’ve created to quilt the “Nine Shades Of Grey” quilt and that has me hung up. So instead of quilting Magic Squares Quilt IV, I decided to work on edge stitching Fish 2.

Fish 2 

Fish 1 also used these same leftover off-cuts from Quilt-On-The-Go with the “X”s and “O”s  appliquéd to background layer of blue blocks.

Two weeks ago I gave away Fish 1 to a friend to whom I’d promised a wall hanging (Well, really I made “Tropical Flowers” with her in mind, but once I’d spent 2 months thread painting, and then had it hanging in my home for a while, I couldn’t part with it, so Fish 1 went to her, instead.) I know it has found a welcoming home.

After Fish 1 left the house, I missed it. For some reason I felt attached to it. However, I still had quite a few fish in a bag and two lengths of an ombre fabric in turquoise shades, so I decided to make Fish 2.

Same construction as the other Skinny Quilts/Banners – two unequal wide-ish pieces of fabric (cut from width-of-fabric) joined by a 1″ strip of a definitely contrasting fabric, with the appliqués fused then stitched in place.

This afternoon I edge-stitched all the fish, then added rather bright-coloured eyes (which I thought would be an improvement on Fish 1). I even managed to embroider my signature (even if I have it going in the wrong direction – the bottom edge of the signature should be facing the fish – nobody is ever going to notice it – once the embroidery began I knew I wanted it running bottom toward top but it was too late to stop and change it – as with a lot of this embroidery work – you get it right the first time, or you live with it.)

BTW – a better name for this piece is “Against The Crowd” or “Swimming Upstream” – one fish is swimming against the others!

Now I need to set up a hidden binding, add a backing, then hand stitch the binding in place – maybe tomorrow, or the day after.