Watch this video of a mother raccoon teaching her baby to climb – it has lots to say about how we might think about learning and teaching, ourselves!
Watch the mother problem solve, watch the kit figure out how to climb the tree.
Mother Raccoon can’t actually “teach” the kit to climb – she supports the young one, she positions and repositions her, supporting the kit’s efforts so the young one can figure out she has to use her claws to hang on. Mother’s persistent, she doesn’t give up; the kit finally gets the hang of it and starts climbing the tree on her own.
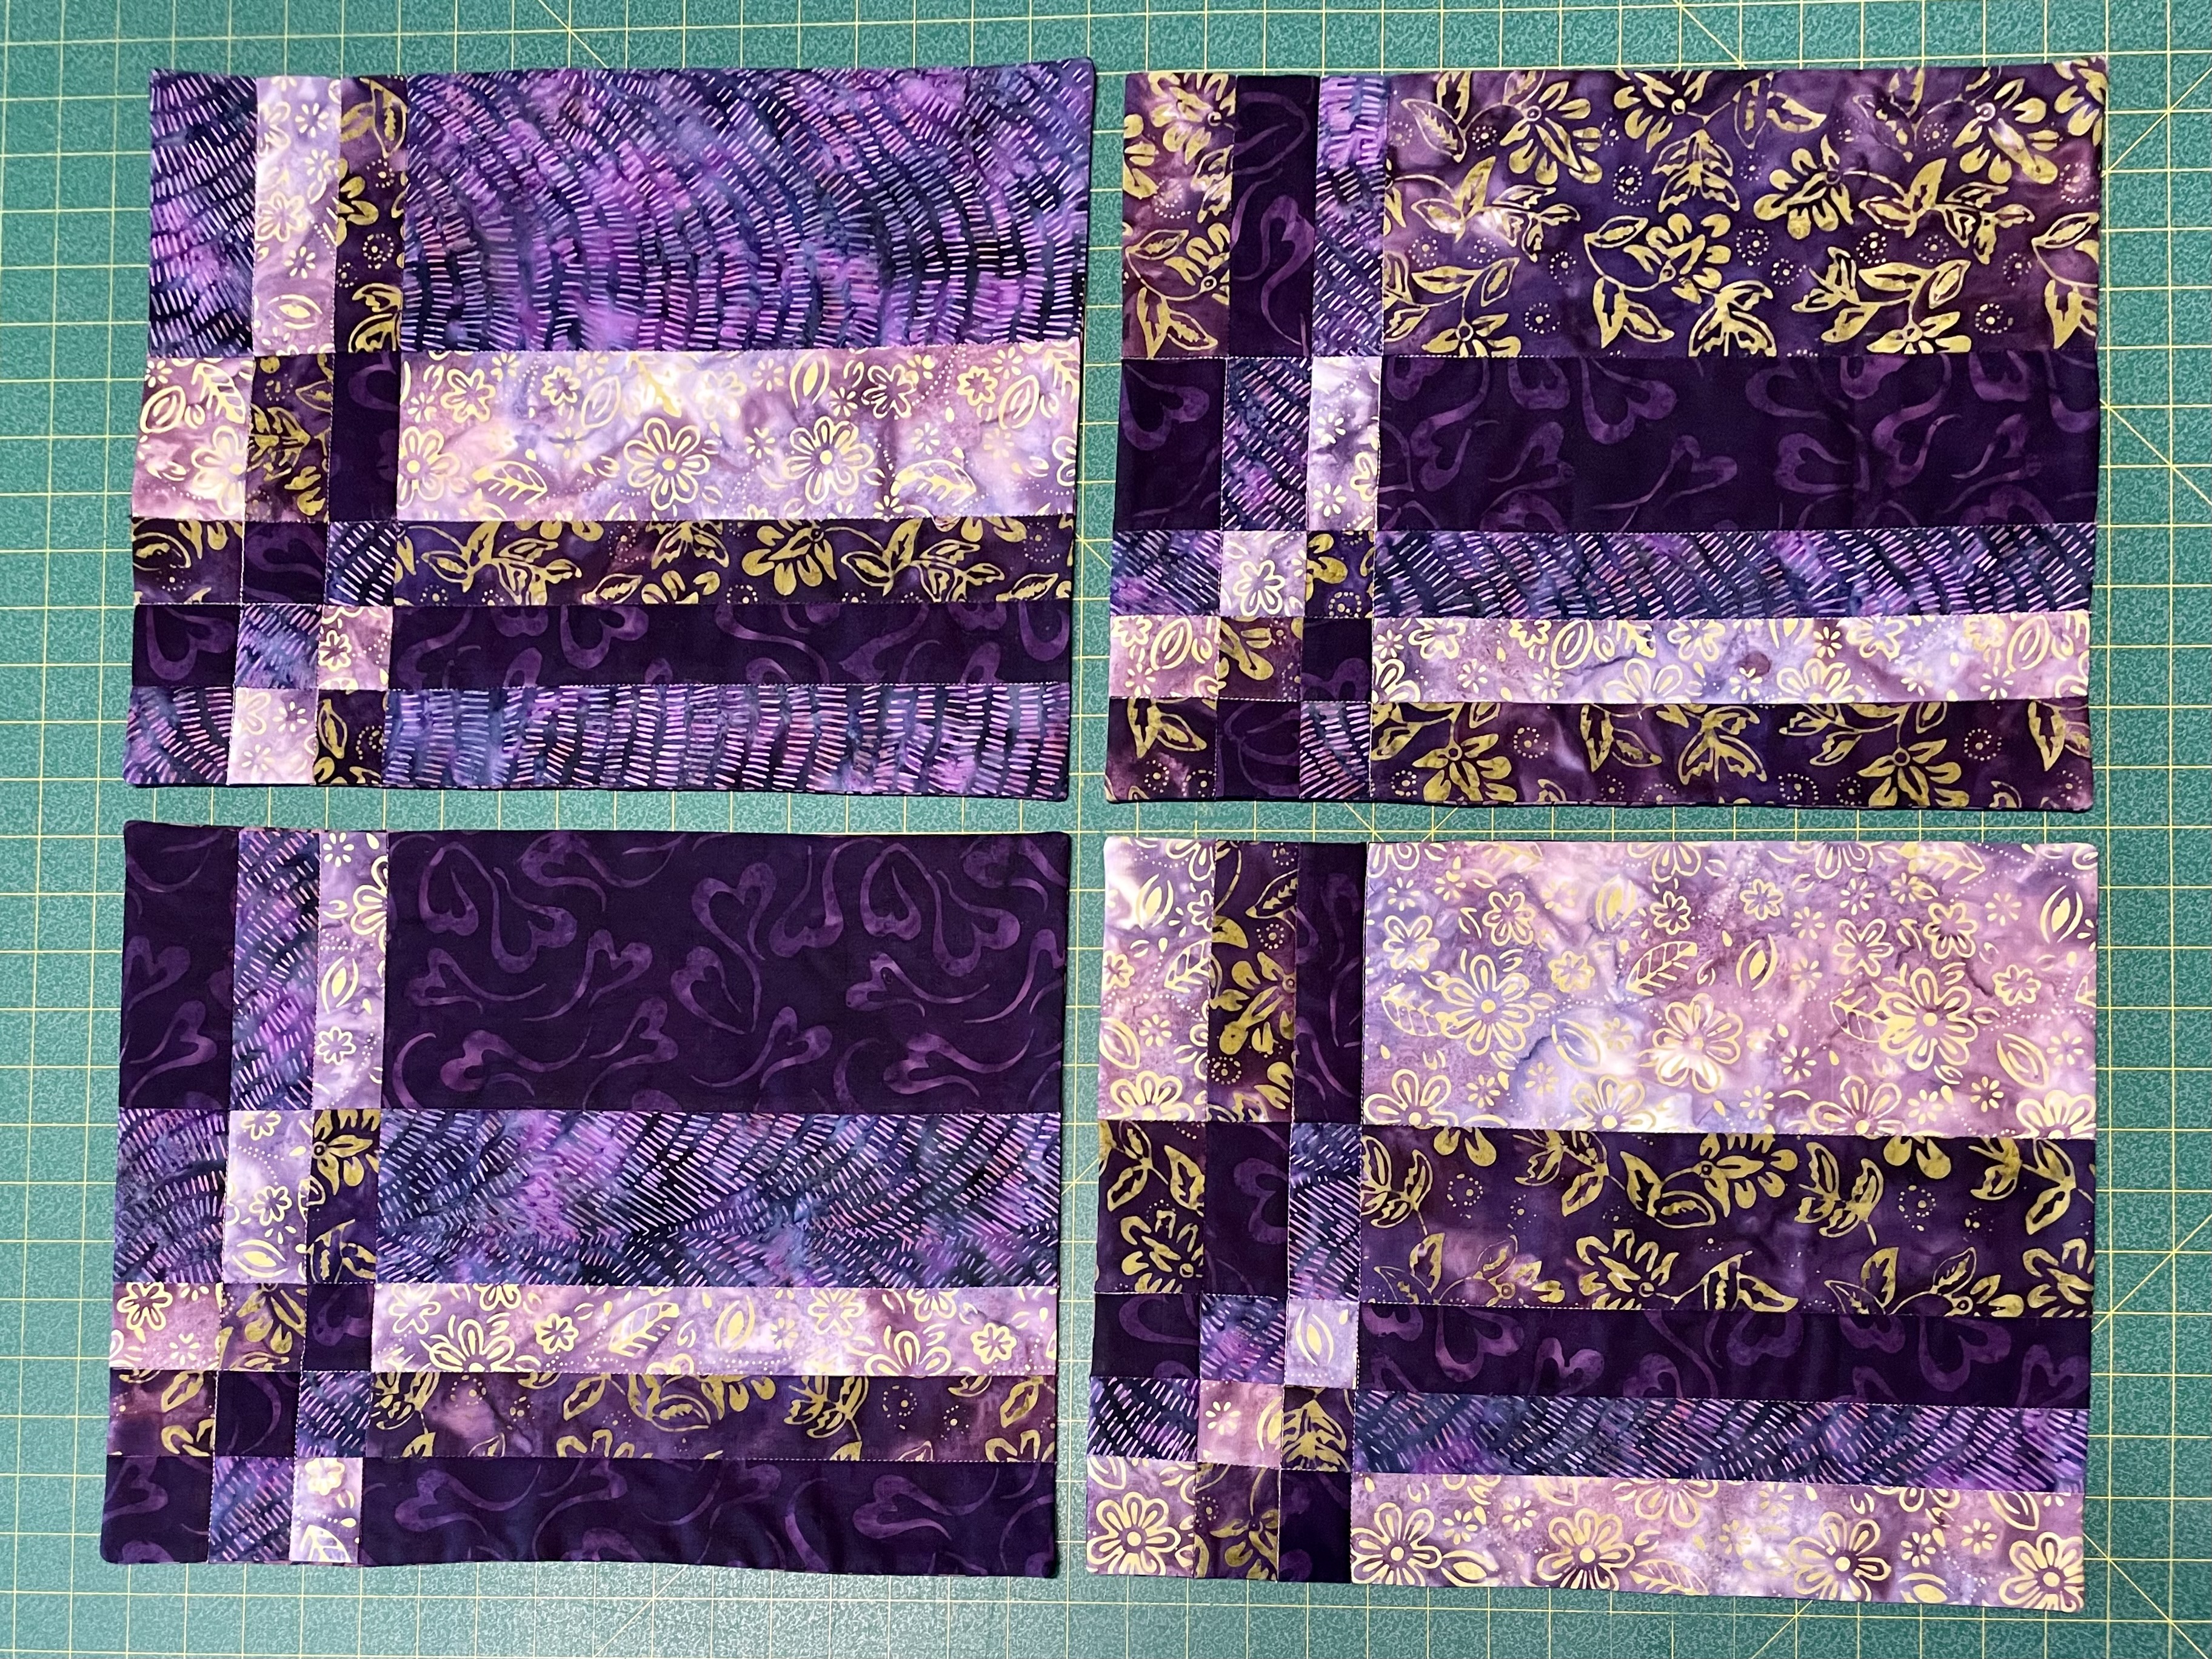
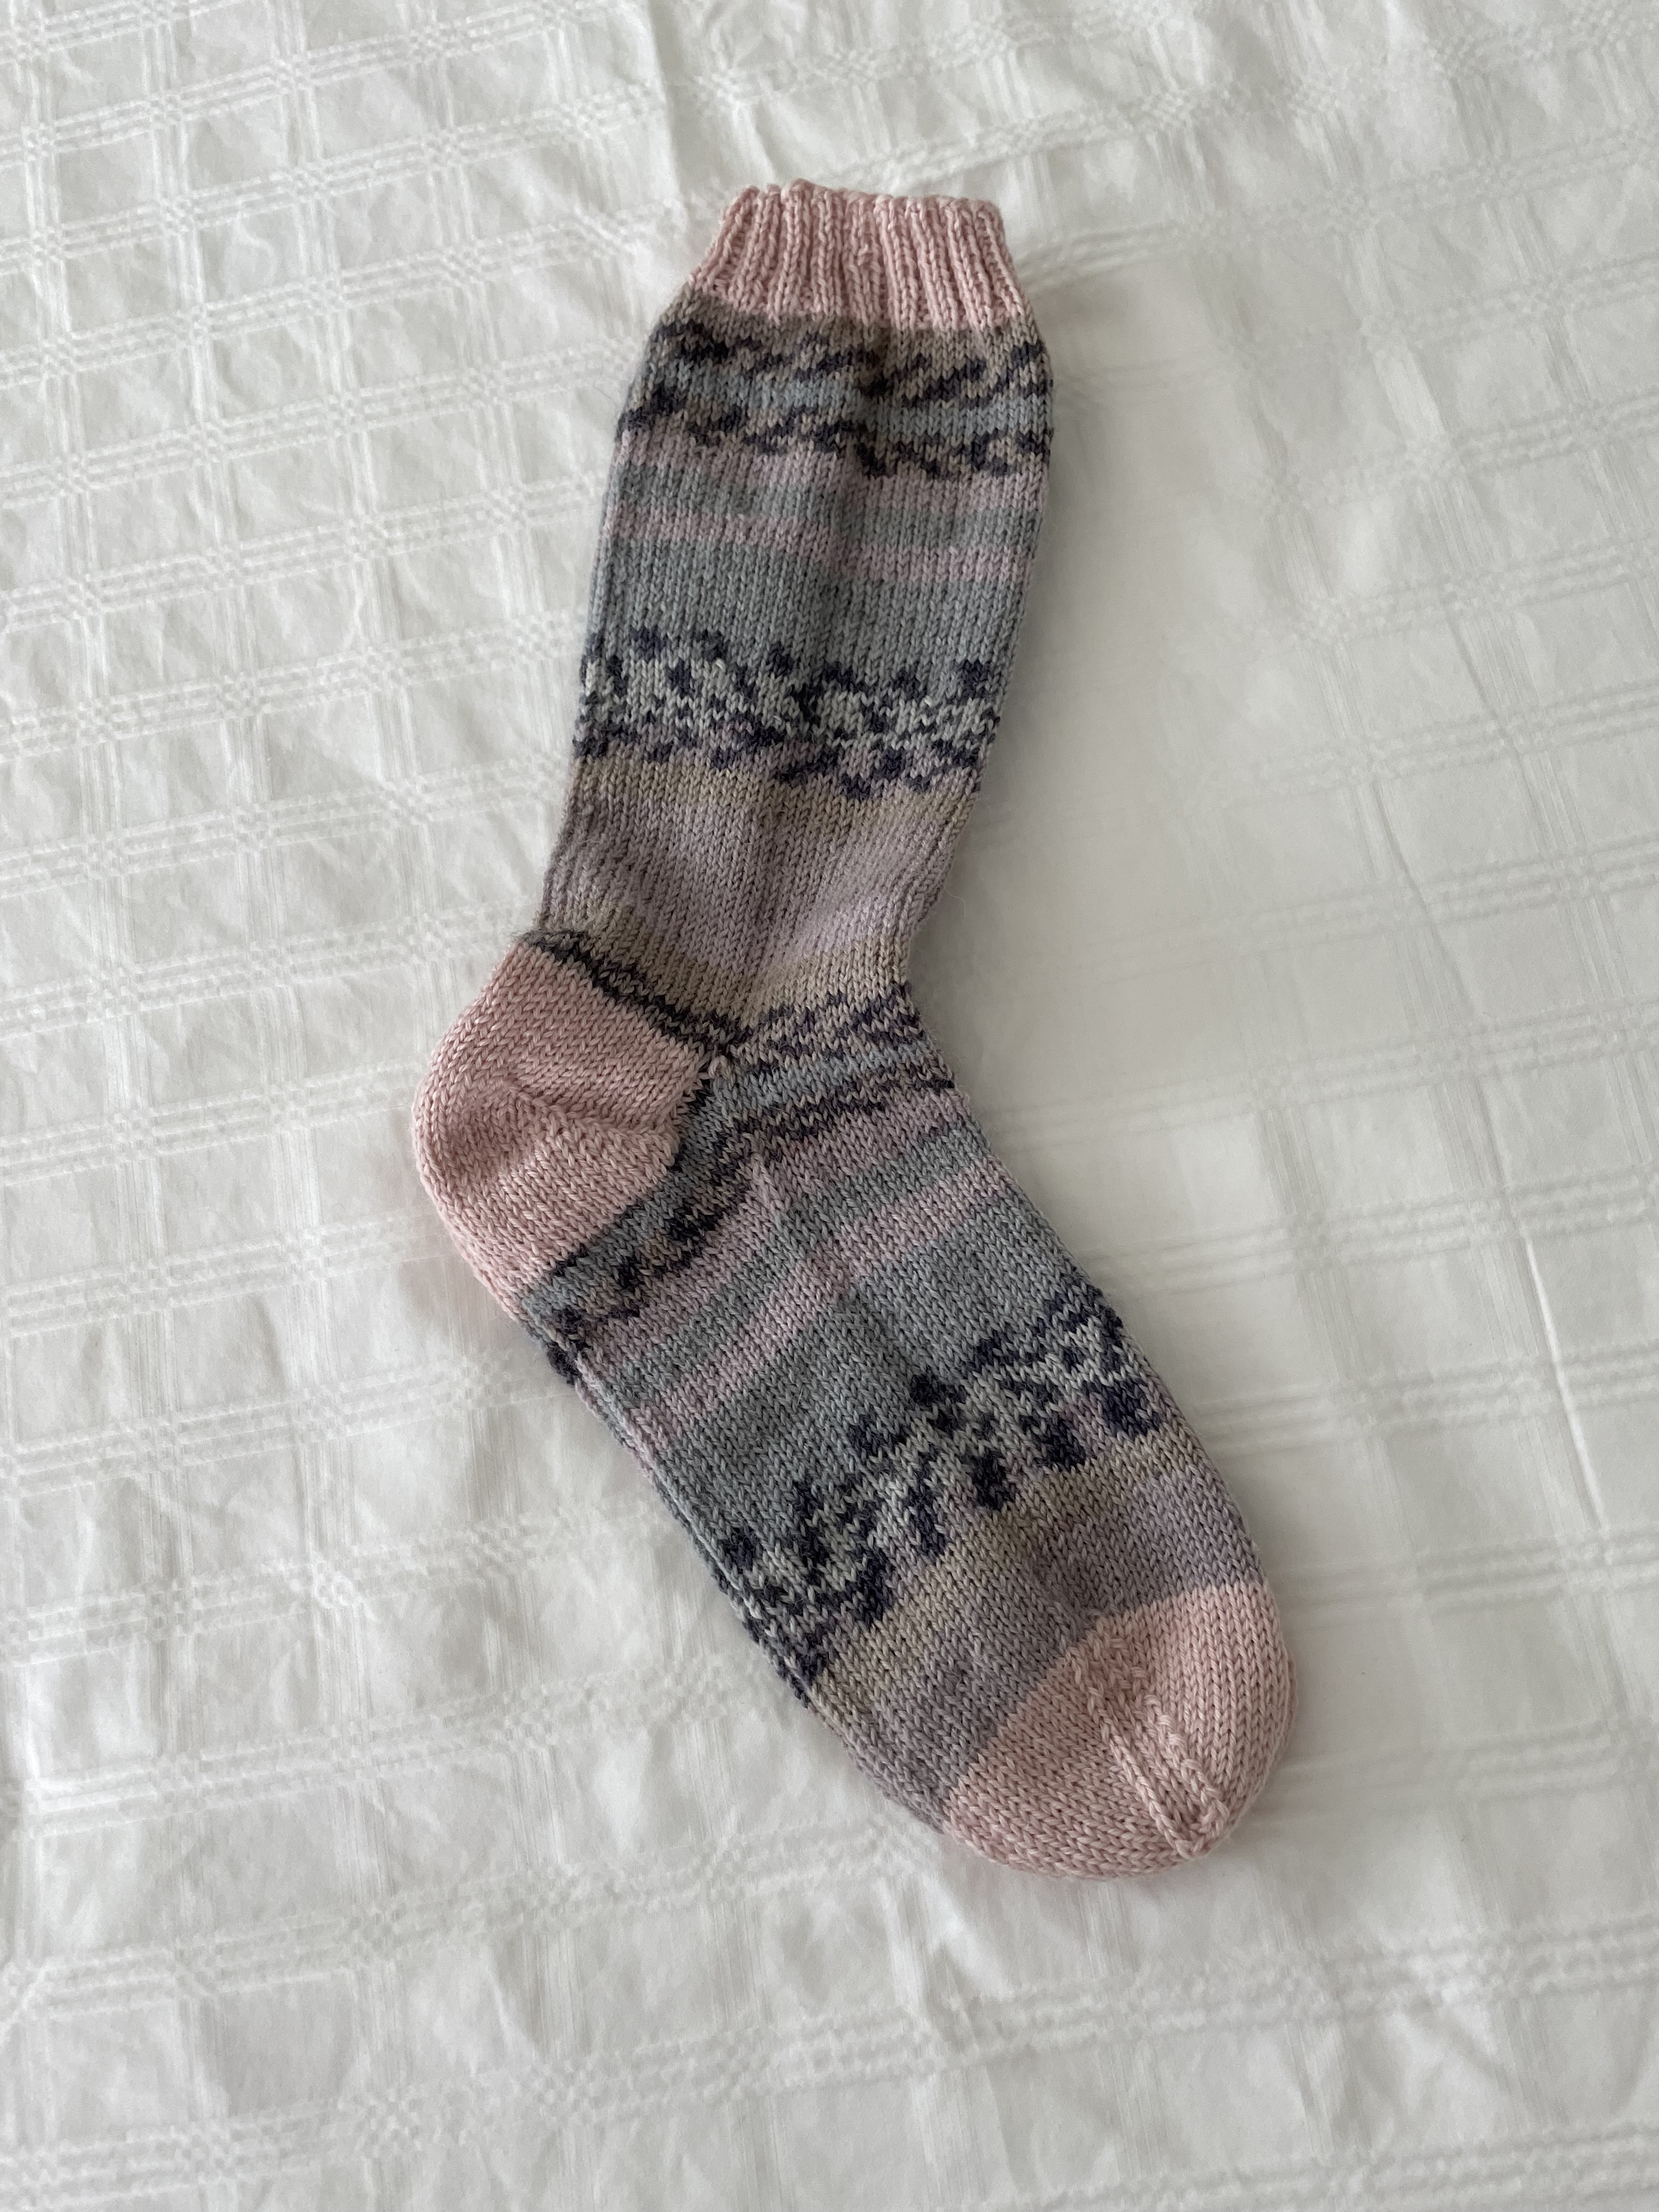
It’s how my grandmother taught me to make bagels, and how to knit, when I was very young. I was invited into her activity, shown how to participate. I learned to watch and try myself, figuring out what was essential in the process, what I could ignore.
Making bagels, I learned what the dough should feel like when it had been kneaded enough, how to shape the bagels by rolling a small piece of dough into a “snake”, picking up one end, rotating my hand, bringing the other end to the first, then rolling my hand to make the join. I learned how to tell when the bagels were ready to come out of the pot of boiling sugar water, what they look like when they’re baked enough. I don’t recall her teaching me these things directly, but I certainly learned them.
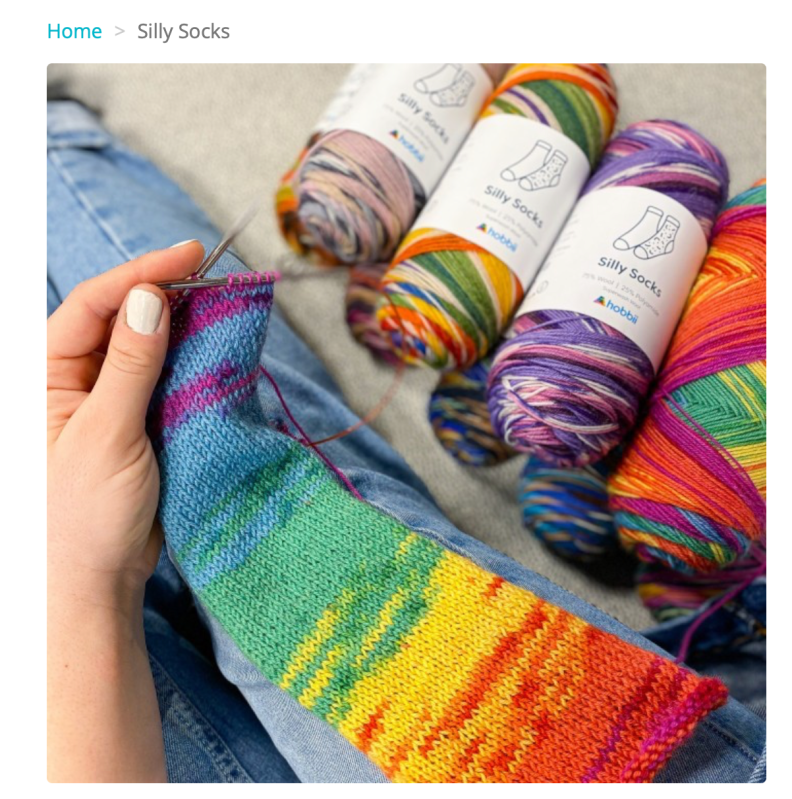
Knitting, the same thing – in the end I became a right hand knitter (my grandmother knitted “european” – left-handed) but the principles of how to cast on stitches, how to hold the needles, how to bring the yarn around the needle push it through a stitch and bring it back through to form a new stitch, I learned from her. After I developed carpel tunnel syndrome in my right hand, I actually switched to knitting as my grandmother did, with my left hand – it wasn’t difficult – I’d learned the technique by watching how she’d done it. I came to understand that our relationship had always been a mentoring one – I was invited to participate in her world and to learn from her many important life skills!
Interesting, I don’t remember my mother engaging with me in this way. She never shared her natural ability to play piano (which I always envied). I took piano lessons but I never learned to improvise the way my mother could. I didn’t learn to sew from her. I taught myself to cook. She aborted my passion for ballet when she refused to let me replace lost ballet shoes. I don’t remember her ever having an encouraging word for any challenge I took on.
I do remember her allowing me to read whatever novel she was reading (which transitioned me from children’s books to adult literature at an early age). The first grown-up novel I remember was “Peyton Place” – The “novel tells the story of three women who are forced to come to terms with their identity, both as women and as sexual beings, in a small, conservative, gossipy town. Metalious (the author) included recurring themes of hypocrisy, social inequities and class privilege in a tale that also includes incest, abortion, adultery, lust and murder.” (https://en.wikipedia.org/wiki/Peyton_Place_(novel))
At eleven I certainly didn’t understand a lot about what took place in the novel but I knew there was something illicit about this book which my mother and my aunts whispered and giggled about. My mother and I never talked about the book. She never talked about any of the books we actually both read over the years. She went to the library; I read the books after she finished them.
Consequently, I looked for other women to help me become an adult – my Aunt Helen (who lived in London, ON), Mrs. Milligan (my friend Marlene’s mother), Bobby Ballentyne (my friend Marion’s mother), Ruth Marks (whom I regarded as a big sister), many others, all who shared their lives, inviting me into an adult woman’s world. I referred to them as “my other mothers”. I actively sought out mentoring when I wanted or needed to learn something new.
Today, I frequently turn to YouTube as a source of information and technique but it’s not quite the same – the two way act of sharing is absent. There is no subtle feedback letting me know whether my approximation is getting better or not. I’m pretty much on my own as a learner.
Fortunately, I have a lifetime of trusting I can tackle something new and find a way to become reasonably proficient. I attribute that to the many mentors who have shared what they were able to do and supported my explorations along the way.
The reason I reminisce about this, is an article I read recently in the New York Times: He Lives in the Double Helix of My Cells, but I Do Not Know Him (by Zach Gotlieb). Gotlieb, a child of artifical insemination who has never met his father although he discovered he has 20+ half-siblings, writes about Father’s Day. He says he “realized that I’d had fathers all along — dozens of them. There were teachers, coaches, other people’s dads, family friends, my beloved grandfather. For me, these father figures are a collage of wildly diverse personalities and perspectives giving me more fathering combined than an individual dad could possibly provide. Biology is strong, but it’s also easy. The people who father me do it for no other reason that that they choose to.“
He made me remember my “other mothers” – the women who took me under their wing, shared their lives with me, encouraged me to be intrepid, audacious, undaunted, adventurous. Because of them I cultivated talents and expertise I would otherwise never have discovered and honed.
I know lots of people who resist wading into unfamiliar territory – they’ve learned to avoid the new and subsequently miss the experience of expanding their horizons. I’m guessing the absence of good mentoring either at home or school accounts for their reticence. Failure, without support to continue trying, can make it difficult to take risks.
I’m always open to tackling something unfamiliar. Recently one the Afghan immigrants I’m spending time with helping learn English was applying for a job that required a knowledge of WHMIS (what’s WHMIS? – Workplace Hazardous Materials Information System – I searched for a way to explore the training myself so I could coach Ahmad through the certification. Turns out he didn’t need the certificate right now, maybe later).
I’m always interested in learning new stuff. I’m not afraid of taking on a challenge. I learned that from the women who took an interest in me.
Gotlieb says: the word “father” has evolved for me, from a noun to a verb.”
The same is true for “mother”!