Yesterday I organized my fabric into eight sets of three groupings – light, medium, dark. I cut 2″ strips from each and cut the trapezoid shapes (16 from each fabric) plus the small dark triangles for the centre of the block. (In a couple of blocks I ran out of fabric and had to fill in a couple of trapezoids with as close a colour match as I could – it will be interesting to see where they show up in the layout).

Next step was to group these trapezoids into groups of three for each block (a dark, a medium, a light). Before I did that I spent quite a bit of time looking at photos of the the quilt in progress which I found online in order to sort out the groupings. Then I set up the blocks – two sets – one which starts with the triangle on the right side of the light piece; the other with the triangle on the left side of the light piece.

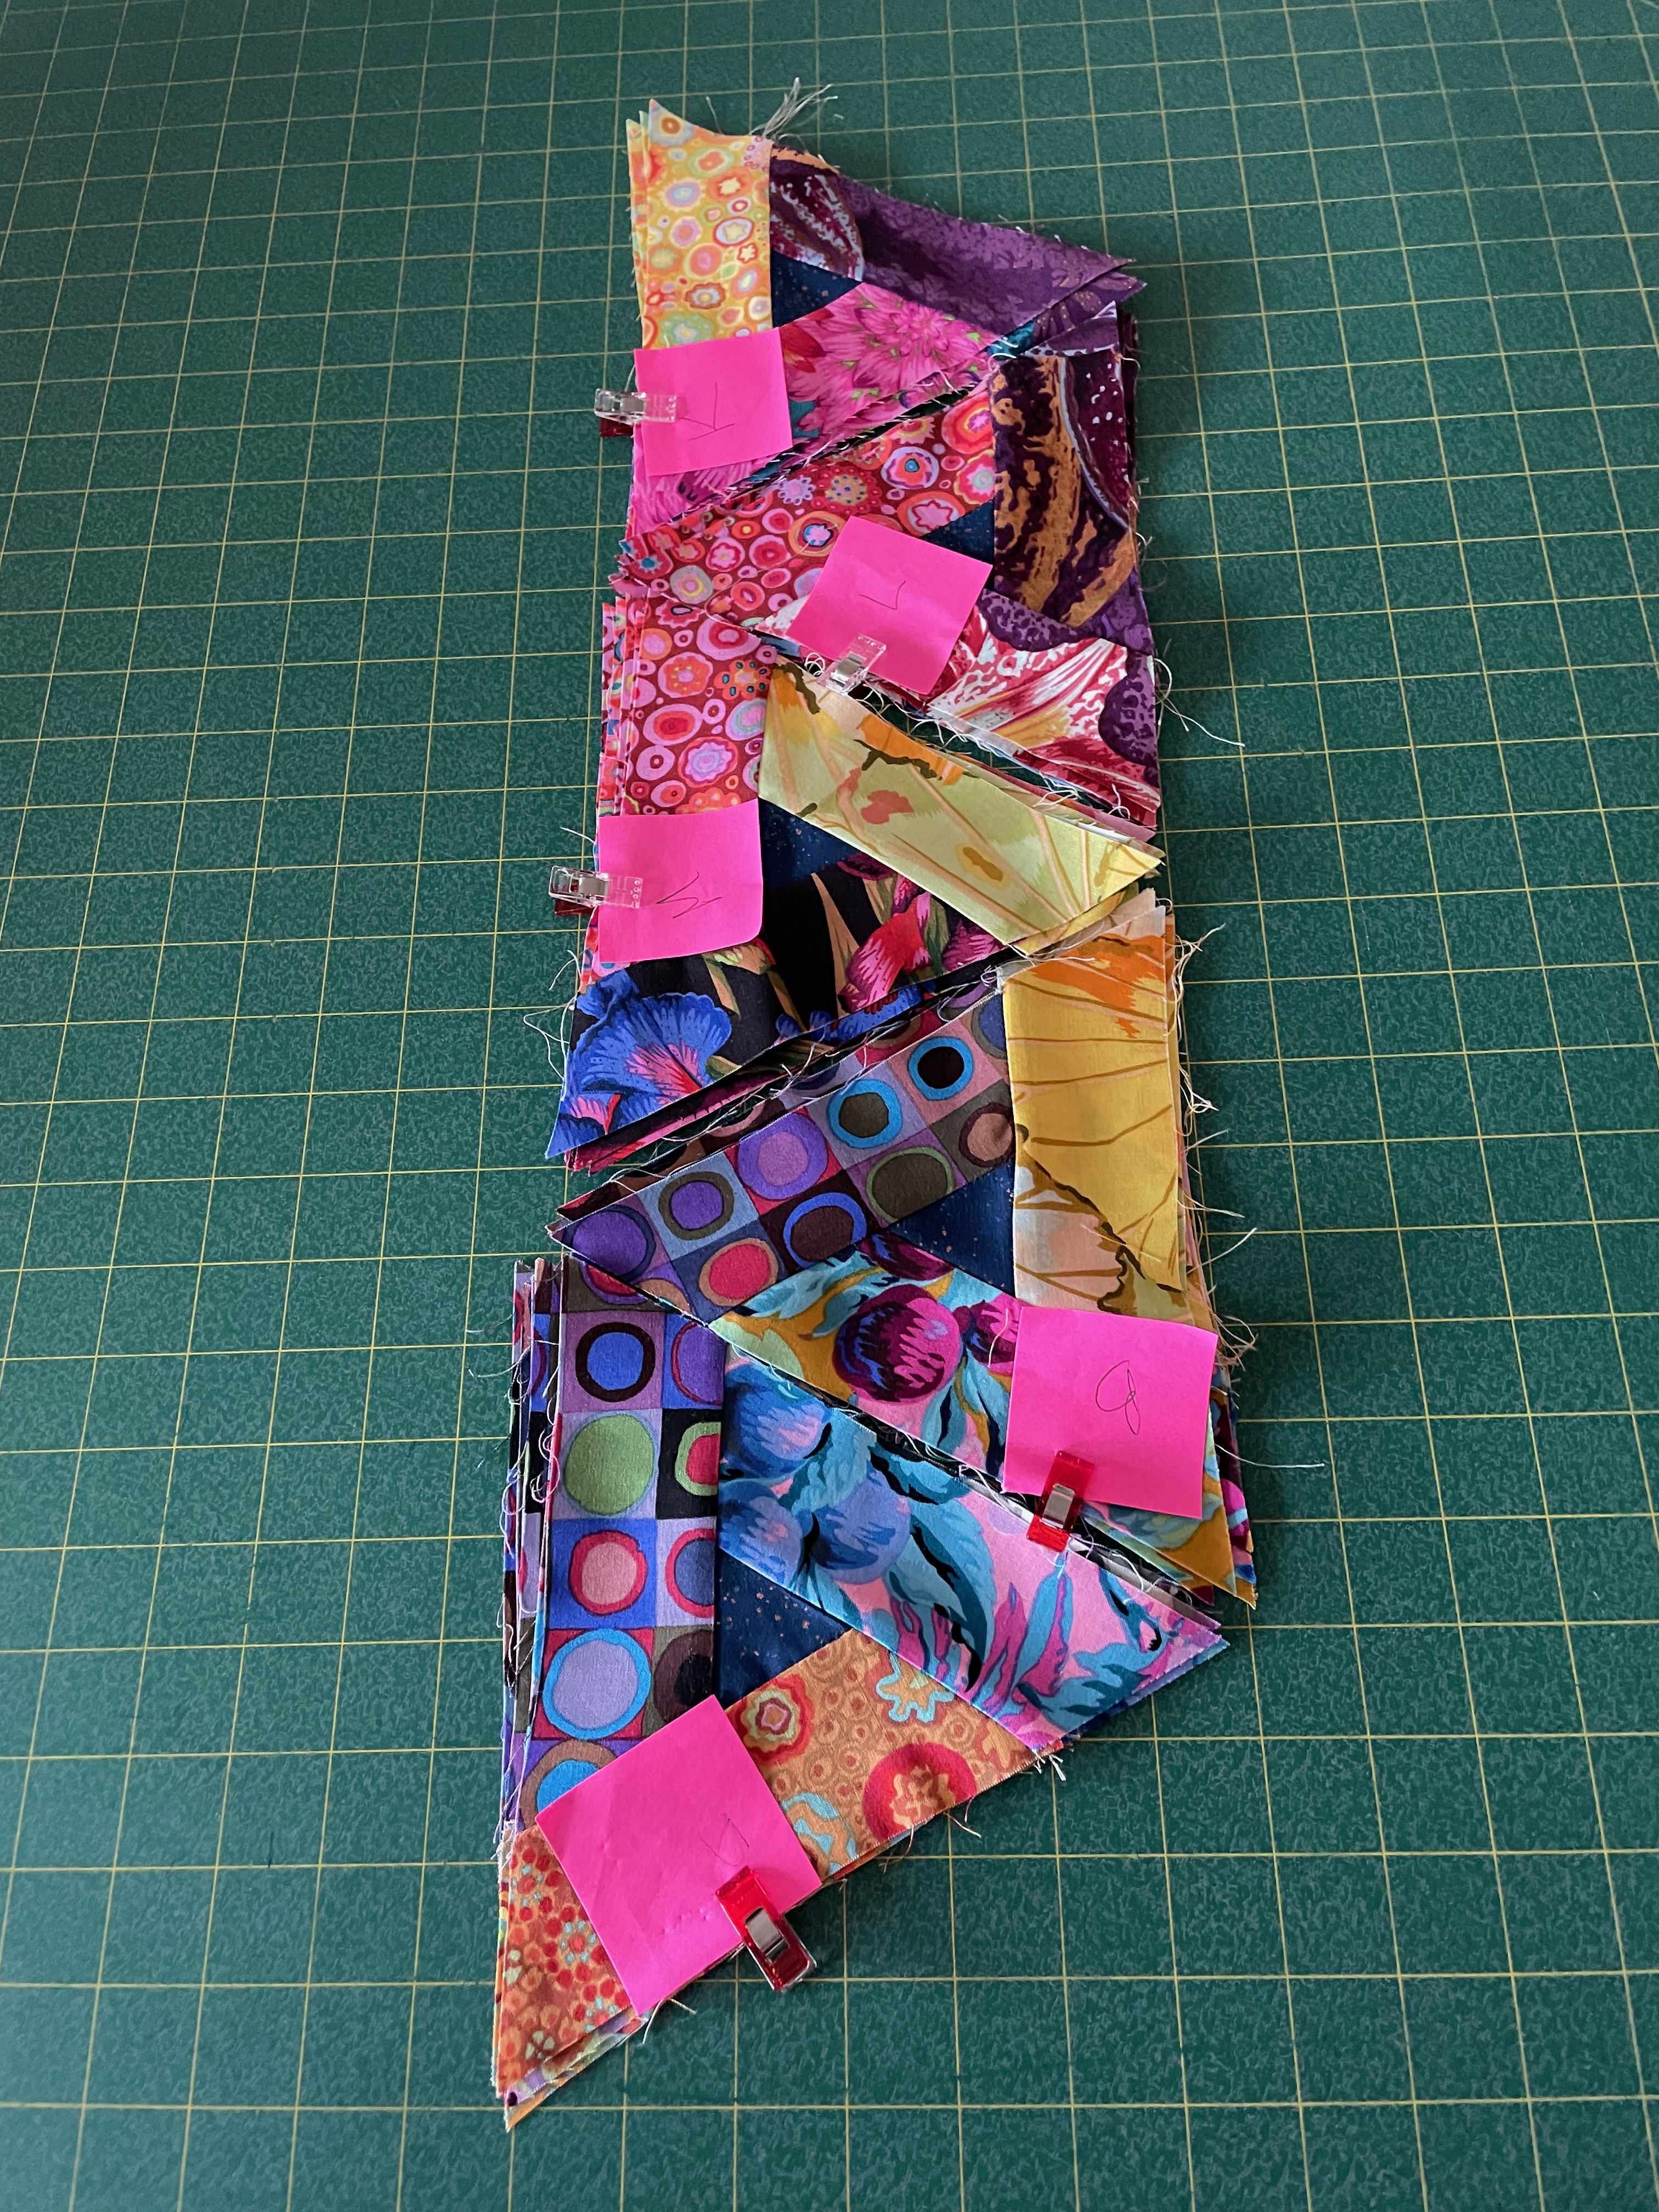
These are the blocks with the triangle on the right. There is a complementary set with the triangle on the left.
In the afternoon I stitched block “A”, then block “B” and placed them together so the dark fabric forms the wide 120° angle – the two triangles at the bottom of the stack below. I also did the “C” stack but that triangle fits in somewhere else.
The next triangle needed to join the light vertical on the “B” block turned out to be block “M” followed by “L”, then “K”.
To see how this array would look like sewn together I stitched one of each together.

You can’t really see the optical illusion yet – I need to construct the second column and join it to column #1. At the moment I’ll continue constructing all the blocks then lay out the first column (it uses all 16 triangle blocks). I don’t yet know where the second column actually begins – the order of the blocks will be the same, but it will start at another place and until I get all the blocks stitched, I’m not going to know where column #2 begins.
In any case, I’ve set up a chart showing the fabrics in each triangle block – there are no duplicates, but the linkages become apparent. It will be a matter of just laying out the matching pieces to create the structure of the interlocked elements.

Now, it’s just a matter of carrying on with block construction. I’ve got six block sets done – that leaves a dozen to go and then I can set up the columns….

Pingback: More Escher Quilt Information | jmn
Pingback: Next Quilt – The “Escher” Quilt | jmn
Do you have a template for the trapezoids?
I didn’t (don’t) have a template for the trapezoids. The trapezoids are cut from a 5 1/2″ triangle (that’s including the seam allowance). The base of the trapezoid is 5 1/2″. The trapezoid width is 2″. I suggest you create a 5 1/2″ equilateral triangle from paper. Cut off a 2″ strip from one end. That gives you the trapezoid. I’d also suggest you try a couple of test assembled triangles to make sure your dimensions work. The small equilateral triangle in the centre I cut 2″ on a side. Again all I can suggest is you cut out and assemble some test pieces and adjust as you need to. Hope this helps.
Thank you for your help. I appreciate it!
Here is a link to the first entry where I started the Escher quilt: https://wordpress.com/read/blogs/20189250/posts/8029 You’ll see a triangle with notes describing the four pieces for the triangle – on the diagram I say the triangle is 5 1/4″ but when I just measured the Escher quilt looks to me like the trapezoid base is 5 1/2″. You’re going to have to do some playing around.
If you want a larger triangle, start with a bigger triangle drawing, cut a strip from one side – you could still use a 2″ strip, or you could make it a 2 1/2″ strip. You’ll need to adjust the size of the small inner triangle in either case.
Pingback: The Escher Quilt Revisited | jmn
You are very organized and methodical in how you do these challenging tops.
Bernie Lynne, I am a VERY organized person. I have a very strong organizational mind. I’m always seeing easier, shorter, clearer ways of doing things. Like with the Tumbling Blocks quilt – about a 1/3 of the way through sewing the diamonds I realized my clear right guide presser foot had a lot of 1/4″ markings on it! I’ve seen the markings there for a long time – but this time I understood I didn’t need to mark 1/4″ points to start and stop my seams – the foot showed me where to do that. What a time saver that was. I also have a keen spacial sense – my 1/4″ is surprisingly accurate, to the extent I rarely have to mark it. It’s the complexity of these “challenging” quilt tops that draws me to them. I see now with the small amount of assembling I’ve done on this quilt top, it’s going to look quite different from the “official” Escher quilt – it will have the same structure but because I’m using a very different set of Kaffe Fassett Collective fabrics, in an order I created, the overall look I’m anticipating is going to depart from the kit version!
Wow!!!!!so much figuring!
It’s part of the challenge I enjoy – figuring things out for myself – looking for help when and where I need it, but ultimately making the project my own.